- Thread starter
- #161
RaskyR1
Well-Known Member
- 529
- 532
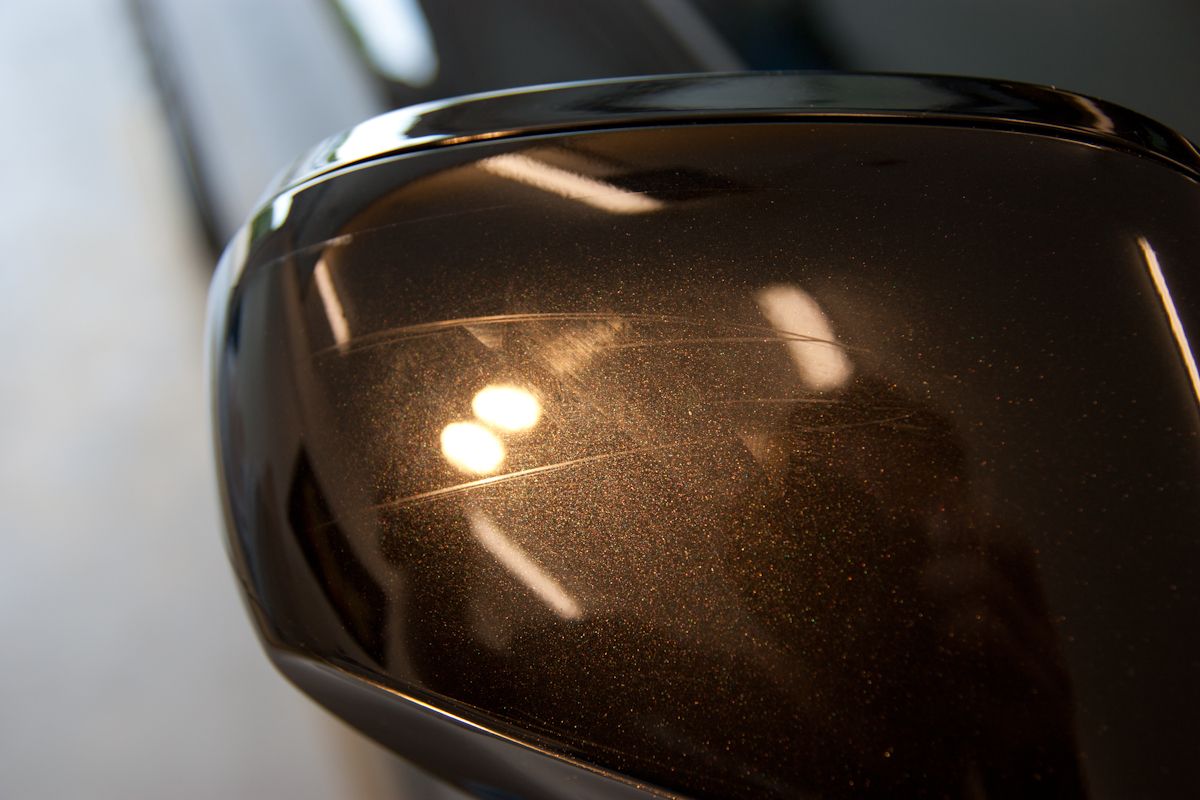
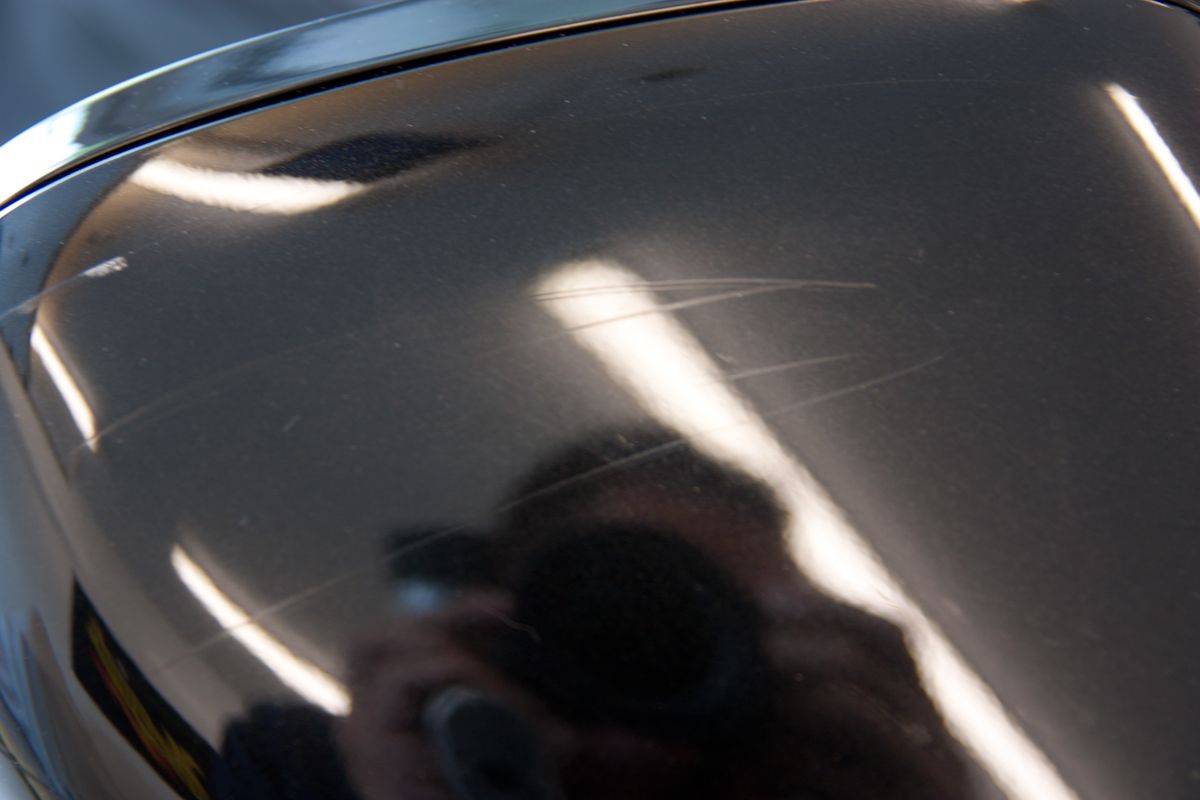
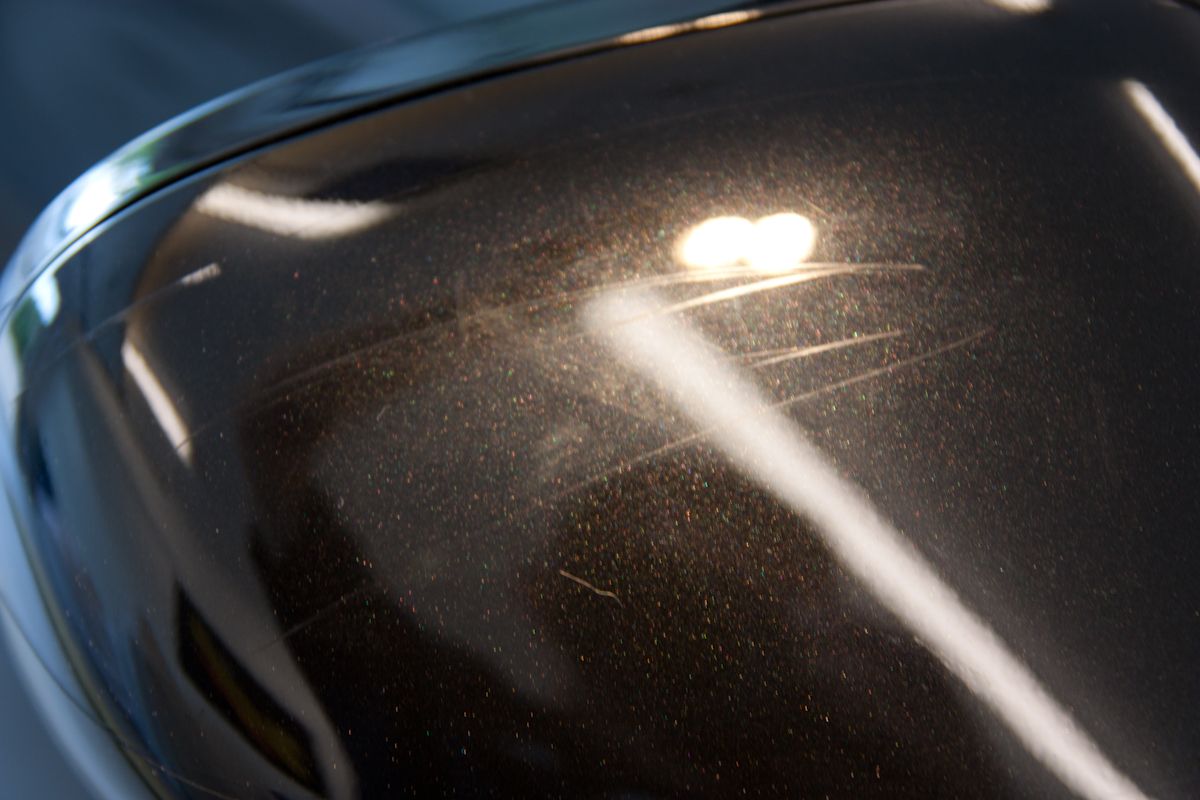
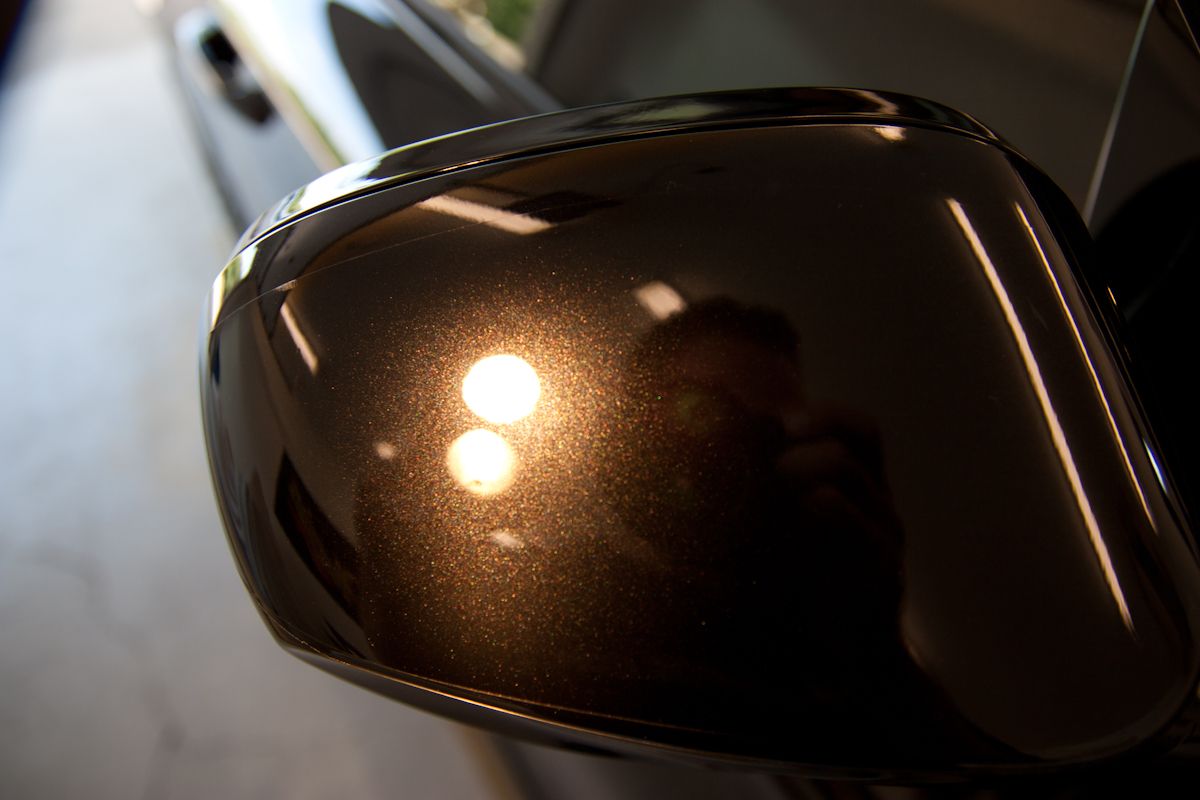
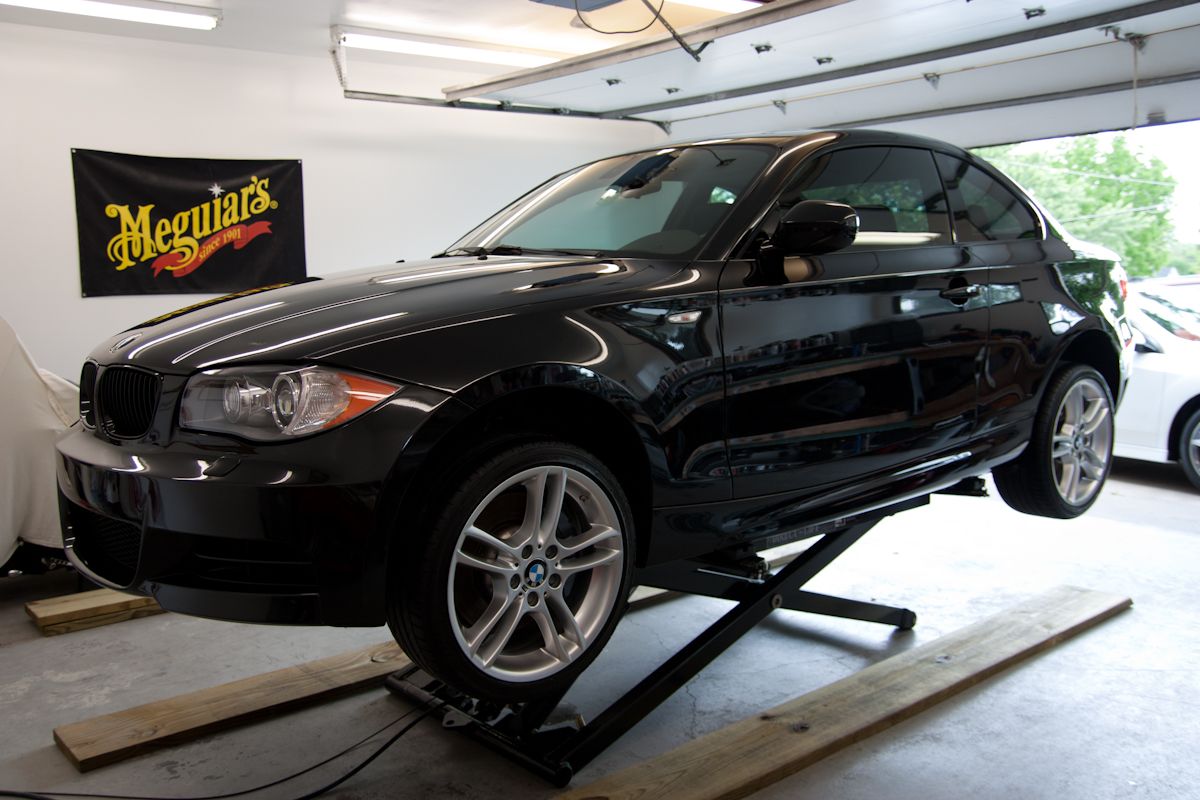
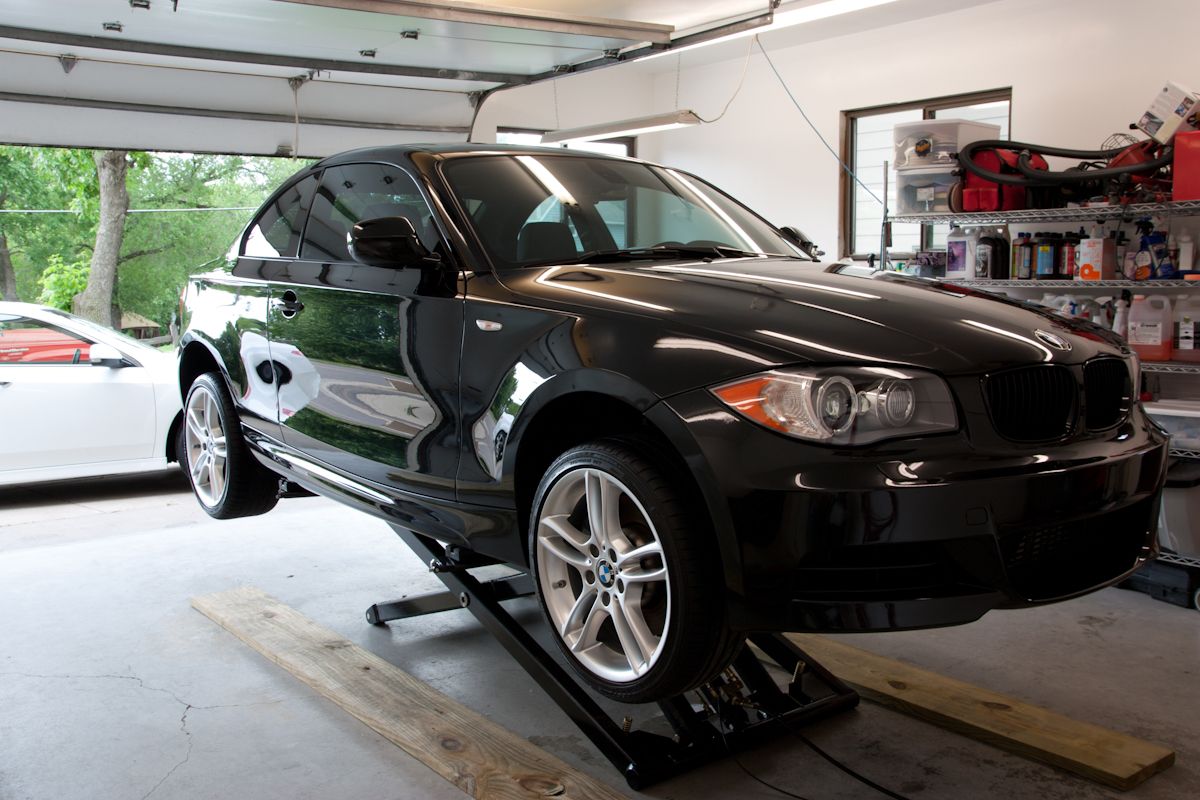
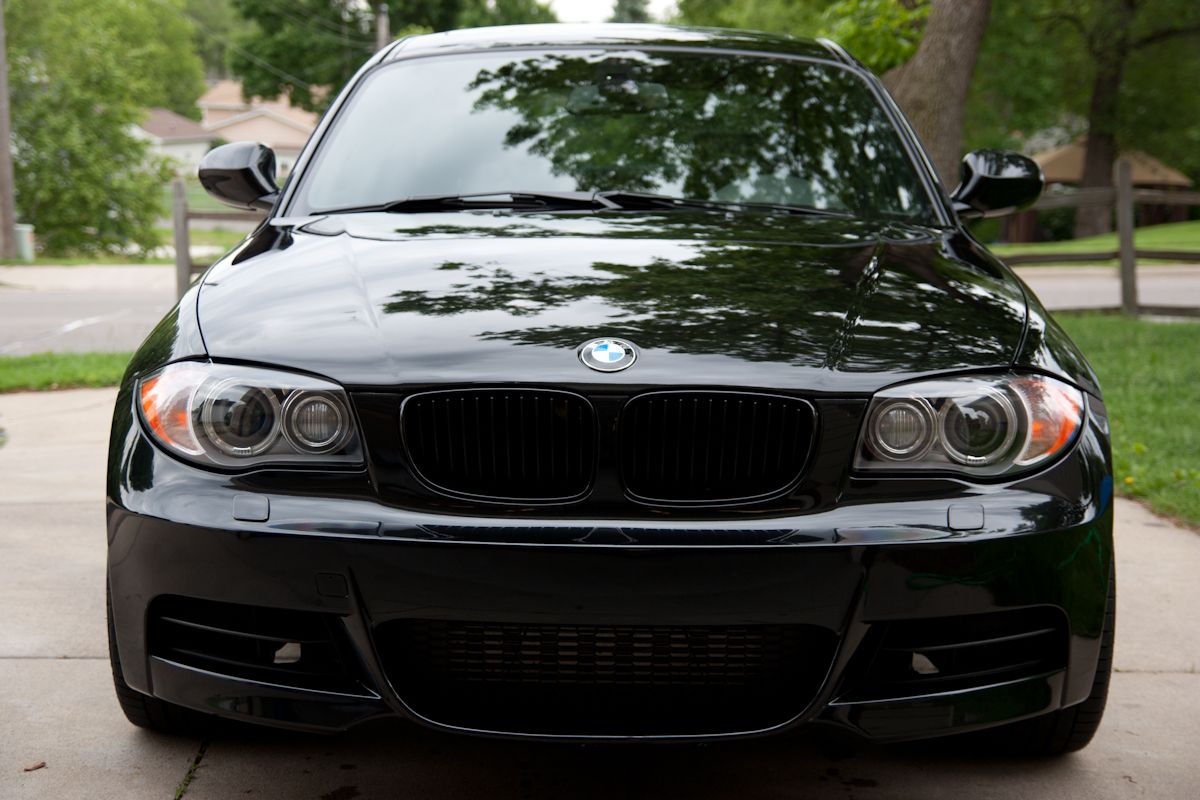
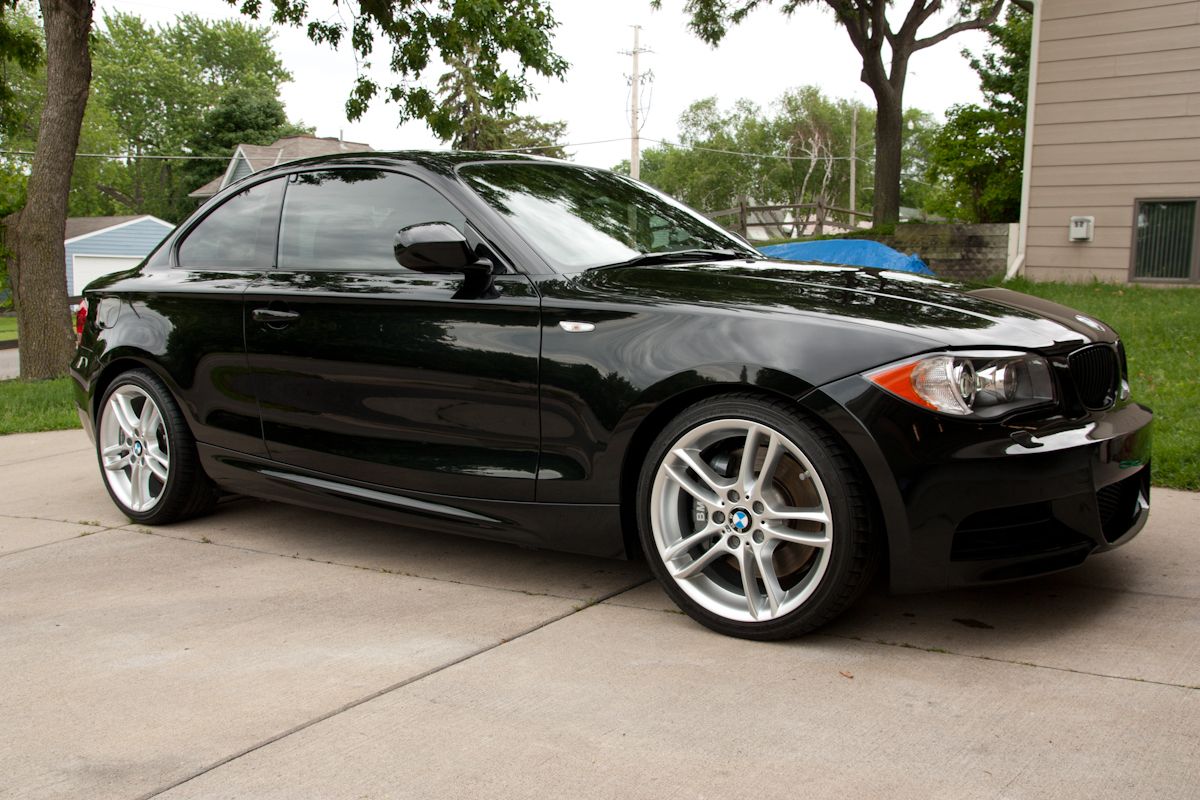
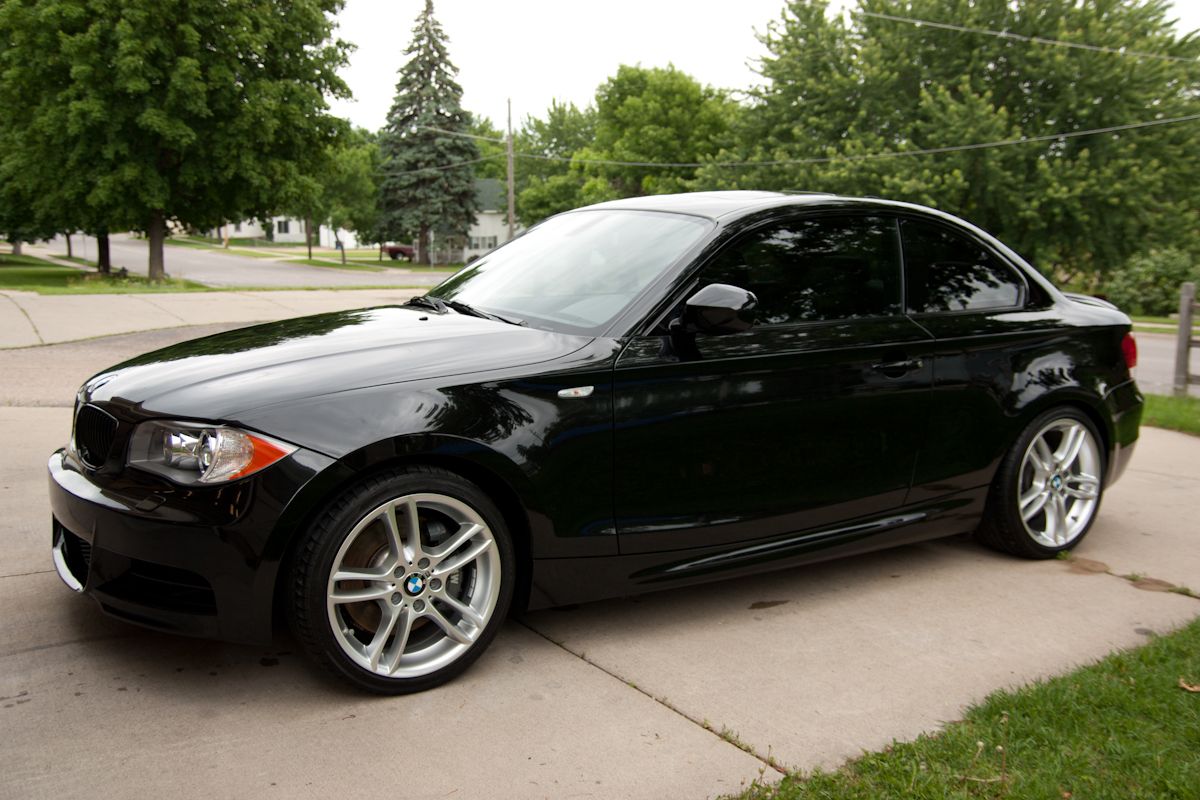
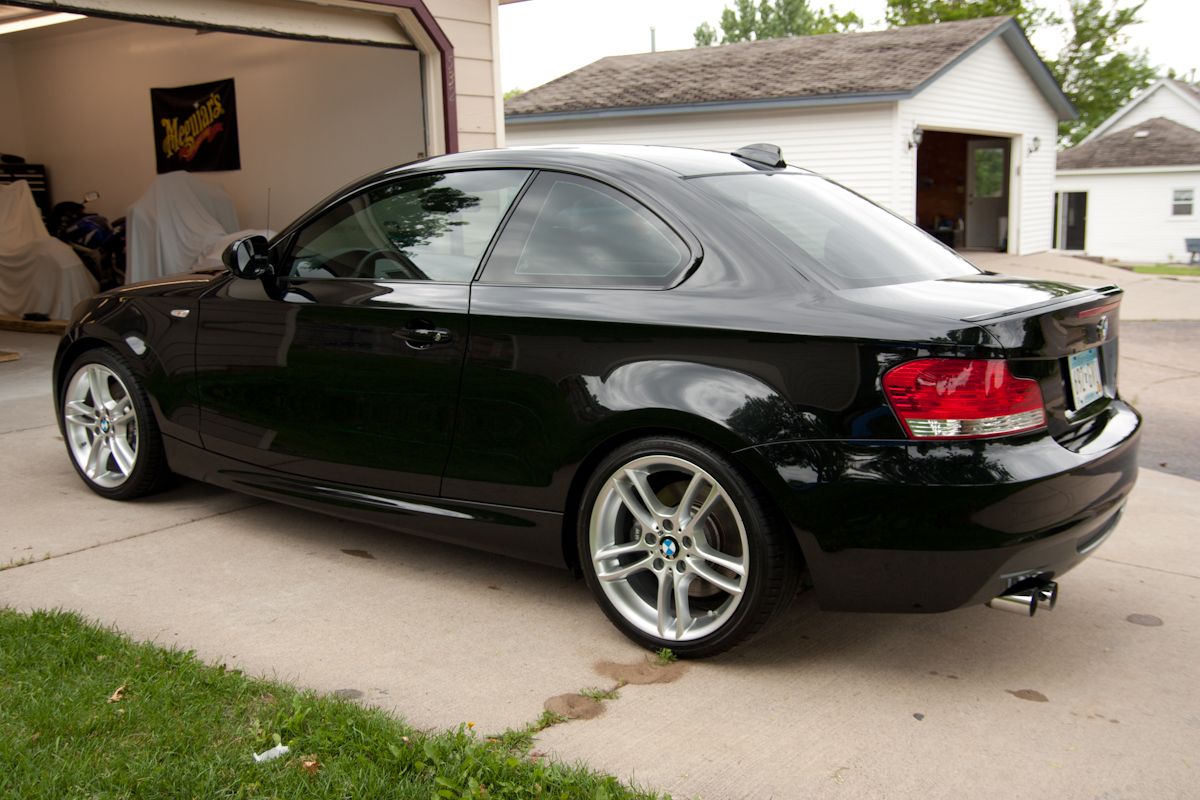
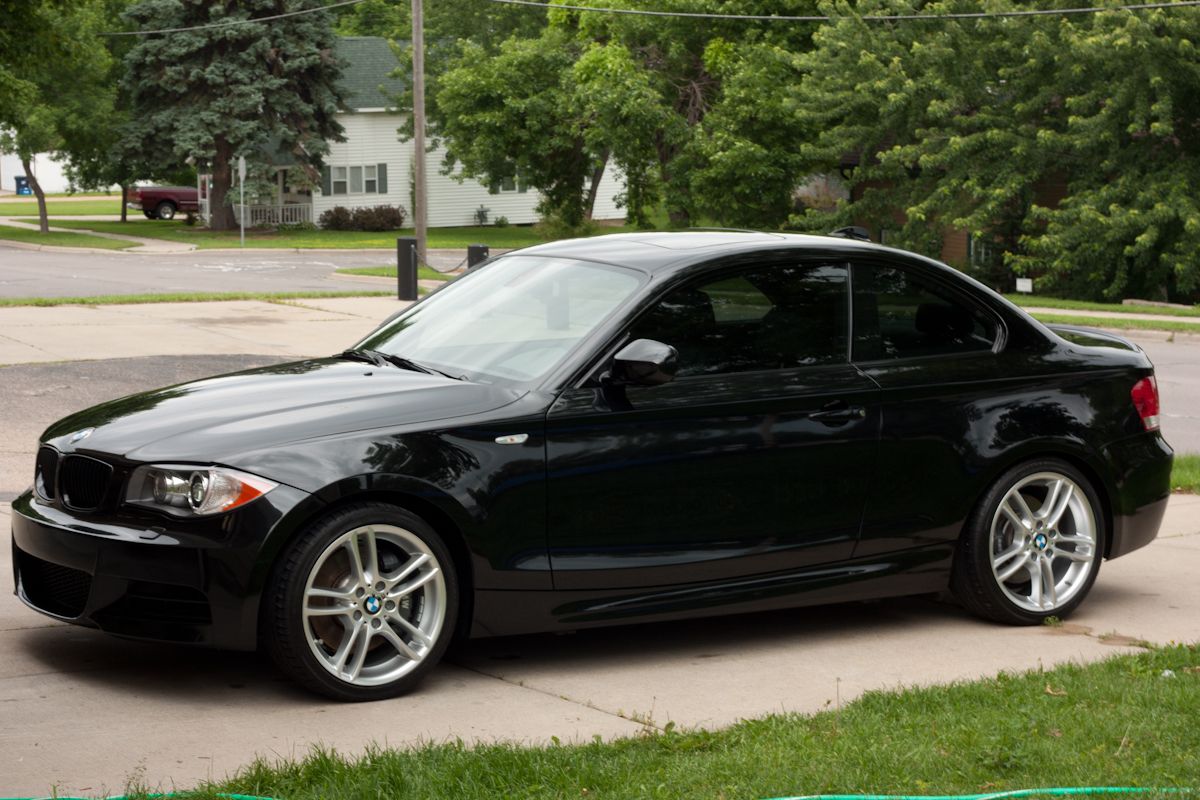
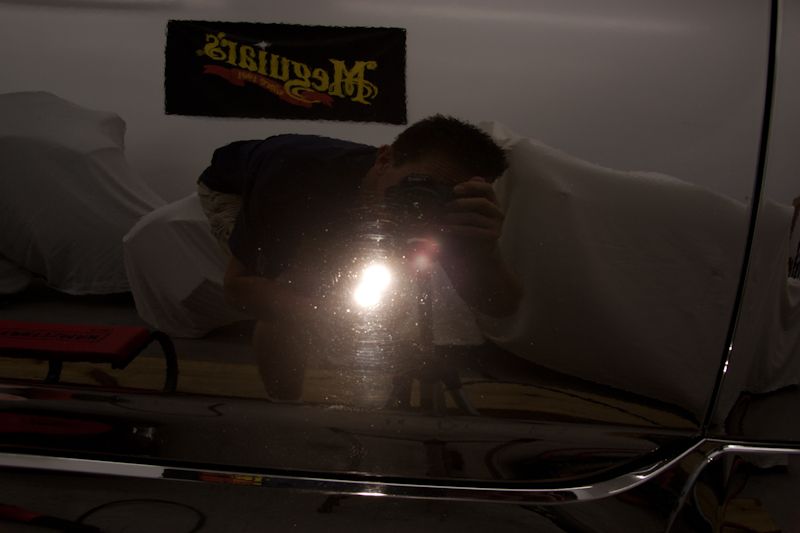
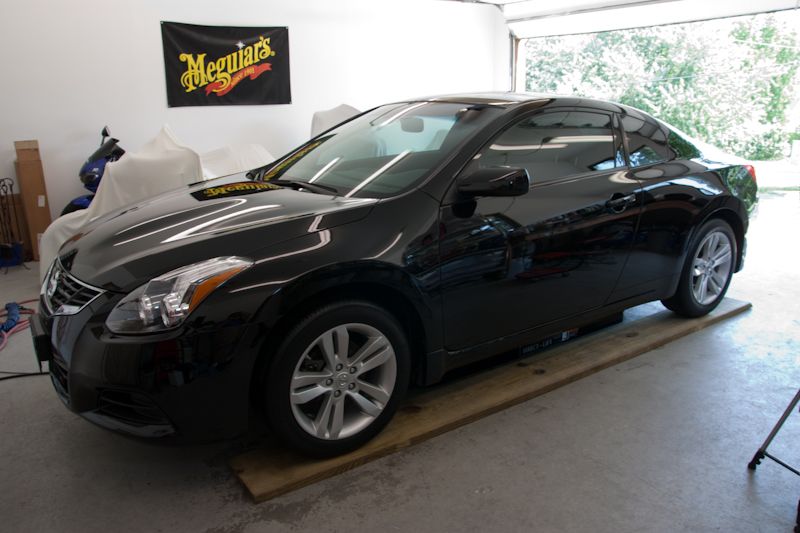
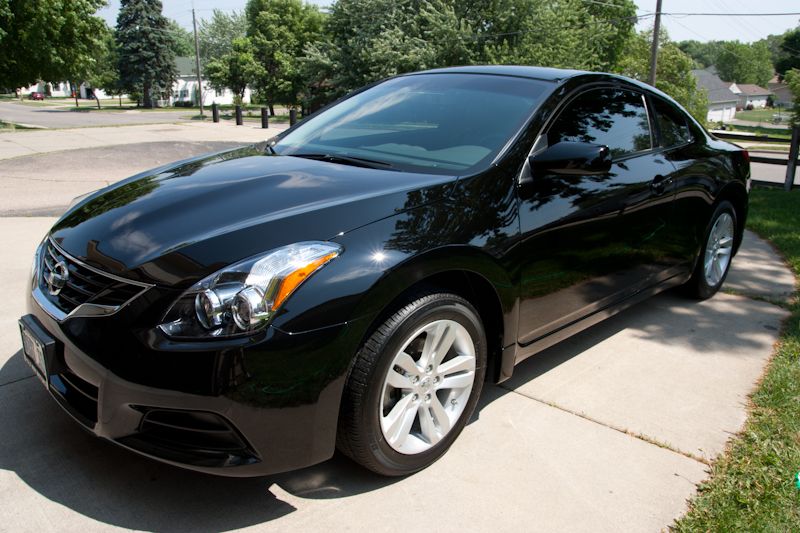
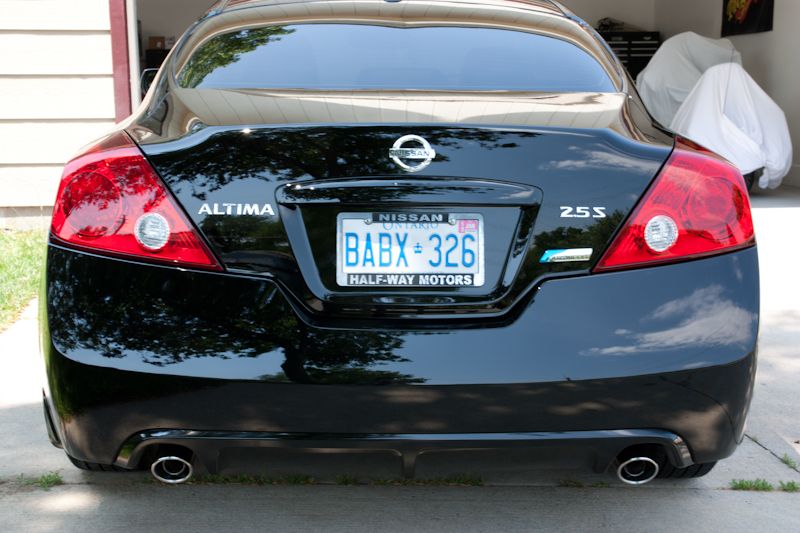
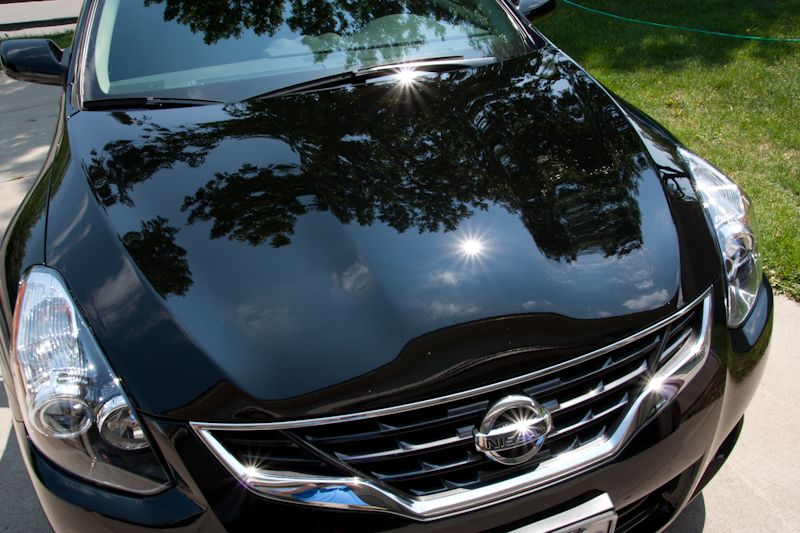
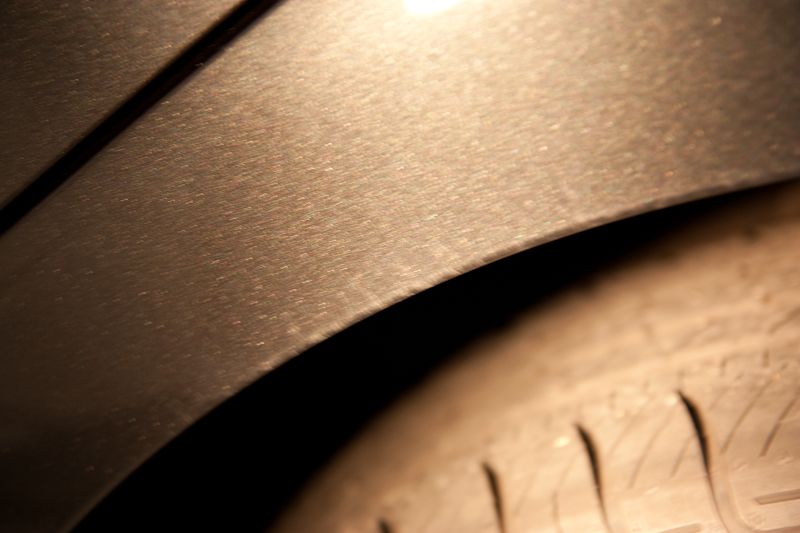
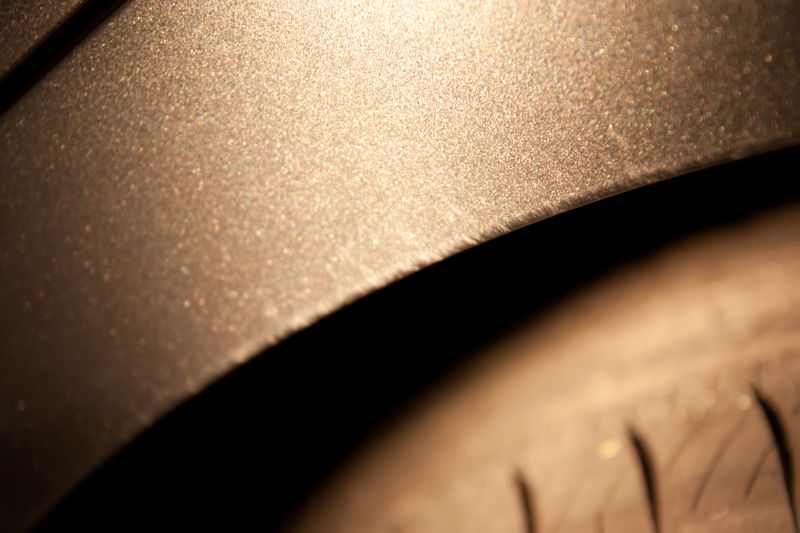
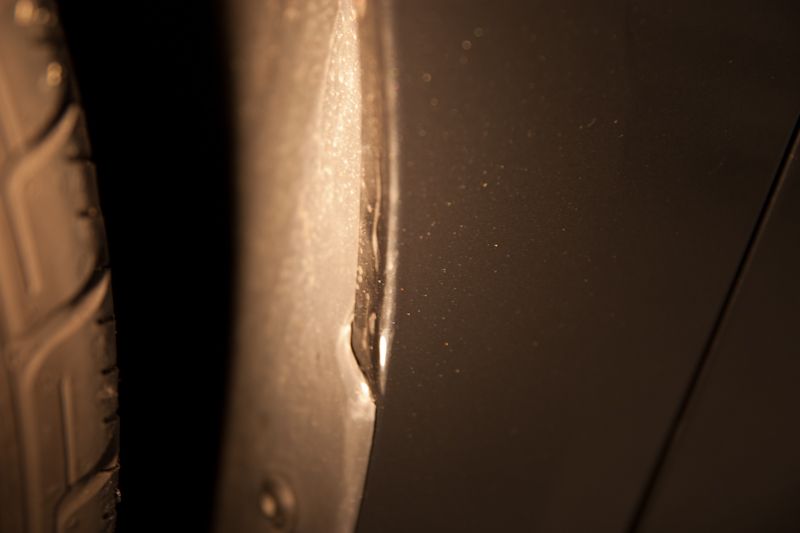
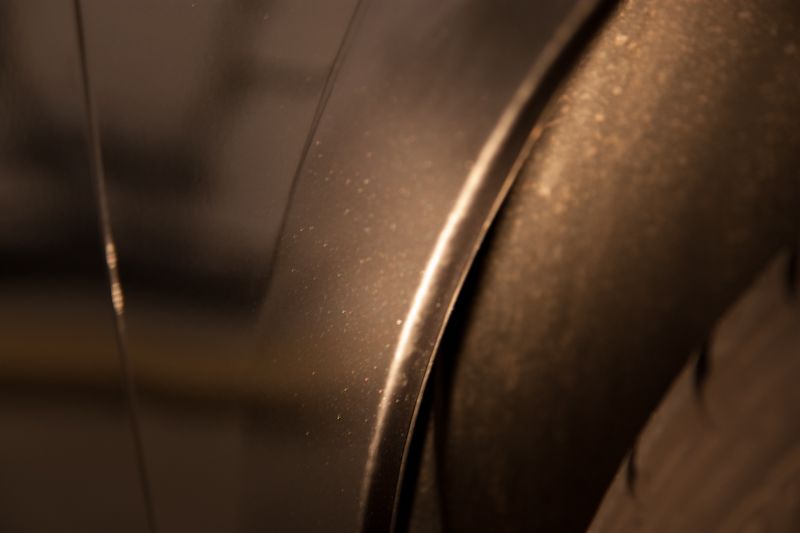
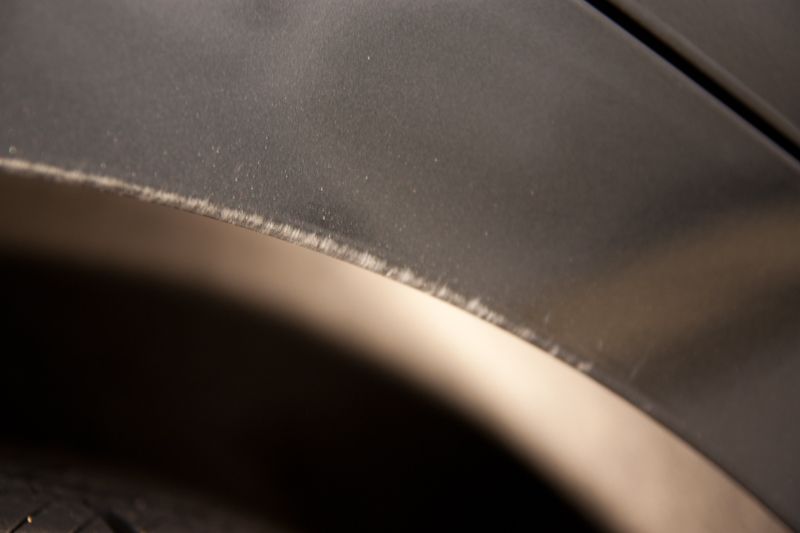
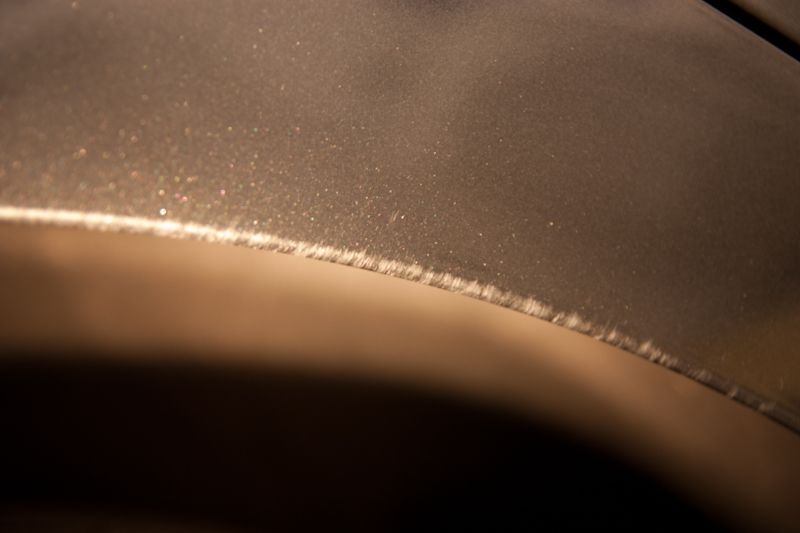
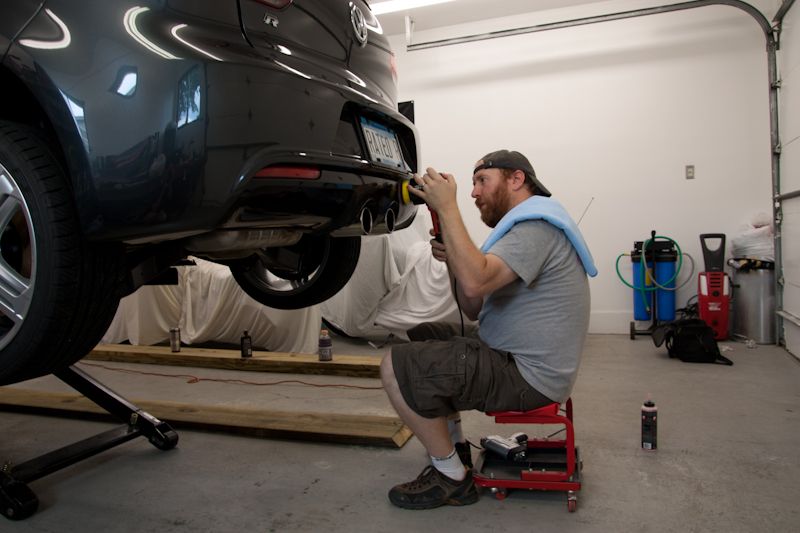
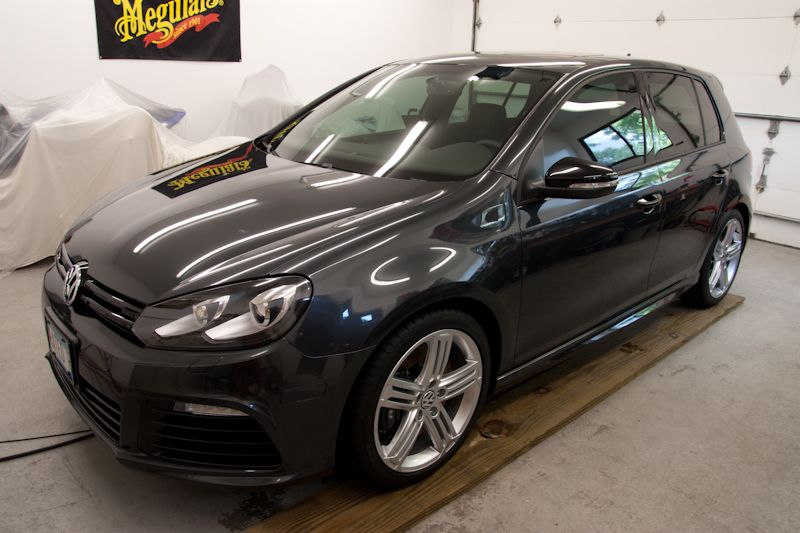
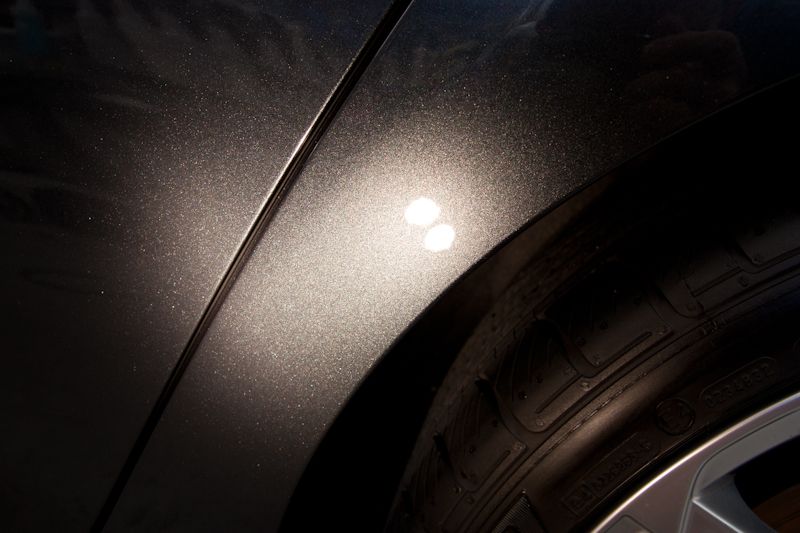
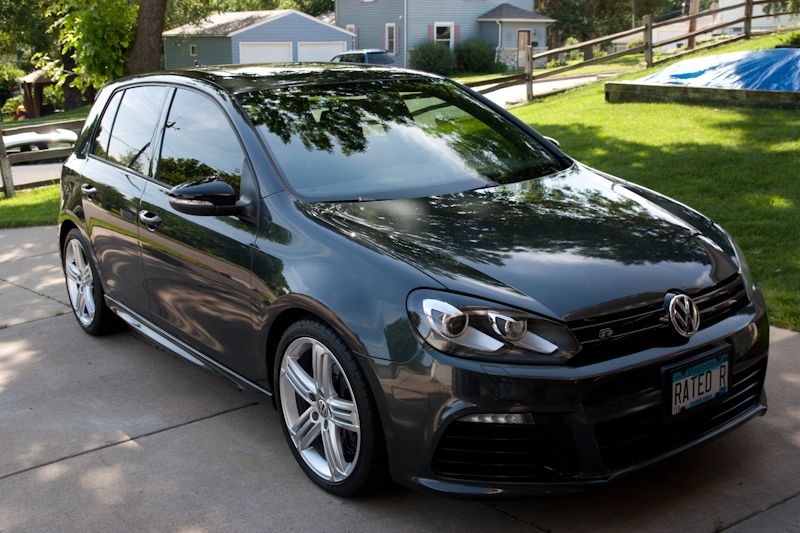
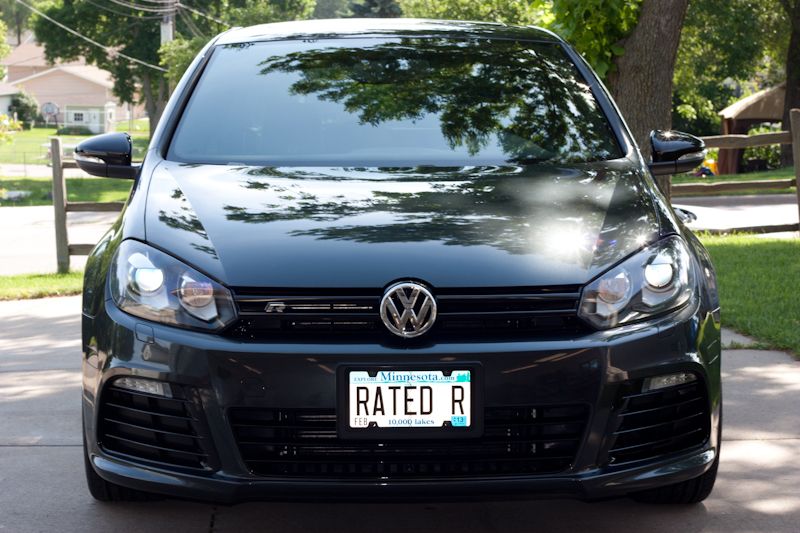
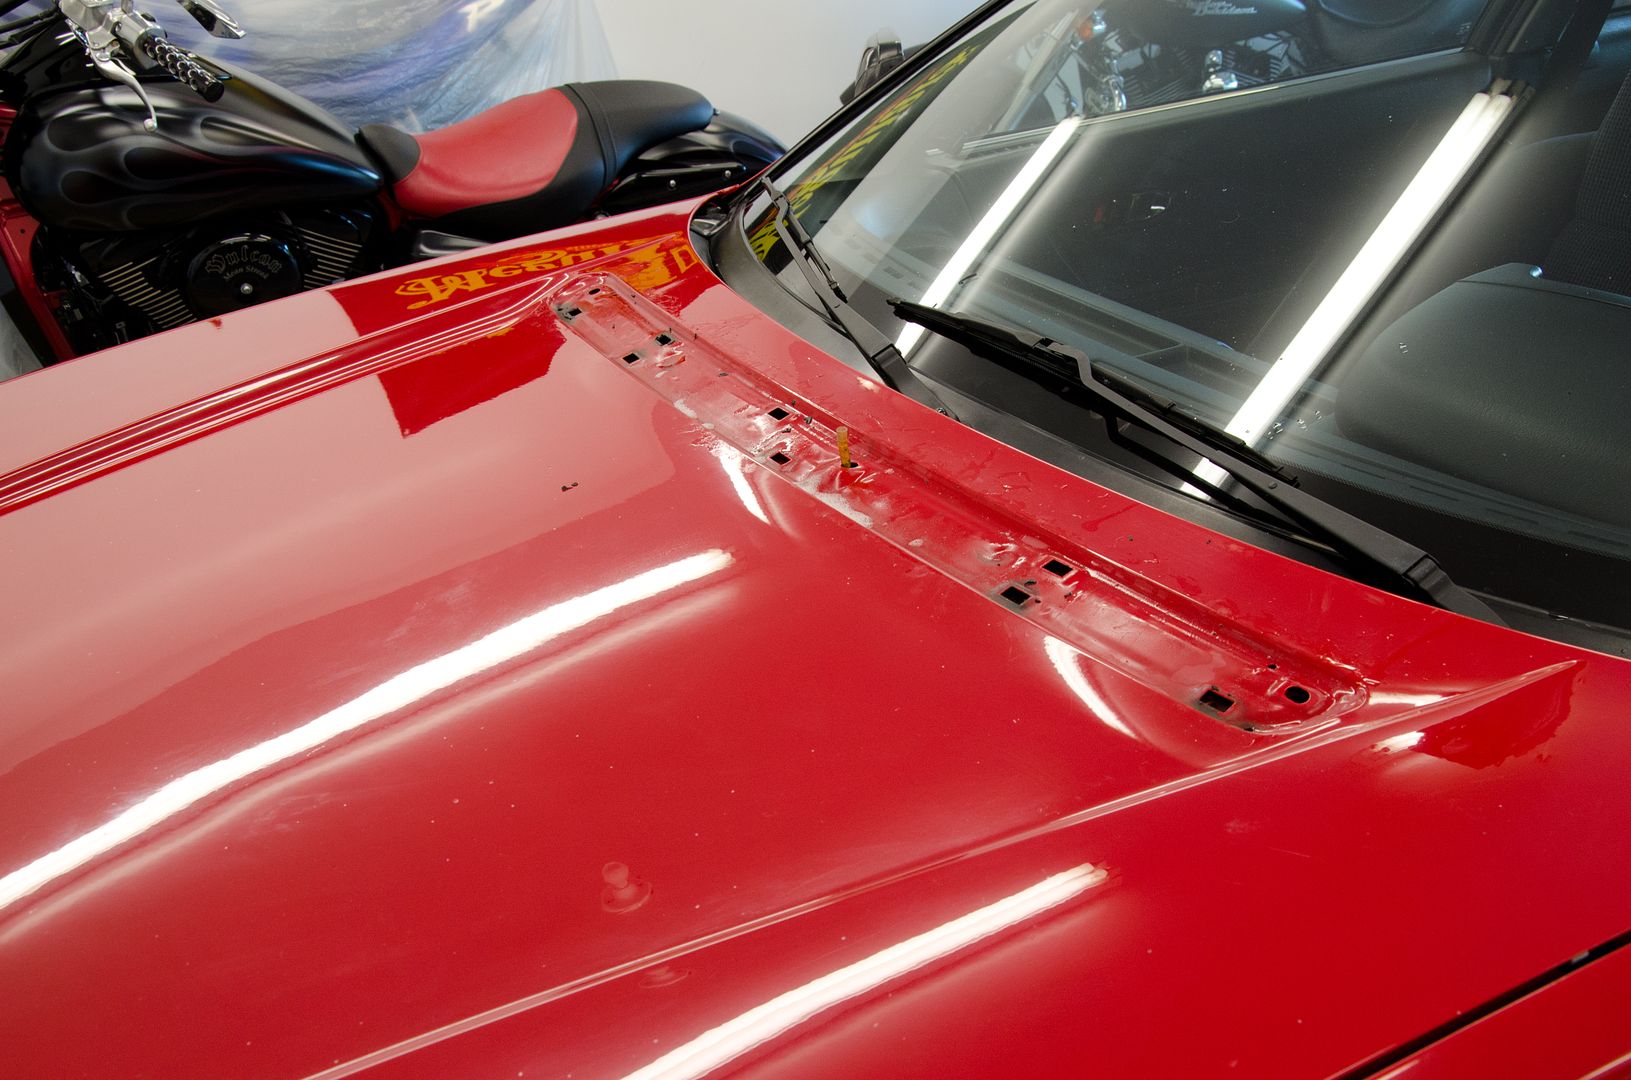
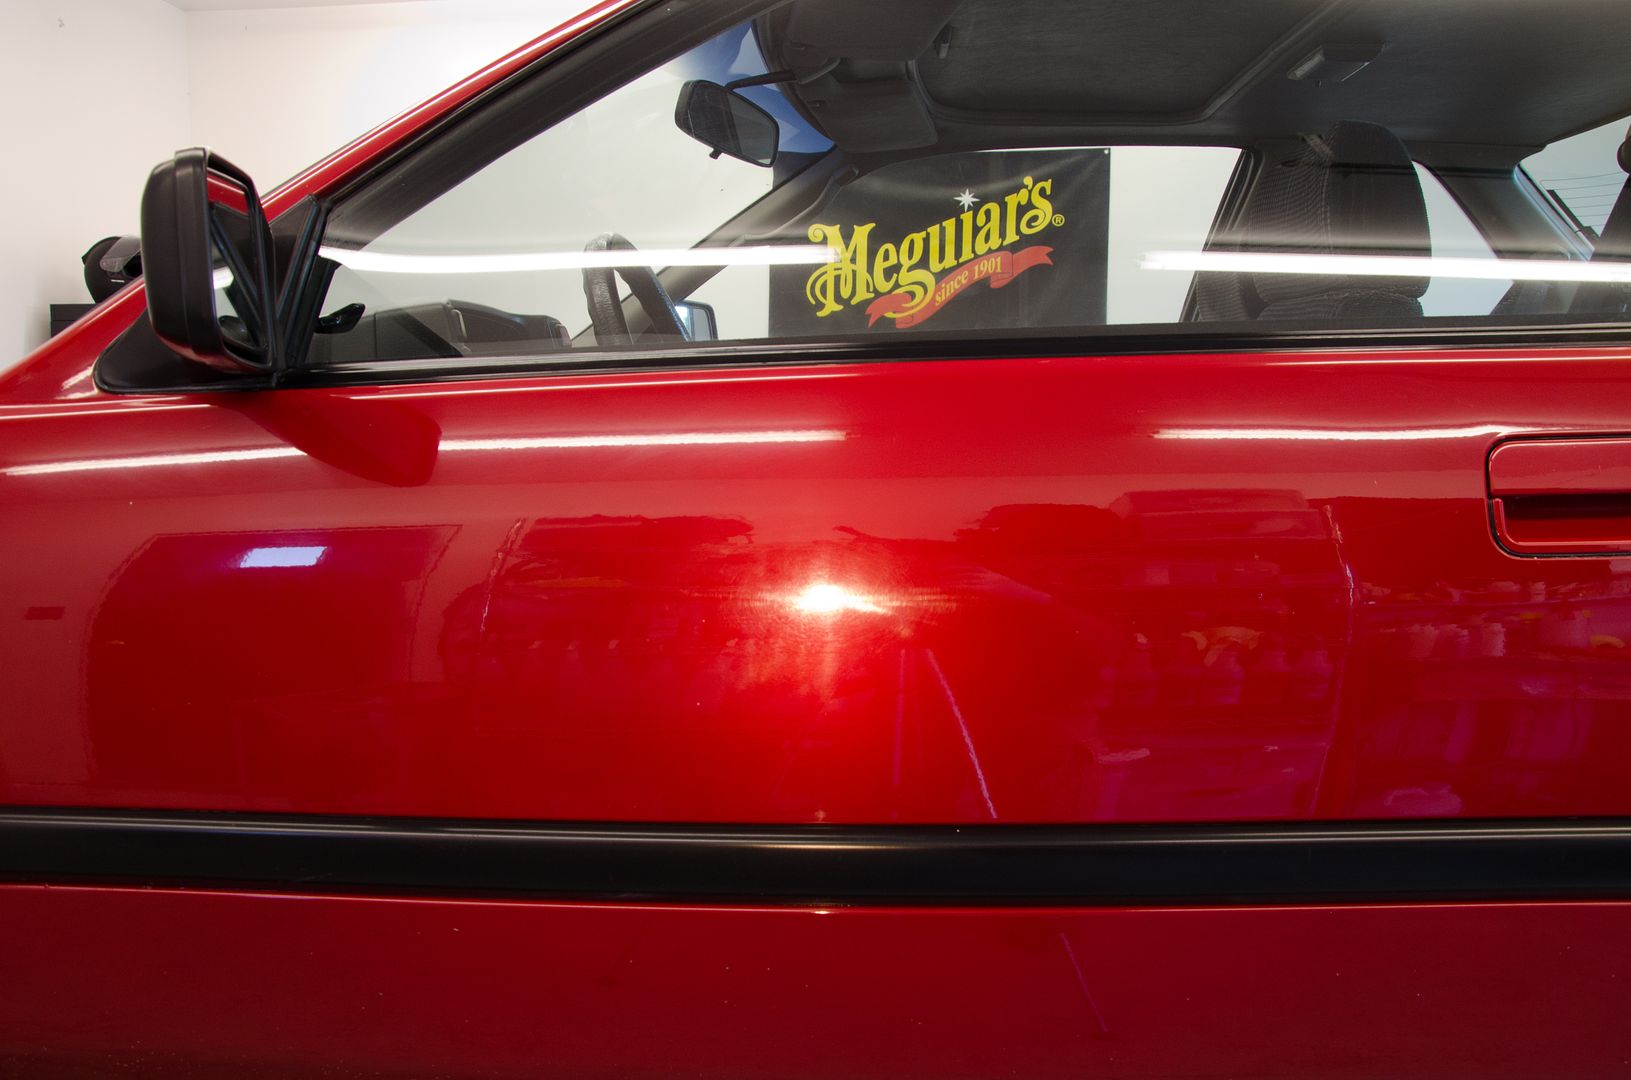
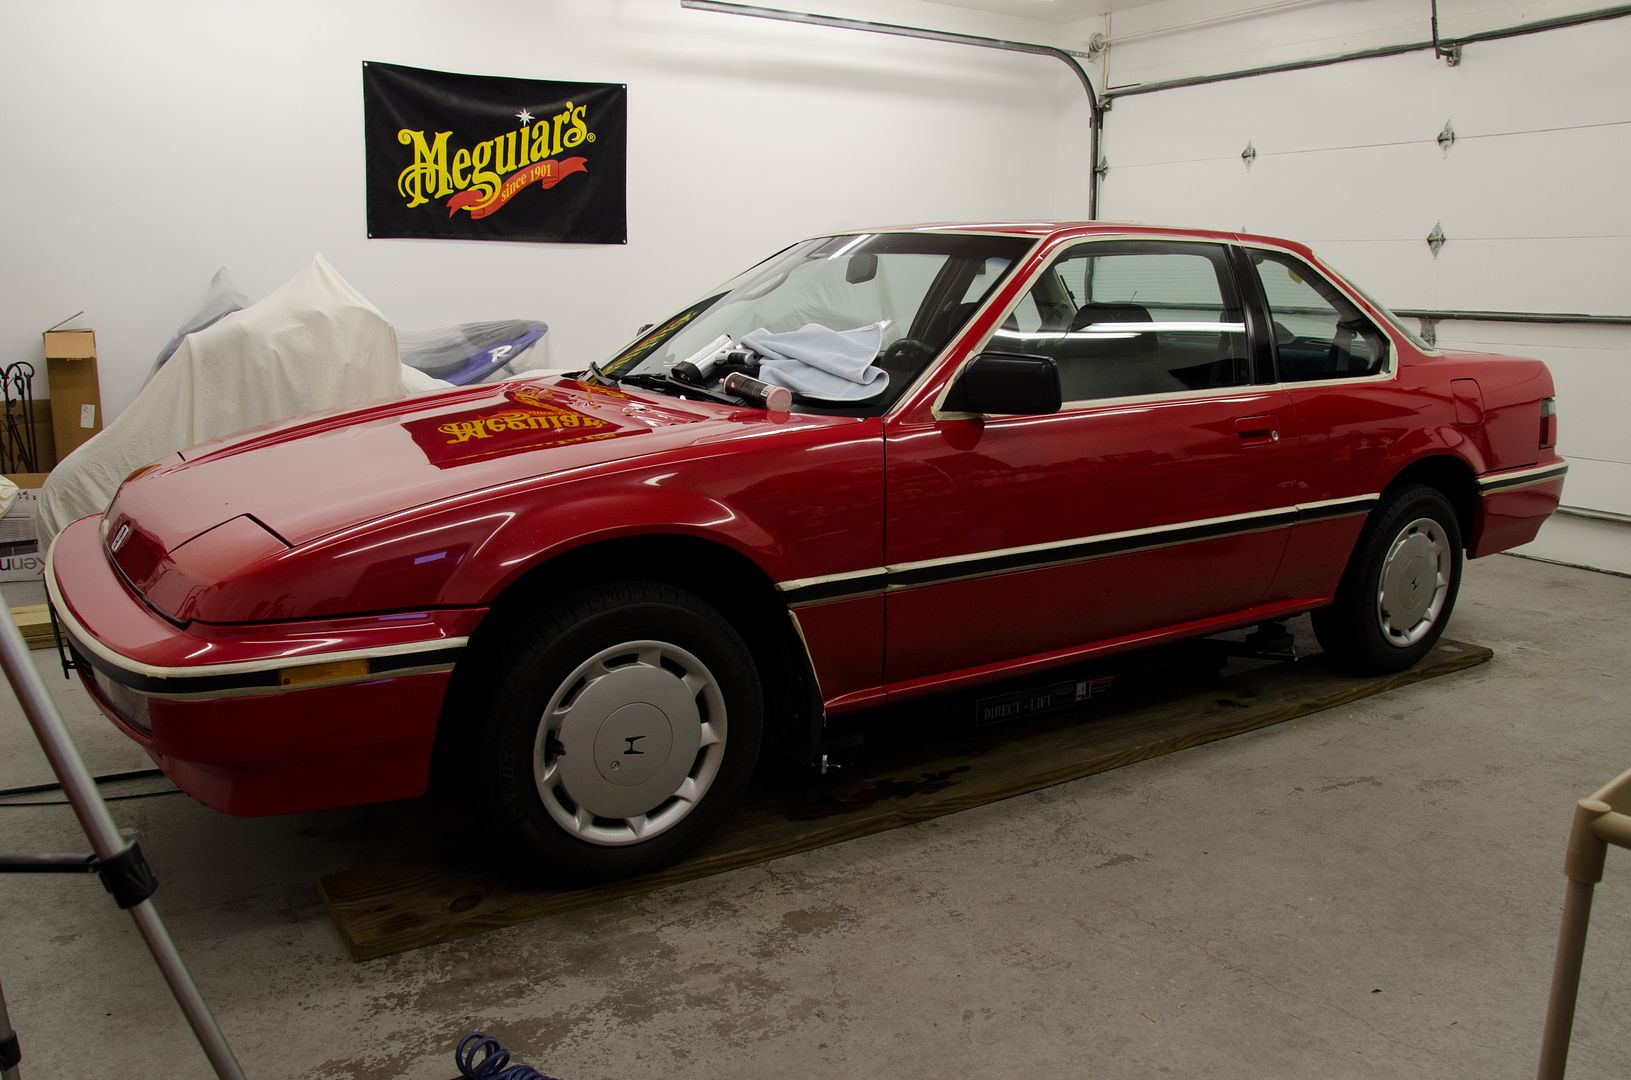
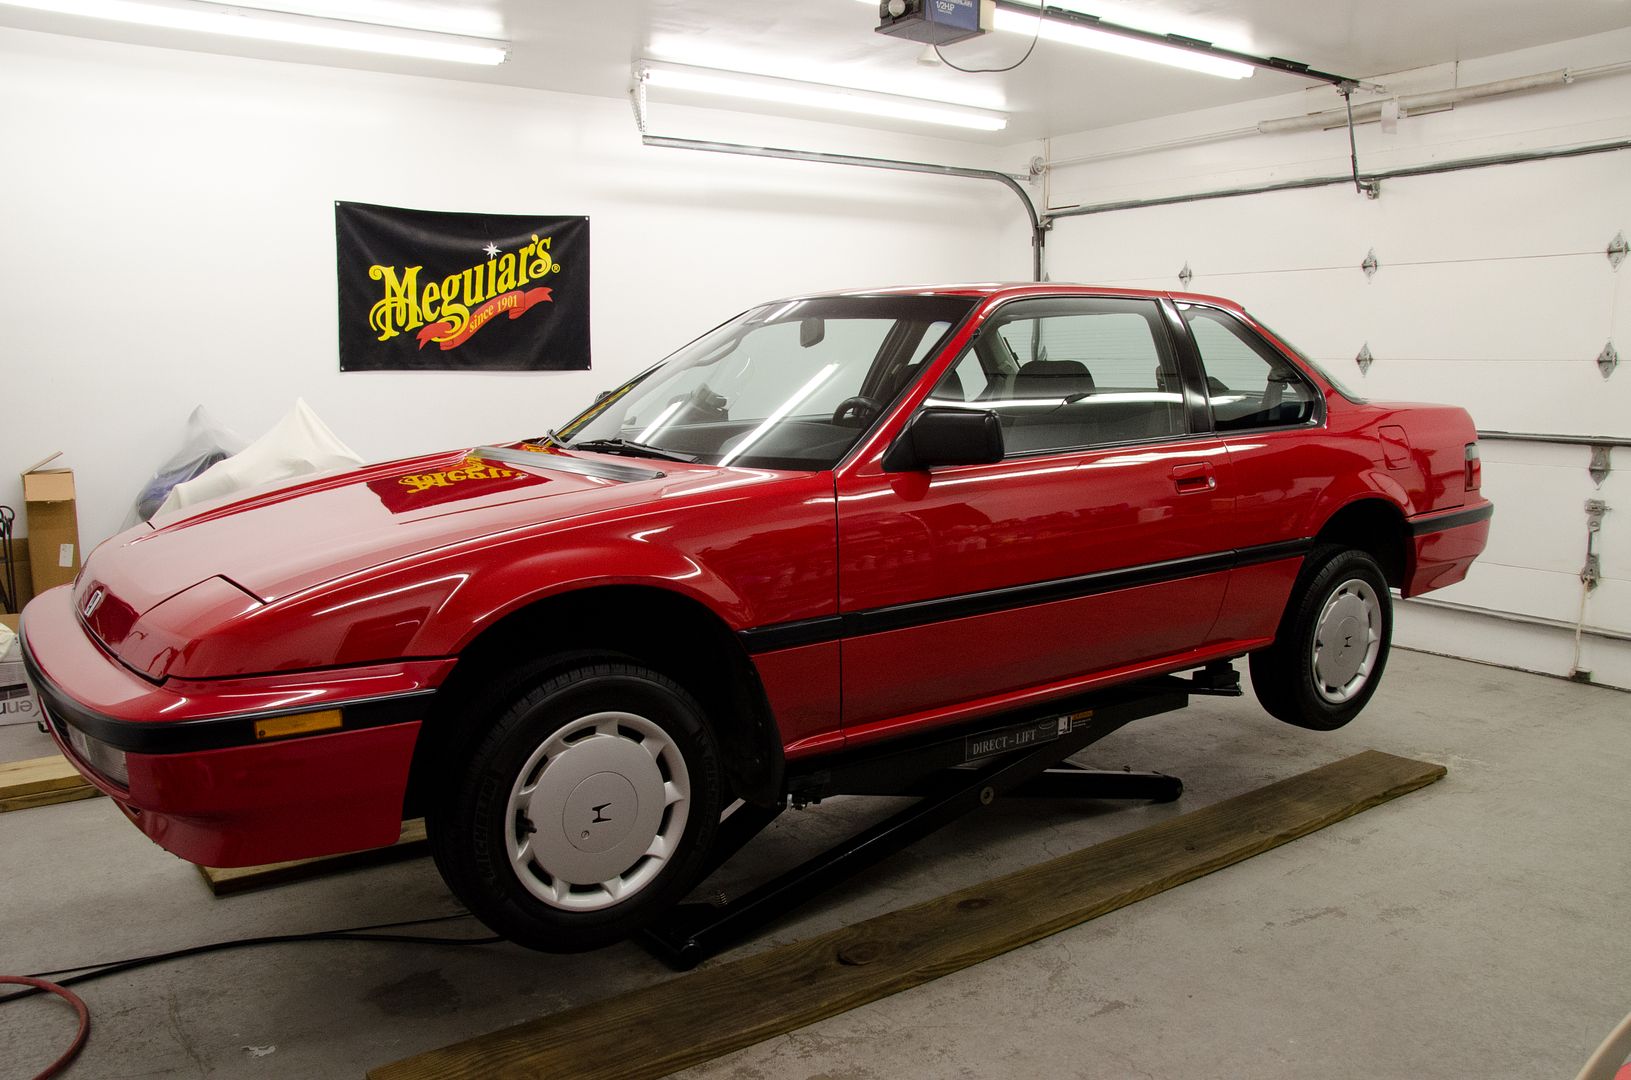
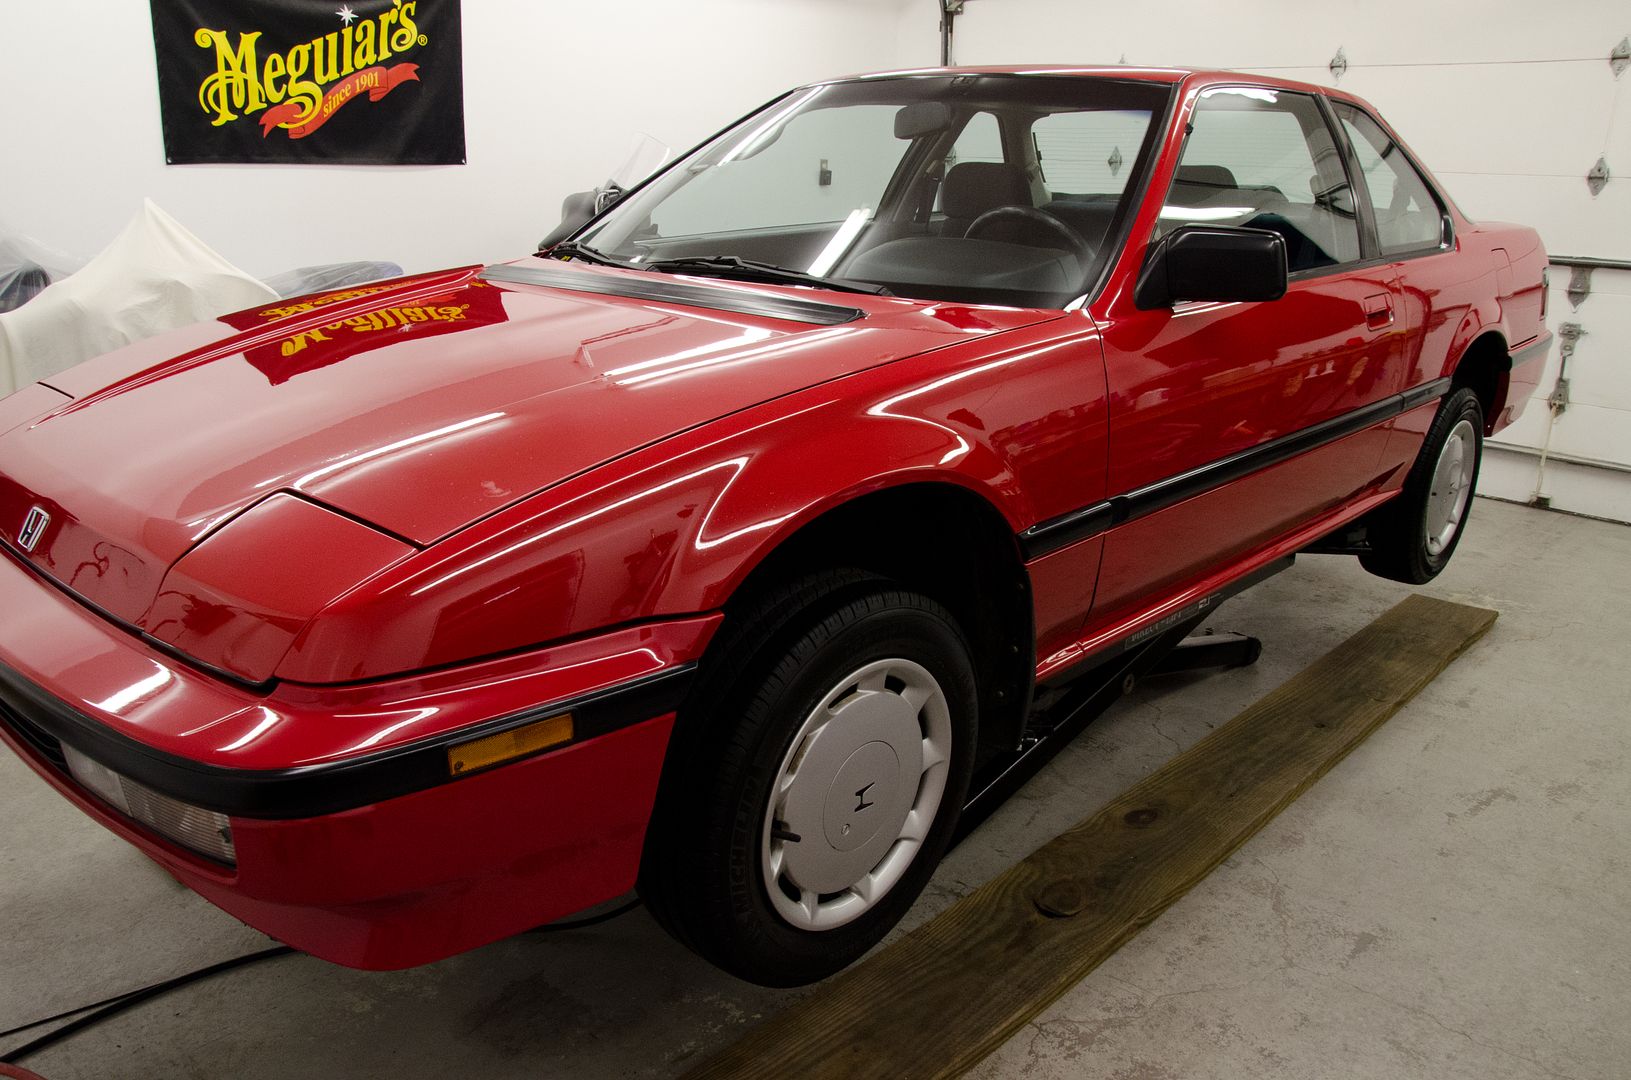
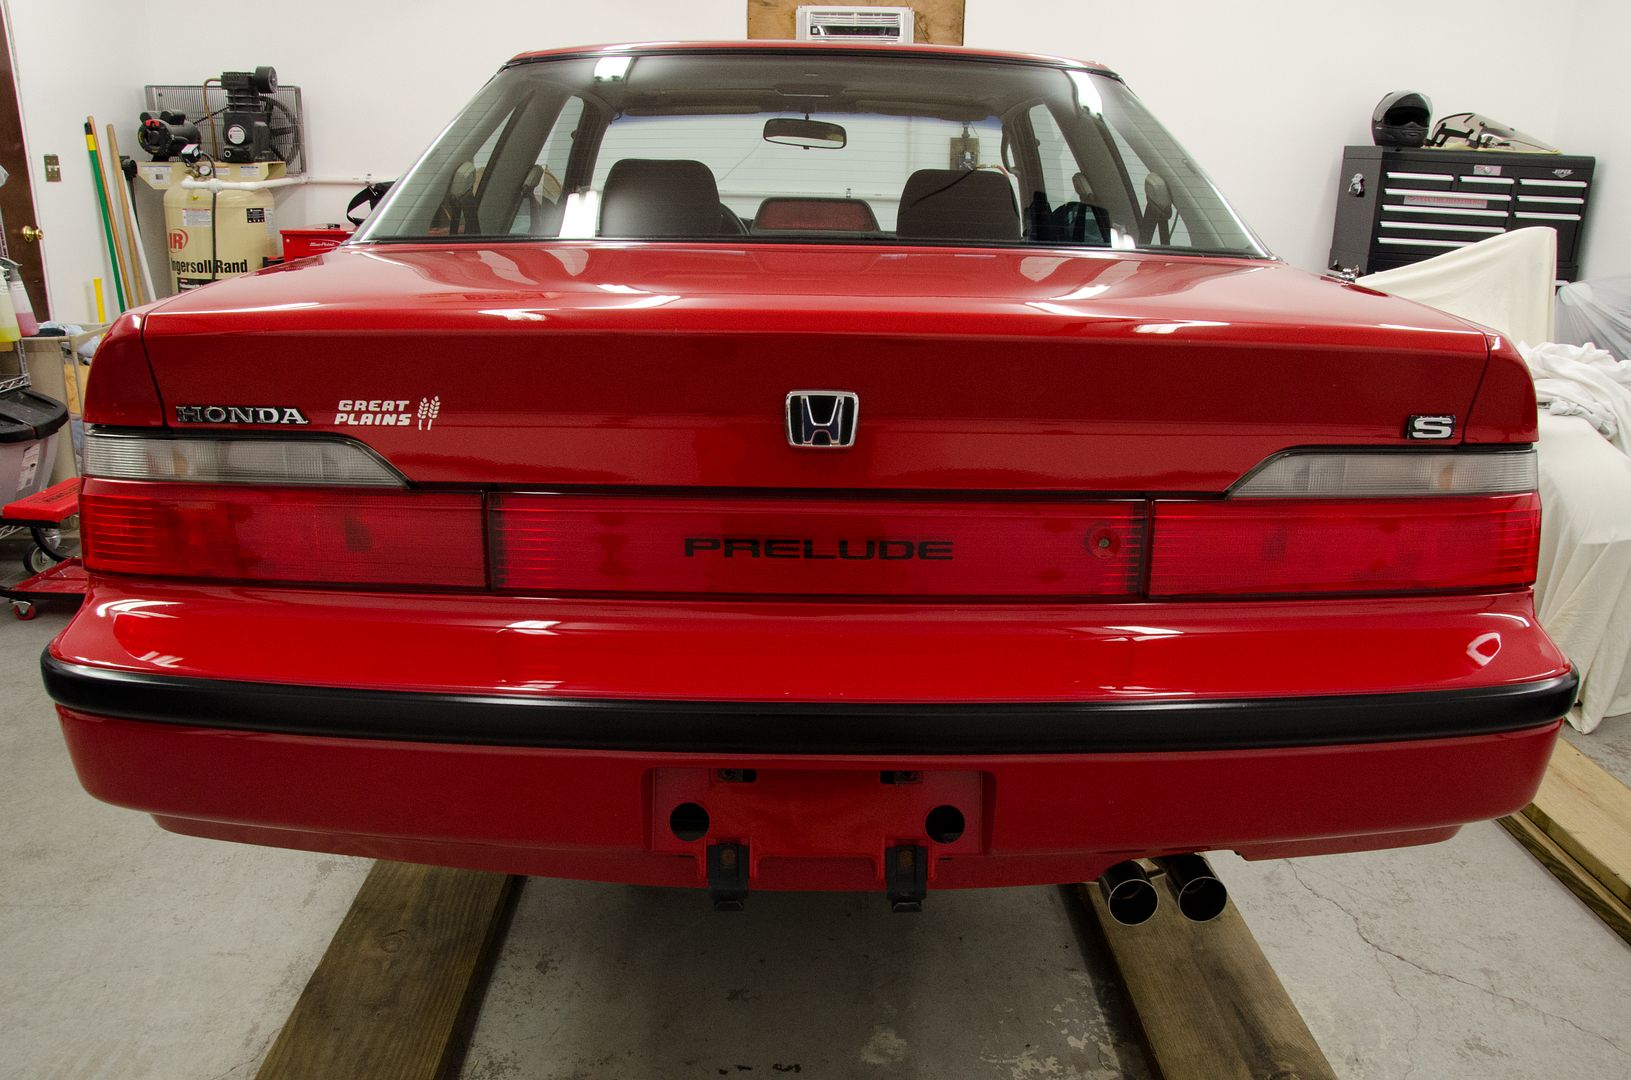
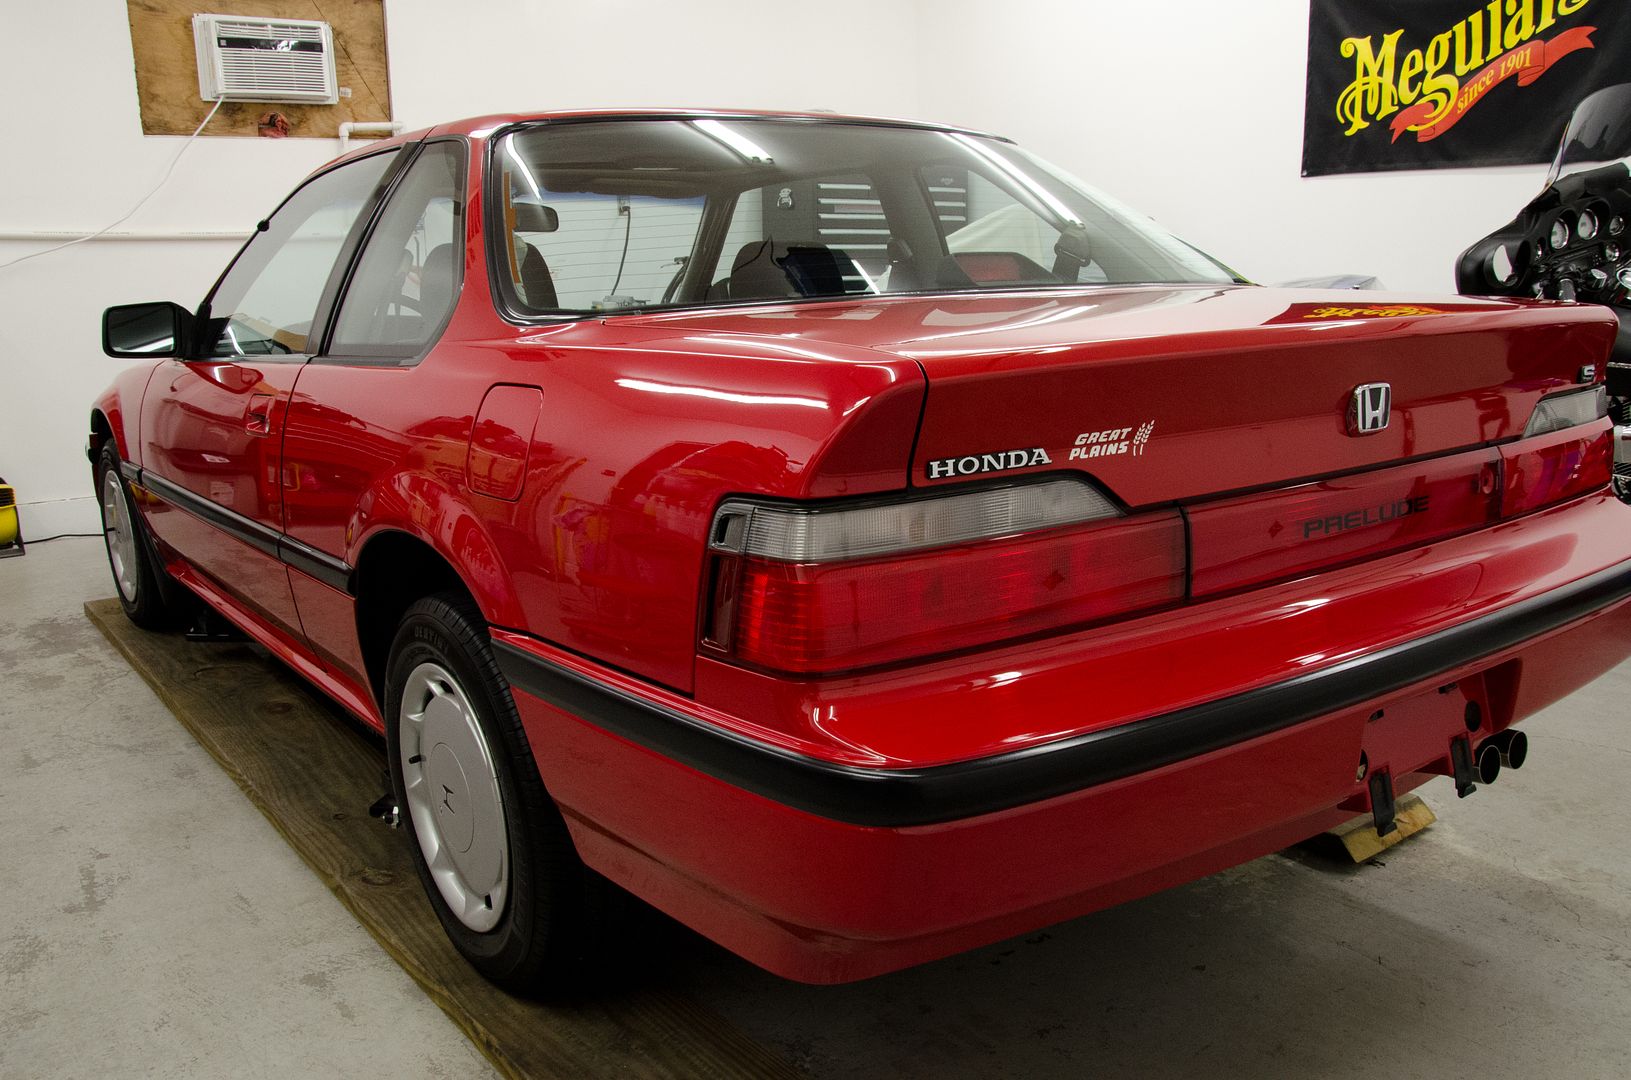
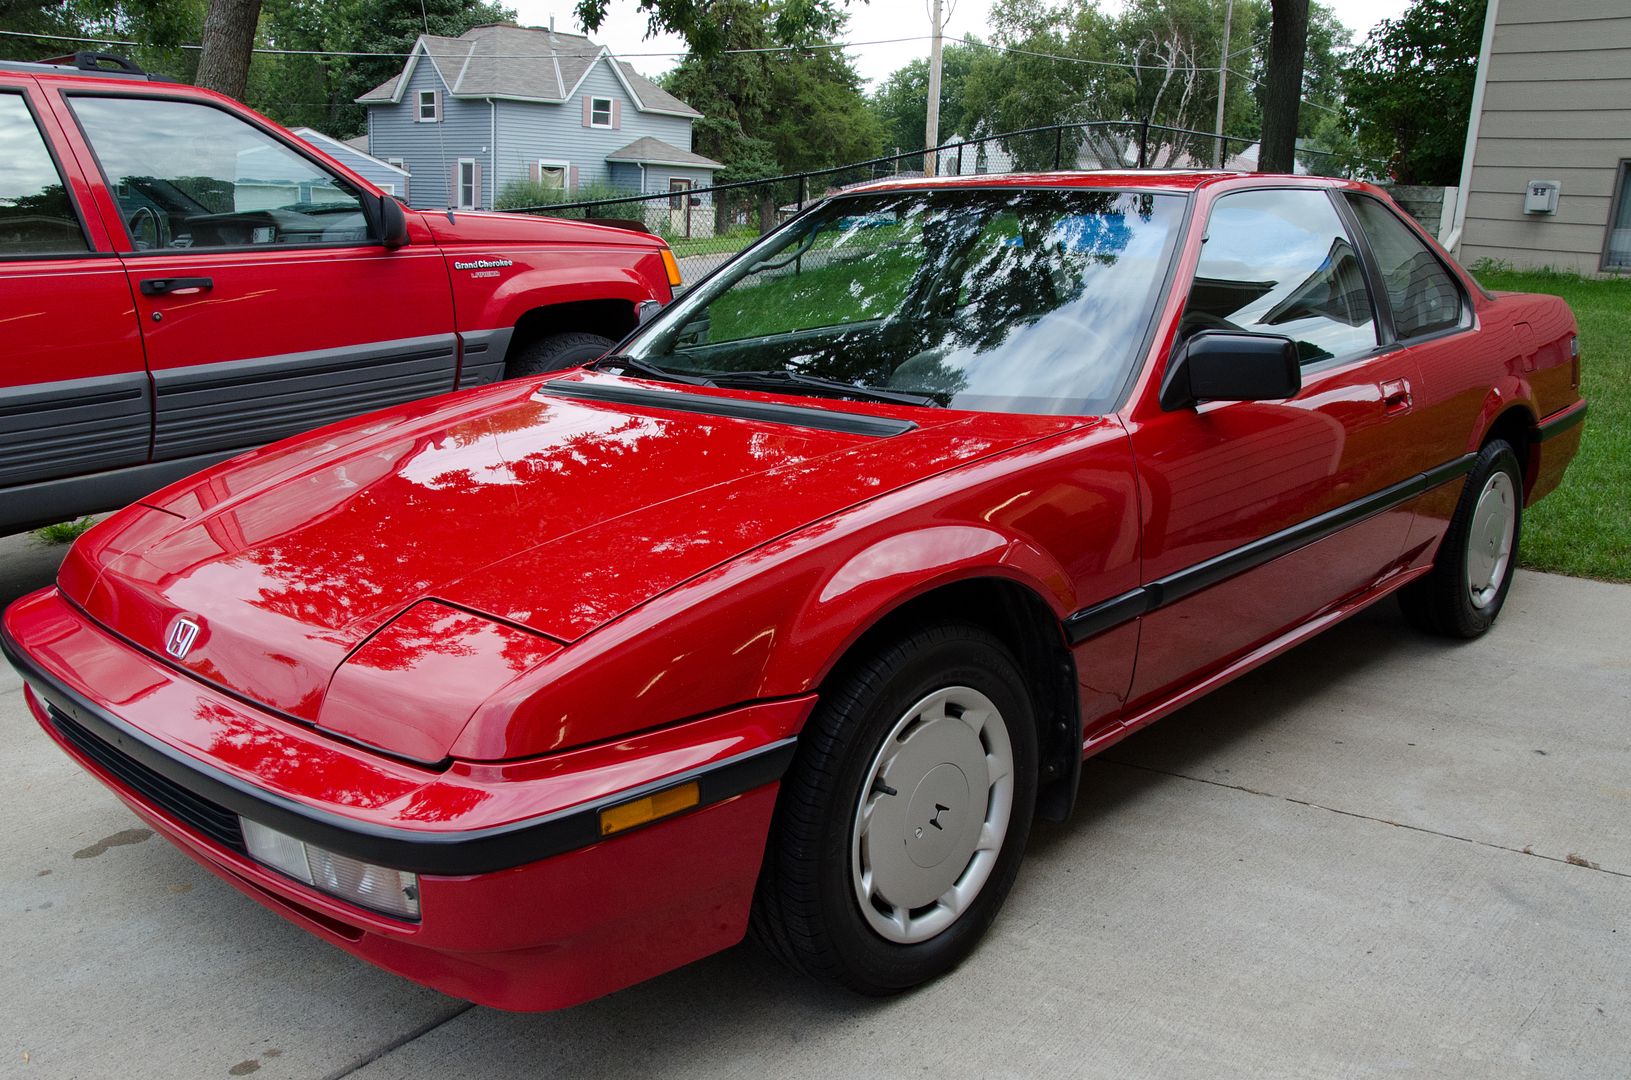
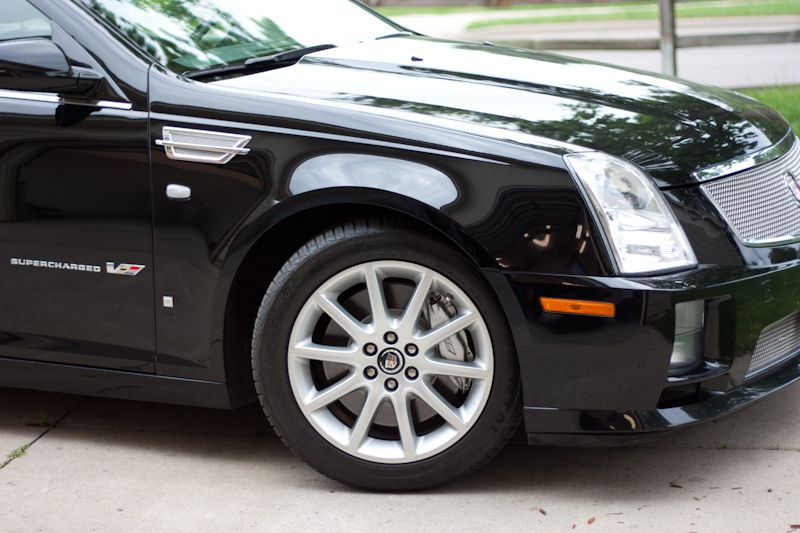
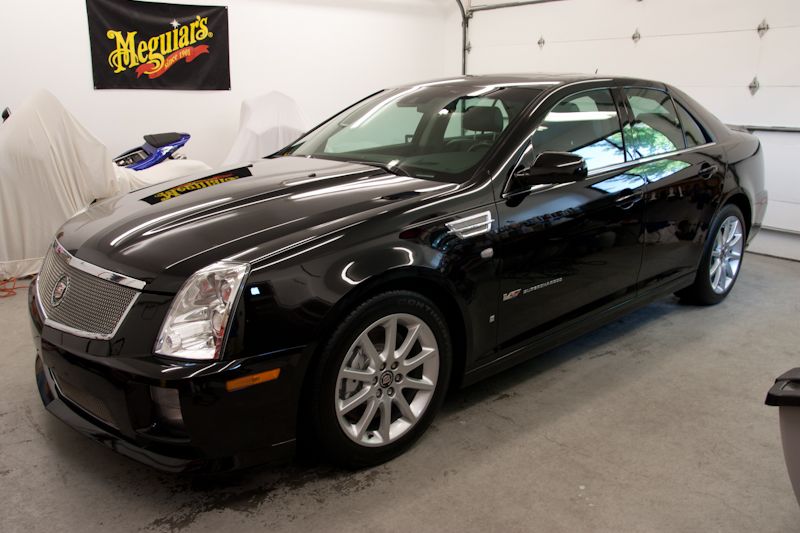
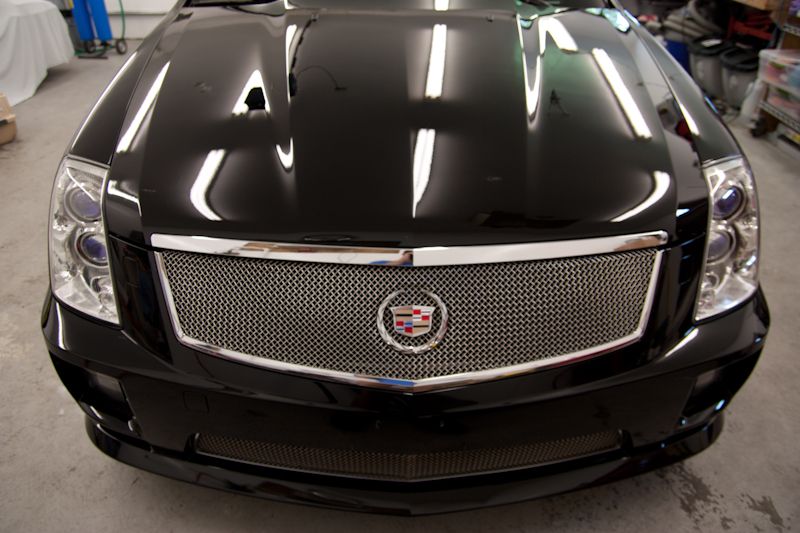
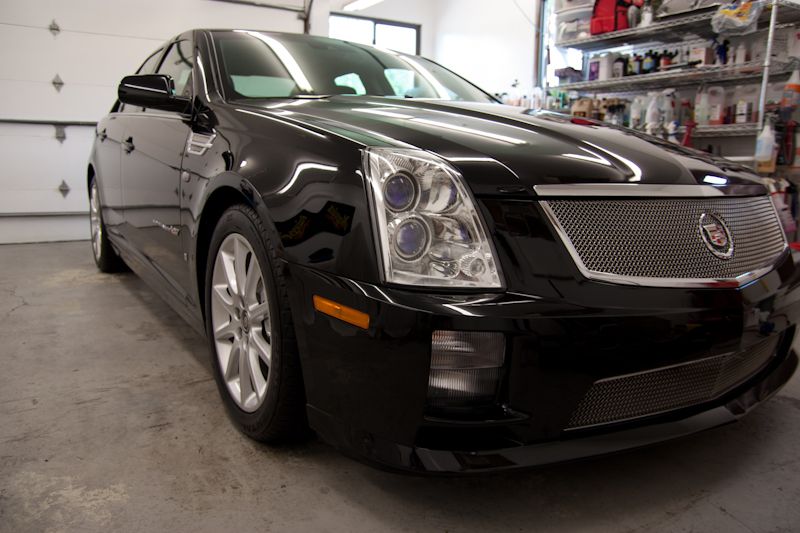
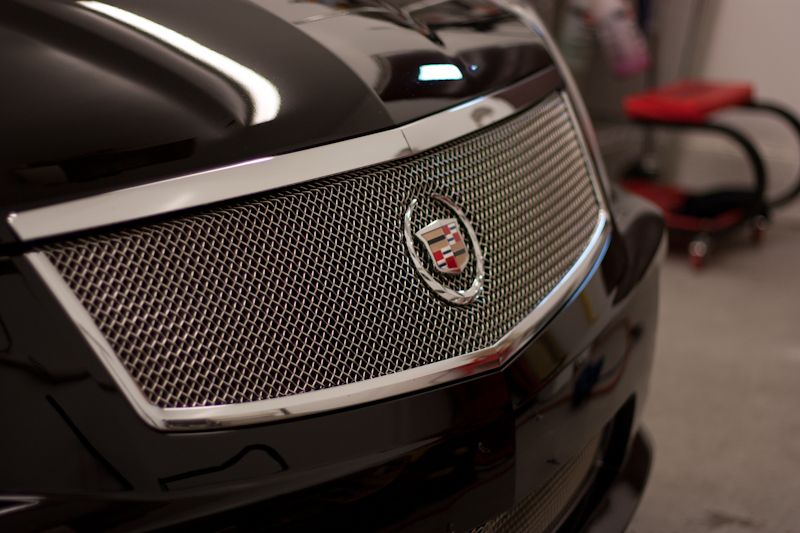
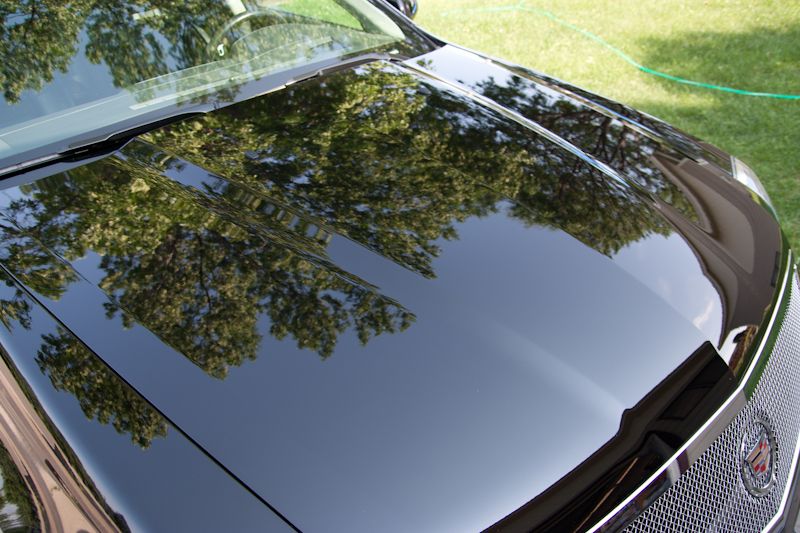
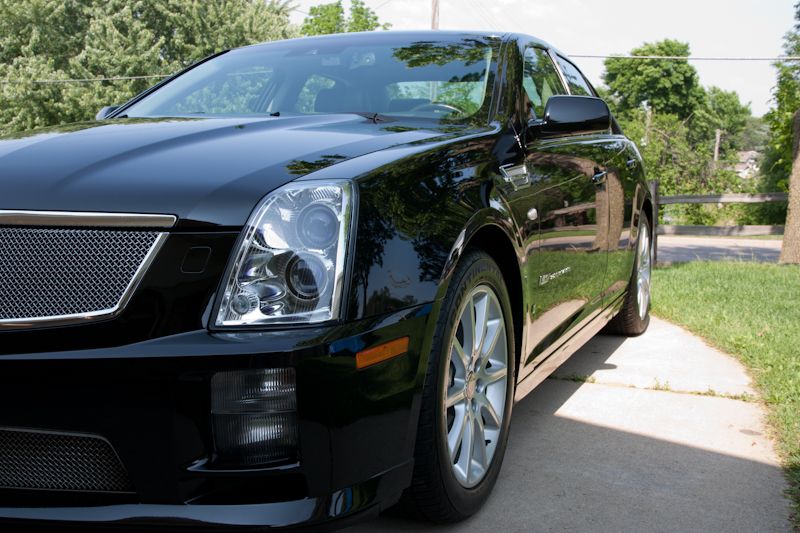
This is a return client of mine who wanted to get the car touched up again. It's been a little over two years since I last detailed it and he had been taking great care of the car during that time. Unfortunately when it was in for service the dealer decide to wash and swirl it up pretty good for him....
Process:
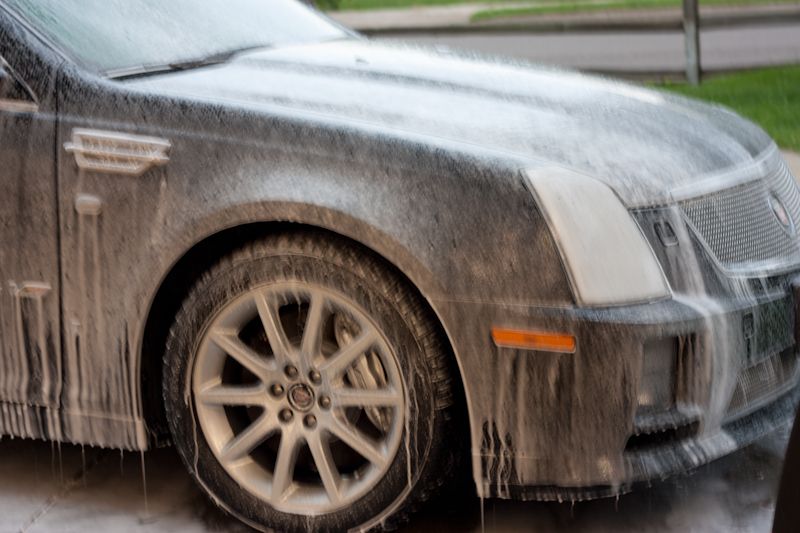
Wash - Foamed with OPC/CGCW followed by 2BM wash and CGCW
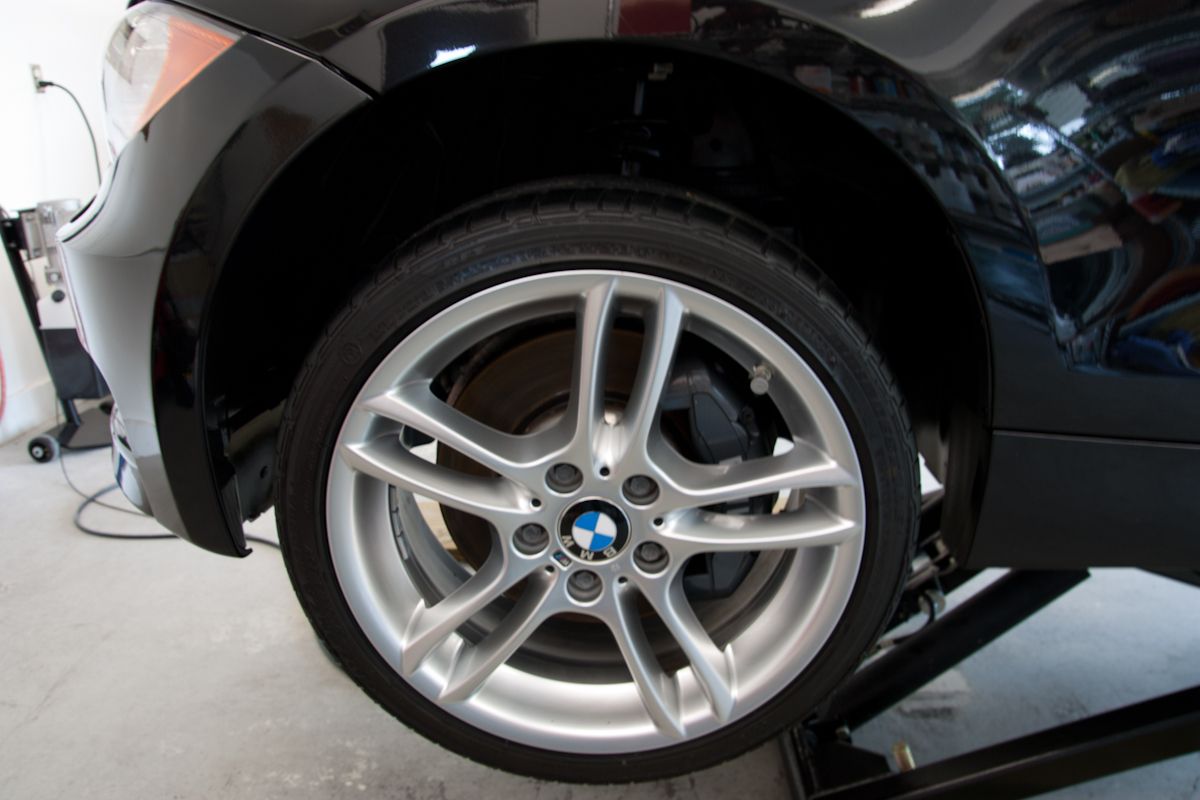
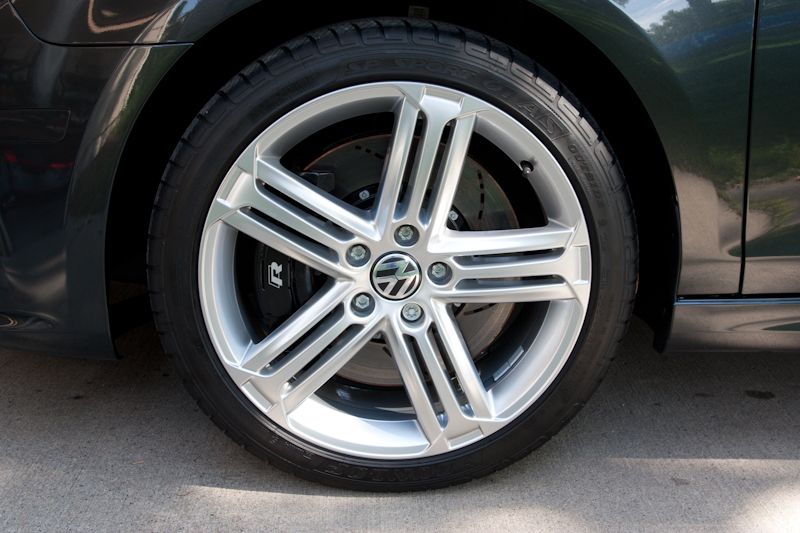
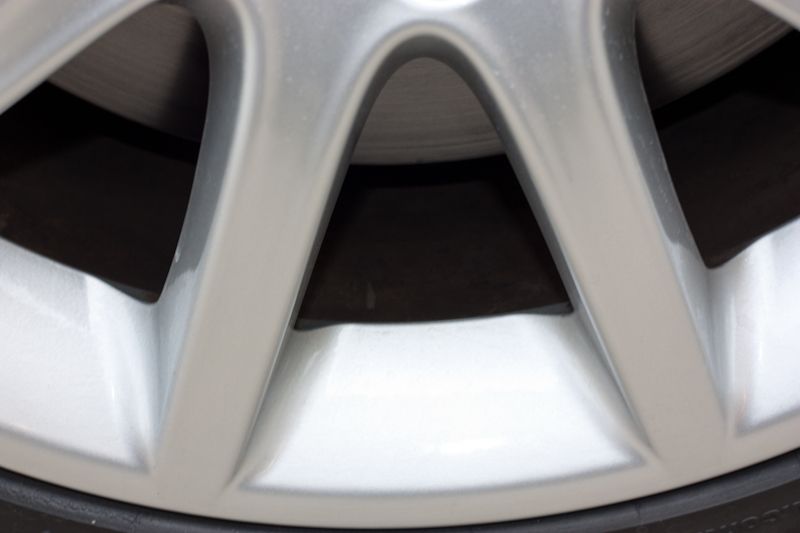
Wheels - P21S Gel and various brushes
Tires - OPC, dressed with Hyper Dressing 3:1
Clay - Blackfire Clay and M34 as lube
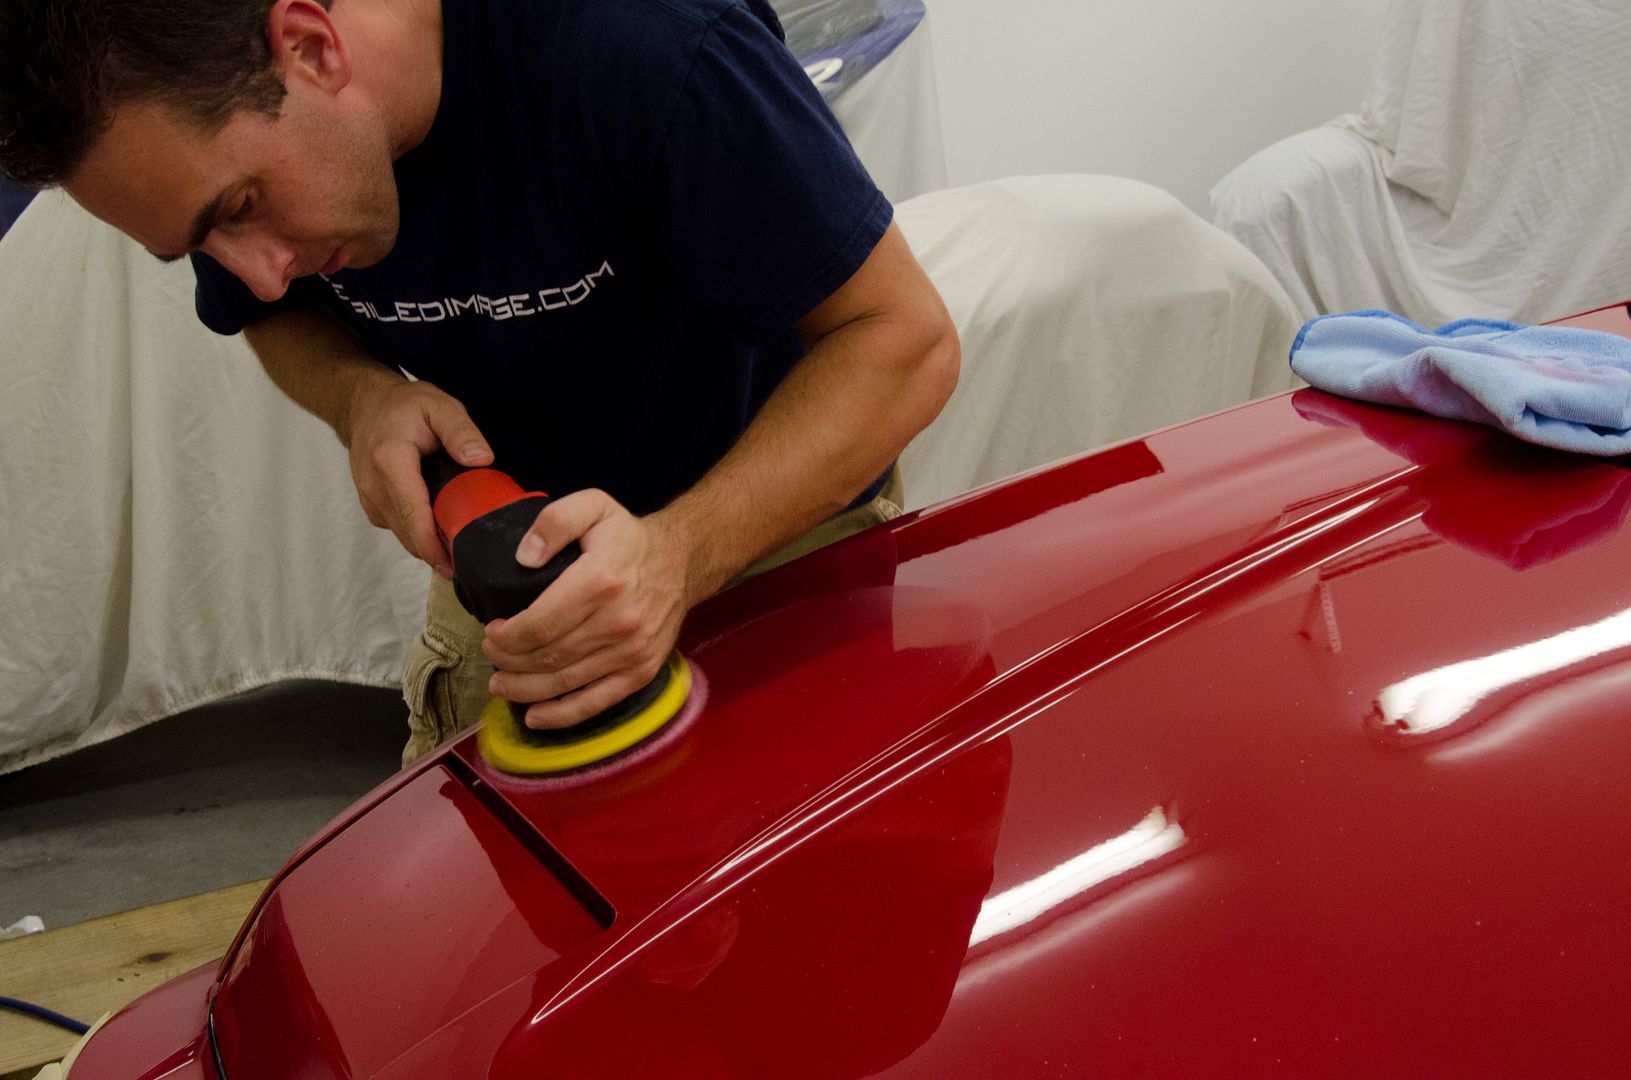
Initial correction step - D300 on the GG6 with Megs MF cutting pads
Finishing Step - 106fa via GG6 and Crimson LC pads
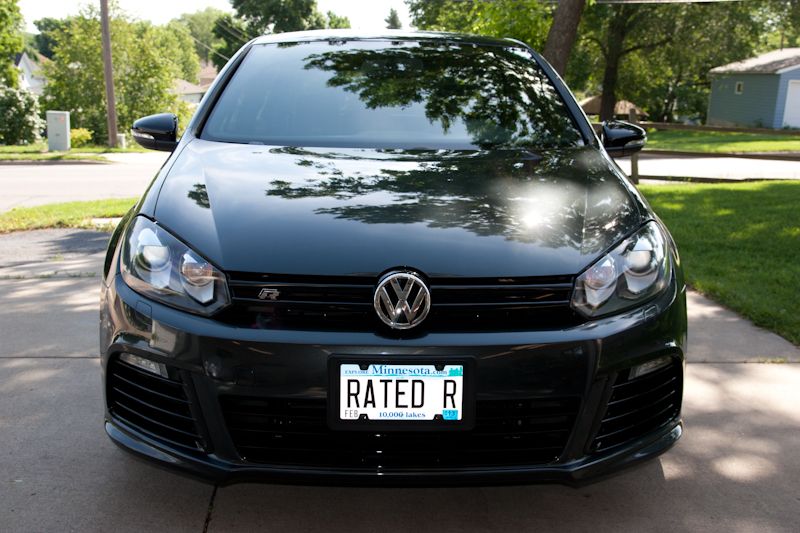
Protection - Blackfire Wet Diamond
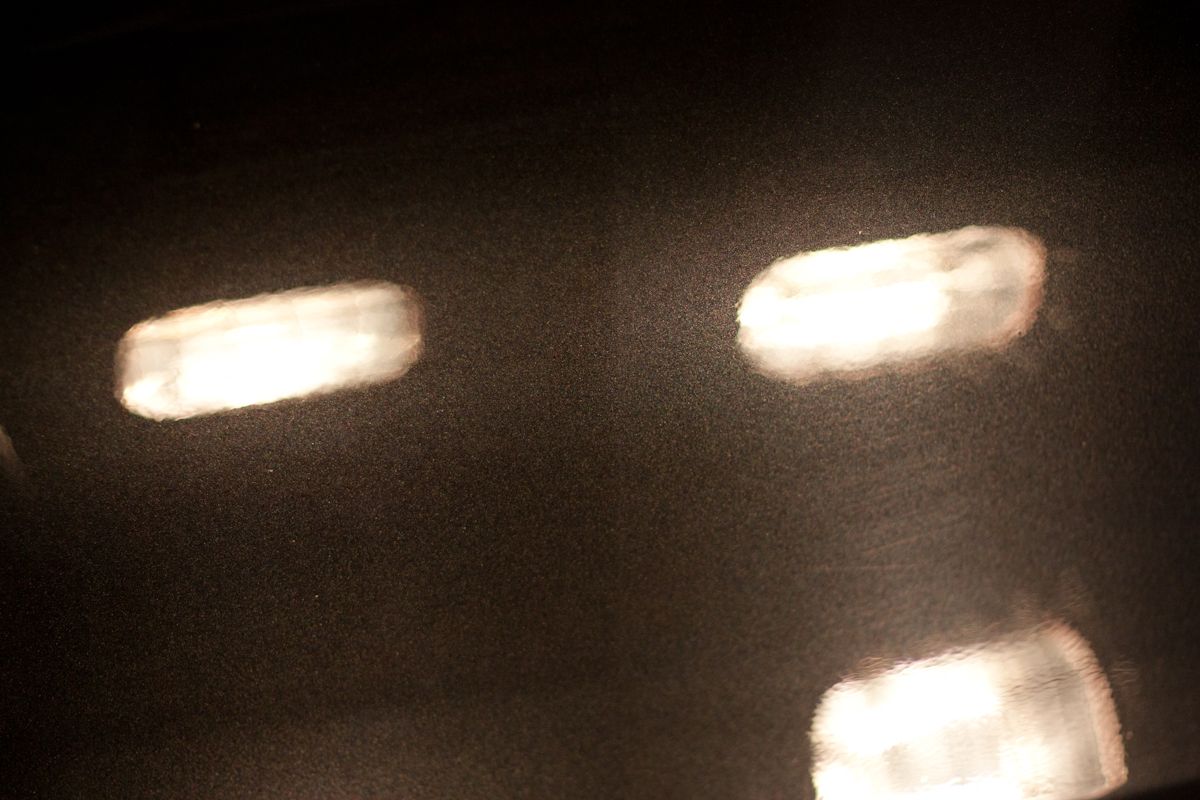
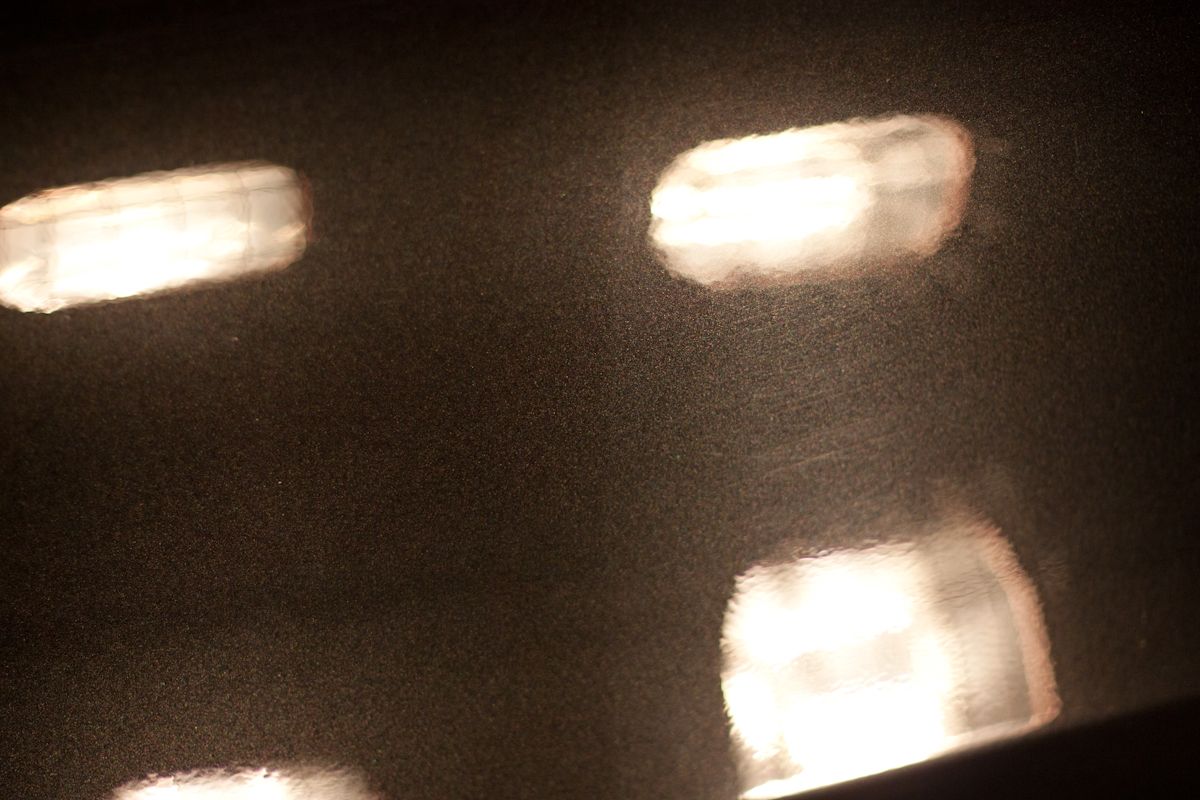
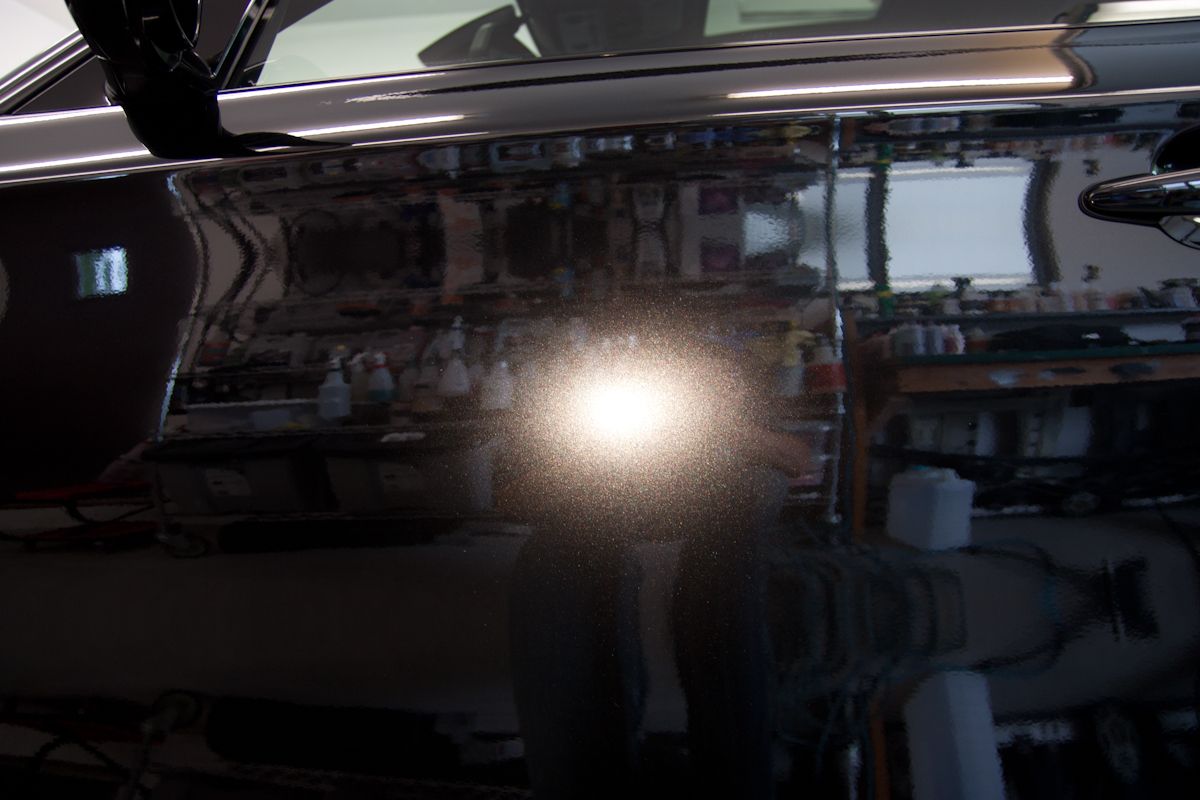
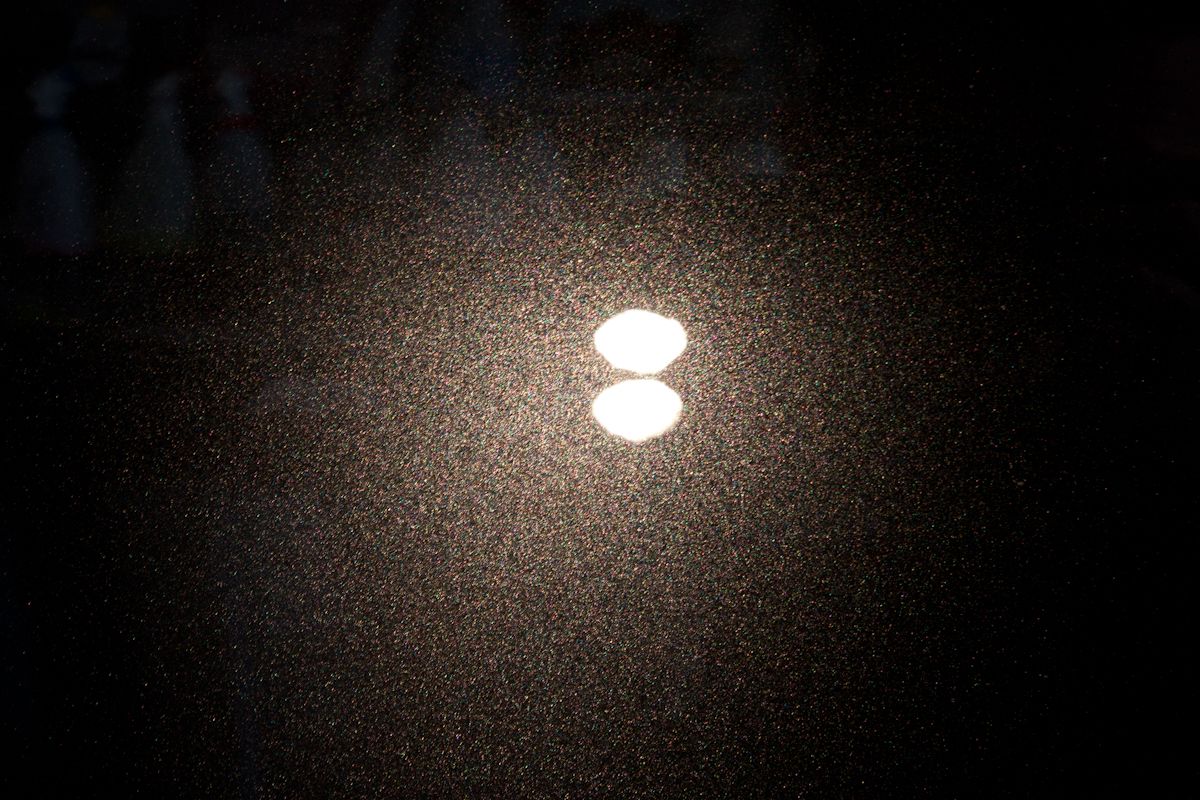
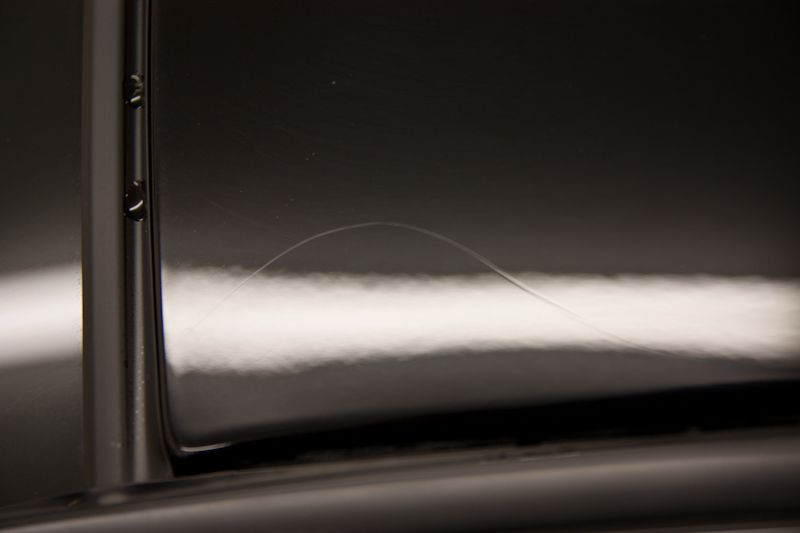
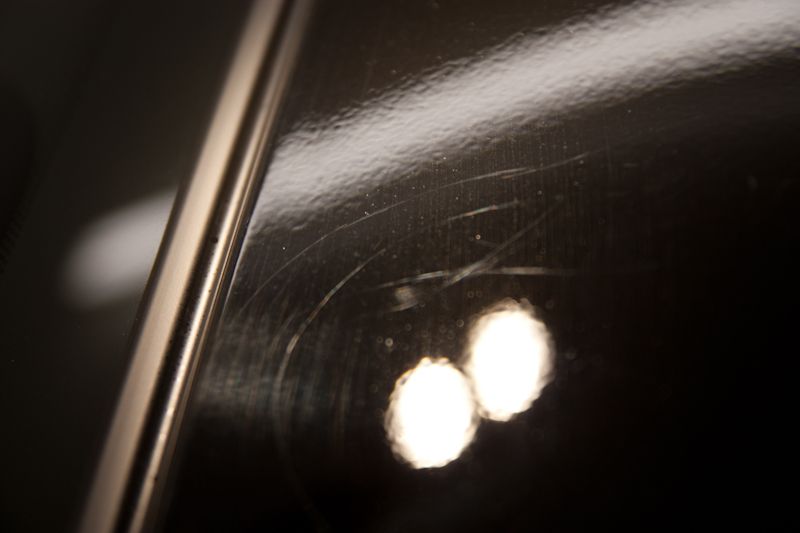
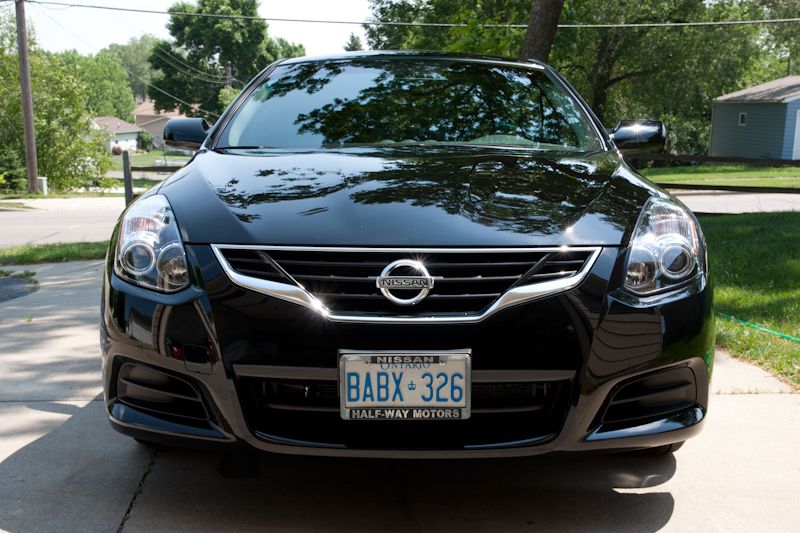
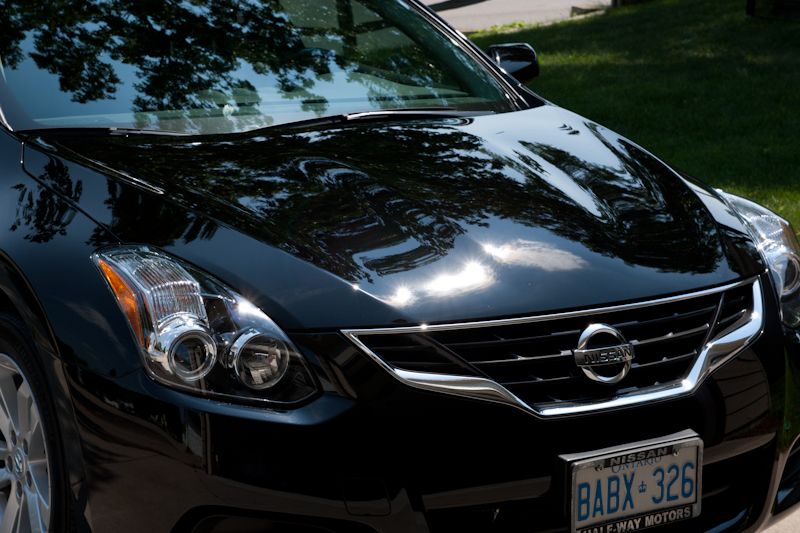
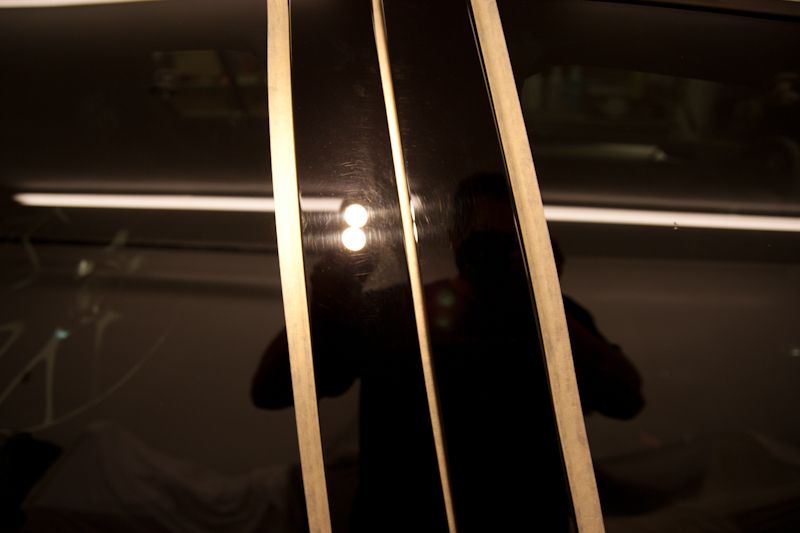
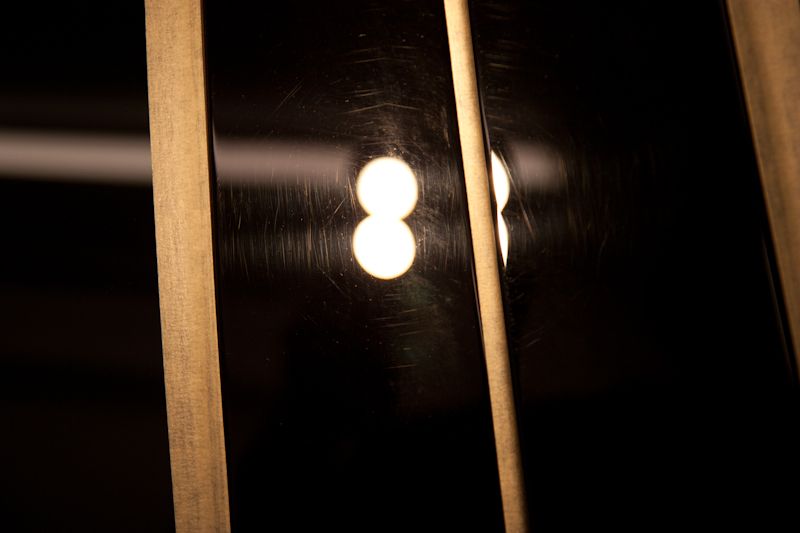
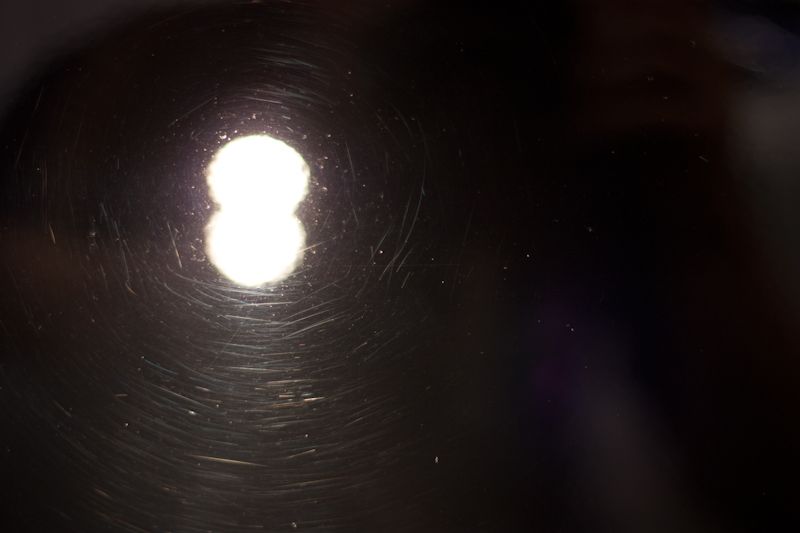
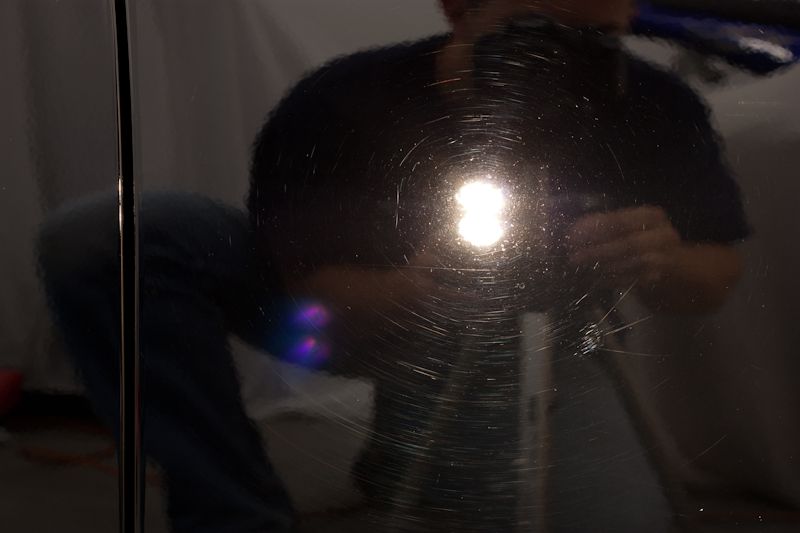
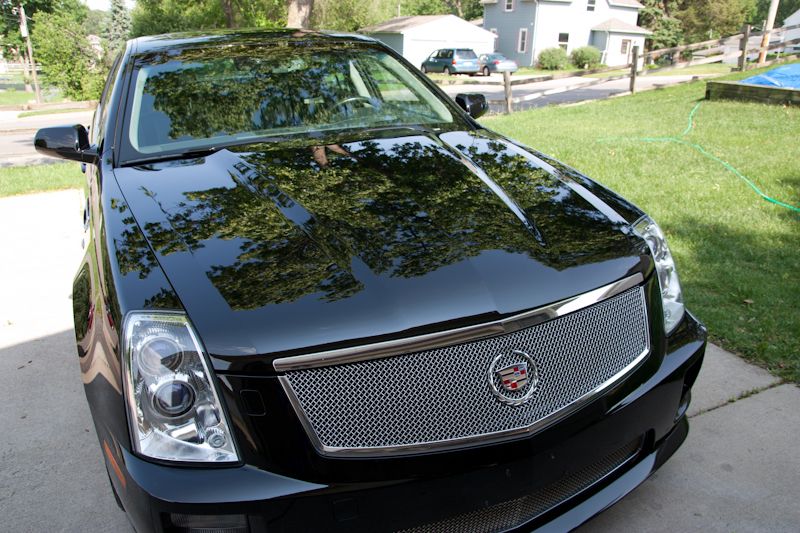
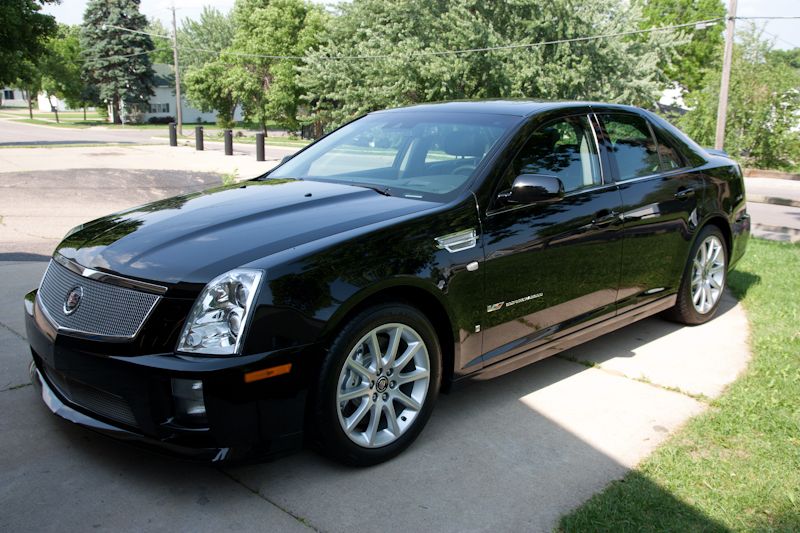
Before pics
Nothing like washing in the rain...sorry for the blurry pic...
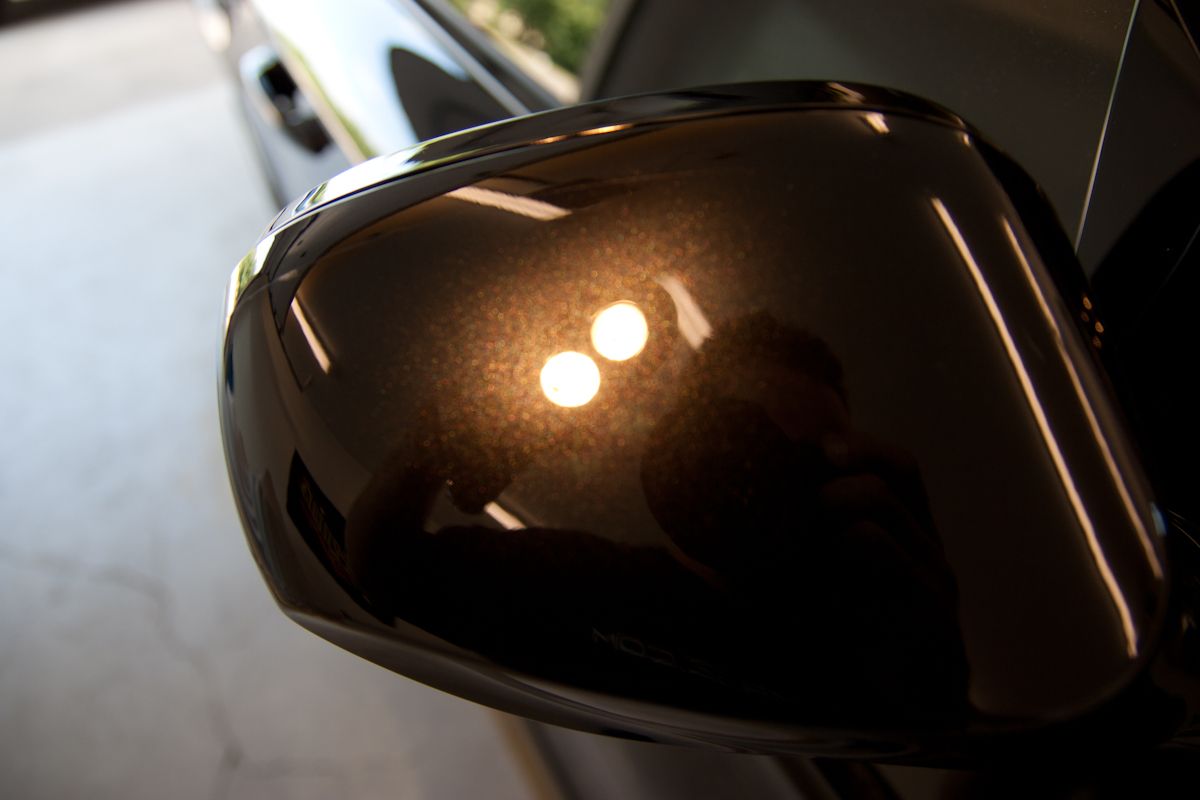
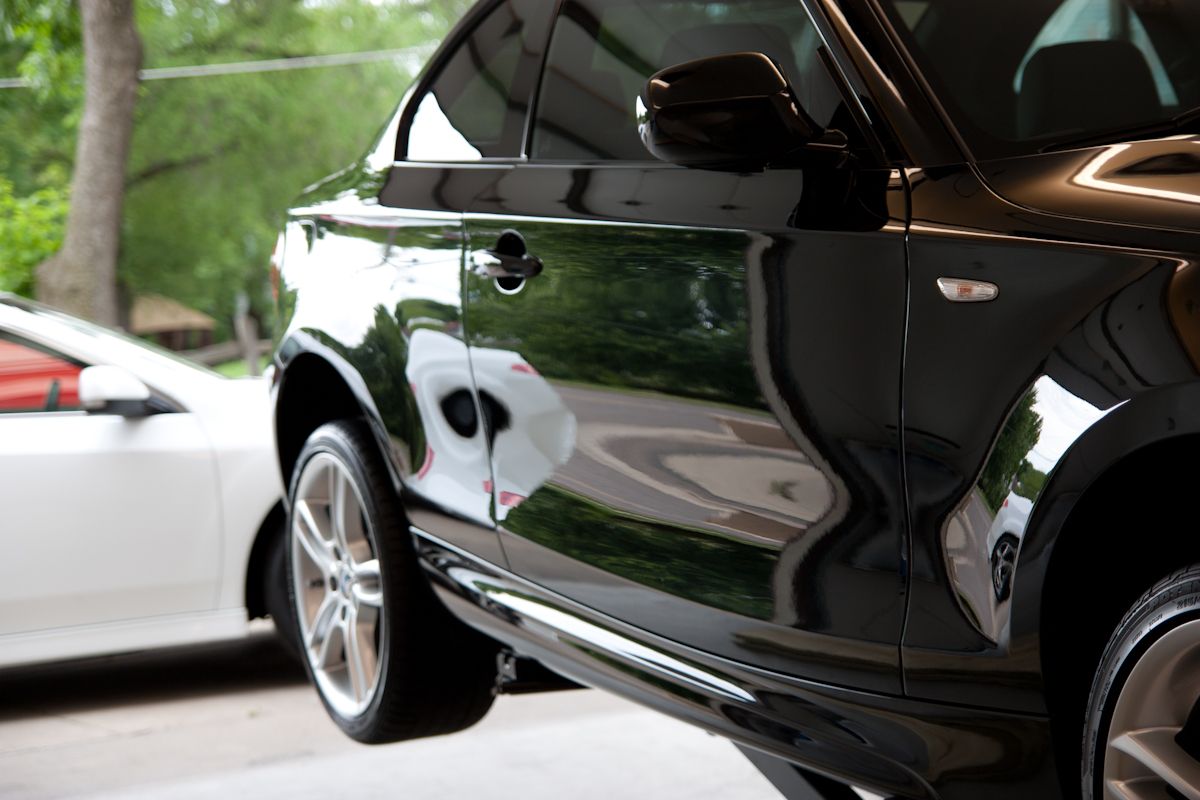
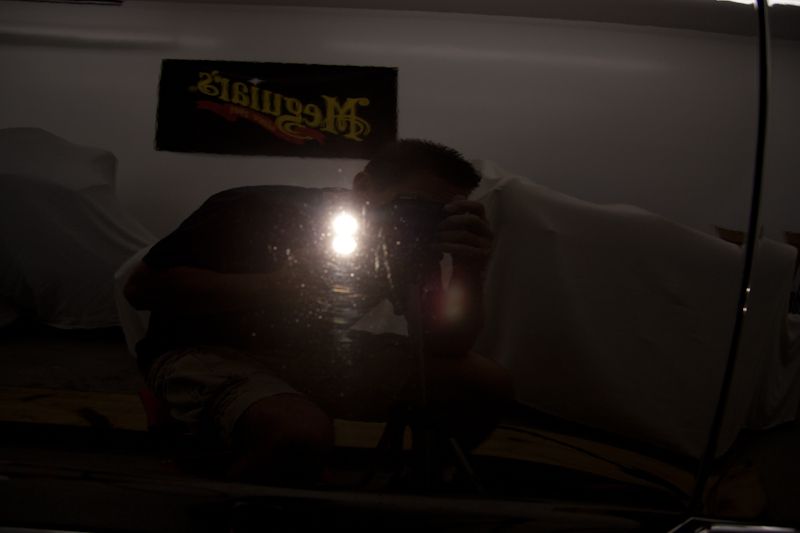
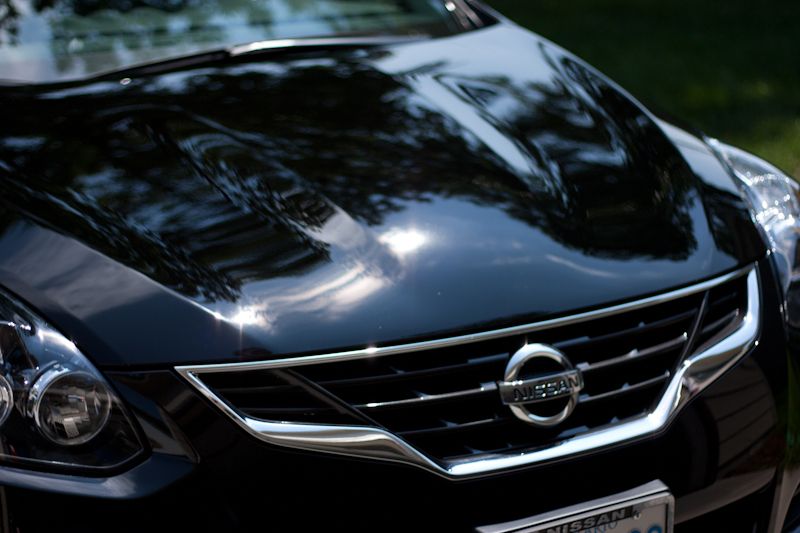
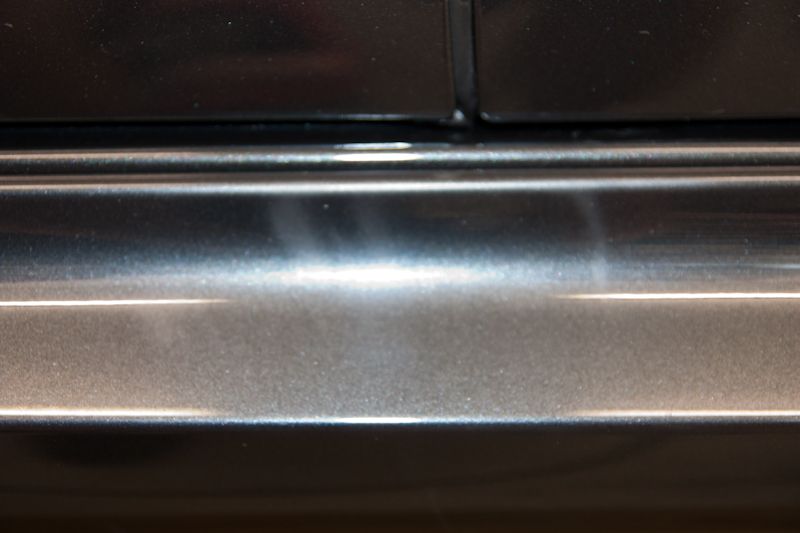
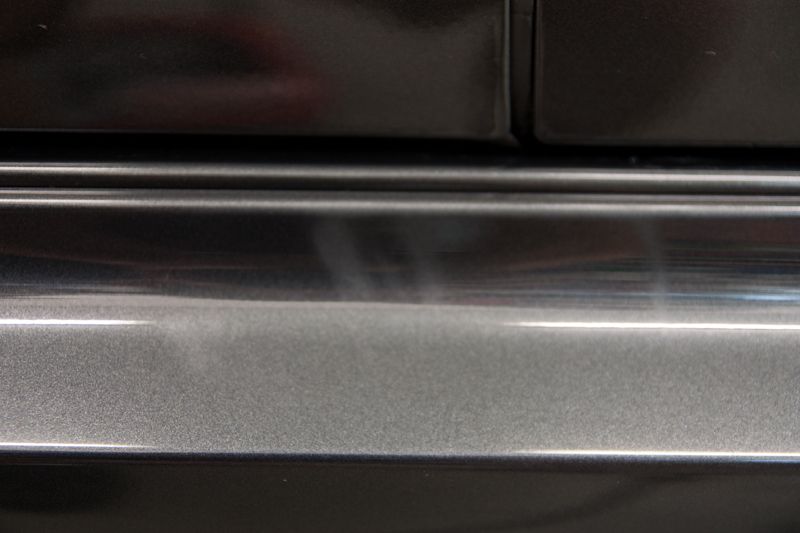
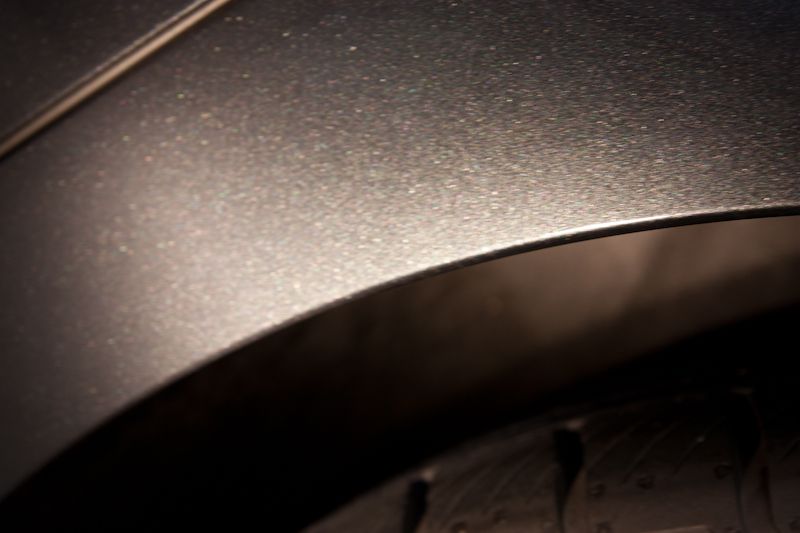
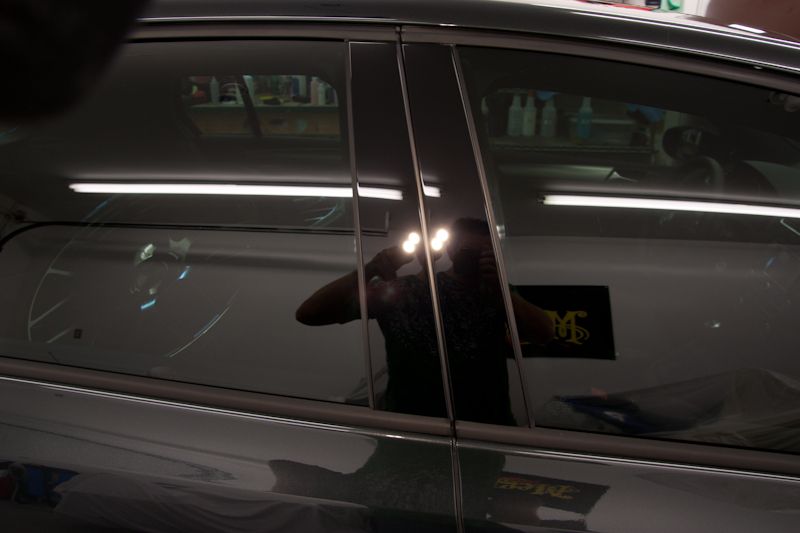
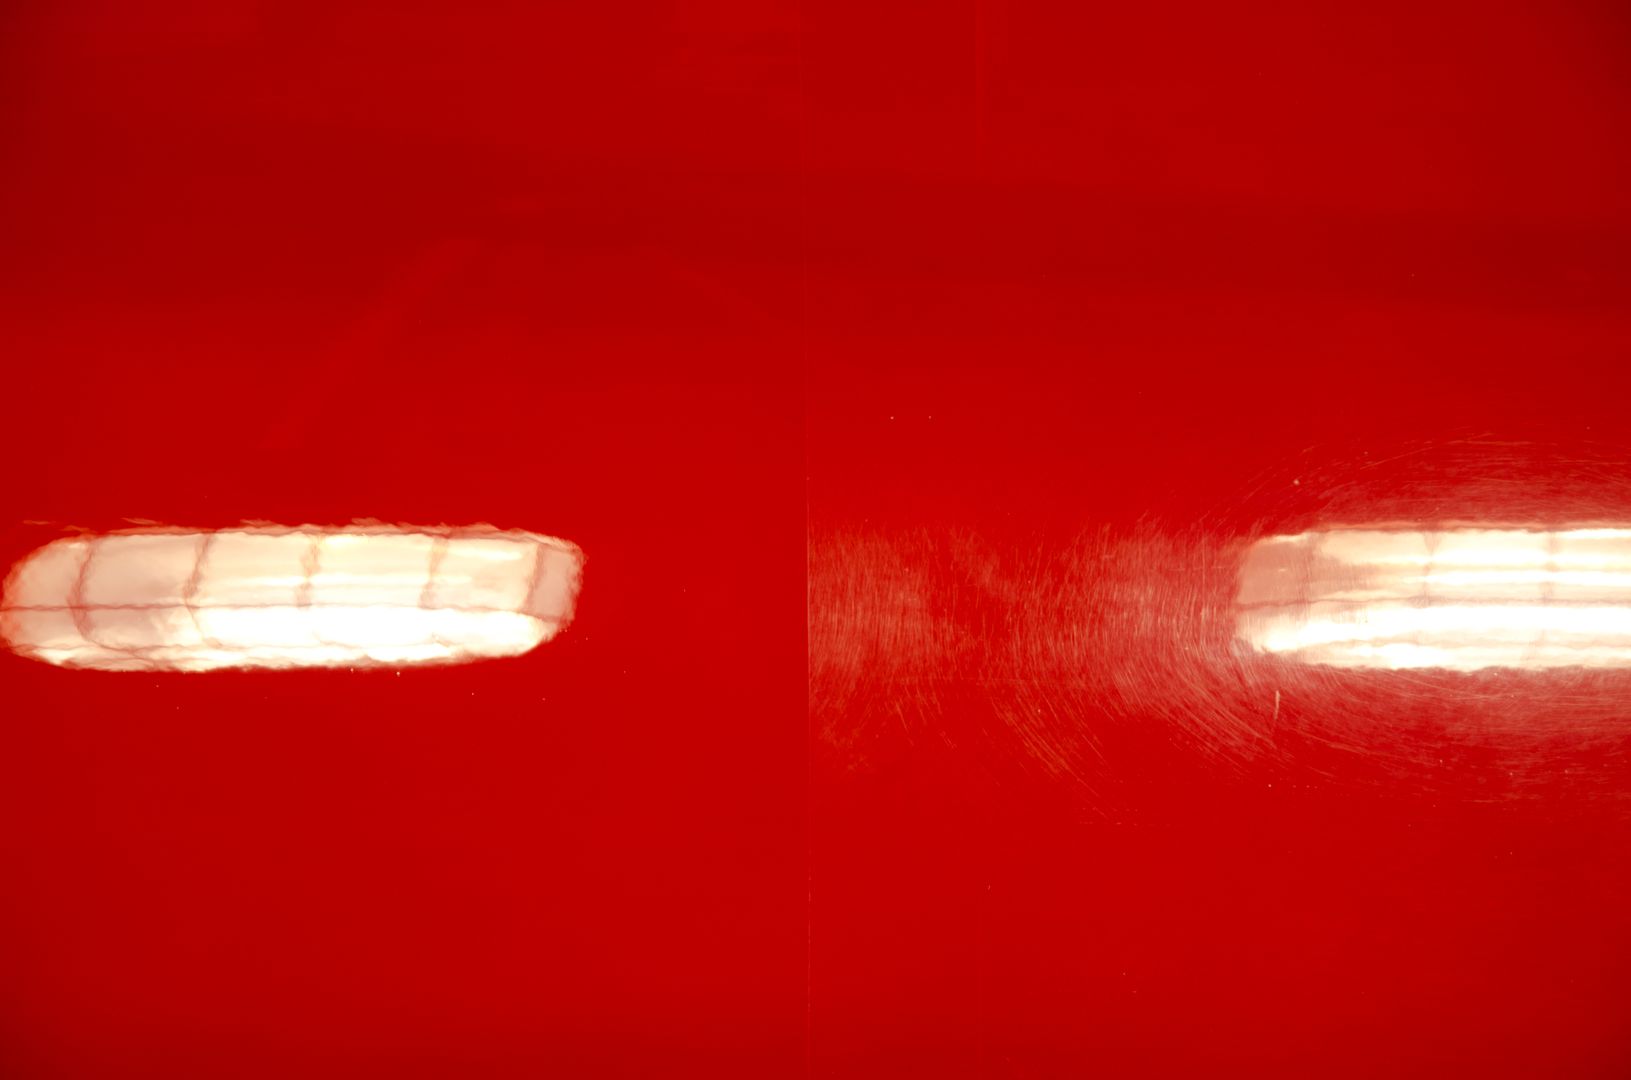
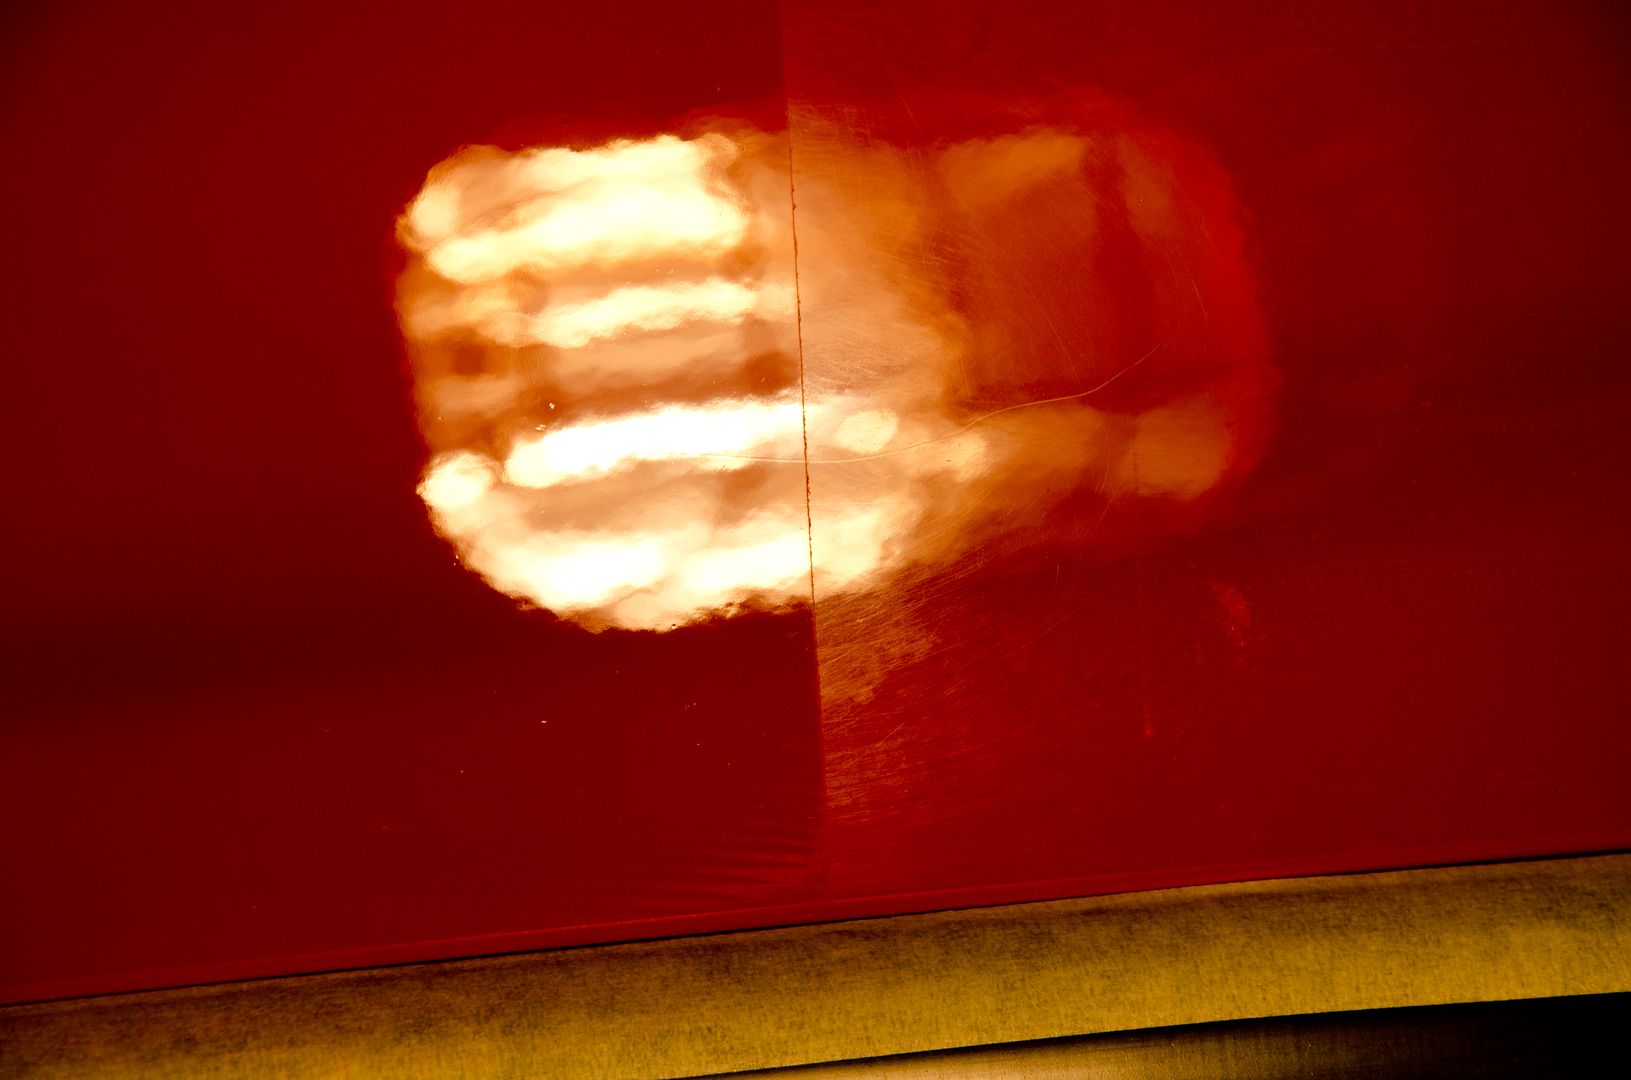
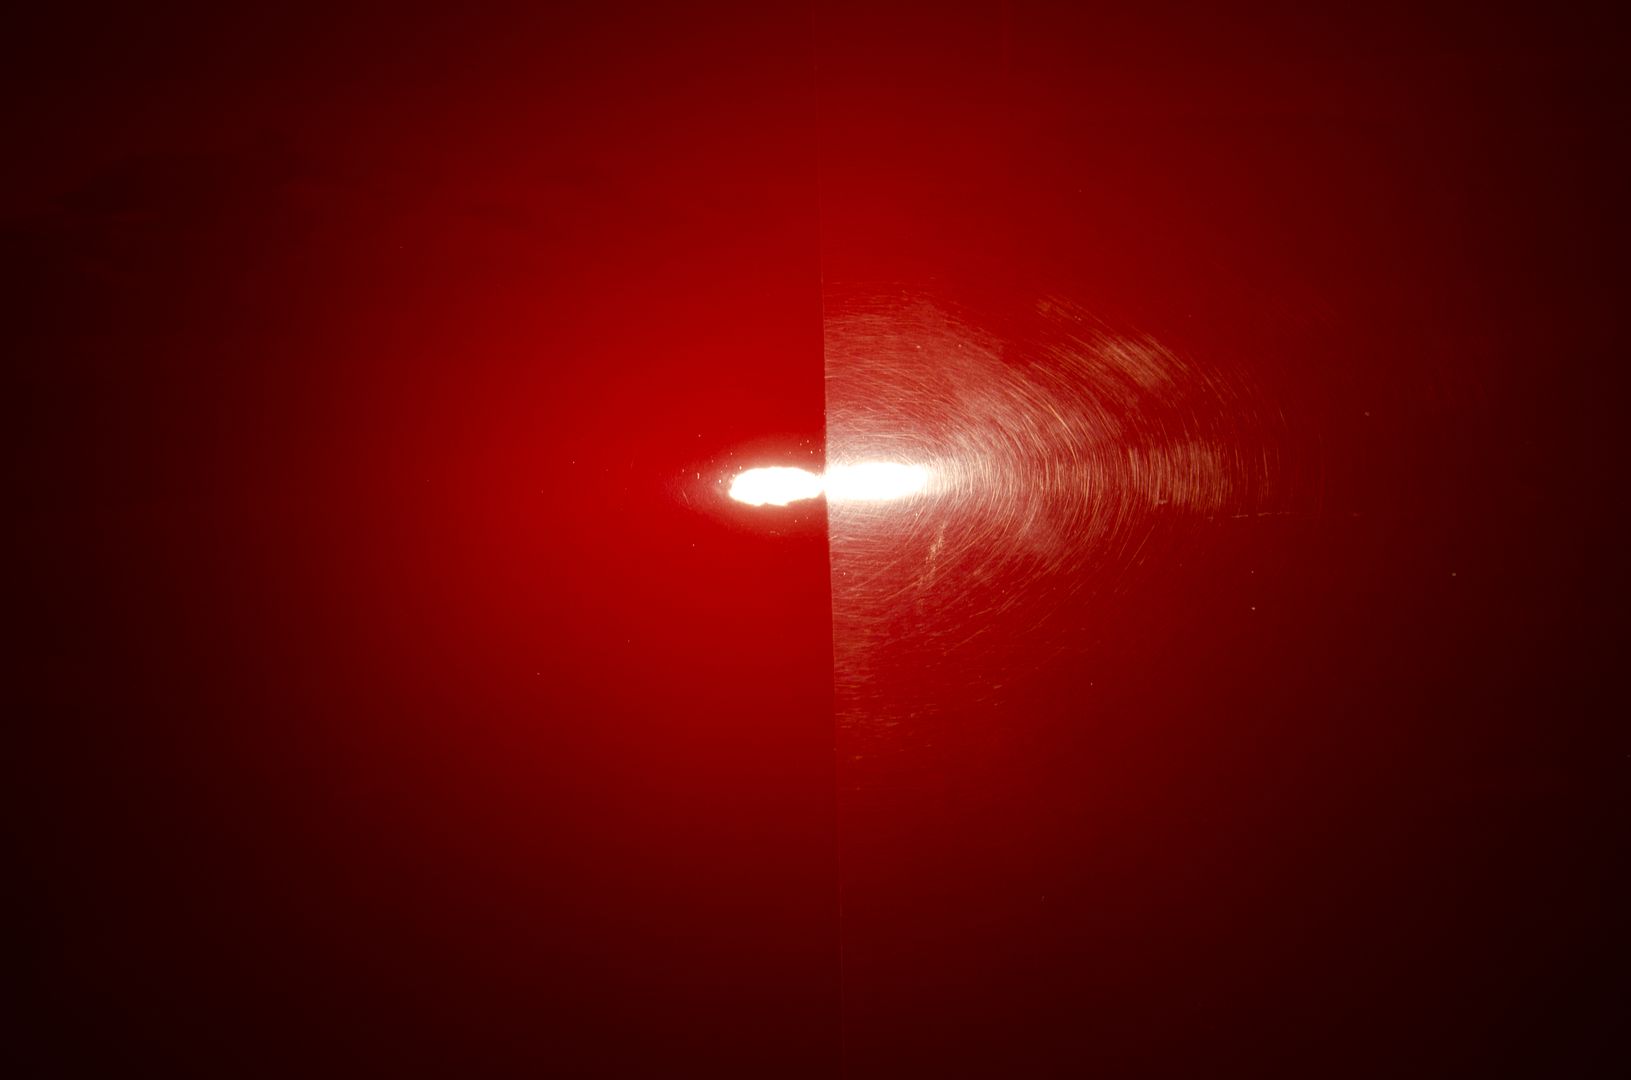
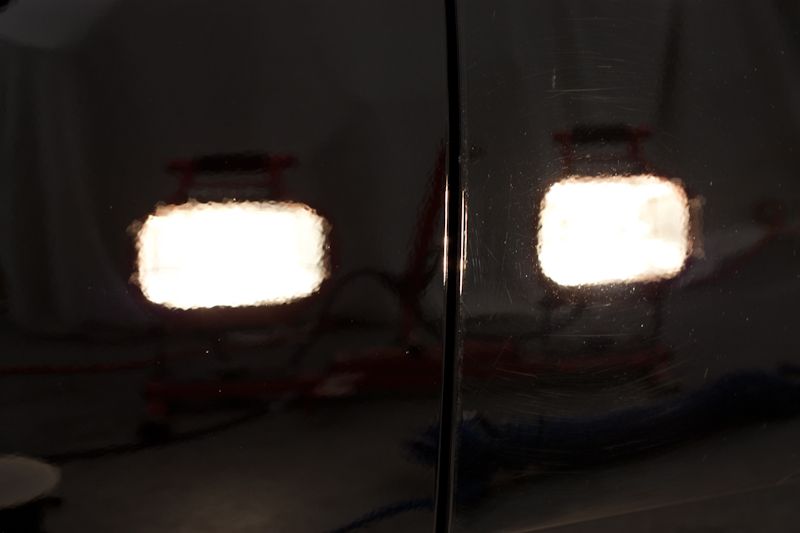
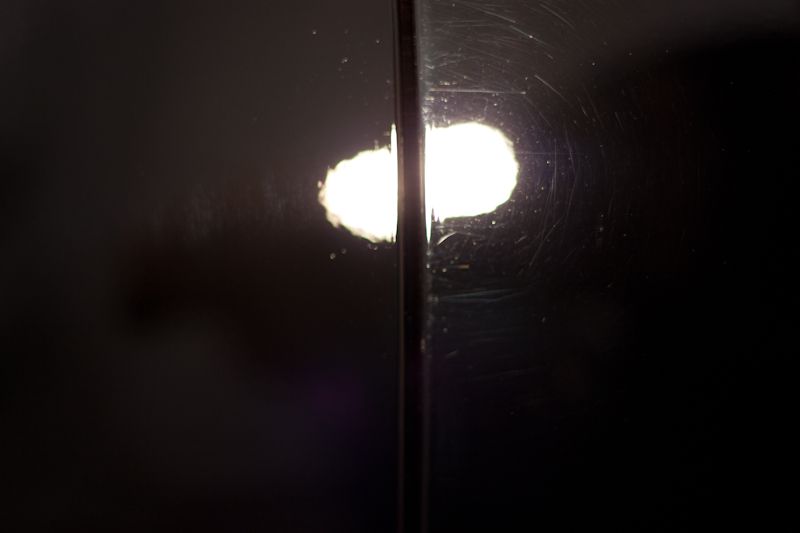
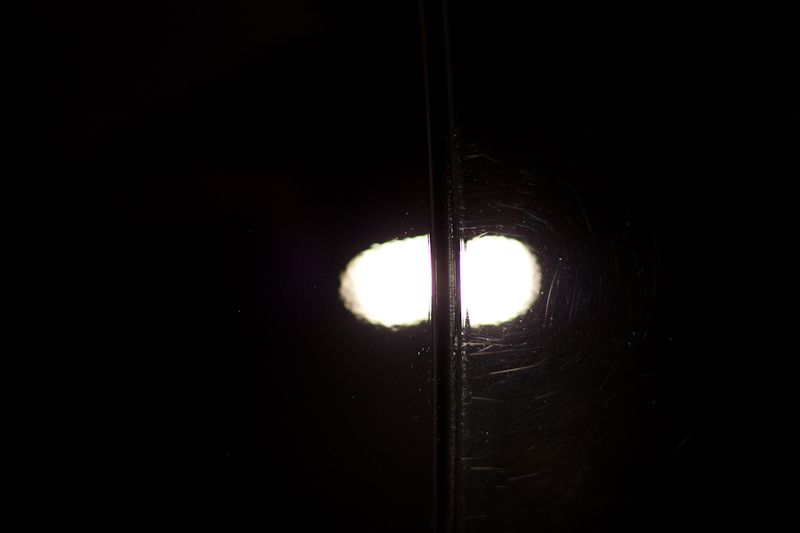
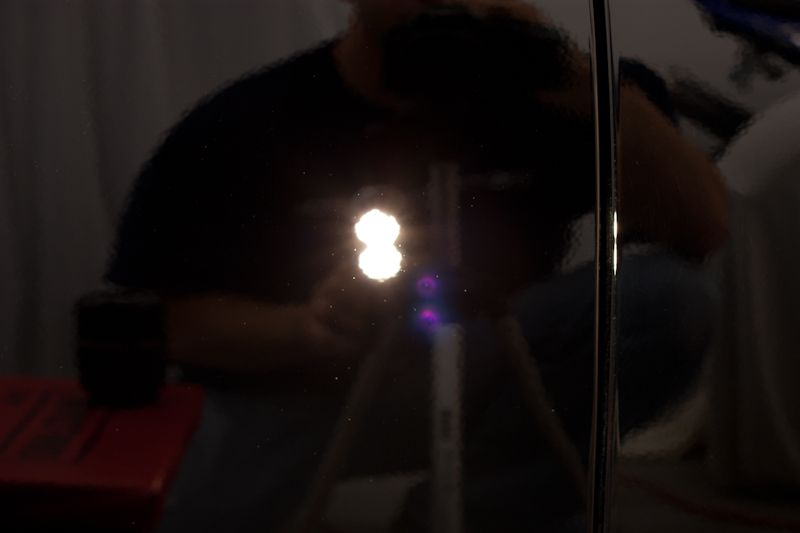
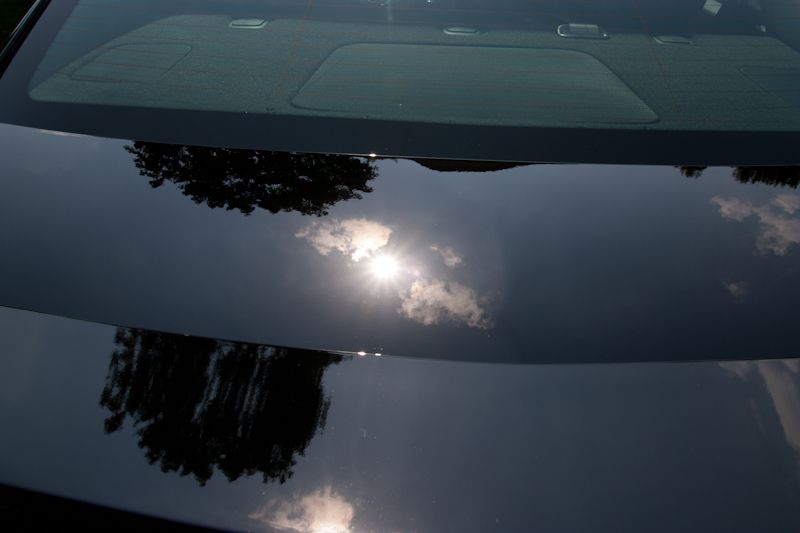
50/50 pics
Process:
Wash - Foamed with OPC/CGCW followed by 2BM wash and CGCW
Wheels - P21S Gel and various brushes
Tires - OPC, dressed with Hyper Dressing 3:1
Clay - Blackfire Clay and M34 as lube
Initial correction step - D300 on the GG6 with Megs MF cutting pads
Finishing Step - 106fa via GG6 and Crimson LC pads
Protection - Blackfire Wet Diamond
Before pics
Nothing like washing in the rain...sorry for the blurry pic...
50/50 pics


")