- Staff
- #1
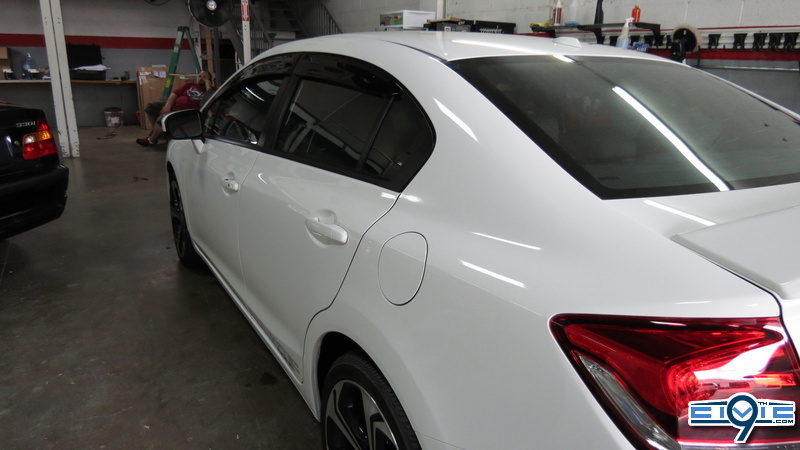
DIY 2012-2014 Sedan Door Visors

This article covers the door visors installation for model years 2012 through 2015.
Note: Photos shown here depict installation on a 2014 Si.
Application: Sedan
Installation time: ~30 minutes
What you need:
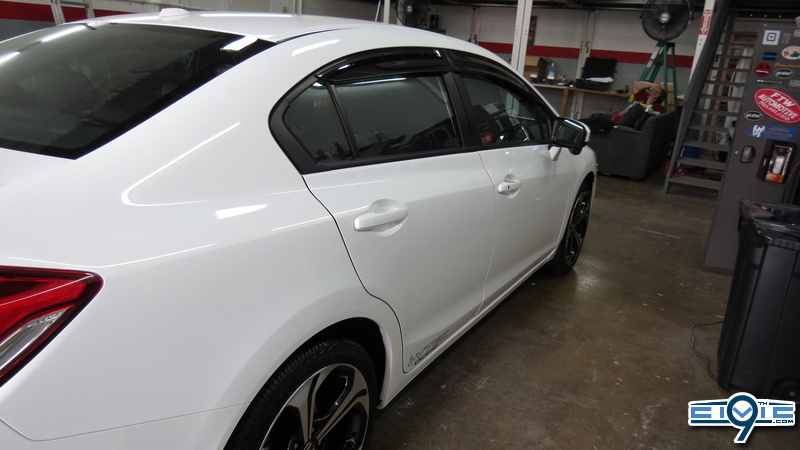
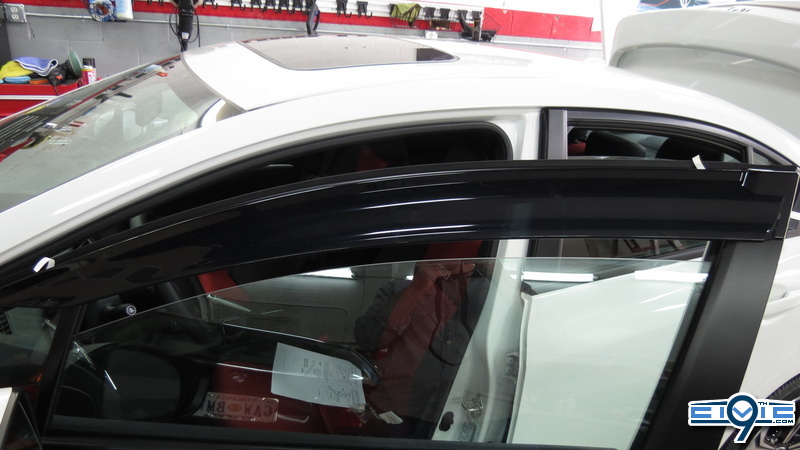
All done!
This article covers the door visors installation for model years 2012 through 2015.
Note: Photos shown here depict installation on a 2014 Si.
Application: Sedan
Installation time: ~30 minutes
What you need:
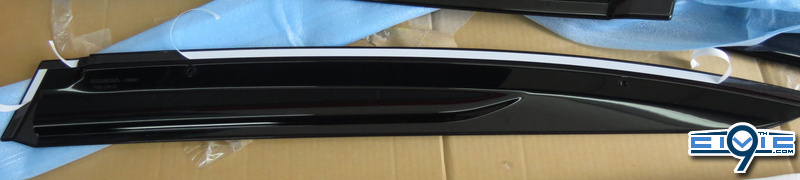
- Door Visors Kit (08R04-TR0-100)
- Ruler
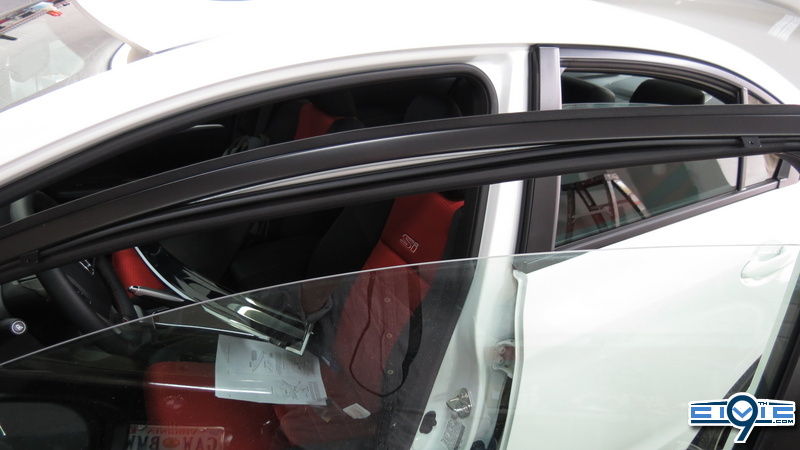
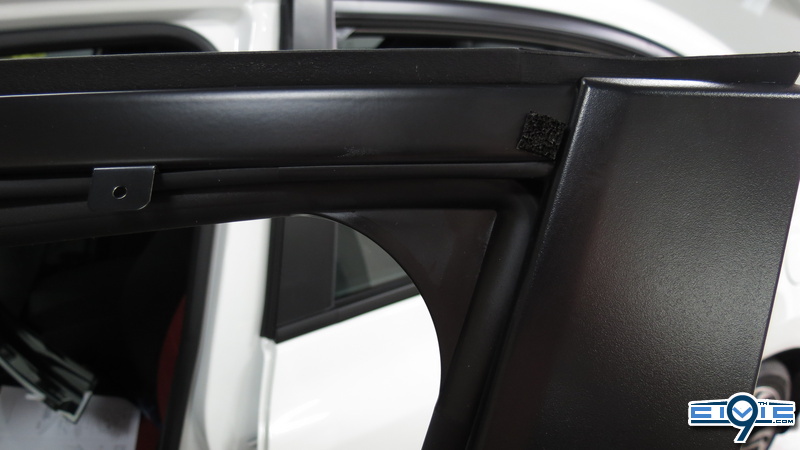
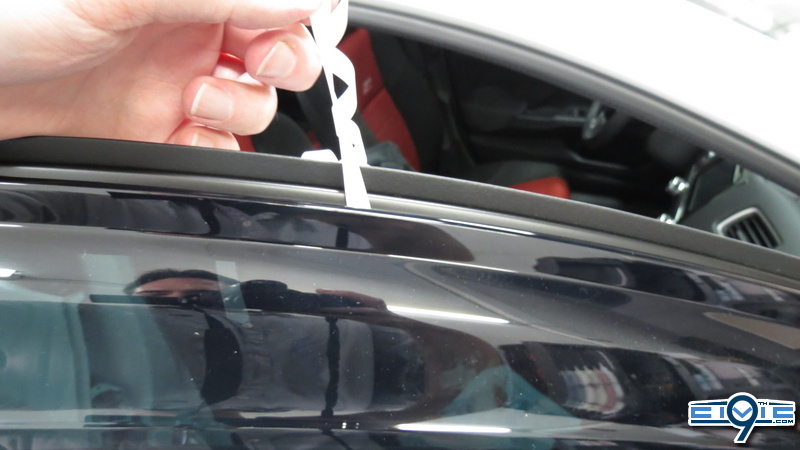
- Fully open the driver’s window. Pull down the glass run channel (weather stripping) in the areas shown.

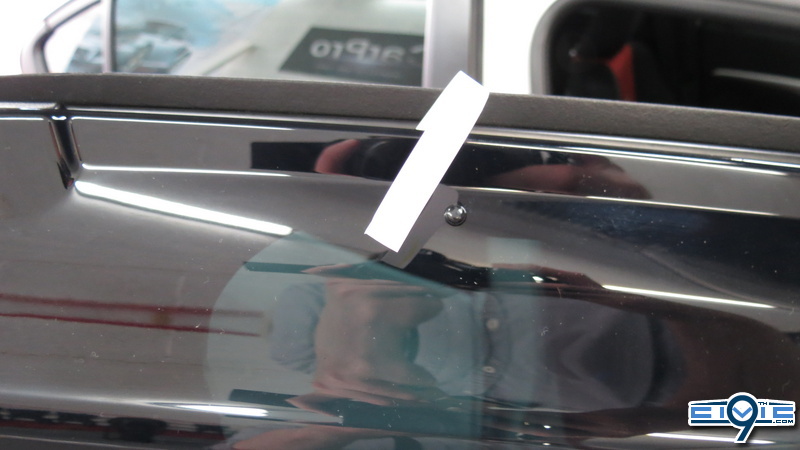
- Install two brackets between the door sash and the glass run channel at the measurements shown above. Then lightly re-seat the glass run channel around the brackets.
Note: This is a great time to do a test fit to see if you have the brackets in the correct position. Leave the weather stripping around the brackets a tad loose so that you can fine-tune the position of those brackets later to line up with the holes on the visors; however, don't leave the weather stripping so loose that the brackets slide just by you breathing on them.
- Using the supplied isopropyl alcohol pads, thoroughly clean the area where the left front door visor will attach. Shop towel is optional.

- Adjust the position of the left seal B so there is equal spacing on both sides. Remove the adhesive backing from the seal and attach it to the front lower channel.

- Remove the adhesive backing from the seal A, and attach it to the door sash in the area shown.
Note: There are four individual squares provided; you only use one per door.

- Peel back about 25 to 40 mm (1.0 to 1.6 in.) of adhesive backing from each corner of the adhesive tape, and fold the ends towards the front surface of the visor (example below).
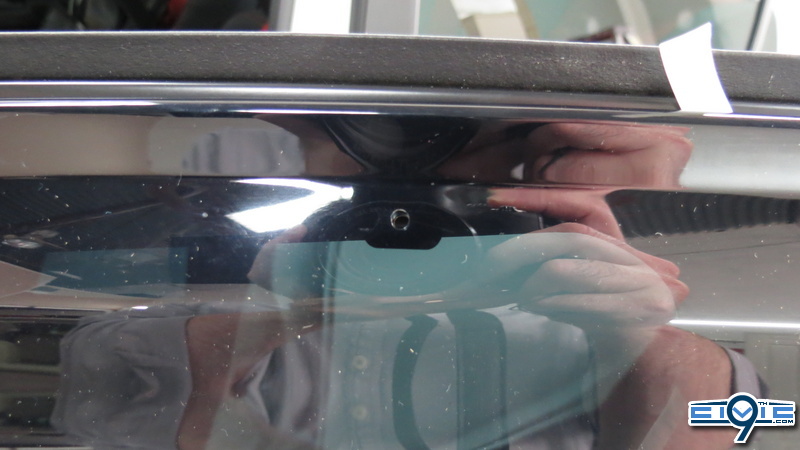
- Align the clip holes in the visor with the bracket holes, then apply light pressure to the sections of the visor that you pulled back the adhesive backing. This will hold the visor in place in preparation of installing the clips.
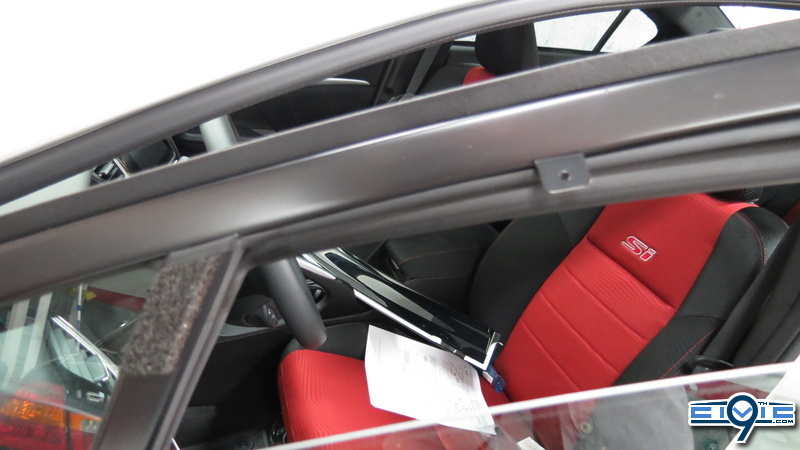
Once the bracket and visor holes line up, push the glass run channel back into its original position.
Note: There will be some clearance at the top of the visor (see photo below). This is normal. As long as you have the holes lined up properly, you'll be fine.
- Slide each clip into each hole. They should fit with minimal-to-no effort. If they don't, then the holes aren't lining up properly and you should readjust the bracket.
Note: Be extremely careful when installing the clips, they cannot be reinstalled after installation.
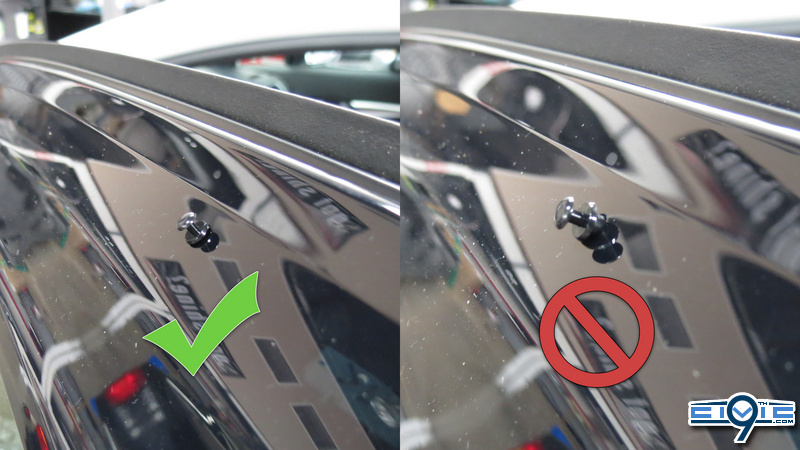
- While applying pressure to the back of the bracket, push each clip down to lock it into place.
- Peal back the remaining adhesive backing, then apply light pressure against the areas of the visor that have the adhesive to ensure a proper seal.
- Repeat step 1 through 9 to install the remaining three visors.
Note: The position of the Seal A square for the rear doors is shown below.

All done!
Last edited: