- Staff
- #1
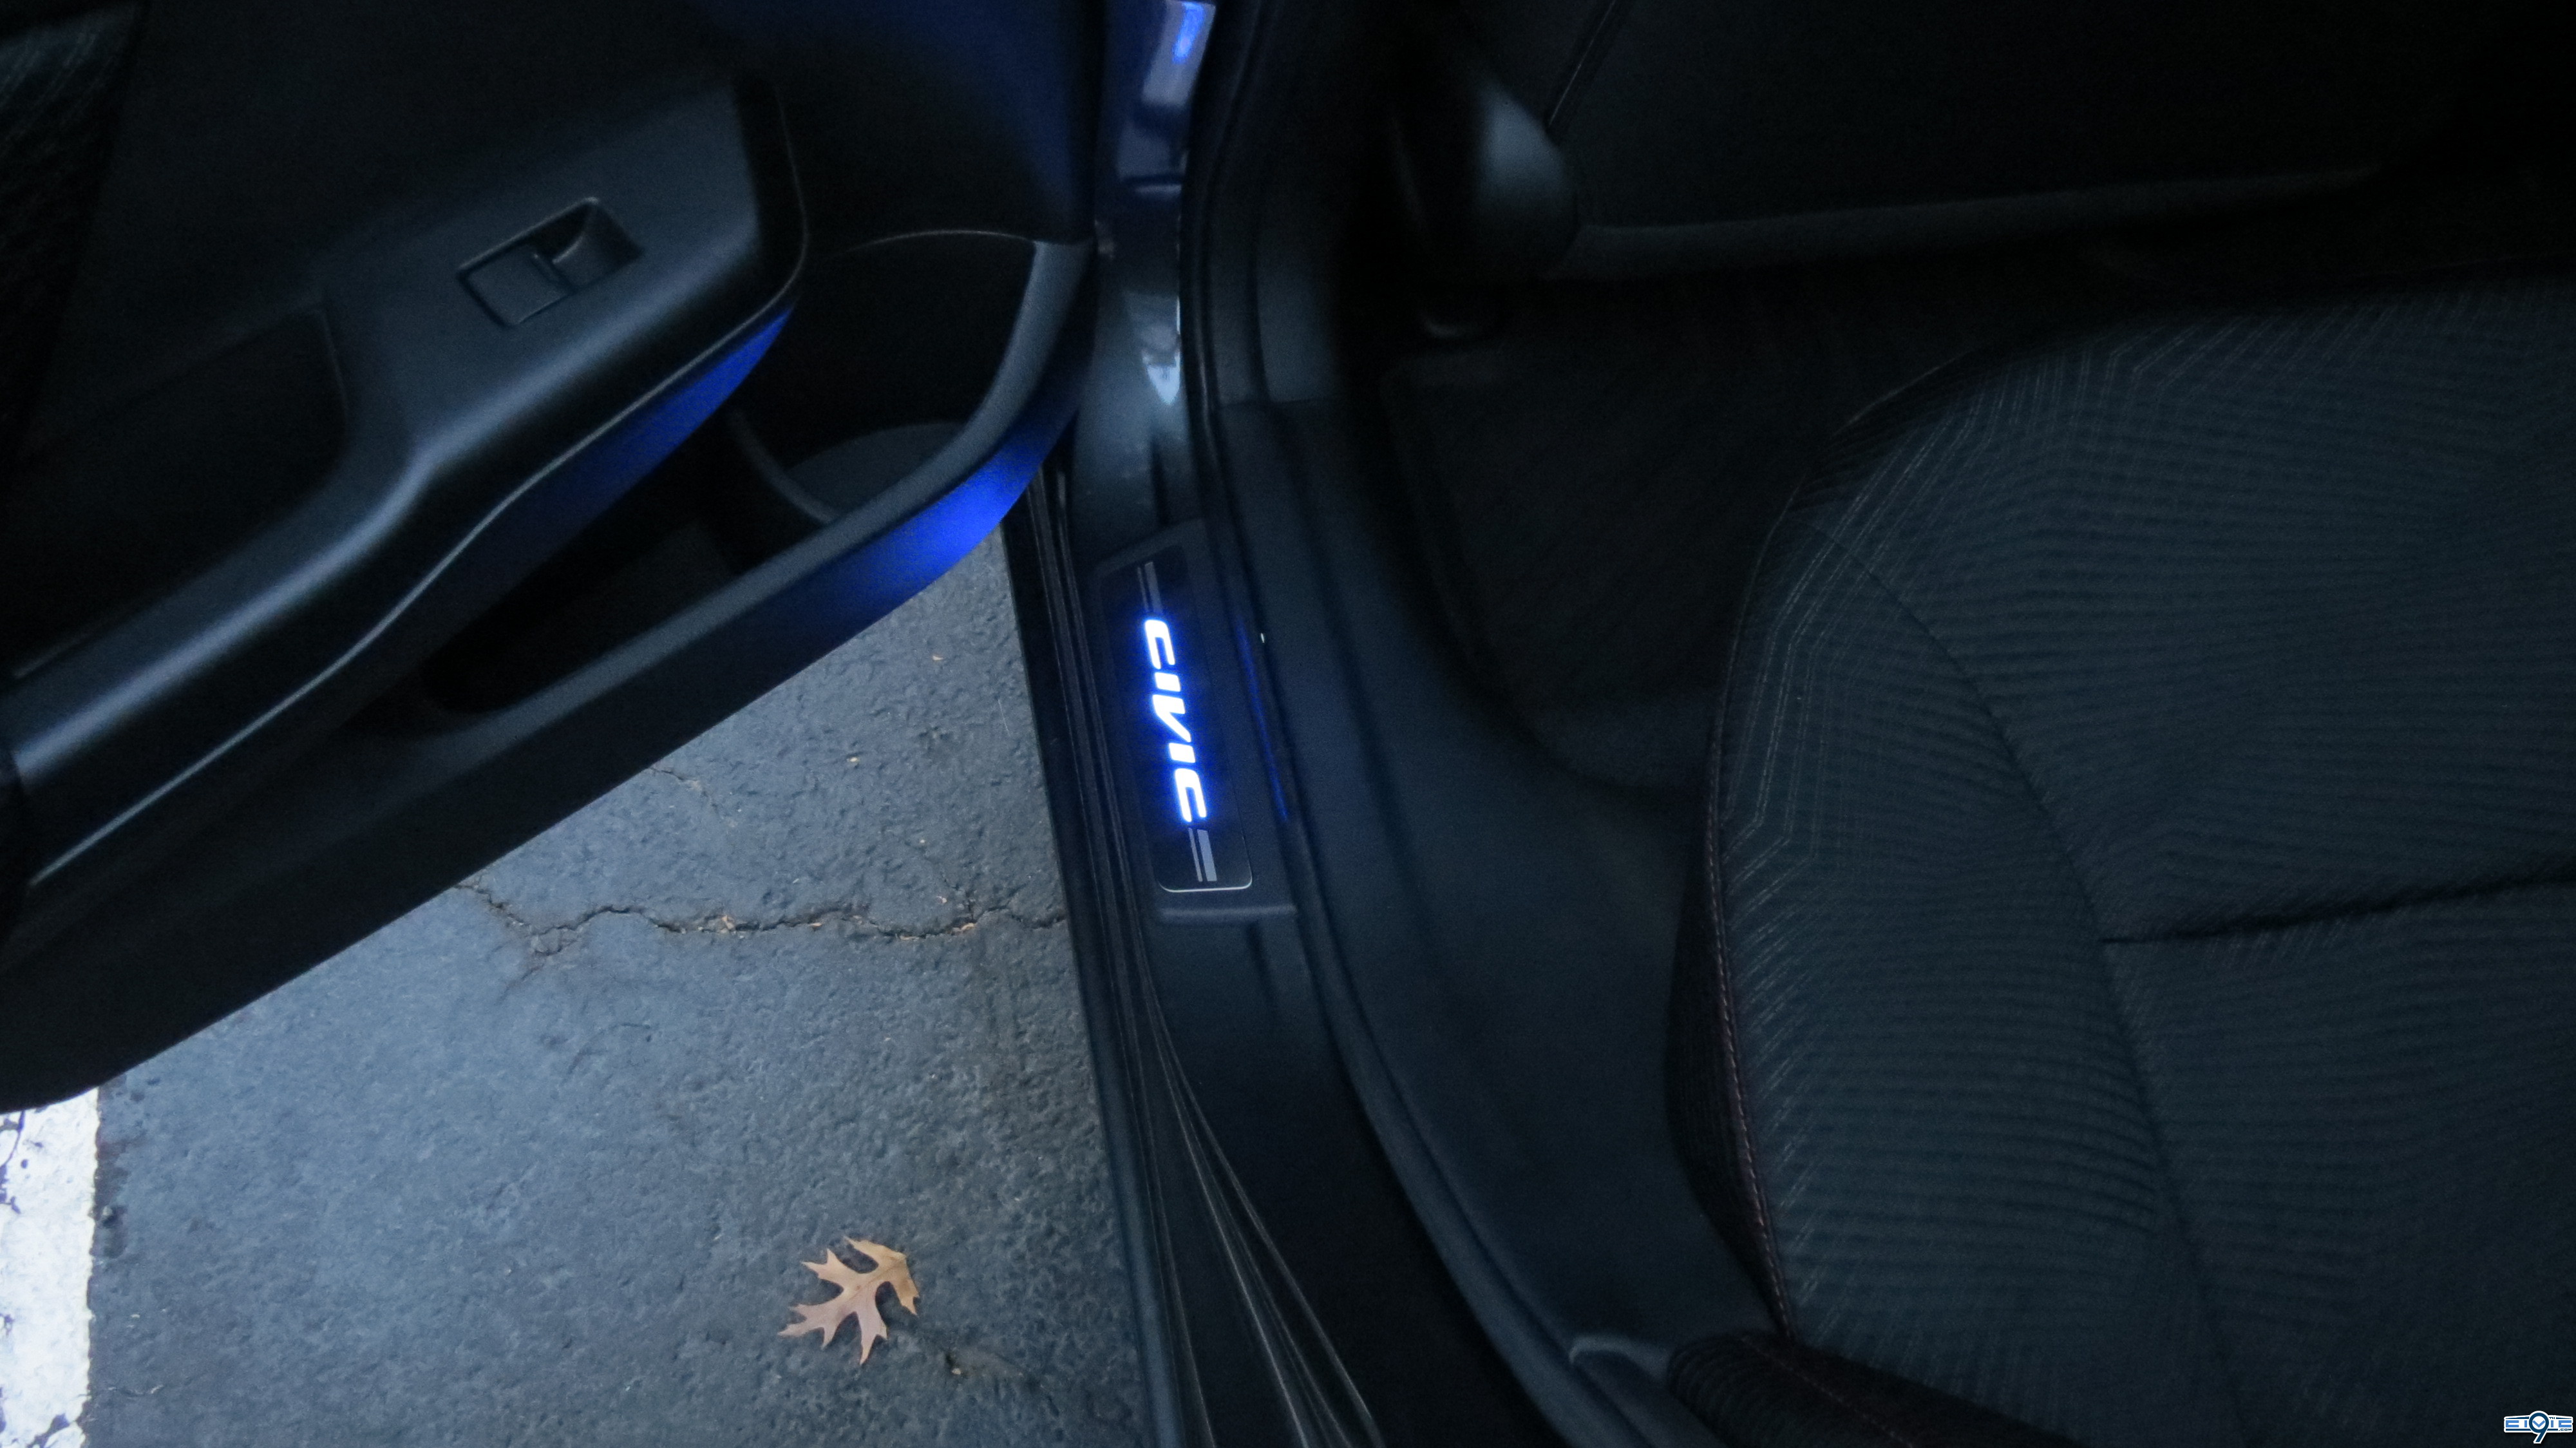
DIY 2012 Civic Illuminated Door Sills/Side Steps (4 Door)

This article covers the illuminated door sill kit installation for model year 2012.
This kit is NOT compatible with model year 2013.
Click on any of the pictures to see them in a higher resolution.
What you need:
REMOVING THE VEHICLE PARTS
This article covers the illuminated door sill kit installation for model year 2012.
This kit is NOT compatible with model year 2013.
Click on any of the pictures to see them in a higher resolution.
What you need:
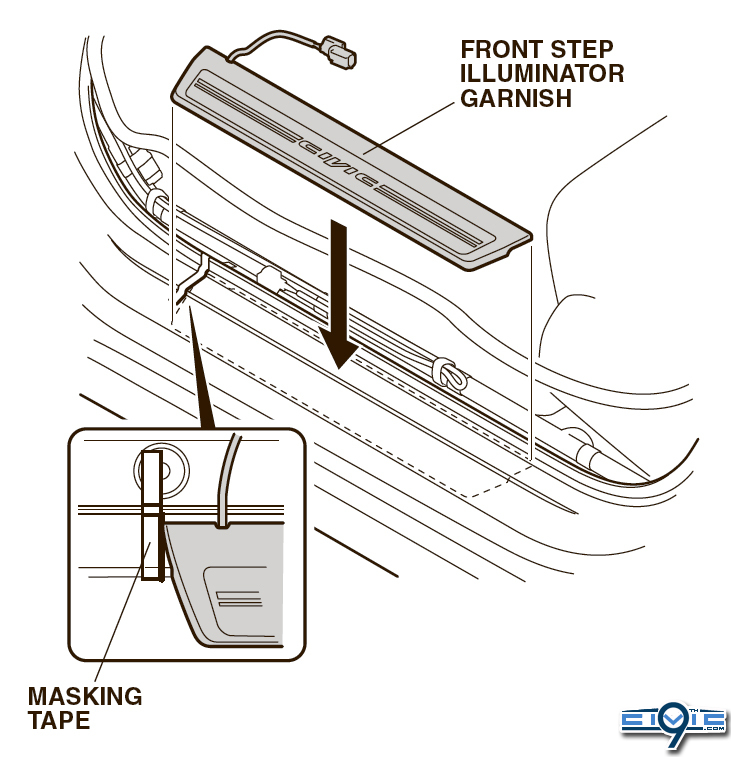
- Genuine Honda Illuminated Door Sill Garnish Set
- Phillips screwdriver
- Pliers
- Scissors
- Marker
- Utility knife
- Masking tape
- Long-nose pliers
- Wire clippers
- Ruler
- Insulation/electrical tape
- Alcohol wipes
- Be extremely careful to the handling of the retaining tabs and clips particularly. The plastic parts can be forgiving, but the clips holding them in place are not.
- Even being as careful as possible, clips still do break. You can purchase replacements directly from Honda, your local dealership, or from one of our wonderful vendors right here on this site.
- Attach the accessories by pressing it firmly with the palm of your hand. Be careful not to damage the accessories and the vehicle parts.
- Carefully place the adhesive tape on the proper position. Once the adhesive tape touches the surface, do not try to detach and relocate it. If you attempt to move after it touches the surface, you will damage the part before the adhesive will give way.
- Not to wash the vehicle or moisten it for 24 hours after you finish the full installation to allow the adhesive to cure.
REMOVING THE VEHICLE PARTS
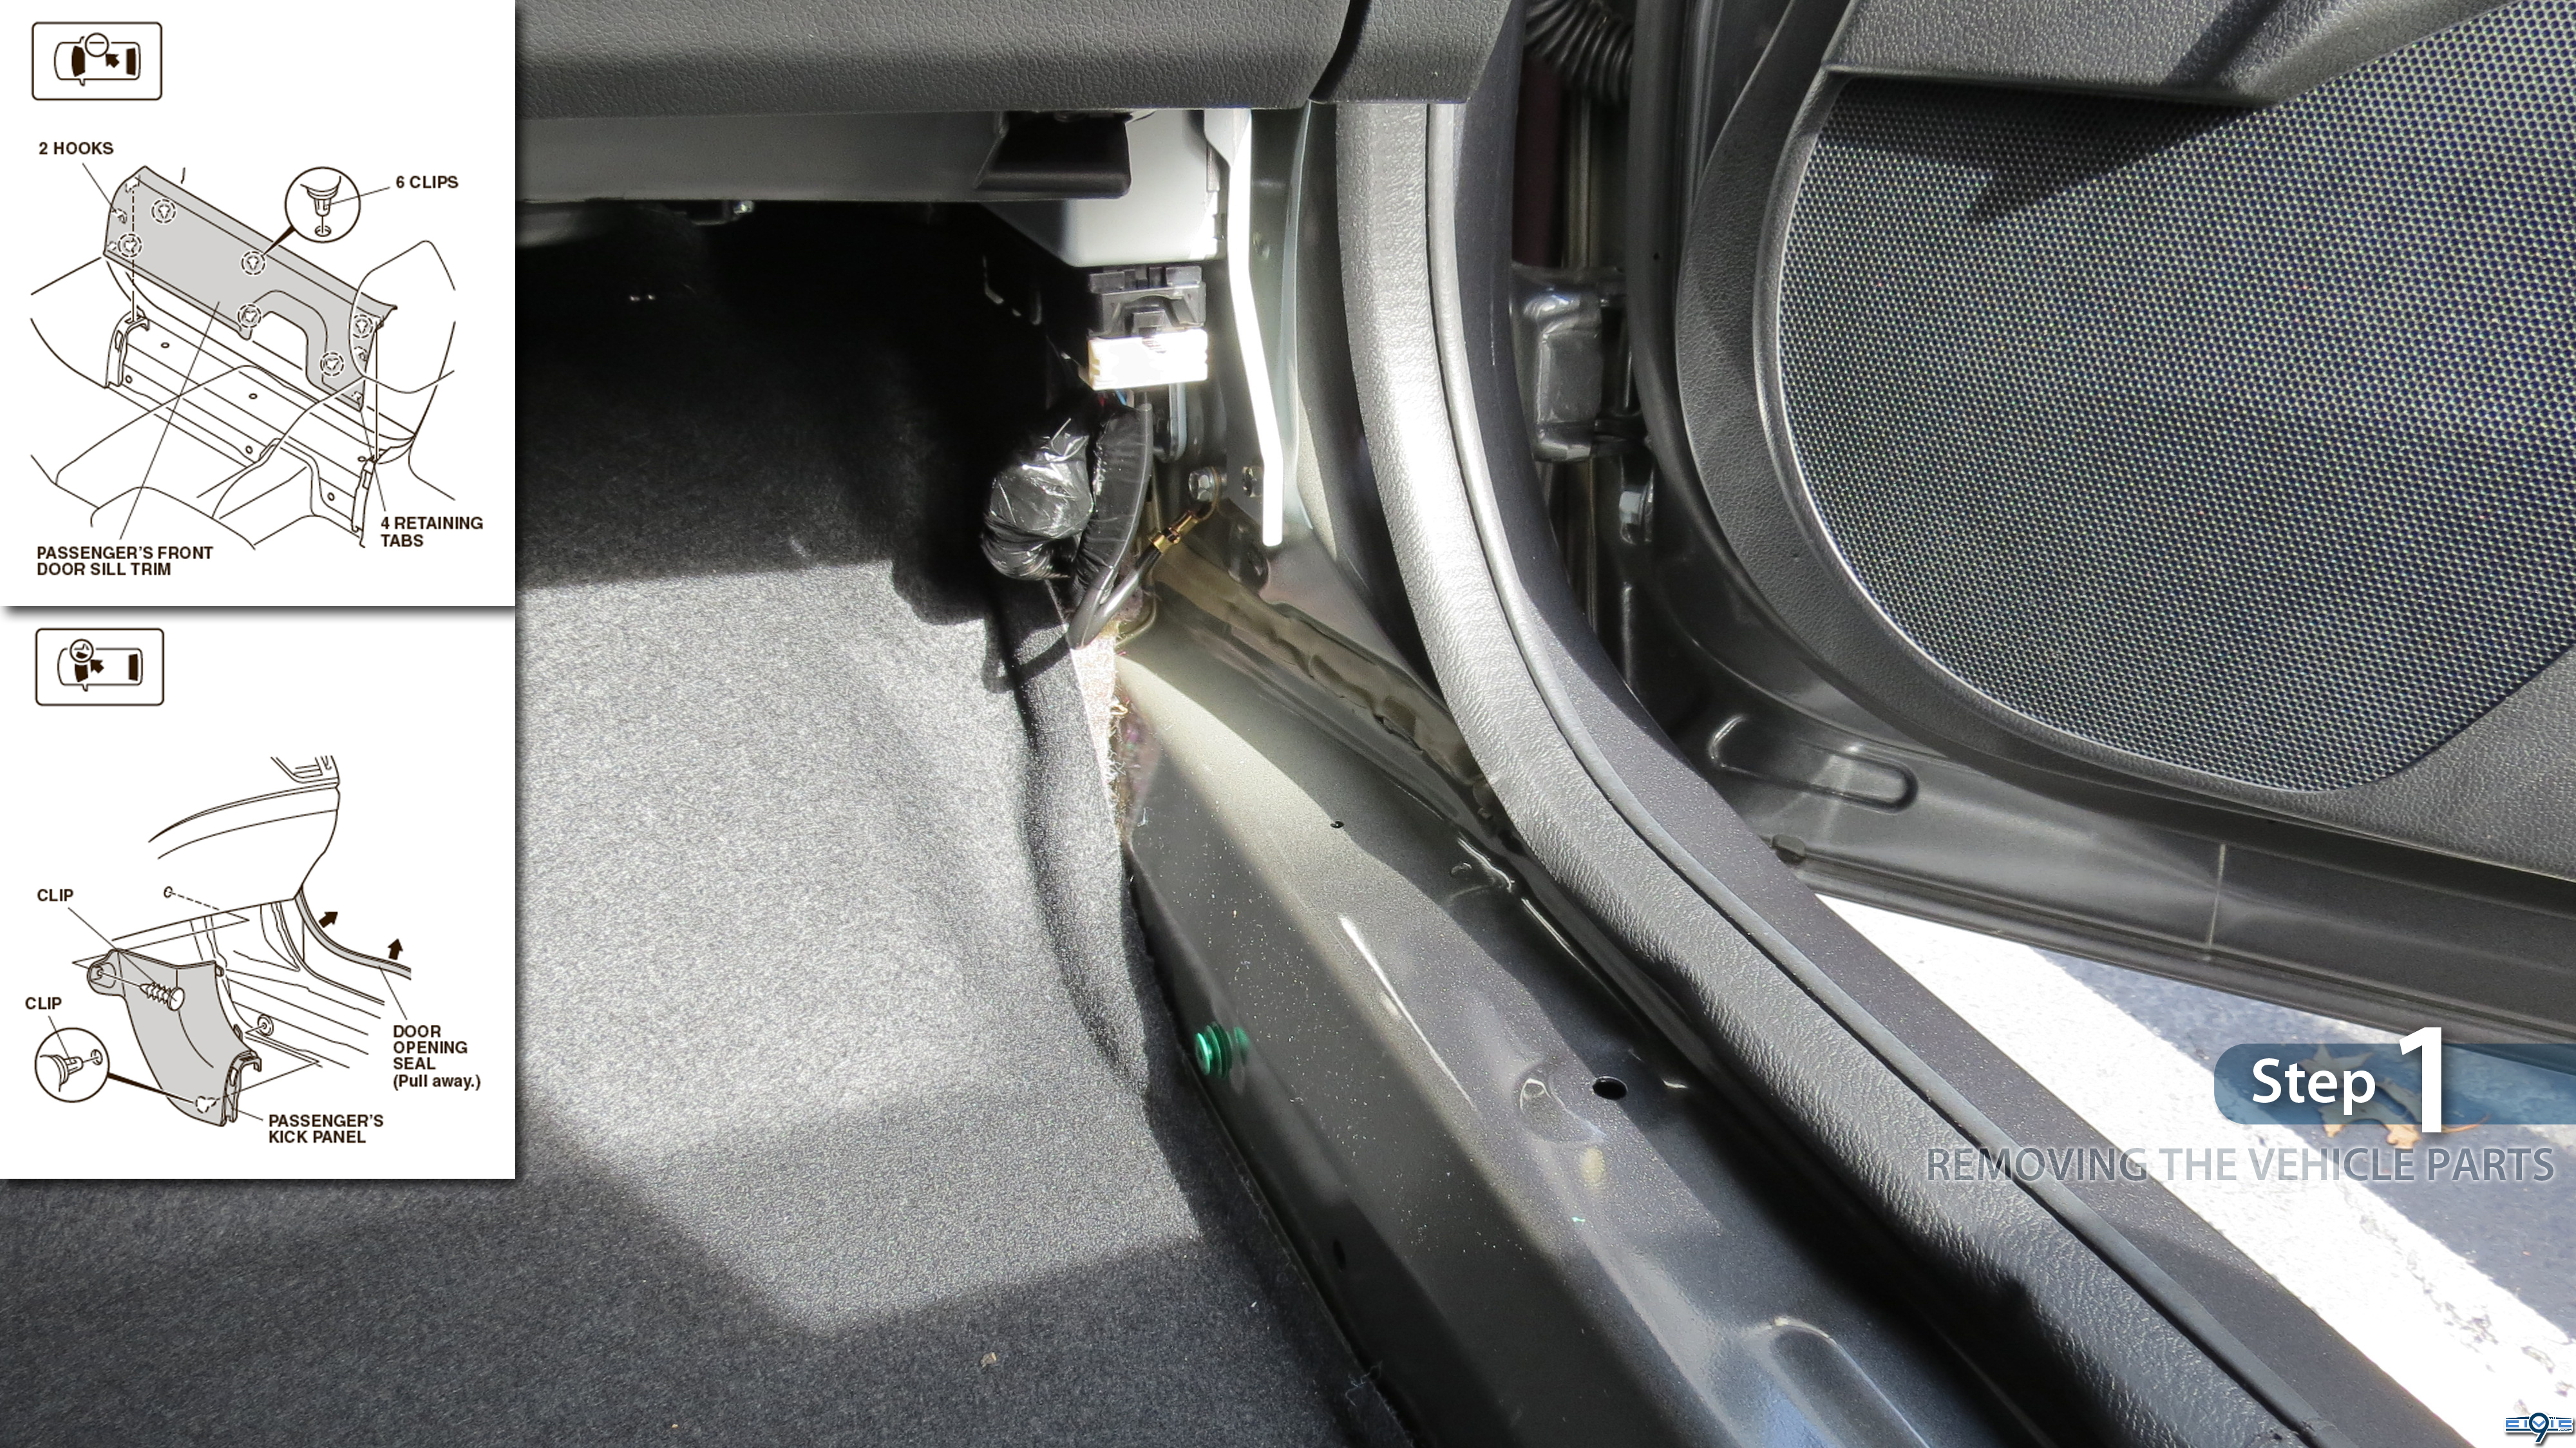
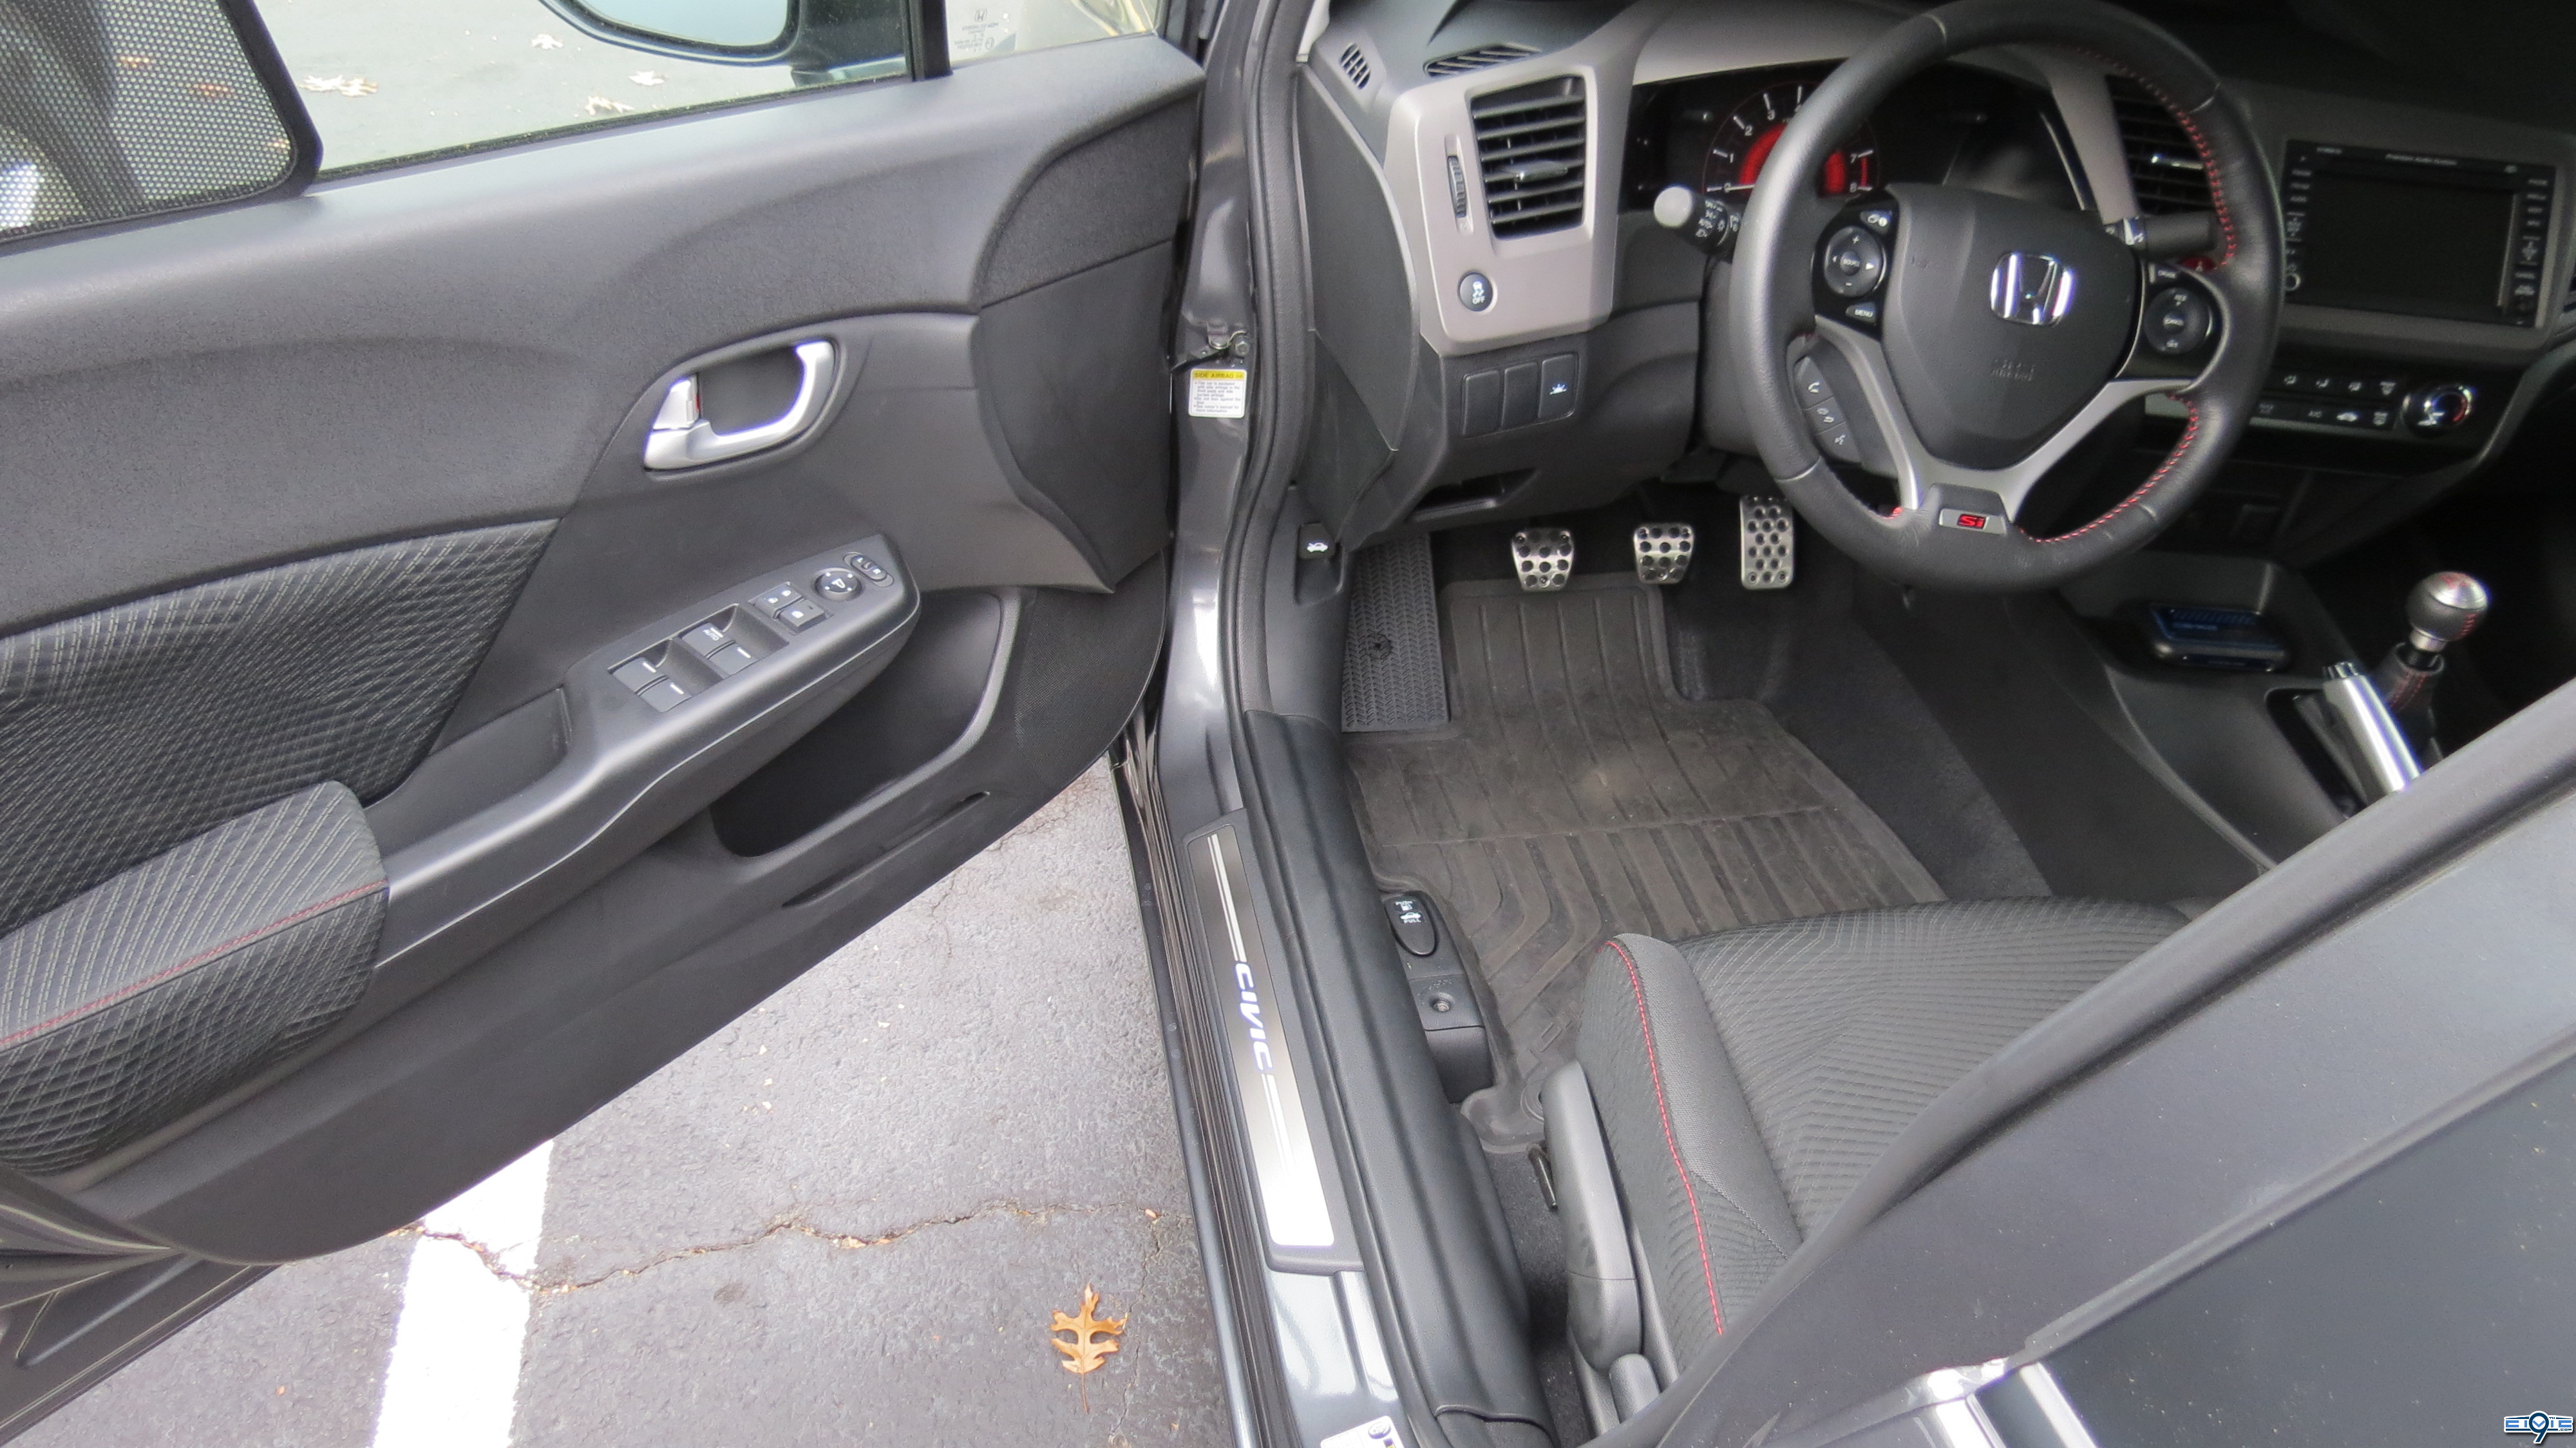
- Remove the passenger’s front door sill trim and kick panel.

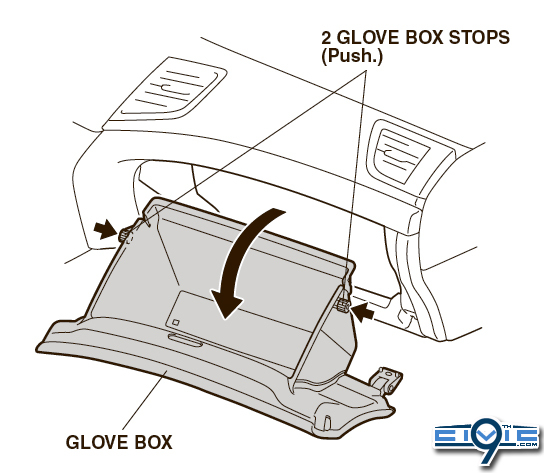
- Open the glove box and push in the rear stoppers to allow the box to open fully.
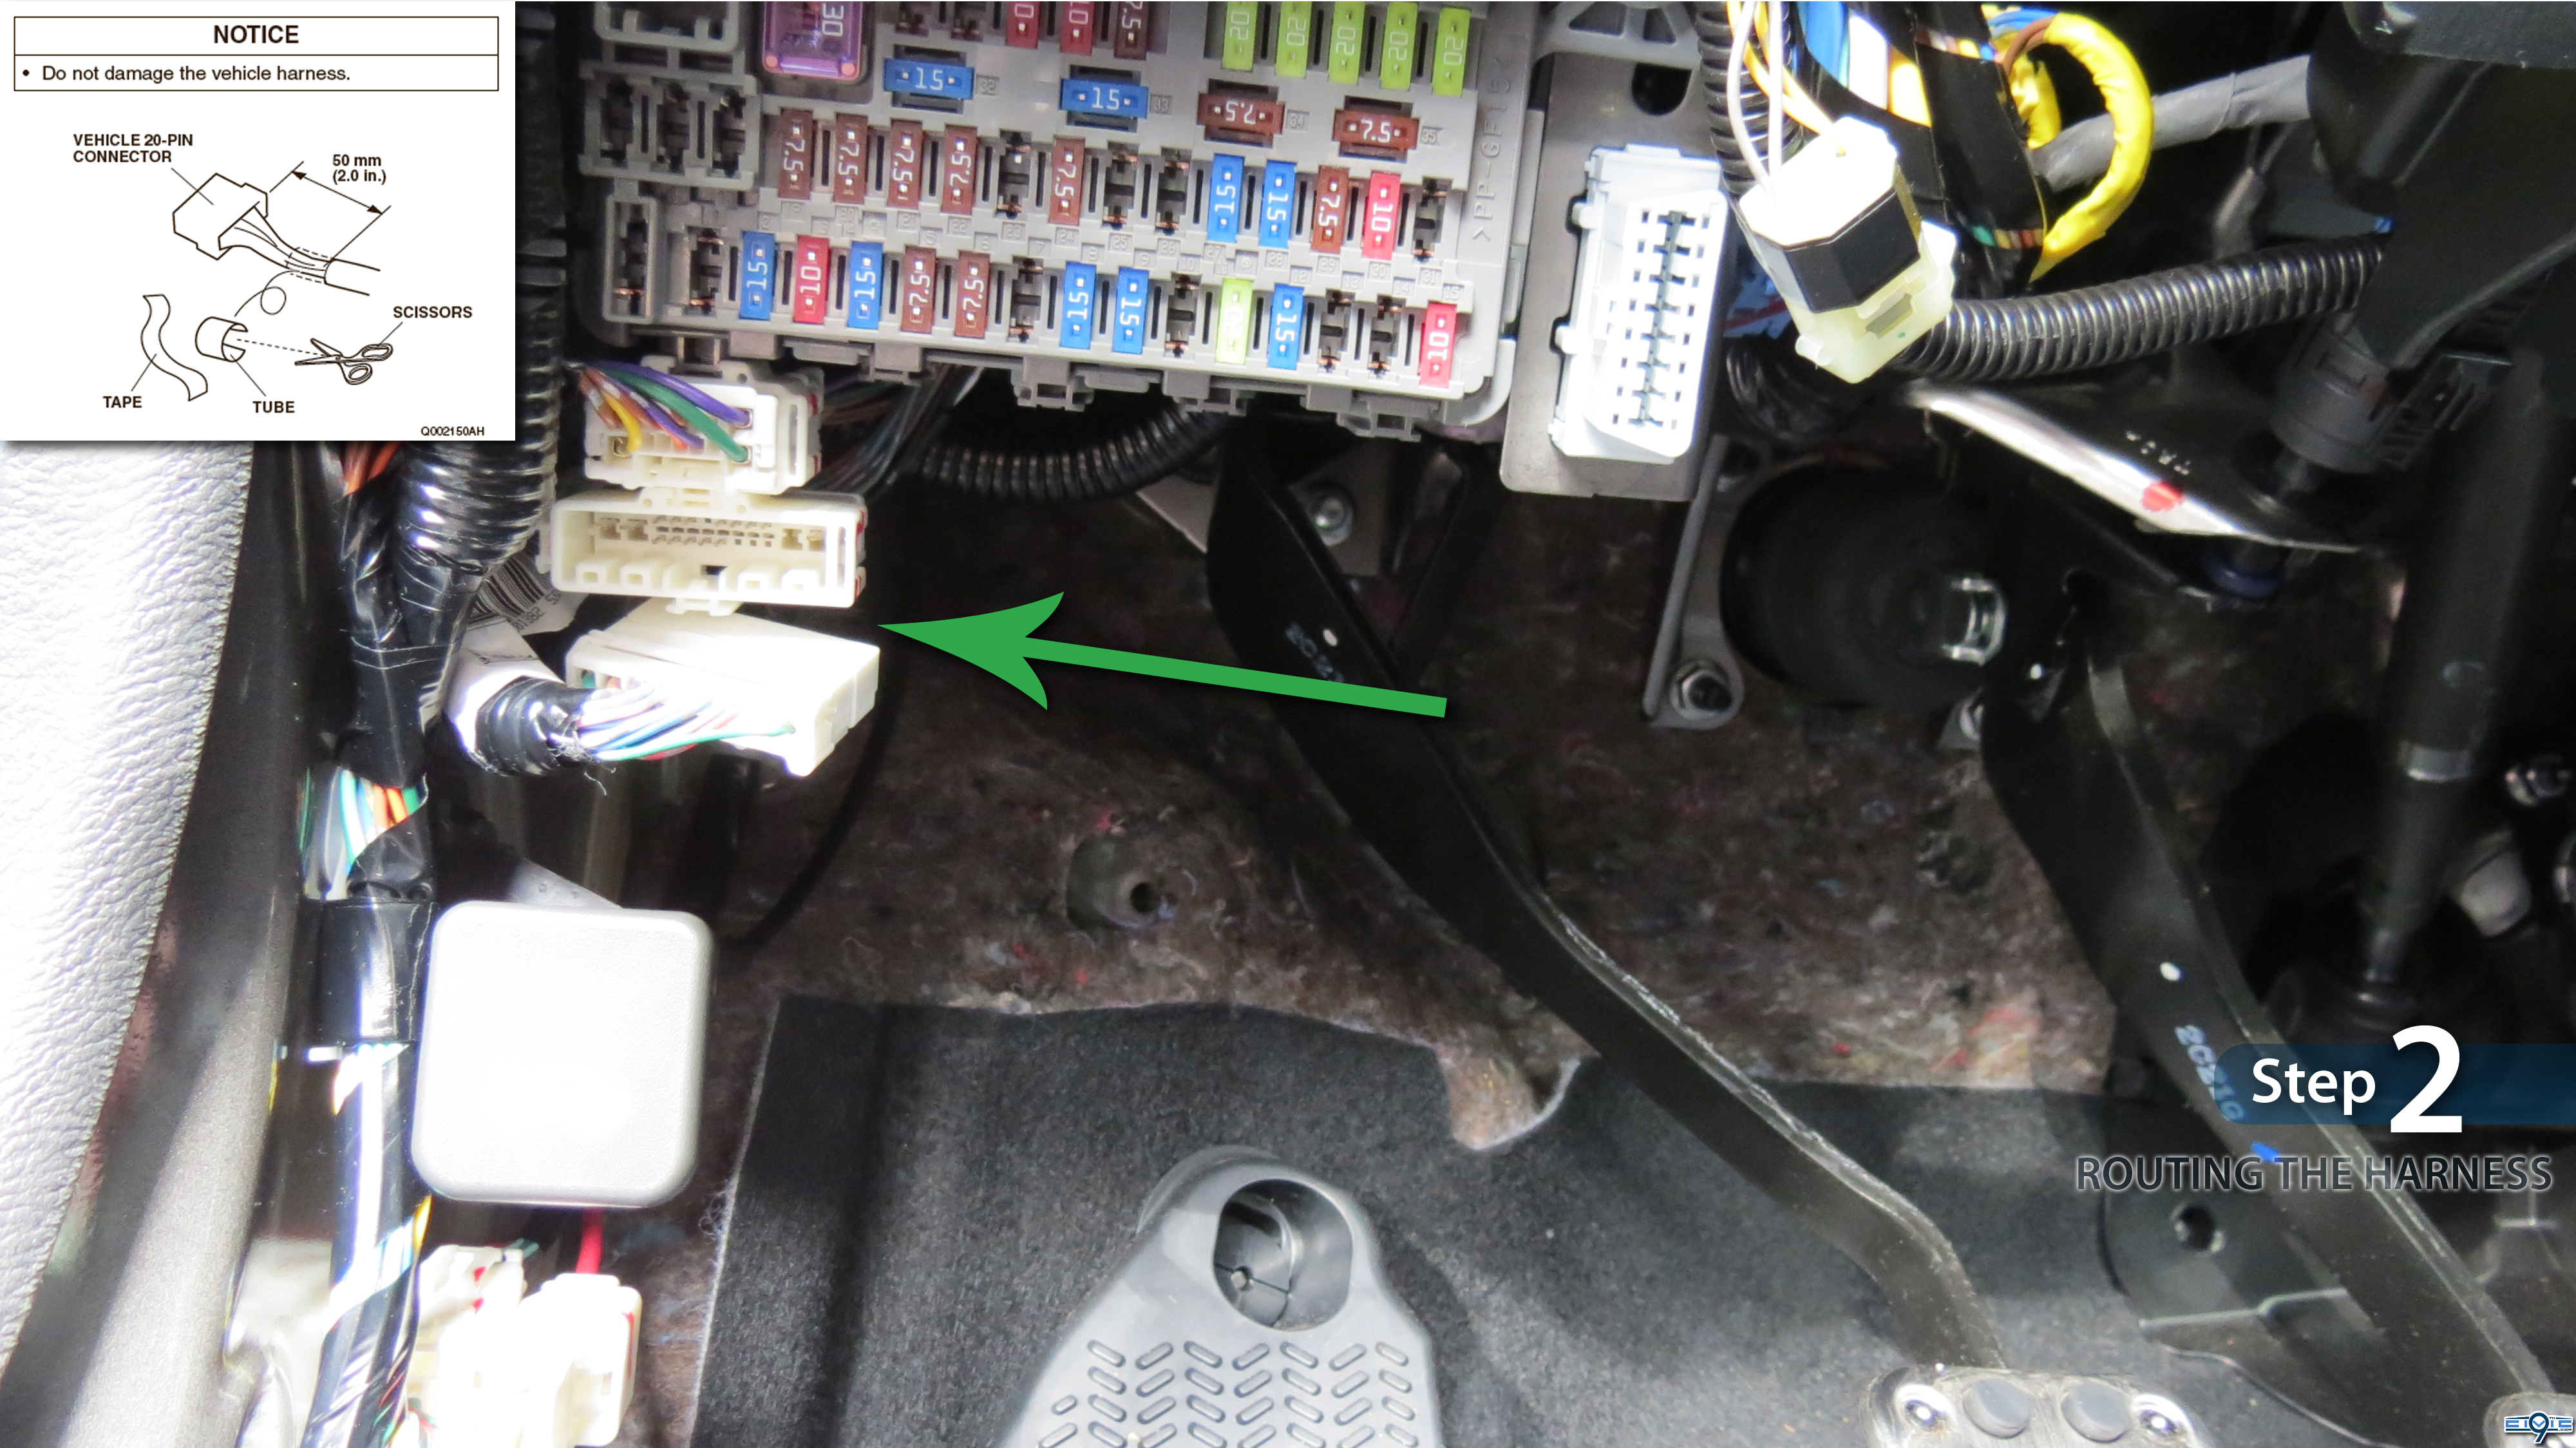
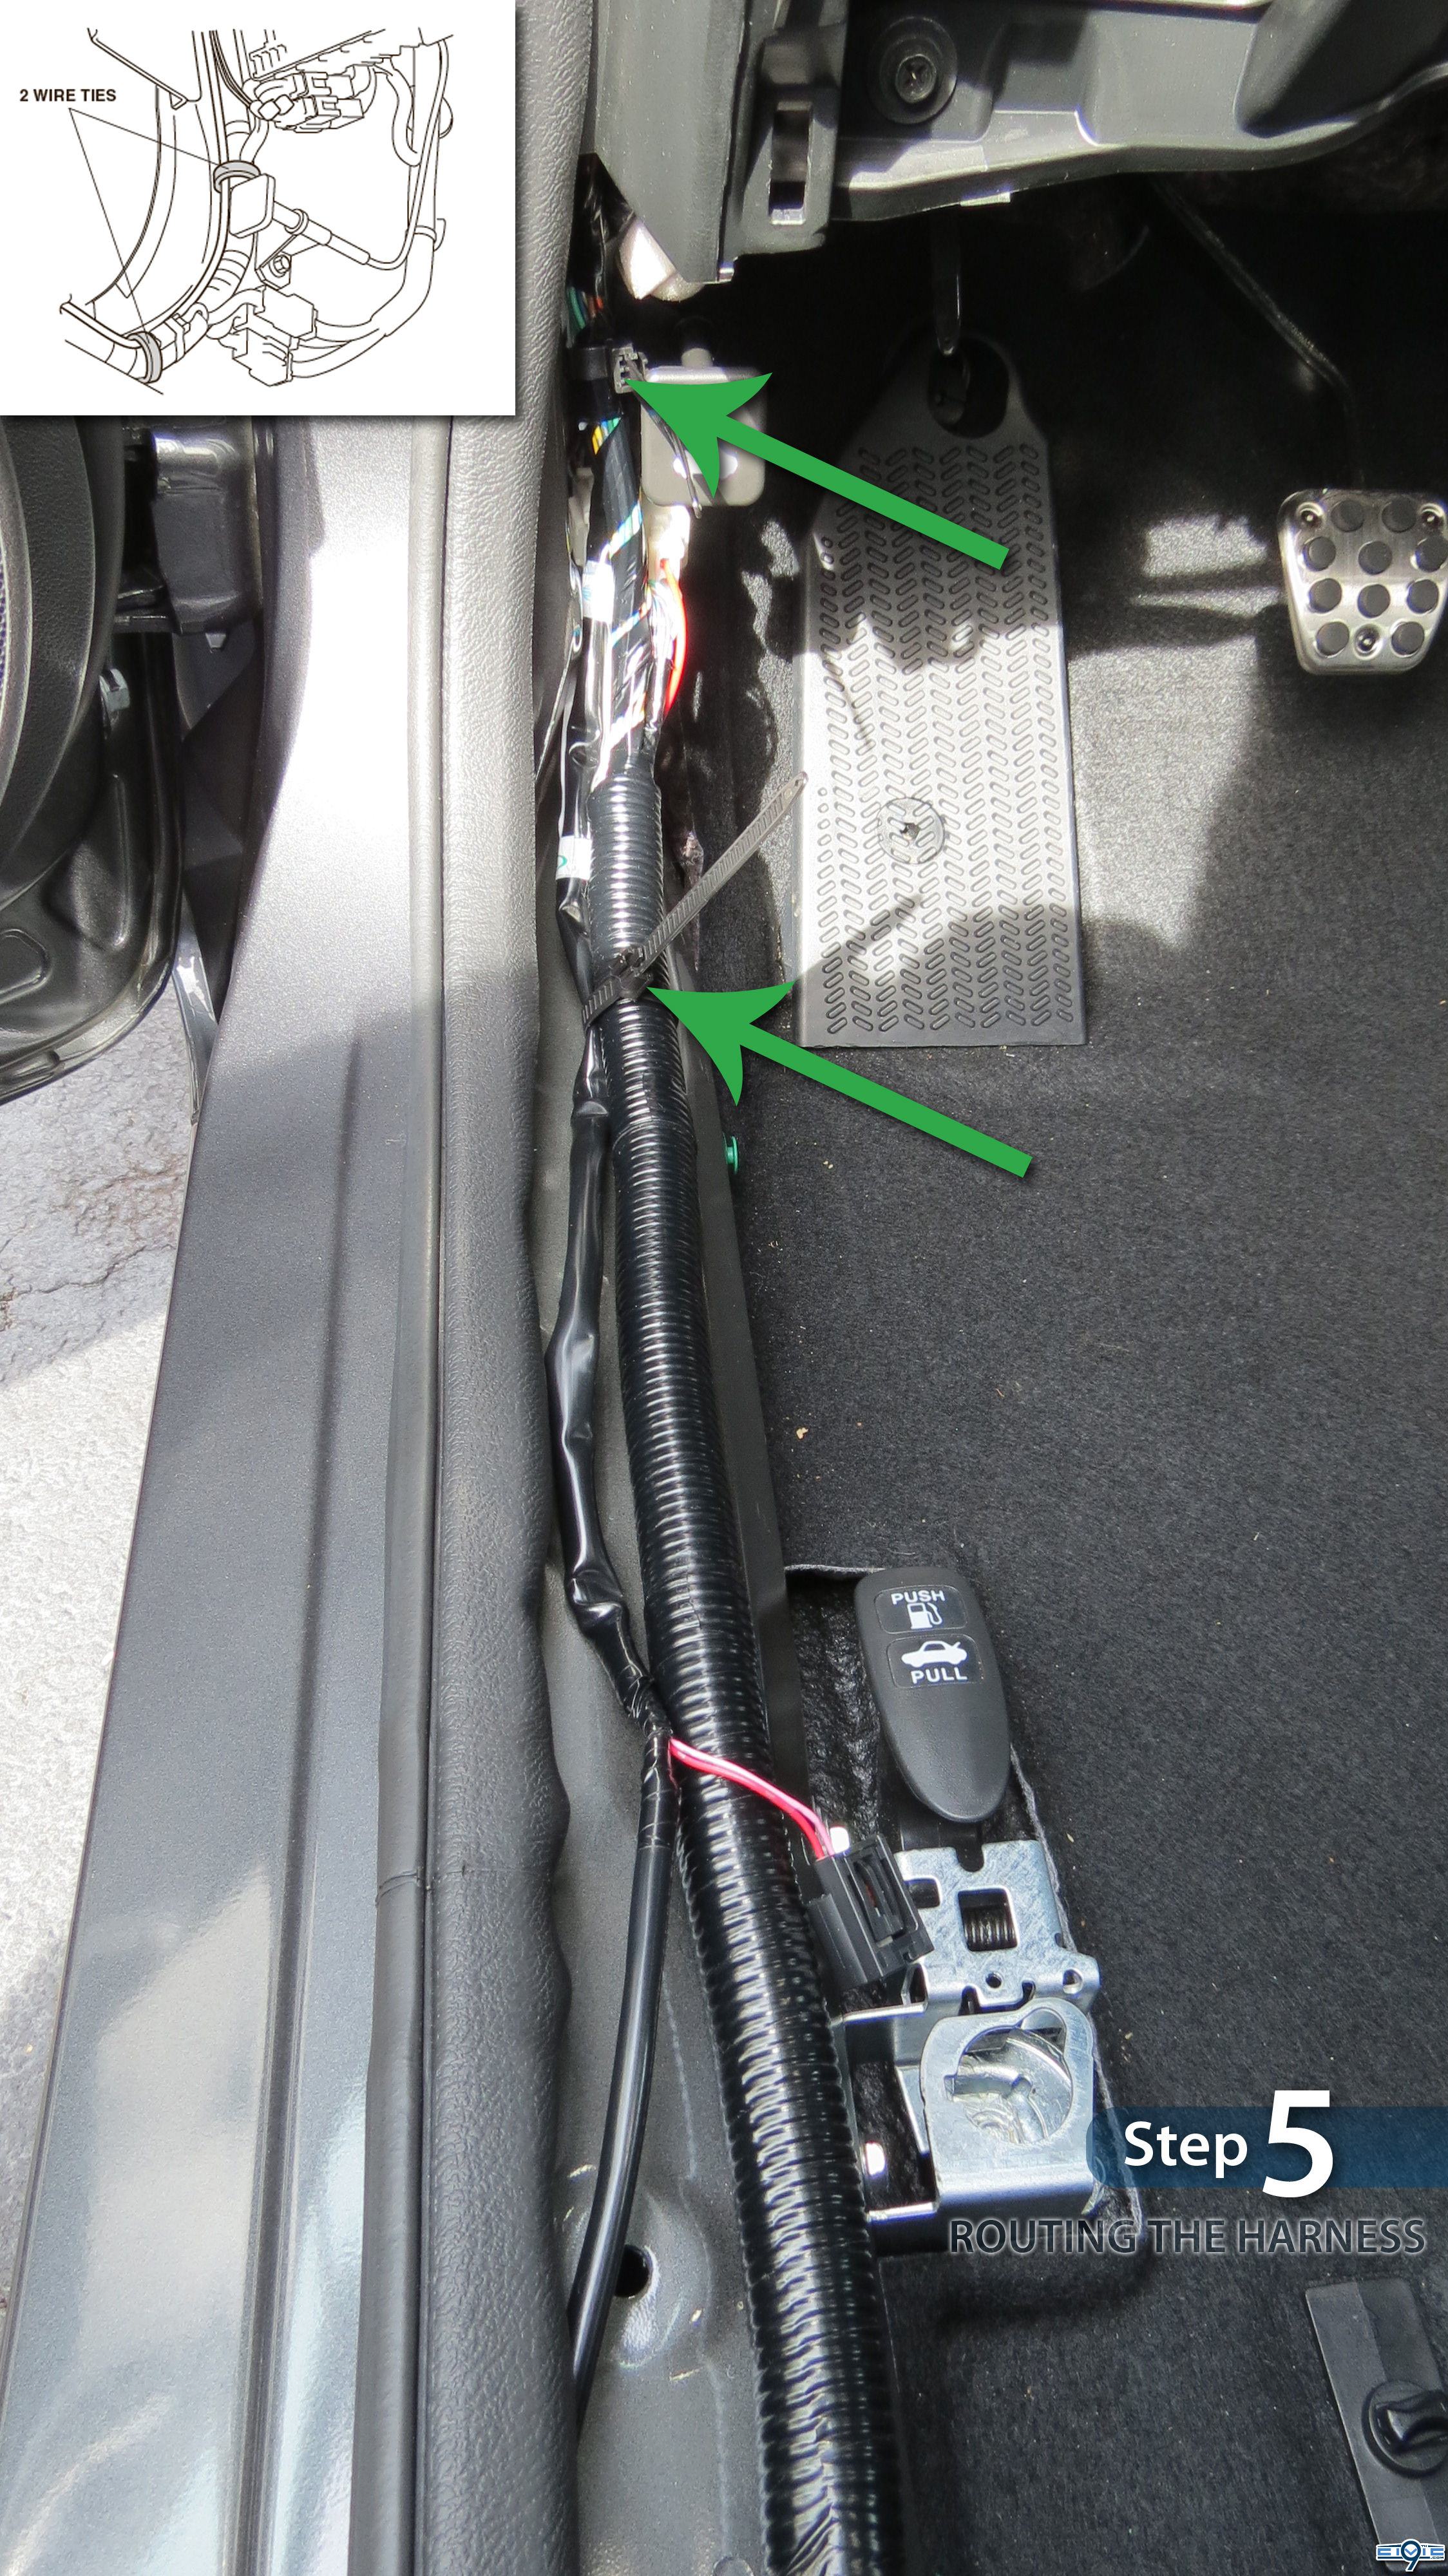
- On the driver's side, unlock the trunk lever, pop the plastic cover, and remove the screw.
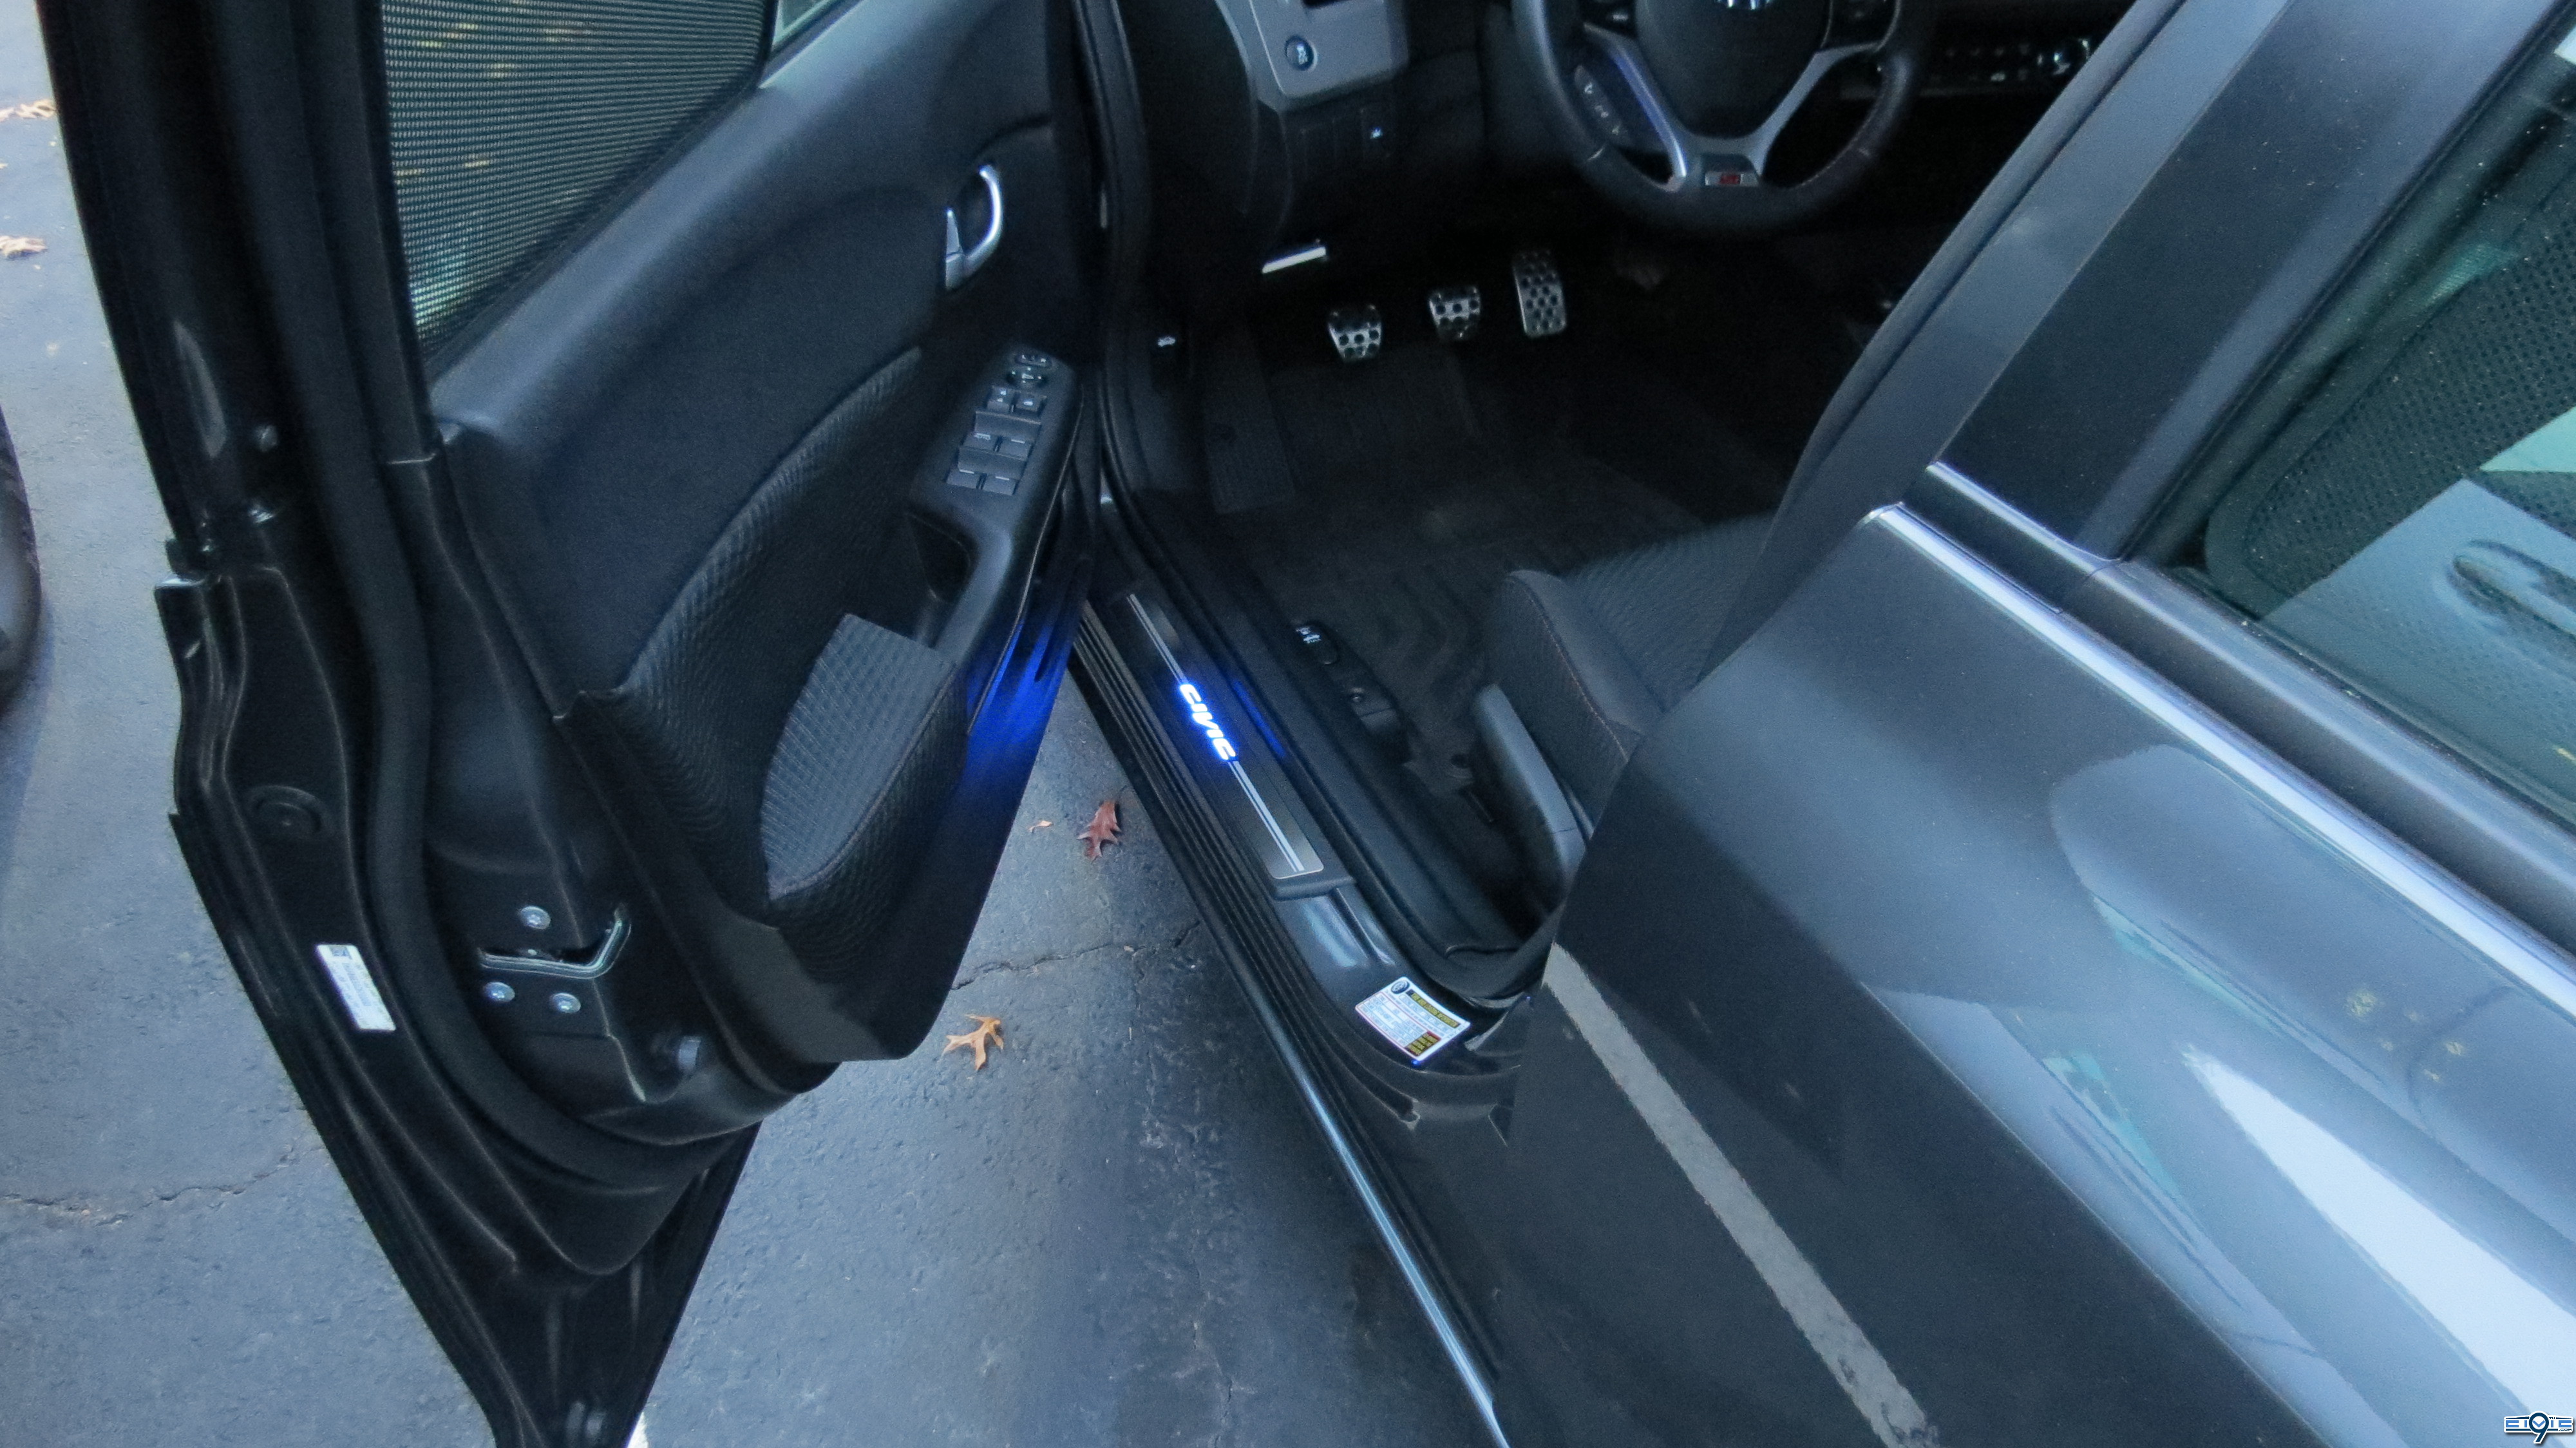
Remove the driver’s front door sill trim and kick panel.

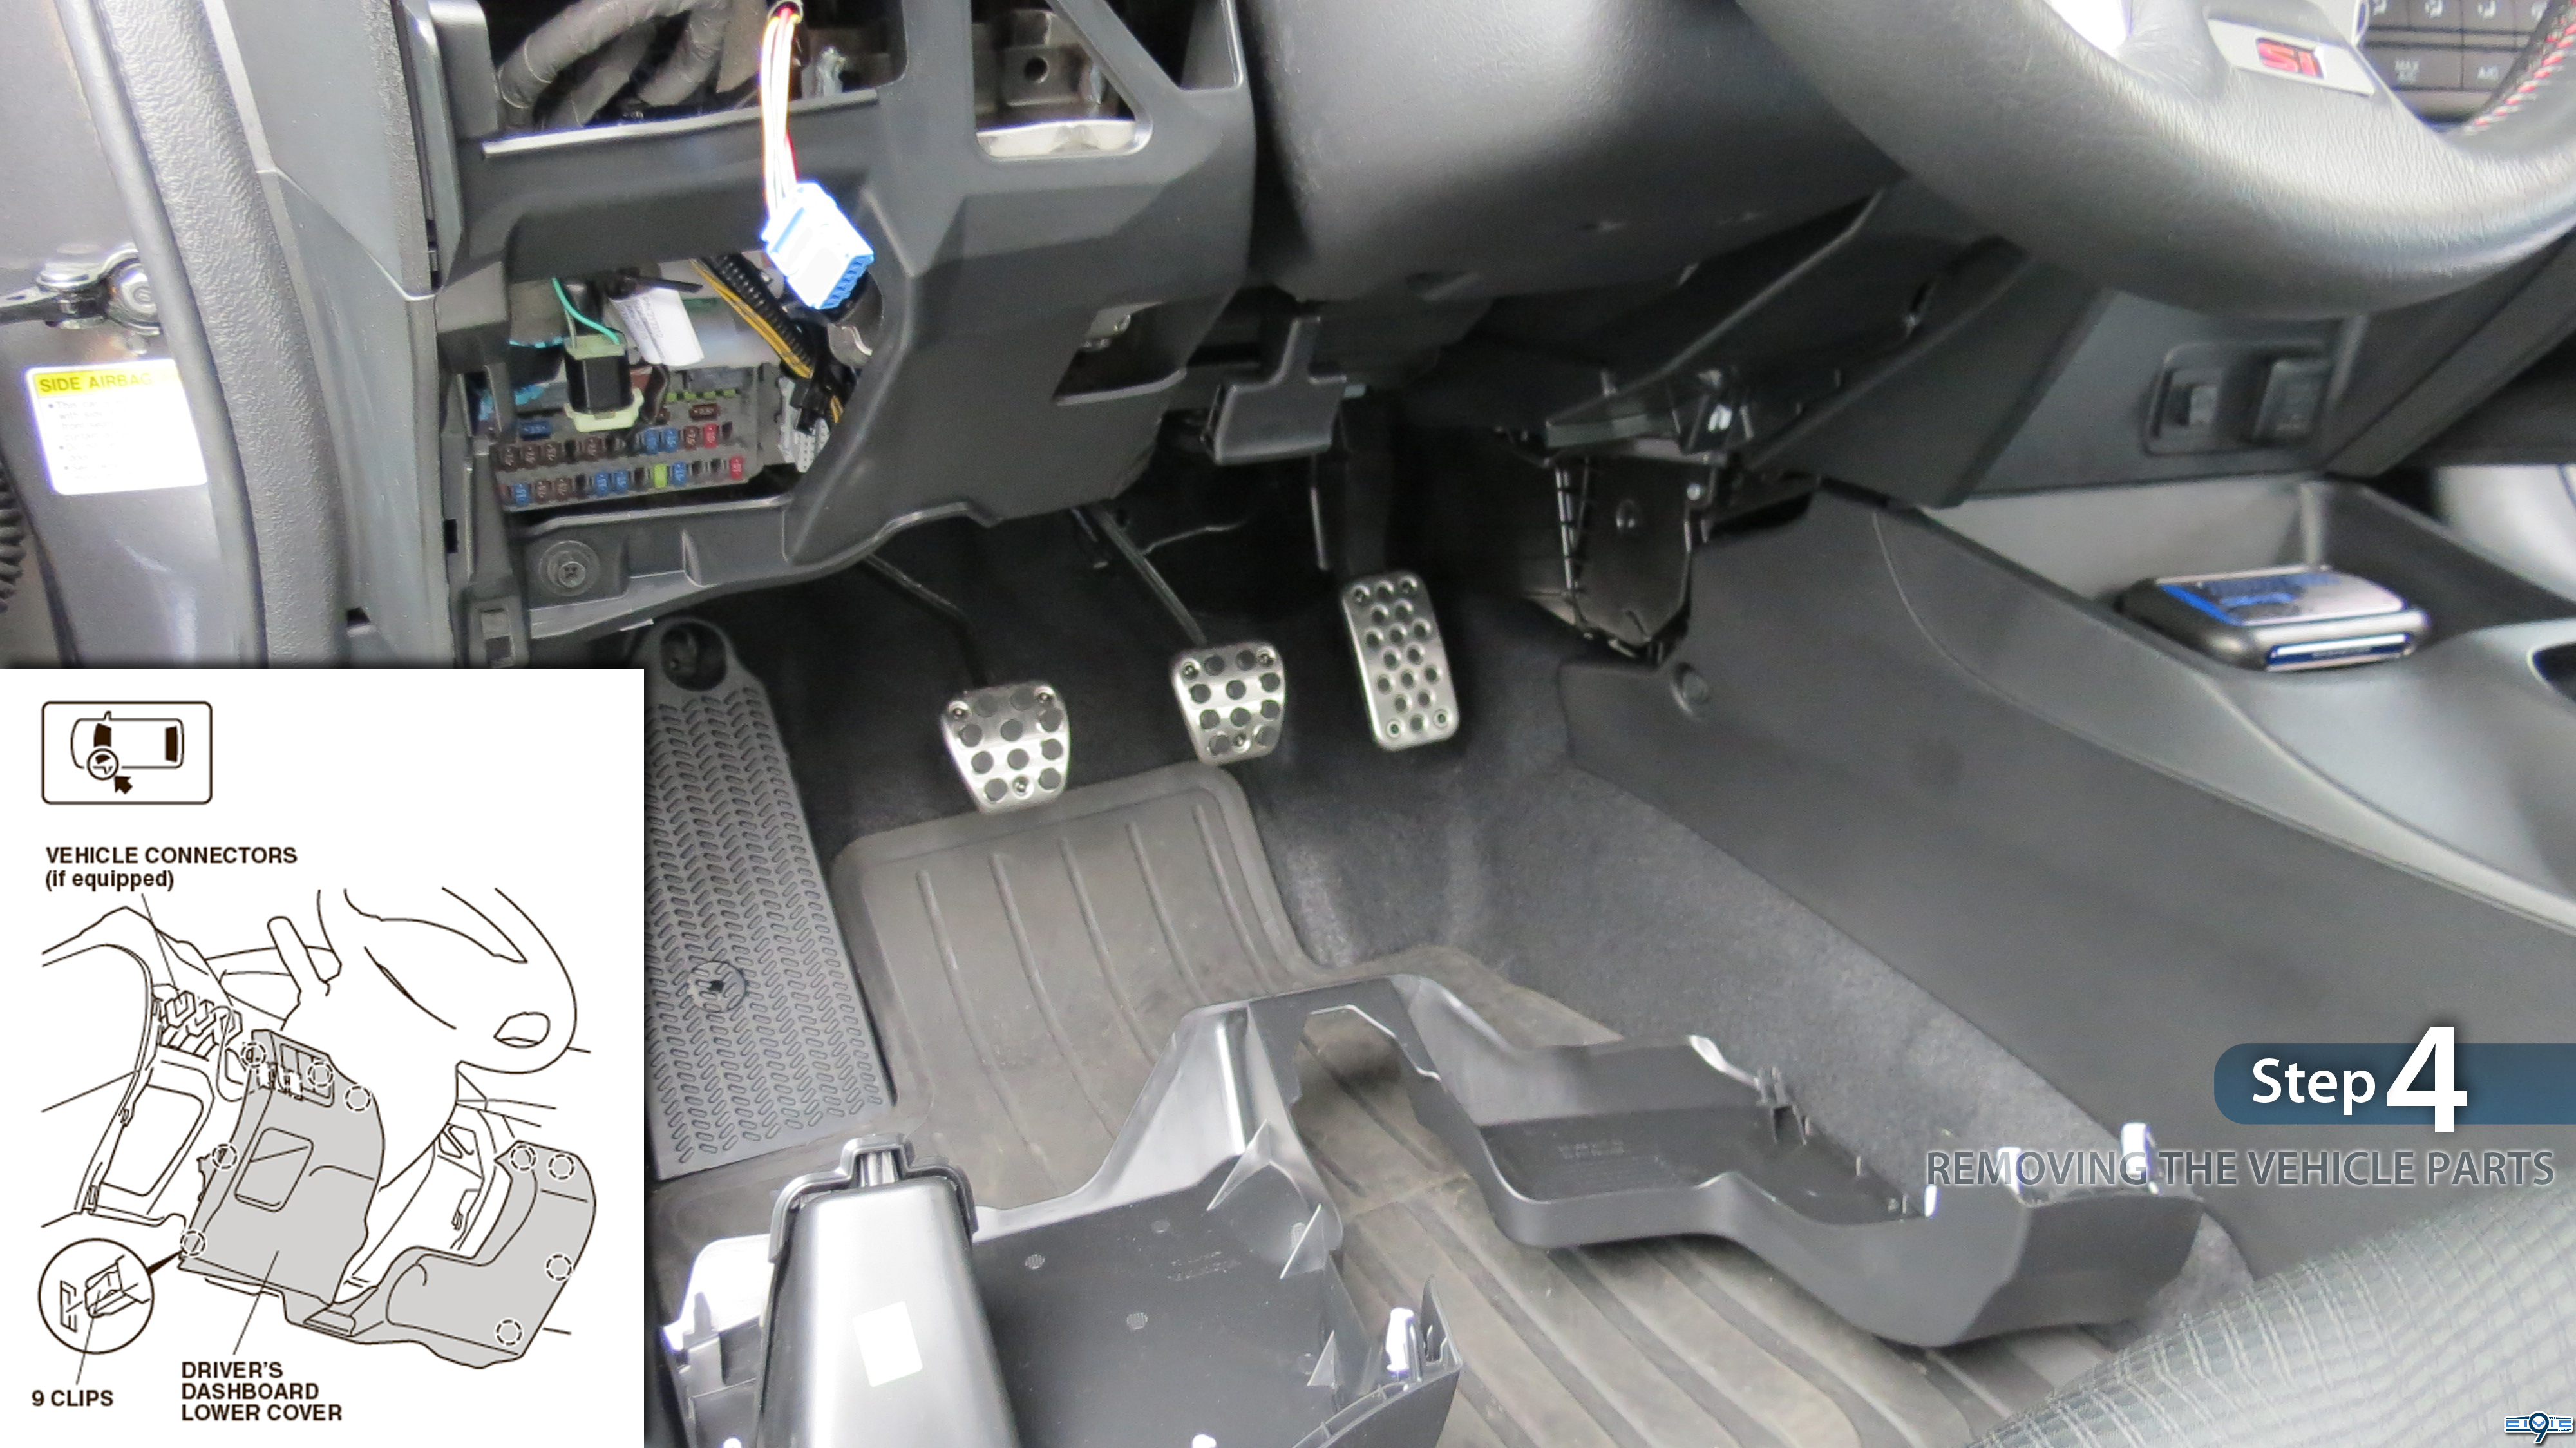
- Remove the driver’s dashboard lower cover.

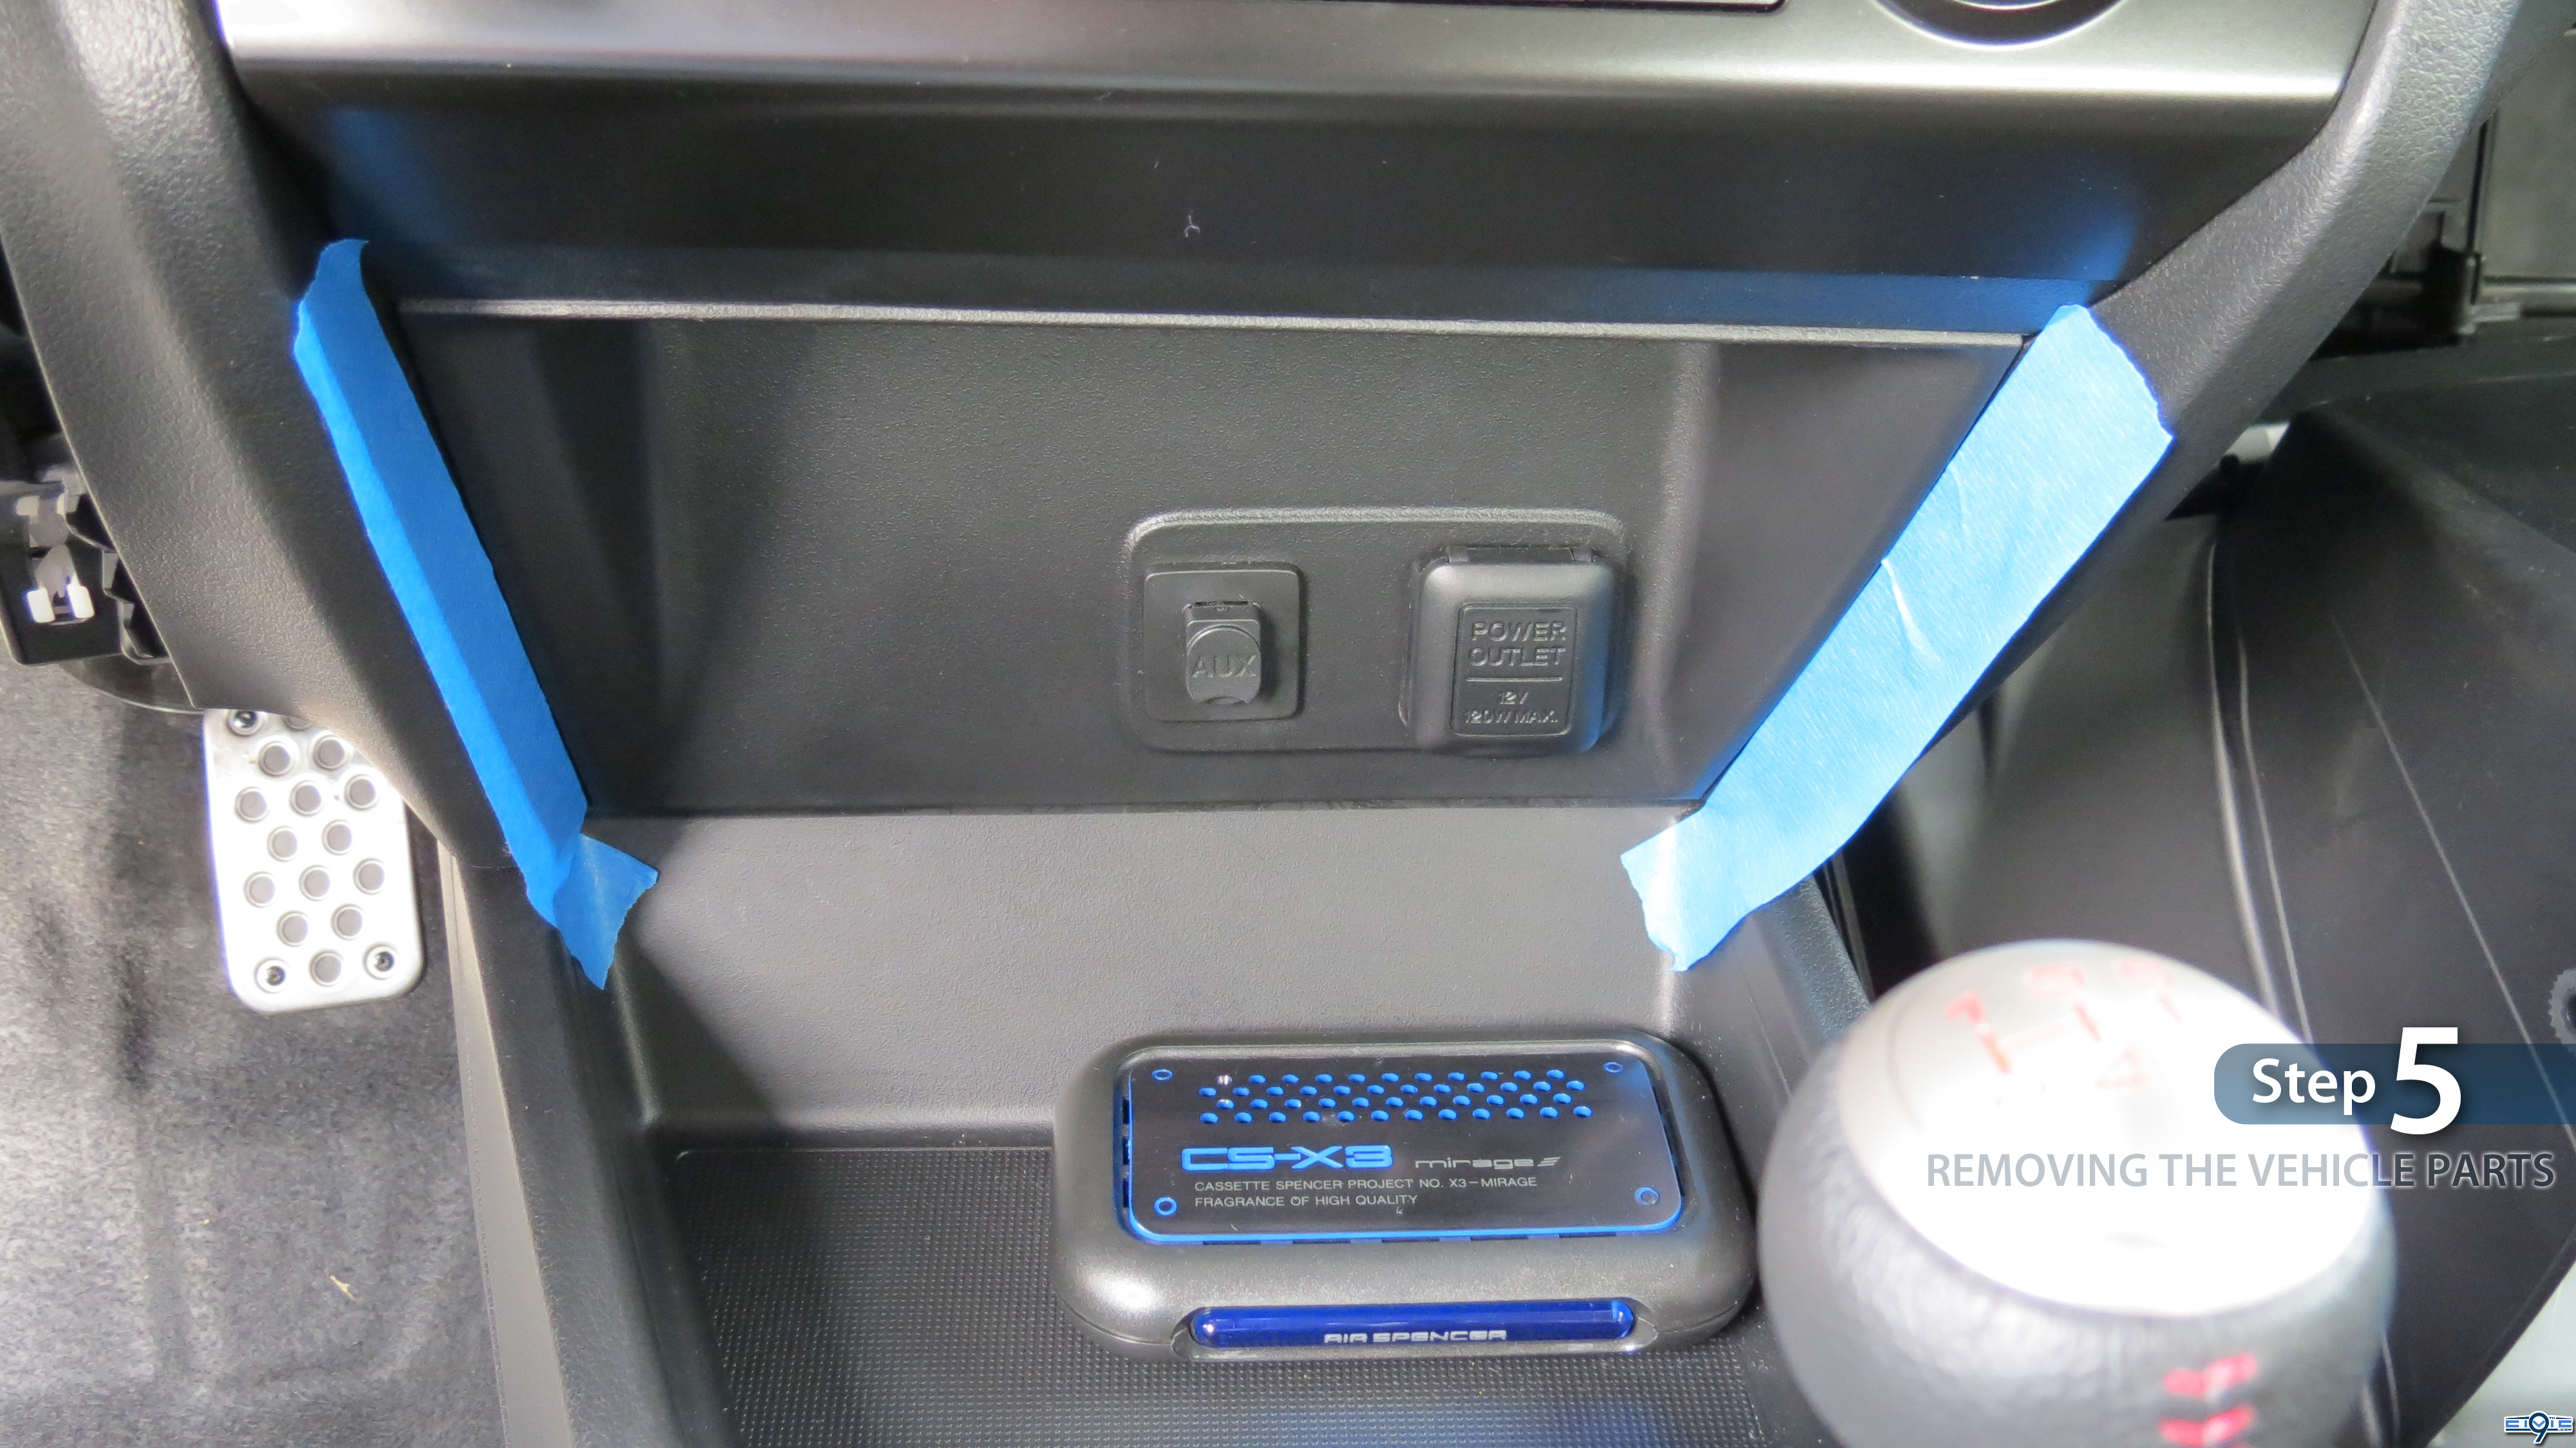
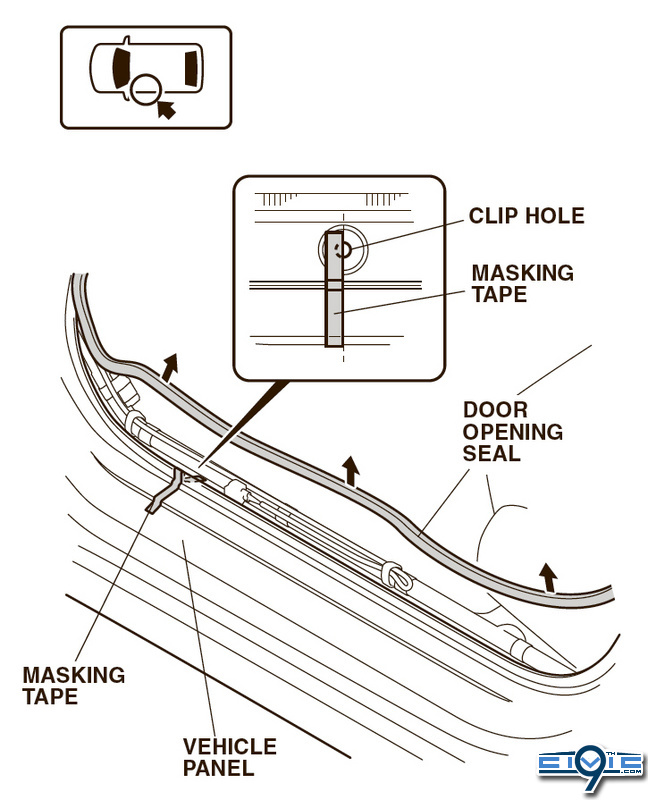
- Attach masking tape to protect the center console panel.

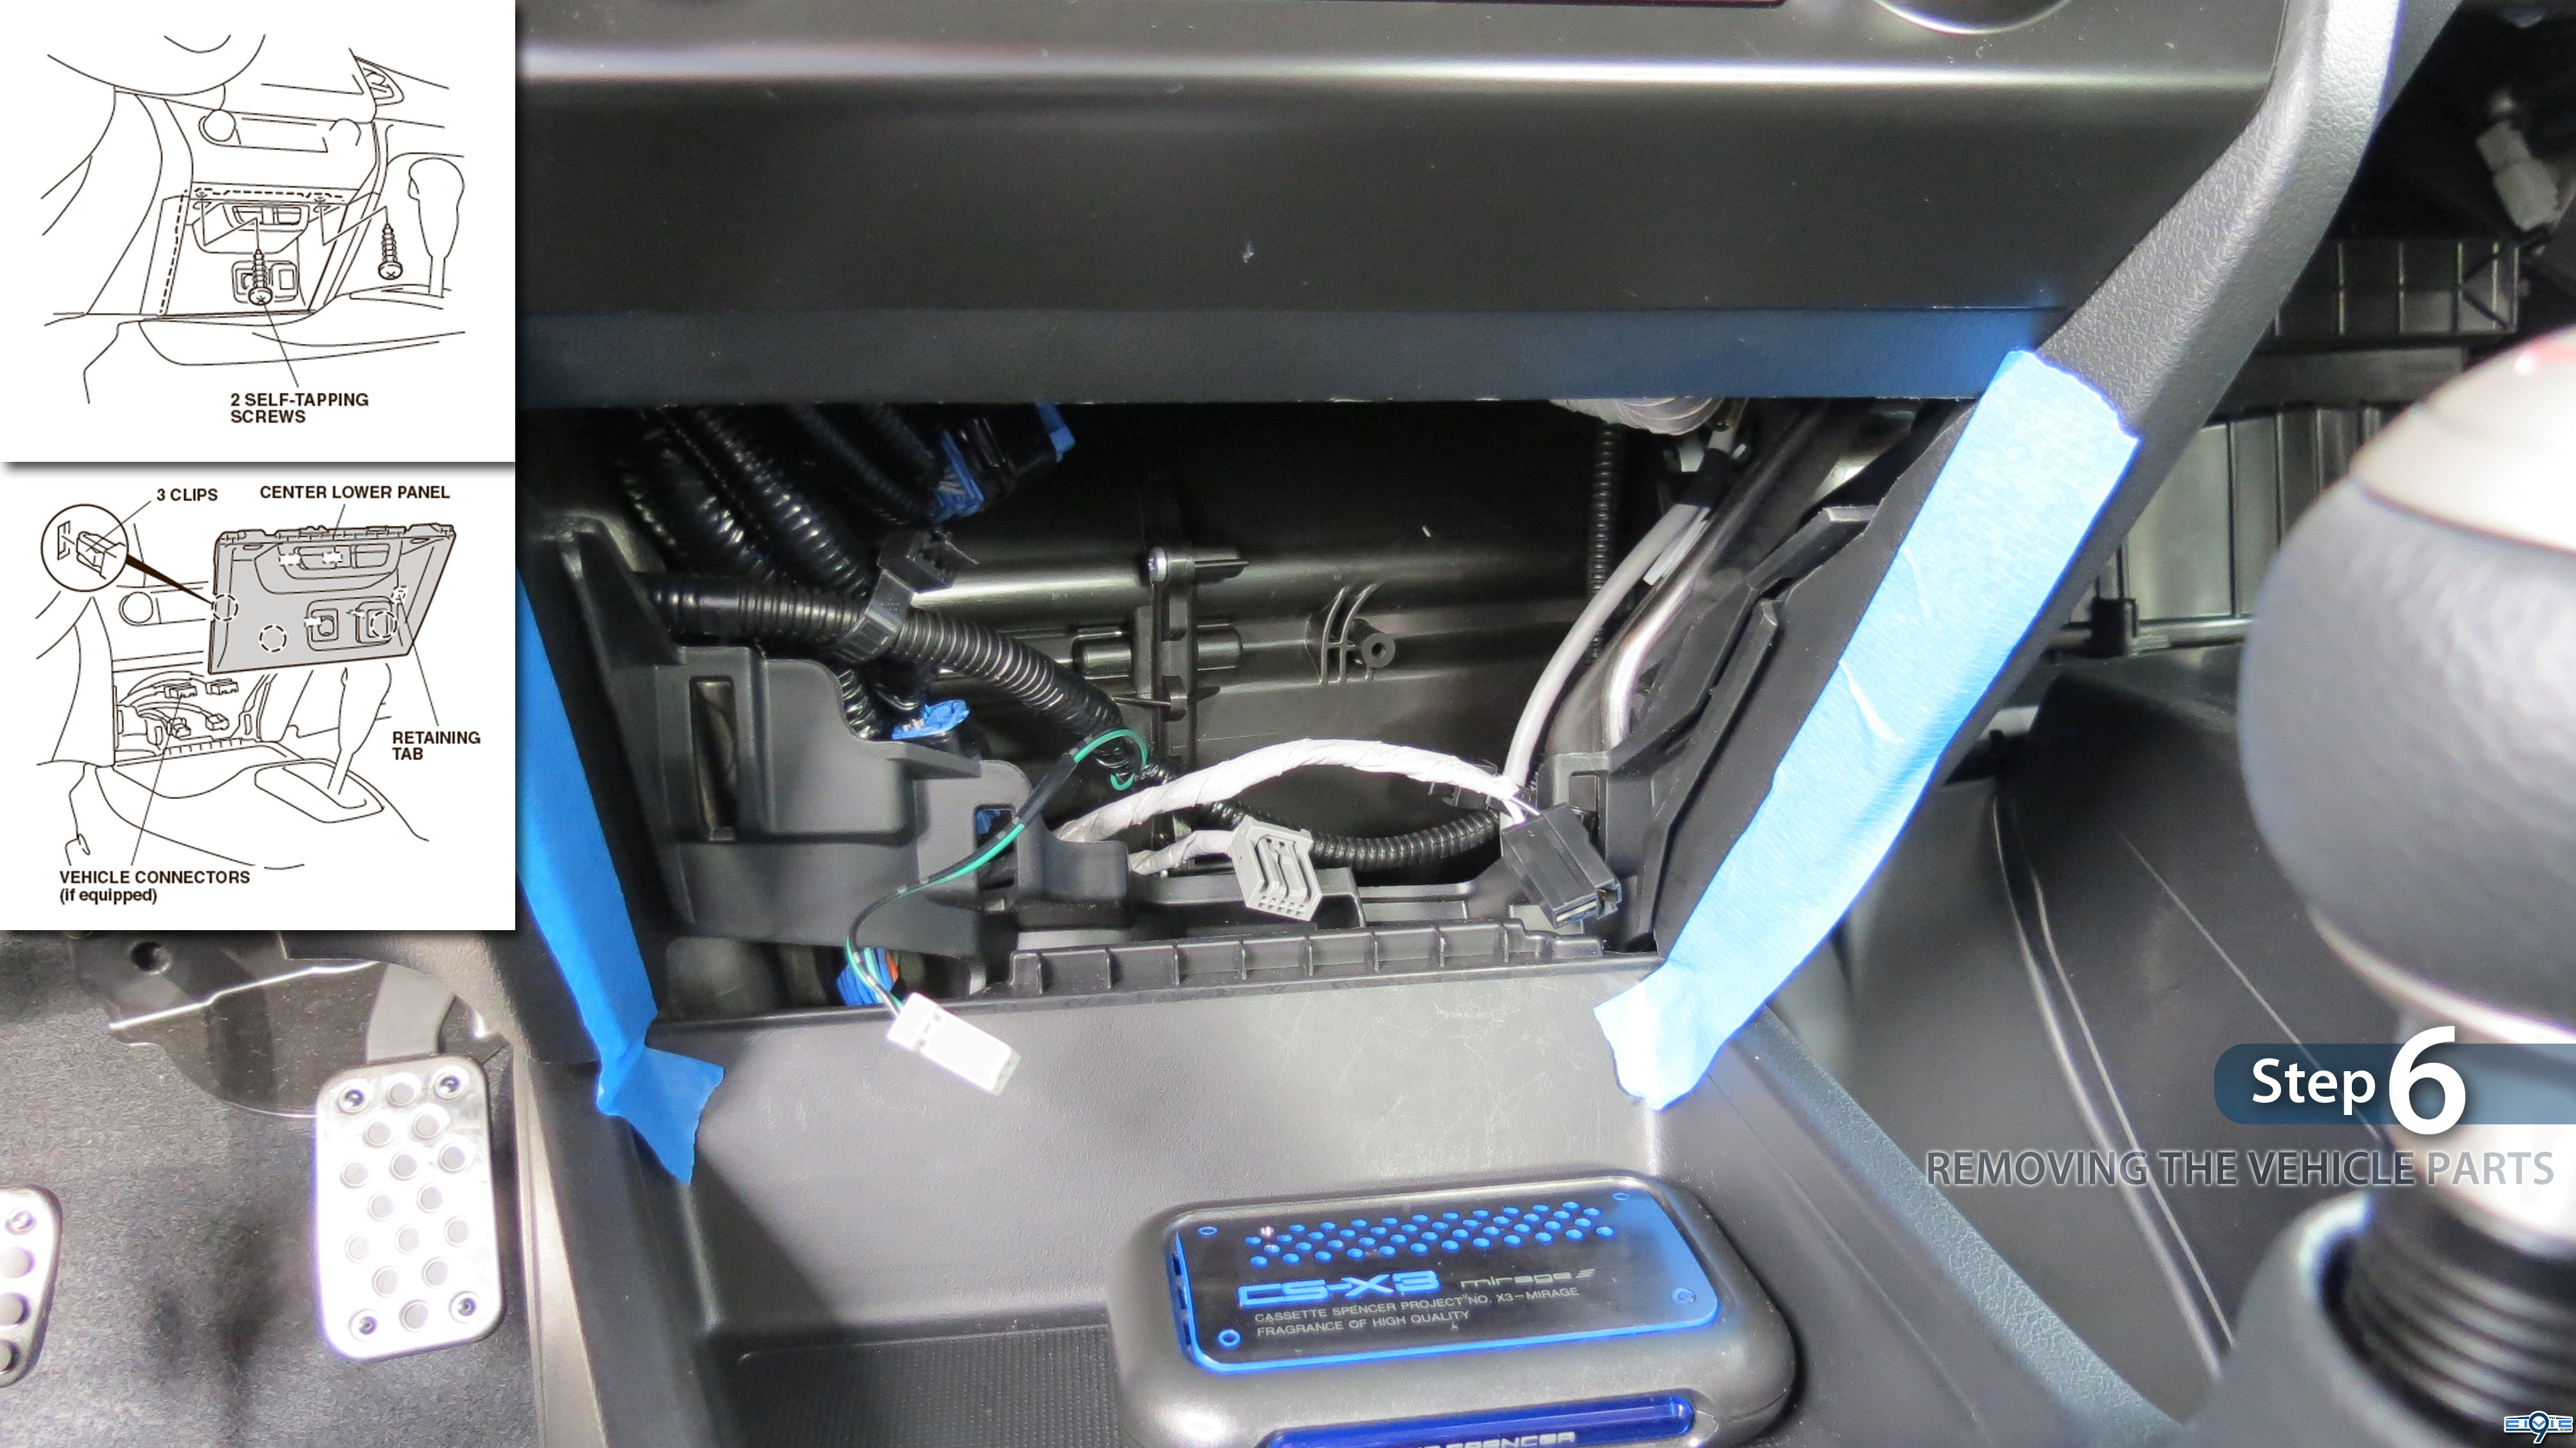
- Remove the two self-tapping screws, then remove the center lower panel by pulling it towards you from the bottom.

- Slide both front seats forward fully and remove the B-pillar lower trims on both sides of the vehicle.
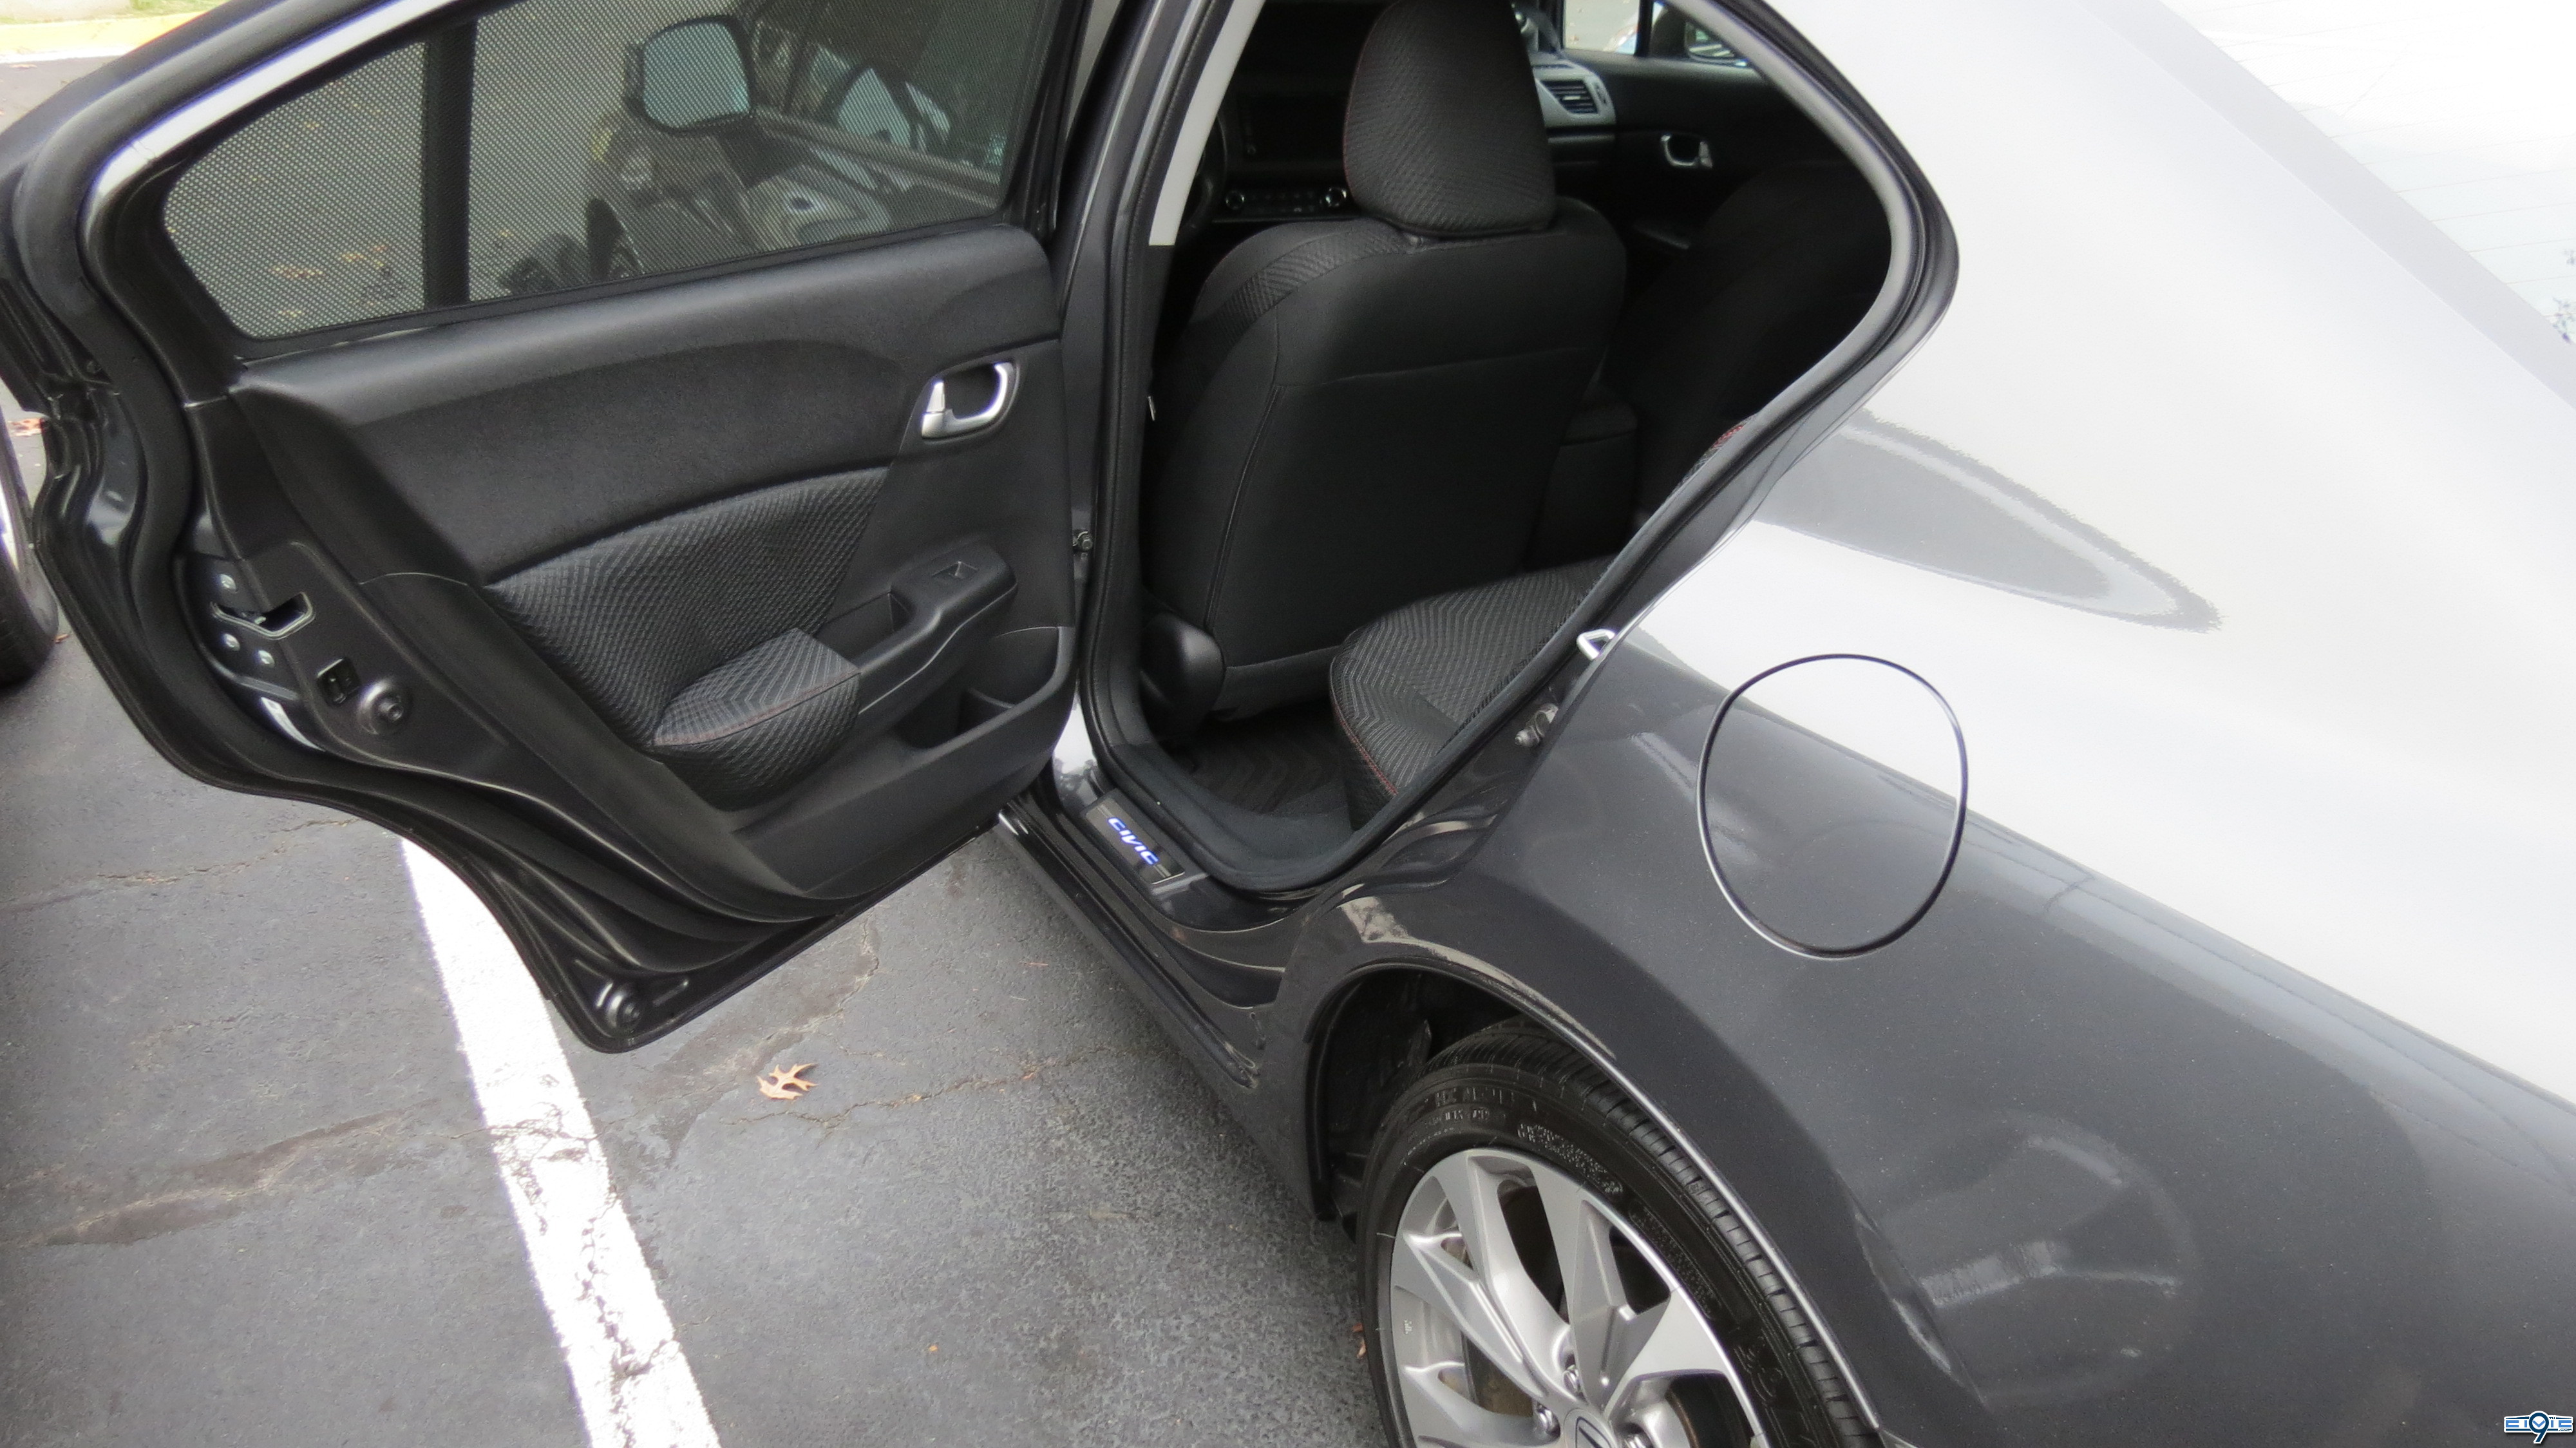
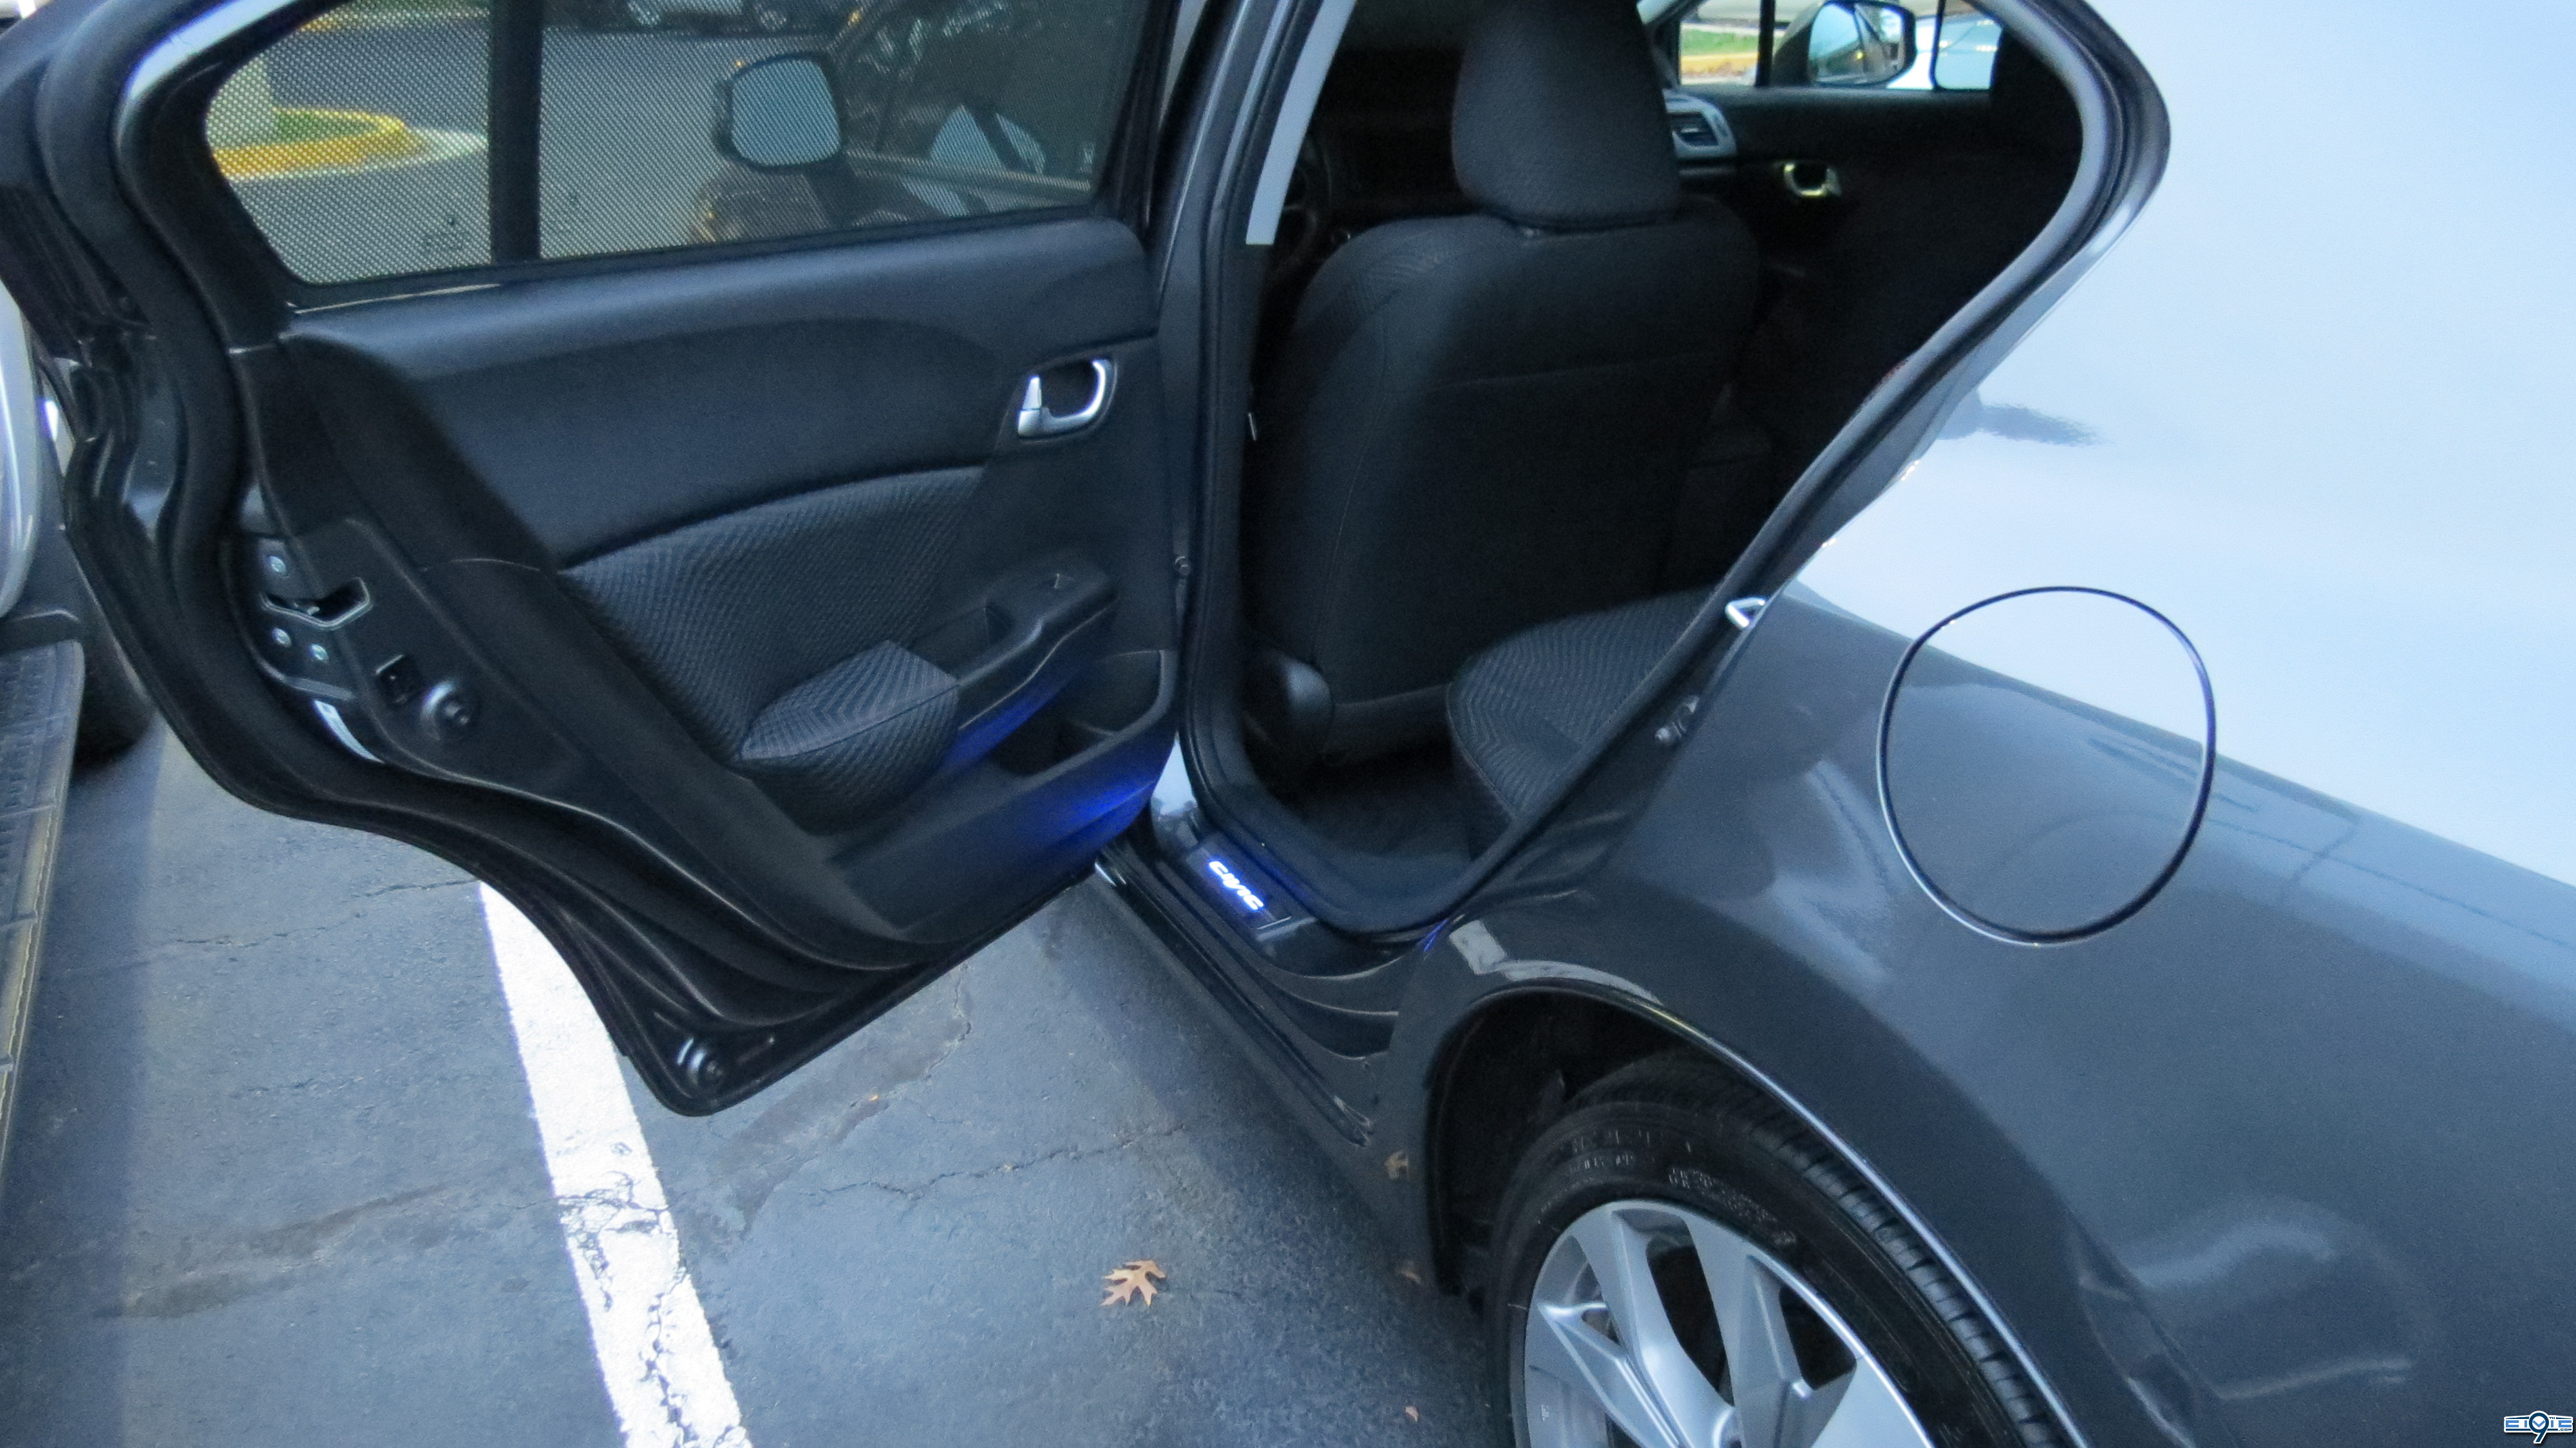
The rear door sill trim doesn't necessarily have to be removed, but it does need to be partially opened on both sides. In the second graph in the photo below, while pushing down on the rear seat cushion (A), pull the seat hook handle (B) to release the hook (C). While pulling up the seat cushion, pull up and/or remove the rear door sill.