bamathrasher
Well-Known Member
- 20
- 26
As promised, here is the DIY tutorial for installing the Red H Emblems for our cars. I didn't buy the KPlayground or any fancy official ones that say they are compatible for our 2012's. The fact is: There is no emblem out there right now that has the pins on the back that will fit our cars. These are the ones I purchased because they are the same price as one emblem some places, for the full set and I figured why the hell not take the chance: 06-10 HONDA CIVIC SI 4DR/ FIT RED JDM FRONT+REAR EMBLEM | eBay. When I set out to do this today, I wanted to do it without breaking the emblems and removing the front bumper to get to the silver rings that hold the emblem in place, but sadly I don't have the patience to do that. If you do, more power to you.
Difficulty Level:
2/10 - Did it myself in about 20 minutes time.
Tools Needed:
Dikes/Tin Snips
Needlenose pliers
Dental Floss/Fishing Line
Credit Card you don't care about
Level if you want to be meticulous
Patience
Step 1: Remove the new emblems from the packaging if you haven't already. Here is what I started with.
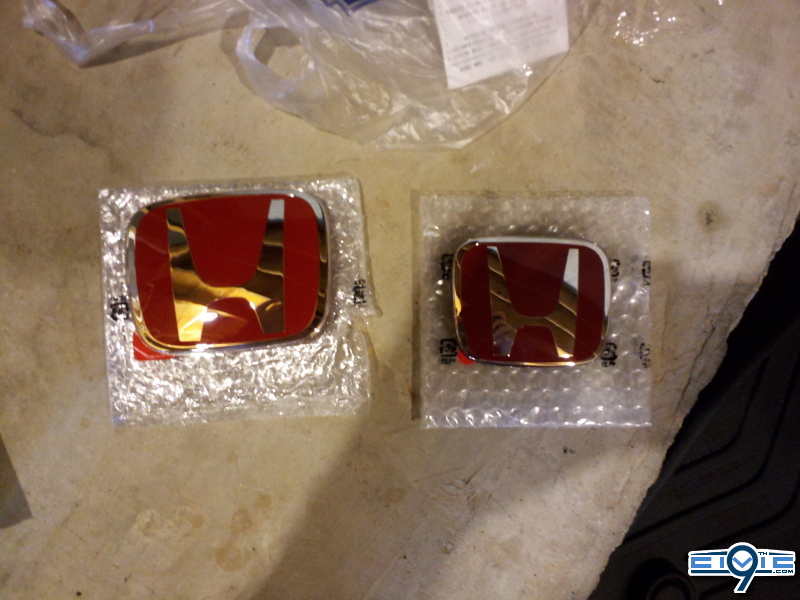
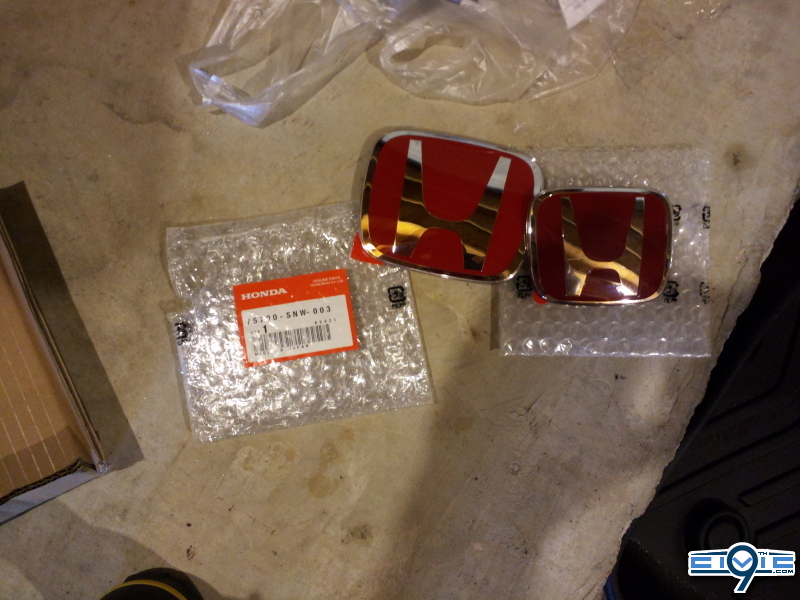
Step 2: Starting with the rear. There is the easy way and what I see as the hard way.
Easy way: Take some dental floss and slide it behind the emblem starting in one of the top corners and give it a solid tug. I didn't have any fishing line so I was using dental floss and the floss kept breaking on me. So I used the floss to pry up the emblem enough to stick a credit card behind so I didn't have to worry about scratching up my paint trying to squeeze it behind the emblem. Slowly work your way around the corners of the emblem pulling pretty hard until the emblem pops out.
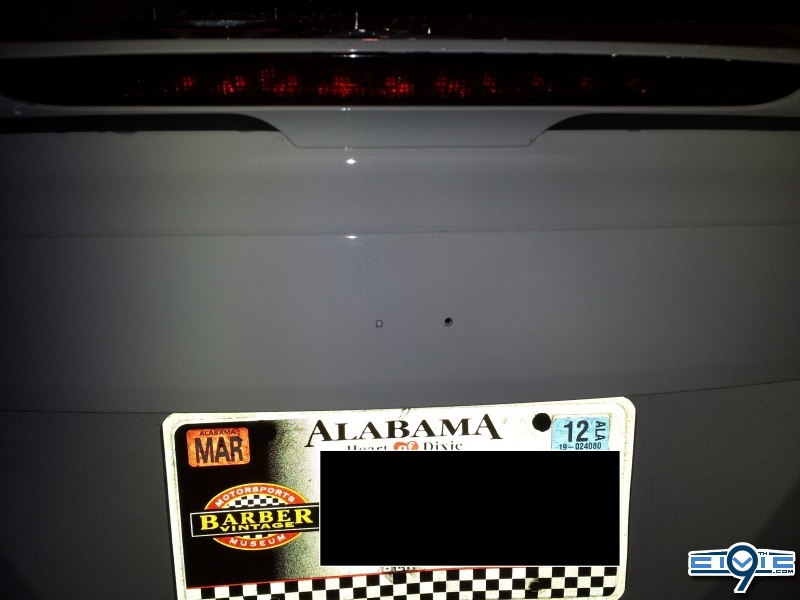
Hard way: If you are patient, you can fairly easily get to the pins holding the rear emblem through a hole above the license plate. Using a pair of needlenose pliers you can access these tabs and I believe if you pinch them correctly they will slide off the pins on the back of the emblem. Here is my attempt at taking a pic of those tabs.
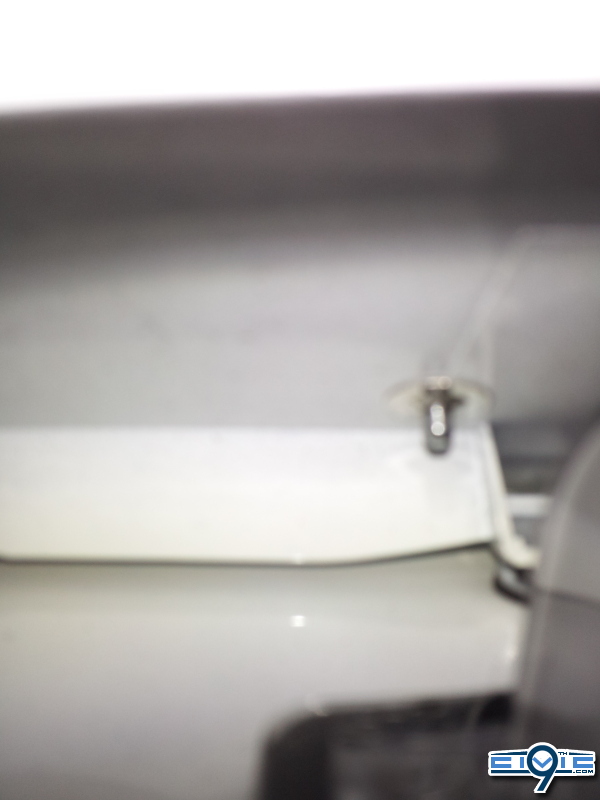
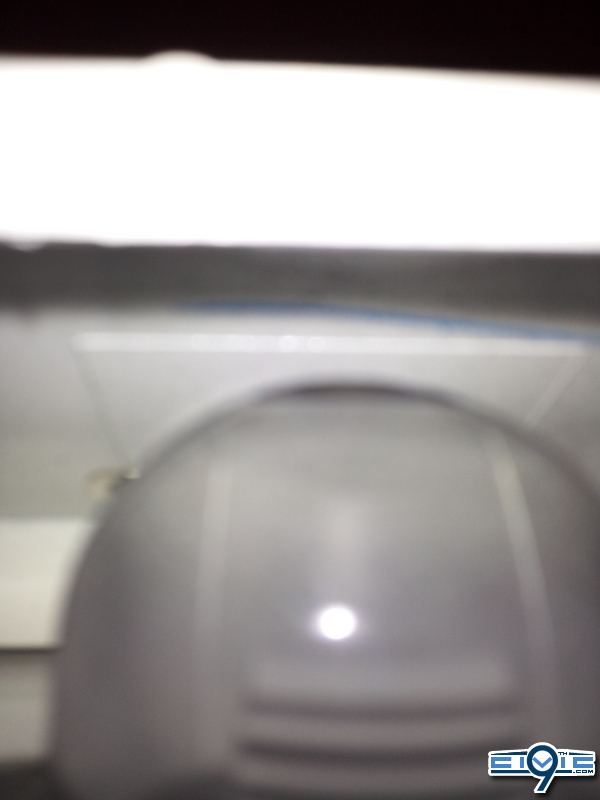
Once the emblem is off:
This picture shows the difference in pin locations for the stock emblems and the JDM emblems, the JDM is clearly wider which is why they don't fit.
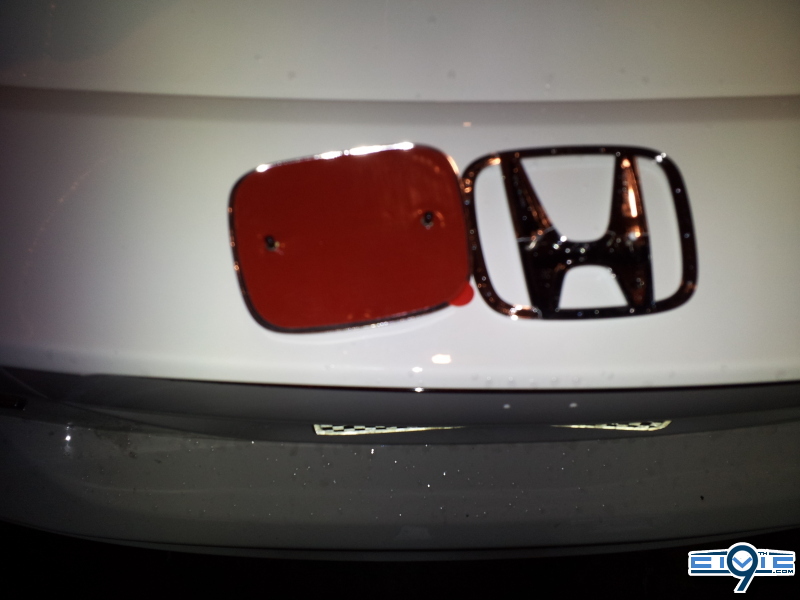
Step 3: Using the dikes or tin snips or scissors or your weapon of choice.. cut the pins on the back to the point where there is no plastic left which is why I chose to use the dikes, I practically grinded the pin down to nothing.
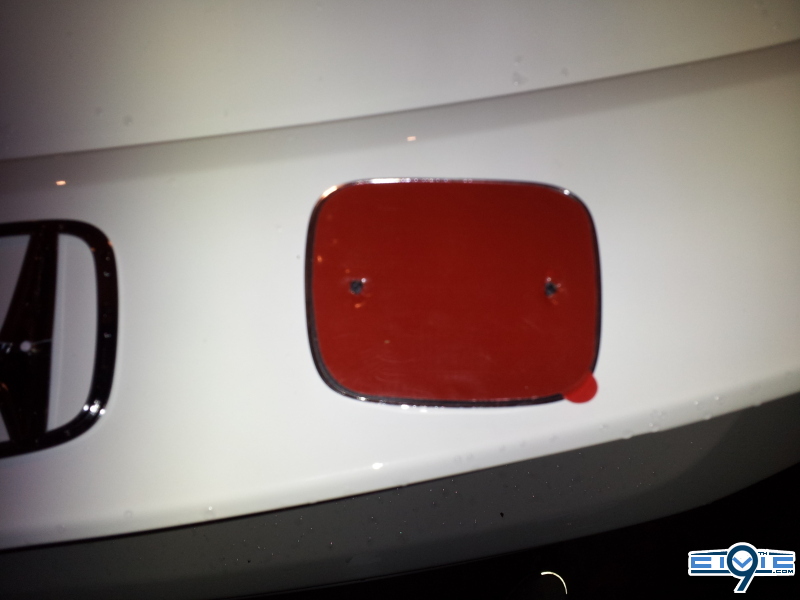
Step 4: Peel off the cover on the back of the emblem and do your best to line the emblem up. I always do mine crooked on every car so I actually busted out my level to attempt to get it as straight as possible. Once you have it lined up to your liking, press and hold so that the 3M adhesive does it's job and sticks to the paint. The tape is actually incredibly strong. It will take some superior effort to remove these emblems if I ever decide too, and I'd be willing to bet it's going to take paint with it if I don't heat the adhesive up.
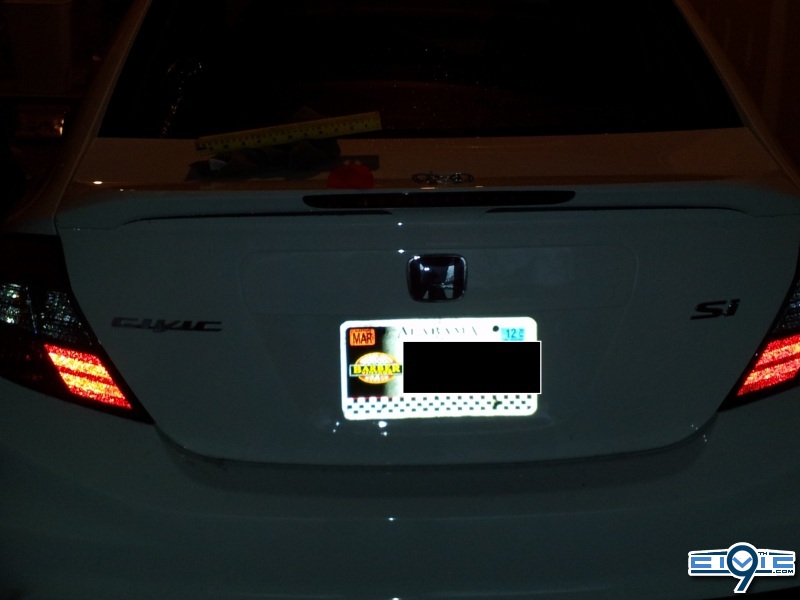
Look mom, no gaps.
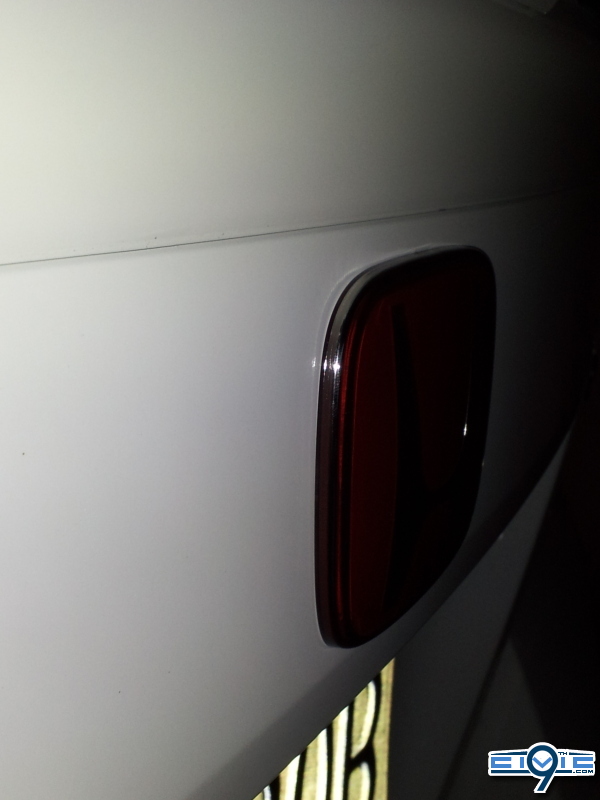
Step 5: On to the front, once again.. the easy way and the hard way.
Easy way: using dental floss and credit card method, work your way around the emblem until it pops out. There will be casualties, the emblem will not survive the encounter, pics later.
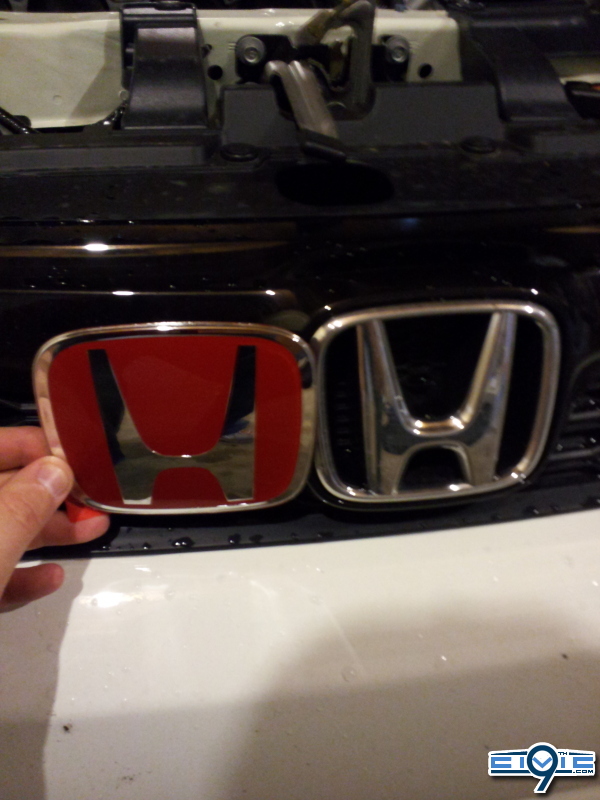
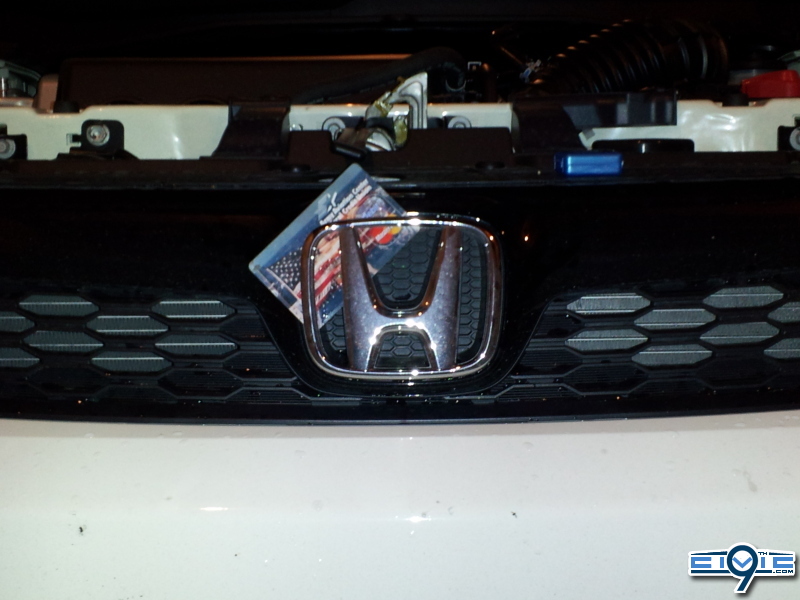
Hard way: Looks like by removing all of those annoying plastic clips you can remove the grill from the bumper, or you might have to remove the front bumper entirely, either way. The front emblem is attached the same way the rear is, using plastic pins attached to metal rings. Remove the bumper and clips, profit.
Step 6: This one is easy to line up because the grill actually recesses the emblem back about an 1/8th of an inch, so the cut out design pretty much serves as a template, just put the emblem in the bezel to your liking and press and hold making sure the tape is making good contact.
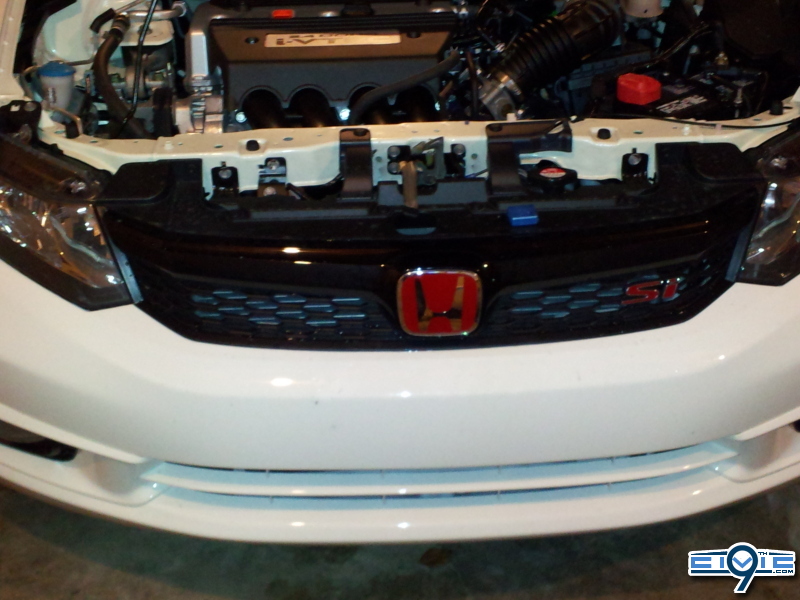
Like I said, Casualties of war:
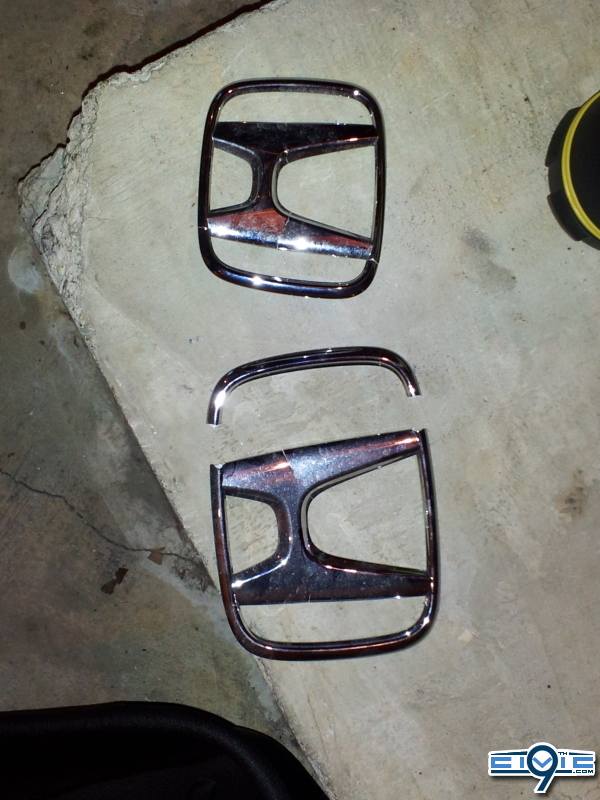
Sorry for the shitty camera phone pics, my phone is all I have to snap pictures with. If you have any questions, feel free to PM me. I will do my best to help you.
Difficulty Level:
2/10 - Did it myself in about 20 minutes time.
Tools Needed:
Dikes/Tin Snips
Needlenose pliers
Dental Floss/Fishing Line
Credit Card you don't care about
Level if you want to be meticulous
Patience
Step 1: Remove the new emblems from the packaging if you haven't already. Here is what I started with.


Step 2: Starting with the rear. There is the easy way and what I see as the hard way.
Easy way: Take some dental floss and slide it behind the emblem starting in one of the top corners and give it a solid tug. I didn't have any fishing line so I was using dental floss and the floss kept breaking on me. So I used the floss to pry up the emblem enough to stick a credit card behind so I didn't have to worry about scratching up my paint trying to squeeze it behind the emblem. Slowly work your way around the corners of the emblem pulling pretty hard until the emblem pops out.
Hard way: If you are patient, you can fairly easily get to the pins holding the rear emblem through a hole above the license plate. Using a pair of needlenose pliers you can access these tabs and I believe if you pinch them correctly they will slide off the pins on the back of the emblem. Here is my attempt at taking a pic of those tabs.


Once the emblem is off:

This picture shows the difference in pin locations for the stock emblems and the JDM emblems, the JDM is clearly wider which is why they don't fit.

Step 3: Using the dikes or tin snips or scissors or your weapon of choice.. cut the pins on the back to the point where there is no plastic left which is why I chose to use the dikes, I practically grinded the pin down to nothing.

Step 4: Peel off the cover on the back of the emblem and do your best to line the emblem up. I always do mine crooked on every car so I actually busted out my level to attempt to get it as straight as possible. Once you have it lined up to your liking, press and hold so that the 3M adhesive does it's job and sticks to the paint. The tape is actually incredibly strong. It will take some superior effort to remove these emblems if I ever decide too, and I'd be willing to bet it's going to take paint with it if I don't heat the adhesive up.

Look mom, no gaps.

Step 5: On to the front, once again.. the easy way and the hard way.
Easy way: using dental floss and credit card method, work your way around the emblem until it pops out. There will be casualties, the emblem will not survive the encounter, pics later.


Hard way: Looks like by removing all of those annoying plastic clips you can remove the grill from the bumper, or you might have to remove the front bumper entirely, either way. The front emblem is attached the same way the rear is, using plastic pins attached to metal rings. Remove the bumper and clips, profit.
Step 6: This one is easy to line up because the grill actually recesses the emblem back about an 1/8th of an inch, so the cut out design pretty much serves as a template, just put the emblem in the bezel to your liking and press and hold making sure the tape is making good contact.

Like I said, Casualties of war:

Sorry for the shitty camera phone pics, my phone is all I have to snap pictures with. If you have any questions, feel free to PM me. I will do my best to help you.


