- Thread starter
- #101
Navigation
Install the app
How to install the app on iOS
Follow along with the video below to see how to install our site as a web app on your home screen.
Note: This feature may not be available in some browsers.
More options
You are using an out of date browser. It may not display this or other websites correctly.
You should upgrade or use an alternative browser.
You should upgrade or use an alternative browser.
Dar-Dar's 1995 Avus Blue E36 M3 Project Car
- Thread starter Dar-Dar
- Start date
Ehhh looks great!!
Moar!!
- Thread starter
- #105
Dar-Dar
Mordorator
- 19,329
- 9,901
- Vehicle Model
- Civic Si
- Body Style
- Fiji Blue Pearl Coupe Coolest Member Since: May 15, 2011
I just came back from vacation dude. Chill!Moar!!
But here you go. Lol.
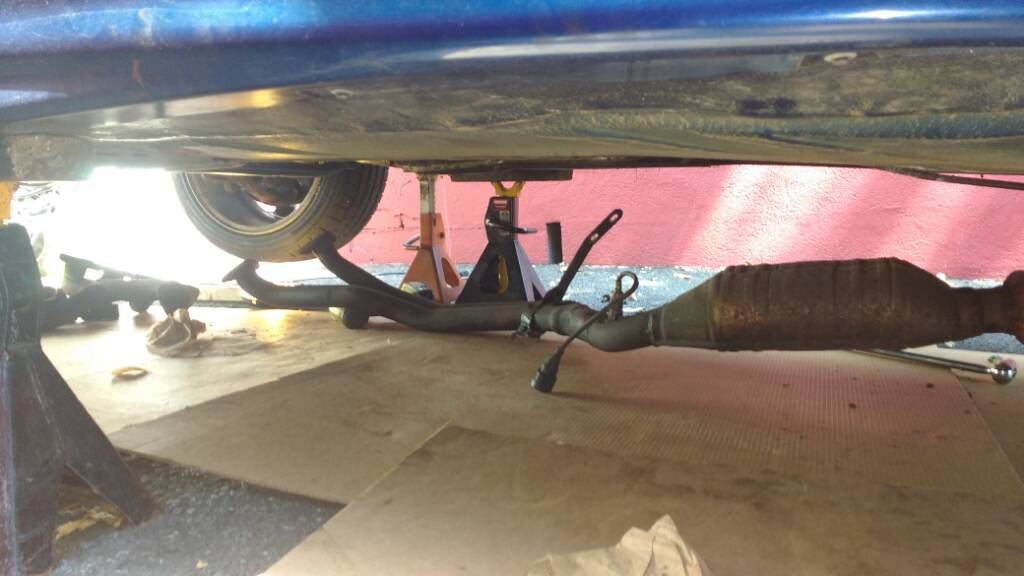
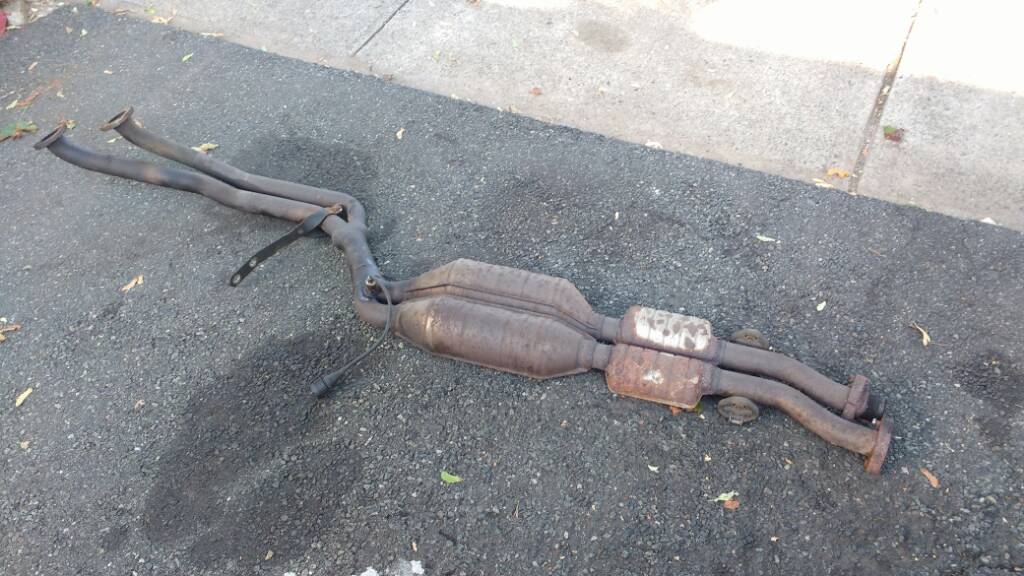
I dropped the exhaust to get better access to the annoying O2 sensor.
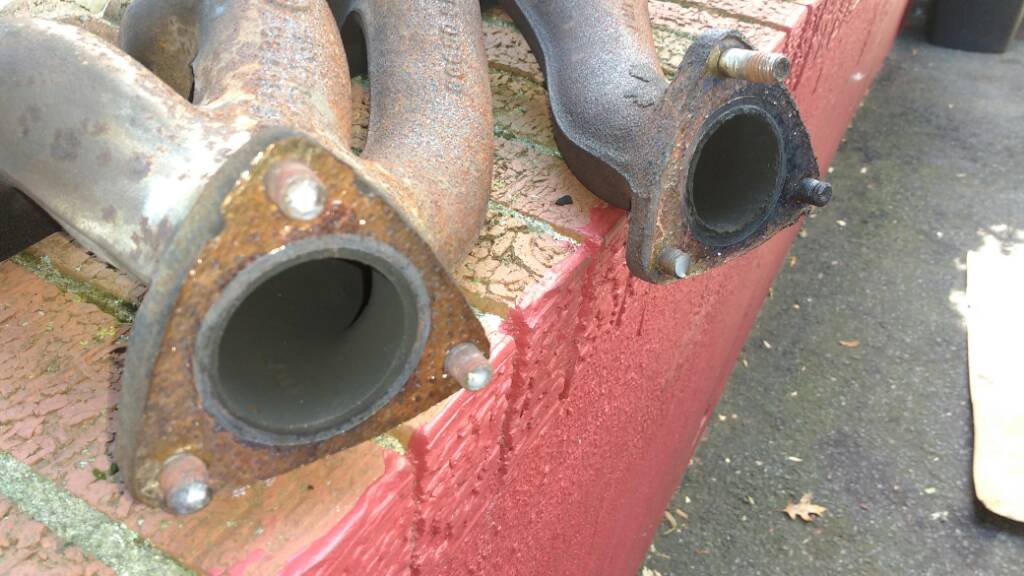
The studs on the headers sheared. Boo. I'll grind them and drill right through so I can just put bolts and nuts. That will have to do until i get a new exhaust system.
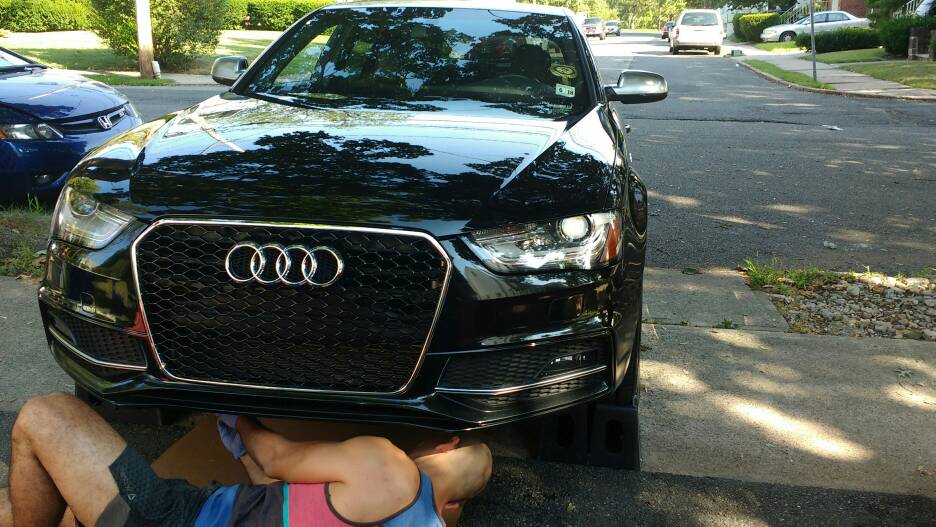
My buddy stopped by so I had to take a break on the M3 to work on his S4. Haha.
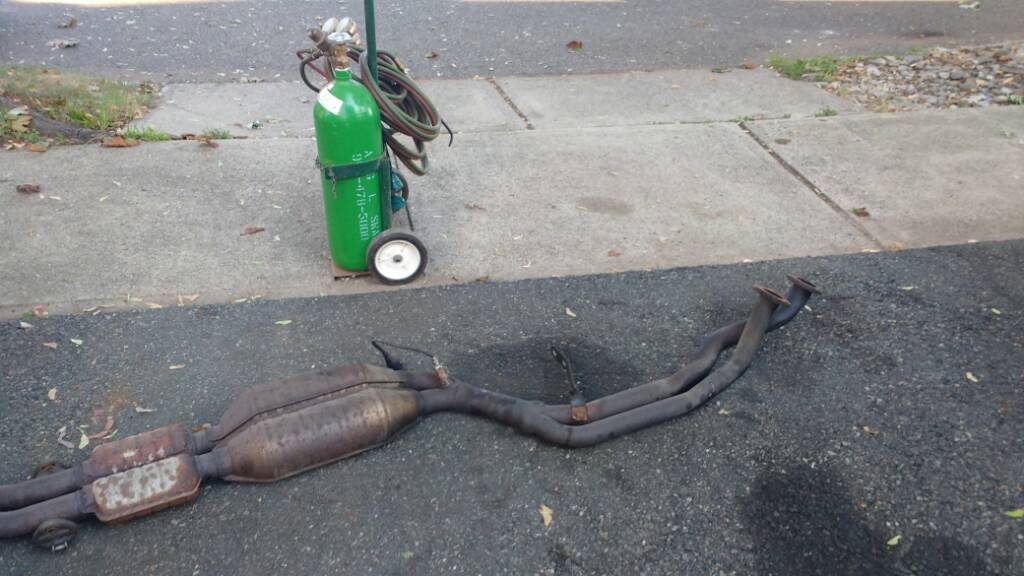
Here is the midpipe removed. I was using a propane torch to try and loosen the threads on the O2 sensor. But it wasn't effective.
My neighbor saw me struggling and lent me his acetylene torch to borrow.
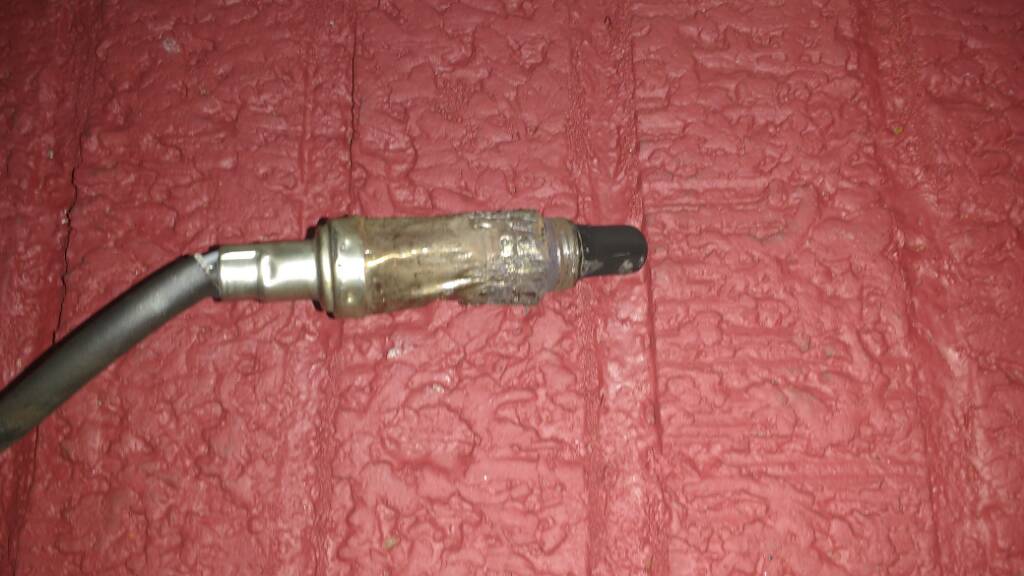
Here is the O2 sensor all destroyed. I used a pipe wrench to remove it from the mid pipe. Lol.
I didn't get a chance to put everything back together.
I'm exhausted. No pun intended.
Sent from my MotoG3 using Tapatalk
- Thread starter
- #106
Dar-Dar
Mordorator
- 19,329
- 9,901
- Vehicle Model
- Civic Si
- Body Style
- Fiji Blue Pearl Coupe Coolest Member Since: May 15, 2011
Update:
I put everything back together and the idle on the car is now perfect. I took the car on a drive for 30min and there seems to be a bit of hesitation/bogging at around 2000 RPM. I noticed this hesitation prior to changing the old O2 sensor. I've searched what can cause this and I've narrowed it down to either a bad Crankshaft Position Sensor or fuel pump/fuel pump relay. It certainly cannot be a Vanos issue since the Vanos only kicks in (Vanos just kicked in yo!) at around 4-5k RPM.
An order for a CPS and a fuel pump relay has been placed.
My coworker asked me if the car is ready for the track. There's an event at the Poconos in a few more weeks. I don't think it will be ready for this season. Plus, it needs a nice set of sticky tires.
- Thread starter
- #107
- Thread starter
- #108
- Thread starter
- #109
Dar-Dar
Mordorator
- 19,329
- 9,901
- Vehicle Model
- Civic Si
- Body Style
- Fiji Blue Pearl Coupe Coolest Member Since: May 15, 2011
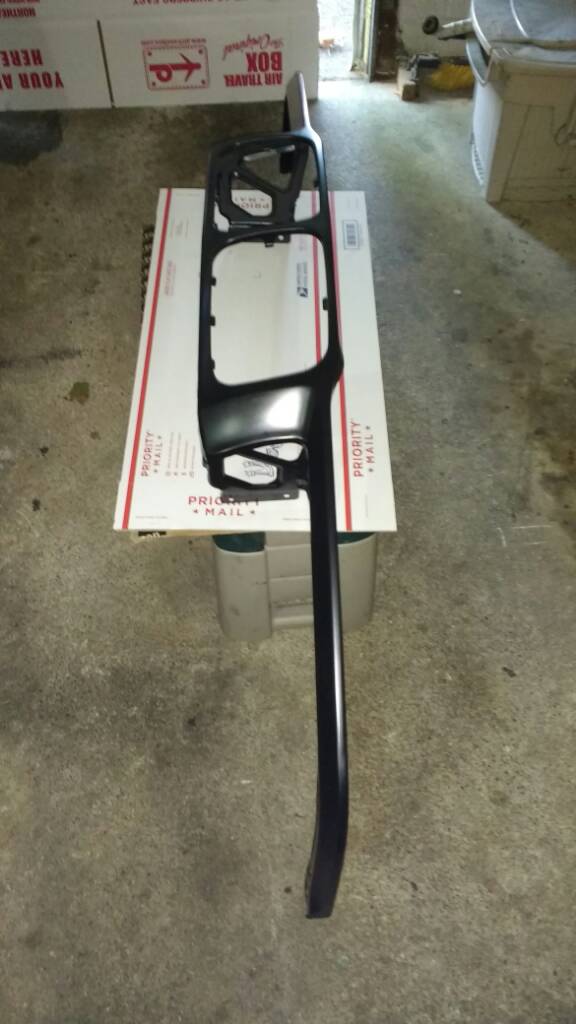
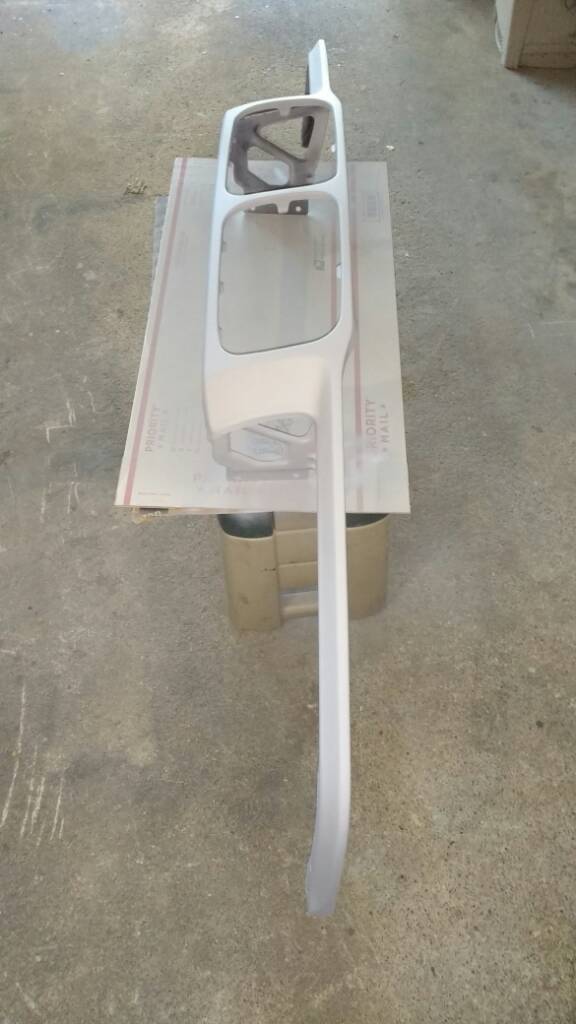
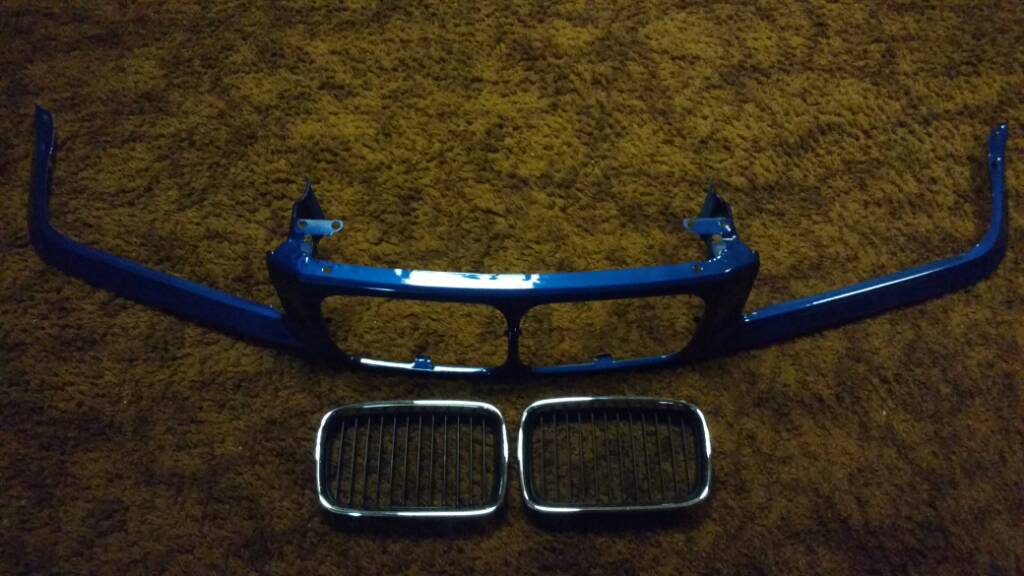
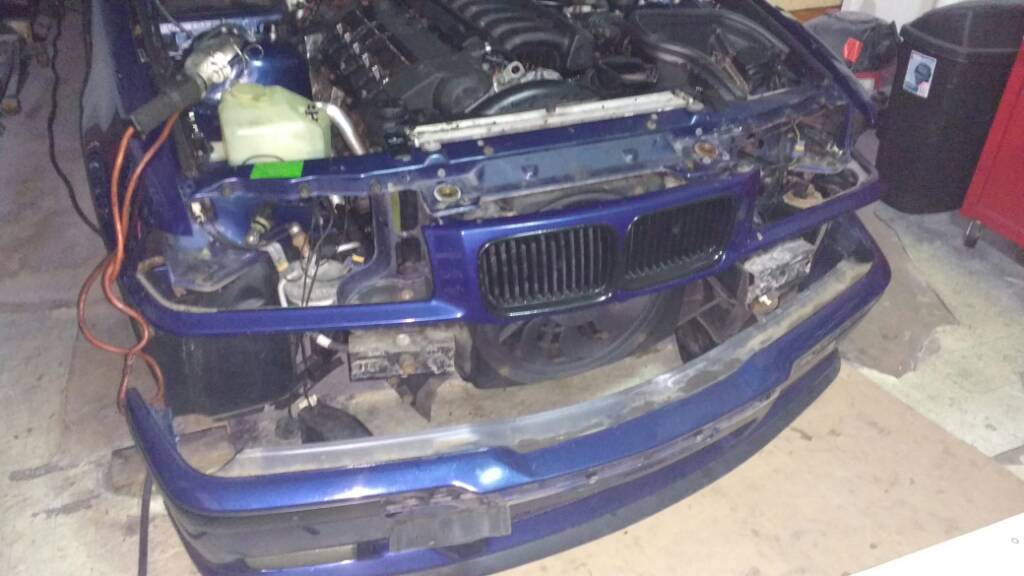
This is how the front end looks now!!! The paint matches very well. I bought the paint from automotivetouchup.com. They do an amazing job with paint matching base coats. It doesn't even look like it was painted with rattle cans.


There is a tiny bit of orange peel. I'll lightly sand the panel with 1500 grit sand paper and finish off with 3000 and 5000 grit. I love the way it turned out!

There is a tiny bit of orange peel. I'll lightly sand the panel with 1500 grit sand paper and finish off with 3000 and 5000 grit. I love the way it turned out!
- Thread starter
- #110
- Thread starter
- #111
Dar-Dar
Mordorator
- 19,329
- 9,901
- Vehicle Model
- Civic Si
- Body Style
- Fiji Blue Pearl Coupe Coolest Member Since: May 15, 2011
I placed an order for brake caliper rebuild parts, brake caliper pistons, and (front only) stainless steel brake lines. The car will get a brake overhaul.
I gotta say, the M3 is fun to work on.
I gotta say, the M3 is fun to work on.
- Thread starter
- #113
Dar-Dar
Mordorator
- 19,329
- 9,901
- Vehicle Model
- Civic Si
- Body Style
- Fiji Blue Pearl Coupe Coolest Member Since: May 15, 2011
Man that looks really good. Especially for rattle can job. I need to check that company out.
M3 is looking classy brah!!!!
Thanks! Yeah, automotivetouchup is the best site for base coats based on my experience with them. Even touch-up paint.

- Thread starter
- #115
Dar-Dar
Mordorator
- 19,329
- 9,901
- Vehicle Model
- Civic Si
- Body Style
- Fiji Blue Pearl Coupe Coolest Member Since: May 15, 2011
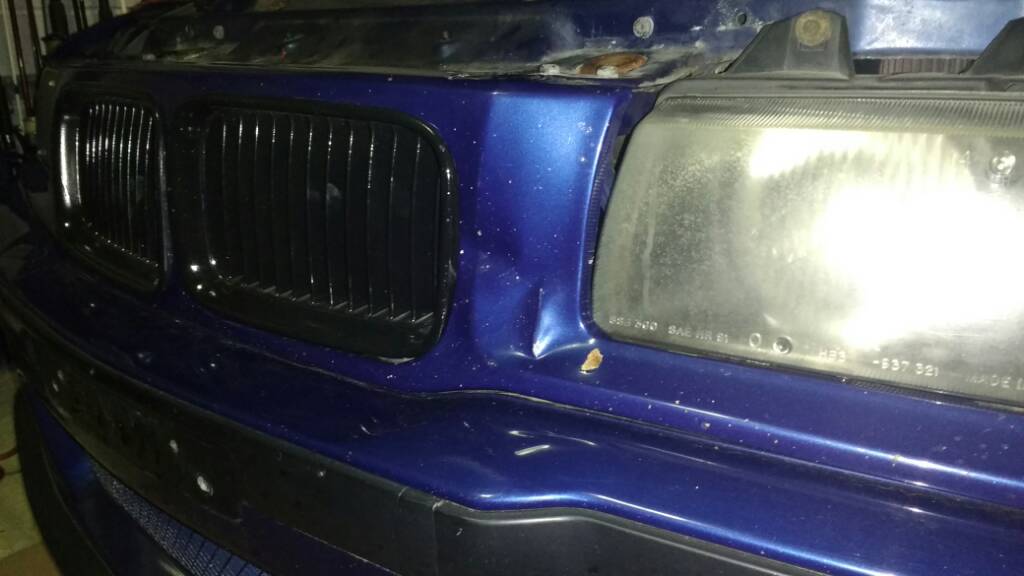
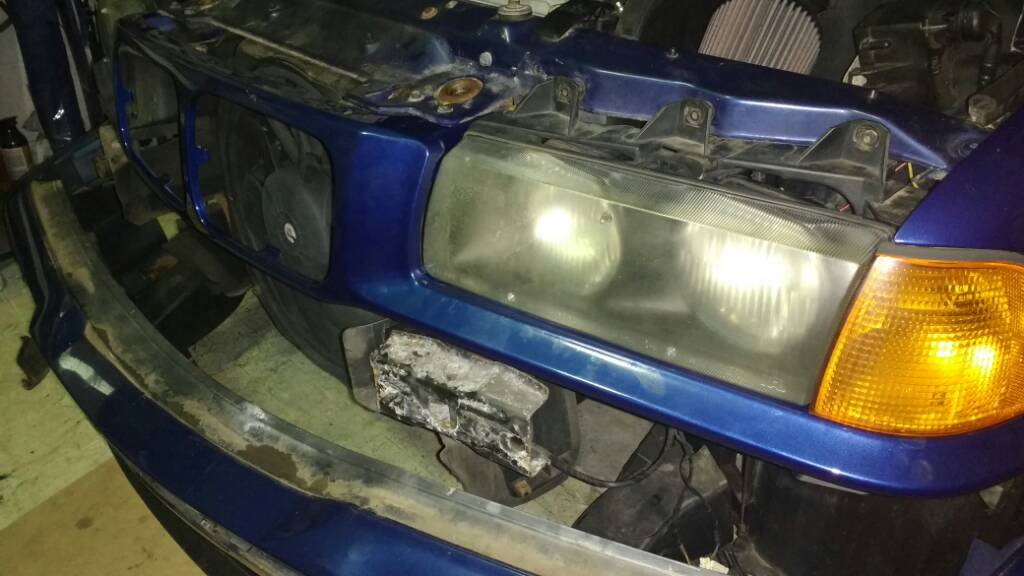
Headlight Restoration:
1 - Overview
You can see how much hazing or fading is on the surface of the headlamp. The problem with hazing is it reduces the amount of light going through the headlight. Thus causing very low visibility while driving at night...or even a rainy night. Restoring the headlight will ensure that light will pass through and will make driving at night safer.

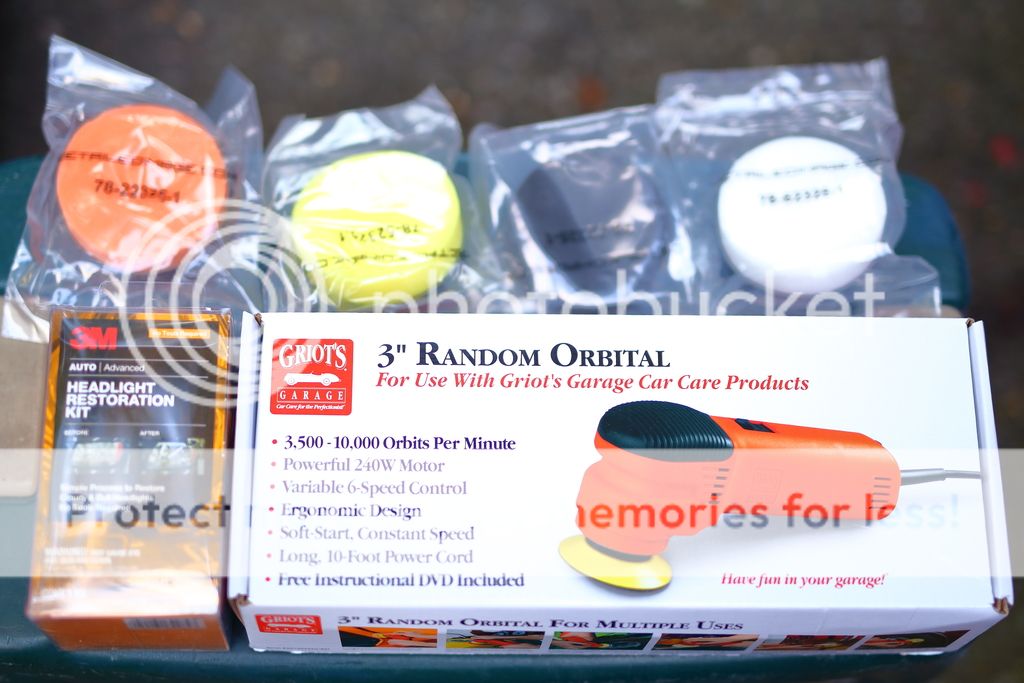
2 - What I used
These are the products that I used for this mini project.
-Griot's Garage 3" Dual Action Polisher
-3M Headlight Restoration Kit. The kit includes 500 grit, 800 grit, 1000 grit, and 3000 grit sanding pads, a foam pad for manual sanding (which I didn't need since I'm using the polisher), and a couple of 3M rubbing compounds (I prefer the Meguiar's M105 cutting compound).
-Yellow, Orange, White, and Black foam pads (for cutting and polishing).
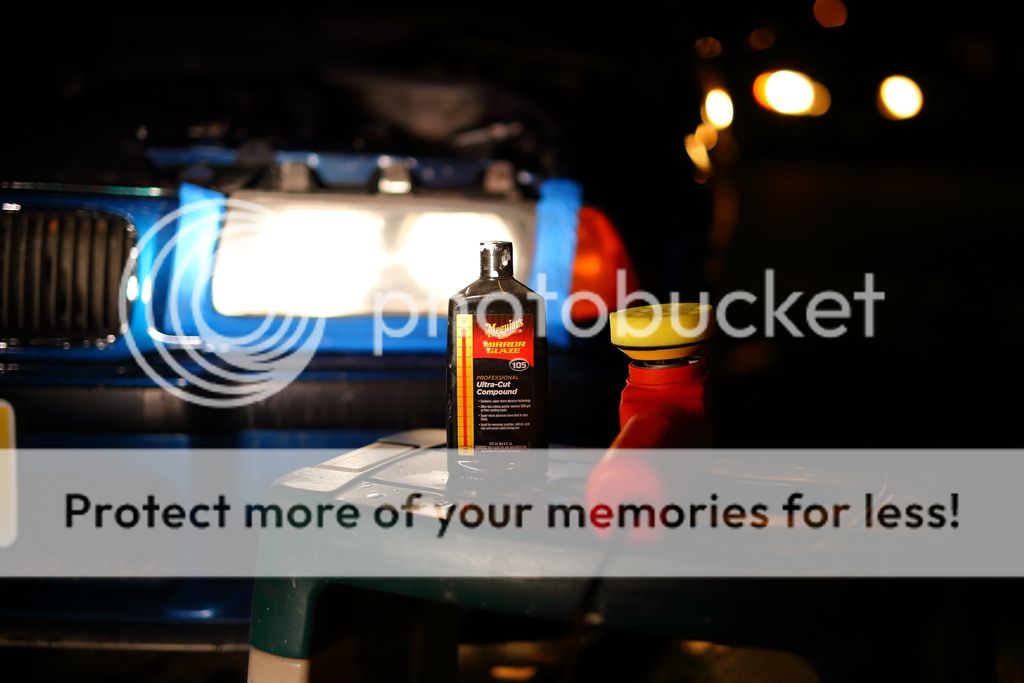
-Meguiar's M105 Cutting Compound. This is one of the best cutting compounds.
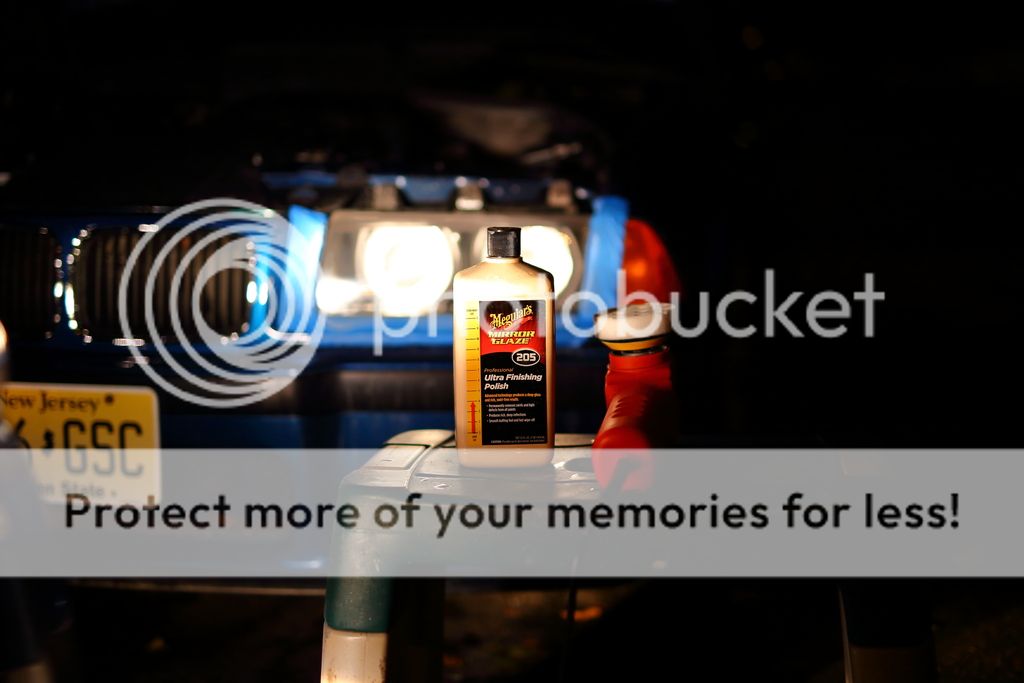
-Meguiar's M205 Polishing Compound.
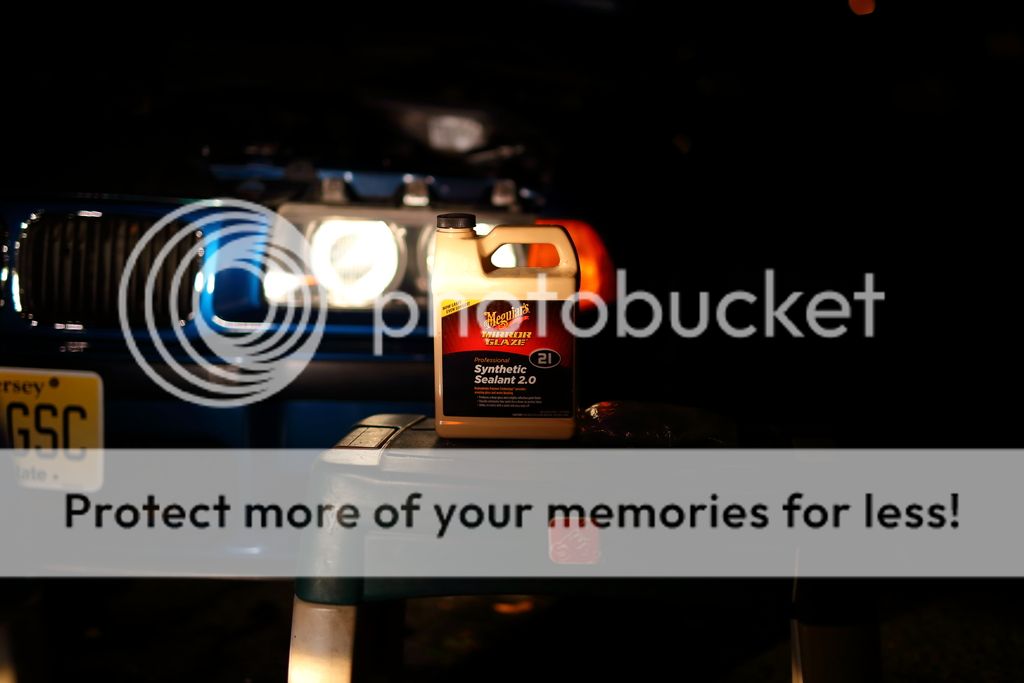
-Meguair's M21 Synthetic Sealant 2.0. Paint Sealants lasts longer than wax but won't give a better shine. This is for the headlight anyway.
-Painter's Tape
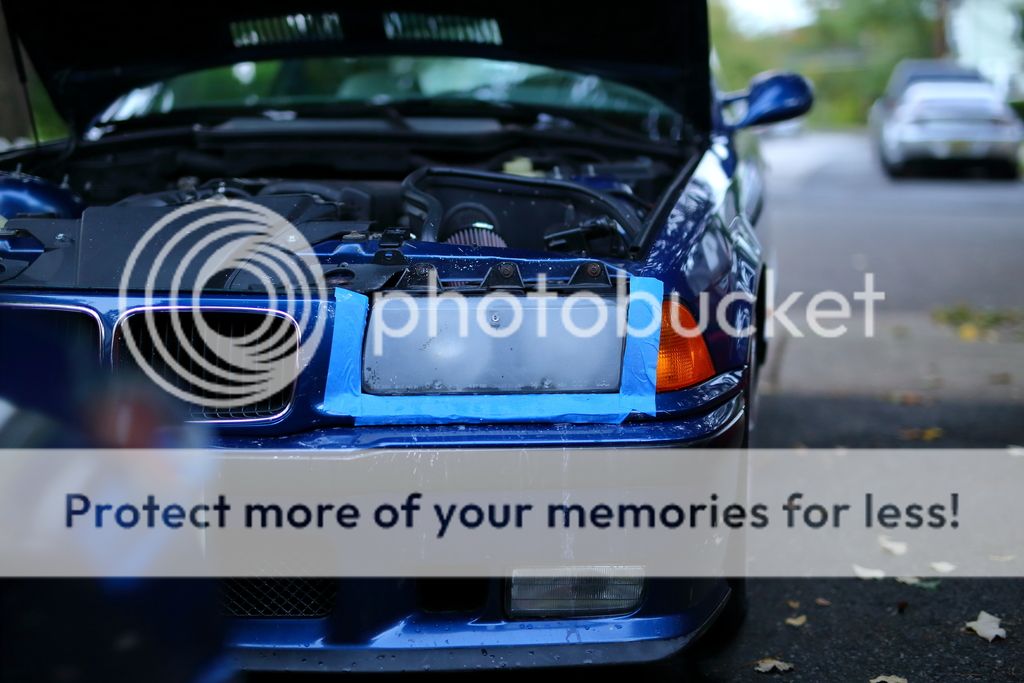
3 - Rough Sanding
I taped up the areas that needed masking. I started with sanding the surface of the headlights with 500 grit sand paper (two rounds). I put the speed setting of the polisher to 2. The 500 grit was used to get rid of the very rough surface and remove the yellowing that built up over time. Then I went with the 800 grit sand paper (another two rounds) to cut the roughness. Same speed setting was used.
4 - 'Glass Surface' Finishing
Next I sanded the surface with a finer 1000 grit (two rounds again). Then to an extremely fine 3000 grit sanding pad. I kept the same speed setting (2) as the previous runs.
5 - Surface Cutting Begins
I applied Megauiar's M105 Cutting compound on a Yellow Pad. The Yellow pad is the most aggressive pad that I have which is really meant for correcting scratches on clear coat or painted surface using a rubbing compound. This also works very well for this purpose. The speed setting was bumped up to 4.
6 - Clearing Up
It looks great! but we're not done yet.
7 - Glass Finish
For the finish, I applied Meguiar's M205 Polishing Compound on a white pad. The white pad is ideally for a mirror finish on a painted surface. For my purpose, a glass finish. I do have a black pad which is a step higher than the white pad. But it is really meant for a showroom ultra fine finish that isn't necessary for the headlights. The polisher speed setting was set to 6.
8 - Not done. Final Touch.
I applied Meguiar's M21 Synthetic Sealant 2.0 to protect the surface of the headlight. It won't do much against rock chips and road debris, but the protection will mainly be for UV, rain, and other elements that will cause haziness on the plastic surface.
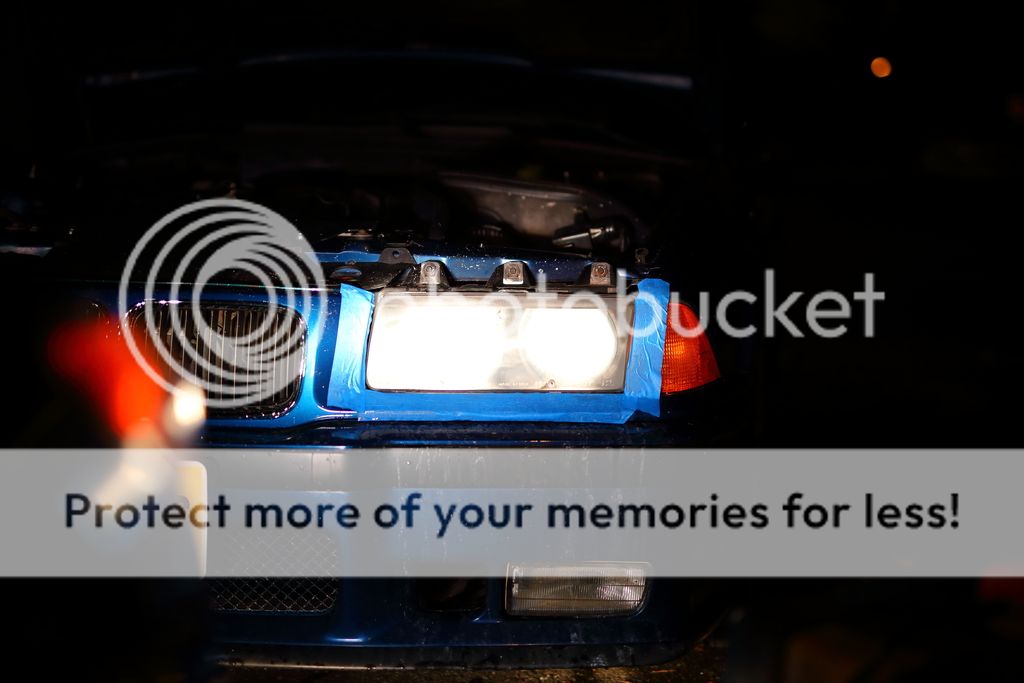
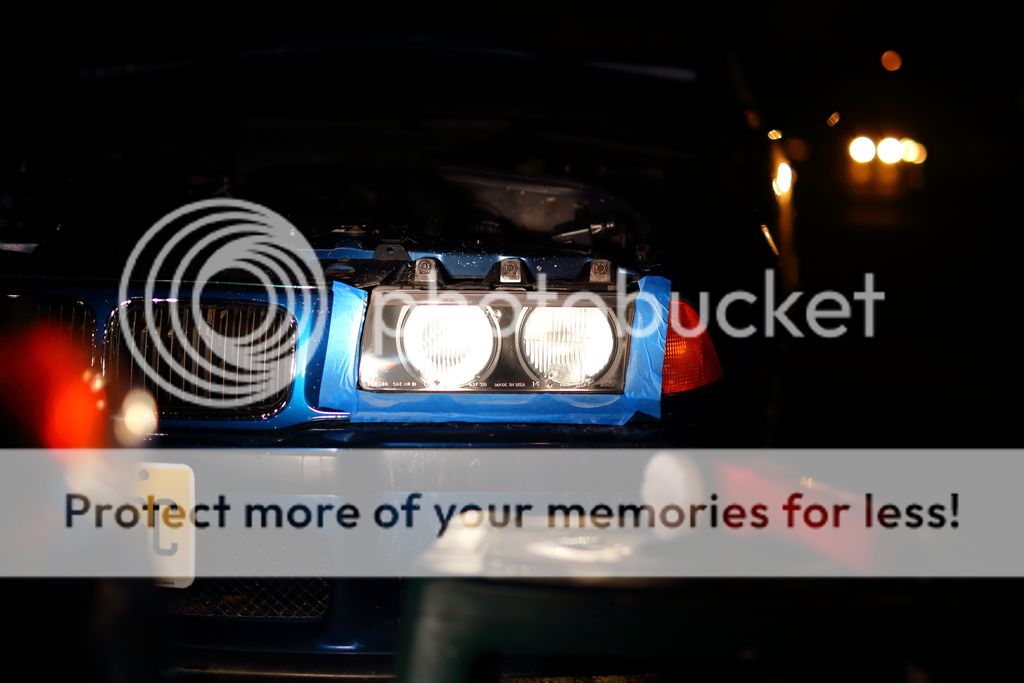
9 - Results
It took me about 2 hours and change to do this. I did not want to rush it since I was looking for a very professional result. I didn't want the polisher to overheat either so I gave it a numerous amount of time to cool down in between the sanding and polishing rounds. That also allowed me to take these pictures with my DSLR.
The lighting pointed on the car was from my Si's headlight. And the car was offset to the M3 which gave that offset lighting.

With the headlights and fog lights turned on.


I hope you enjoyed reading this and checking out the detailed pictures!!!
1 - Overview
You can see how much hazing or fading is on the surface of the headlamp. The problem with hazing is it reduces the amount of light going through the headlight. Thus causing very low visibility while driving at night...or even a rainy night. Restoring the headlight will ensure that light will pass through and will make driving at night safer.
2 - What I used
These are the products that I used for this mini project.
-Griot's Garage 3" Dual Action Polisher
-3M Headlight Restoration Kit. The kit includes 500 grit, 800 grit, 1000 grit, and 3000 grit sanding pads, a foam pad for manual sanding (which I didn't need since I'm using the polisher), and a couple of 3M rubbing compounds (I prefer the Meguiar's M105 cutting compound).
-Yellow, Orange, White, and Black foam pads (for cutting and polishing).
-Meguiar's M105 Cutting Compound. This is one of the best cutting compounds.
-Meguiar's M205 Polishing Compound.
-Meguair's M21 Synthetic Sealant 2.0. Paint Sealants lasts longer than wax but won't give a better shine. This is for the headlight anyway.
-Painter's Tape
3 - Rough Sanding
I taped up the areas that needed masking. I started with sanding the surface of the headlights with 500 grit sand paper (two rounds). I put the speed setting of the polisher to 2. The 500 grit was used to get rid of the very rough surface and remove the yellowing that built up over time. Then I went with the 800 grit sand paper (another two rounds) to cut the roughness. Same speed setting was used.
4 - 'Glass Surface' Finishing
Next I sanded the surface with a finer 1000 grit (two rounds again). Then to an extremely fine 3000 grit sanding pad. I kept the same speed setting (2) as the previous runs.
5 - Surface Cutting Begins
I applied Megauiar's M105 Cutting compound on a Yellow Pad. The Yellow pad is the most aggressive pad that I have which is really meant for correcting scratches on clear coat or painted surface using a rubbing compound. This also works very well for this purpose. The speed setting was bumped up to 4.
6 - Clearing Up
It looks great! but we're not done yet.
7 - Glass Finish
For the finish, I applied Meguiar's M205 Polishing Compound on a white pad. The white pad is ideally for a mirror finish on a painted surface. For my purpose, a glass finish. I do have a black pad which is a step higher than the white pad. But it is really meant for a showroom ultra fine finish that isn't necessary for the headlights. The polisher speed setting was set to 6.
8 - Not done. Final Touch.
I applied Meguiar's M21 Synthetic Sealant 2.0 to protect the surface of the headlight. It won't do much against rock chips and road debris, but the protection will mainly be for UV, rain, and other elements that will cause haziness on the plastic surface.
9 - Results
It took me about 2 hours and change to do this. I did not want to rush it since I was looking for a very professional result. I didn't want the polisher to overheat either so I gave it a numerous amount of time to cool down in between the sanding and polishing rounds. That also allowed me to take these pictures with my DSLR.
The lighting pointed on the car was from my Si's headlight. And the car was offset to the M3 which gave that offset lighting.
With the headlights and fog lights turned on.
I hope you enjoyed reading this and checking out the detailed pictures!!!
- Staff
- #116
- 57,217
- 24,355
Definitely cleared them up a lot better man. Nice job
- Thread starter
- #117
Ooooh nice. I like. You're doing some nice things to that little ride, giving it the TLC that it was severely lacking.
- Staff
- #119
- 10,437
- 7,079
- Vehicle Model
- Toyota Tacoma TRD Sport
- Body Style
- @bootyluvr hates hatches
nice work!
Great work, nice write up!