Most active's know me fairly well as I am a new member (for the most part) yet fairly active. I didn't think I'd ever start a build thread but here it goess...!!!!!
Car was bought new April 4th 2015 with 12 miles on it and has been a blast ever since. Broke the car in first 500 miles easy then began hitting VTAK YO! As most try to do, I held off on mods till about 3k and started with the good 'ol CDV delete. Has been downhill ever since and can't get enough lol. I'll try to keep this first post updated as possible but fell free to follow or ignore me! Lol end goal is a 300+ hp SC daily but I'm sure that will change by the time I get there lol. None the less, so far I have....
Engine/Trans
-HR Shifter Cable Bushings
-CDV delete
-TB Coolant Bypass
-Intake Res Delete
-Running 0w20 Royal Purple (bash away but I like it and have samples for blackstone labs to test, 5k maxx)
-10k MTF Fluid Change (Honda MTF, recommend to anyone driving spirited on a daily, probably 5-6k changes for POM...peace of mind)
Suspension/Brakes
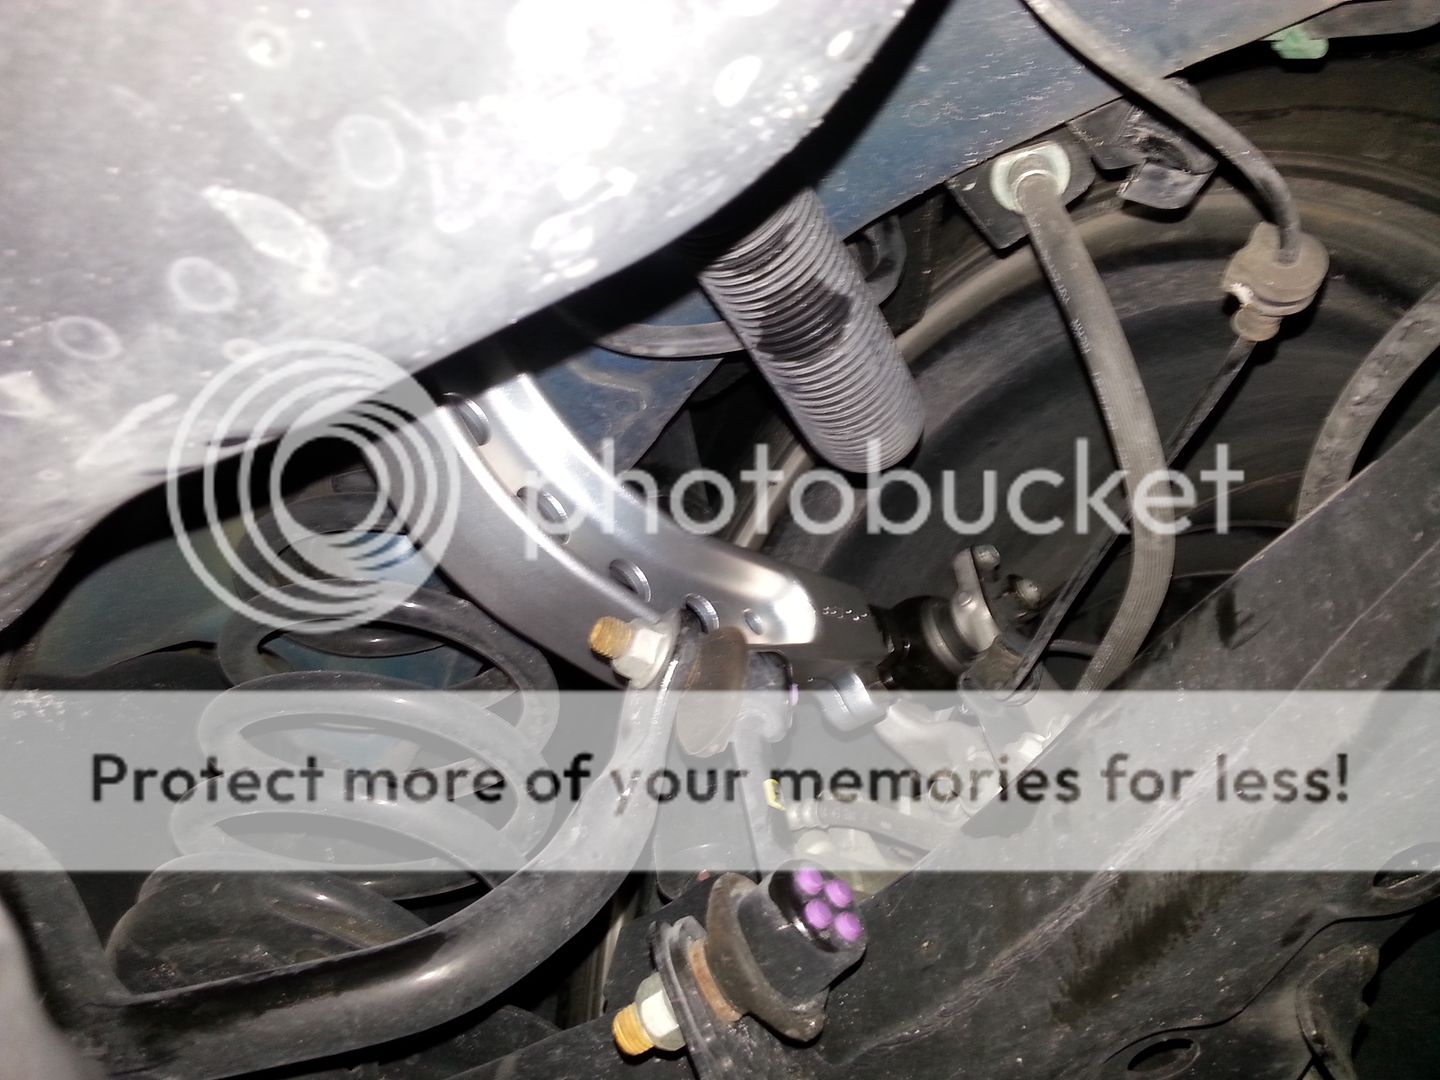
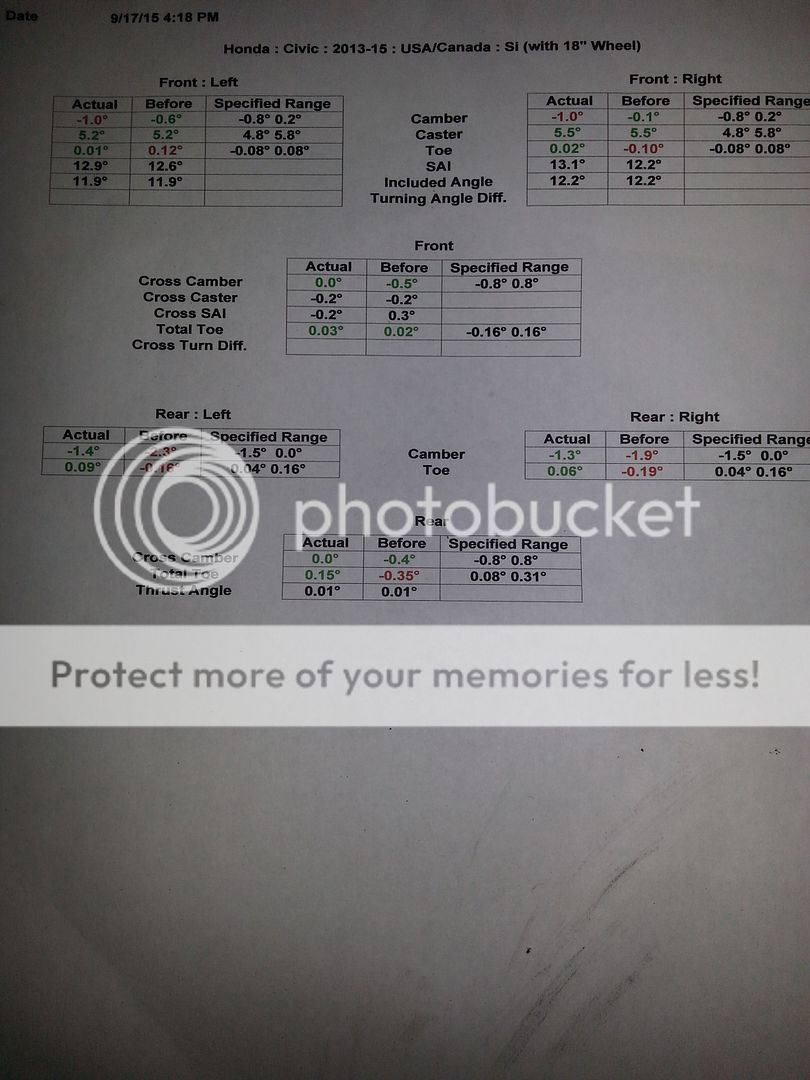
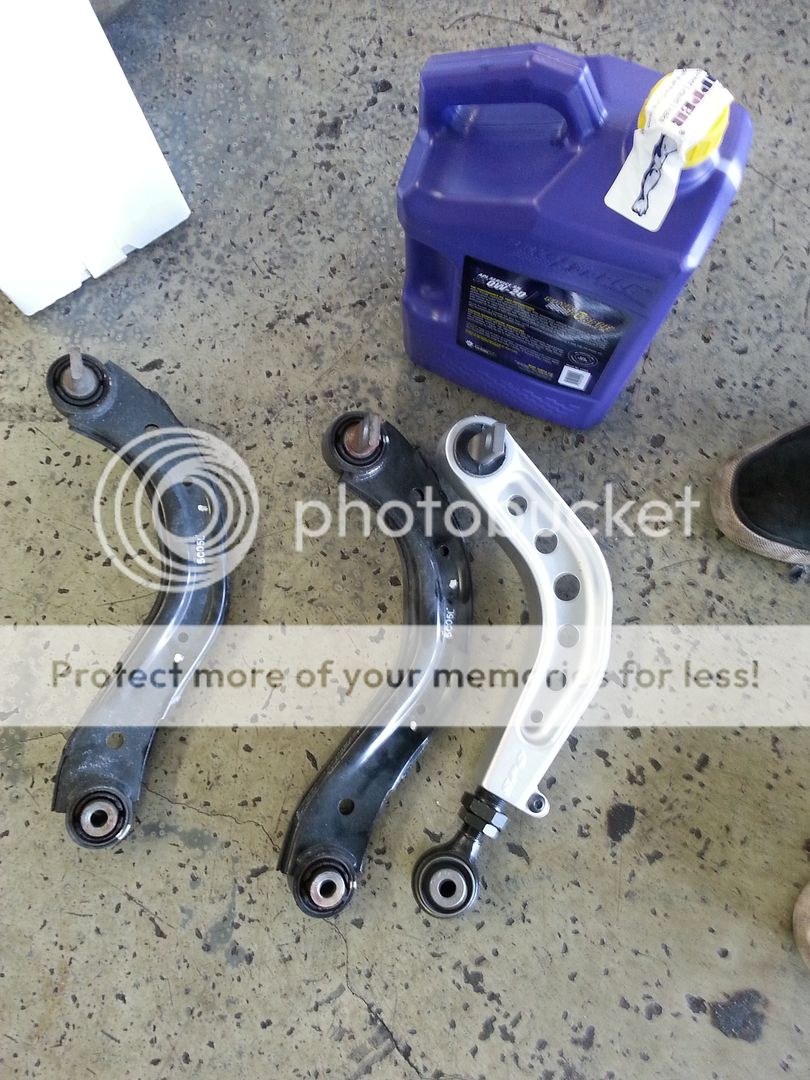
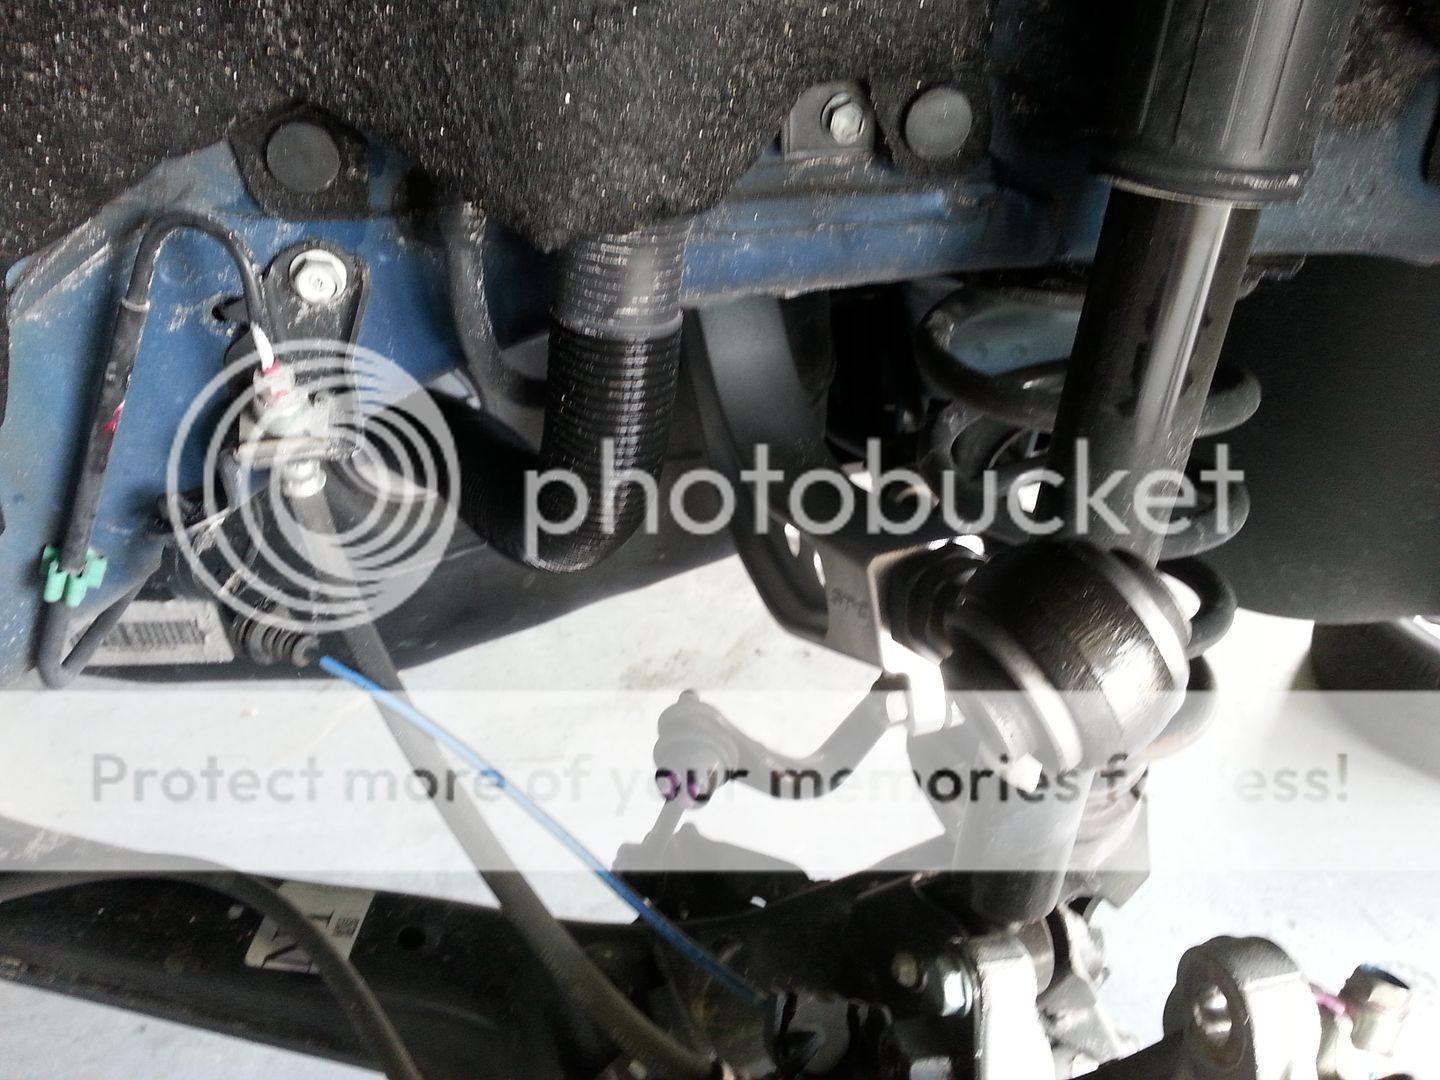
-SPC Rear Camber Arms
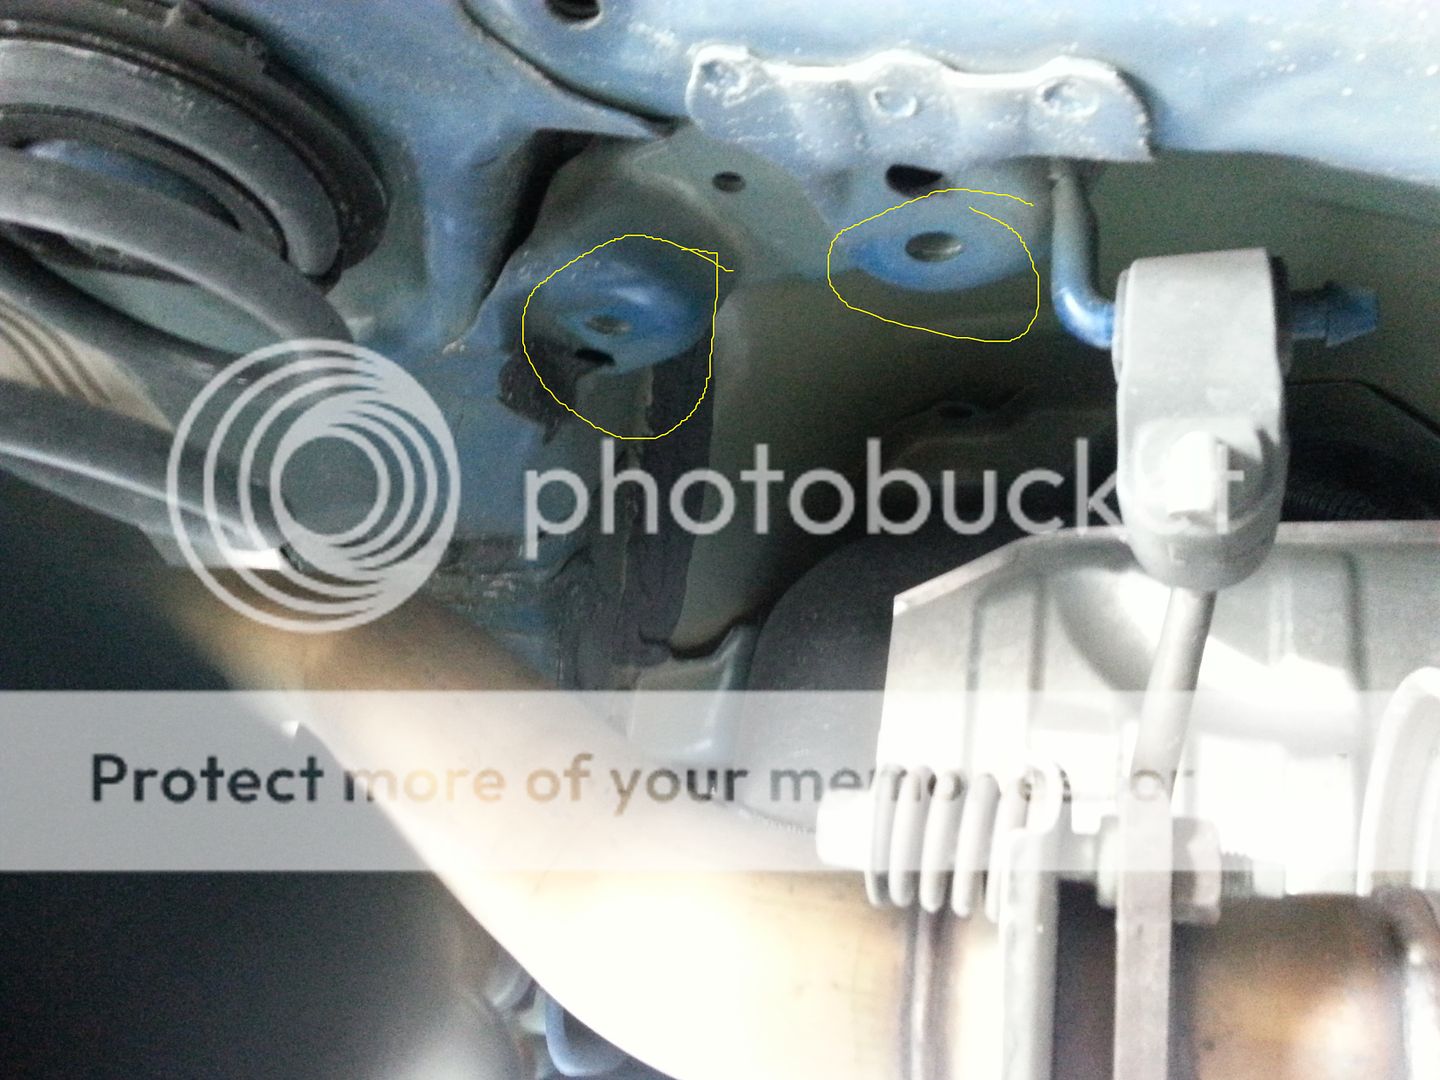
-SPC Front Camber Bolts
-Dot 4 Brake/clutch fluid exchange
Exterior
-OEM Mudguards
-De-badged civic
-De-decal iVtec
-Dipped Front Chrome Black
-Dipped Si Emblems Grey
-Dipped Rear Bumper Reflectors Black
-Dipped Stock Rims Black
Interior
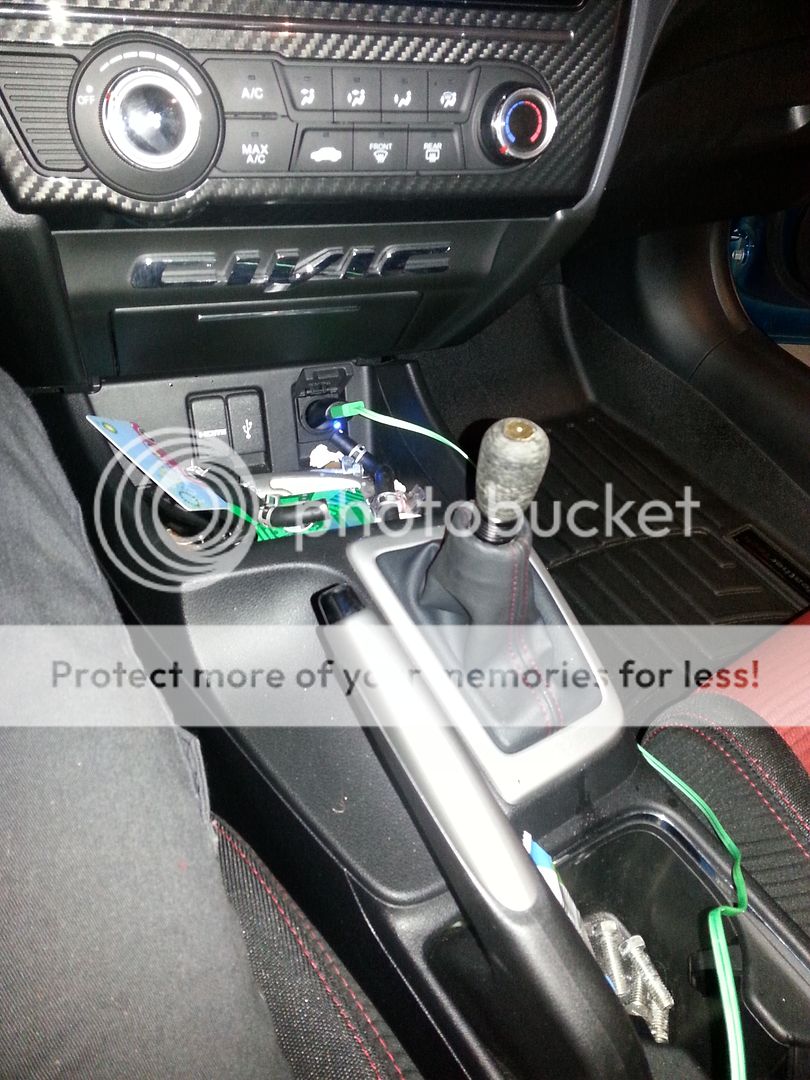
-Custom Shift Knob (home made changes weekly) currently the "Finger Nail"
-Relocated Civic Emblem To Lower Center Stack
-Weathertech Front Mats
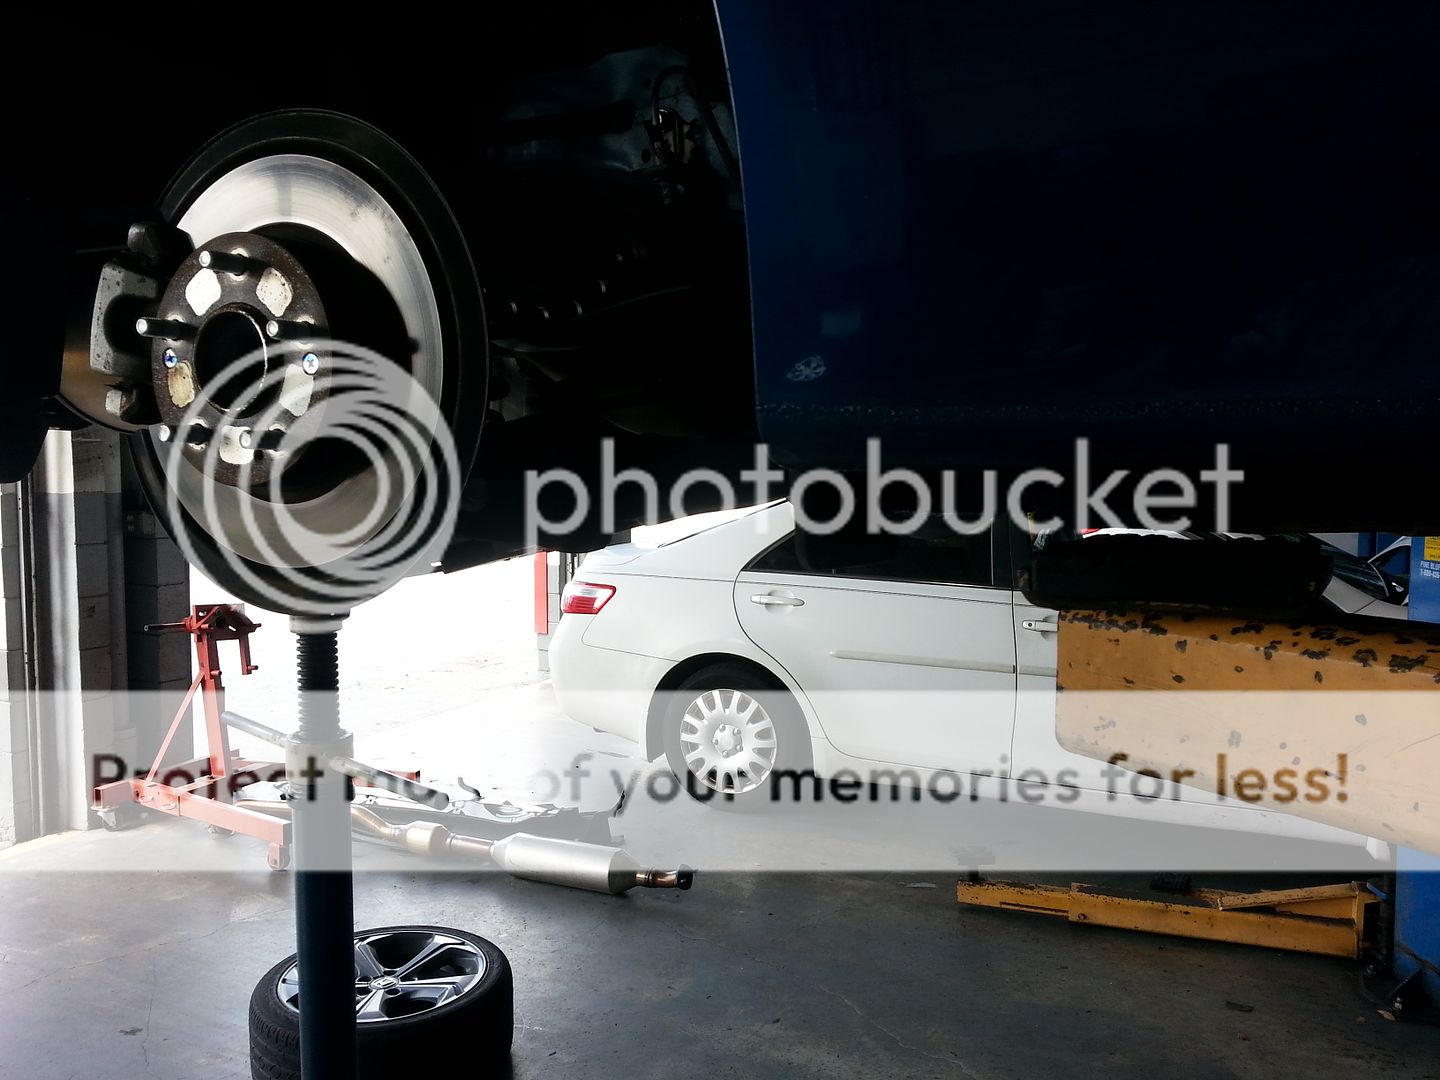
First day I brought it home to it's doom!!....

Currently sitting...and loving it!


The back side

Civic badge relocate, been a thing on my past few cars to relocate the rear badge to the interior.
BTW! My car only needs 3 jack stands. YOLO!

There's much much more planned, and I'm sure some not planned but looking forward to see where this adventure leads us! Starting off slow but shooting for that MOFO'IN MOON!
Car was bought new April 4th 2015 with 12 miles on it and has been a blast ever since. Broke the car in first 500 miles easy then began hitting VTAK YO! As most try to do, I held off on mods till about 3k and started with the good 'ol CDV delete. Has been downhill ever since and can't get enough lol. I'll try to keep this first post updated as possible but fell free to follow or ignore me! Lol end goal is a 300+ hp SC daily but I'm sure that will change by the time I get there lol. None the less, so far I have....
Engine/Trans
-HR Shifter Cable Bushings
-CDV delete
-TB Coolant Bypass
-Intake Res Delete
-Running 0w20 Royal Purple (bash away but I like it and have samples for blackstone labs to test, 5k maxx)
-10k MTF Fluid Change (Honda MTF, recommend to anyone driving spirited on a daily, probably 5-6k changes for POM...peace of mind)
Suspension/Brakes
-SPC Rear Camber Arms
-SPC Front Camber Bolts
-Dot 4 Brake/clutch fluid exchange
Exterior
-OEM Mudguards
-De-badged civic
-De-decal iVtec
-Dipped Front Chrome Black
-Dipped Si Emblems Grey
-Dipped Rear Bumper Reflectors Black
-Dipped Stock Rims Black
Interior
-Custom Shift Knob (home made changes weekly) currently the "Finger Nail"
-Relocated Civic Emblem To Lower Center Stack
-Weathertech Front Mats
First day I brought it home to it's doom!!....
Currently sitting...and loving it!
The back side
Civic badge relocate, been a thing on my past few cars to relocate the rear badge to the interior.
BTW! My car only needs 3 jack stands. YOLO!
There's much much more planned, and I'm sure some not planned but looking forward to see where this adventure leads us! Starting off slow but shooting for that MOFO'IN MOON!
Last edited:

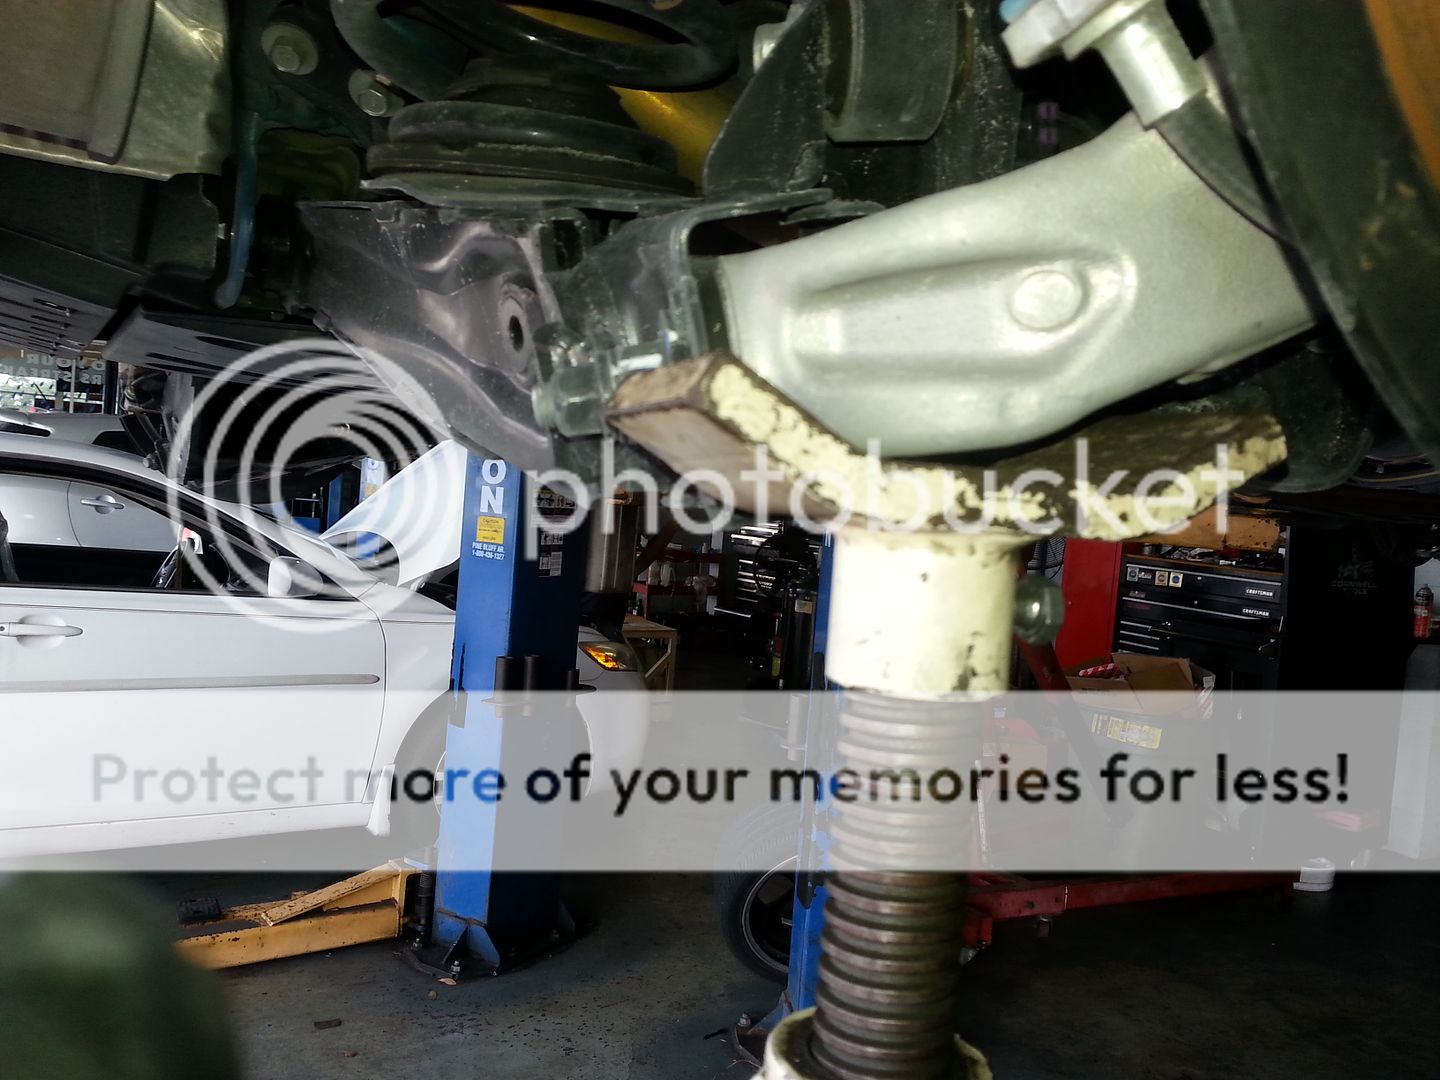
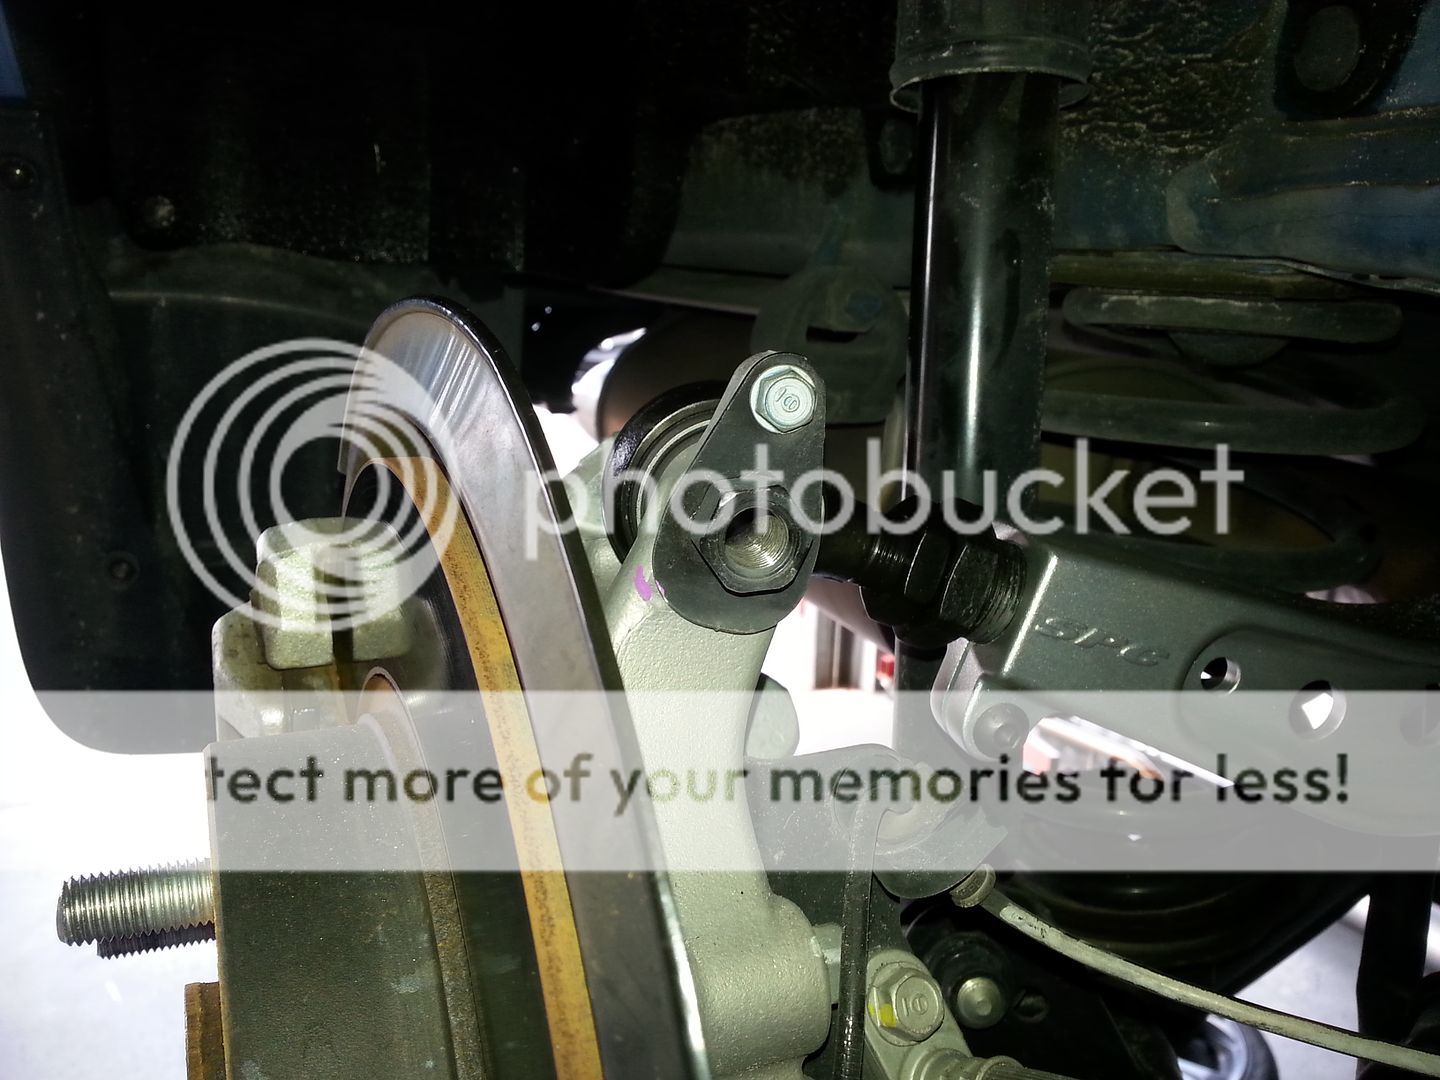
 This represents the "preload" or settling of the suspension as if were on the "ground". To properly not wear out bushings on new suspension components you "should" tighten everything with the car on the ground. Now as most that work on cars know this can be difficult reaching up into lowered civic insidea wheel from the ground to tighten a bolt/nut and my opinion impossible on most cars... even with a drive on lift. So what other solution is there other than just slapping it on? Well as I mentioned, jacking the car up off the stands its on. This can sound kinda off for some people but the car will balance. They key (and this is my OWN assumption/opinion) is to lift the corner(lets say RIGHT REAR for the example) you want to tighten down off the stands FROM the the lower control arm AND the opposite corner (LEFT REAR) just BARELY off the stand it's on. Why?
 The difference being using a floor jack instead of the dead man to lift the car. This also shows (kind of) that your lift point to preload is at the outer end of your lower control arm.