Twistedframe
Well-Known Member
- 71
- 33
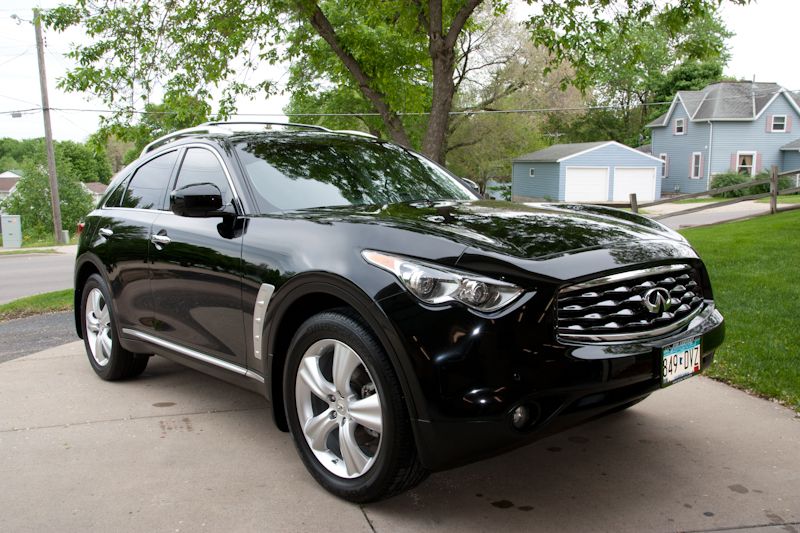
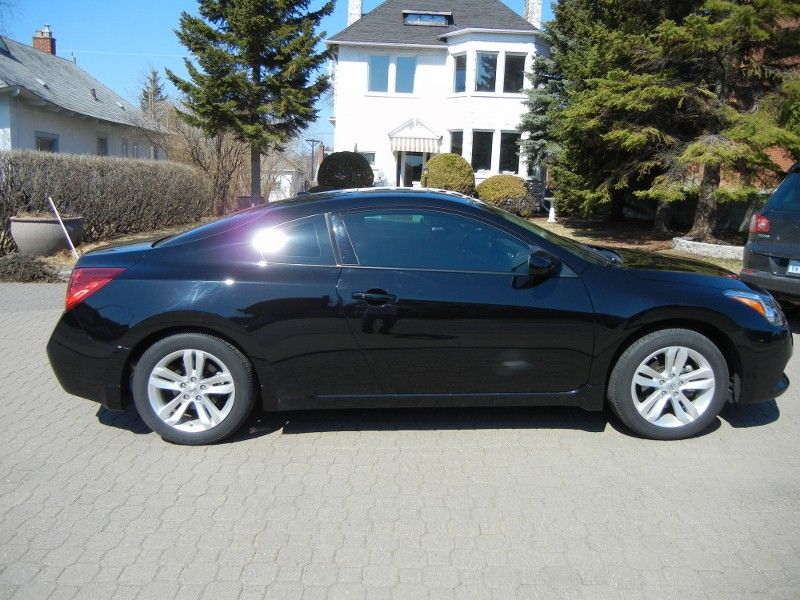
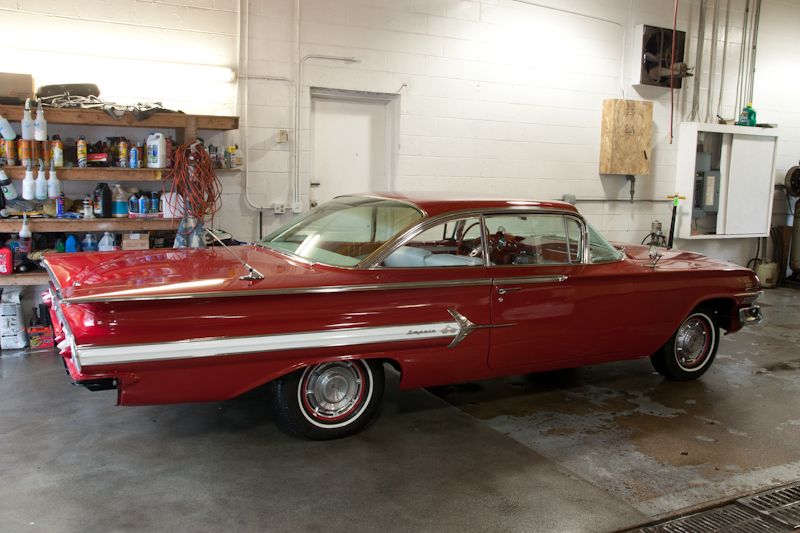
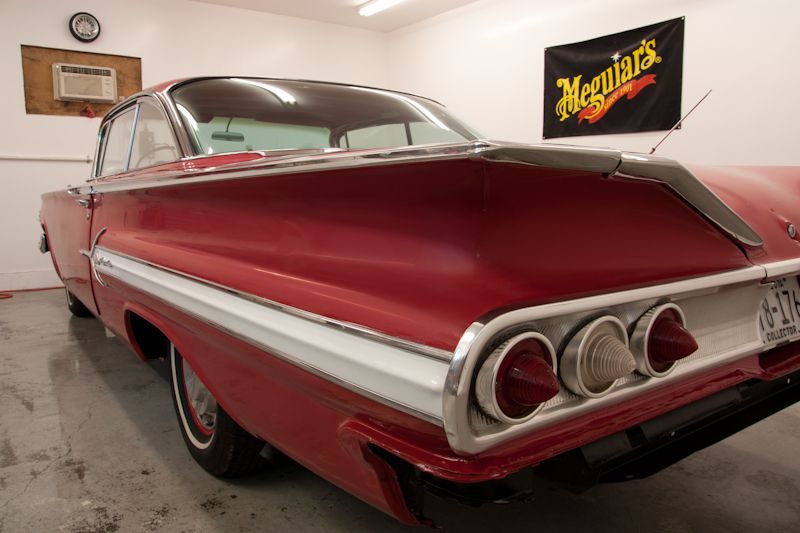
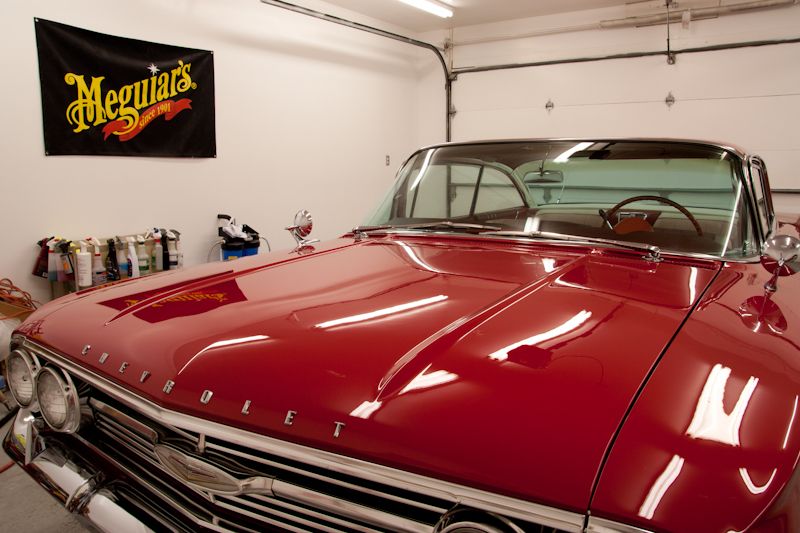
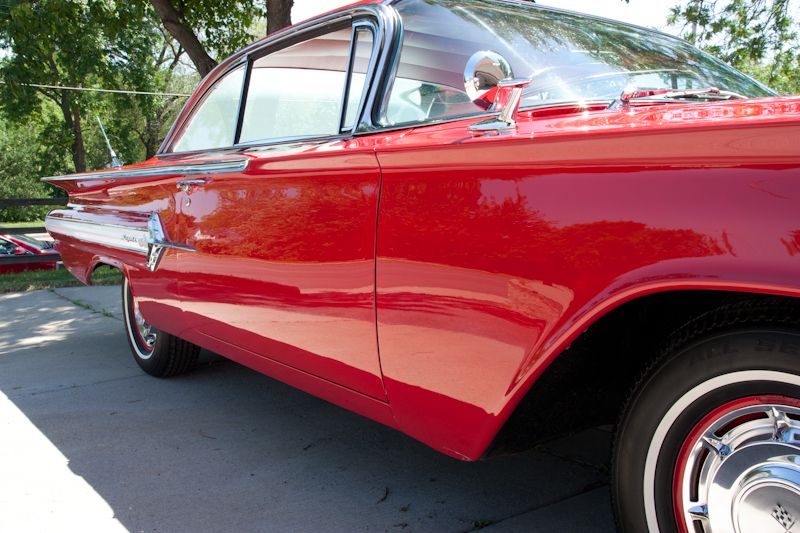
Great work Chad!!! I am a big fan of those cars, and you made it look amazing!!!!
Follow along with the video below to see how to install our site as a web app on your home screen.

Note: This feature currently requires accessing the site using the built-in Safari browser.
man, have you ever used a heat gun? I've only ever seen someone actually remove ppf with heat prior to pulling. It would at least soften the adhesive up slightly
")
great work. Do you get all of your products online, or can you get some of it in certain stores?
damn! awesome work.
baller cars compared to mine lol
")


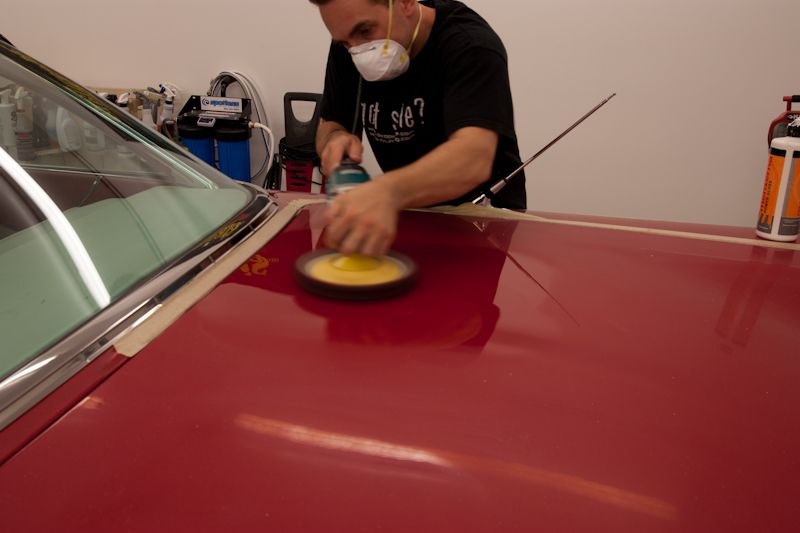

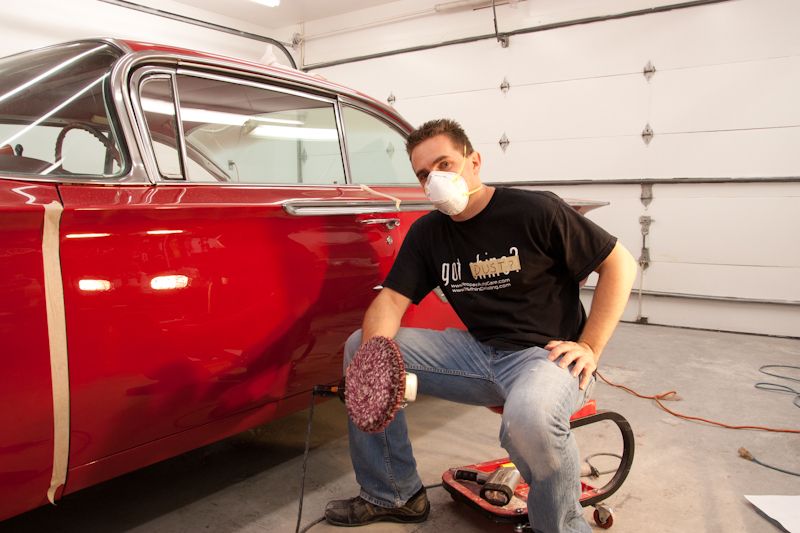


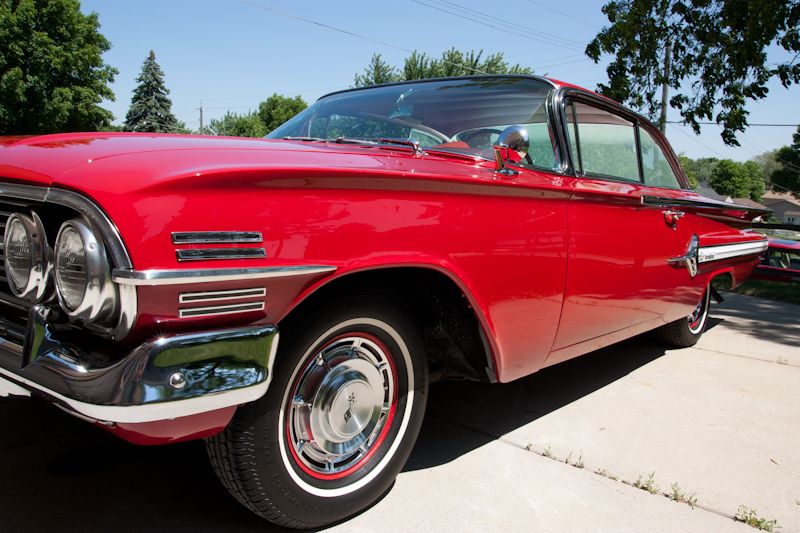
another great job! Did you have to deal with any chrome work, or was it all fine? I like the got dust shirt
Amazing work!!!