- Thread starter
- #41
RaskyR1
Well-Known Member
- 529
- 532
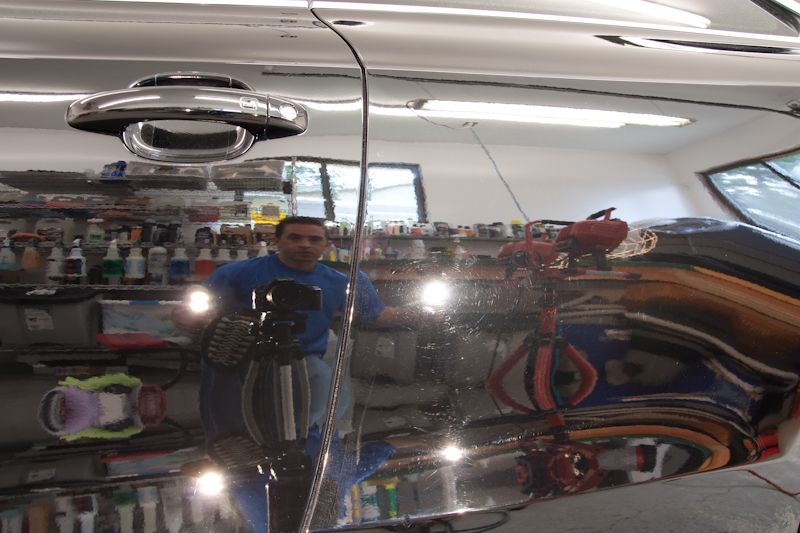
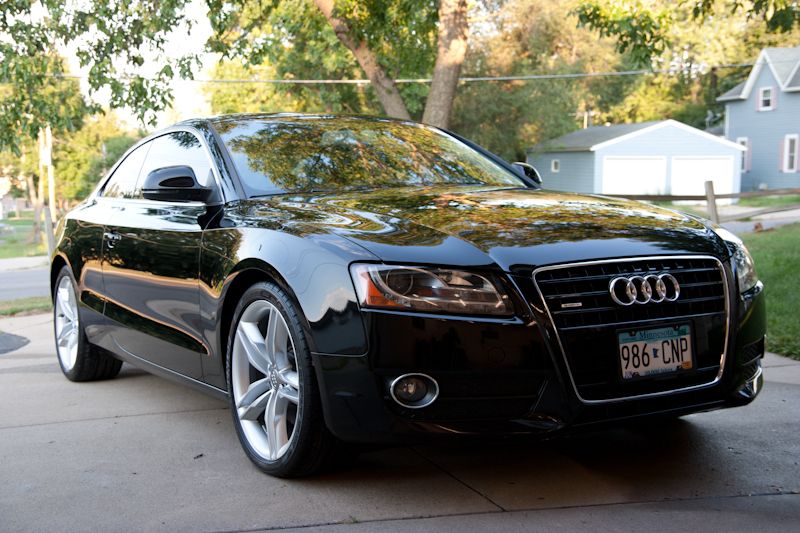
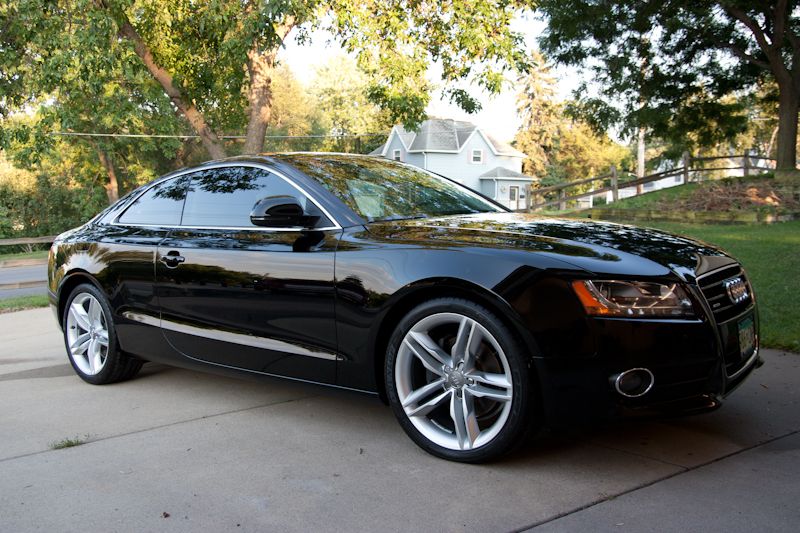
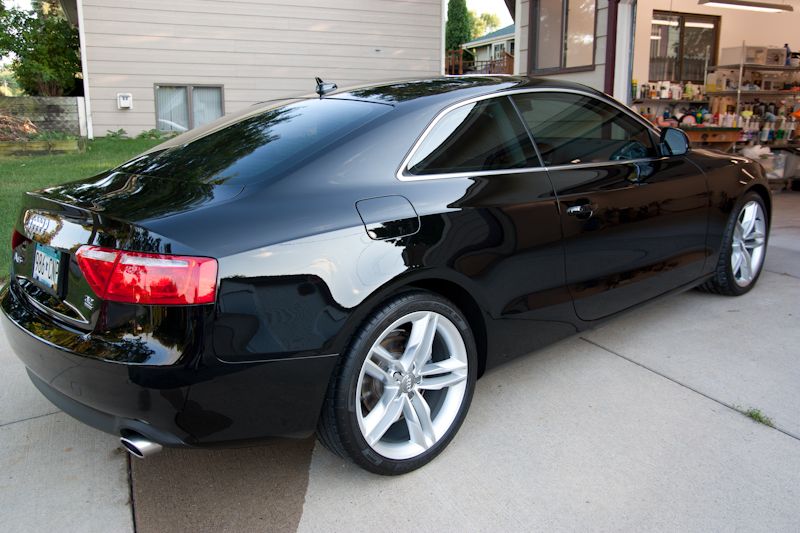
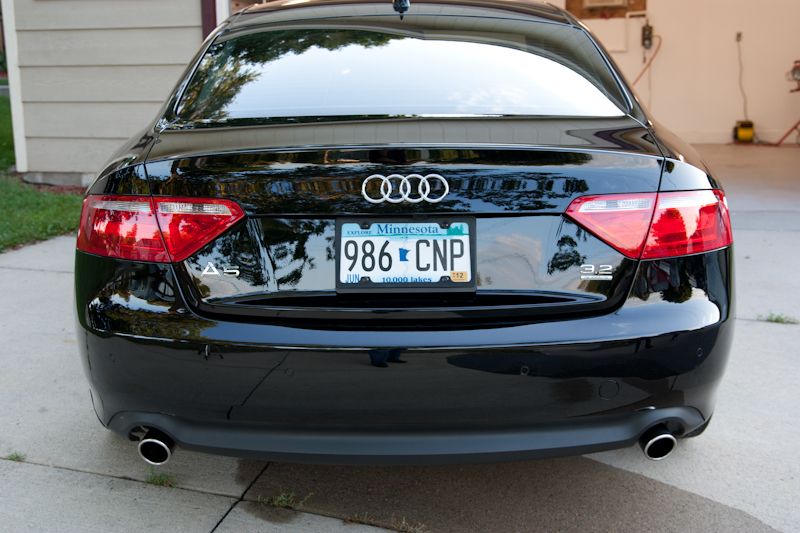
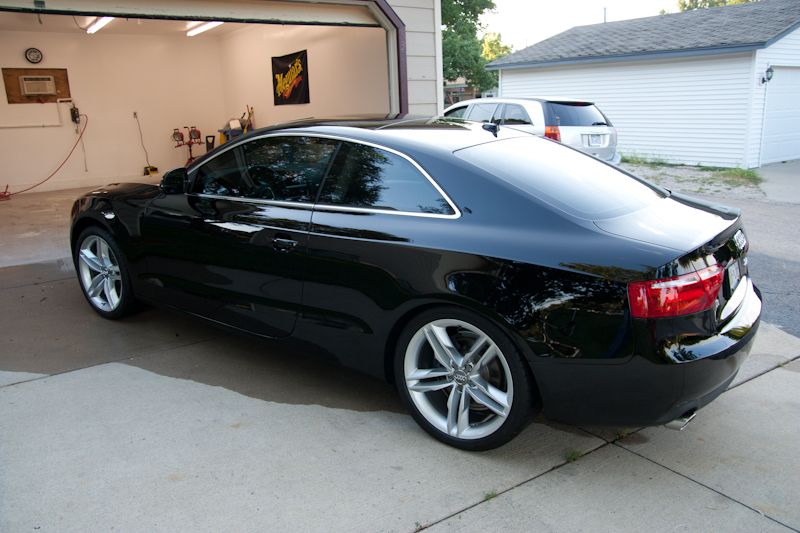
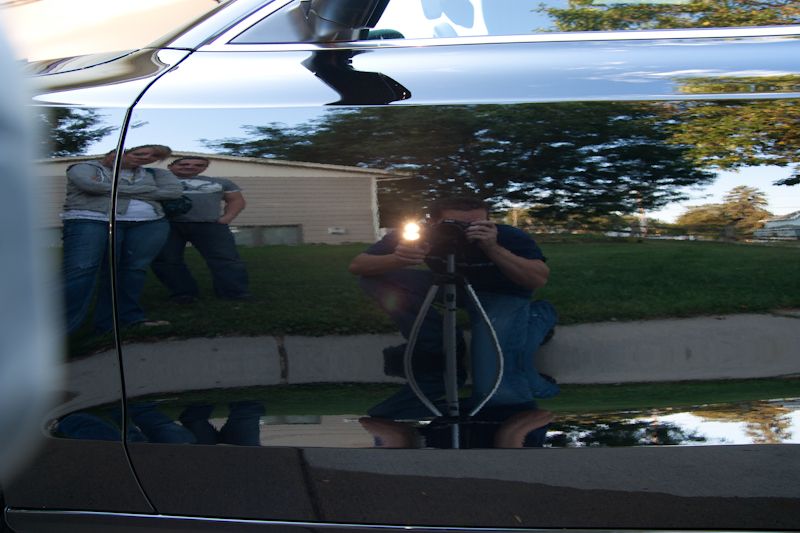
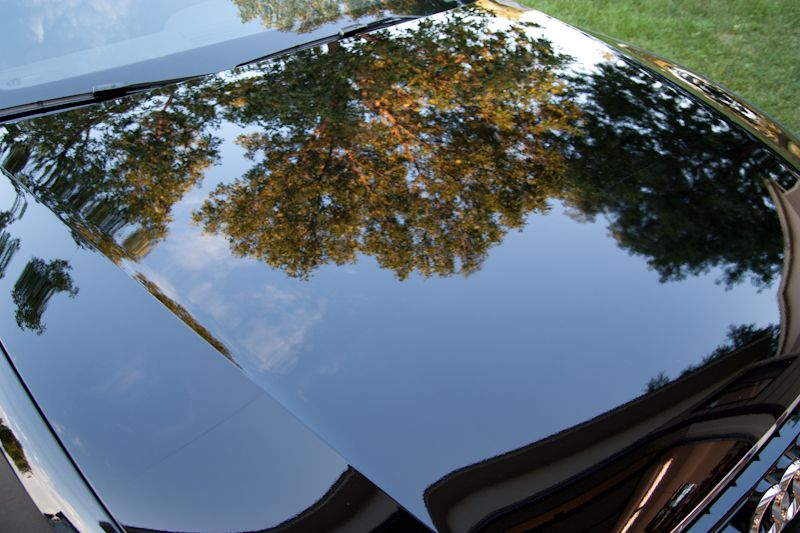
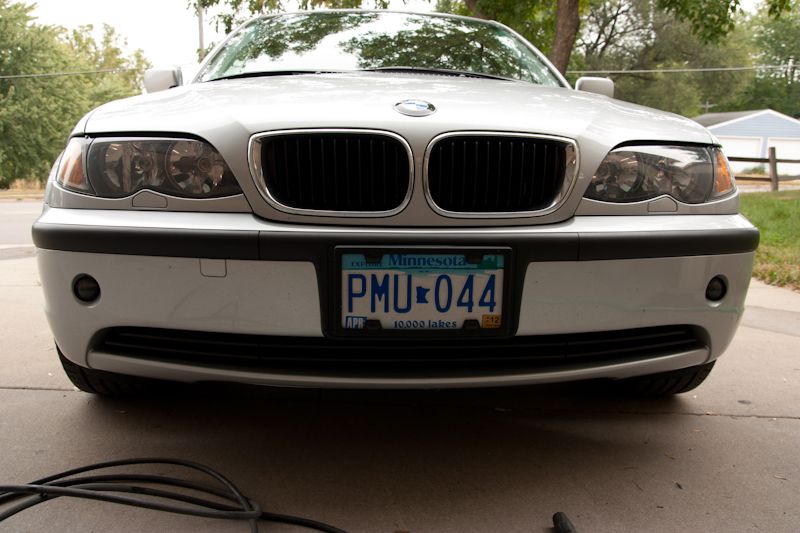
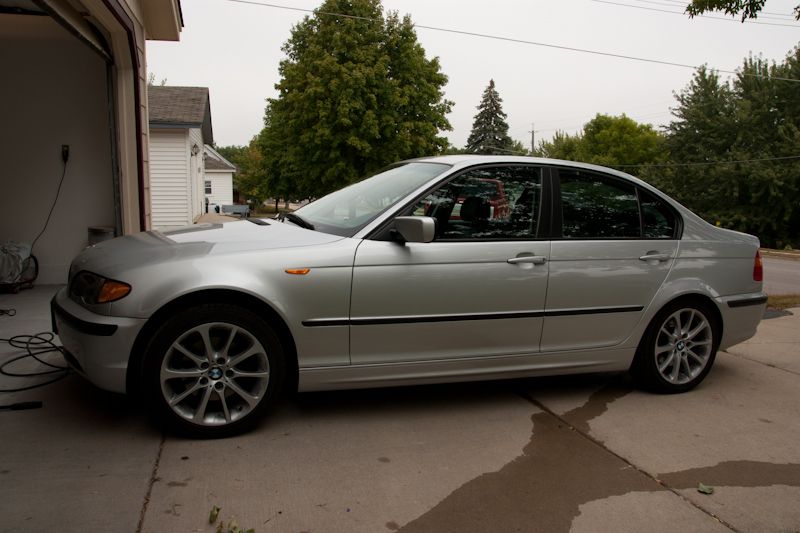
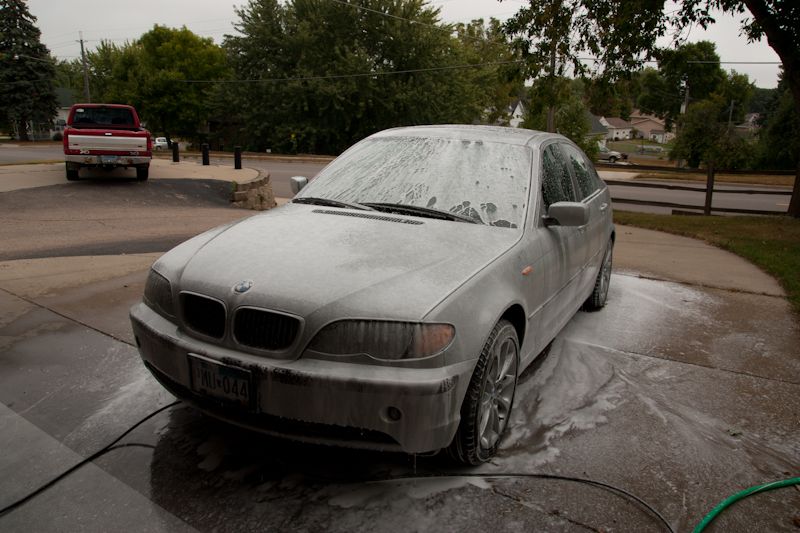
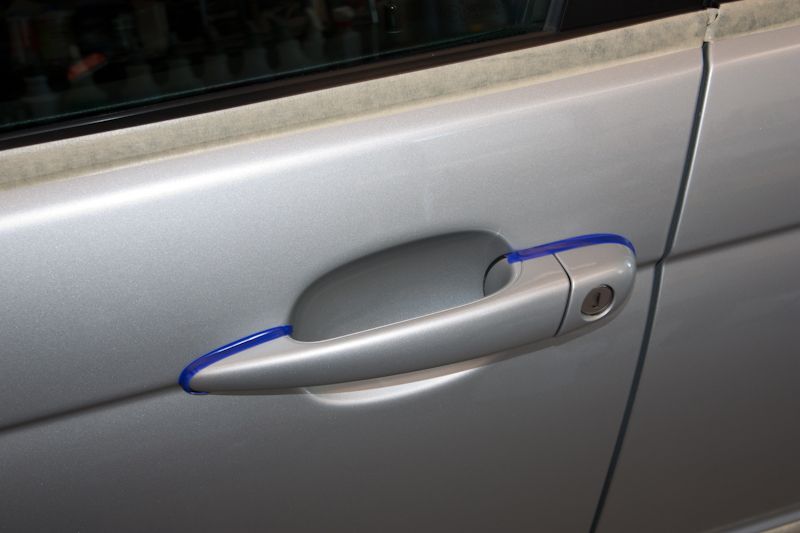
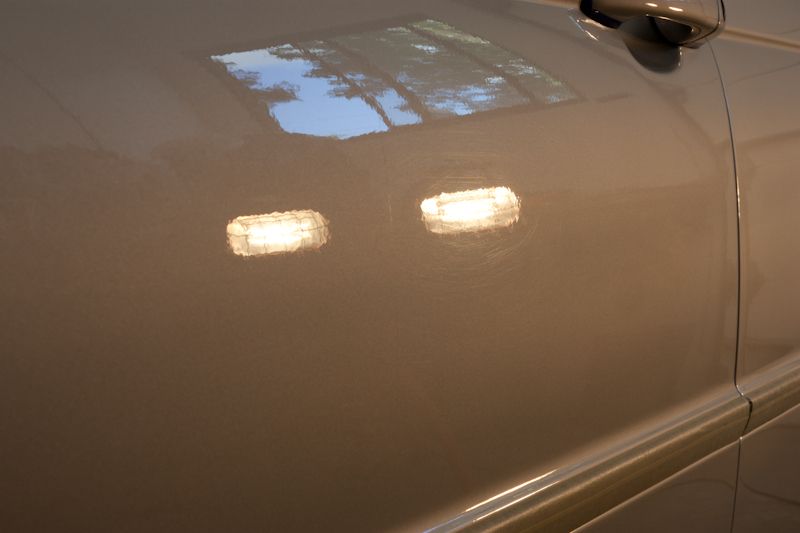
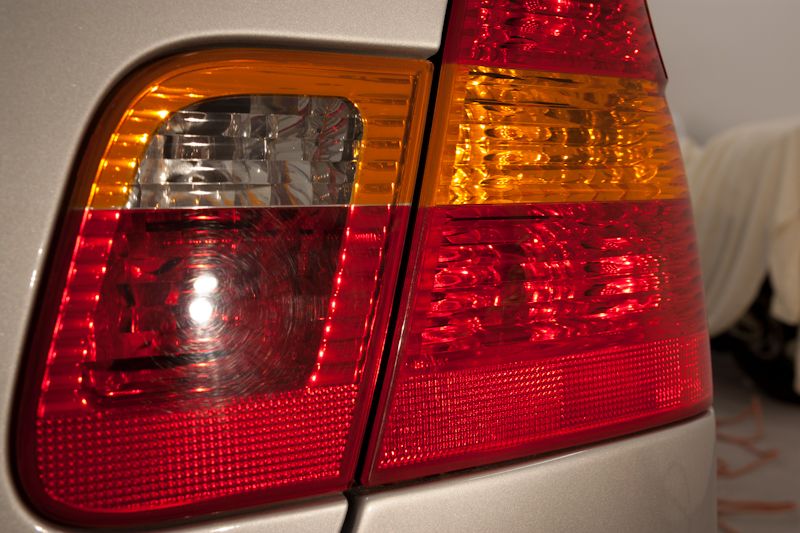
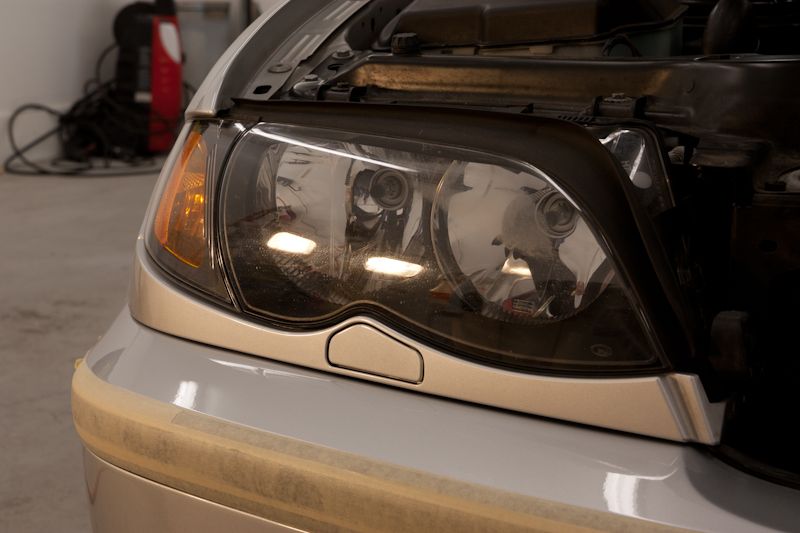
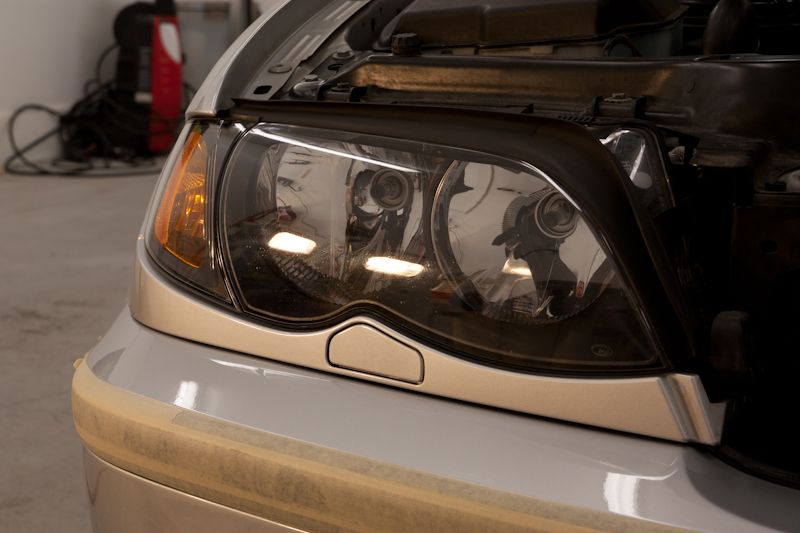
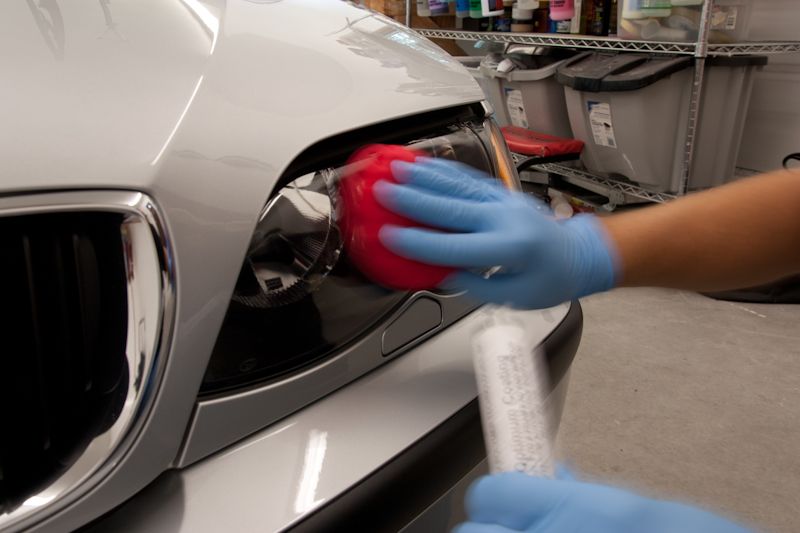
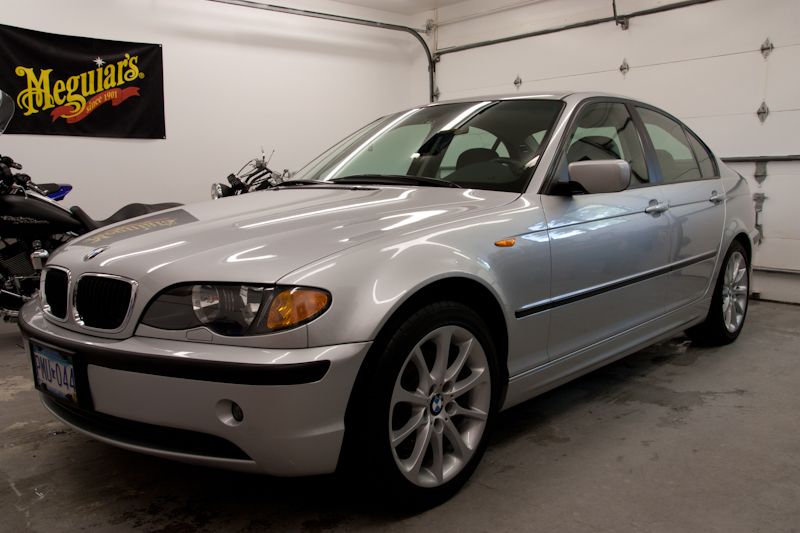
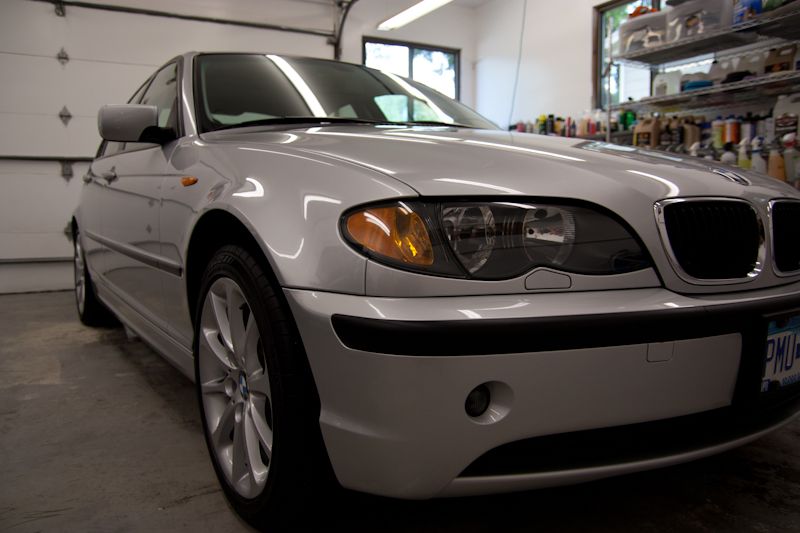
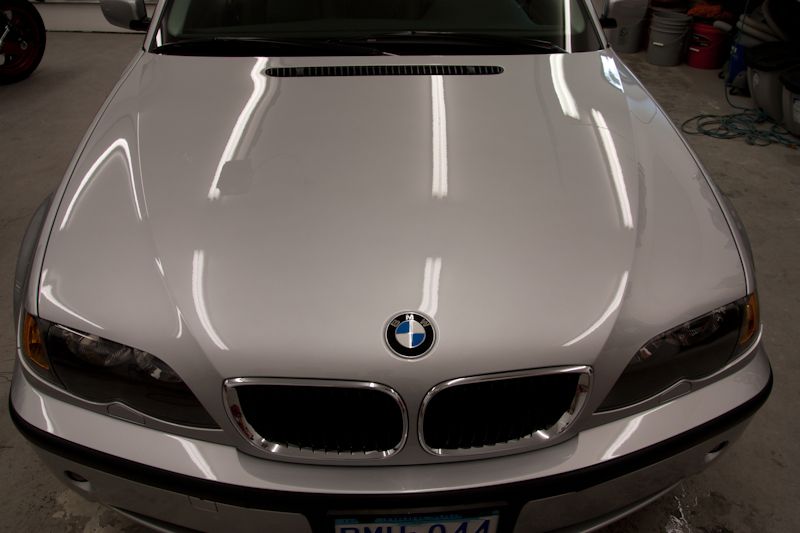
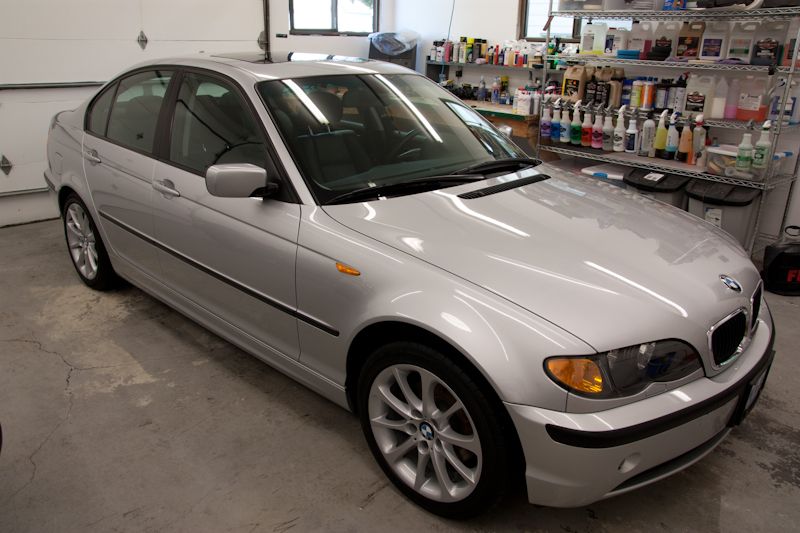
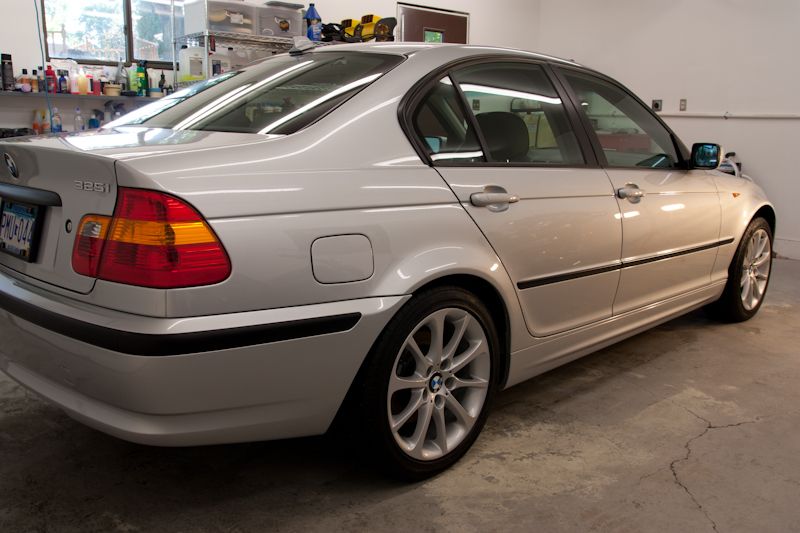
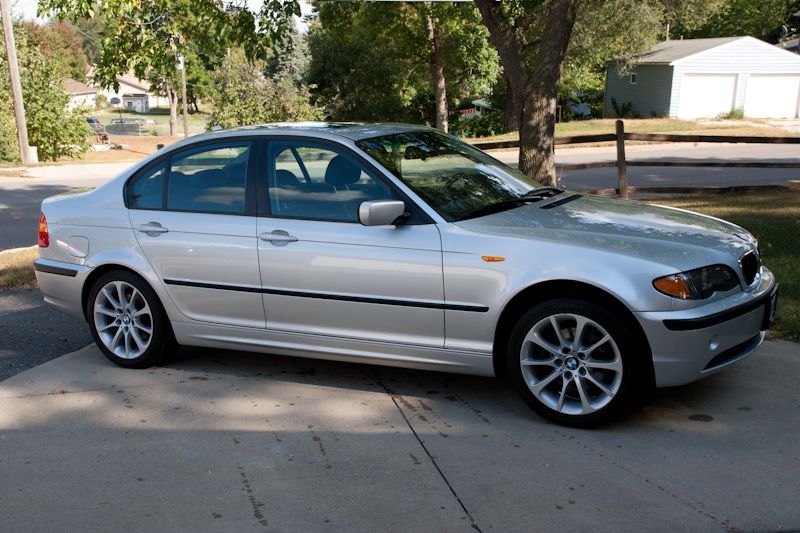
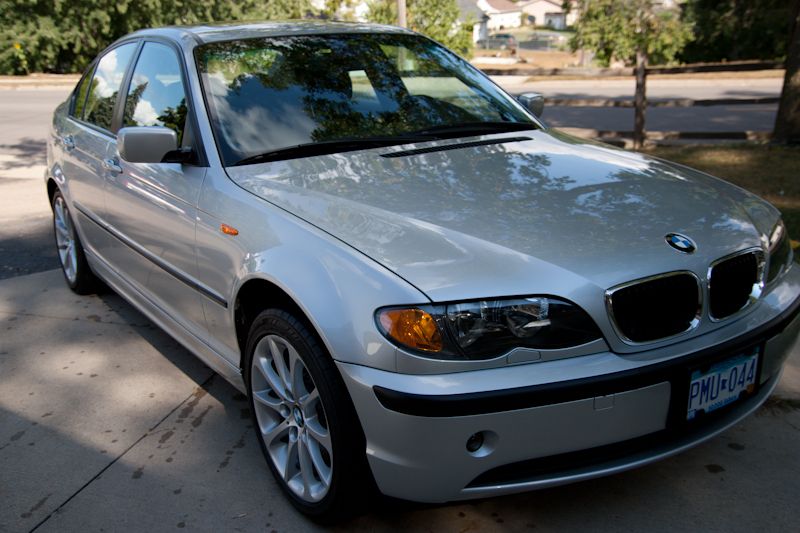
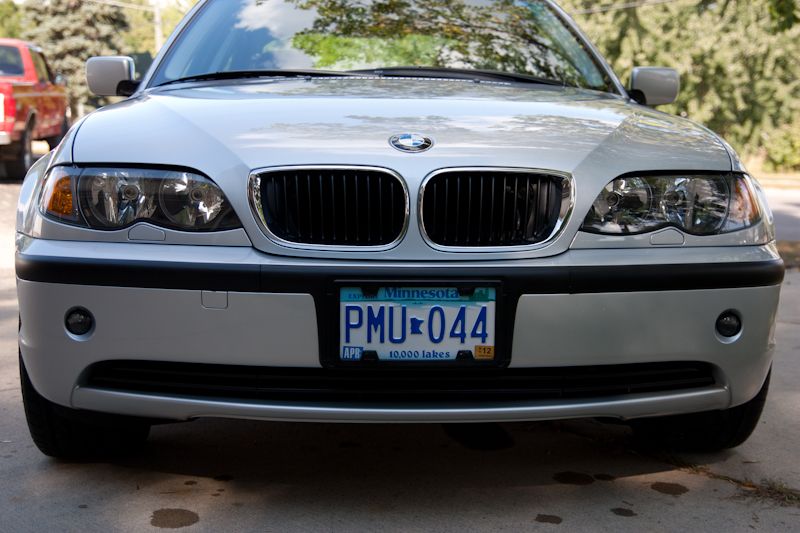
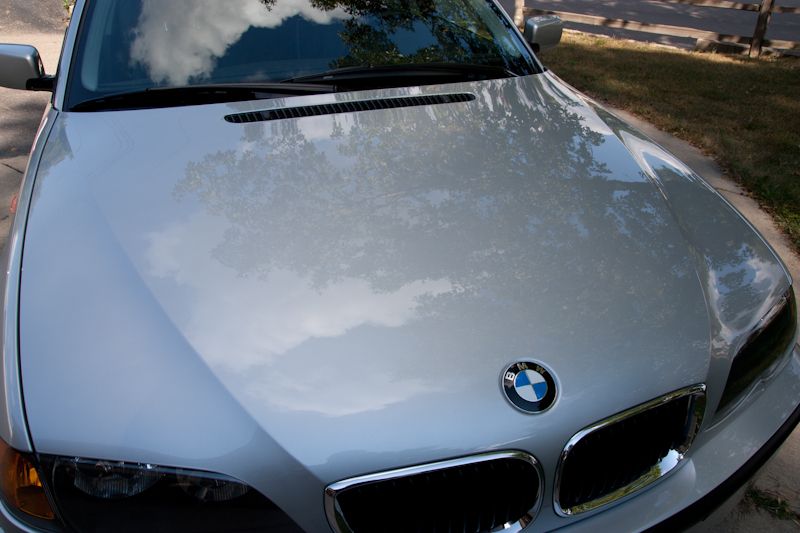
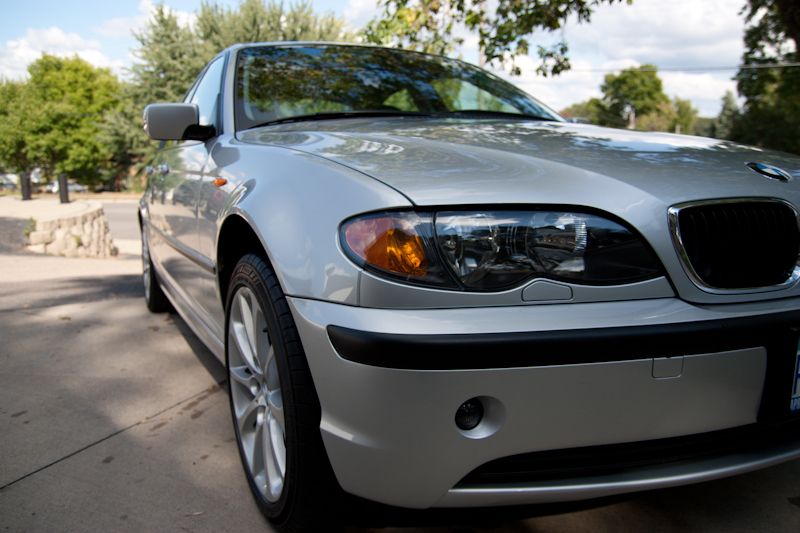
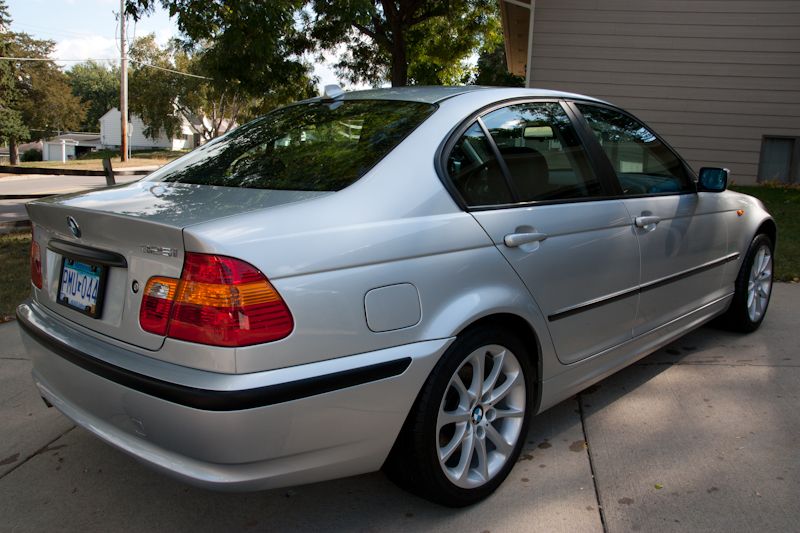
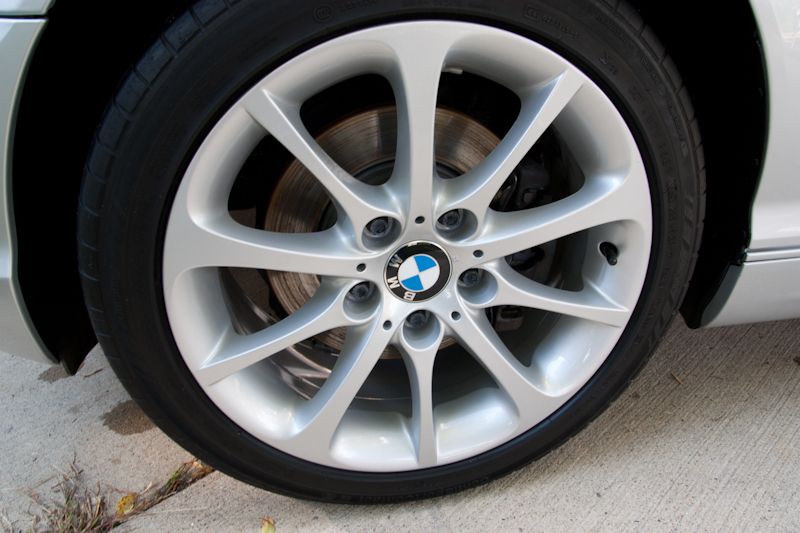
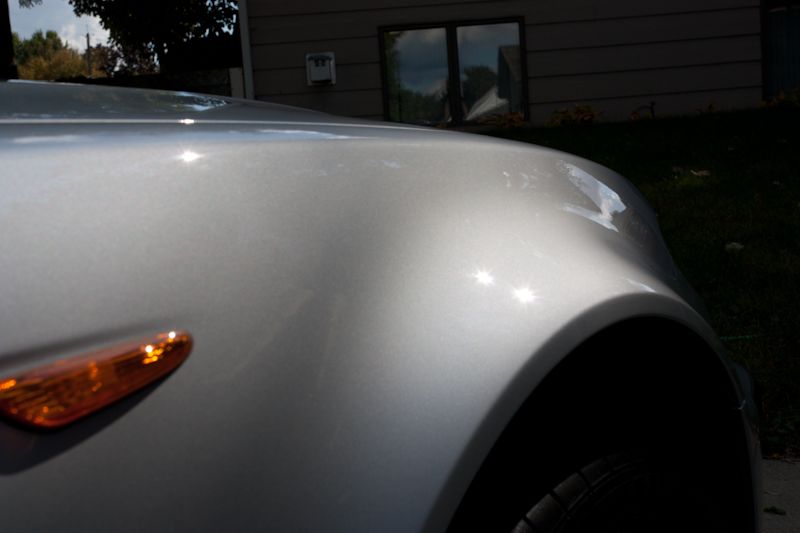
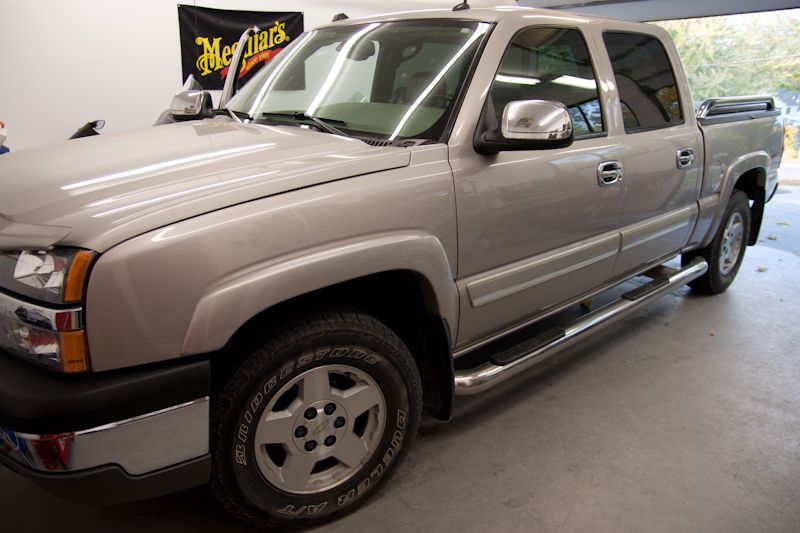
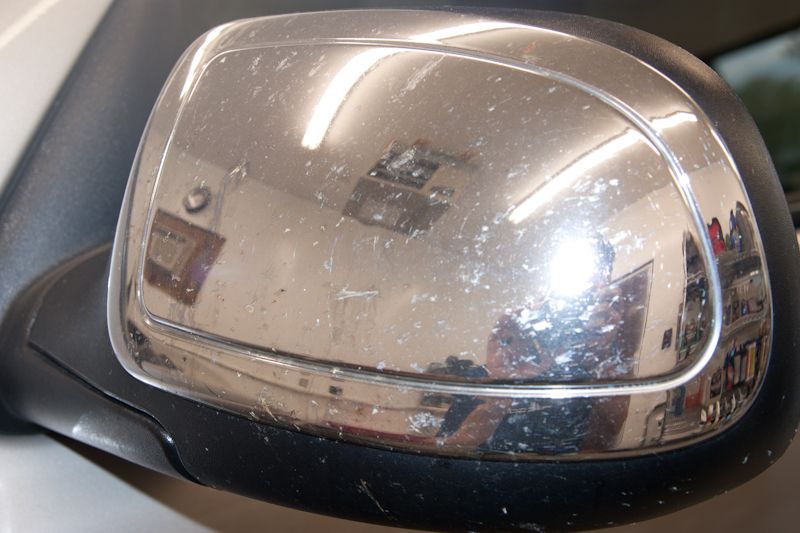
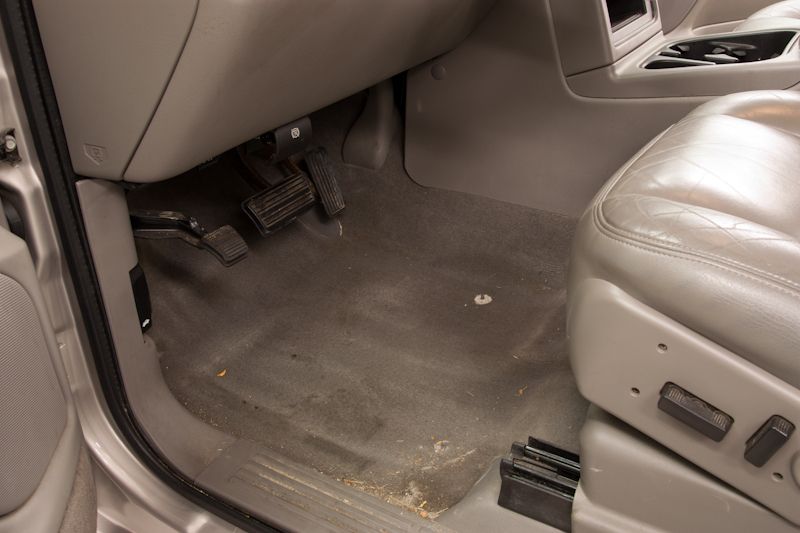
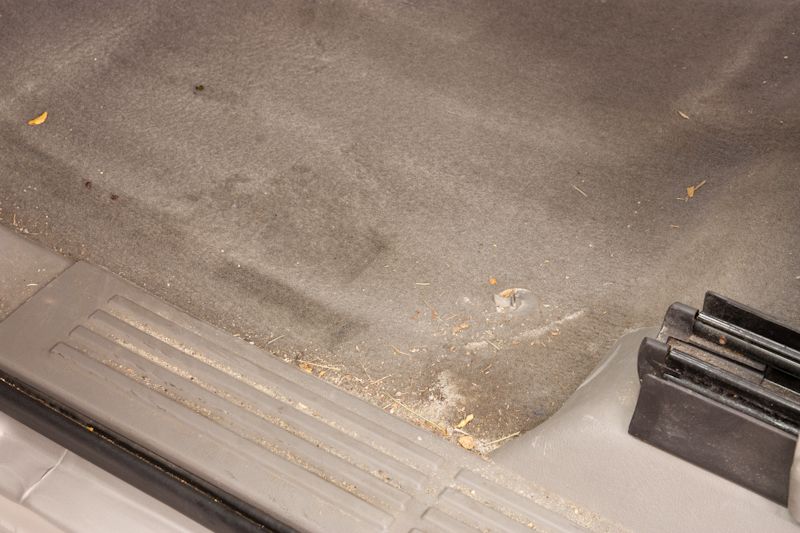
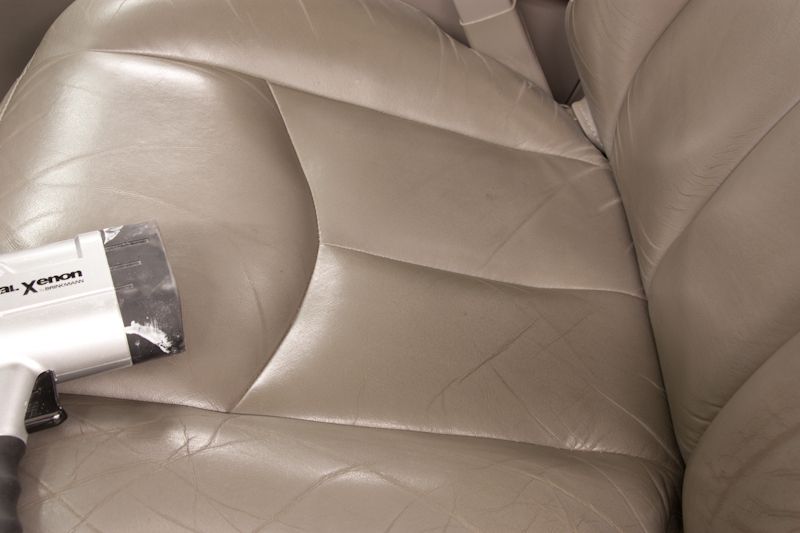
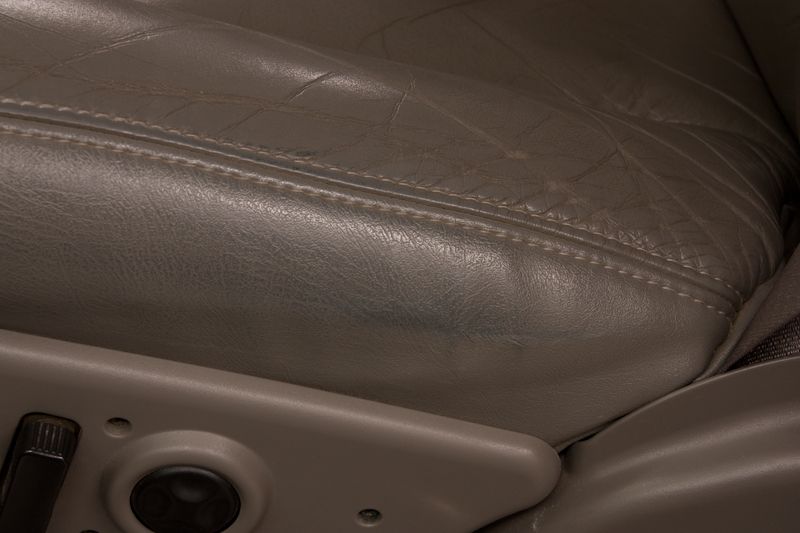
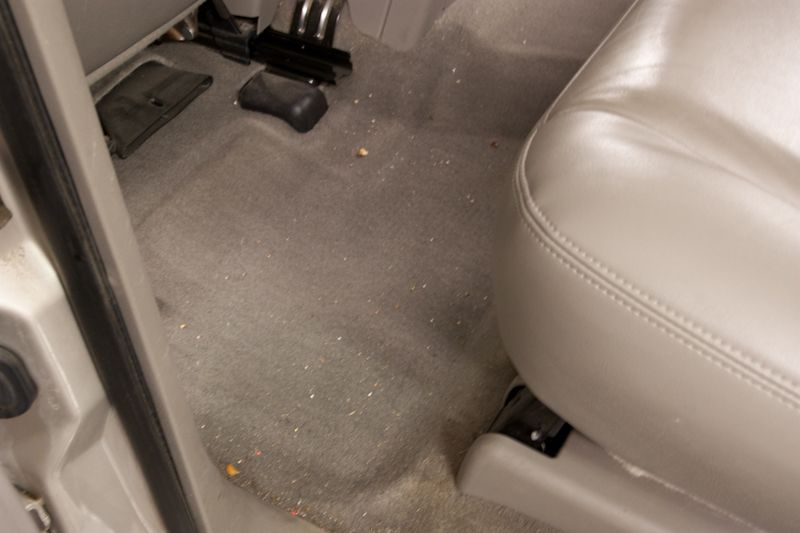
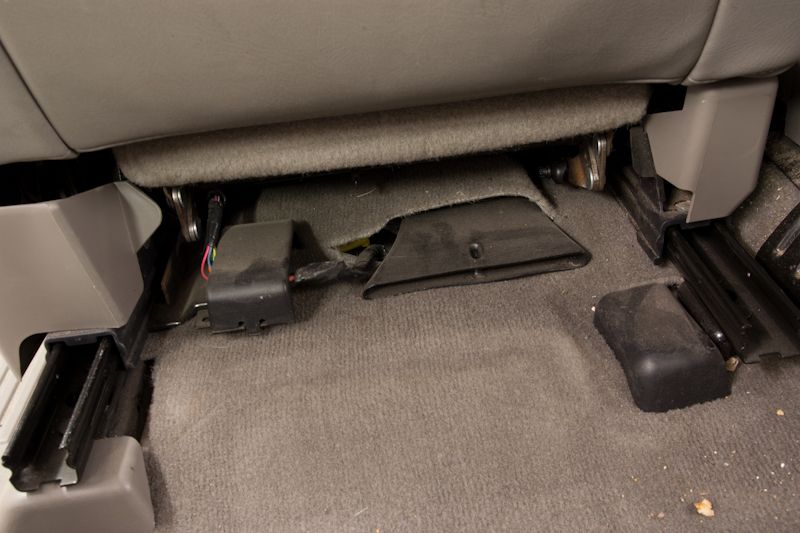
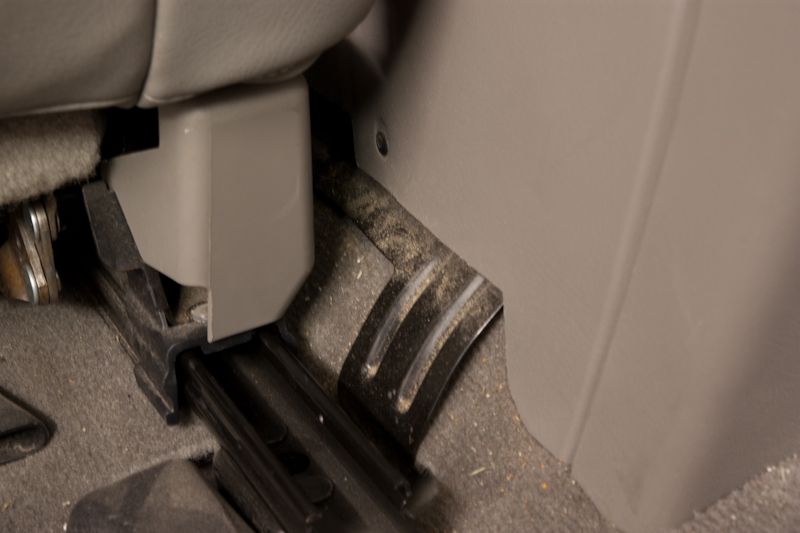
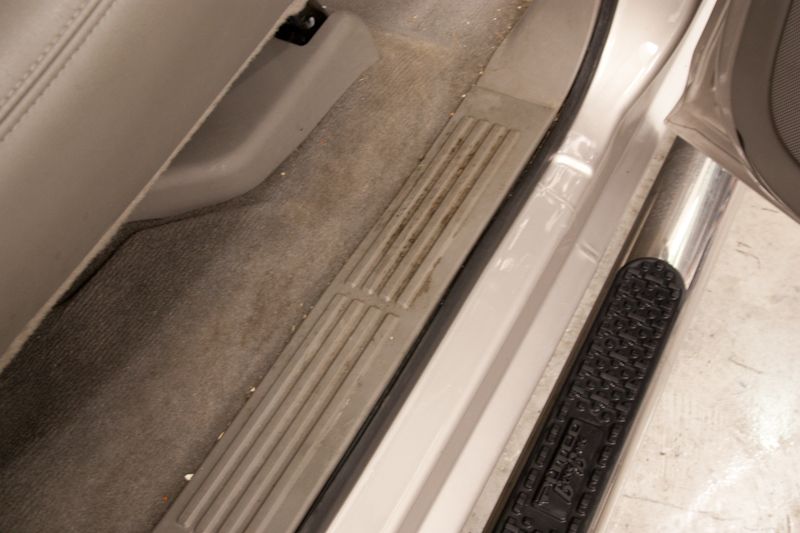
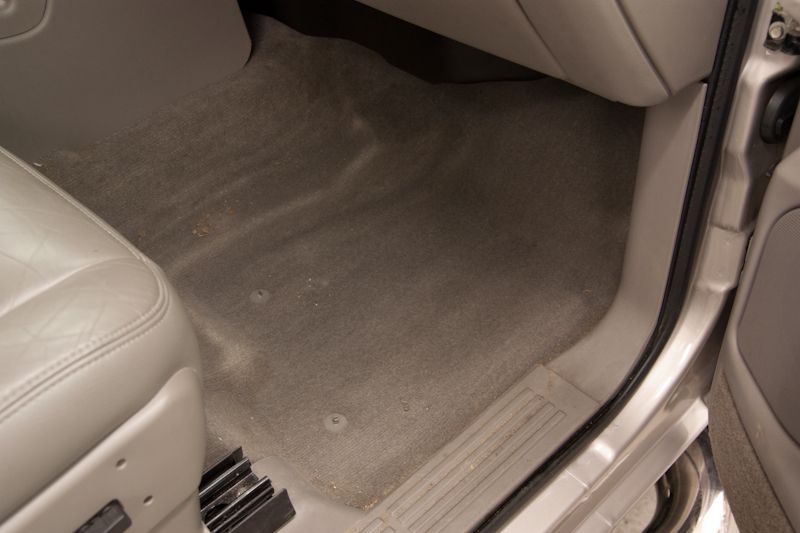
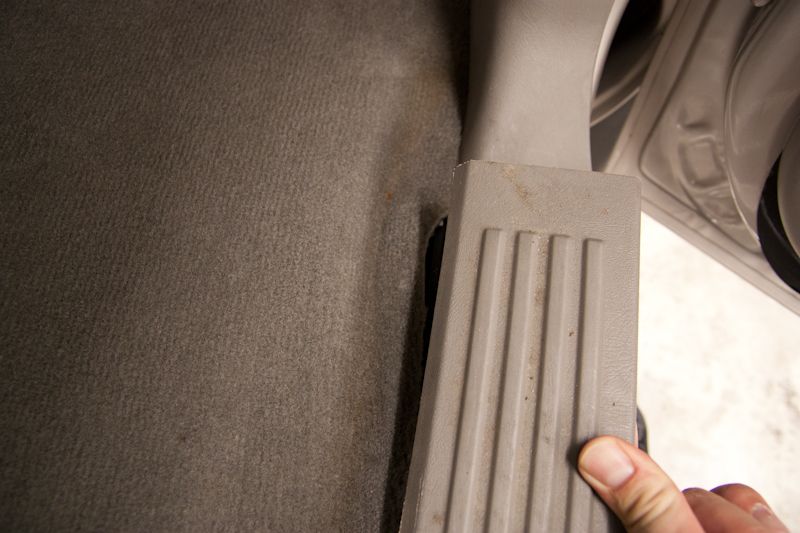
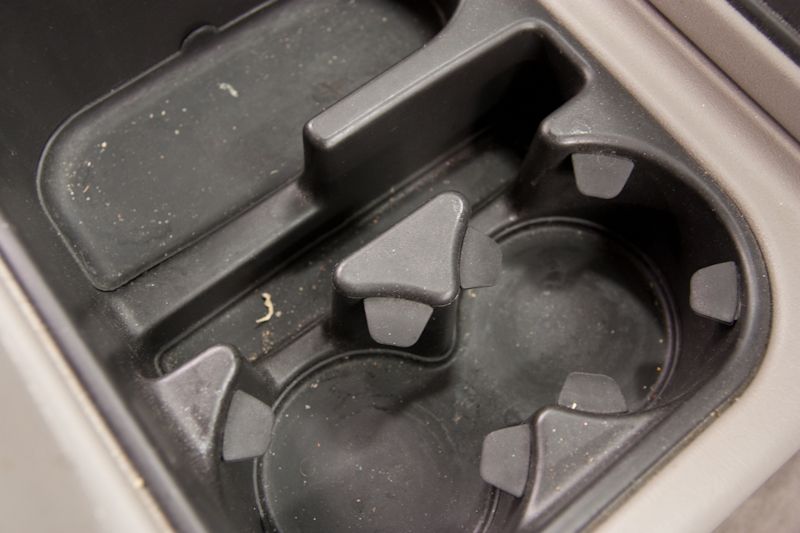
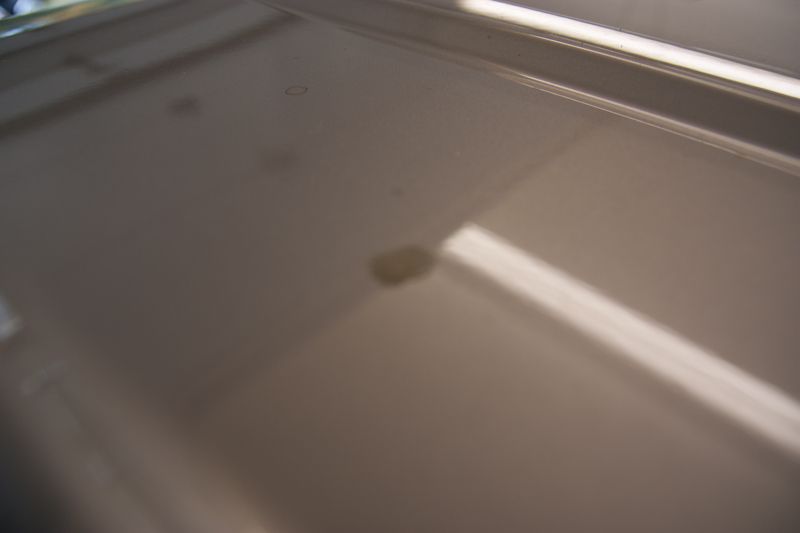
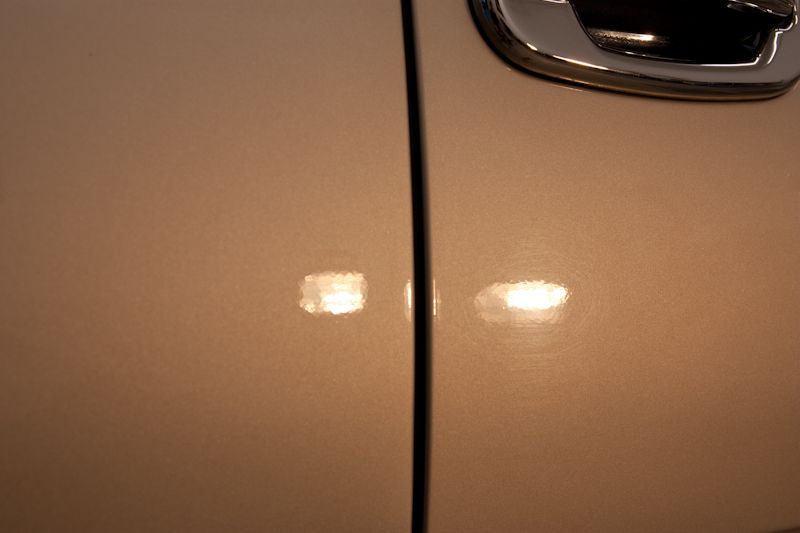
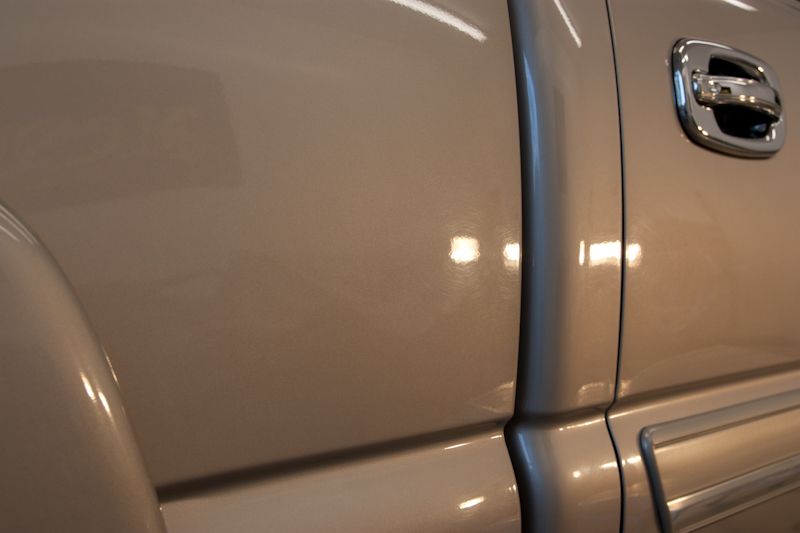
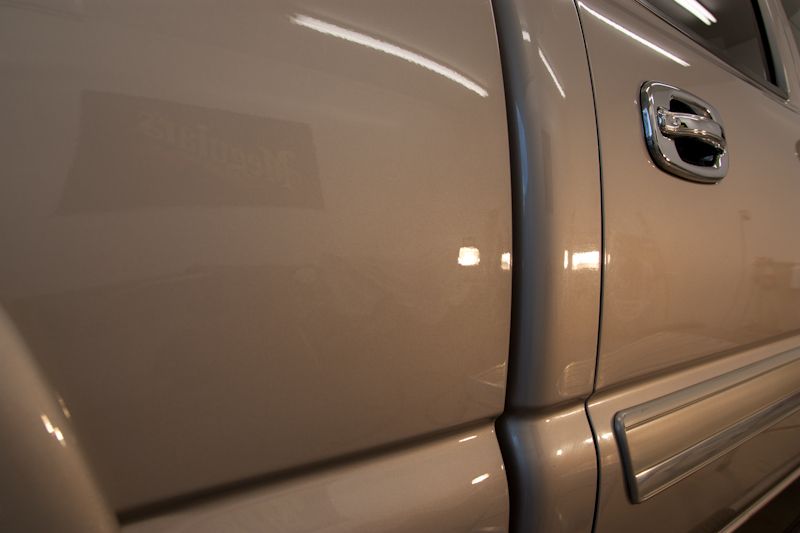
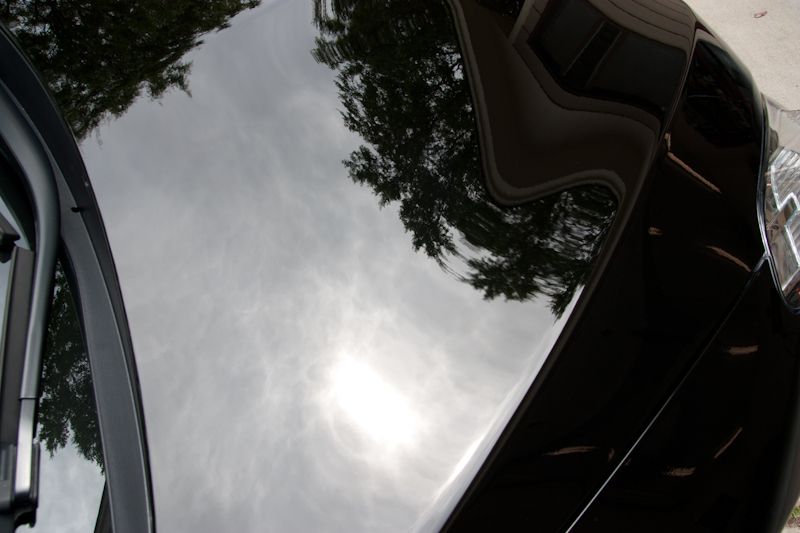
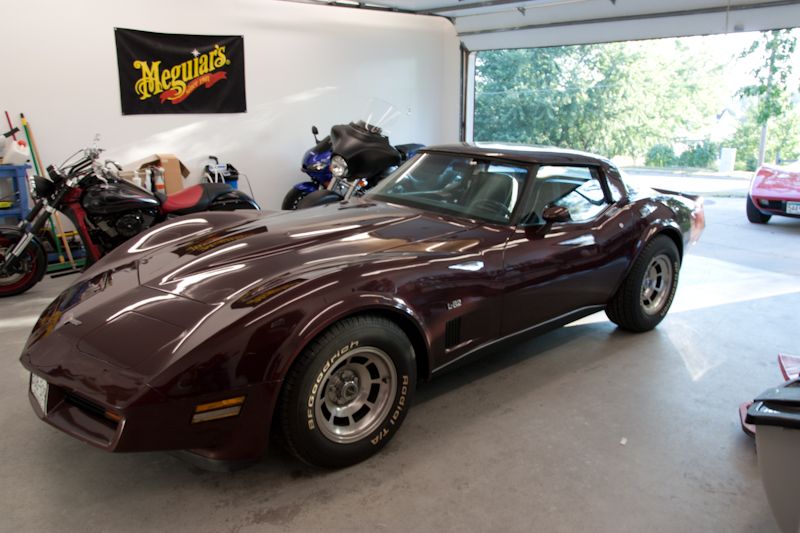
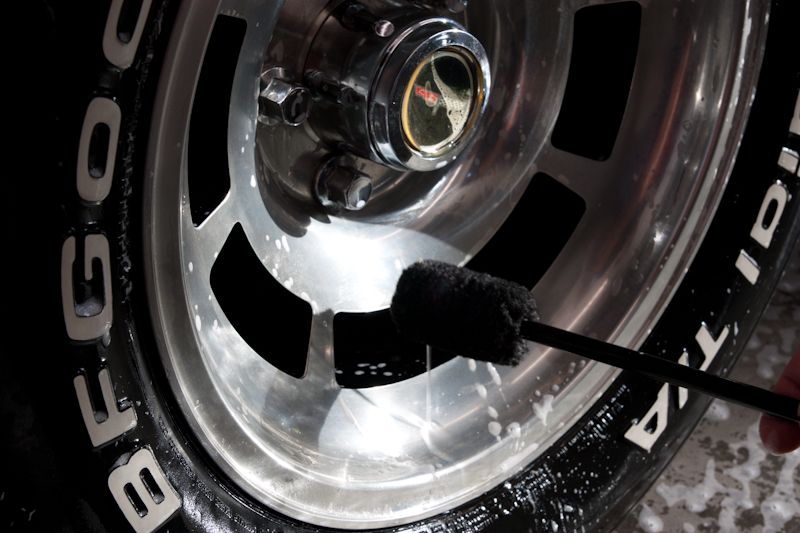
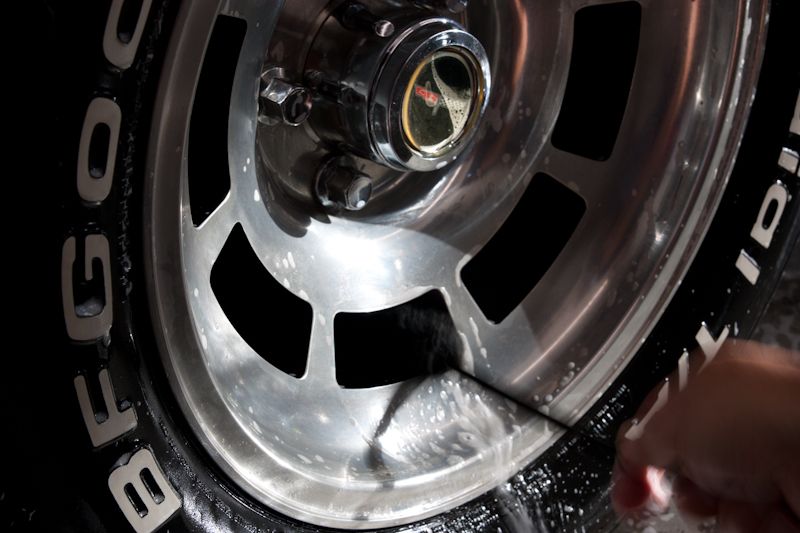
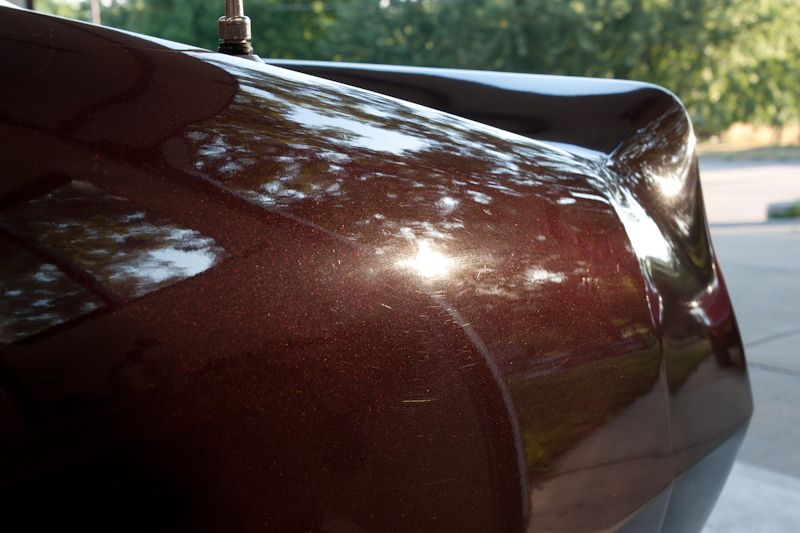
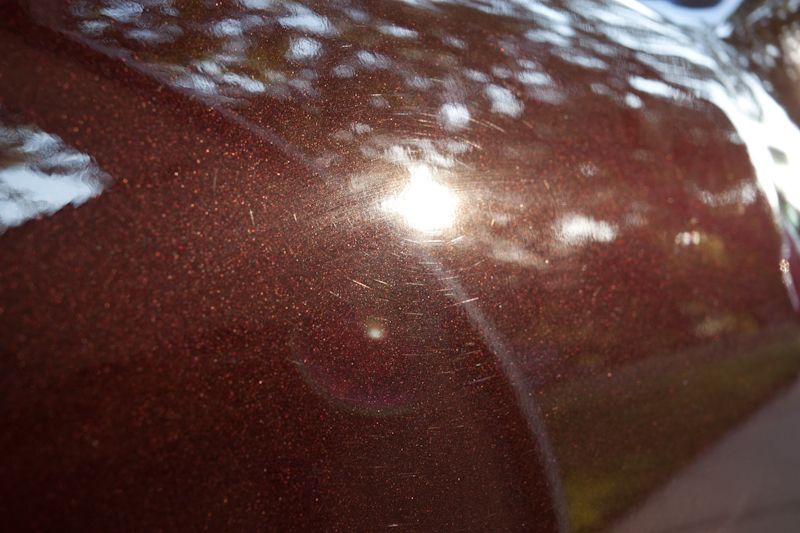
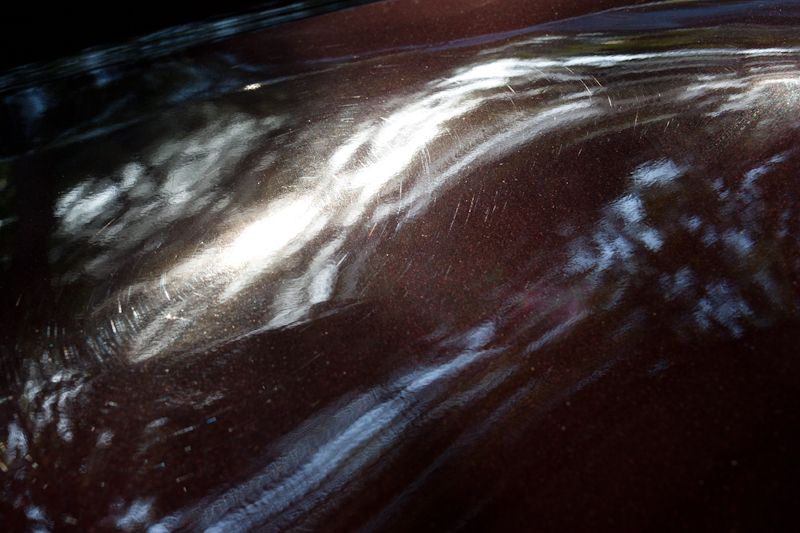
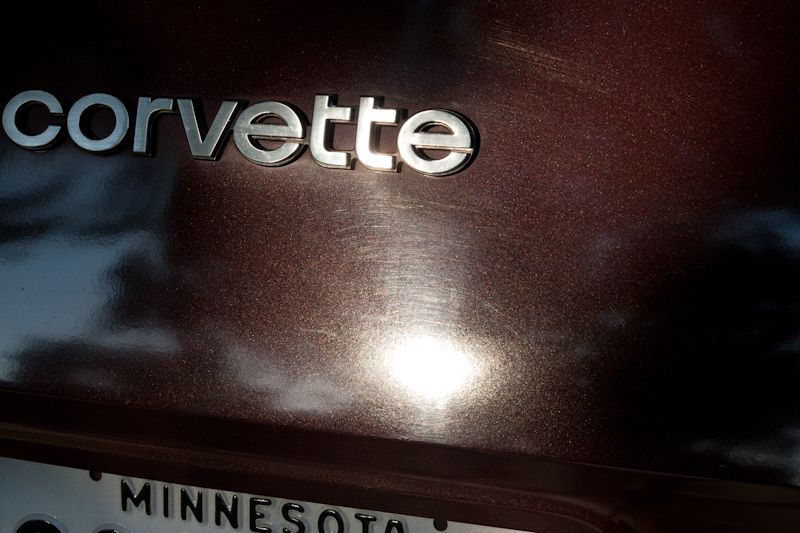
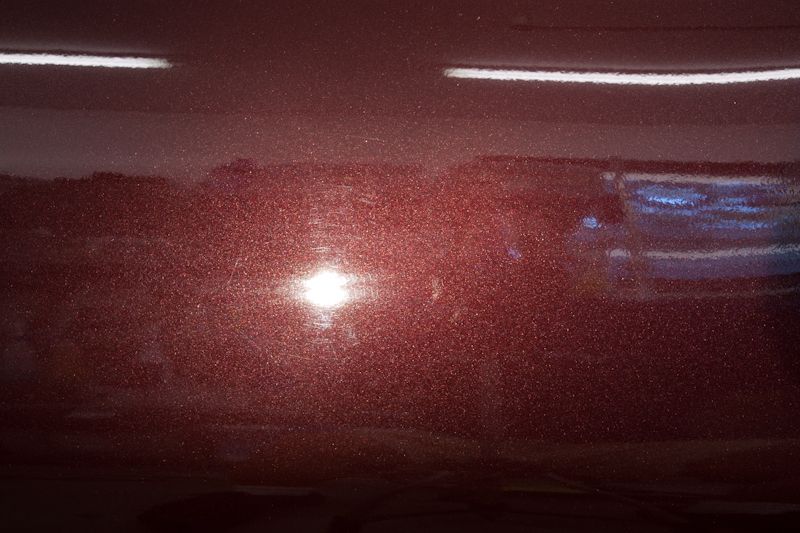
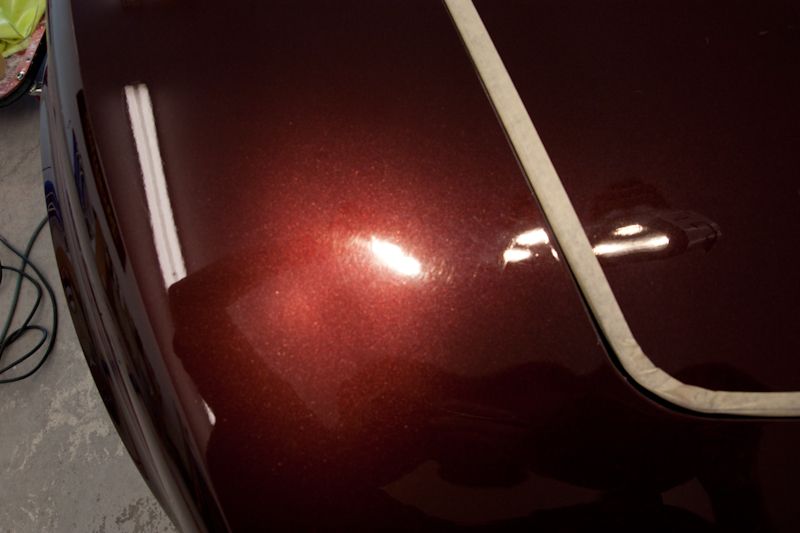
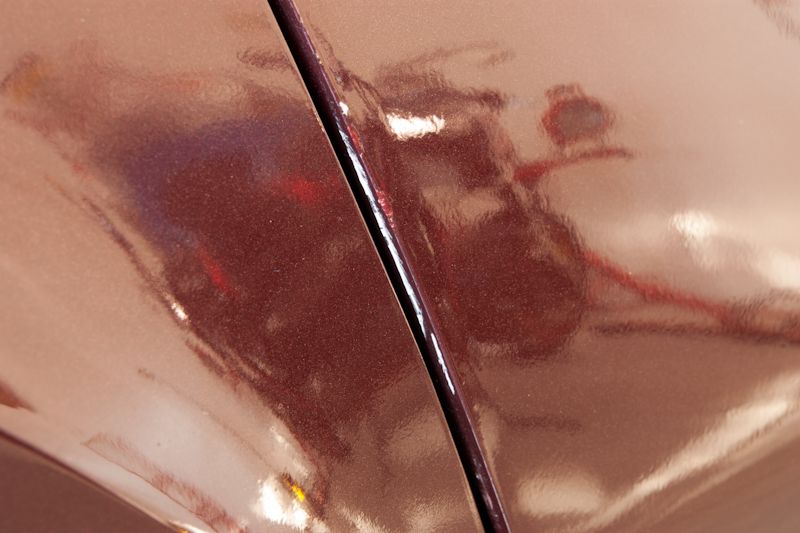
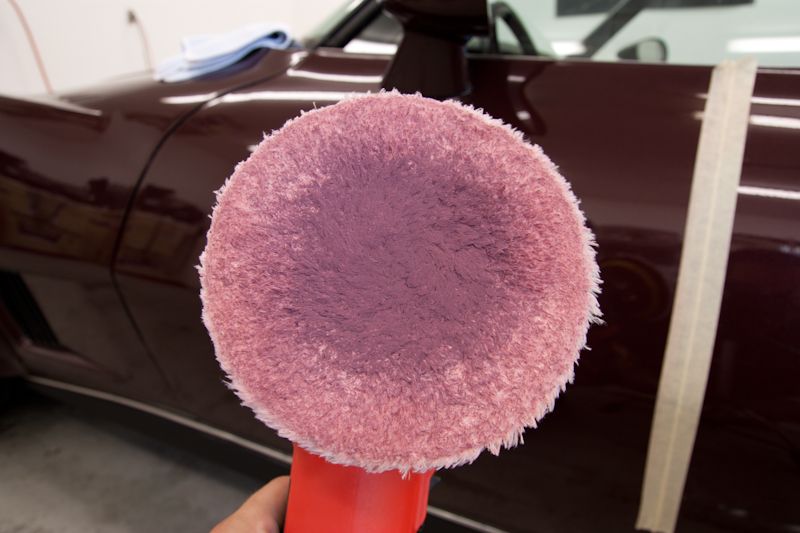
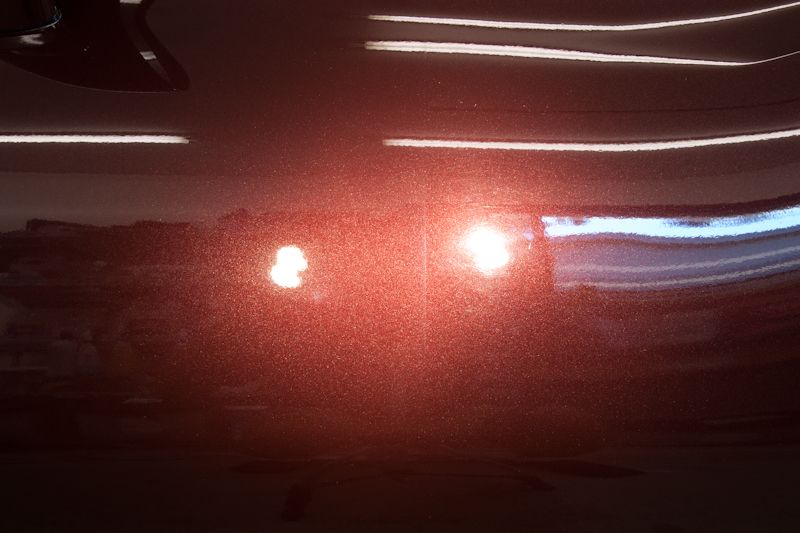
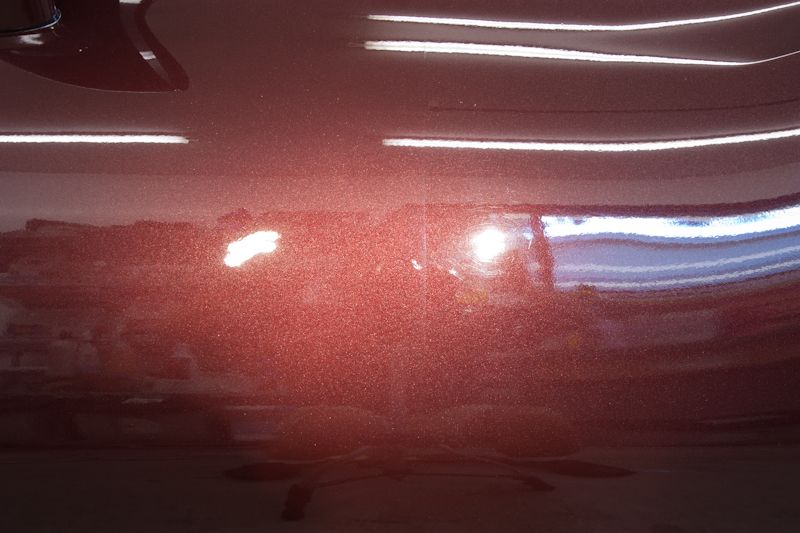
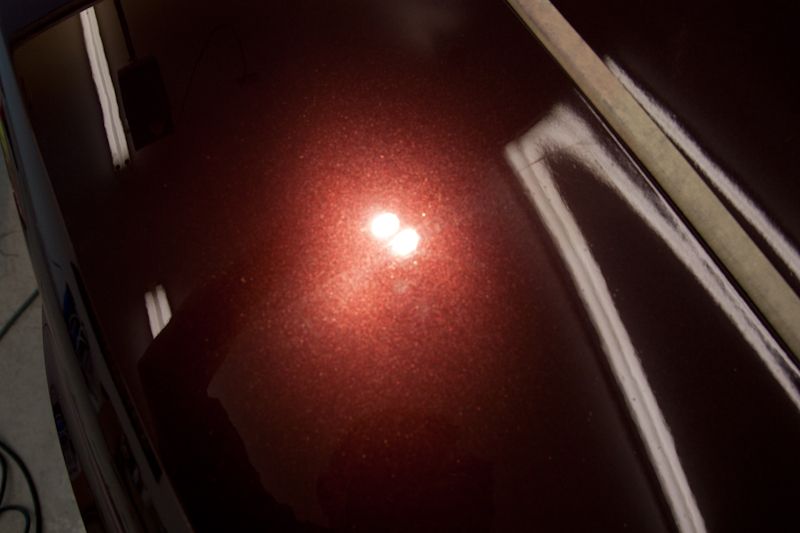
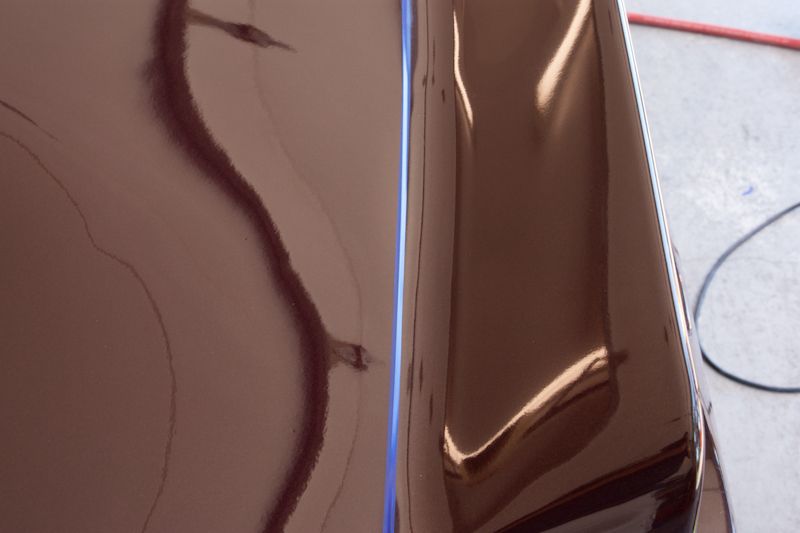
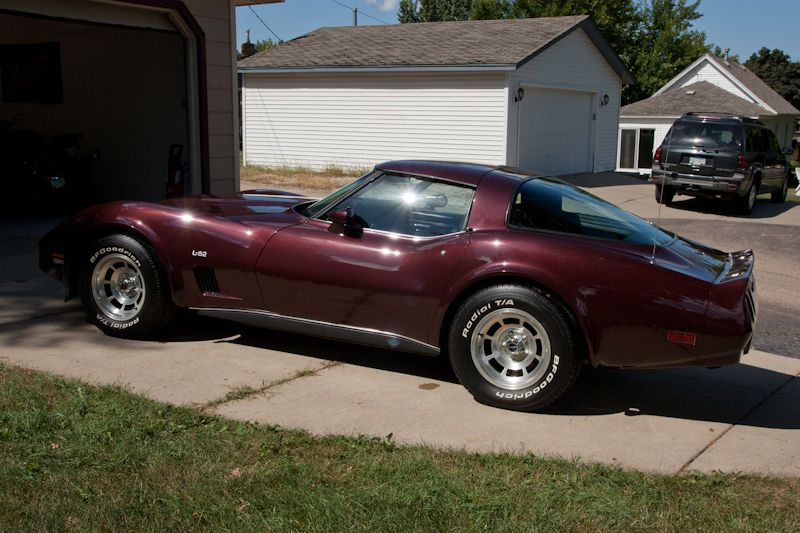
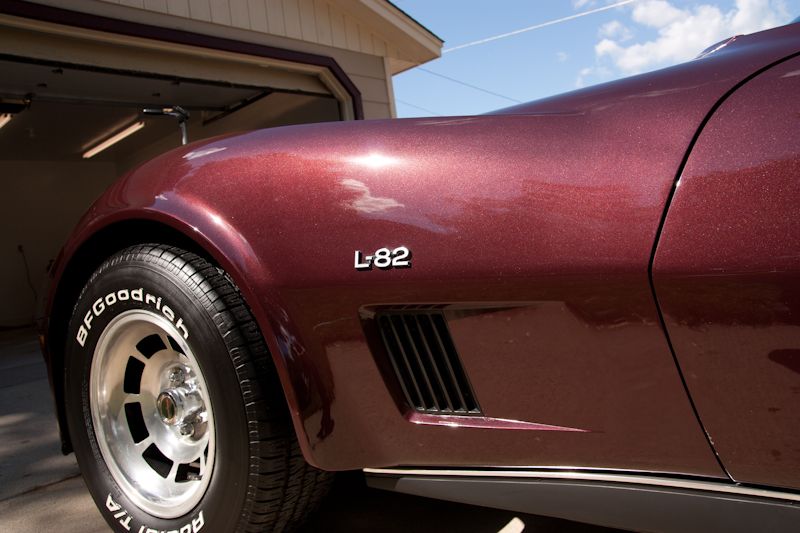
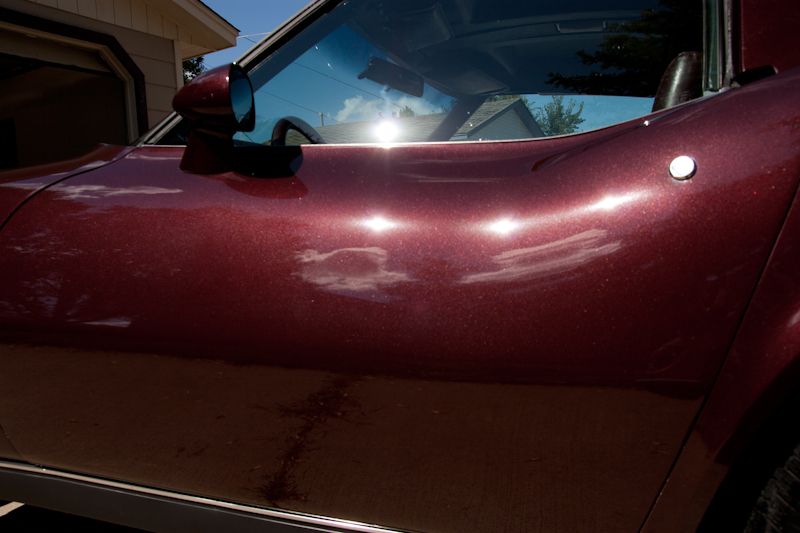
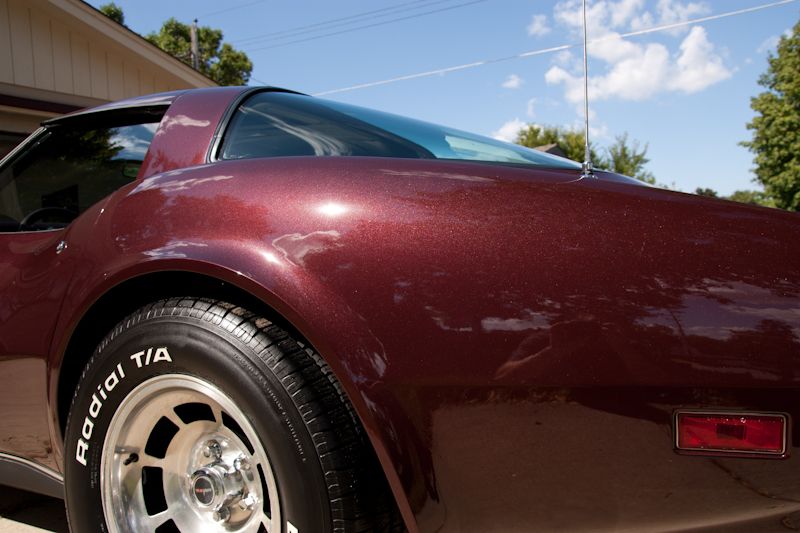
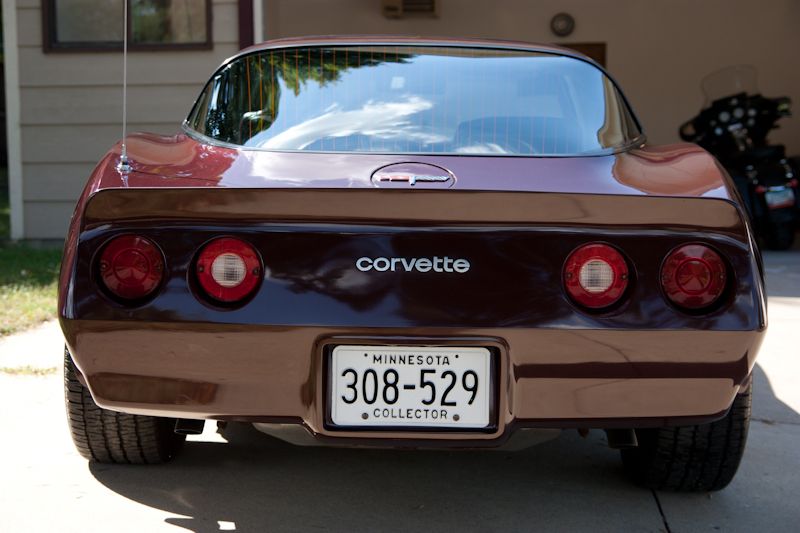
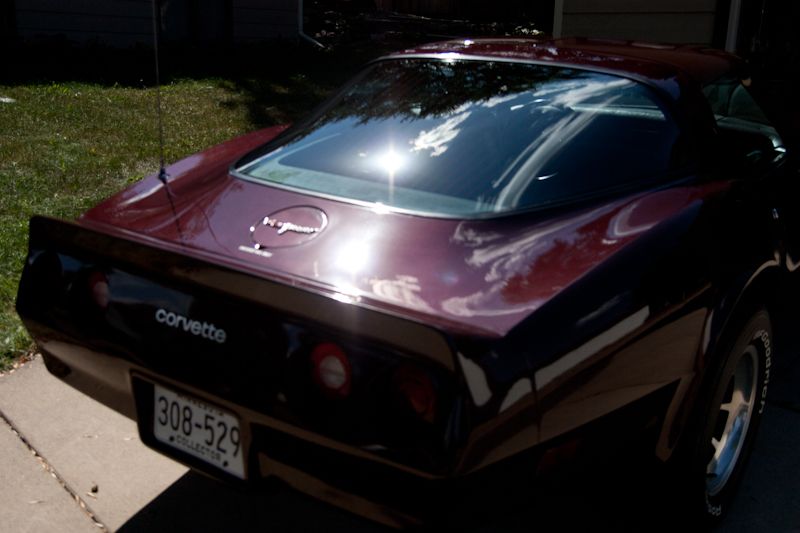
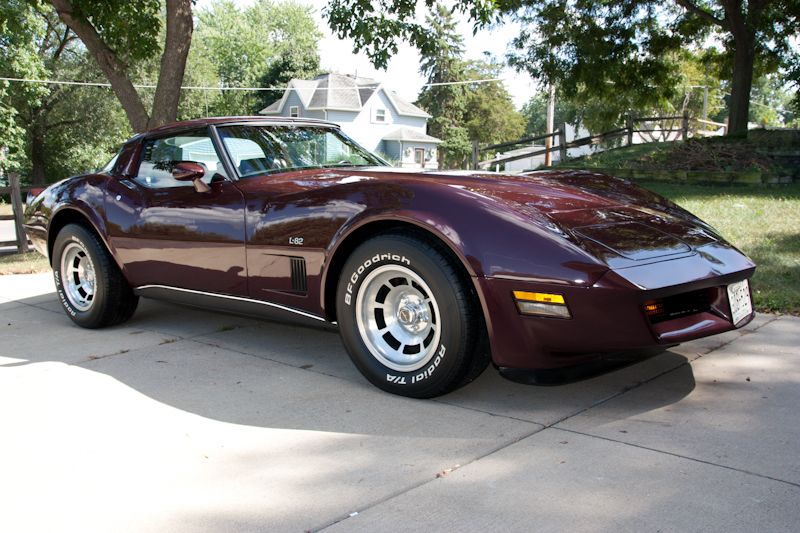
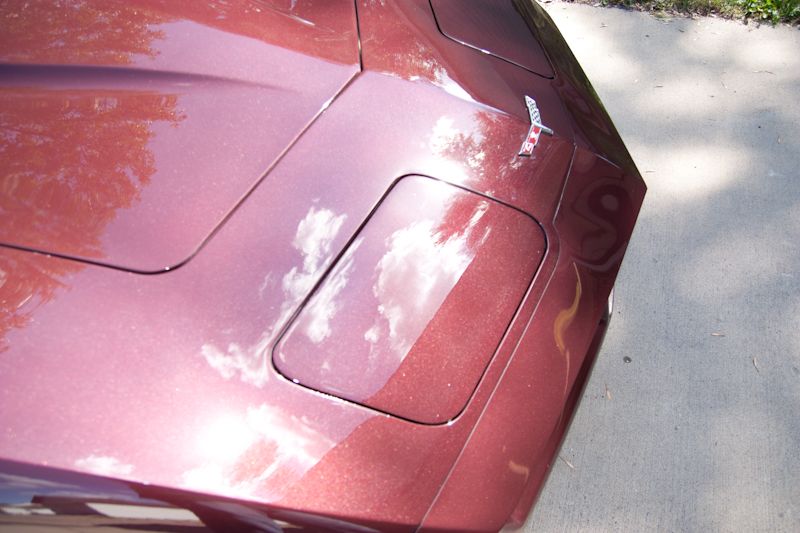
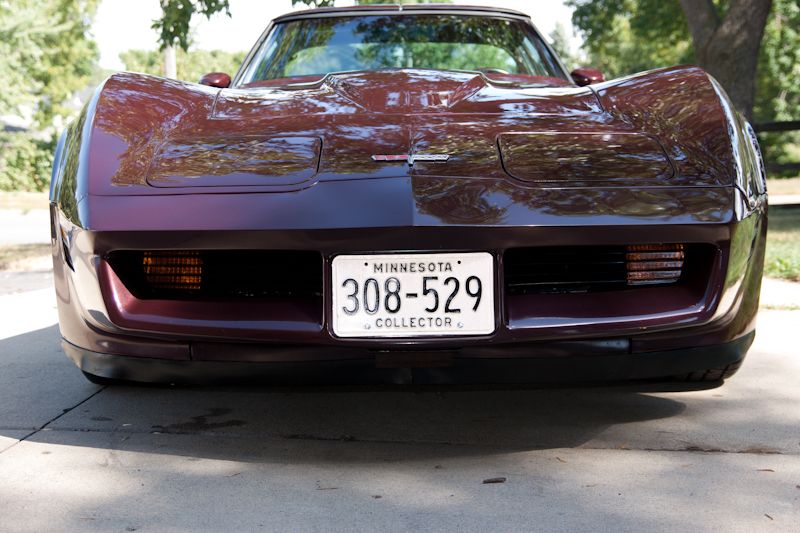
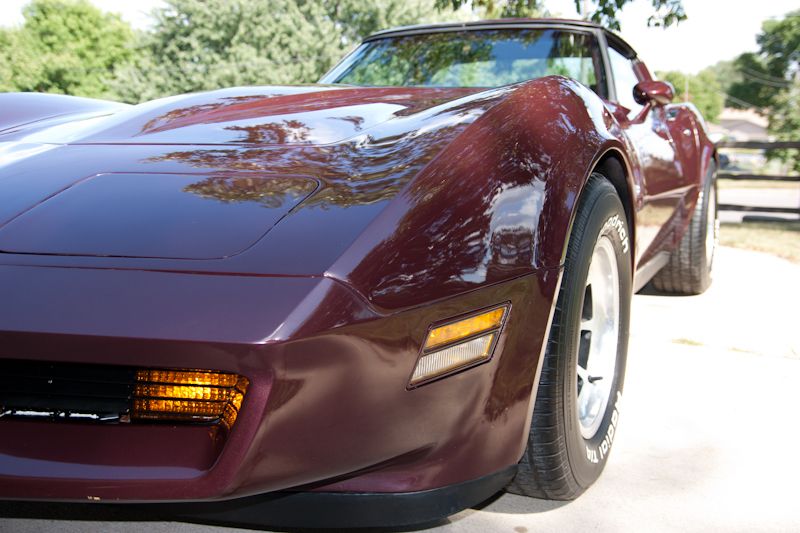
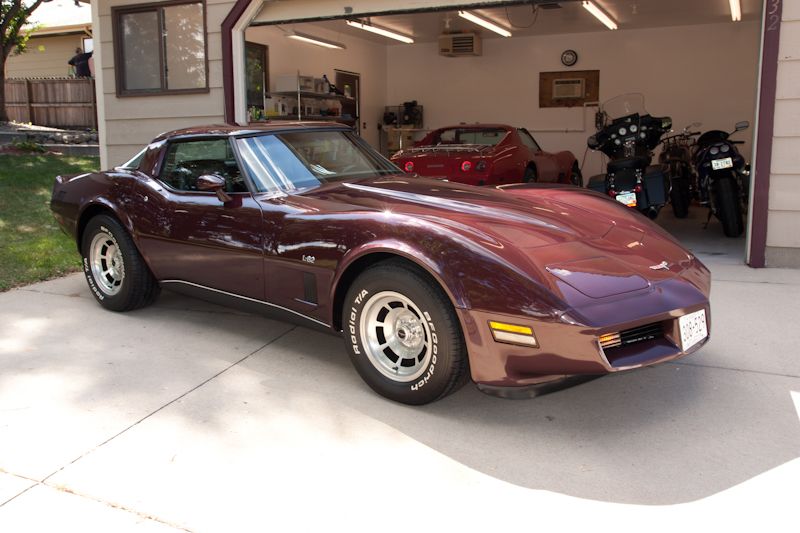
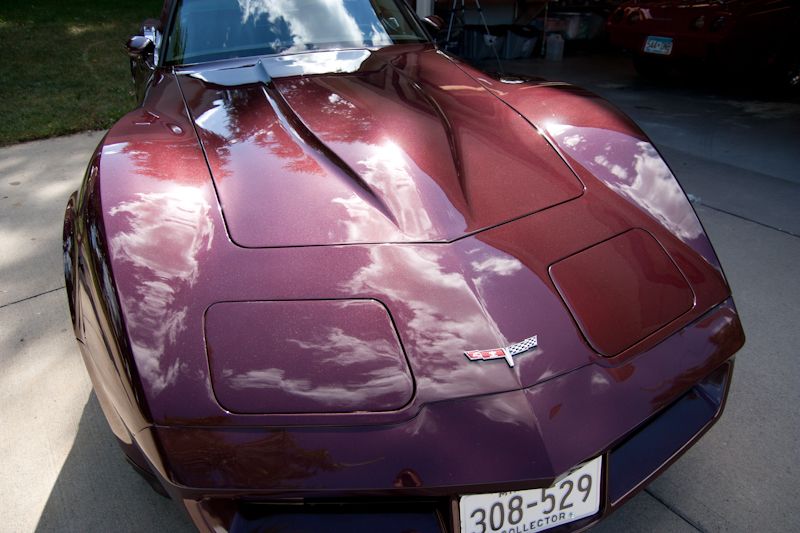
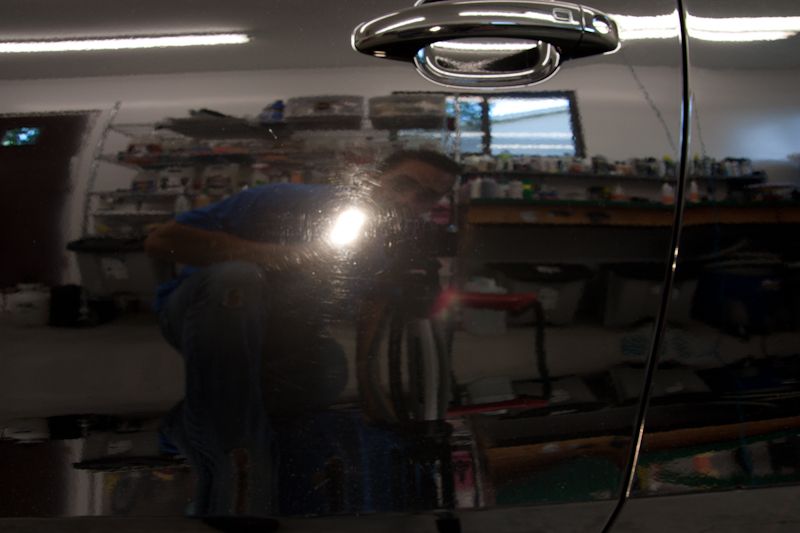
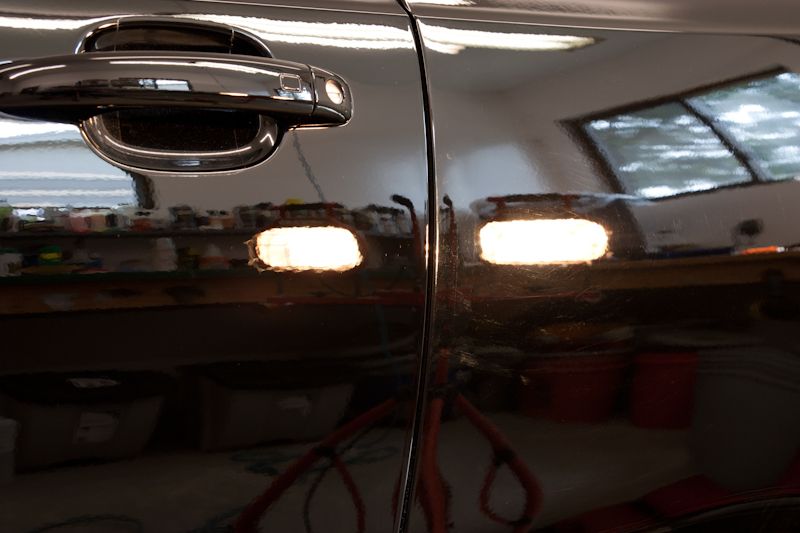
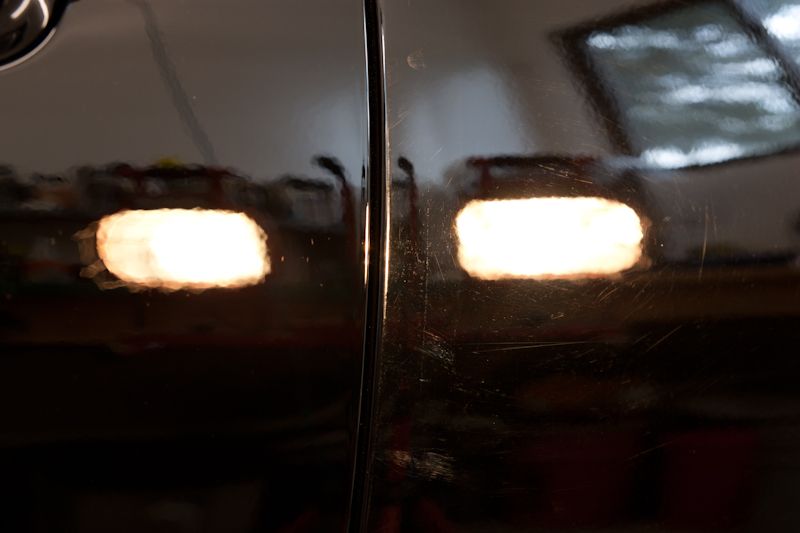
Finished pics


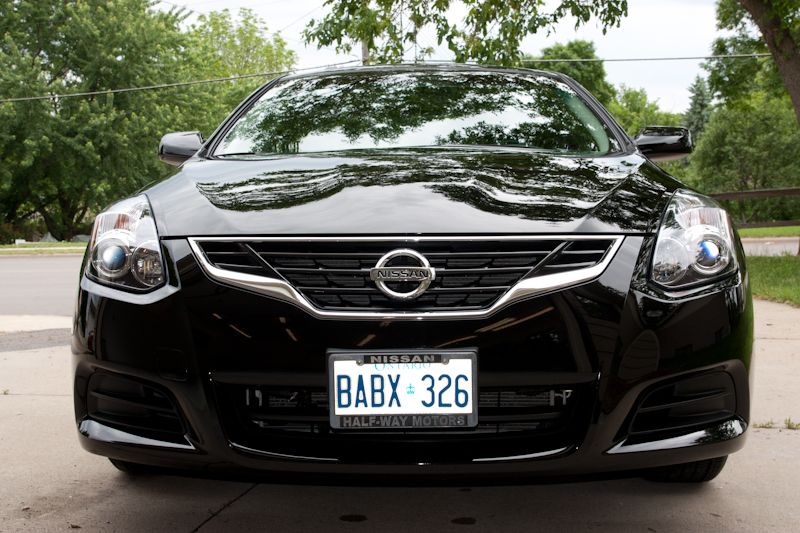

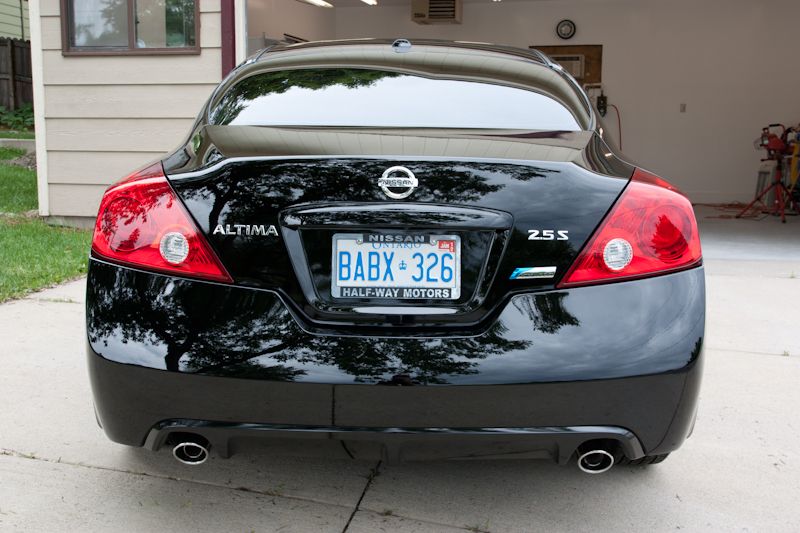
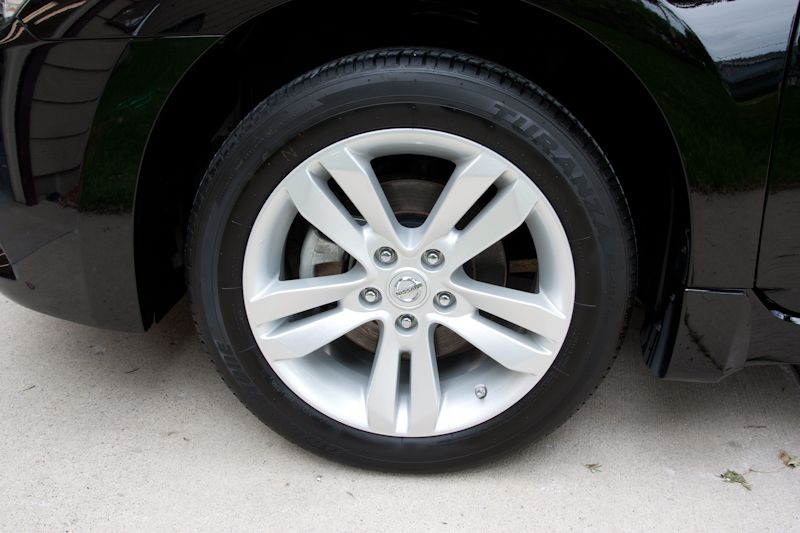
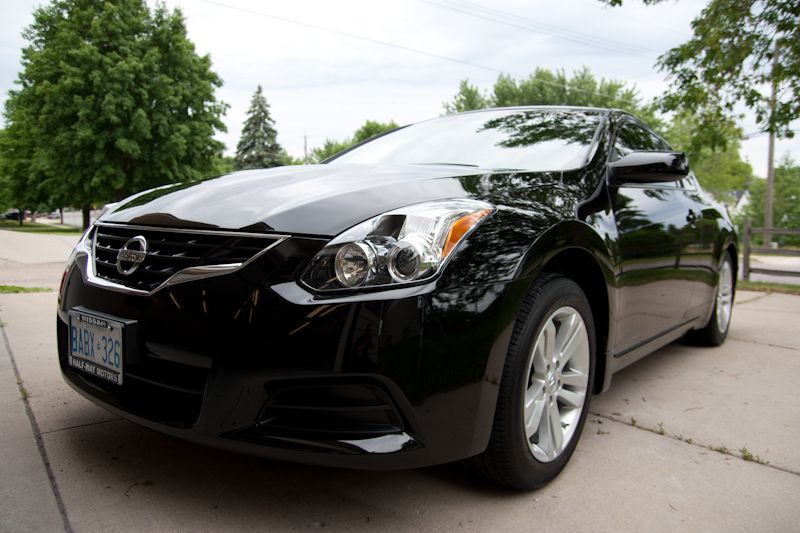
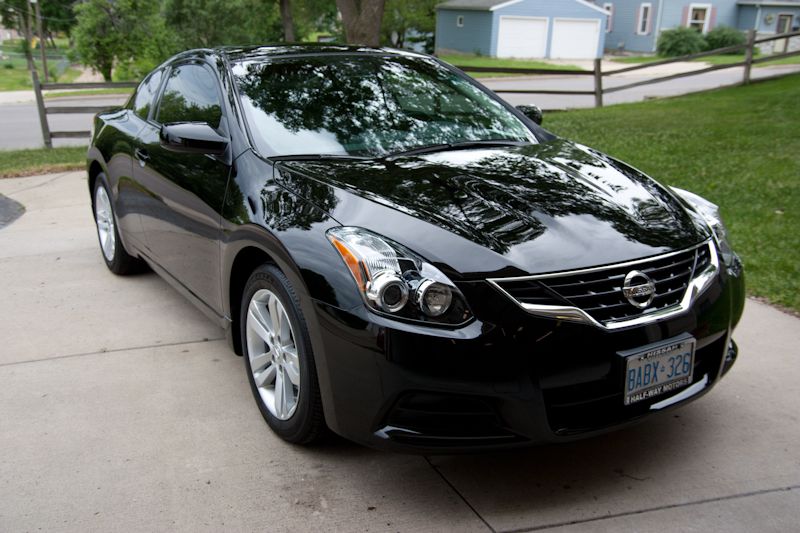
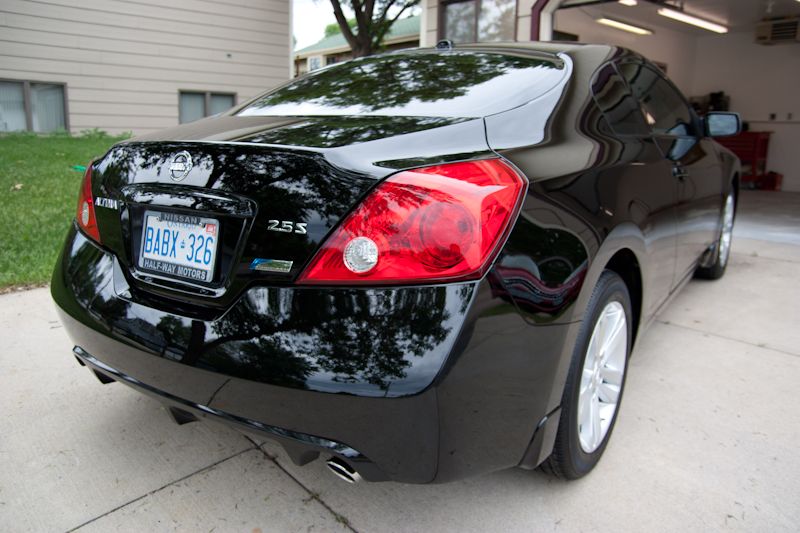
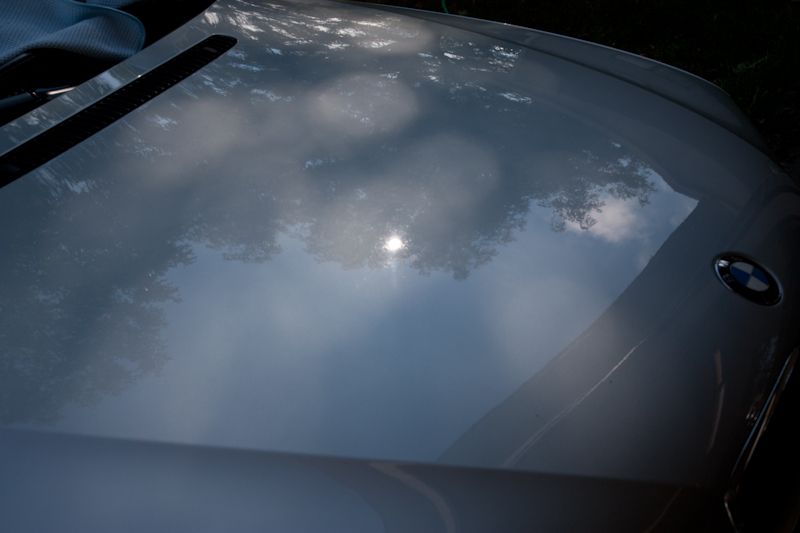
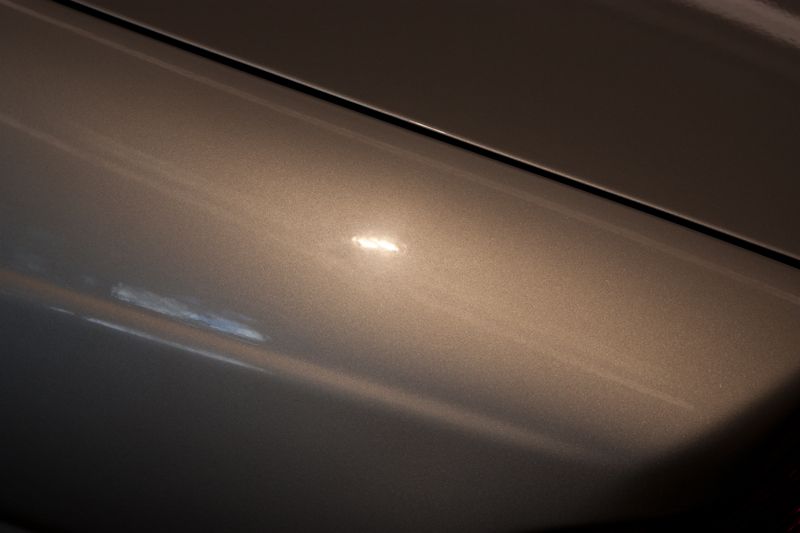
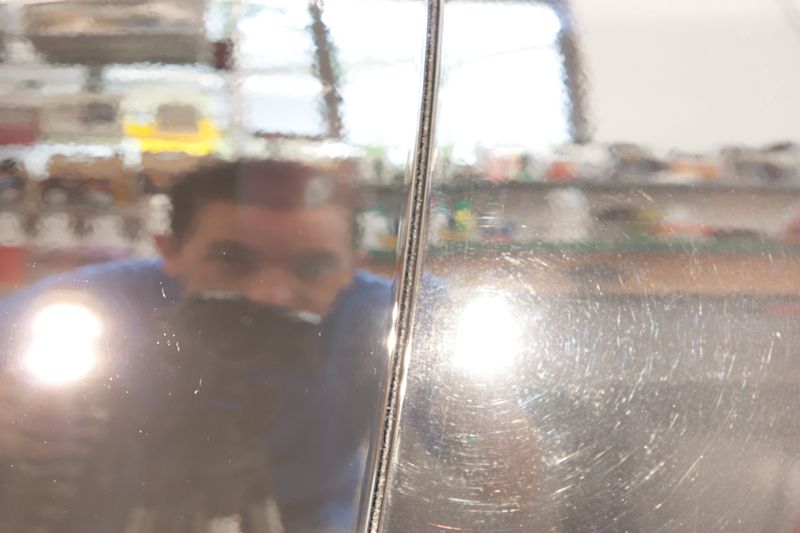
Brinkmann
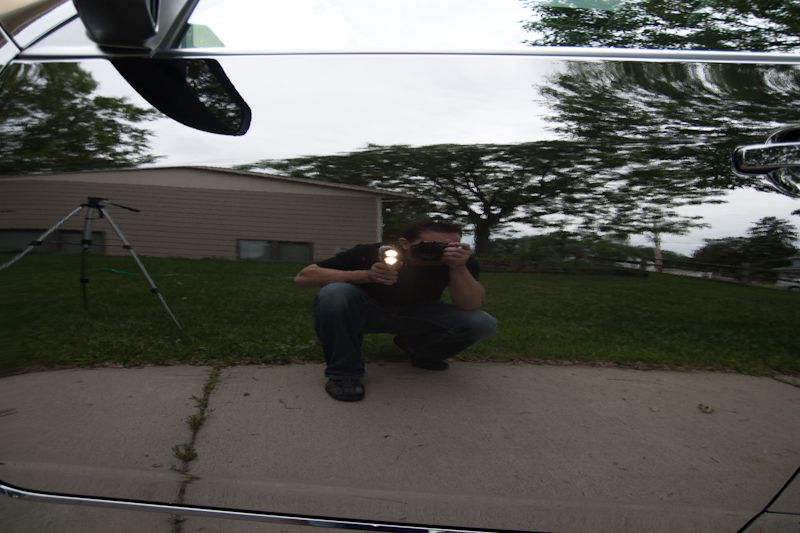

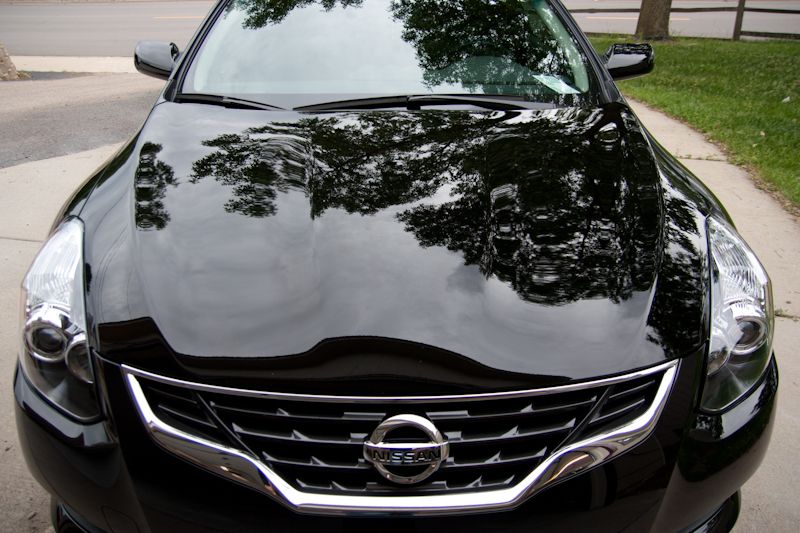
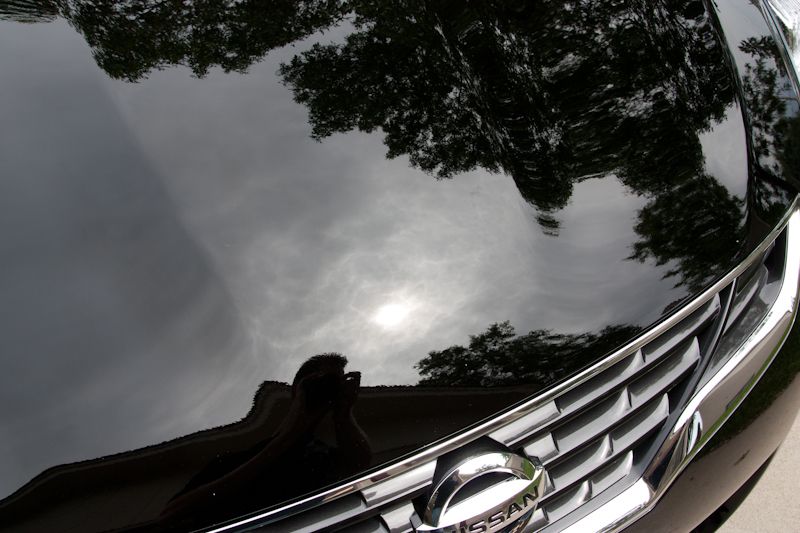
It was a cloudy day so this was the best I could do for sun shots.

Thanks for looking,
Rasky
Brinkmann
It was a cloudy day so this was the best I could do for sun shots.
Thanks for looking,
Rasky


")


")