- Thread starter
- #101
RaskyR1
Well-Known Member
- 529
- 532
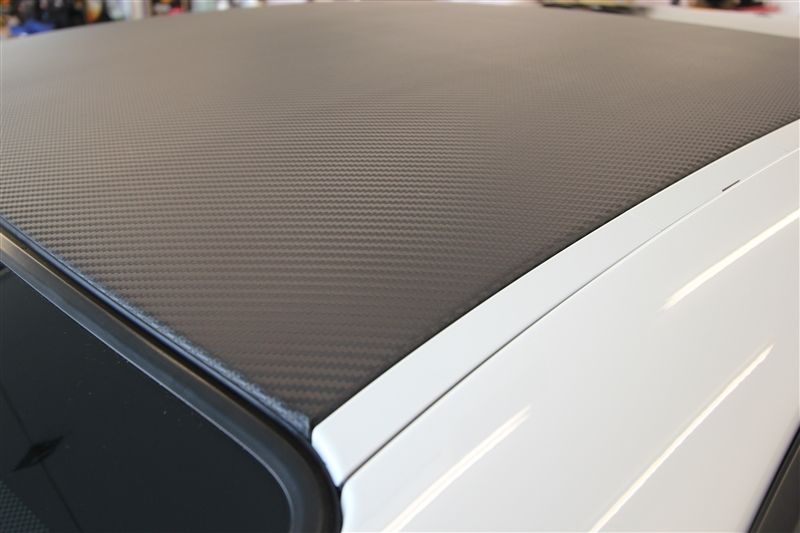
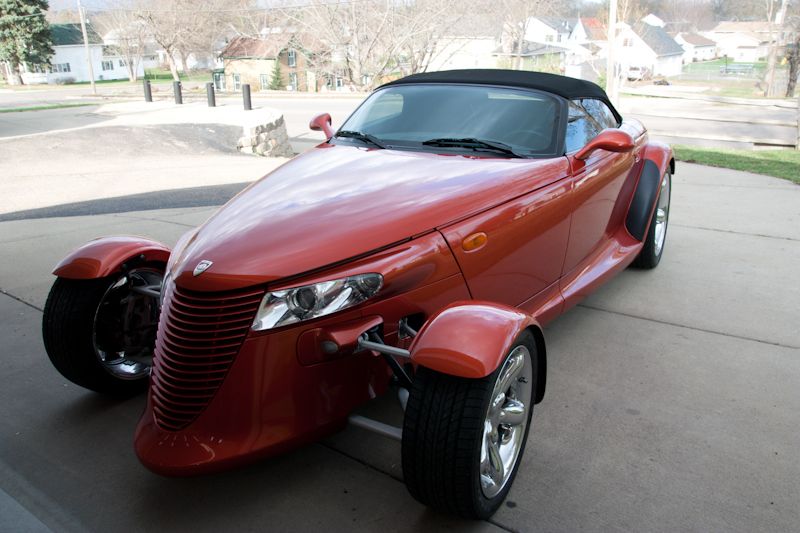
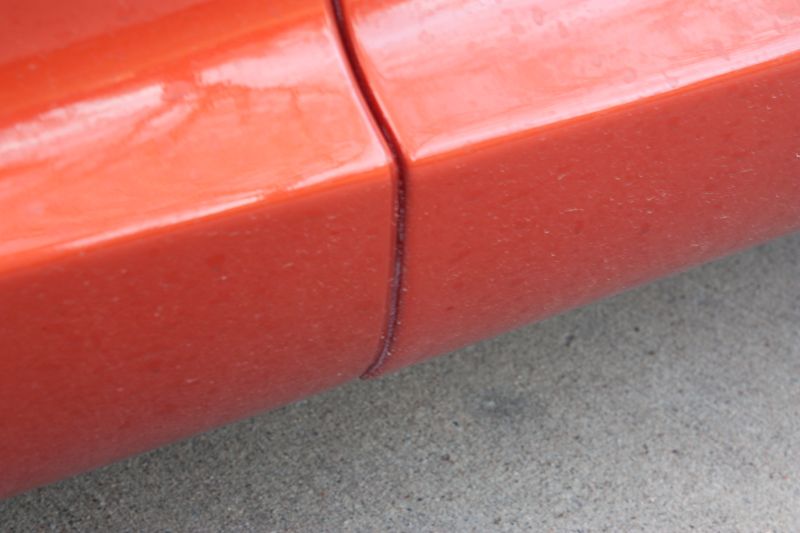
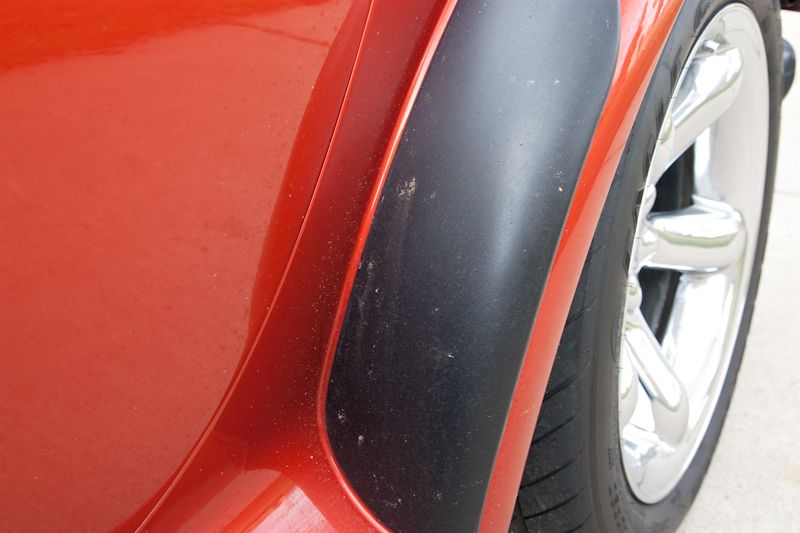
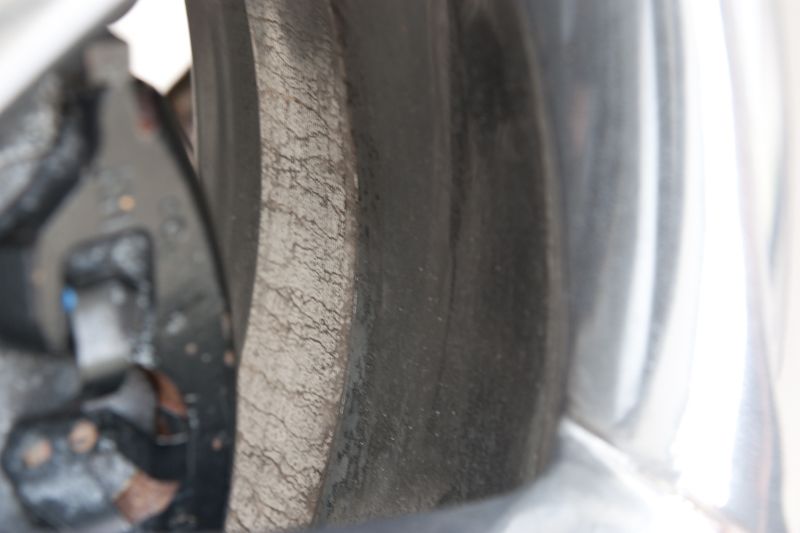
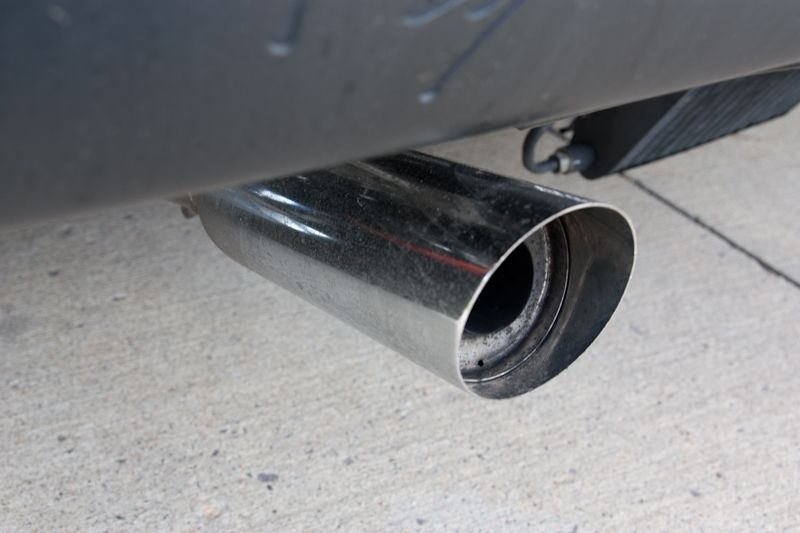
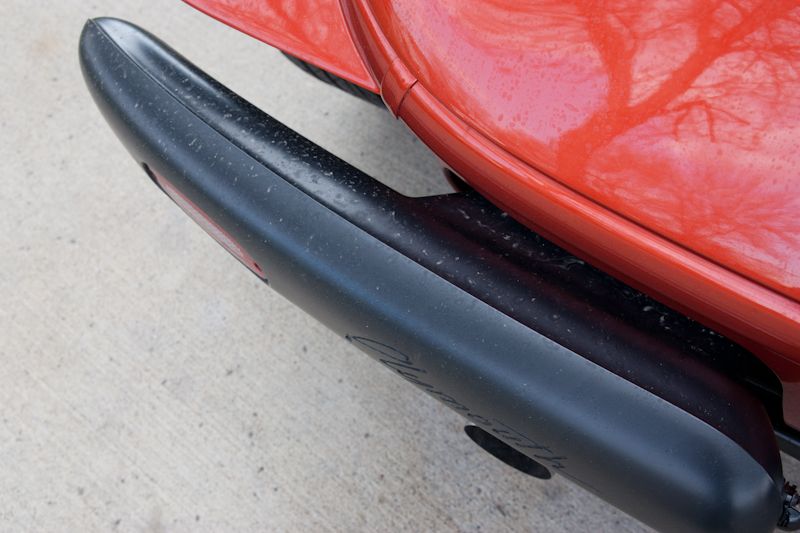
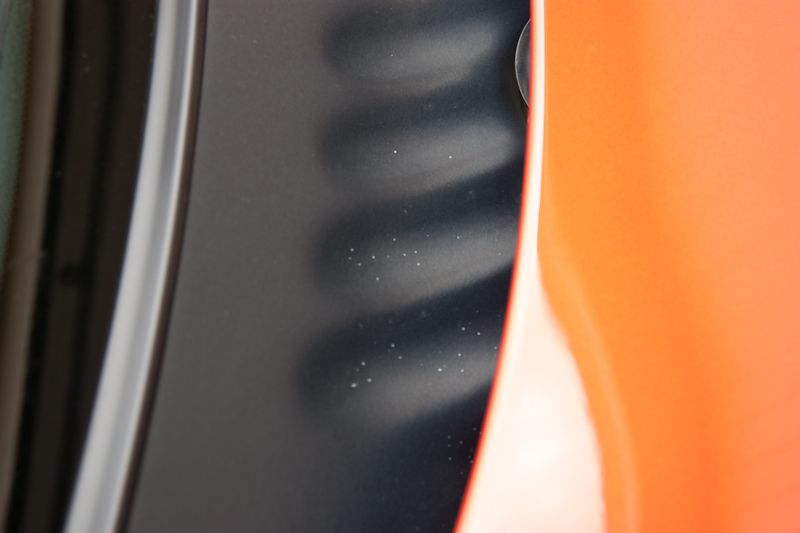
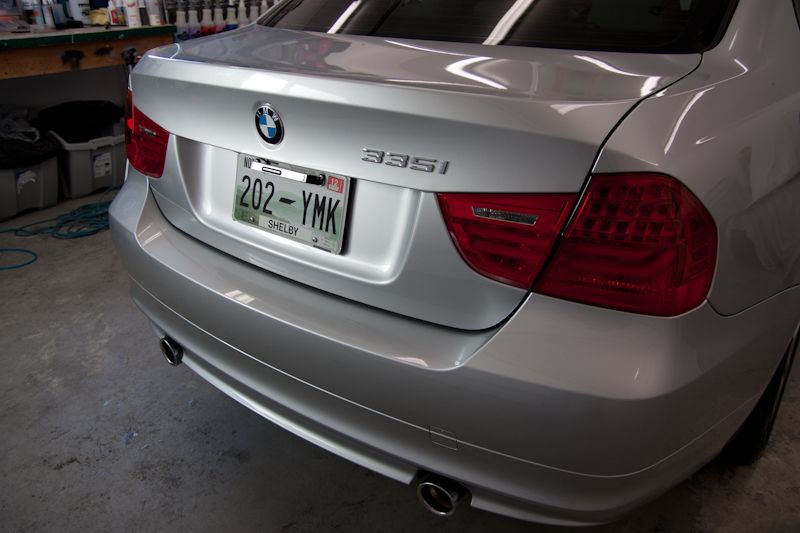
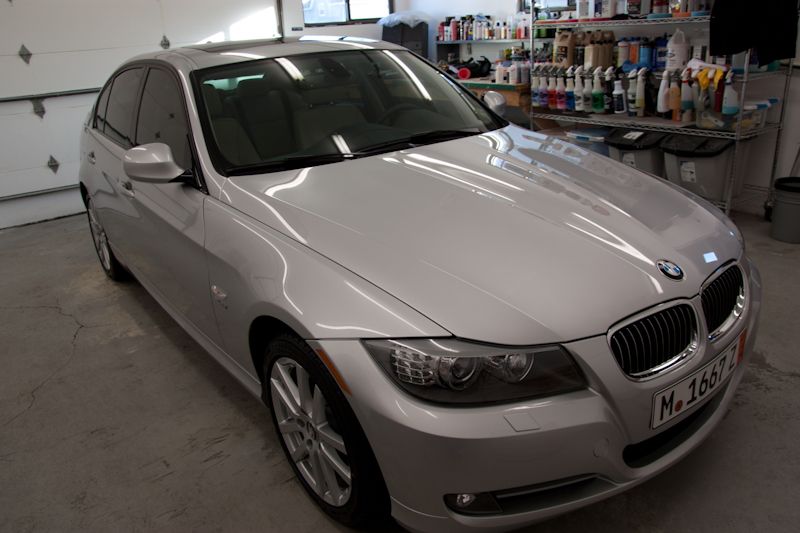
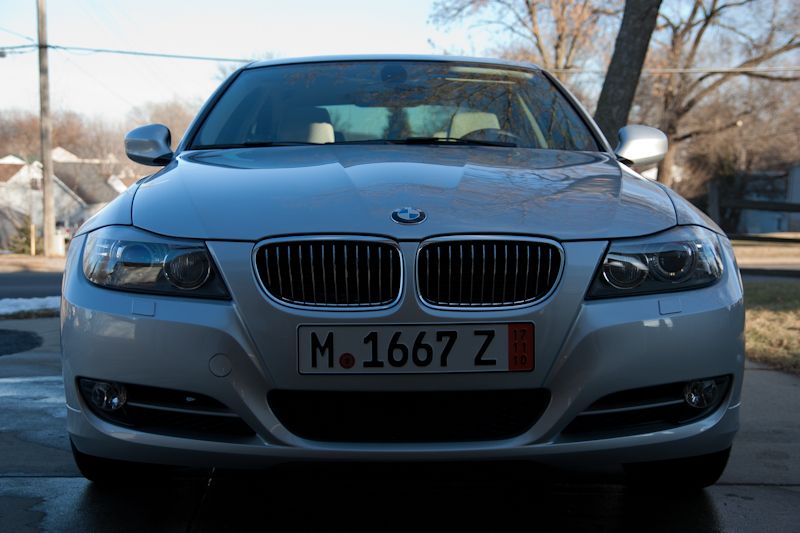
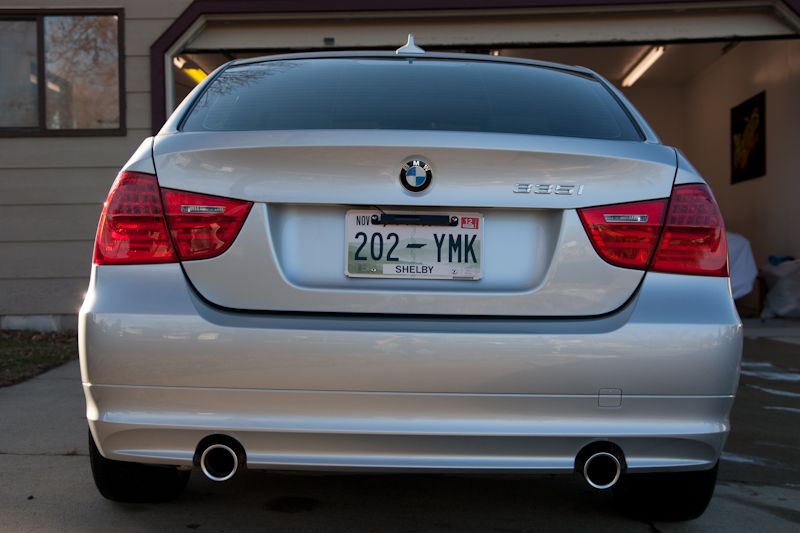
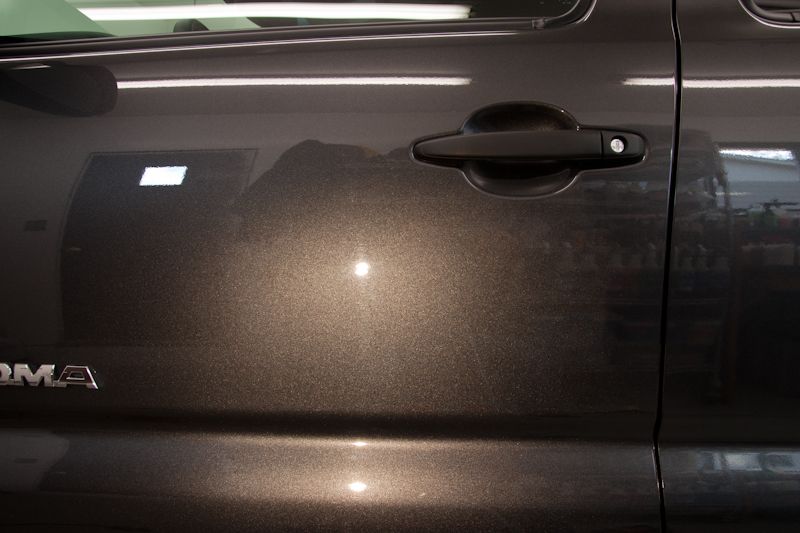
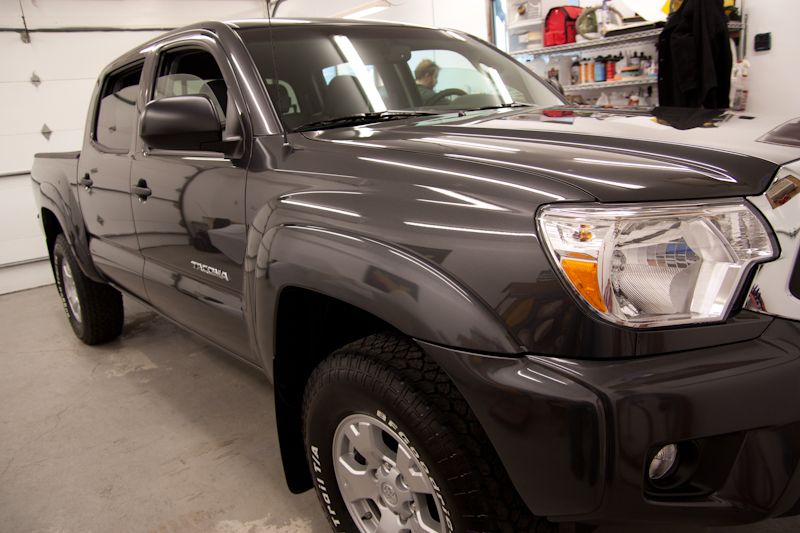
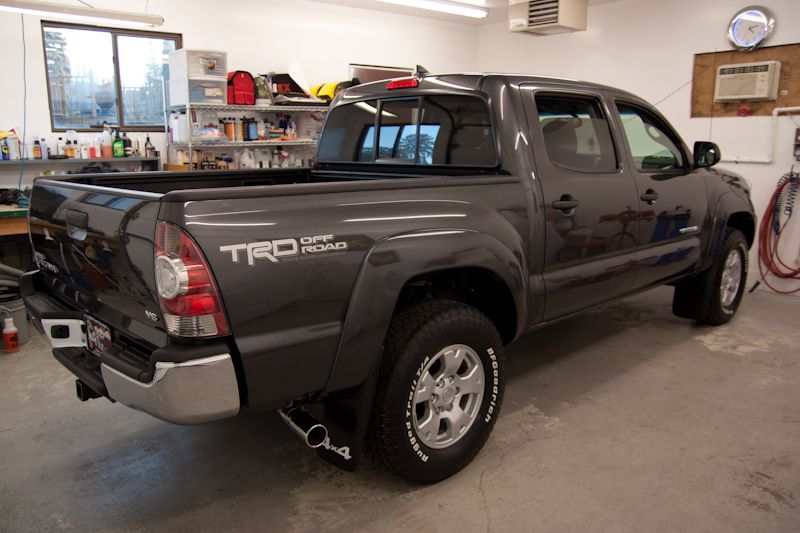
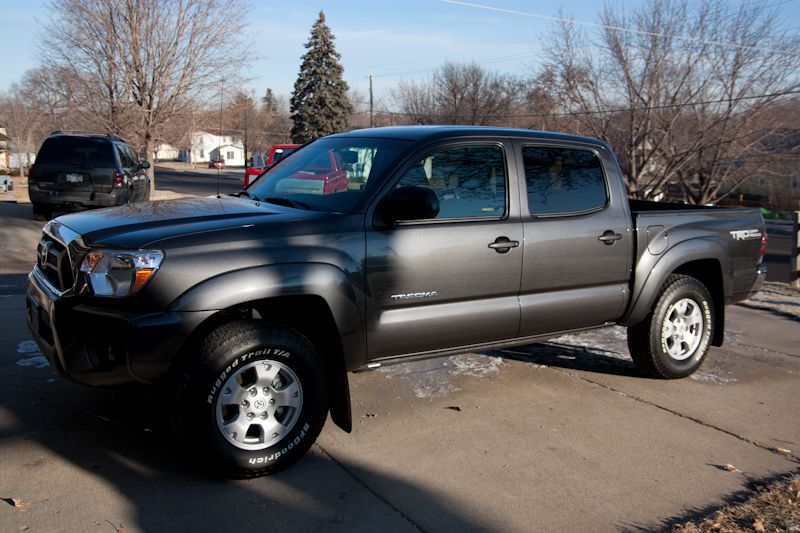
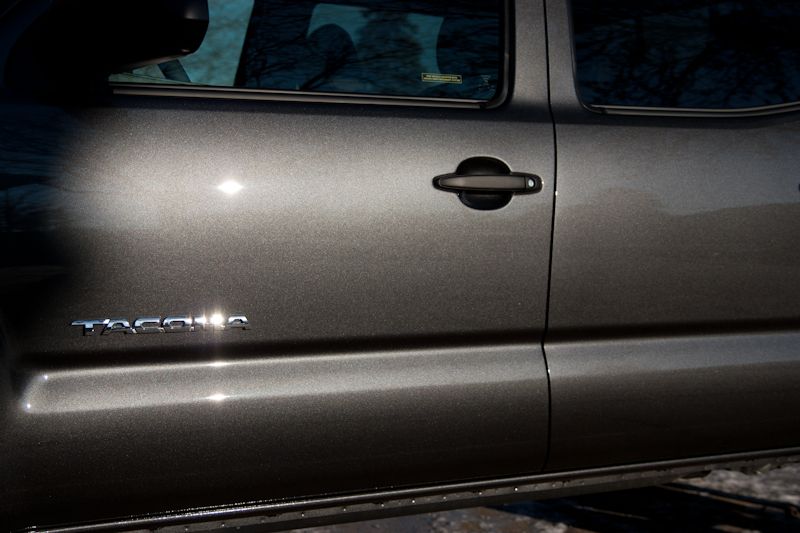
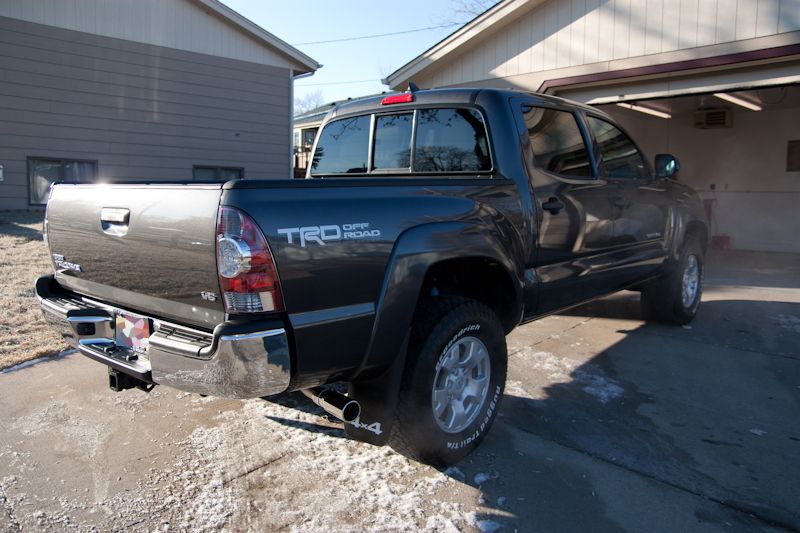
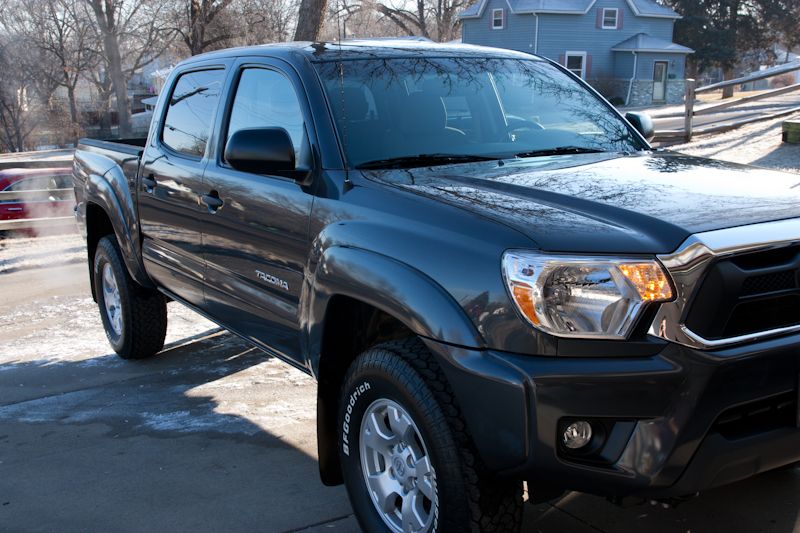
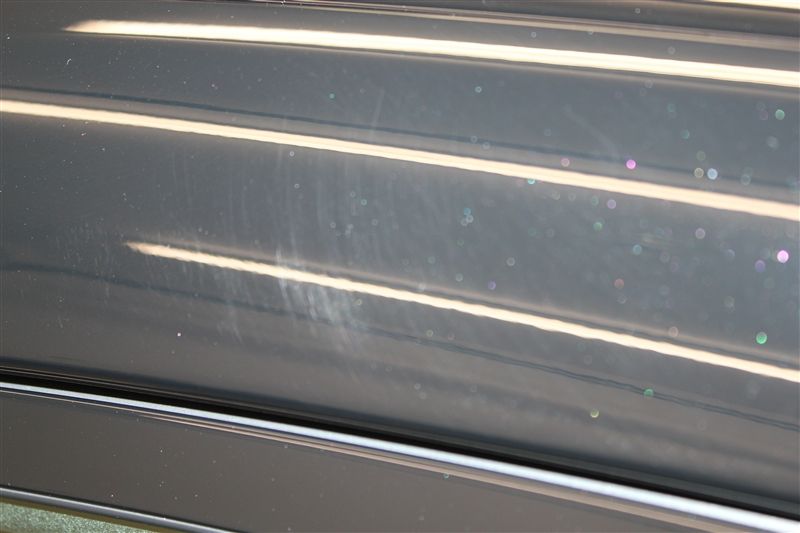
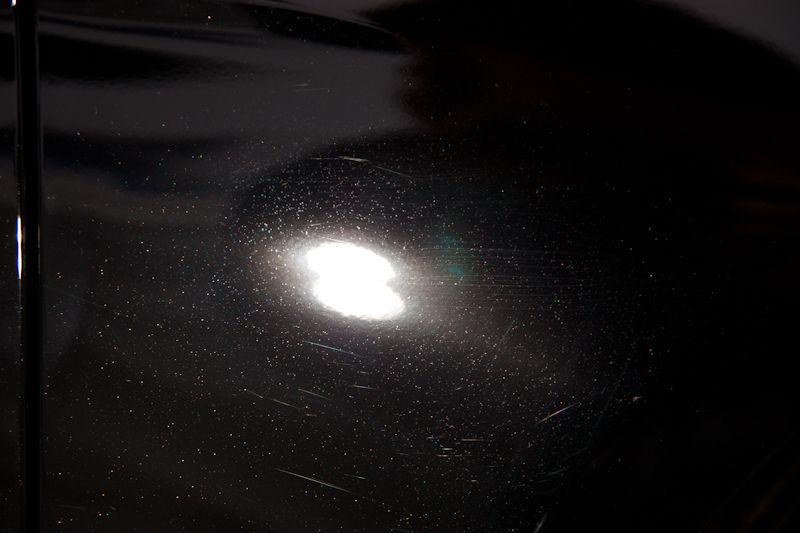
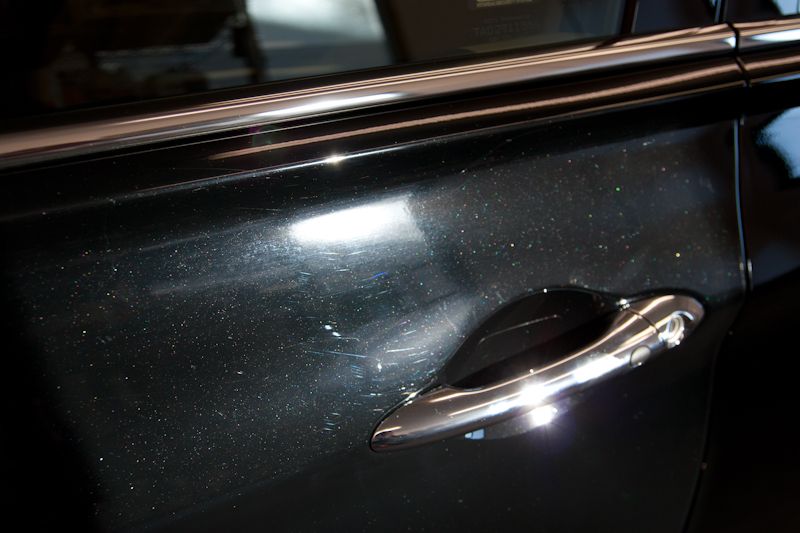
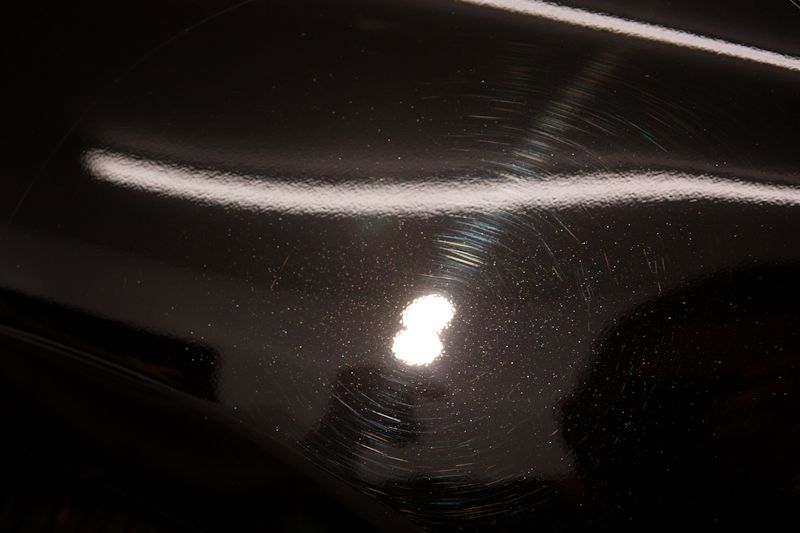
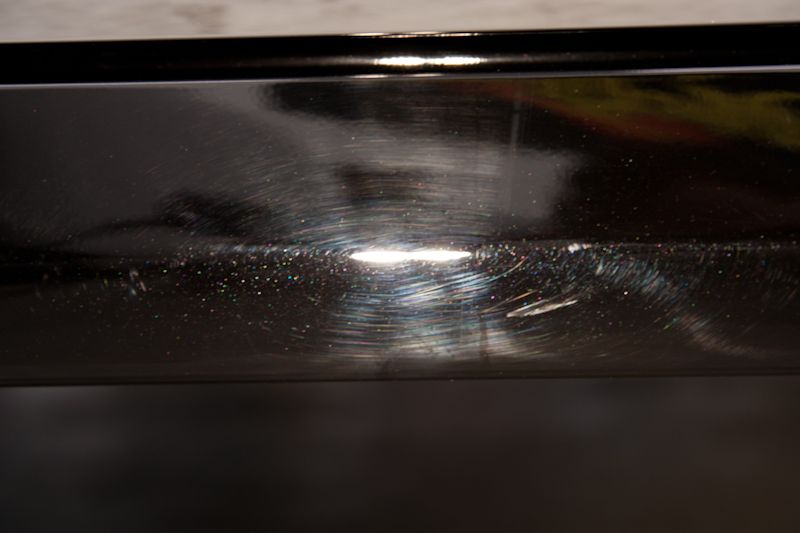
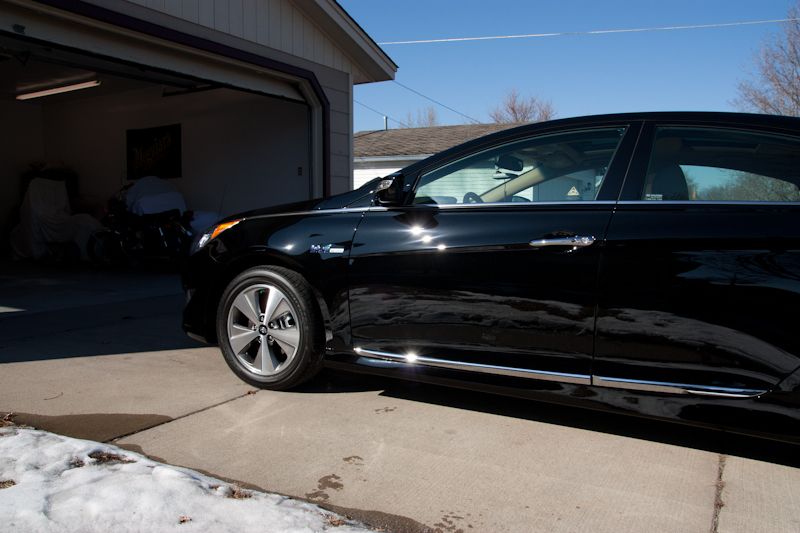
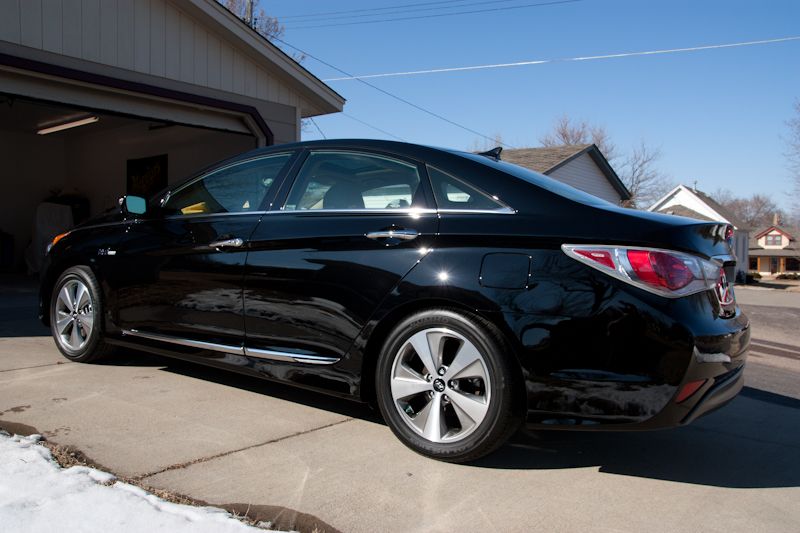
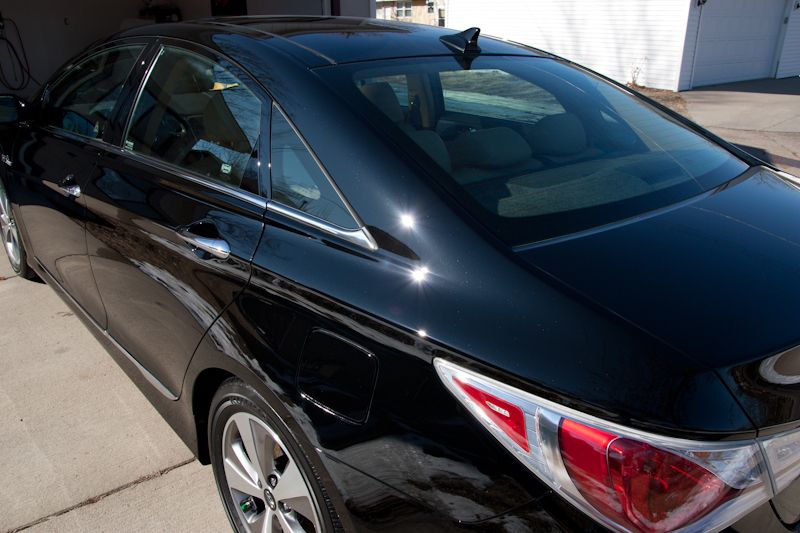
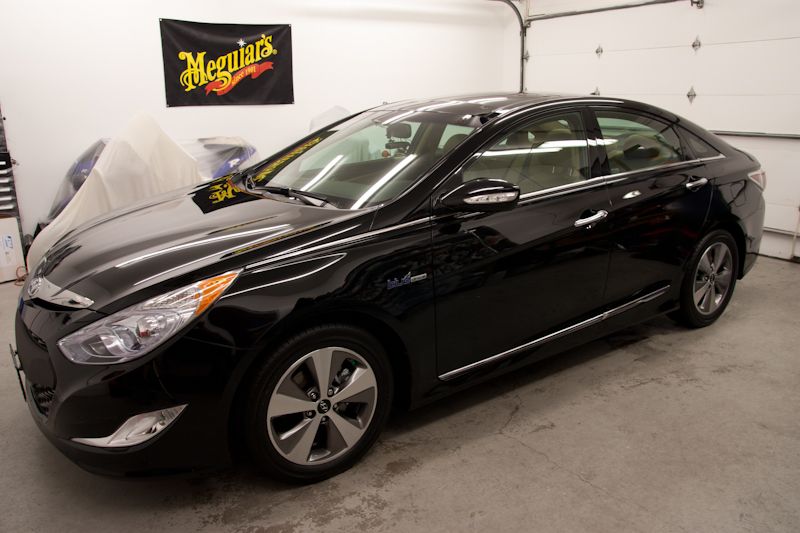
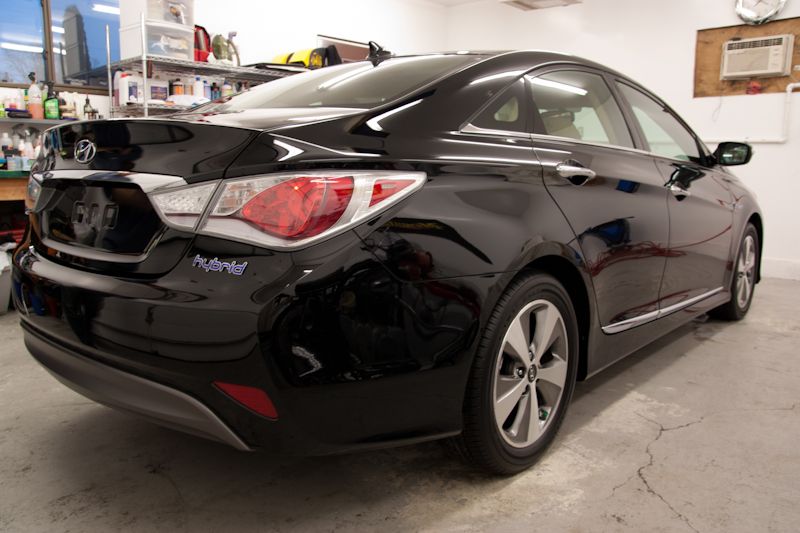
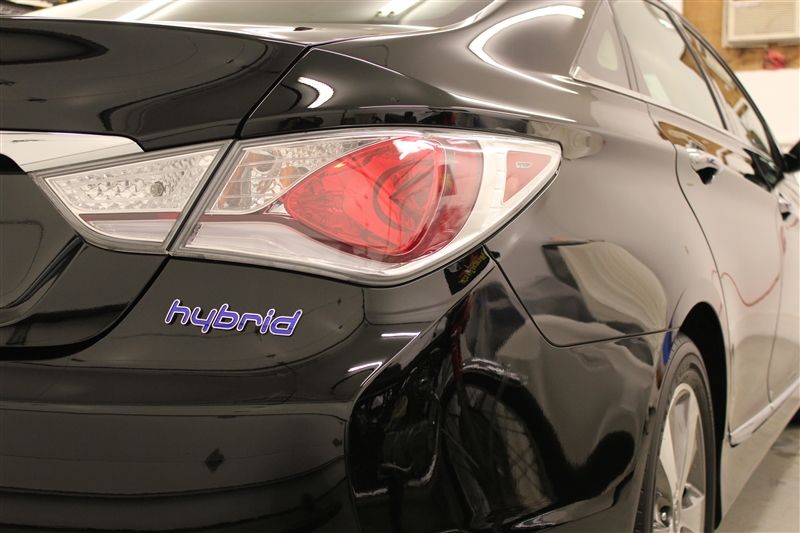
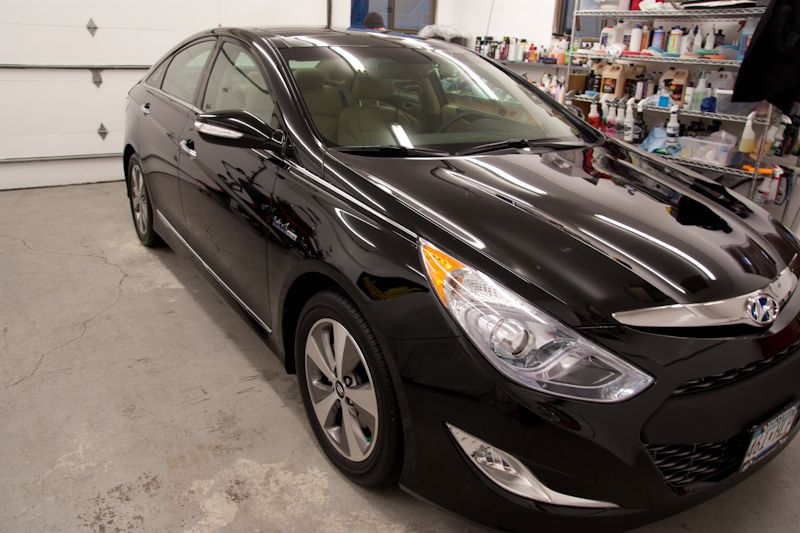
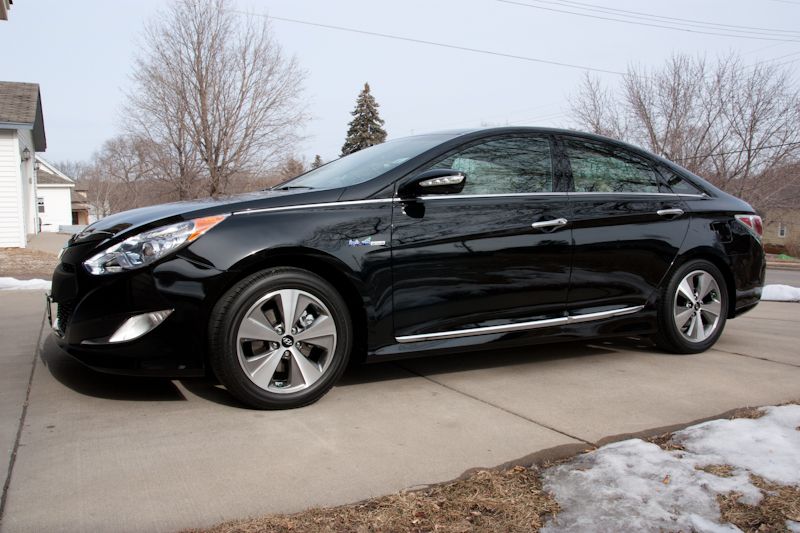
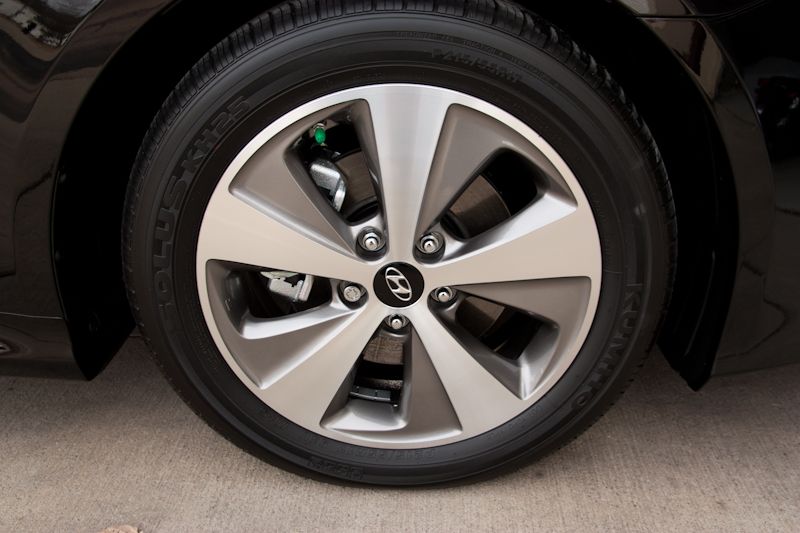
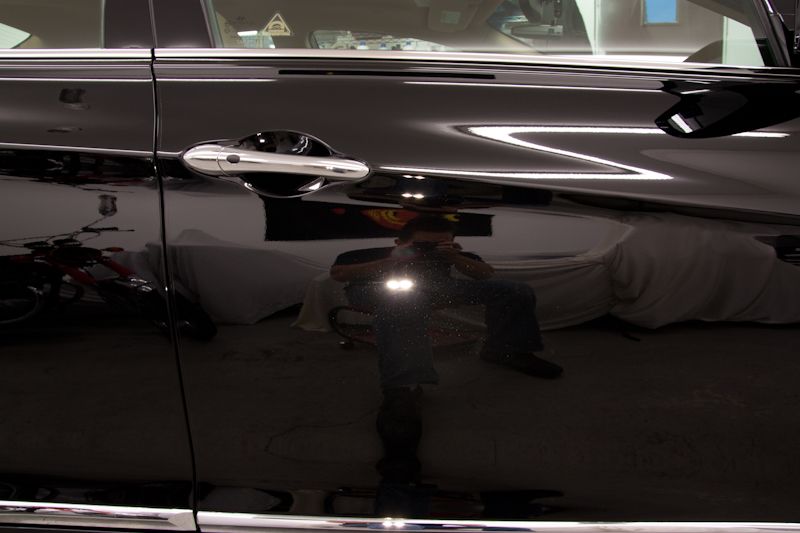
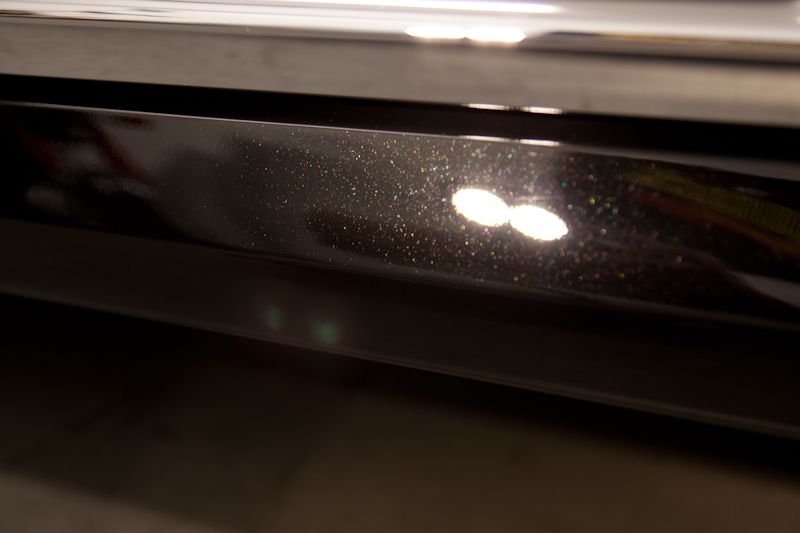
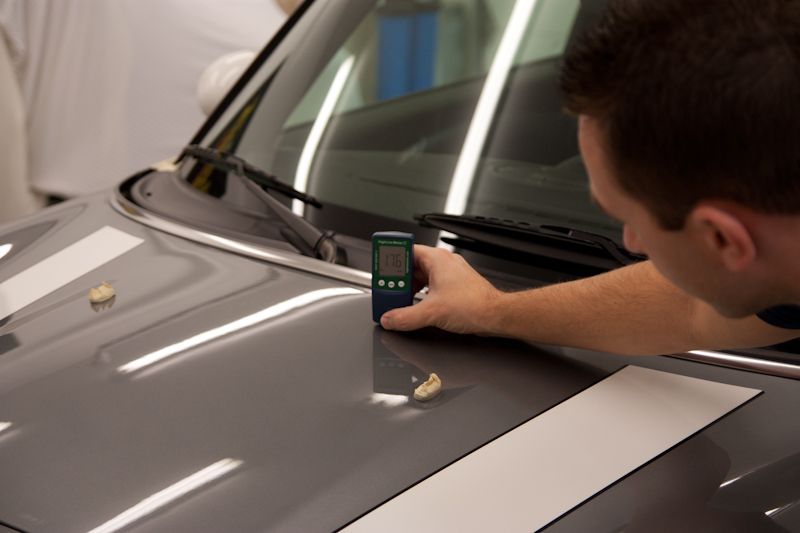
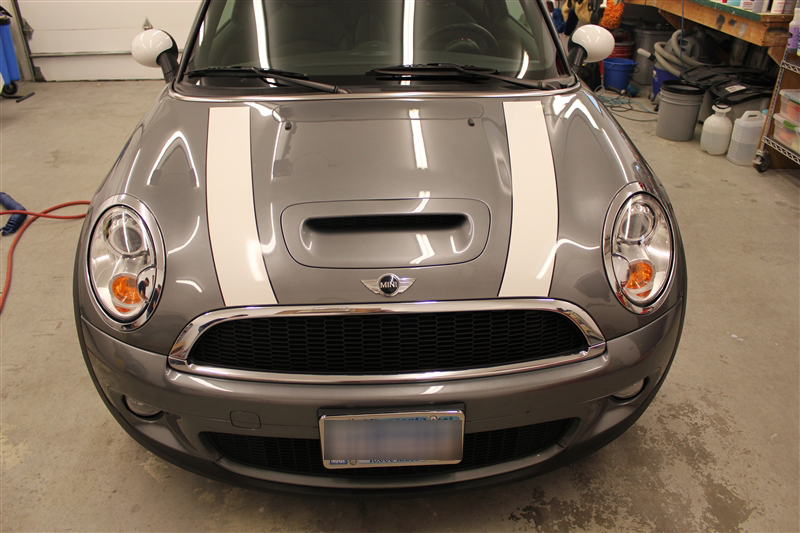
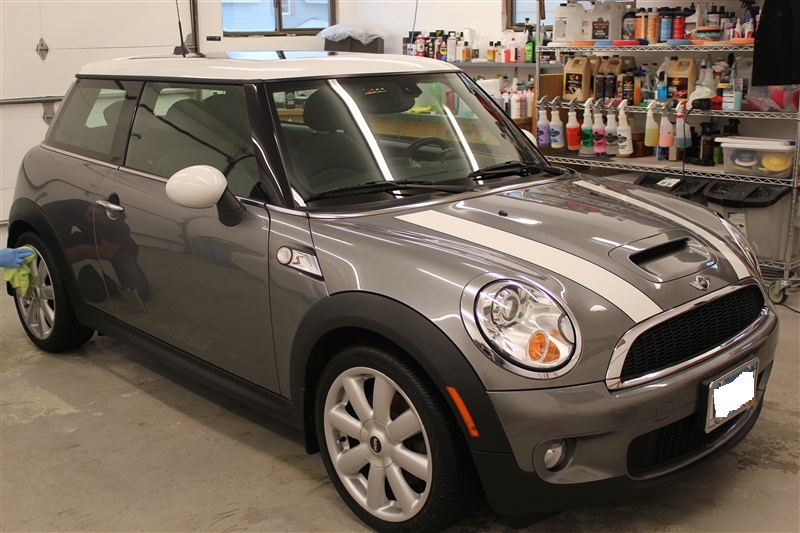
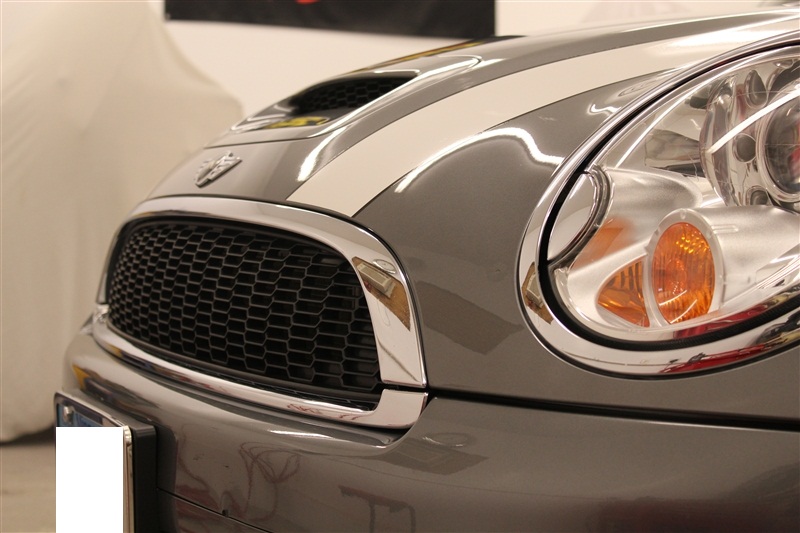
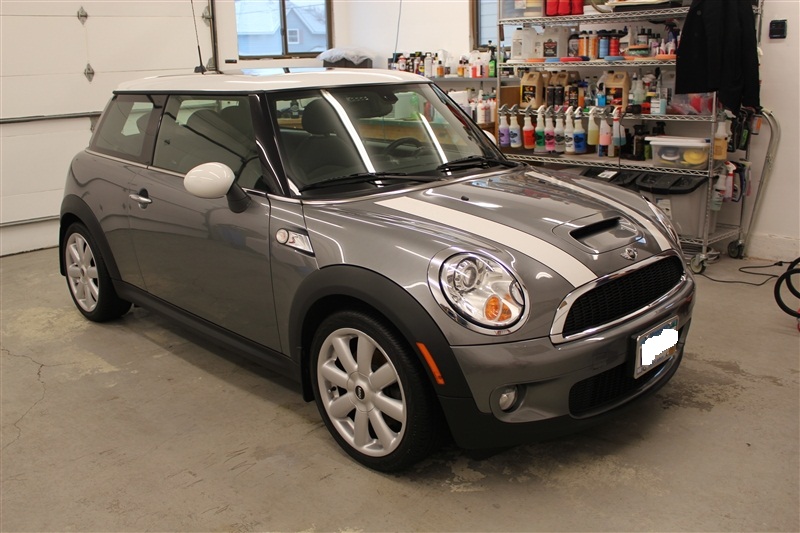
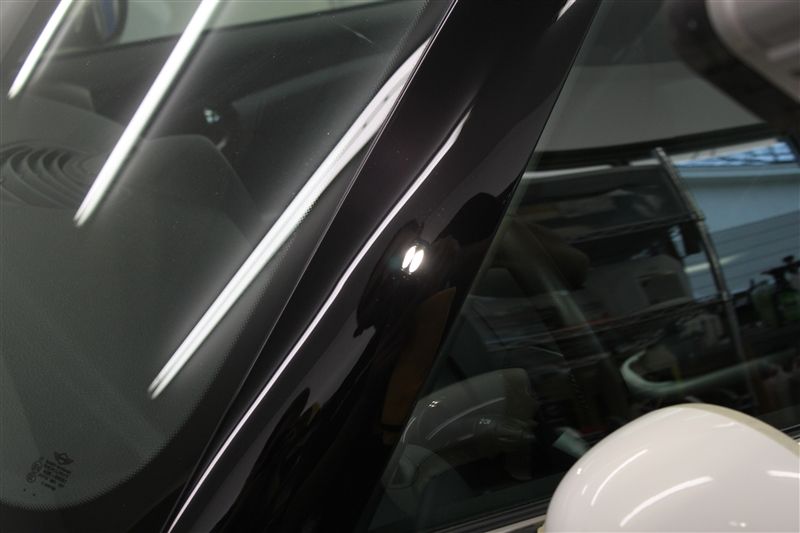
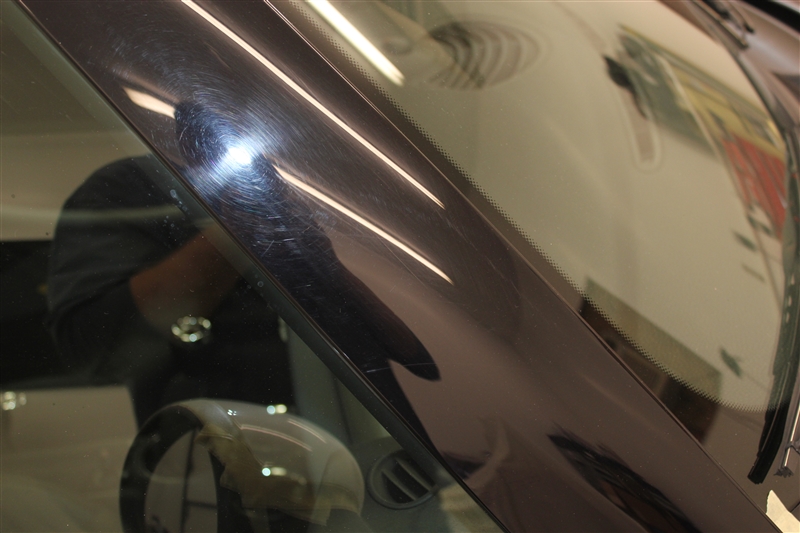
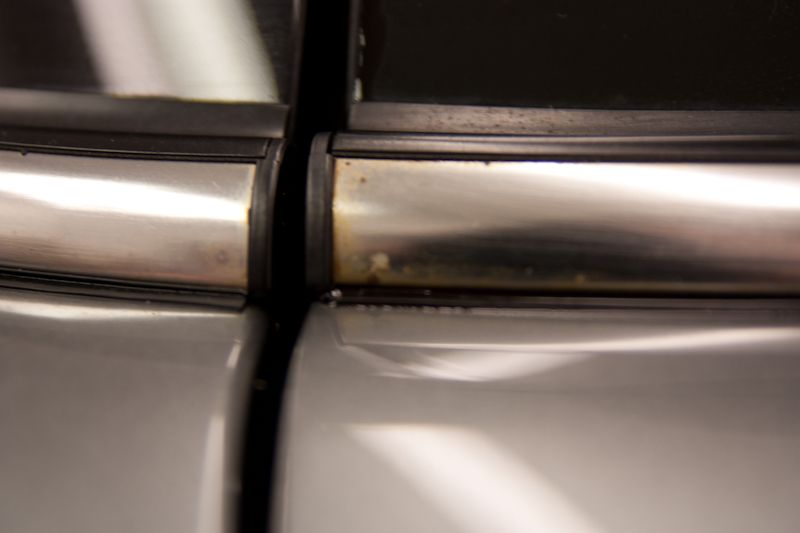
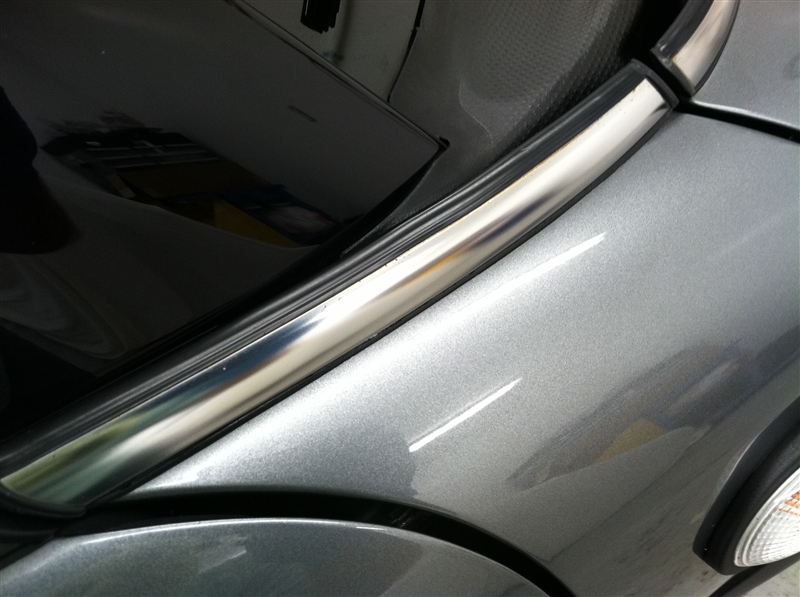
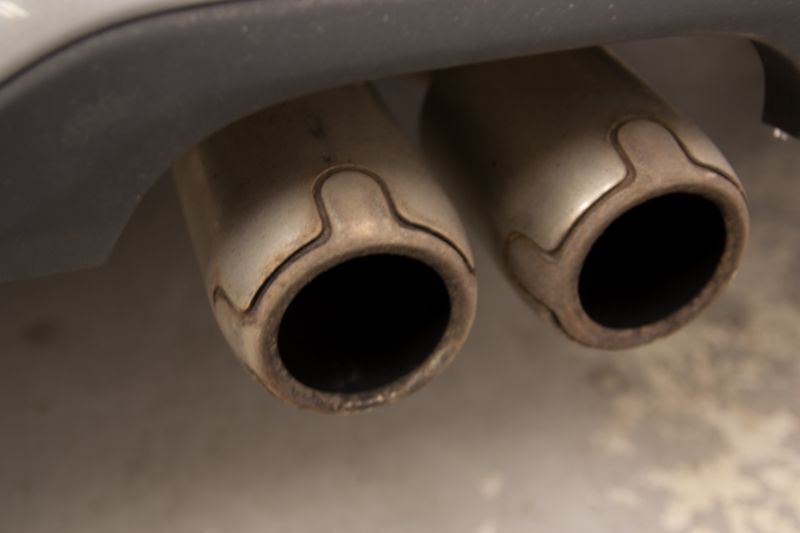
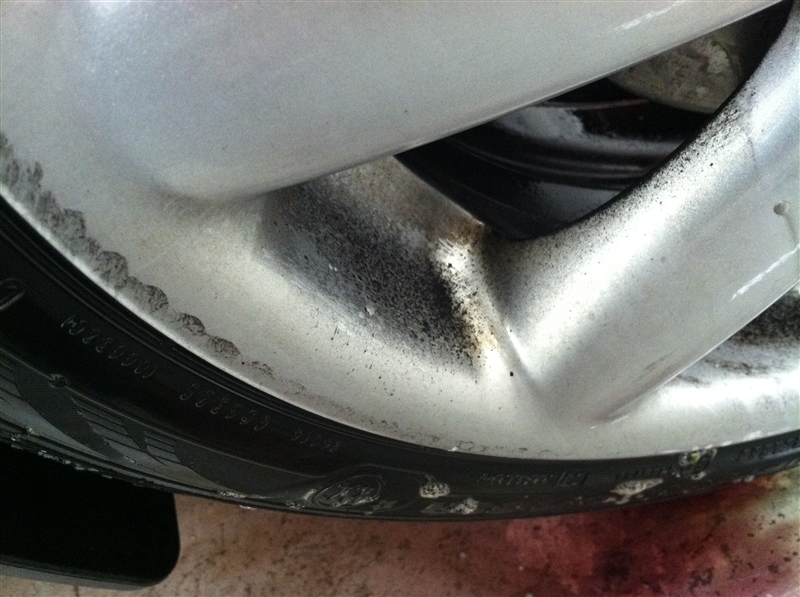
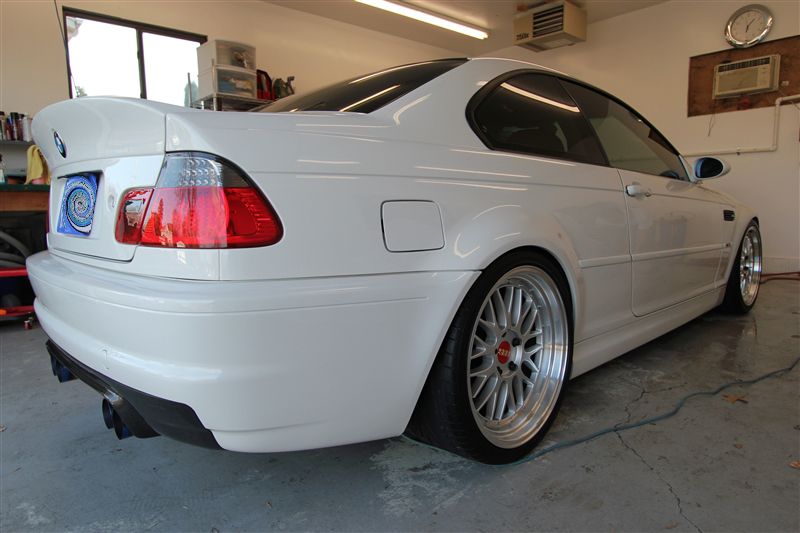
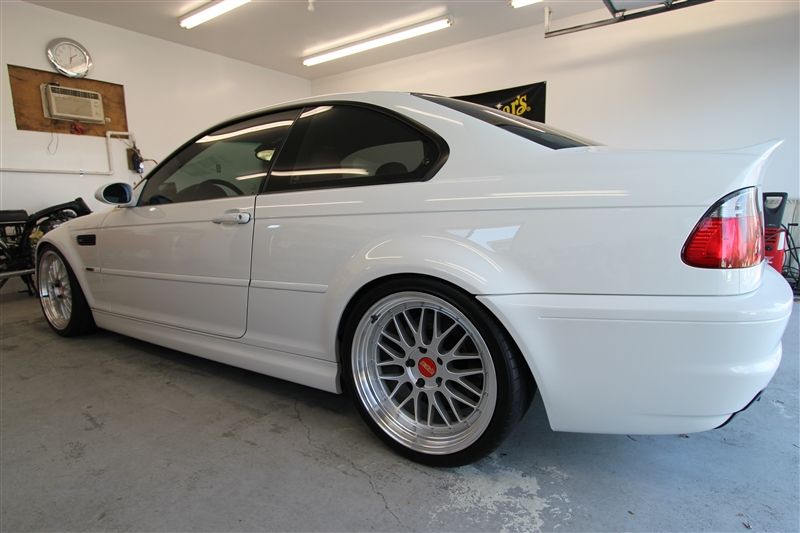
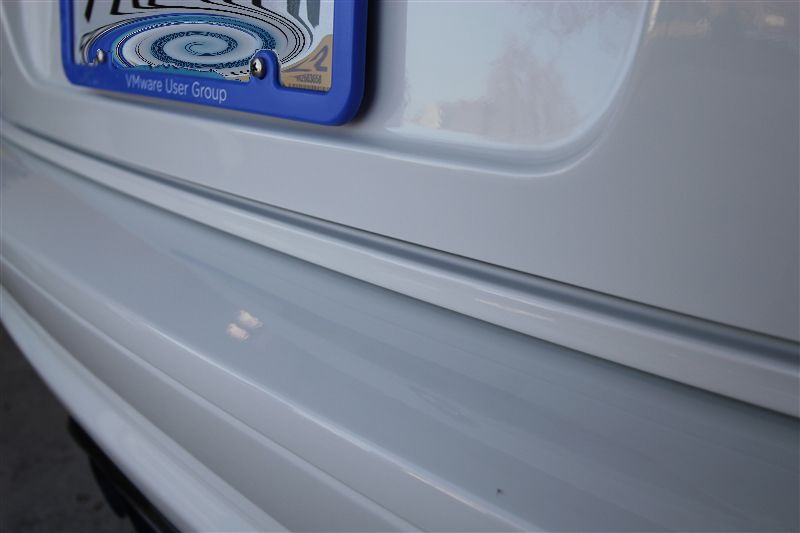
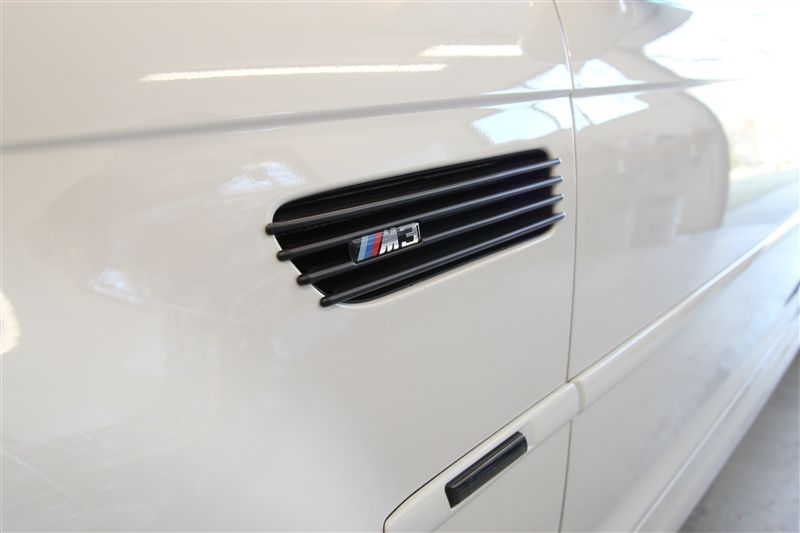
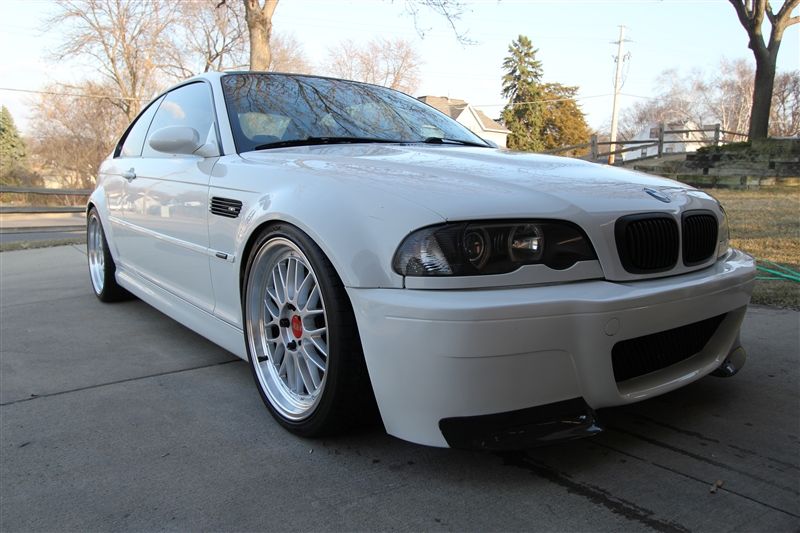
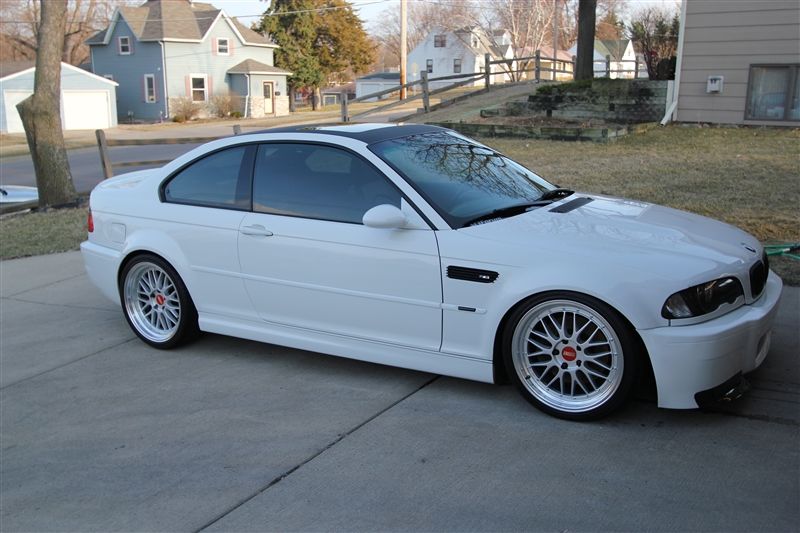
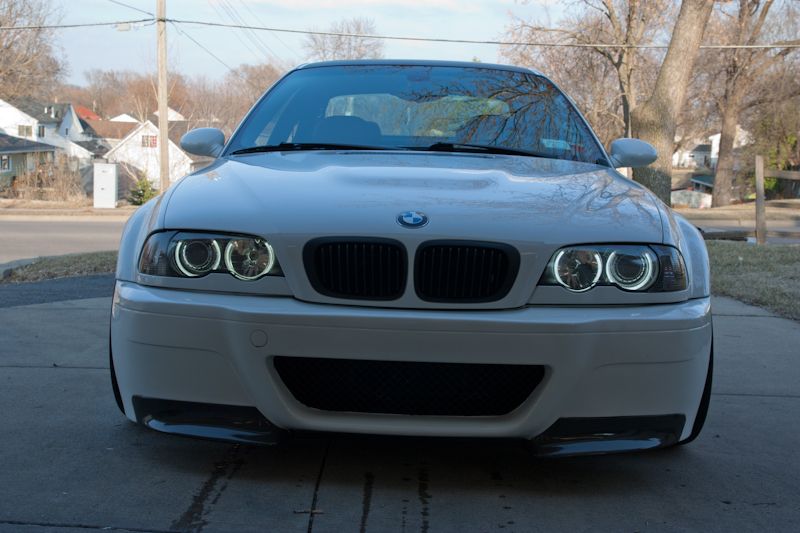
Finished pics
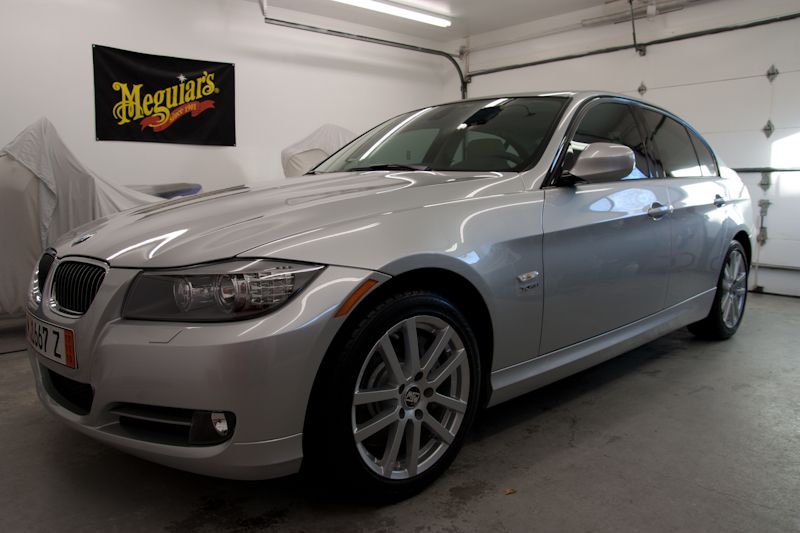

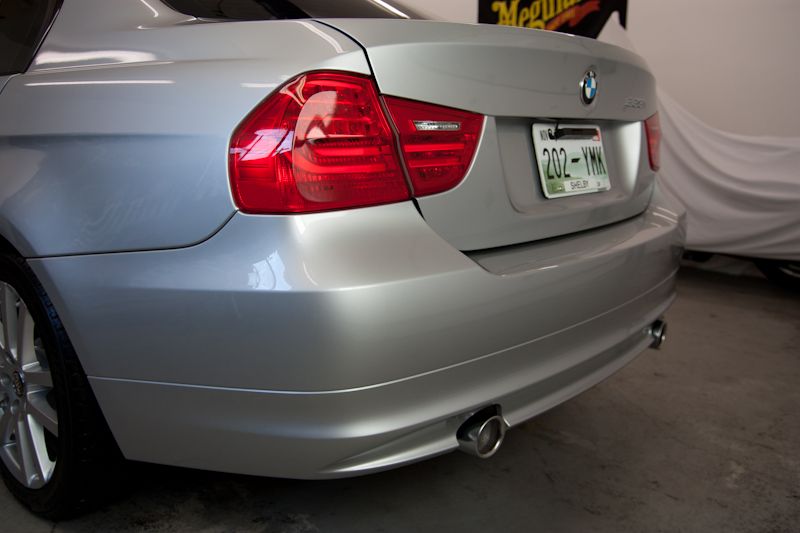
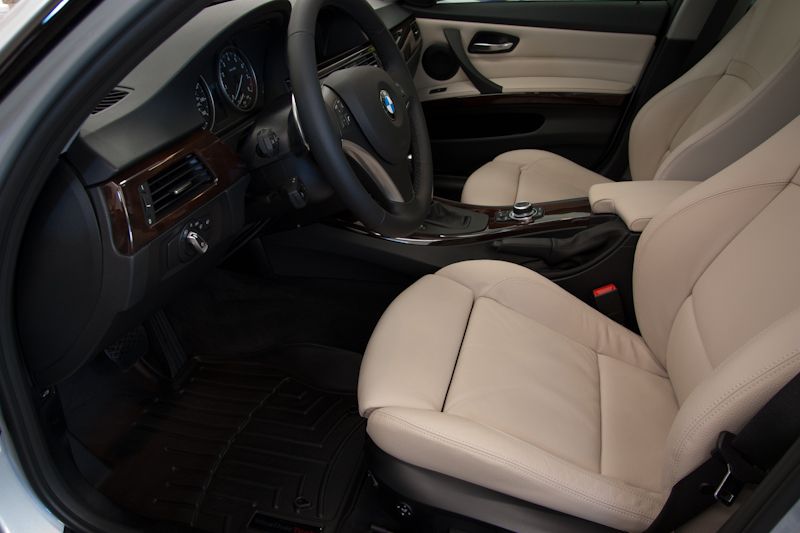
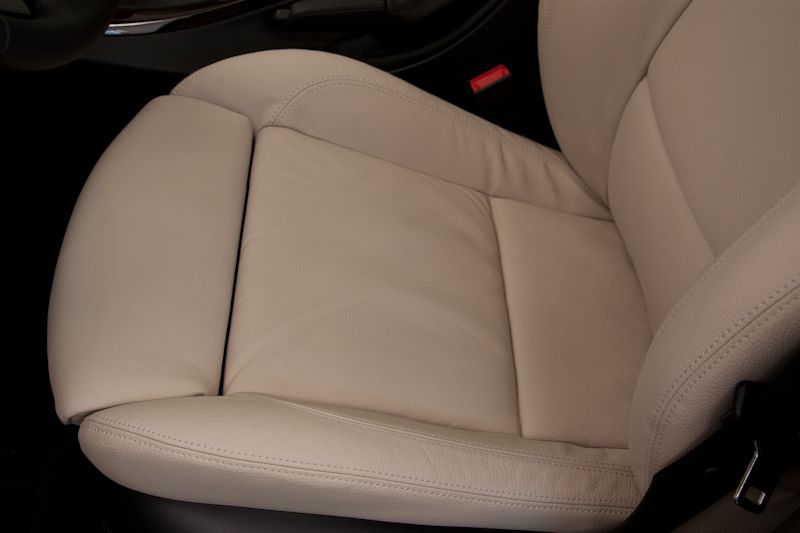

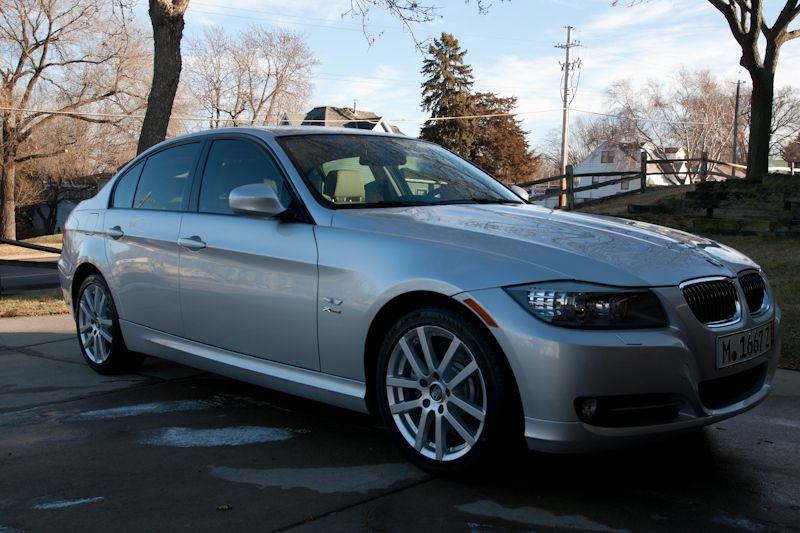
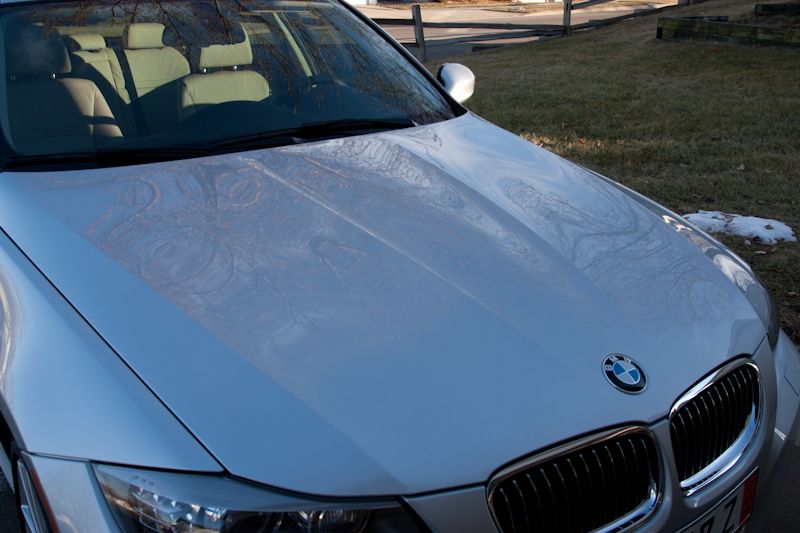
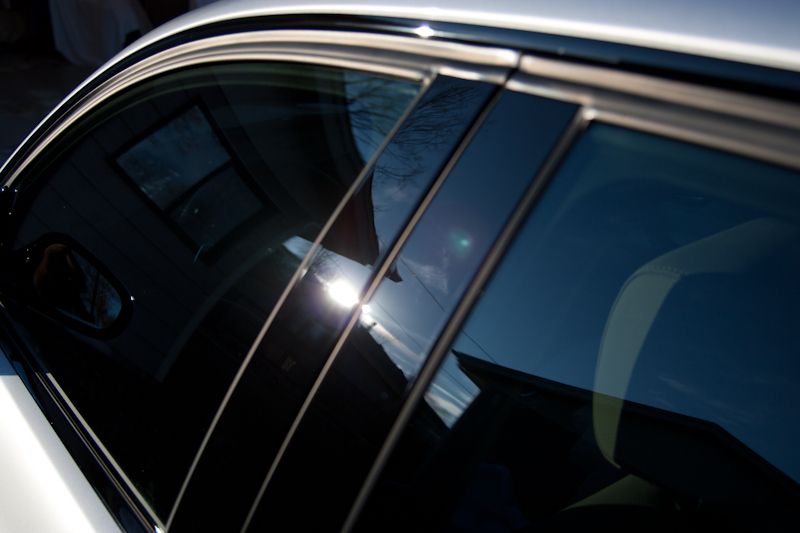
Thanks for looking,
Rasky
Thanks for looking,
Rasky
")


")


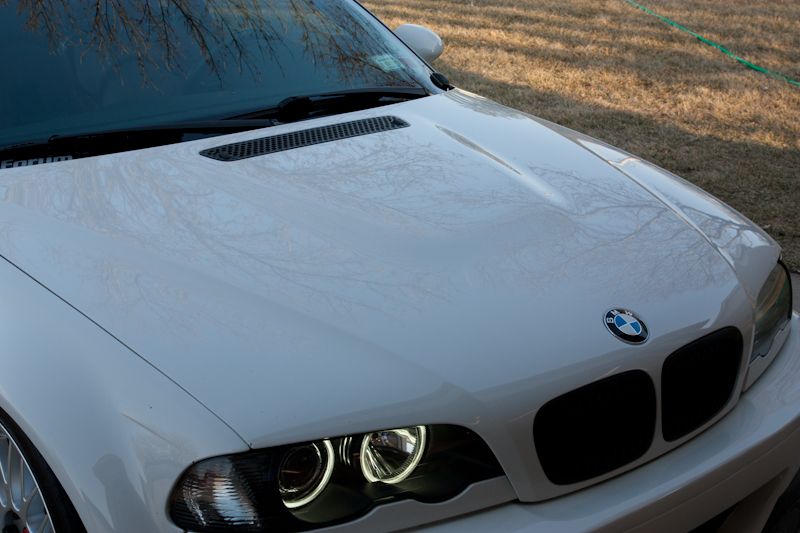


 beautiful!