
AlienPrime
Well-Known Member
So... as you all may have probably figured out by now, the LED that illuminated then you press the window lock button is an ugly orange/amber! Ewww! This is the button i'd talking about!
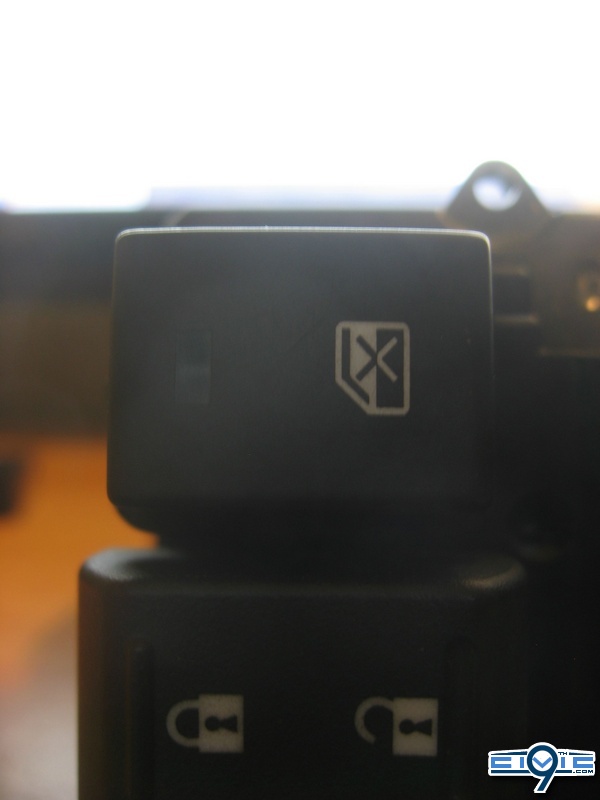
In my case, i'd like to see that lock light red") Here's how we do that! Now please bare with me as my car is still in storage, and I cannot show all final results
Here's how we do that! Now please bare with me as my car is still in storage, and I cannot show all final results 
Here's what i have so far, please do all of the following modifications at your own risk!
Enjoy!!
First things first, your going to need to disassemble your door panel, i don't want to make repeats of any DIY so refer below to remove the door panel and take out your switch module.
DIY: Door Panel Removal on LX Sedan (This will work on the Si/Ex/LX etc.)
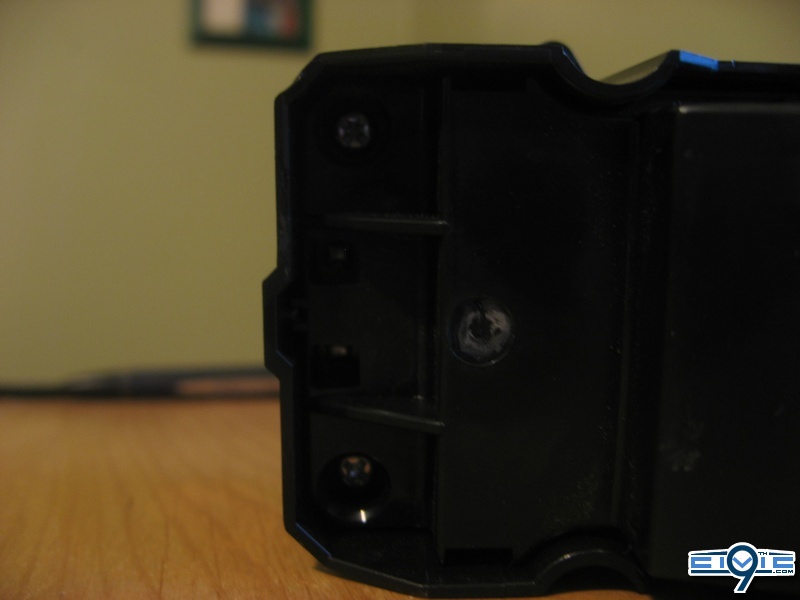
Secondly, we're going to need to remove the enclosure to get at the circuitry
There are a total of three screws; two at the top, one on bottom.

Next, wedge a small screw driver between the bottom piece and lift it very gently by the two clips. Be very careful these clips are very flimsy if you push them the wrong way, breaking them would mean a loose switch enclosure
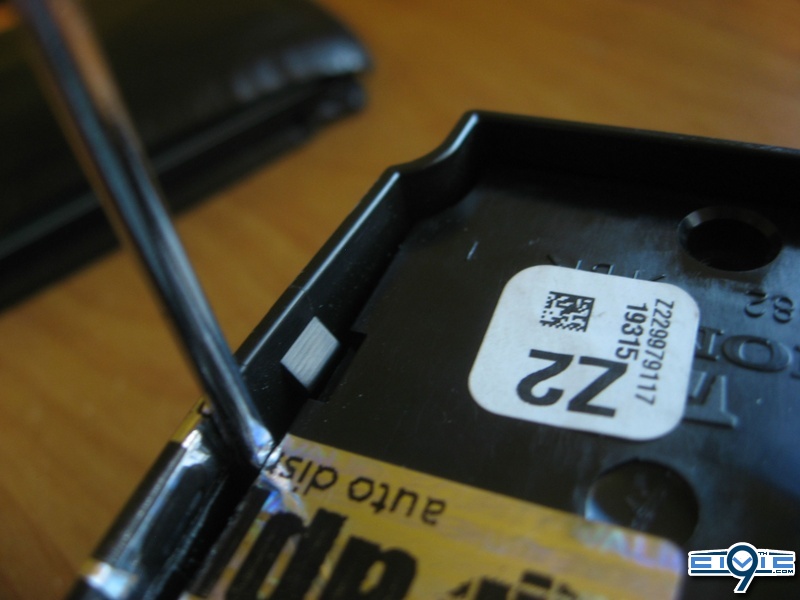
Once you'd got it up, put something in there to hold it from snapping back in.
Now do the same at the top, you can be a little more rough with these ones, don't think they'll break that easy! There's a little slot you can poke a little flat head in!
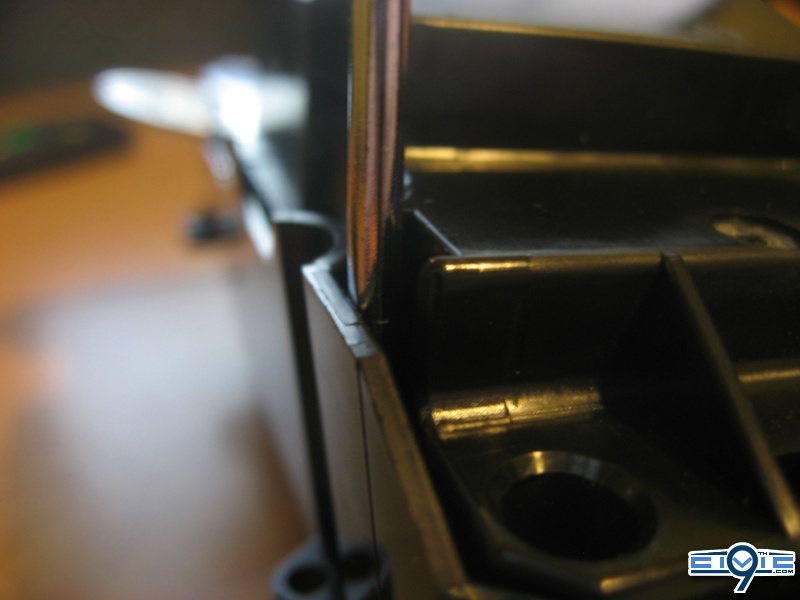
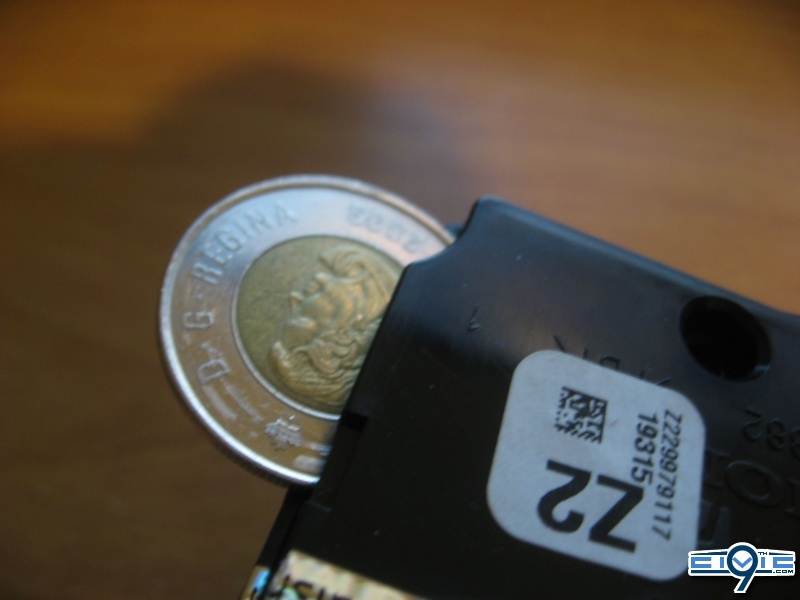
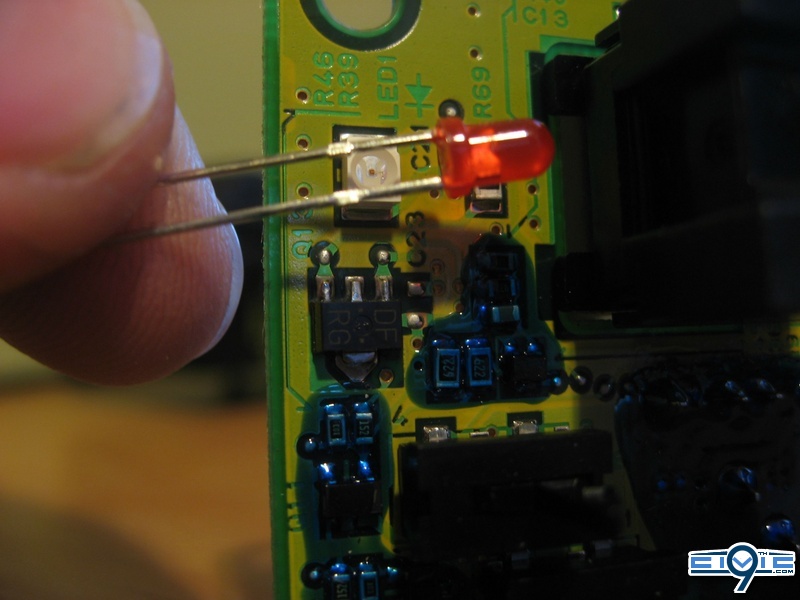
Take the plastic enclosure off at this point, and put it aside! You should be left with just the circuit board now. This is the part we'll be focusing on.
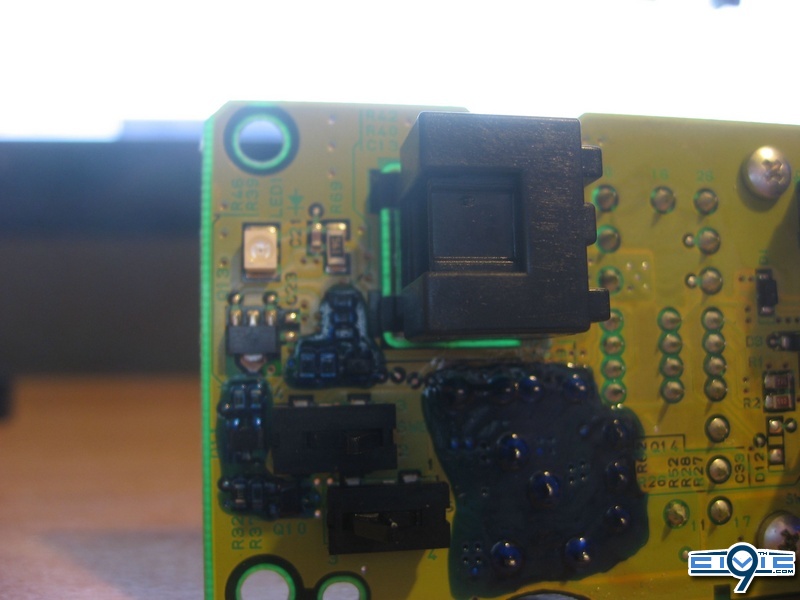
The small white box you see above the lock window box is the LED. The positive is on the right hand side as you can see with the LED diagram posted on the board.

You can access the + lead from the back of the board too, just for reference.
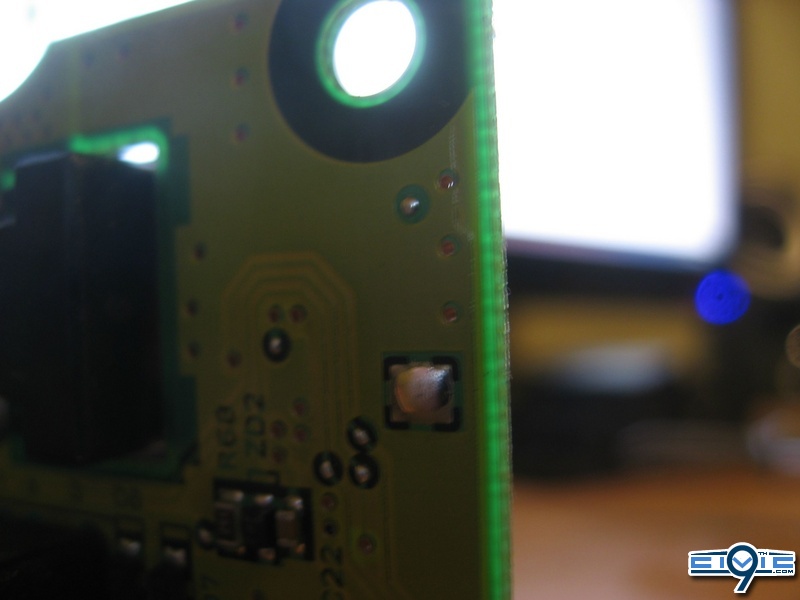
The + is on the top, - on the bottom as pictured!
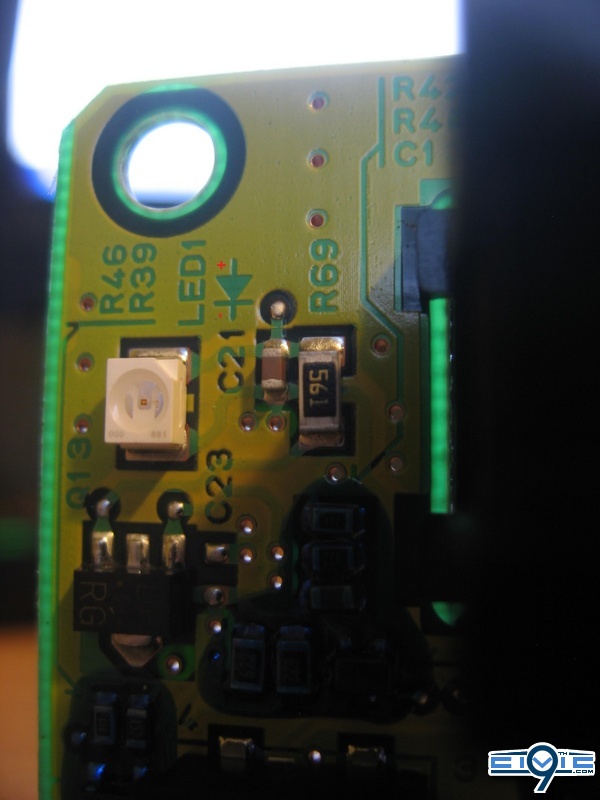
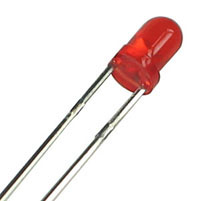
I used a 3mm Projector type RED LED for my mod. You may choose to use Blue or white to suit your liking or color scheme of your vehicle. Using a 5mm LED is not suggested because it will not fit under the light enclosure where the LED dome sits.
To orient the LED, use the following diagram below to determine your positive and negative leads.
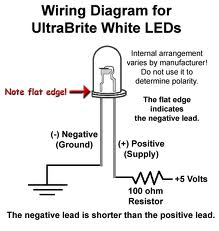
The power feeds through the + and out the - to ground.
Unsolder the old box style LED, and replace with the new in proper orientation.
Reassemble to entire unit following the whole DIY in reverse.
More completion pictures to come. Stay tuned!
In my case, i'd like to see that lock light red
Here's how we do that! Now please bare with me as my car is still in storage, and I cannot show all final results Here's what i have so far, please do all of the following modifications at your own risk!
Enjoy!!
First things first, your going to need to disassemble your door panel, i don't want to make repeats of any DIY so refer below to remove the door panel and take out your switch module.
DIY: Door Panel Removal on LX Sedan (This will work on the Si/Ex/LX etc.)
Secondly, we're going to need to remove the enclosure to get at the circuitry
There are a total of three screws; two at the top, one on bottom.
Next, wedge a small screw driver between the bottom piece and lift it very gently by the two clips. Be very careful these clips are very flimsy if you push them the wrong way, breaking them would mean a loose switch enclosure
Once you'd got it up, put something in there to hold it from snapping back in.
Now do the same at the top, you can be a little more rough with these ones, don't think they'll break that easy! There's a little slot you can poke a little flat head in!
Take the plastic enclosure off at this point, and put it aside! You should be left with just the circuit board now. This is the part we'll be focusing on.
The small white box you see above the lock window box is the LED. The positive is on the right hand side as you can see with the LED diagram posted on the board.
You can access the + lead from the back of the board too, just for reference.
The + is on the top, - on the bottom as pictured!
I used a 3mm Projector type RED LED for my mod. You may choose to use Blue or white to suit your liking or color scheme of your vehicle. Using a 5mm LED is not suggested because it will not fit under the light enclosure where the LED dome sits.
To orient the LED, use the following diagram below to determine your positive and negative leads.
The power feeds through the + and out the - to ground.
Unsolder the old box style LED, and replace with the new in proper orientation.
Reassemble to entire unit following the whole DIY in reverse.
More completion pictures to come. Stay tuned!
Last edited by a moderator:


