marinse
Well-Known Member
- 25
- 52
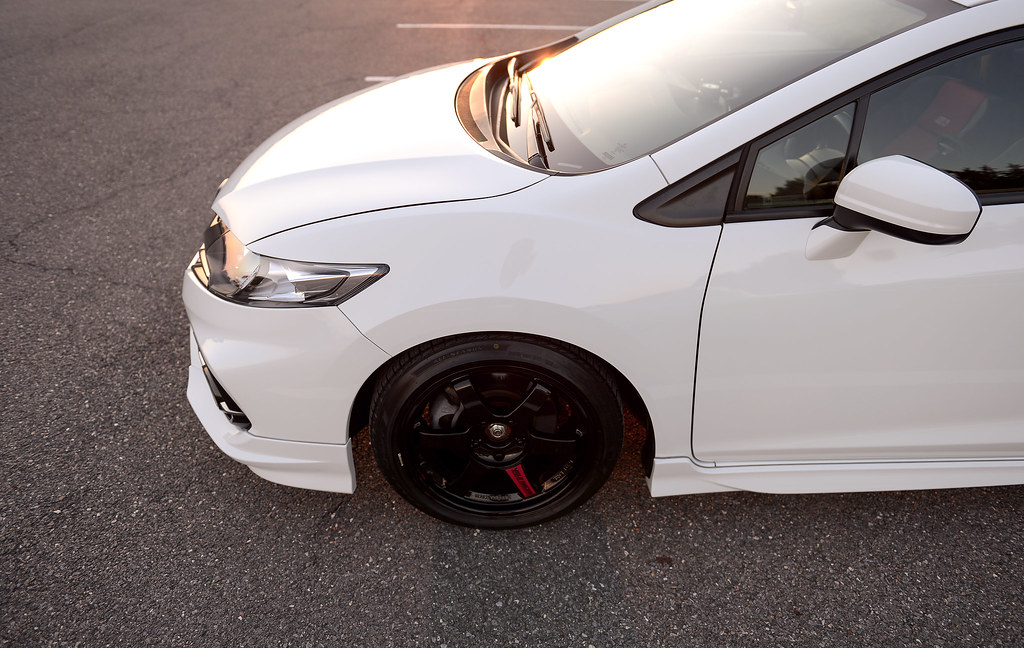
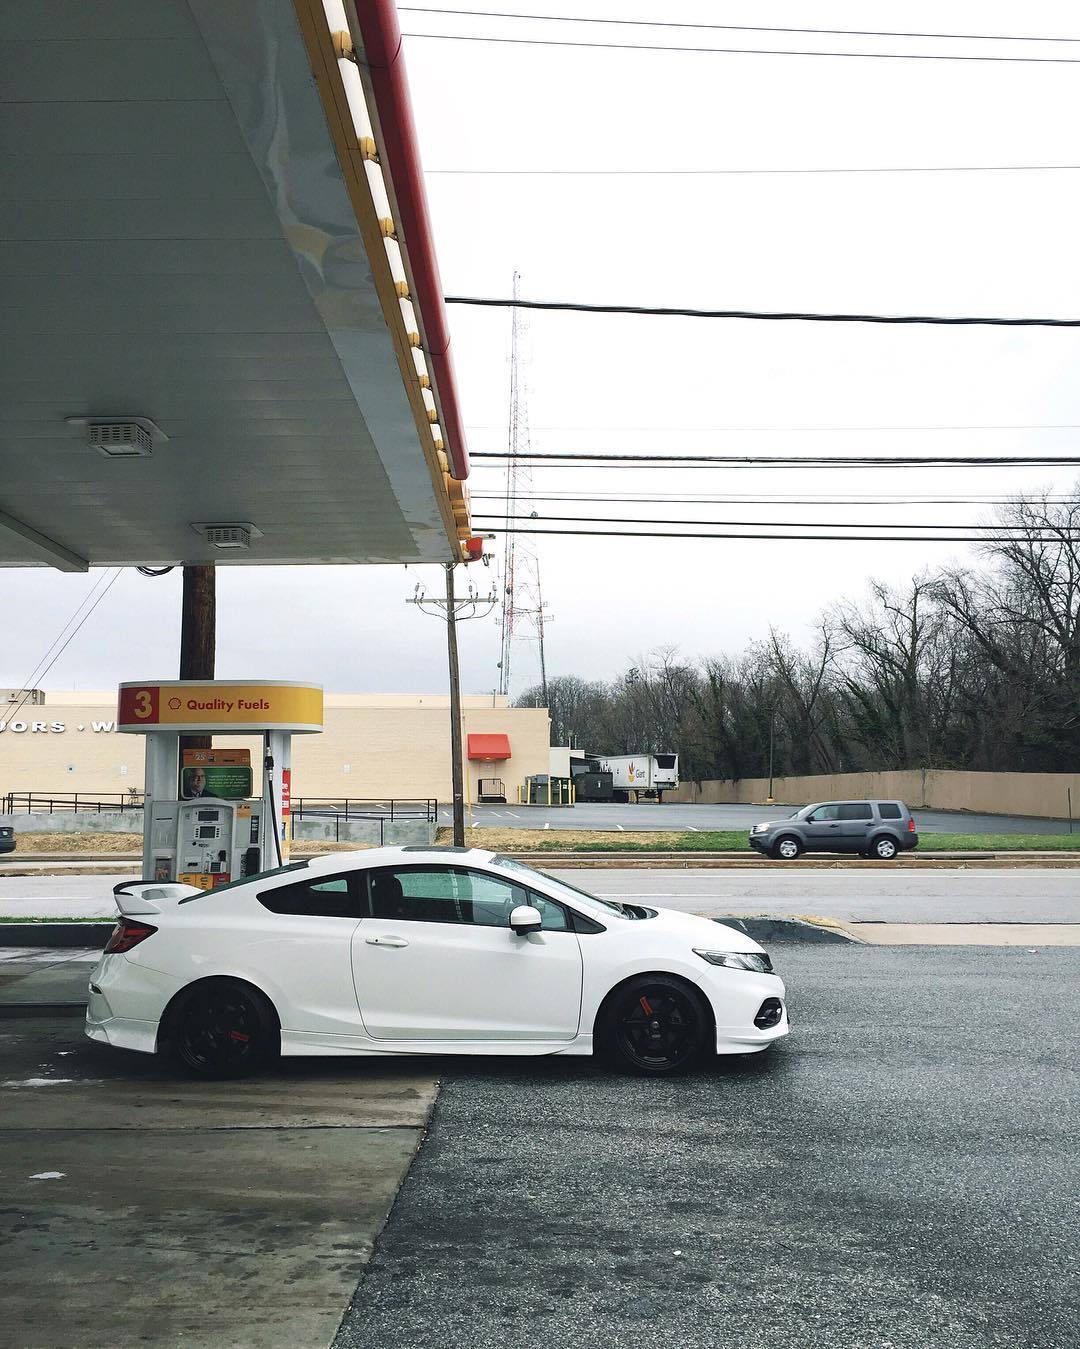
Hi all, figured I should share the progress I have made after a couple months of owning the car and being part of the forum. It's my daily so I wanted to keep things comfortable.
Follow me @sebasmarin on Instagram.

My Si by Sebastian Marin, on Flickr

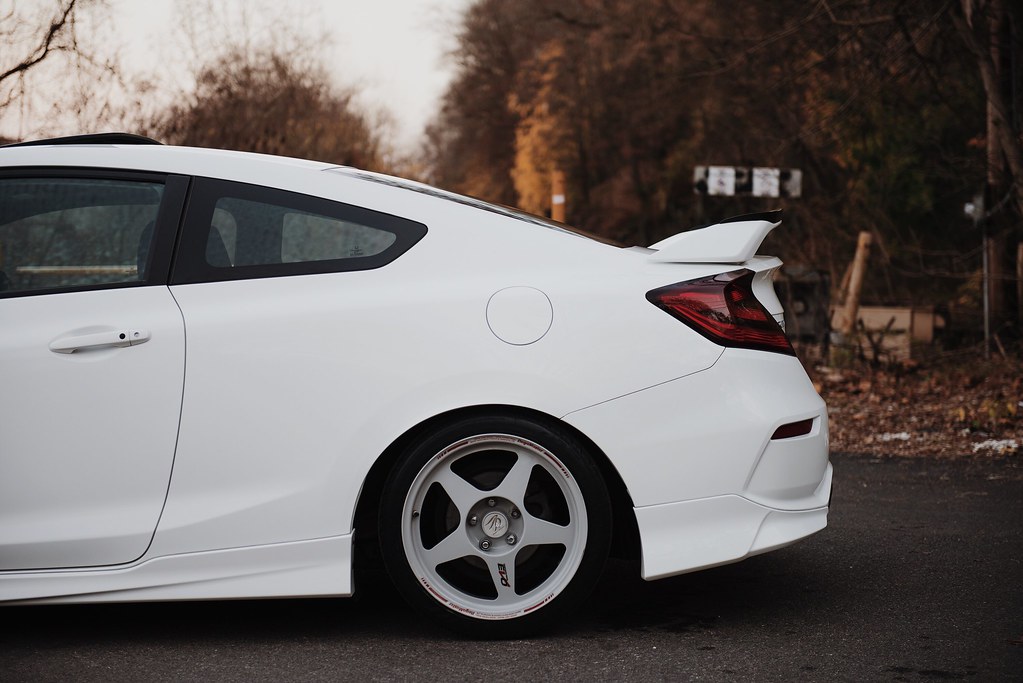
My Si by Sebastian Marin, on Flickr

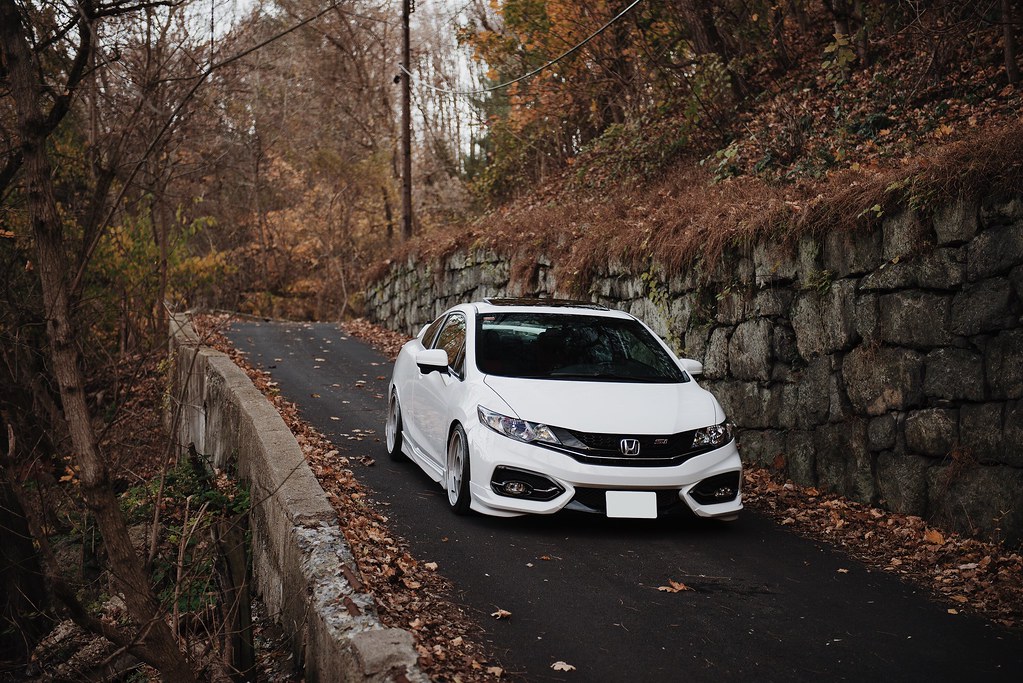
My Si by Sebastian Marin, on Flickr
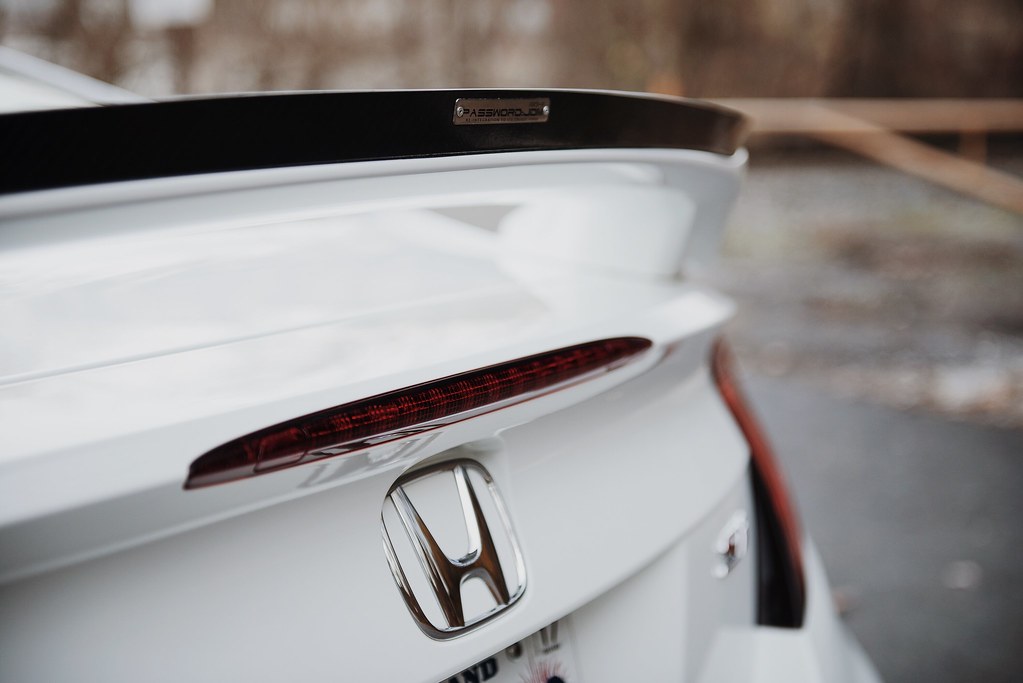
My Si by Sebastian Marin, on Flickr
My Si by Sebastian Marin, on Flickr

My Si by Sebastian Marin, on Flickr

My Si by Sebastian Marin, on Flickr

My Si by Sebastian Marin, on Flickr
My Si by Sebastian Marin, on Flickr
- BC Racing coilovers (8K F&R springs)
- SPC rear camber arms
- Full HFP body kit
- PJDM Carbon Fiber gurney flap
- 17x8.5+40 Volk TE37SL with 215/45/17 Goodyear Sport A/S
- SOLD: 17x8+25 Regamasters with 215/40/17 Nankangs Noble Sport (this tire was super loud, never again)
- Clear corner headlight mod
- 5K HID headlights/fogs (*FYI - fogs will burn out easily because of flicking on/off)
- LED Amber/White flashback headlight turn signal bulbs
- Nokya hyper yellow DRL/high beam bulbs
- F1 style 3rd break light module
- Red taillight overlay vinyl
- Carbon fiber side/front splitters
- Maybe a rear CF diffuser
Follow me @sebasmarin on Instagram.
My Si by Sebastian Marin, on Flickr
My Si by Sebastian Marin, on Flickr
My Si by Sebastian Marin, on Flickr
My Si by Sebastian Marin, on Flickr
My Si by Sebastian Marin, on Flickr
My Si by Sebastian Marin, on Flickr
My Si by Sebastian Marin, on Flickr
My Si by Sebastian Marin, on Flickr
My Si by Sebastian Marin, on Flickr
Last edited:

 My Si
My Si My Si
My Si My Si
My Si Untitled
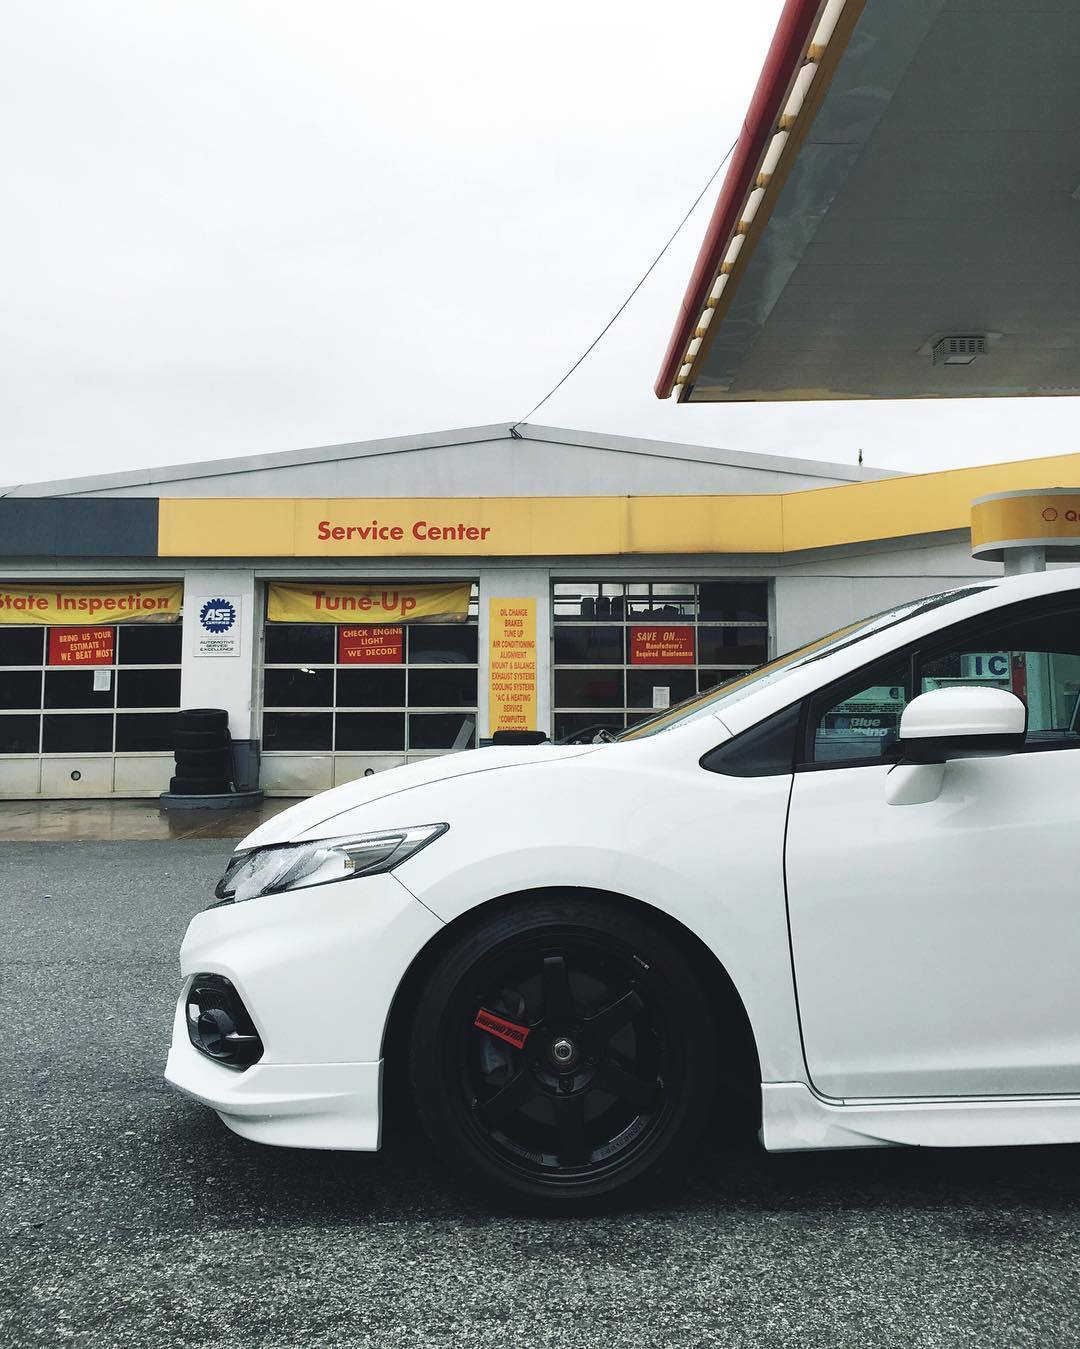

 My Civic Si
 My Civic Si