Rasky's work! :)

We have Auto Geek here in FL. Similar program, I would def. like to make it out to others to compare and get more knowledge.
 
Oh man, what I would give to attend one of those meets lol it's so awesome you guys were given that opportunity!
 
Been a while.... ;)
E30 M3, Multi-Step Correction and Partial Wet Sanding

The owner of this fine example of German Engineering recently purchased the car and wanted me to do what I could to get the paint looking its best within his budget. Upon inspection it was evident that it had been repainted some time ago and that there was some excessive shrink on the top panels and a few other paint issues that needed to be addressed.


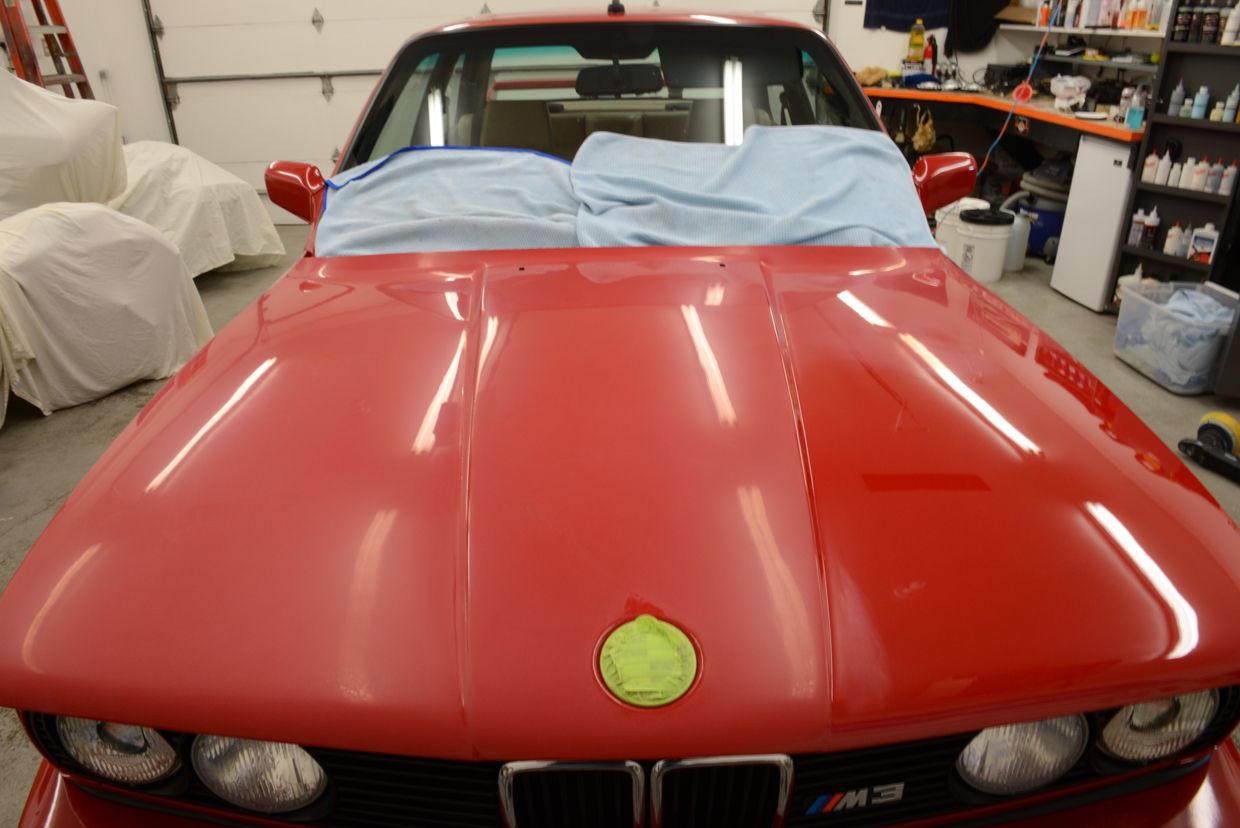
Car as it arrived (nice and clean) :)


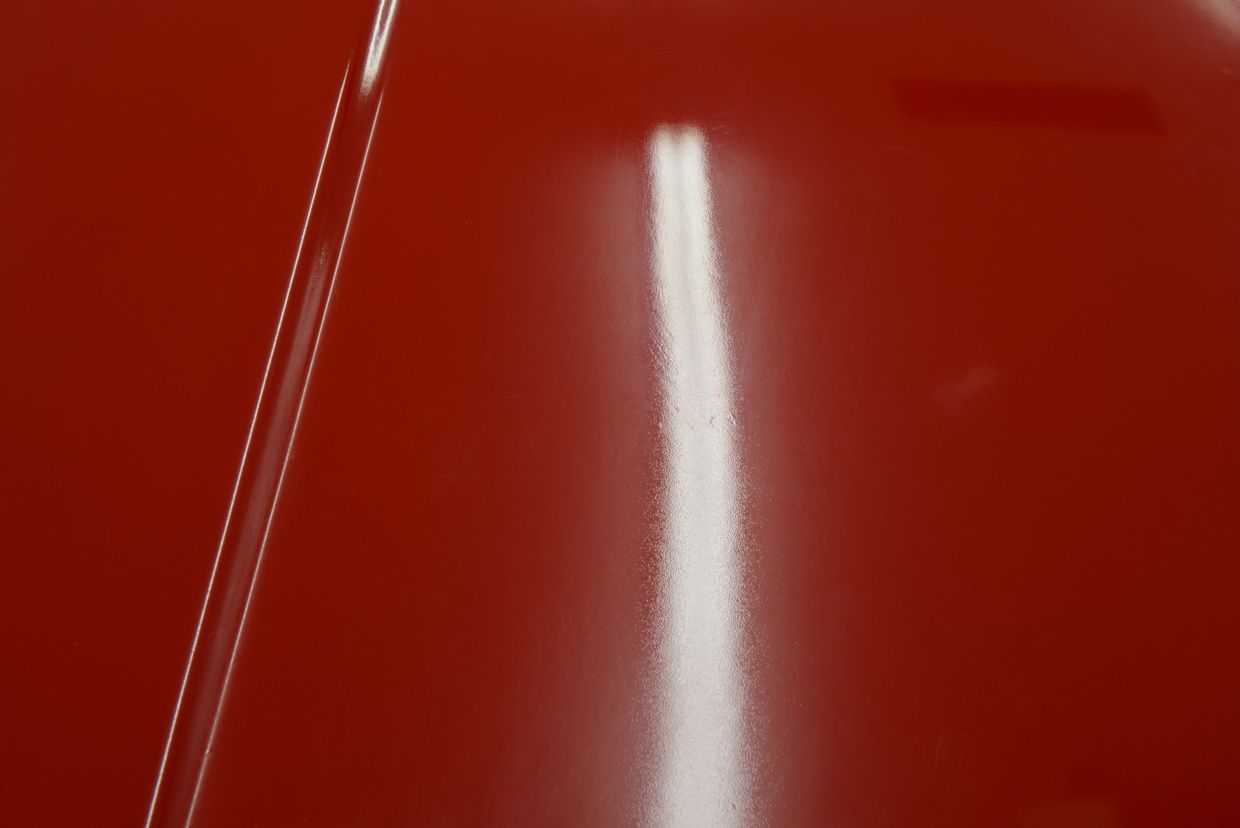
Shrink on the hood can be seen from the lack of gloss and distorted reflection


Washer nozzles removed for sanding and polishing


Close up of shrink


Sanded with 1500/3000 grit Meguiar’s sanding discs (hand and DA)


After compounding with the Rupes LHR21 and KBM205 method


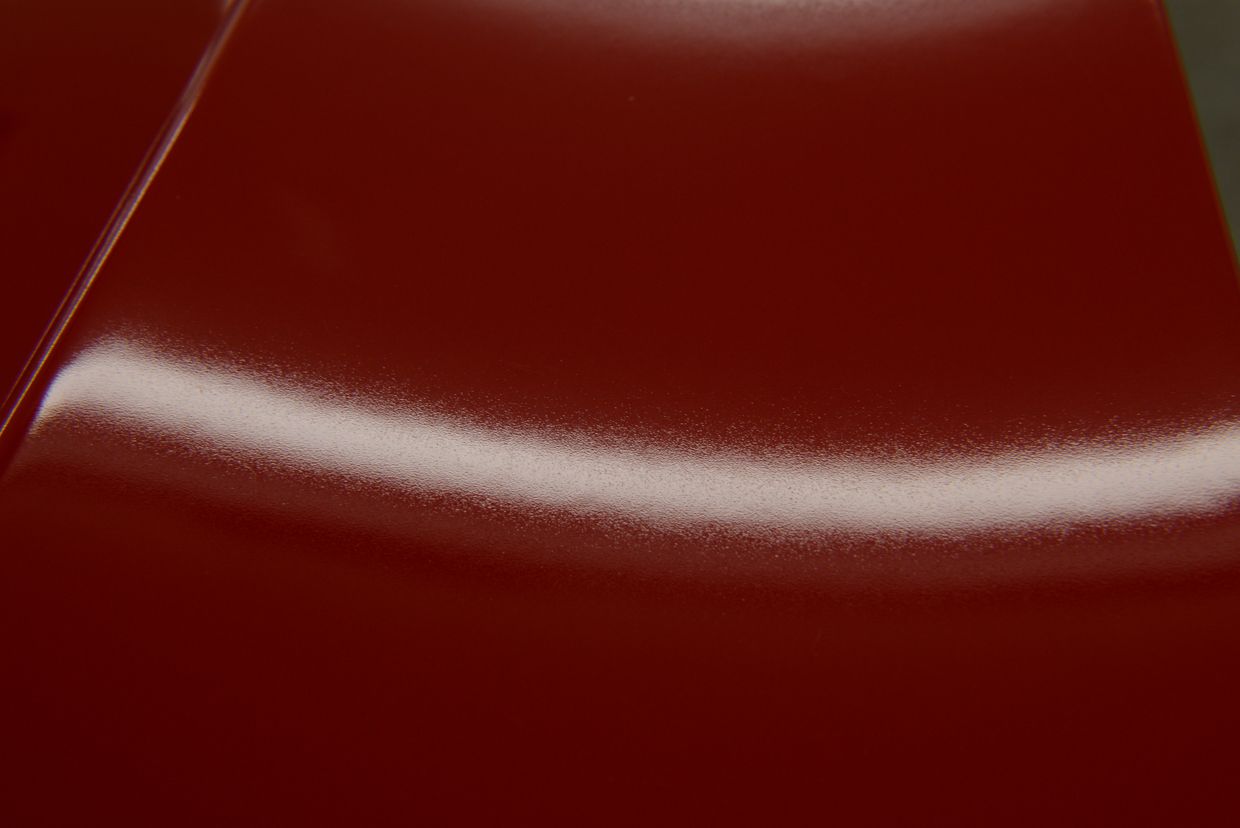
Close up of shrink on the spoiler


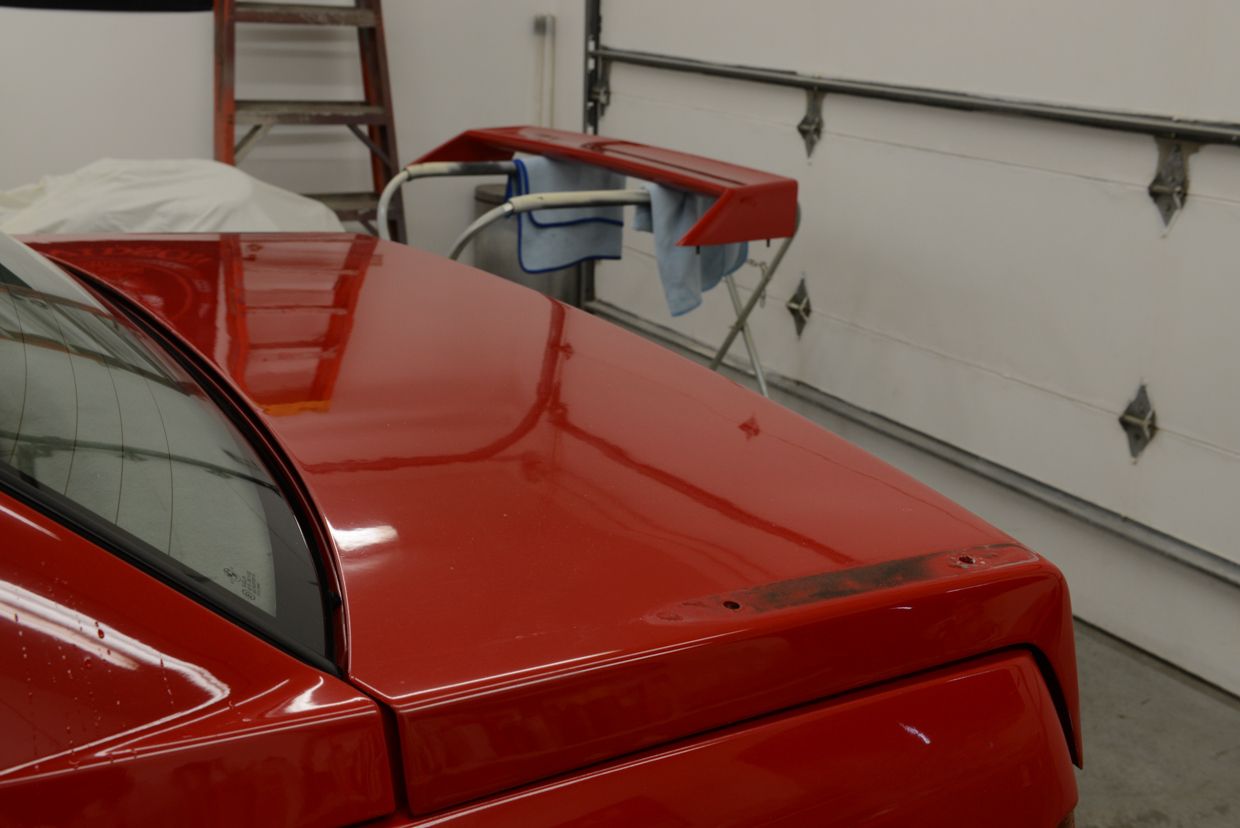
At a distance


Close up of spoiler after sanding and compounding


At a distance…notice the difference between the spoiler and the trunk


Spoiler removed


A few areas on the car had these “goose bump” protruding from the paint. I’m not 100% certain what causes this but I’ve seen it before on repaints. Its likely solvents or moisture trapped under the paint, possibly in the primer or base coat, which are trying to escape. I don’t suggesting trying to sand these defects out, for obvious reasons, but it looked bad and I decided to test out sanding in a discrete area, which turned out great. It’s not 100%, but a huge improvement. I lightly sanded them here so they were easier to see. The touched up chip can be used as a reference point.


After


Swirls and RIDS throughout


50/50 shot


I spent about 10-12hrs carefully wet sanding and compounding….


An example of when the rotary is the better tool for the job.


Great example of where the Rupes TA50 and 2” pads shine


Finished shot prior to LSP….two different aperture settings


I like this one :)
 
‘14 Chevy 2500 HD, Multi-Step Correction and Opti-Coat Pro application

Good client of mine picked this up last winter to haul cars around and he wanted to get it looking right and have some long term protection applied. This was a LOT of surface area to cover and a reminder of why I dislike doing trucks, especially black ones with finicky paint!

Before condition


Left over DA sanding marks and pig tails from a hood repaint…typical body shop.


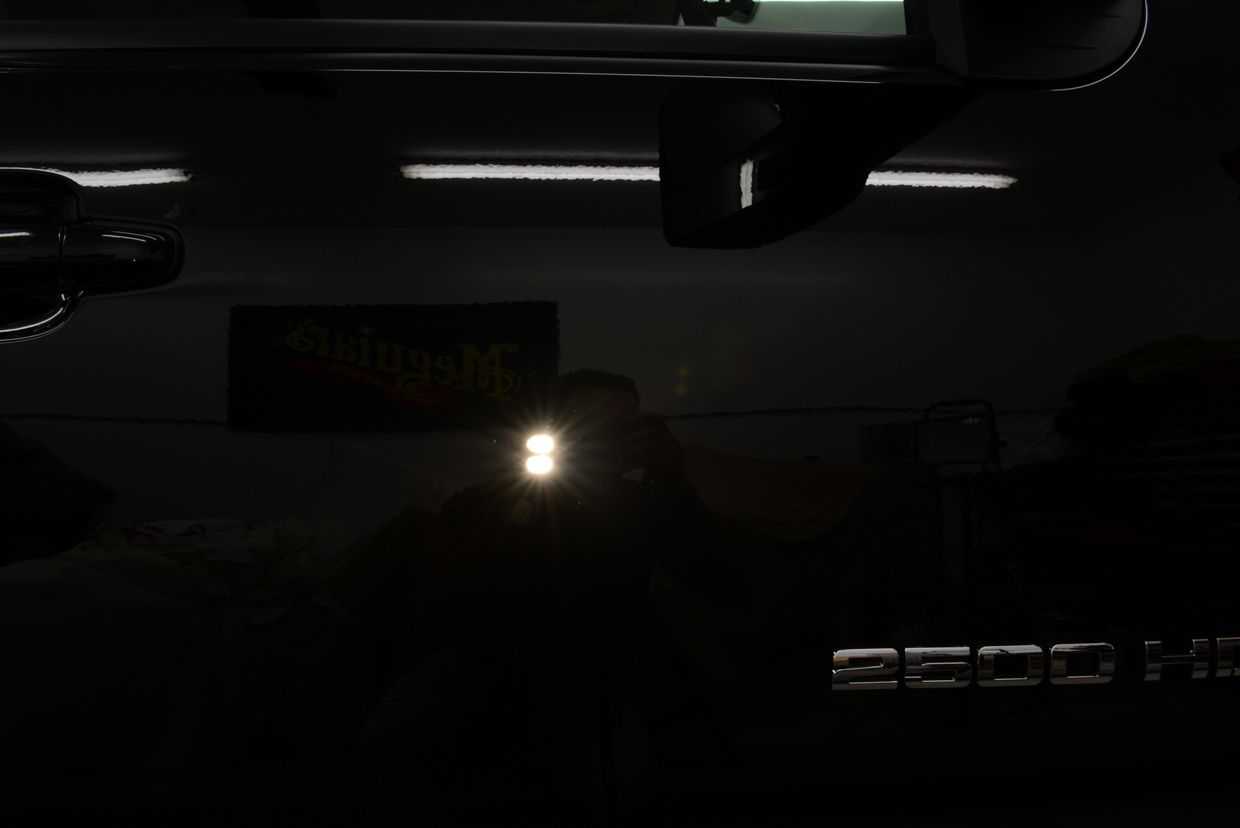
50/50 LED


Brinkmann


All done


Wheels were polished with Opt Primer Polish and then coated with OCP


We’ve had a terrible spring so far and I was really hoping for sun on this one, but it was too cloudy yet again. :(


Trying to pop through the clouds…


Thanks for looking,
Rasky
 
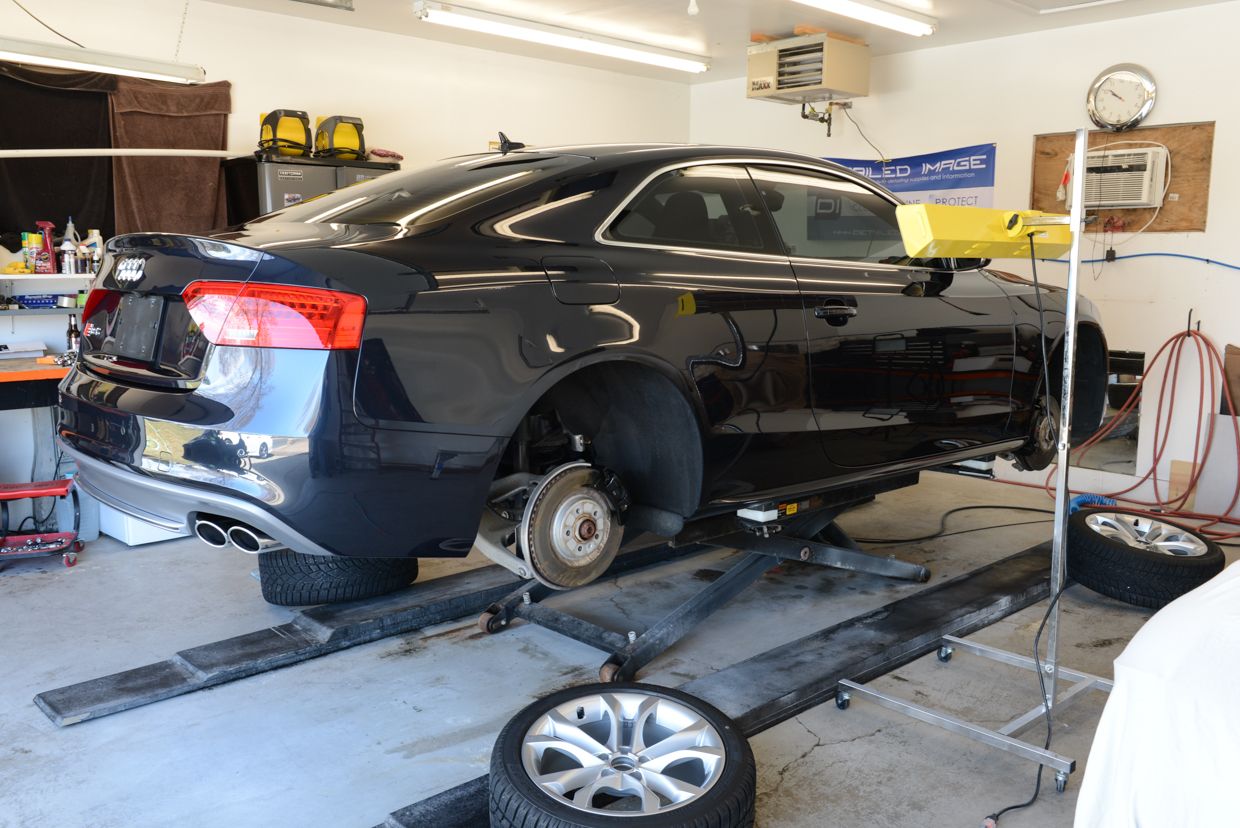
2013 S5, Paint correction and CQuartz Finest Application


This car was a recent CPO purchase by a very good client of mine and they wanted to get it all cleaned up and protected. His previous vehicle had all been Opti-Coated but he had been seeing my post and CQF and wanted to give that I try this time around. ;)

Before

Removed ugly V6T badges from fenders….impressions in paint required a light wet sanding to remove.


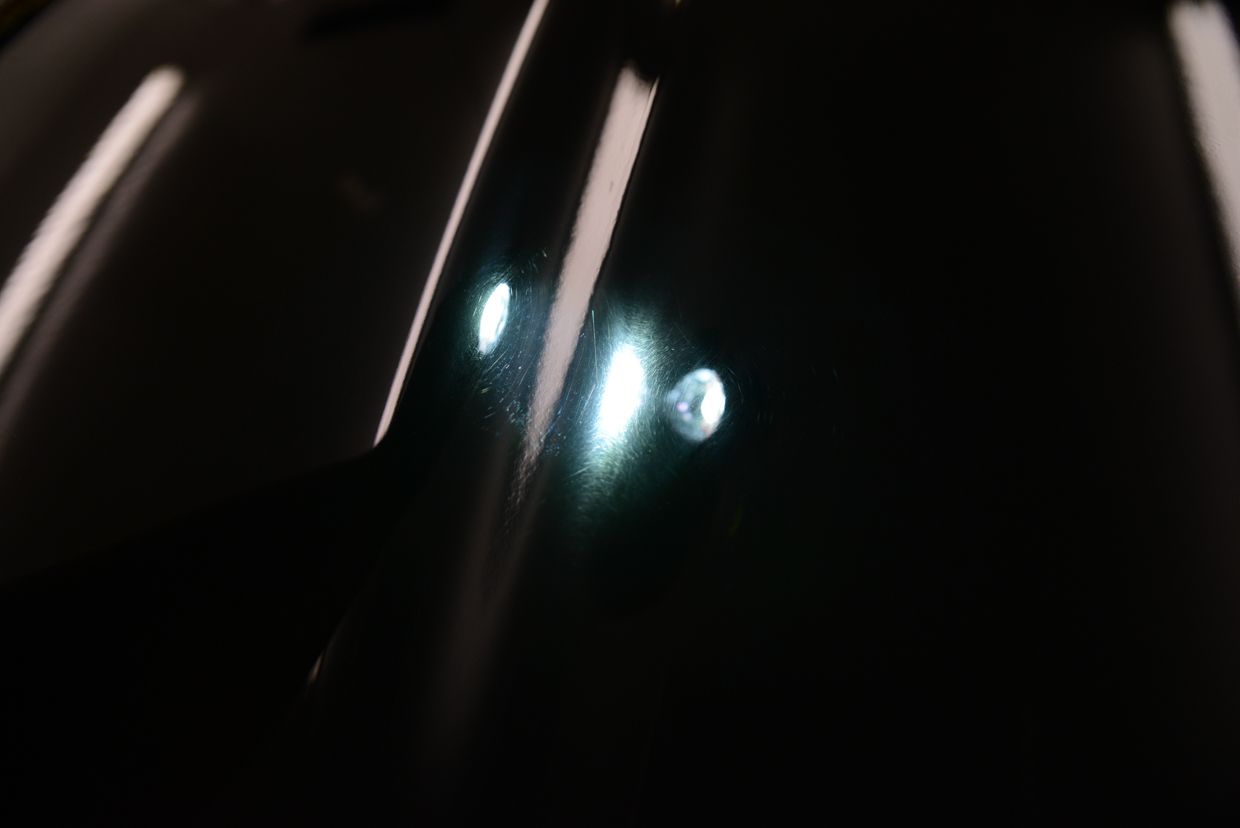
Swirls (Brinkmann)


Swirls (Fenix LED)


Lower rocker molding was very swirled up from automatic car washes and shoe scuffs.


50/50


C pillar had left over DA sanding marks by someone attempting to remove a scratch


50/50 of door


After pics

Brinkmann

Fenix LED

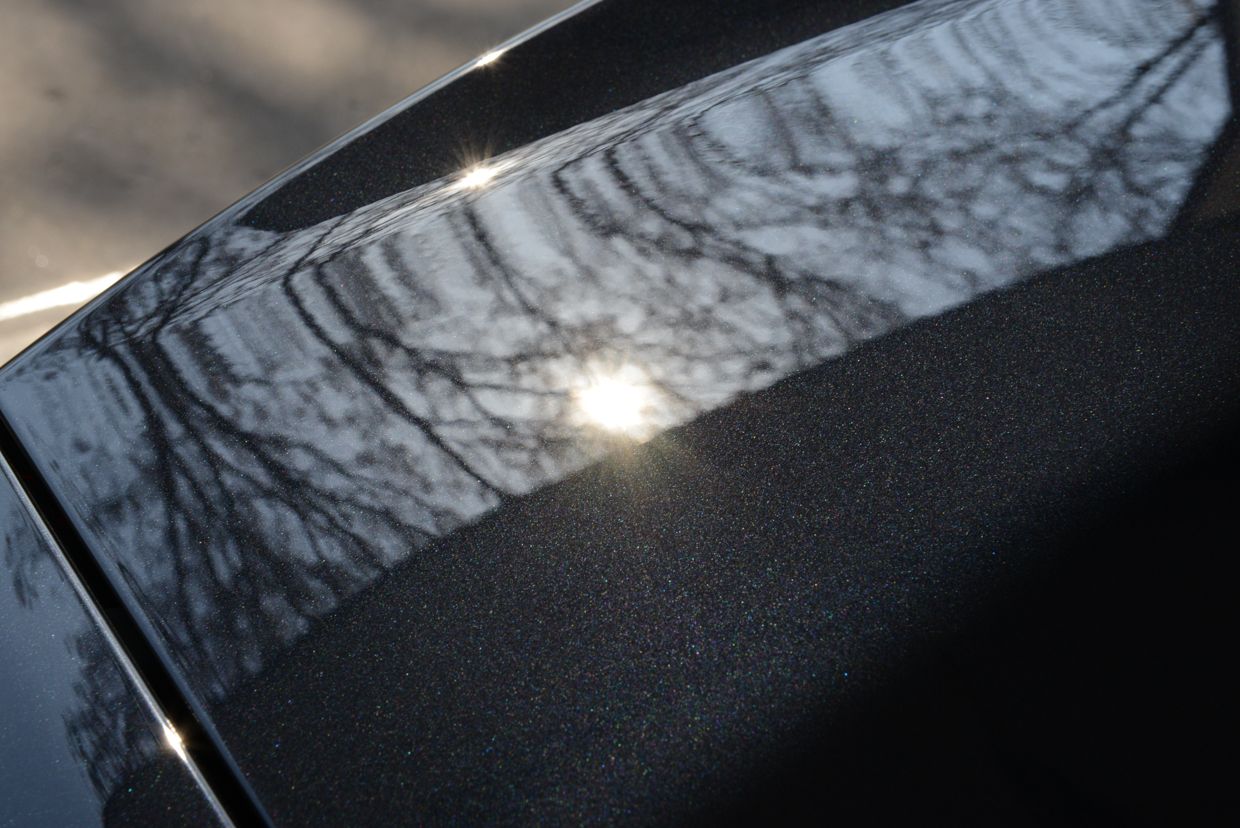
Finally some sun for after shots!!!


Wheels removed, cleaned, and coated as well as calipers


Thanks for looking,
Rasky
 
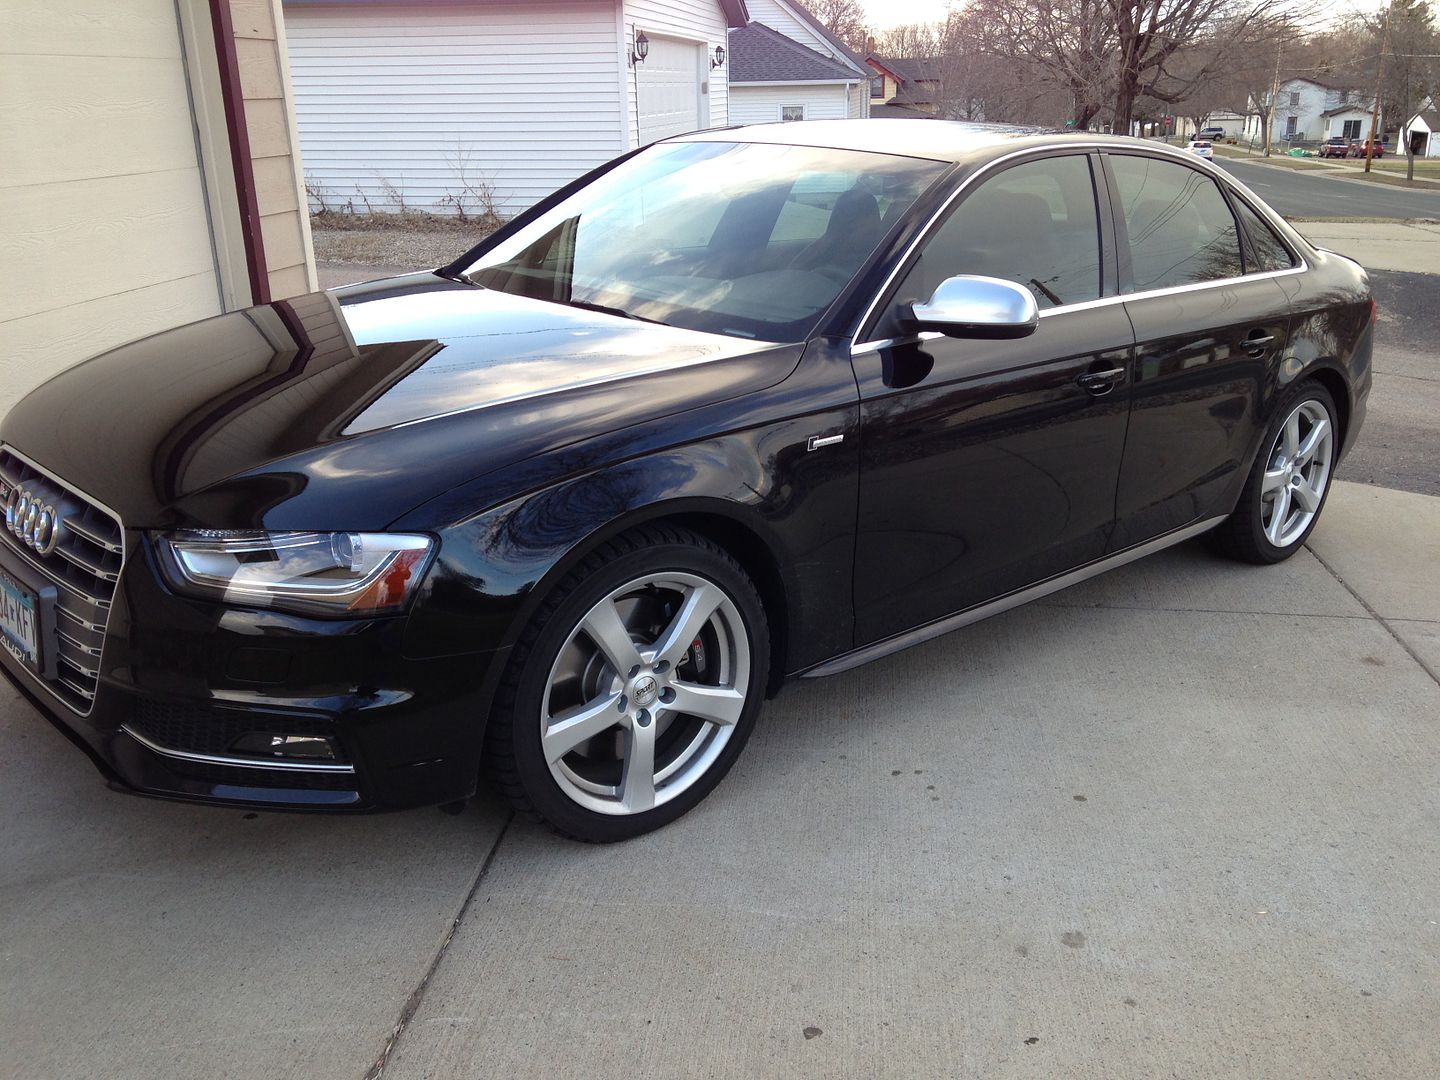
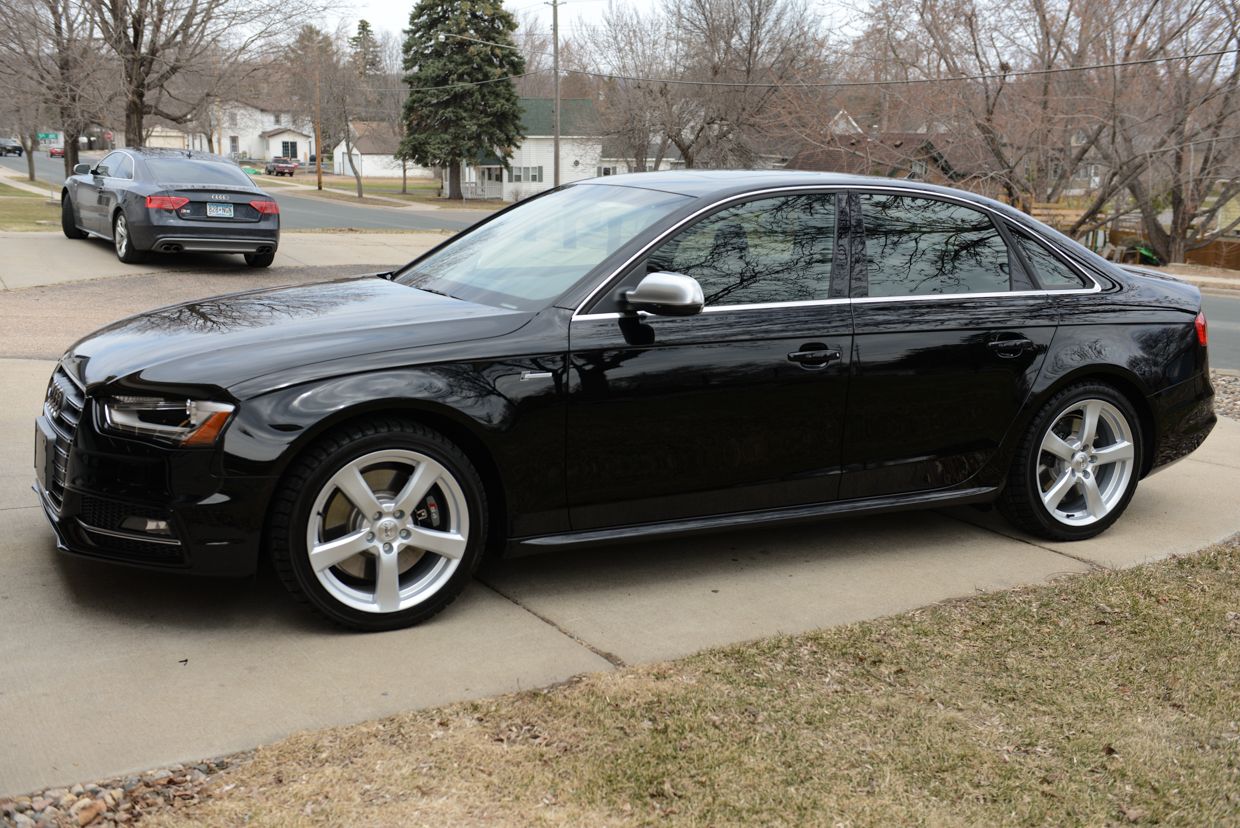
2013 S4, Paint Correction and Opti-Coat Pro Coating.

I actually performed the new car prep and applied OCP to this car 7 months ago. Over the last 7 months the owner had brought the vehicle into the tire shop to have the winter wheels put on and also to the dealership to have the ugly “V6T” badges removed and replaced with the nicer “Supercharged” ones….and that’s where things went terribly wrong!!!

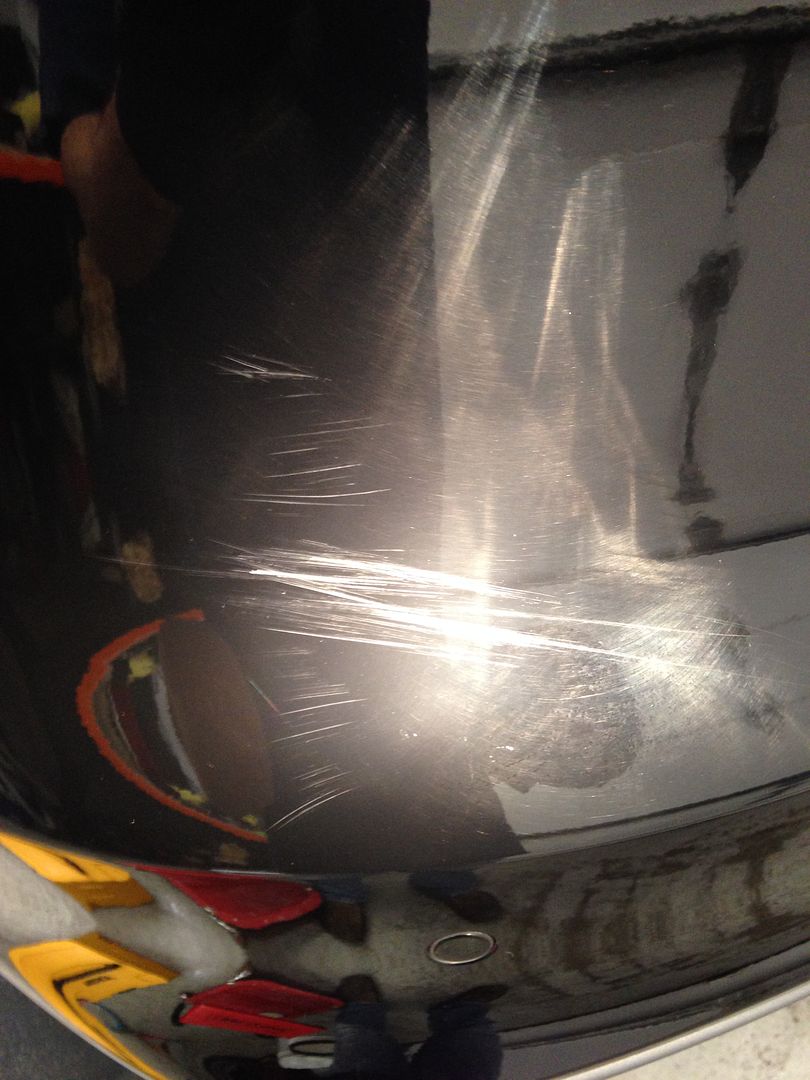
All fingers point to the dealer as the guilty party for the damage done to this car, but either way it required extensive sanding and polishing to remove/improve the damage. I was told to “do what I could” on the rear bumper cover, which was the worst of the damage, and if the scratches couldn’t be improved to the point where it was hard to see, the owner would repaint the bumper cover.

Video walk around I had texted to the owner after I got the car all washed up.

View: http://youtu.be/Uzgh5Rbf1dQ


Before pics….(iPhone as I didn’t have my DSLR)


Deep scratches on the rear bumper


More deep “circular” scratches on both sides of bumper covers/wheel well openings…these could have been from an automatic car wash, “Hub Scrub” or possibly a snow removal sweeper.


Passenger front door


Initial wet sanding, 1500/3000


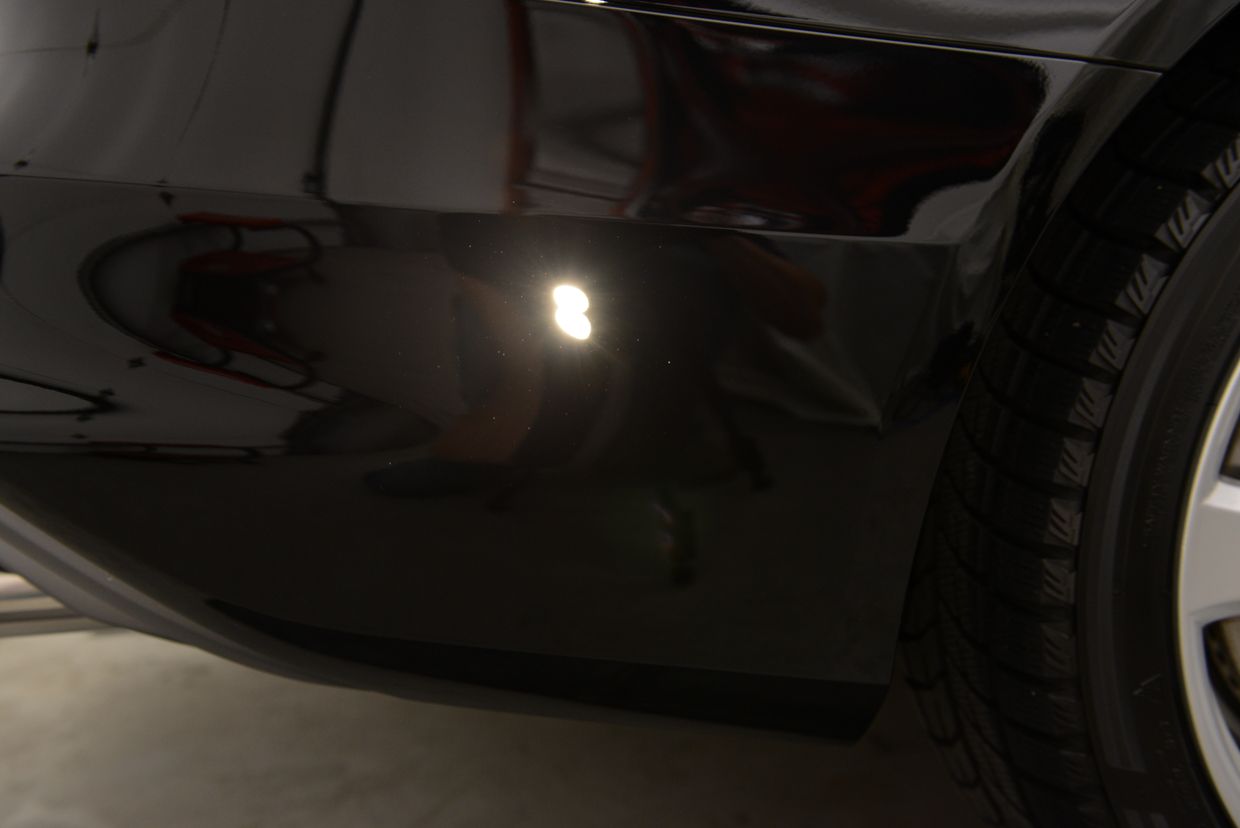
After


As usual you can take horrible old abused and just plain bad paint and make it look frickin' awesome. Wicked job on that M3.
 
Here is the latest pod cast from Larry Kosilla (AMMO NYC), which was held at the 2014 NXTi training class in Irvine, CA a couple weeks ago. Several of the class attendees, including myself, were able to sit in for a few minutes and comment on the NXTi classes. It's about an hour long but I found it very enjoyable. I come in around the 27 minute mark. I think I had "a few" cervezas prior to calm my nerves. LOL! :D

http://shoutengine.com/AMMONYC/detailing-training-class-2371
 
Ridiculous results as normal. @jrotax101 you'd probably enjoy post 329
http://9thcivic.com/forum/threads/raskys-work.582/page-17#post-292251

Did the owner ever talk to the dealer about the major marks on that audi? What's the cause of the "shrink" as you call it on the repaint? You mention that the top panels were the worst. Is it something to do with sun exposure or?

I doubt it. He said he knew the service manager very well at the Audi dealer and he couldn't imagine they did it and he was leaning toward the tire shop. I said well, I don't think most tire shops have a rotary buffer and clearly whoever did the damage knew about it, because they tried to polish the scratches out with a rotary and nasty wool pad. Considering they polished the fenders after removing the ugly badges, I'd say I'm 99% certain it was the dealer.

I've heard various reasons for the shrink but I think it's basically an improper curing thing, the top layer curing before the lower layers. I know my old man will let the primer cure for weeks and occasionally months before painting on the resto jobs. Another reputable source said it like this when I recently asked about it....."as the solvents in the paint bite they also soften layers under. This reaction can also cause movement under layers. It hides like stretching rubber over something then contracts showing defects as it expands later. Solvents bond and all hell brakes loose".

I guess it could be possible that expose to the sun heated up the top panels more resulting in faster curing of the top layer. Could happen when baking too though. There was a noticeable smell of solvent when I was sanding the tops. ;)
 
’52 Chevy Truck, Paint Correction and CQuartz Finest Application

This truck belongs to a good client of mine who was looking to have Finest applied to it after having me do his new C7. The truck itself was absolutely beautiful, and you could really tell that the shop who built it had put a lot of time and pride into the restoration. However, it was finished back in 2009, so after 5 years there was a good amount of swirls that had accumulated as well as some deeper scratches too, many which required an additional pass or two to remove. It was originally scheduled for a 2-step correction, but I ended up doing a little more than that on most the truck and all the small intricate areas, not to mention the sheer amount of surface area, really added up on the clock. In total I had around 45hrs into this job and achieved about 95% correction.

Rather than hit it really hard, my go to for correction was HD Adapt on the Rupes 21 with Megs MF Finishing pads. While this combo cut a little slower and required an additional pass or two on the deeper scratches than a more aggressive process, it also produced little to no dust, finished down virtually LSP ready, and it made remaining defects very easy to see.


Some 50/50 shots after compounding, no fishing polish yet.


Inside of the bed was also polished. I chose to use small offset machines here.


Swirls on the top of the front bumper panels.


After Adapt on the G110v2 with 3” MF Cutting pads. You can see this combo didn’t finish as well as the Rupes 21 and MFFP combo, but still an easy clean up with a finishing polish.


Door and hood compounded, cowl was done with the G110v2 and 3” MF cutting pads.


The areas around the box were the most challenging, especially just above the wheel wells.


I carefully used my Rupes TA50 to polish these areas


Fenix LED shot after using Rupes 21 and HD Adapt and MFFP


Final polishing was done with HD Polish. Car was wiped down with Earser and then 2 coats of CQF were applied.
 
Finished pics….lots of them! :)


I did a quick polish on the wheels by hand with HD Metal, nothing crazy though.


Fenix LED


Brinkmann Dual Xenon


Finally I get some good sun pics of a car! Yea!


Heading home


Thanks for looking,
Rasky
 
Wow! This is the best one yet! :clapping:
 
Back
Top