- Staff
- #1
DIY 2012 Civic 3M VentureShield Paint Protection Kit / Clearbra (Whole Car)

This Do-It-Yourself serves as both an instructional article and a journal (of sorts) of my experience with installing these films and to show you what you're in-for should you want to save yourself the additional expense of a professional installation. It should be noted that this is my first time installing anything like this and I have zero background experience with it. Even though I tried to portray the experience with a light-heartened feeling, this install shouldn't be taken lightly as it requires a lot of tenacity and patience to apply correctly and to produce the desirable results.
The instructions and recommendations provided here apply to any kit you wish to install on your Civic, whether you have purchased one kit or all of them.
It was an extremely rewarding experience and is very well worth the time and effort. If you have any questions that aren't covered in this article, please post your comments in this thread and I will be happy to provide you any information I can.
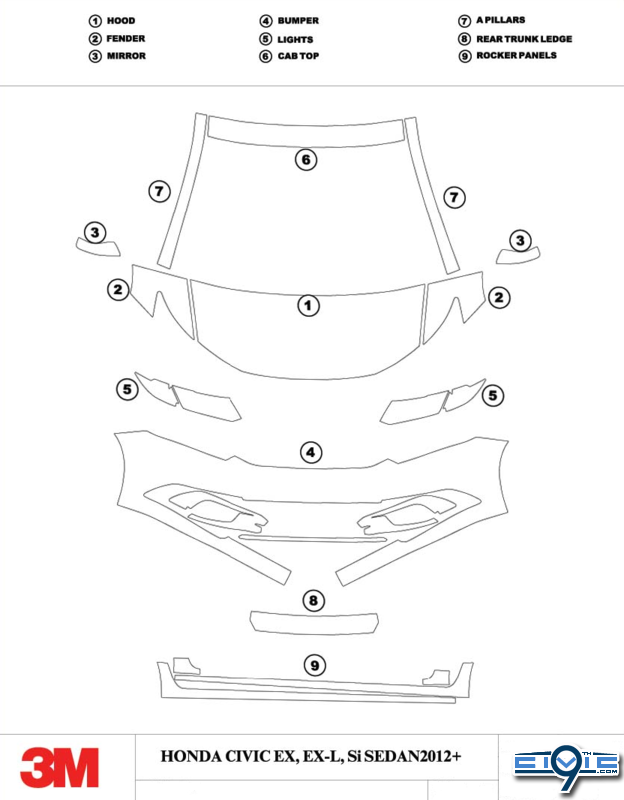
Kits that are covered in this article:
Instructional Videos:
Although not produced by me, these videos give you an accurate depiction of what to expect and can greatly increase your success in application. Please watch them prior to continuing on with this article:
View: http://www.youtube.com/watch?v=o5btjWP6RvY
View: http://www.youtube.com/watch?v=mqCXatseNGc
Tools you need:
Day One didn't go as well as I had hoped. First I locked my keys in the car, and my only spares were in my safe. The keys to my safe were locked in the car.
I no longer have a functioning safe.
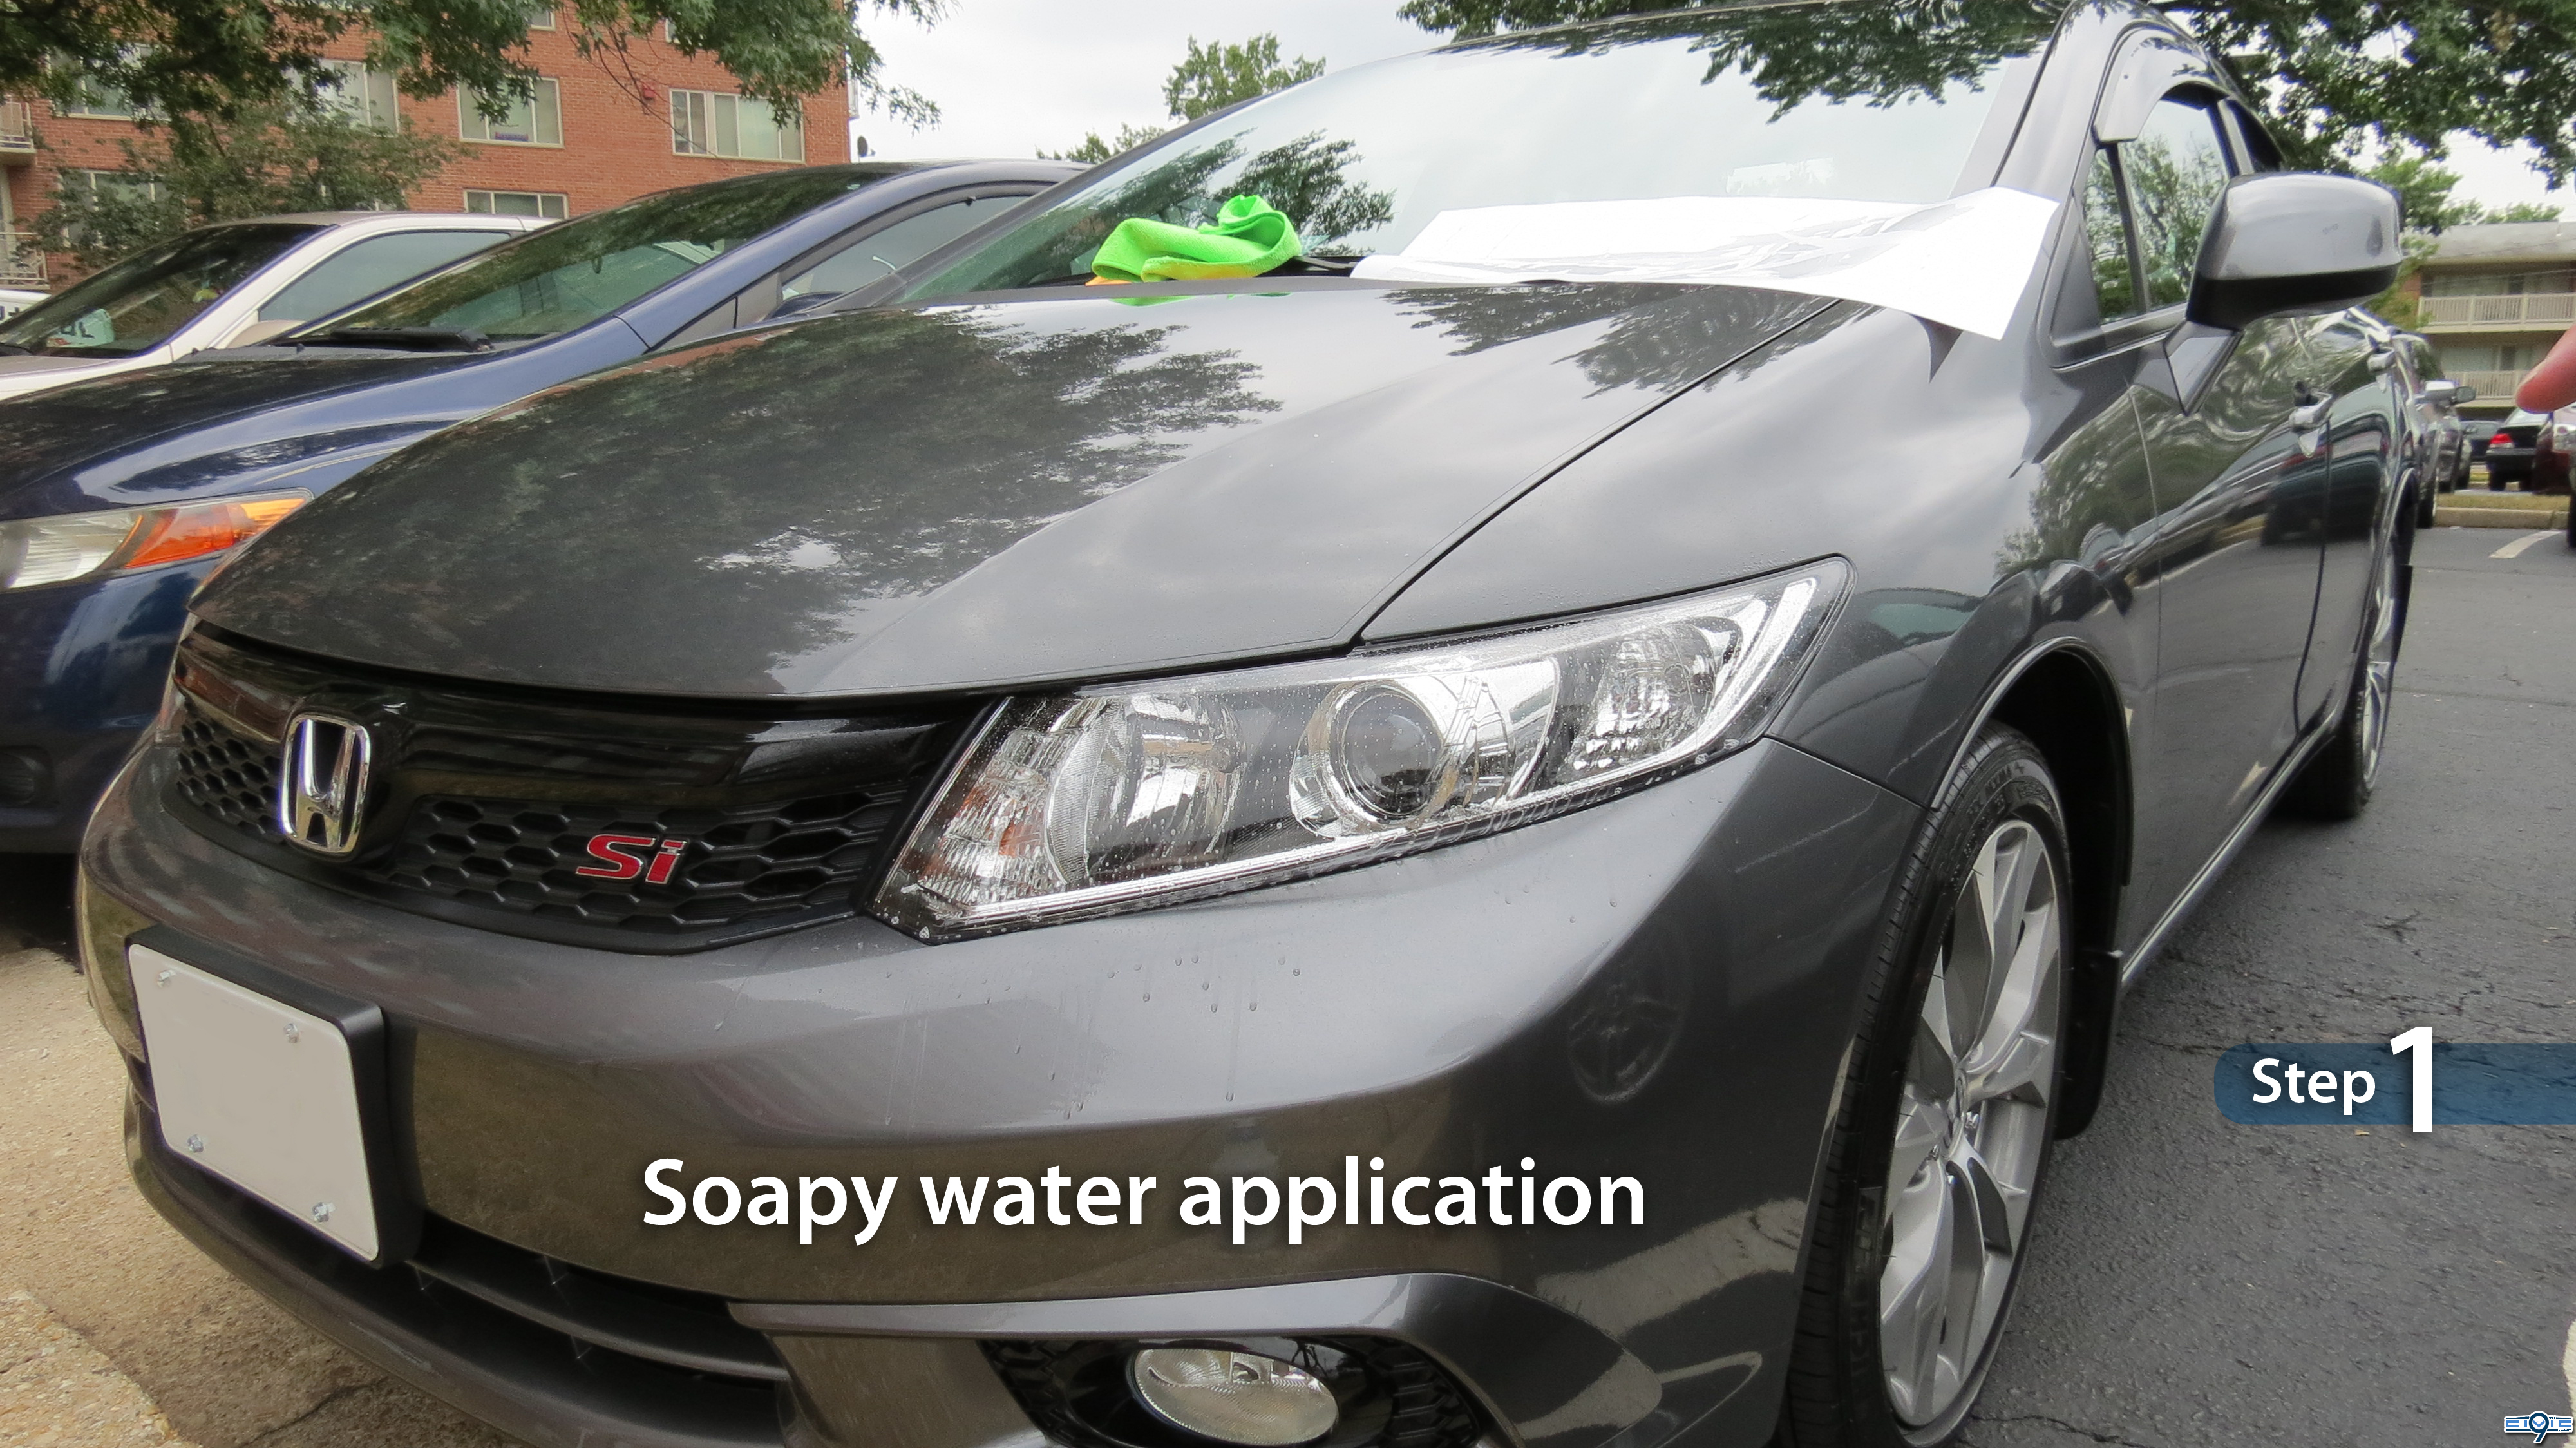
After that hour was wasted, I went outside at my apartment complex to begin applying some of the smaller items because I knew they could be tricky and time-consuming for a first-time installer.
There's definitely a sweet spot in the soap/water ratio and I hadn't found it yet. Too much soap definitely is not good because the plastic doesn't want to adhere at all.
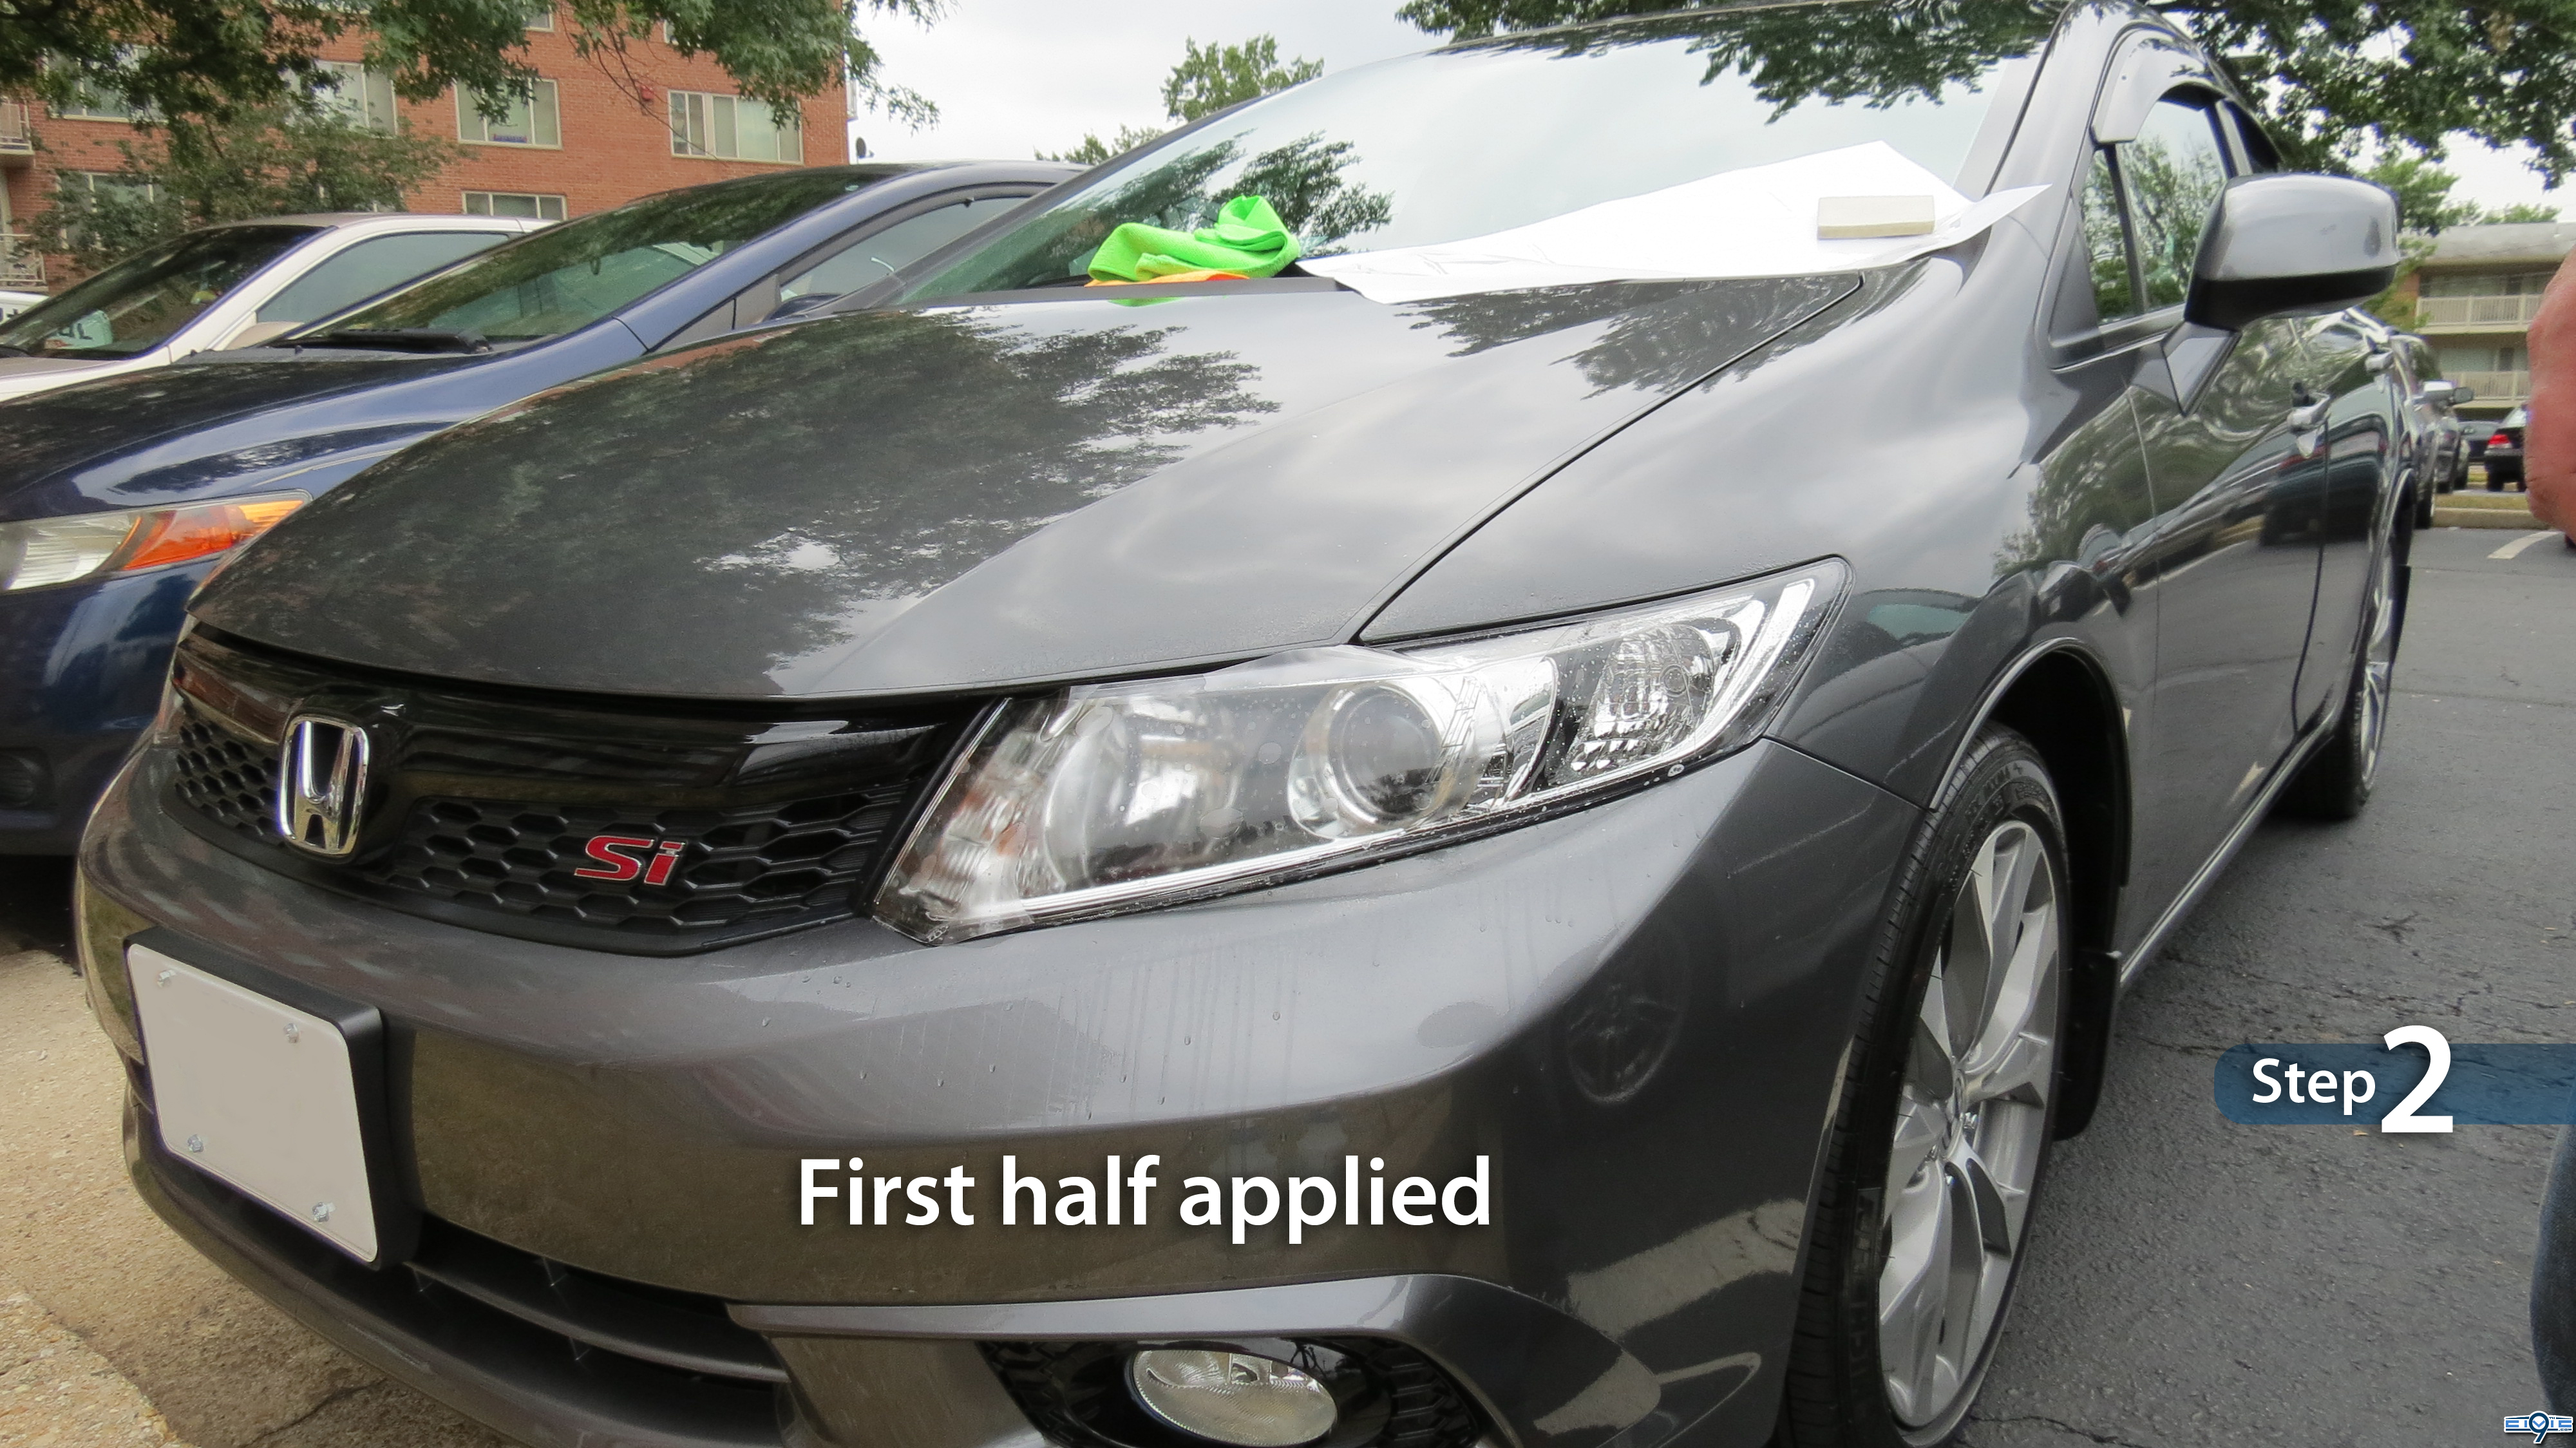
I find that the 3M rubber squeegee I obtained puts way too much stress on the plastic and it sometimes felt like I was sheering the plastic in a bad way, so I stopped using it almost immediately. The Mactac felt squeegee seems to be the best choice in my experience thus far.
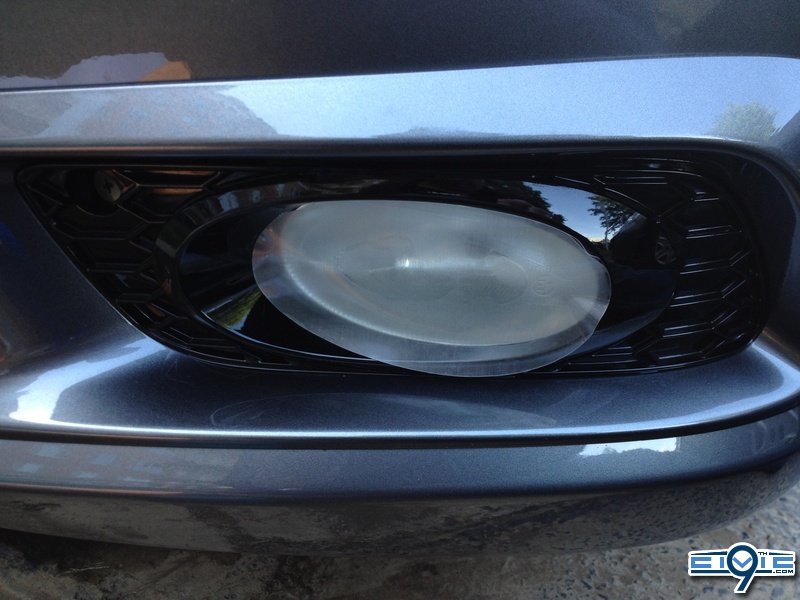
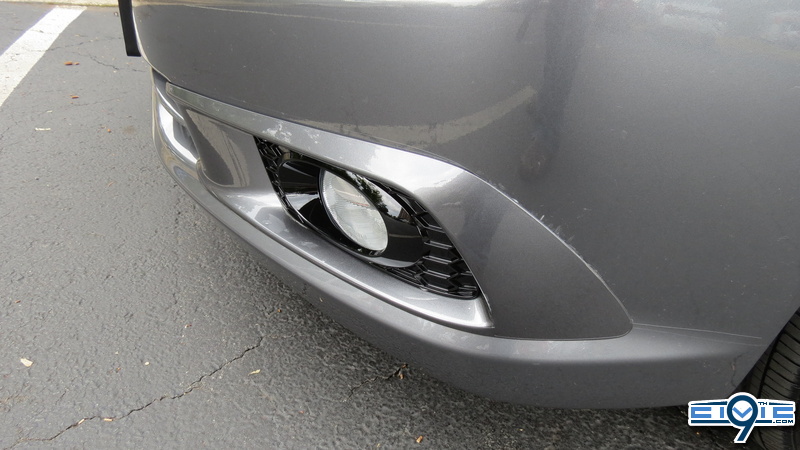
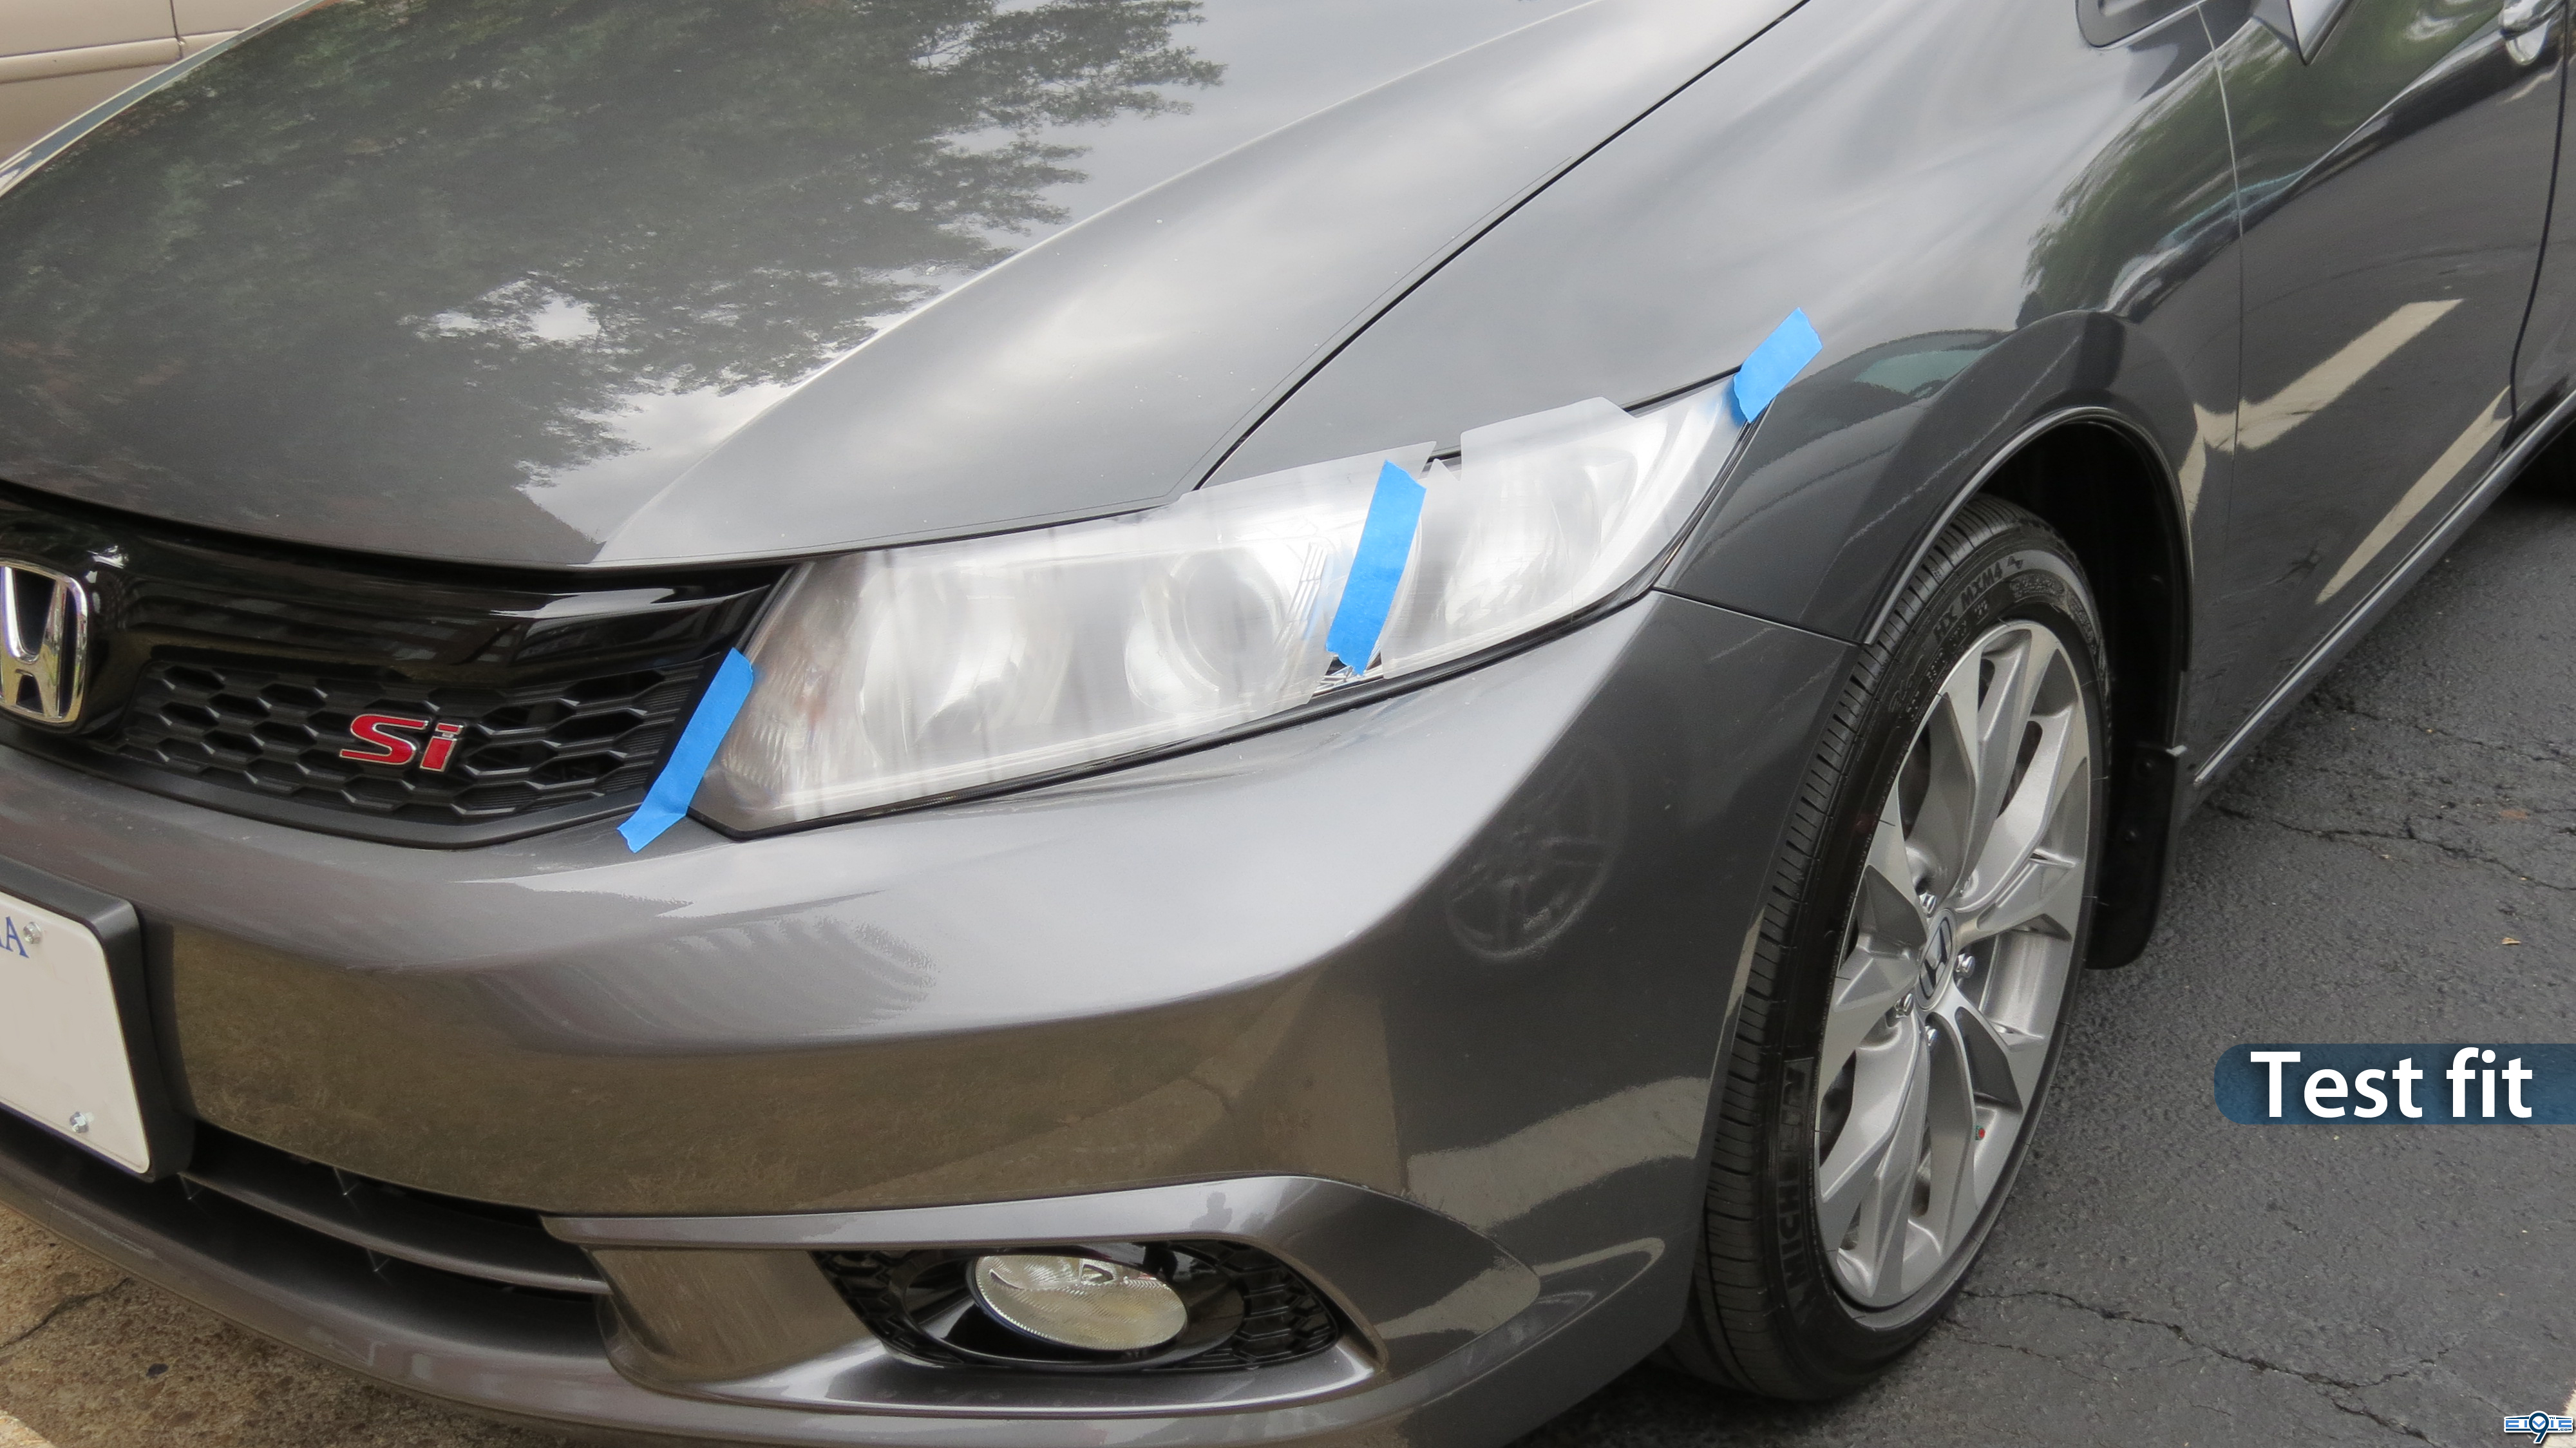
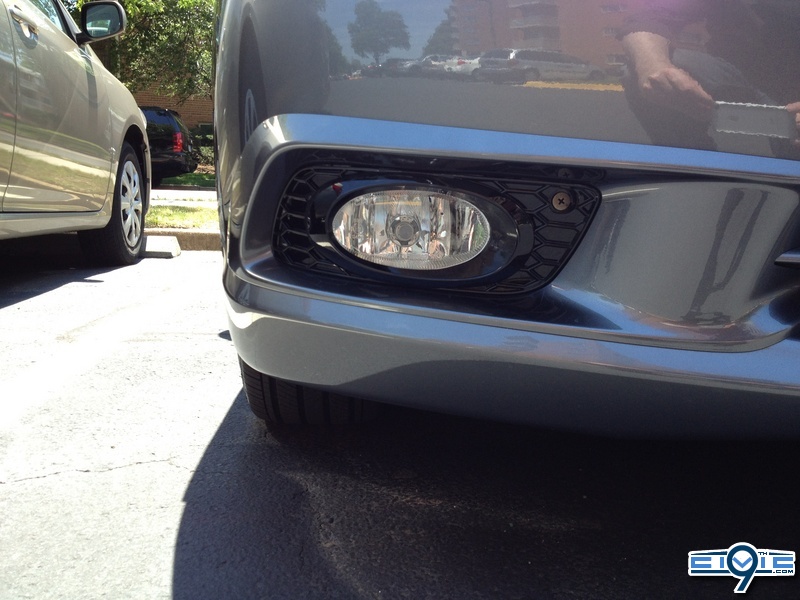
NOTE: I should mention that the fog overlays shown above aren't available in the 9thCivic Store...I obtained them through a very generous friend, but I will cover them in this article anyway.
They turned out to be a tad large too large, probably because they were meant for the 8thgen Civic, so I had to wedge them under the surrounding housing to fit. It's not a big deal but it makes trying to use the squeegee practically impossible. Maybe a smaller squeegee would be ideal for the fogs.
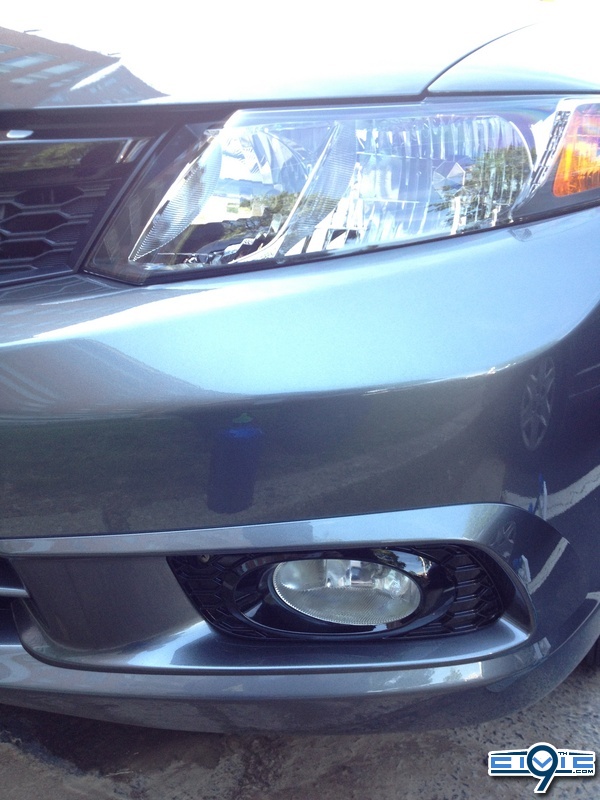
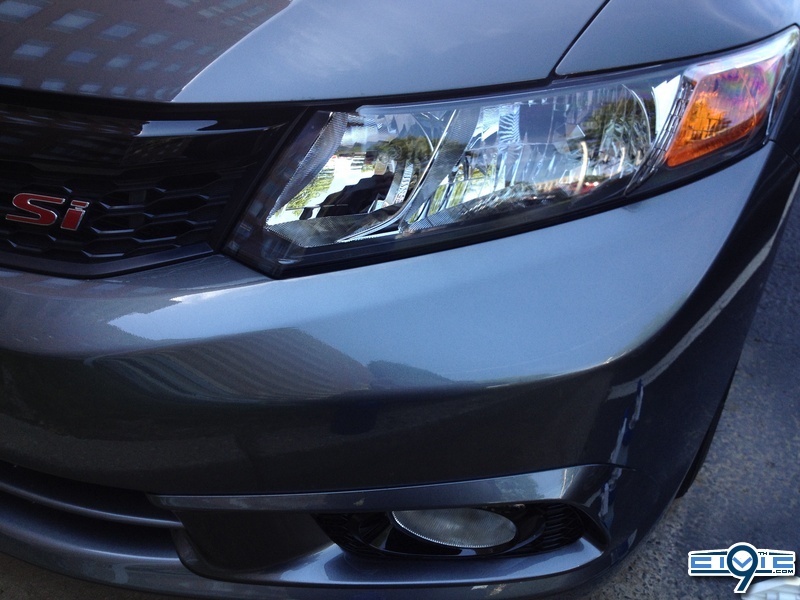
As you can see in the photos above, there's a fogginess to them that I initially didn't like. It could be because I couldn't squeegee them properly or it could be just my personal preference. Maybe more time in the sun baking will do the trick, only time will tell.
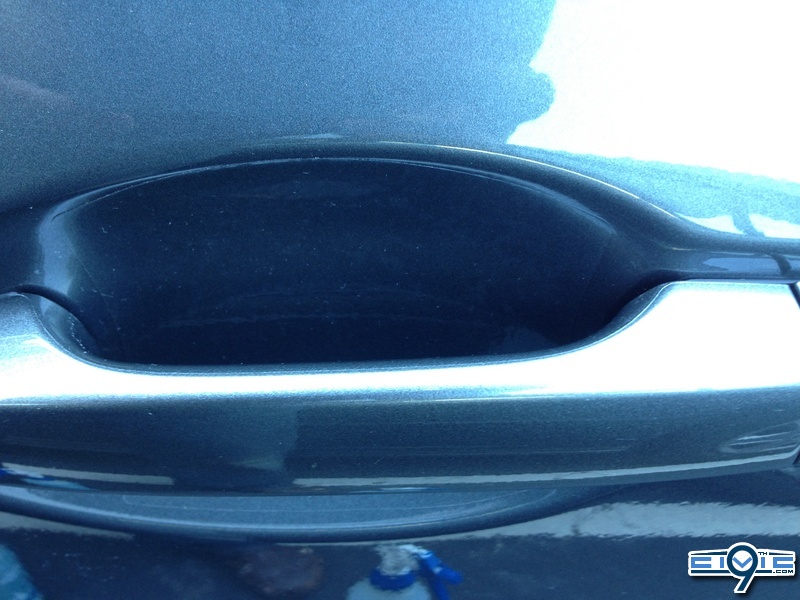
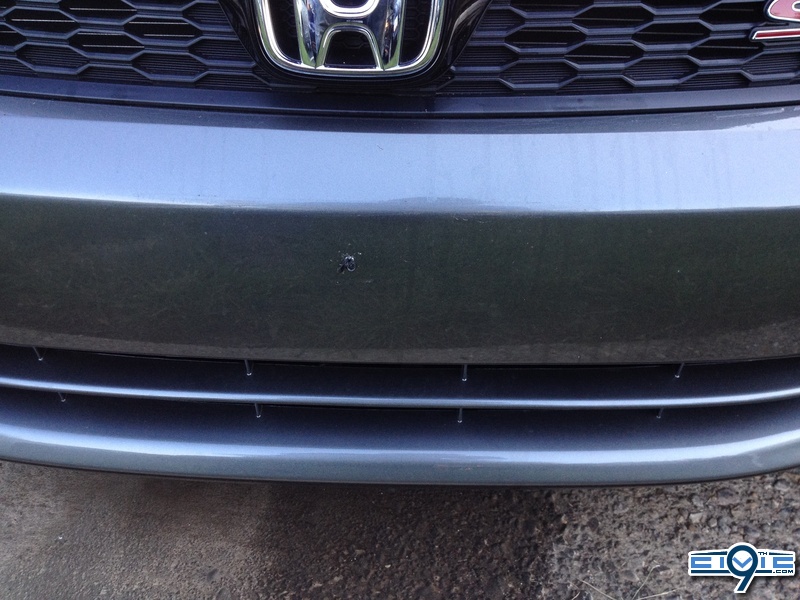
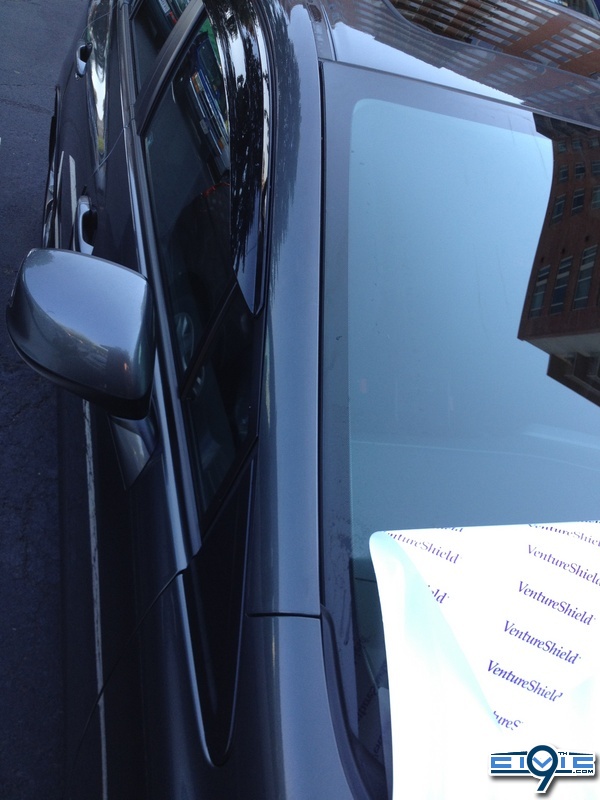
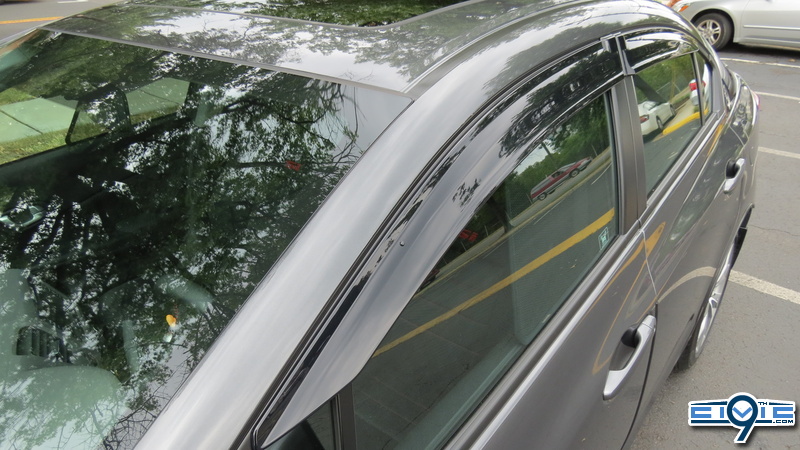
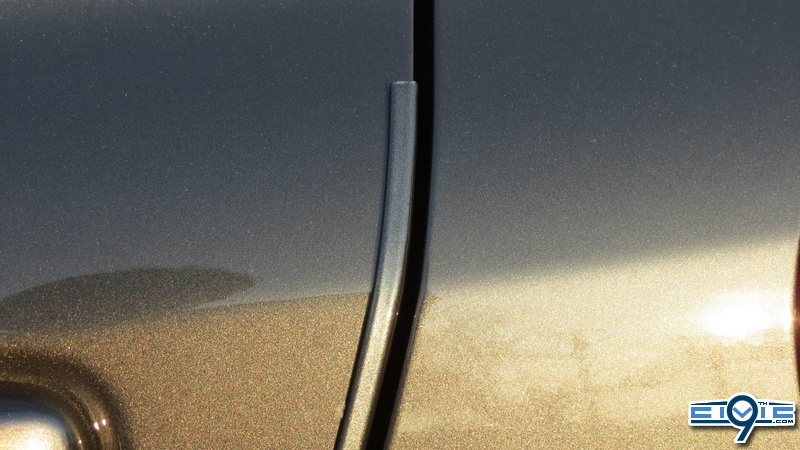
The door handles went on with relative ease. Can't see it? That's the point! Look closely for the subtle line and you see how well it blends in. I didn't take many photos of the soapy water application at first, but I'll have a few to show later on.
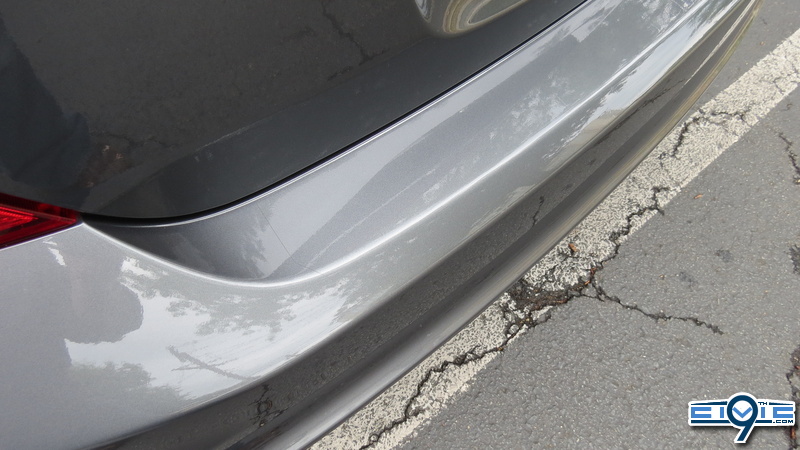
The trunk went on with ease and almost looks flawless. Again, photos of the soap water application are forthcoming in other pieces.

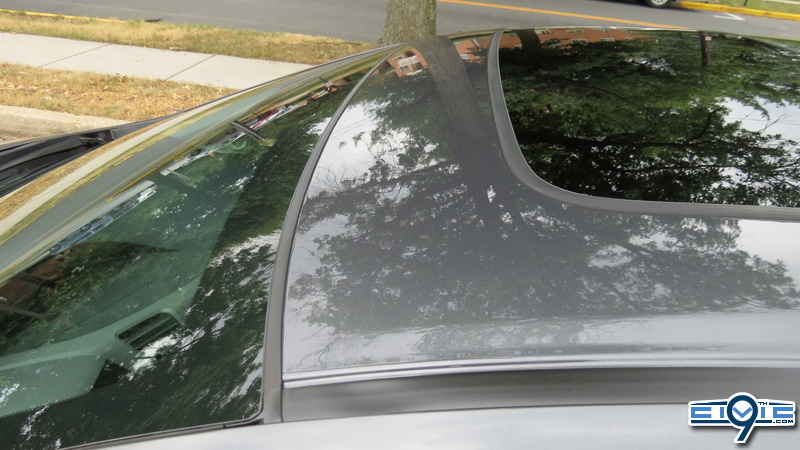
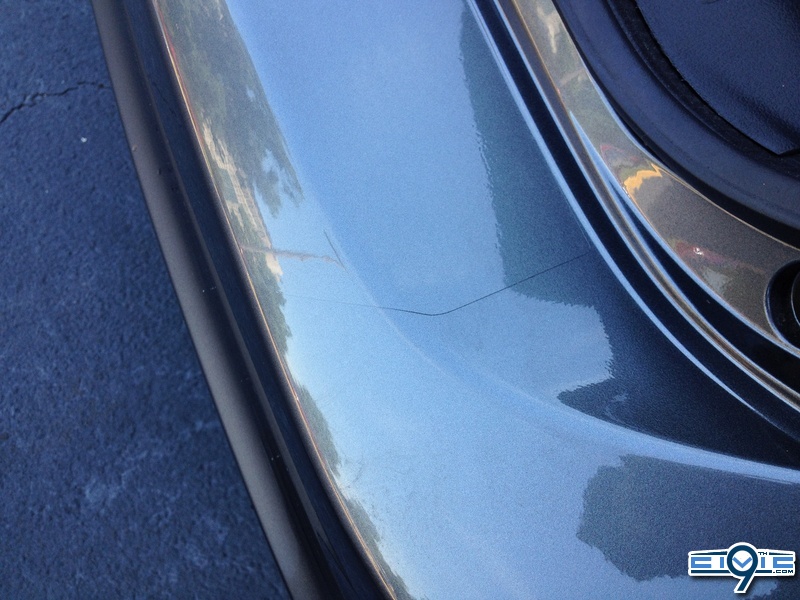
I ran into a problem with the sunroof, or so I thought. It was getting windy outside and tiny dust particles appeared to adhere to it really quickly. Because I had to constantly lift and adjust the plastic to align, more particles got under and it's easy to see the imperfections close up at this stage in the application. The final result turns out much better than I had expected later on though...
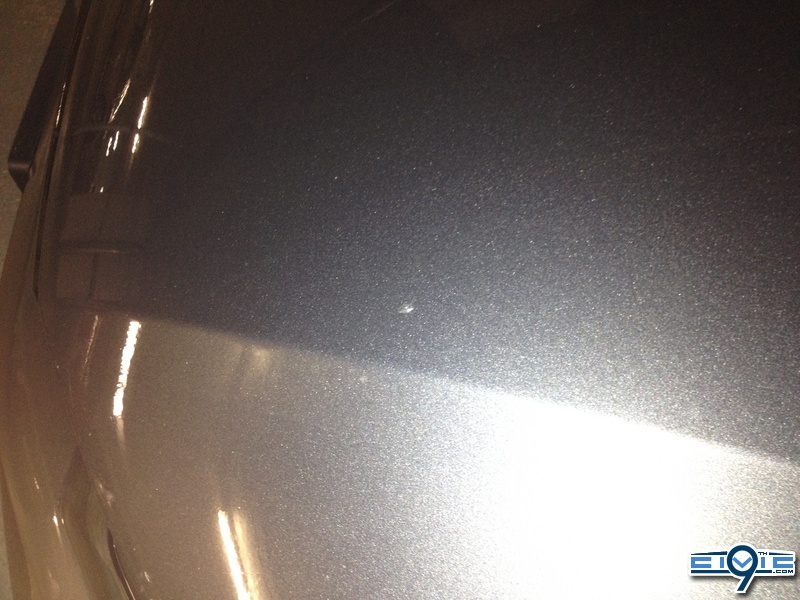
It's become clear to me at this point that having a garage would have been a much better decision on my part. The spray was drying out faster than I could apply and adjust, so in the second photo you can clearly see some microscopic air bubbles that I could not get out no matter what I did.
The garage I wanted to use was closed because there was a bike-a-thon all weekend and they shut down the streets.
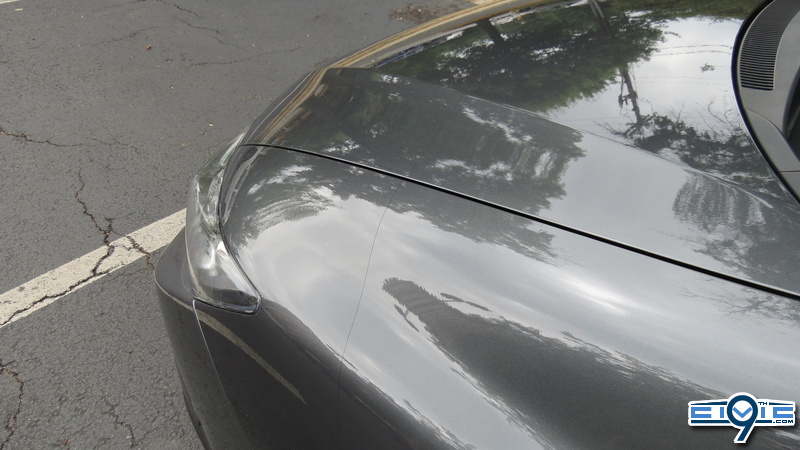
My initial take is that applying these pieces is not difficult at all, it's just tedious. But I like tedious and I didn't mind it one bit.
One Hour Later...
Ok, so after it baked in the sun for an hour, all the cloudiness and bubbles disappeared.

Look at the difference in the sunroof!

Later that same evening...
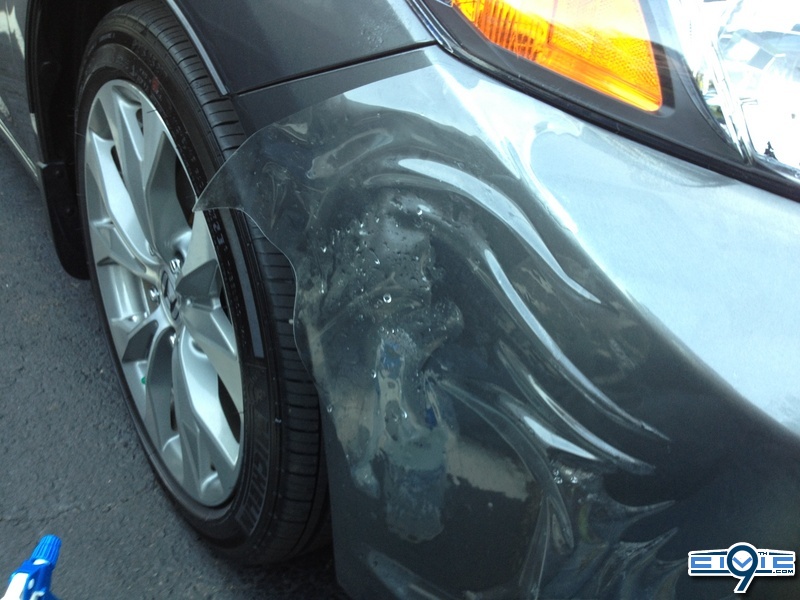
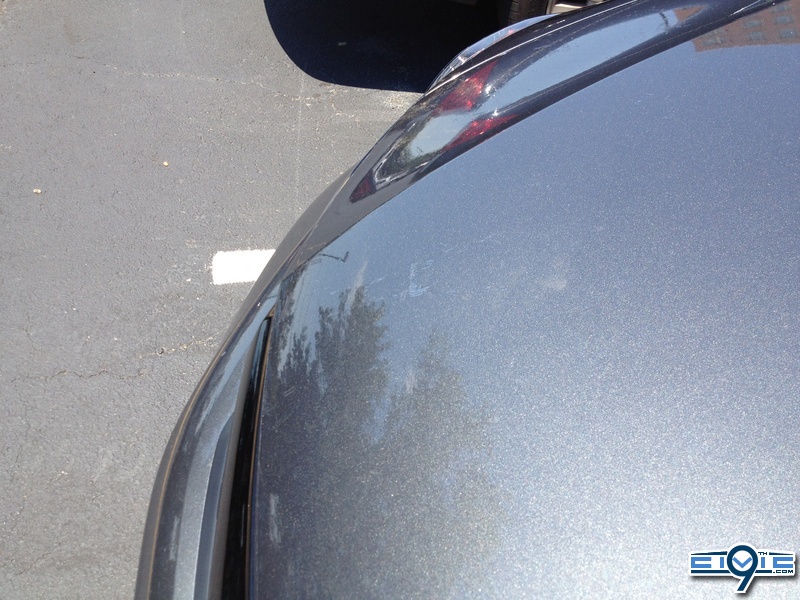
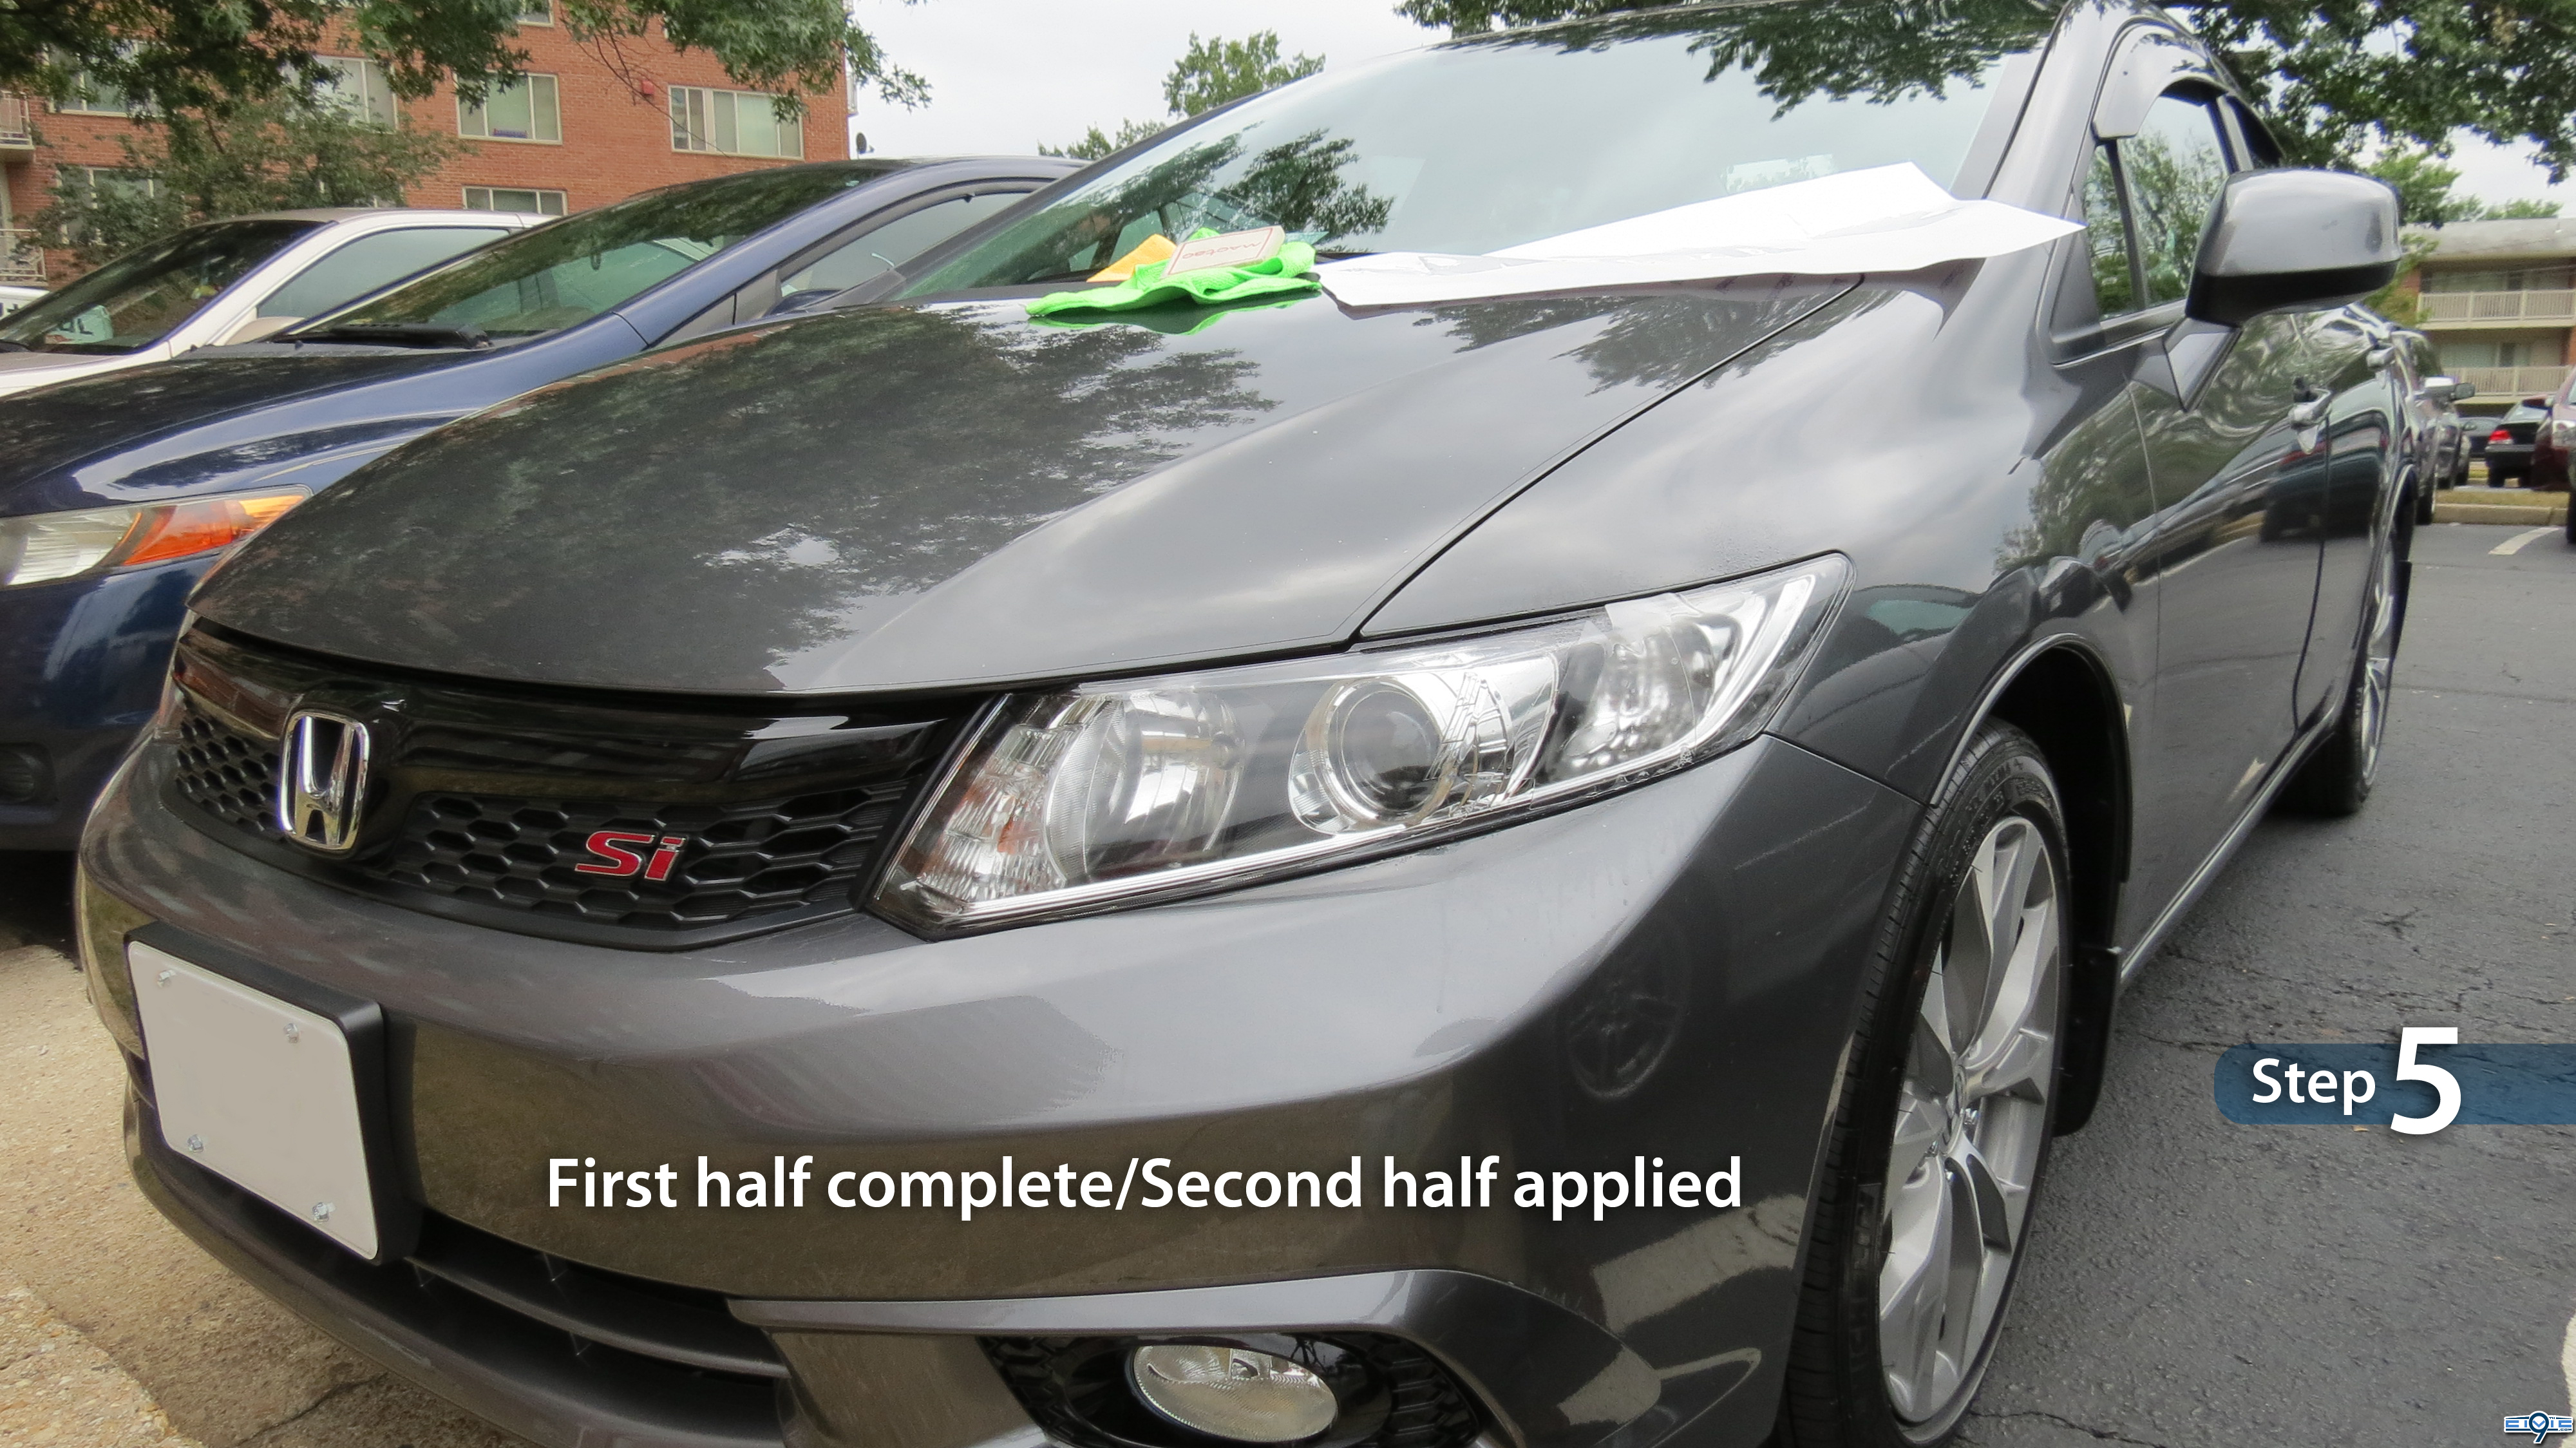
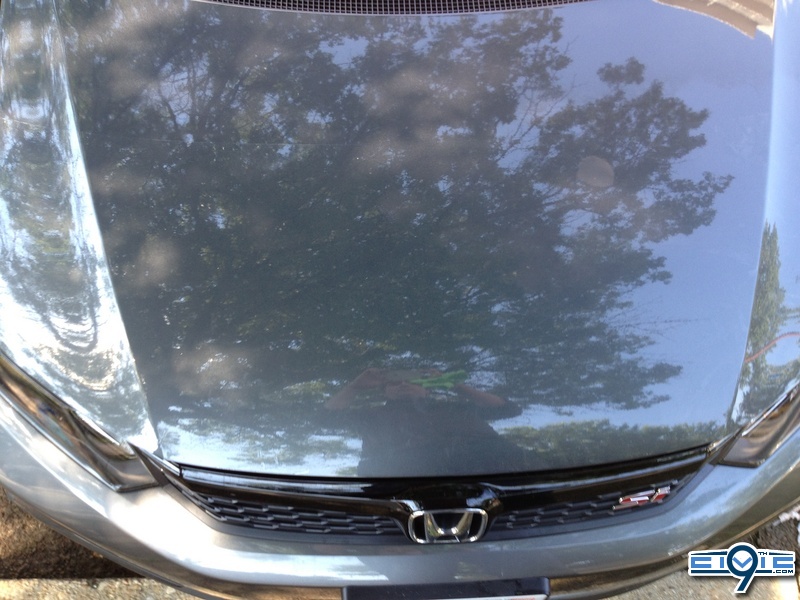
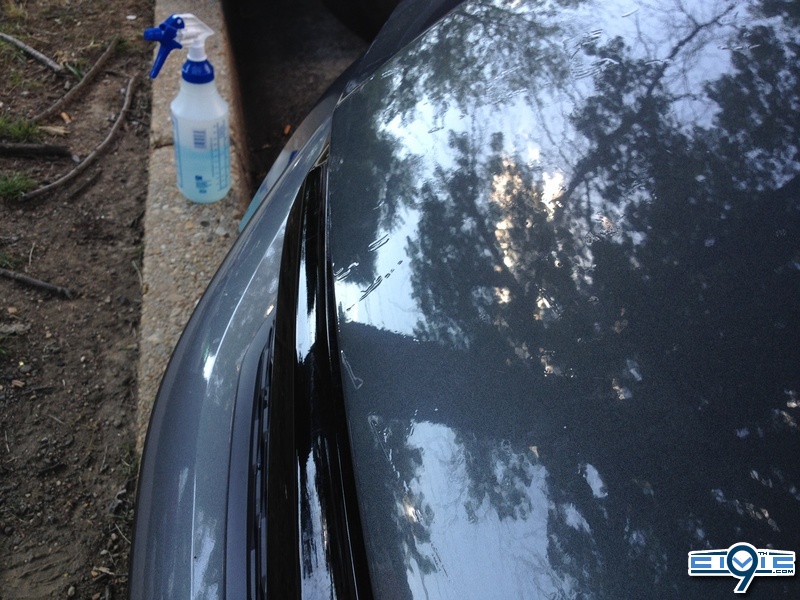
My body was full of adrenaline, fueled by the earlier success I had that morning. I couldn't wait another day to continue my progress, so on to the hood it was. I peeled off the piece, went to stick it on the hood, and hello gust of wind...
...it turned into a giant ball of plastic. Even though I soaked the whole thing is soapy water, the water evaporated so quickly in 90 degree (Fahrenheit) heat that it completely stuck together. I had to pull so hard so many times to straighten out that I was completely and utterly exhausted.
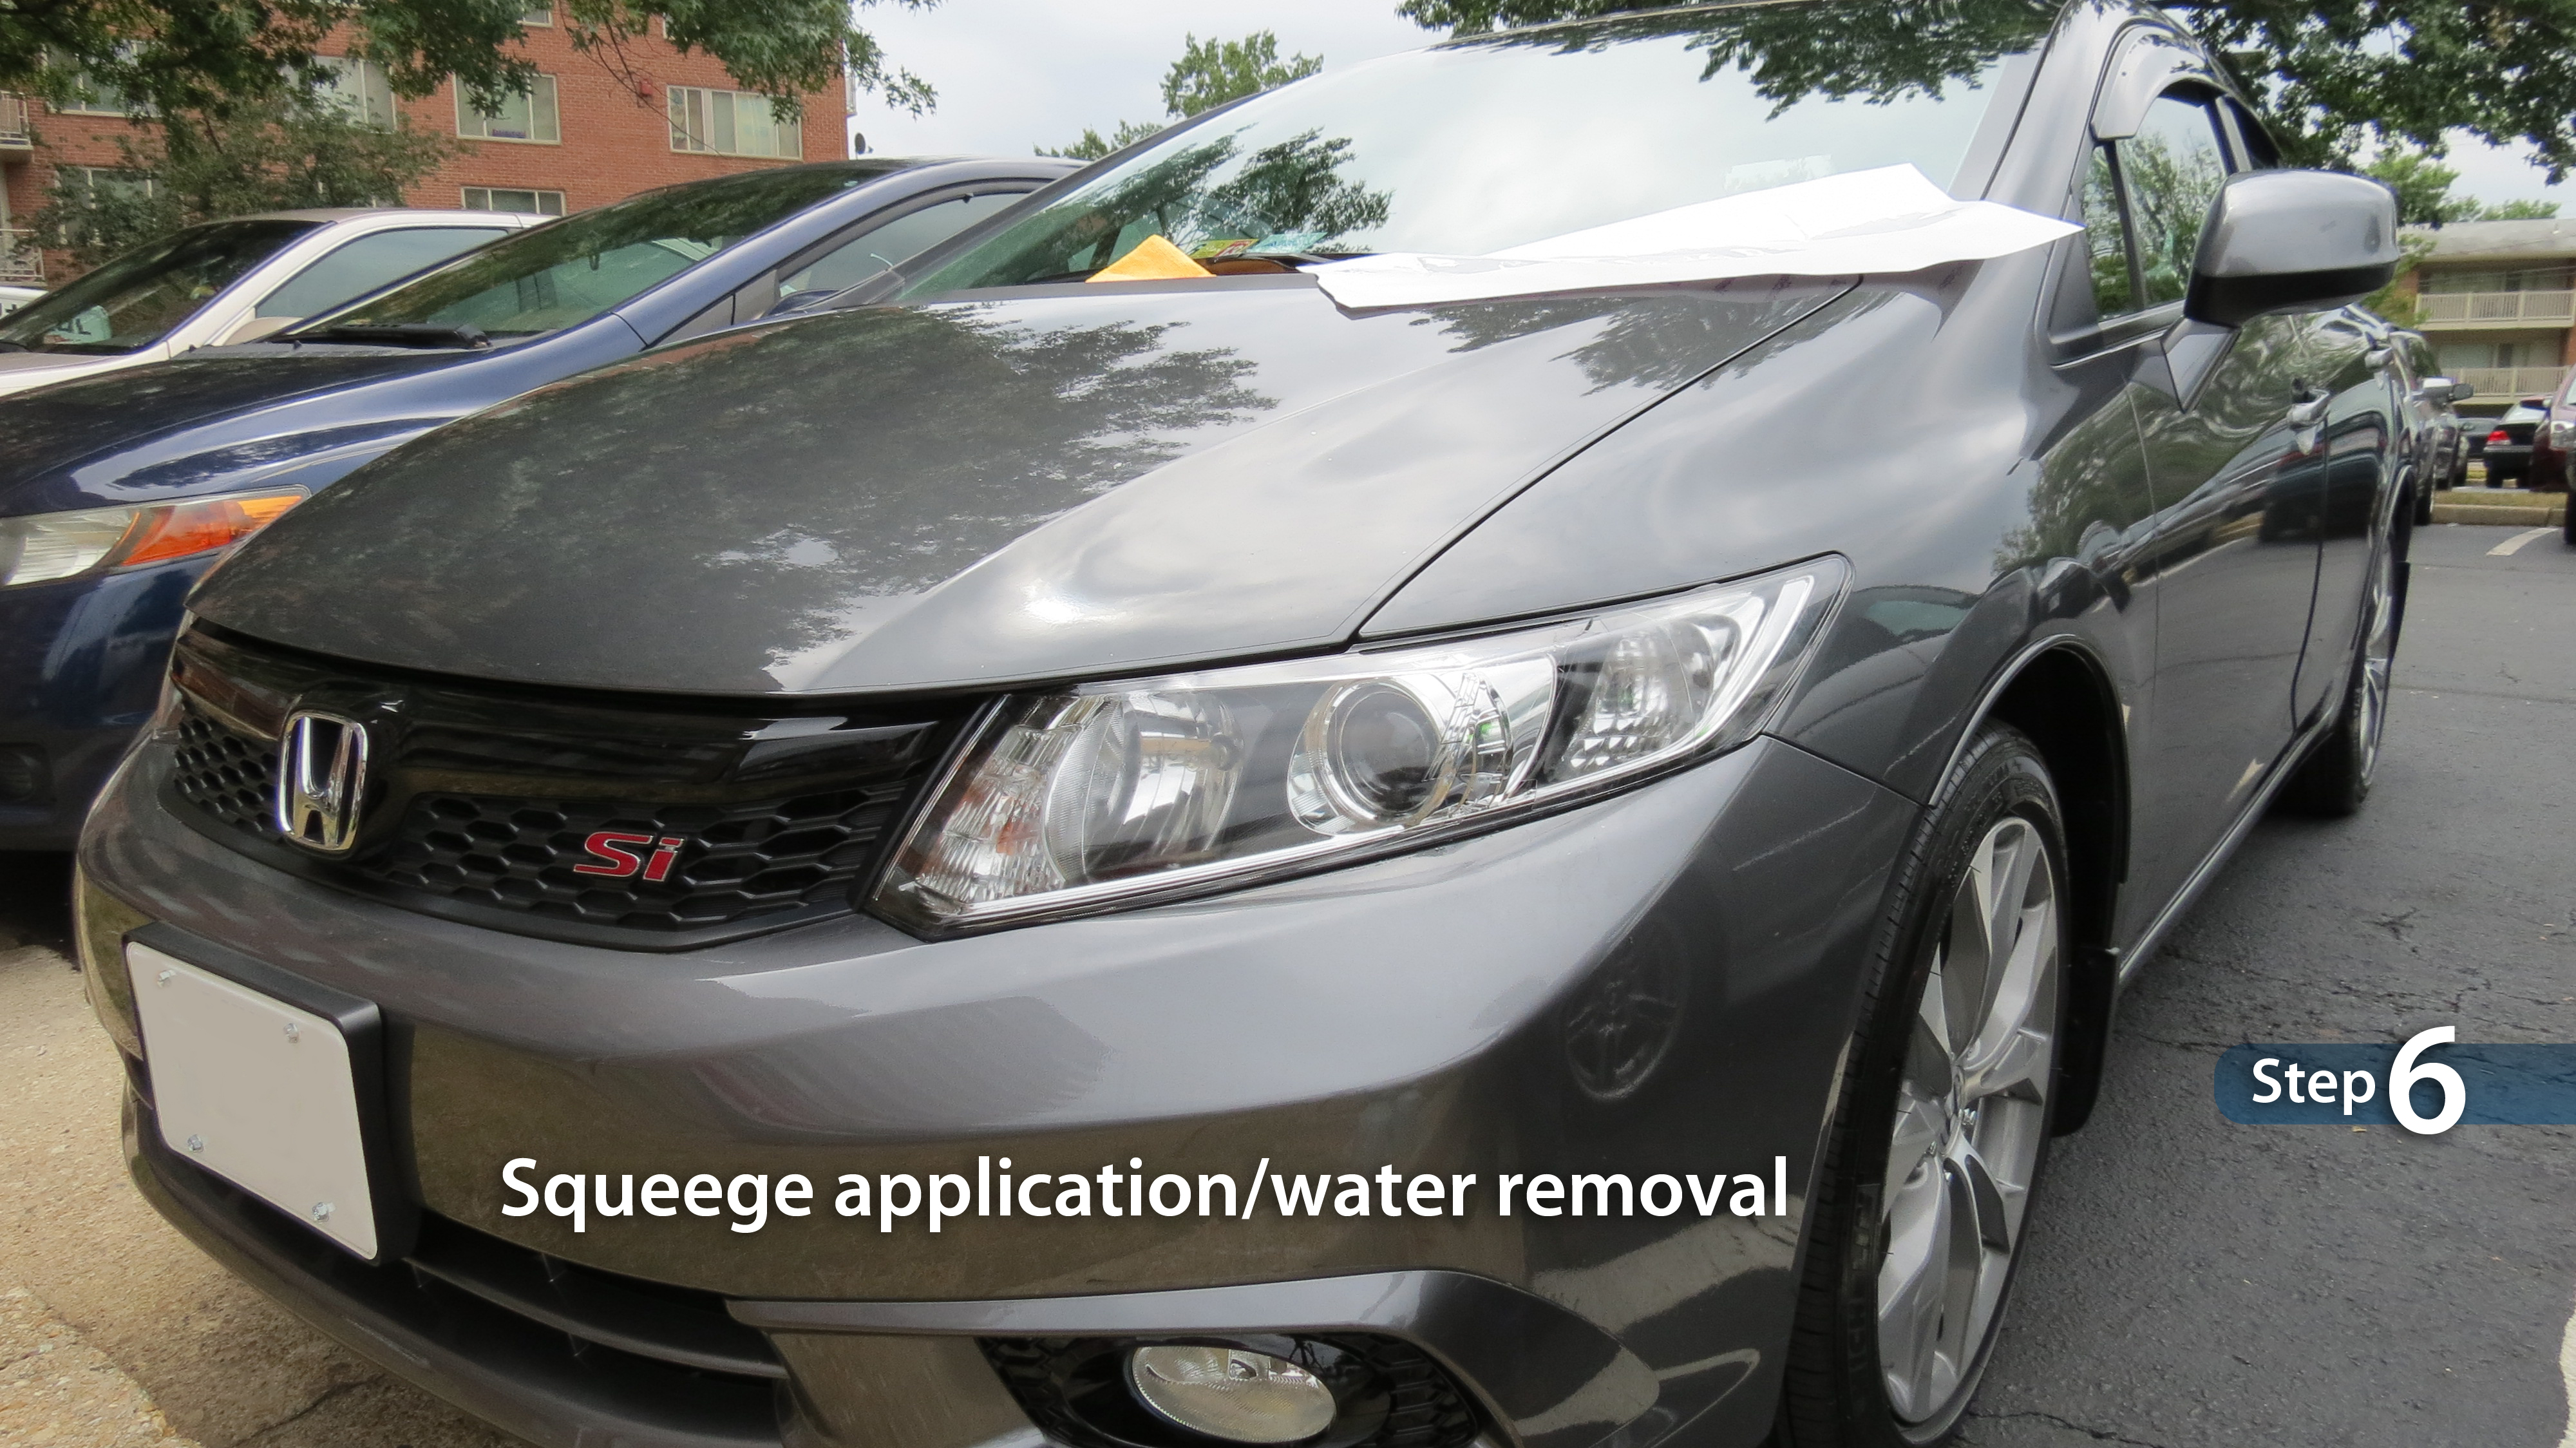
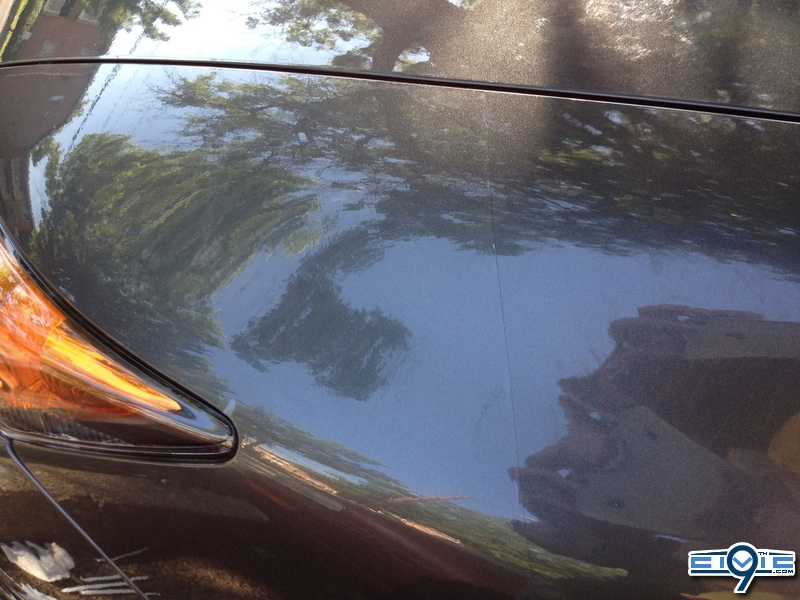
The results...


Great success!
But there was a downside to this...the plastic became stressed beyond normal limits in spots where I had to pull it apart, as you can see above. It's not horrible by any means, just not pretty either. The only conceivable way to correct this would be to stretch it again to point where I'd probably warp the shape.
I didn't want to take the chance. I guess this is where either the sun might help or a heat gun might make a difference. I'm just not sure at this stage. I kept saying to myself that I should have waited until next week when I had the garage or better weather
But I pressed on.
Side panel being finalized.


Shots of the mirrors. A "During" and "After".
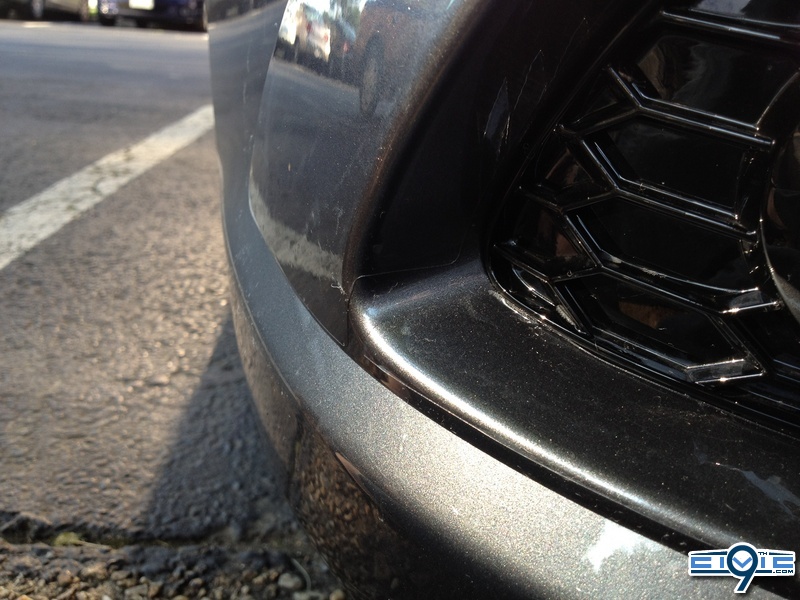
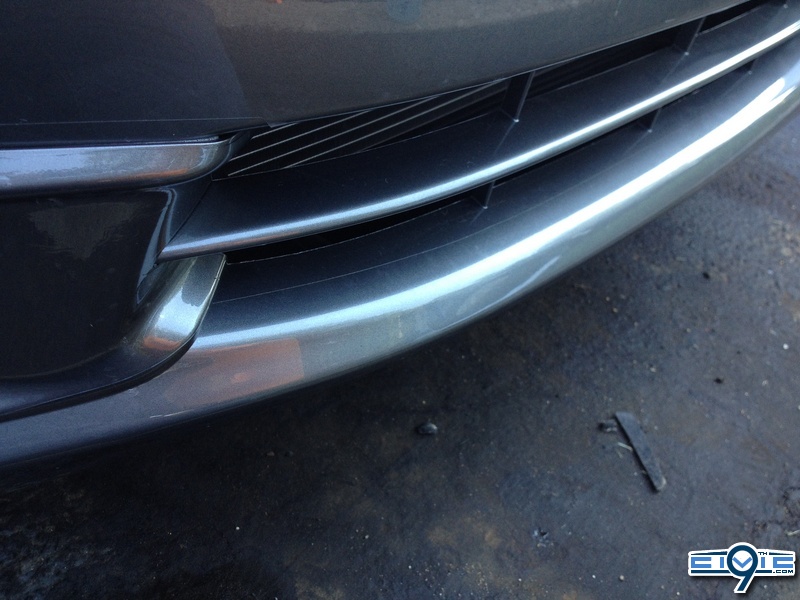
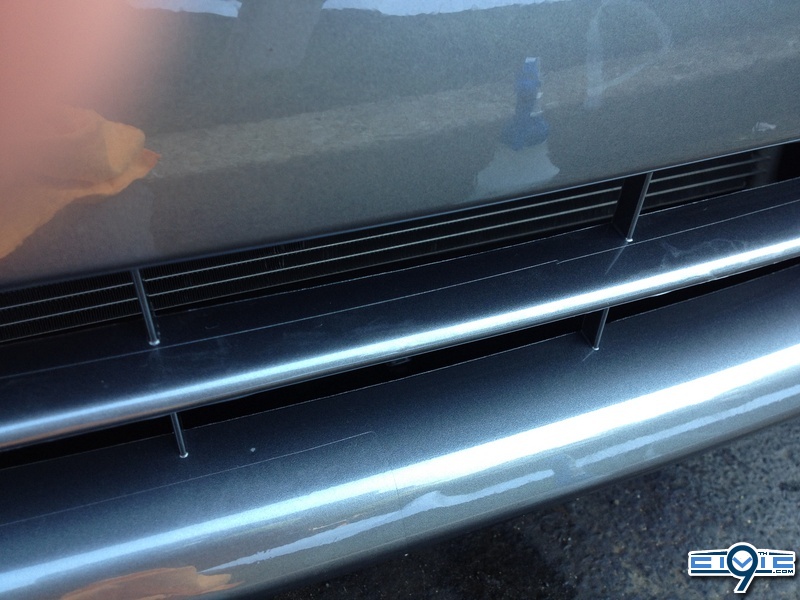
The fog light trim, or whatever it's called. This is BY FAR the most difficult piece I've encountered up to this point. I had to literally mold every corner. This piece requires molding and drying at the same time, with heavy use of plain water to get parts to stay in place. I've never cursed so much in my life, but in retrospect it was because it was so hot outside at the time. There were still a lot of tiny bubbles that I couldn't really get out, so I let time and sun do its job.
It was at this point that I was exhausted and I quit for the day.
Beer time!
This Do-It-Yourself serves as both an instructional article and a journal (of sorts) of my experience with installing these films and to show you what you're in-for should you want to save yourself the additional expense of a professional installation. It should be noted that this is my first time installing anything like this and I have zero background experience with it. Even though I tried to portray the experience with a light-heartened feeling, this install shouldn't be taken lightly as it requires a lot of tenacity and patience to apply correctly and to produce the desirable results.
The instructions and recommendations provided here apply to any kit you wish to install on your Civic, whether you have purchased one kit or all of them.
It was an extremely rewarding experience and is very well worth the time and effort. If you have any questions that aren't covered in this article, please post your comments in this thread and I will be happy to provide you any information I can.
Kits that are covered in this article:
Instructional Videos:
Although not produced by me, these videos give you an accurate depiction of what to expect and can greatly increase your success in application. Please watch them prior to continuing on with this article:
View: http://www.youtube.com/watch?v=o5btjWP6RvY
View: http://www.youtube.com/watch?v=mqCXatseNGc
Tools you need:
- Rubber or Felt squeegee (Mactac, 3M, etc)
- 1-liter or larger spray bottle (one required, two recommended)
- Liquid Soap (Dawn recommended)
- Water (distilled water is recommended)
- Dry towels (one required, two recommended. Microfiber is a plus)
- Preparation, patience, and persistence
- Find a garage, if you can, as it is clearly the ideal environment. Although you can install these without one, you will find a garage to be a valuable tool in controlling your pace and mastering your technique.
If the garage happens to also be climate controlled, then that would be the perfect setup. - Having two spray bottles works best. One with soapy water, one with distilled water. Distilled is ideal because it lacks that minerals that could potentially leave marks. That is not a scientifically proven fact, just my educated assumption.
- Just 4-5 drops of soap (I used Dawn) seems to be enough for a 1-liter bottle.
- The Mactac felt squeegee works best, in my opinion, although I cover both very briefly.
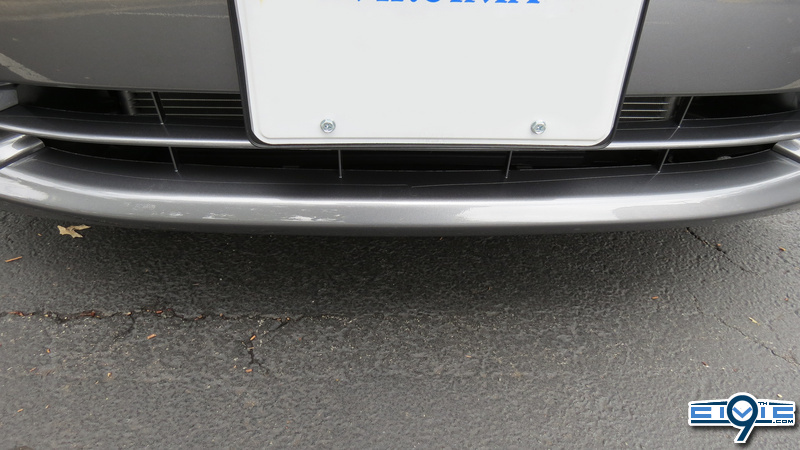
- If I had to do it all over again, I'd say that having the bumper kit installed by a professional would be preferred for the average consumer because there are so many things you have to mold into shape that the air bubbles can easily form and any lack of experience will show. As for the rest of the pieces, they are easy to handle for the average person because they are either placed on relatively flat surfaces or are small.
- The technique you want to adapt is to apply a liberal amount of soapy water onto the application area prior to applying the piece to the car.
- Once you've applied the piece, line it up in the middle of the general area where it is to be applied. The soapy water will allow it slide into any position you wish. The reason being is that the plastic is meant to be stretched and molded. Getting the plastic to align properly first will ensure that the application adheres in the manner for which it was intended.
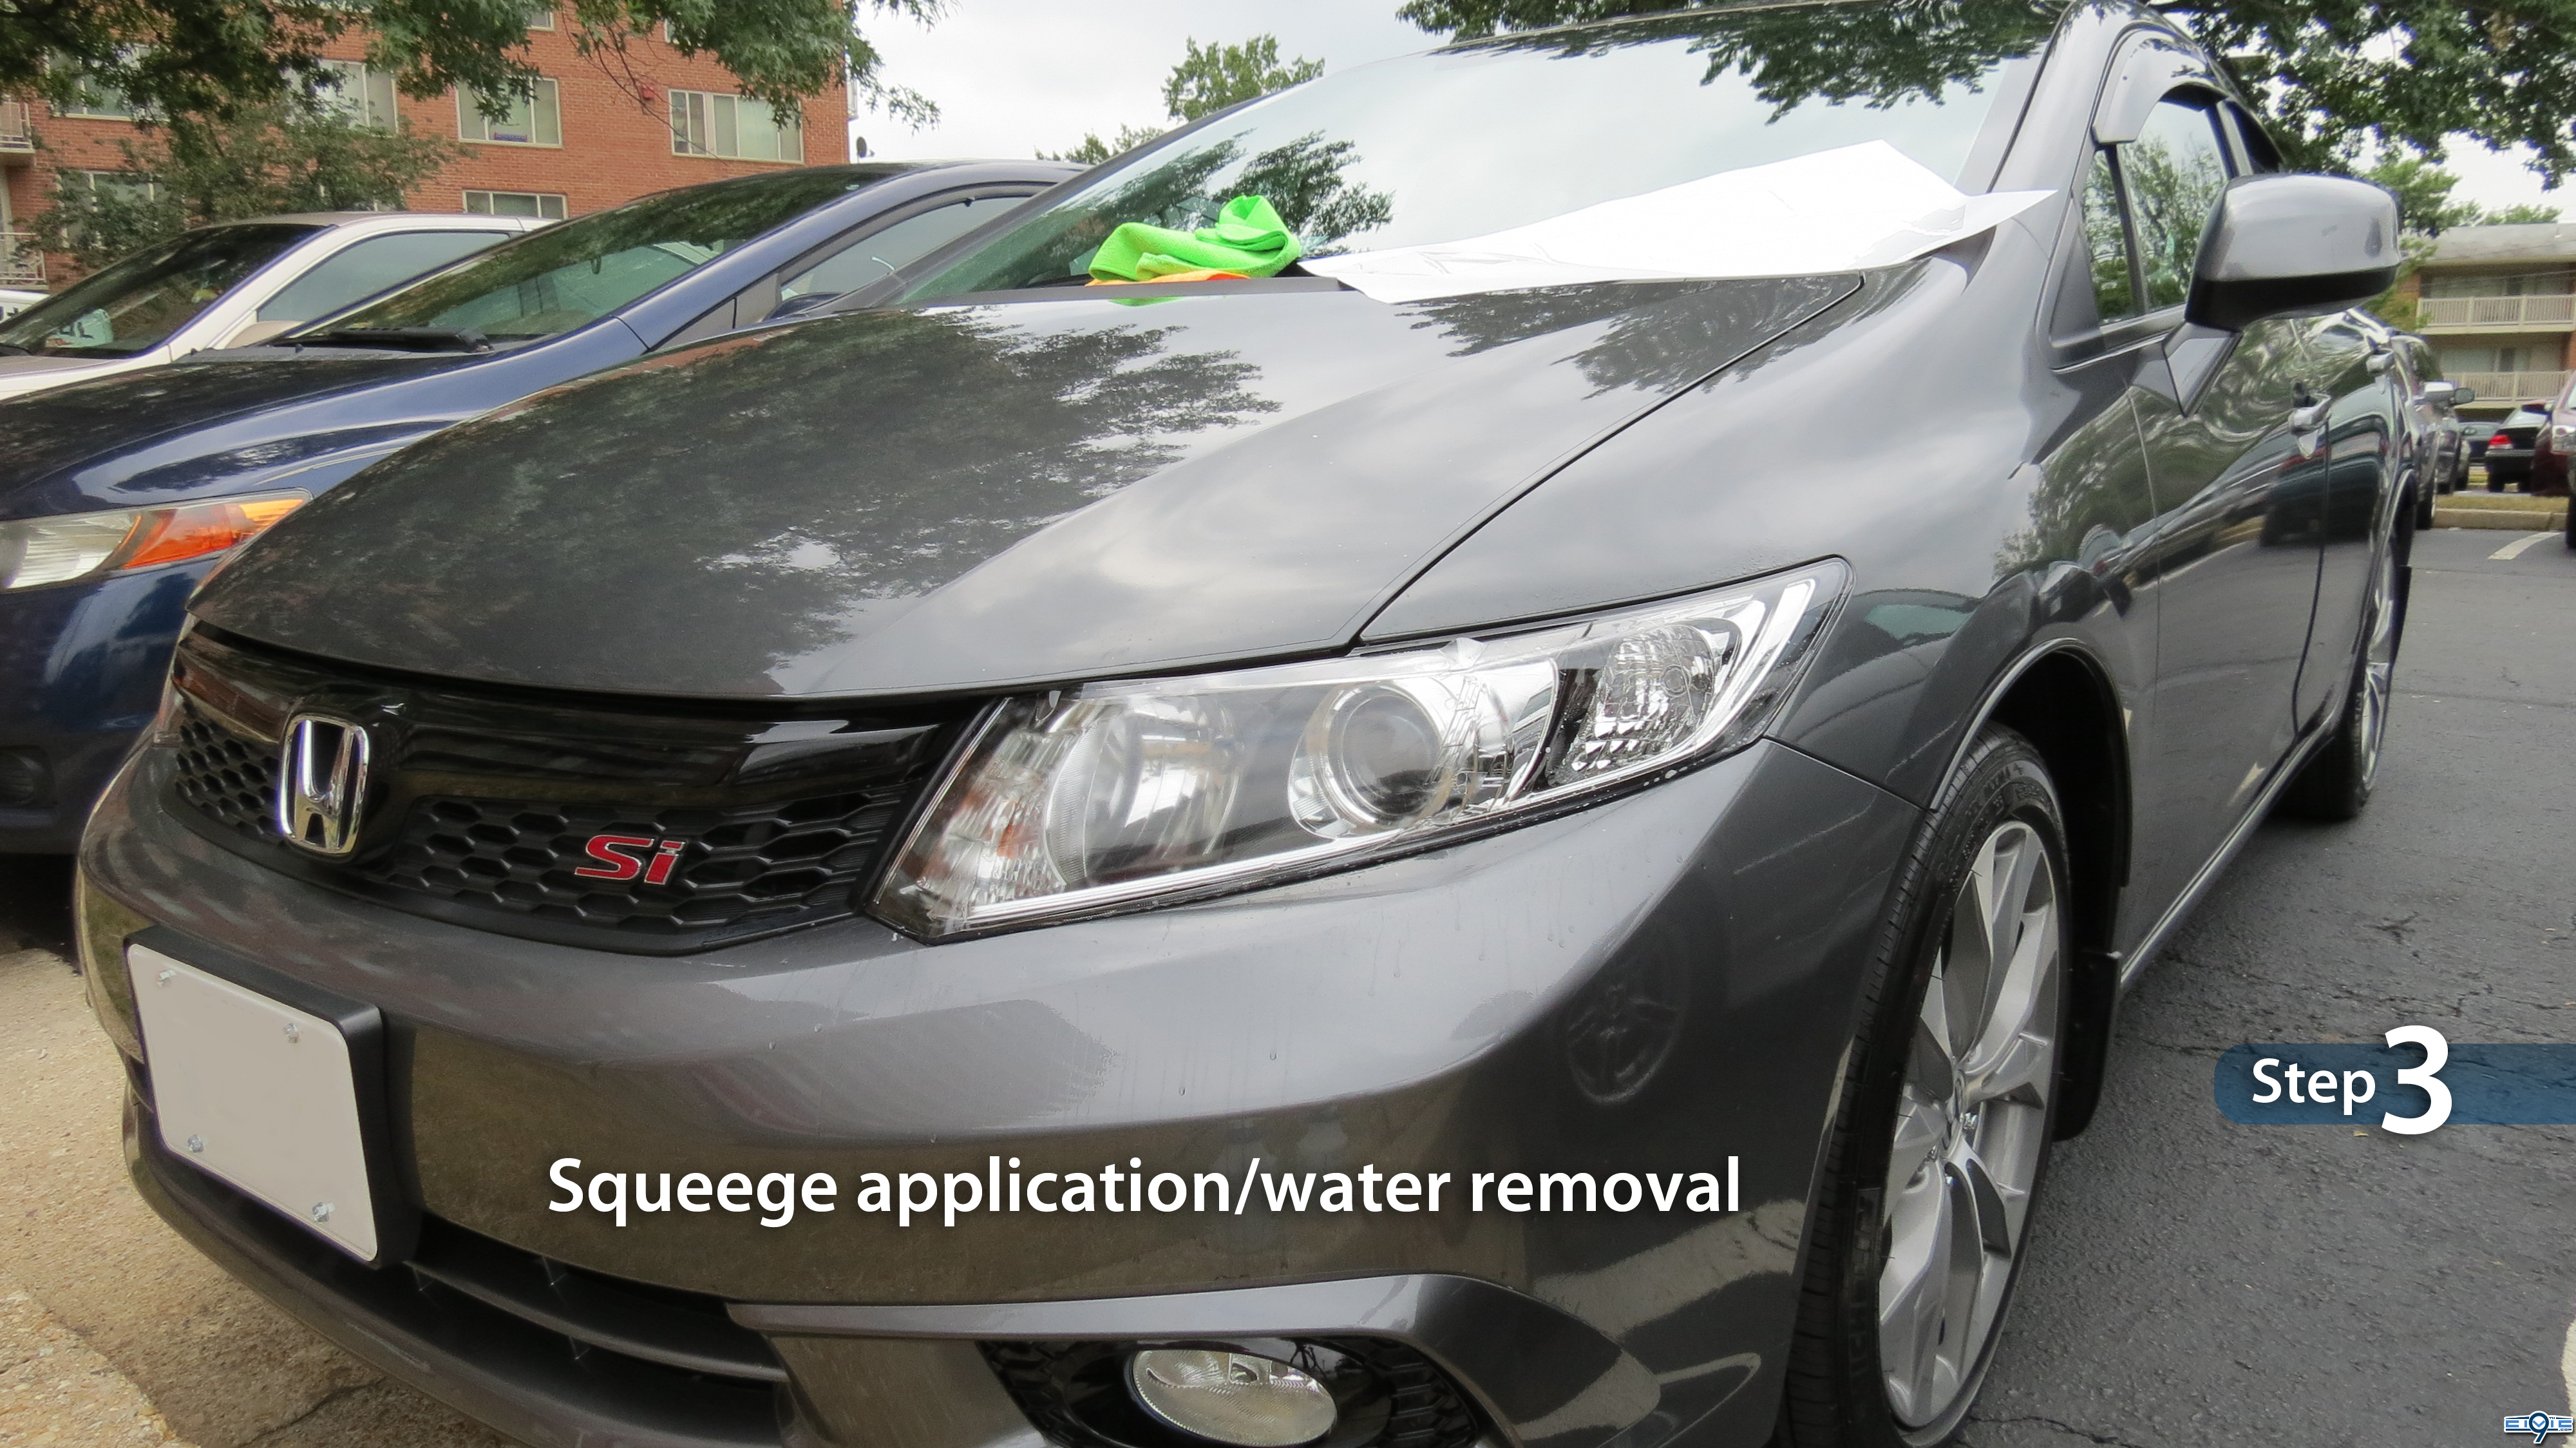
- Squeegee the middle of the piece first, pushing out the water from the middle so that the plastic will have a better chance of staying in place (because you pushed all the water out, causing it to adhere). From there, you can push more water out in every other direction from the middle so that the plastic will stretch and mold onto all of the surface area without having to remove the piece and start all over.
- Don't be too rough with the plastic. A gentle but firm stroke will ensure a proper application.
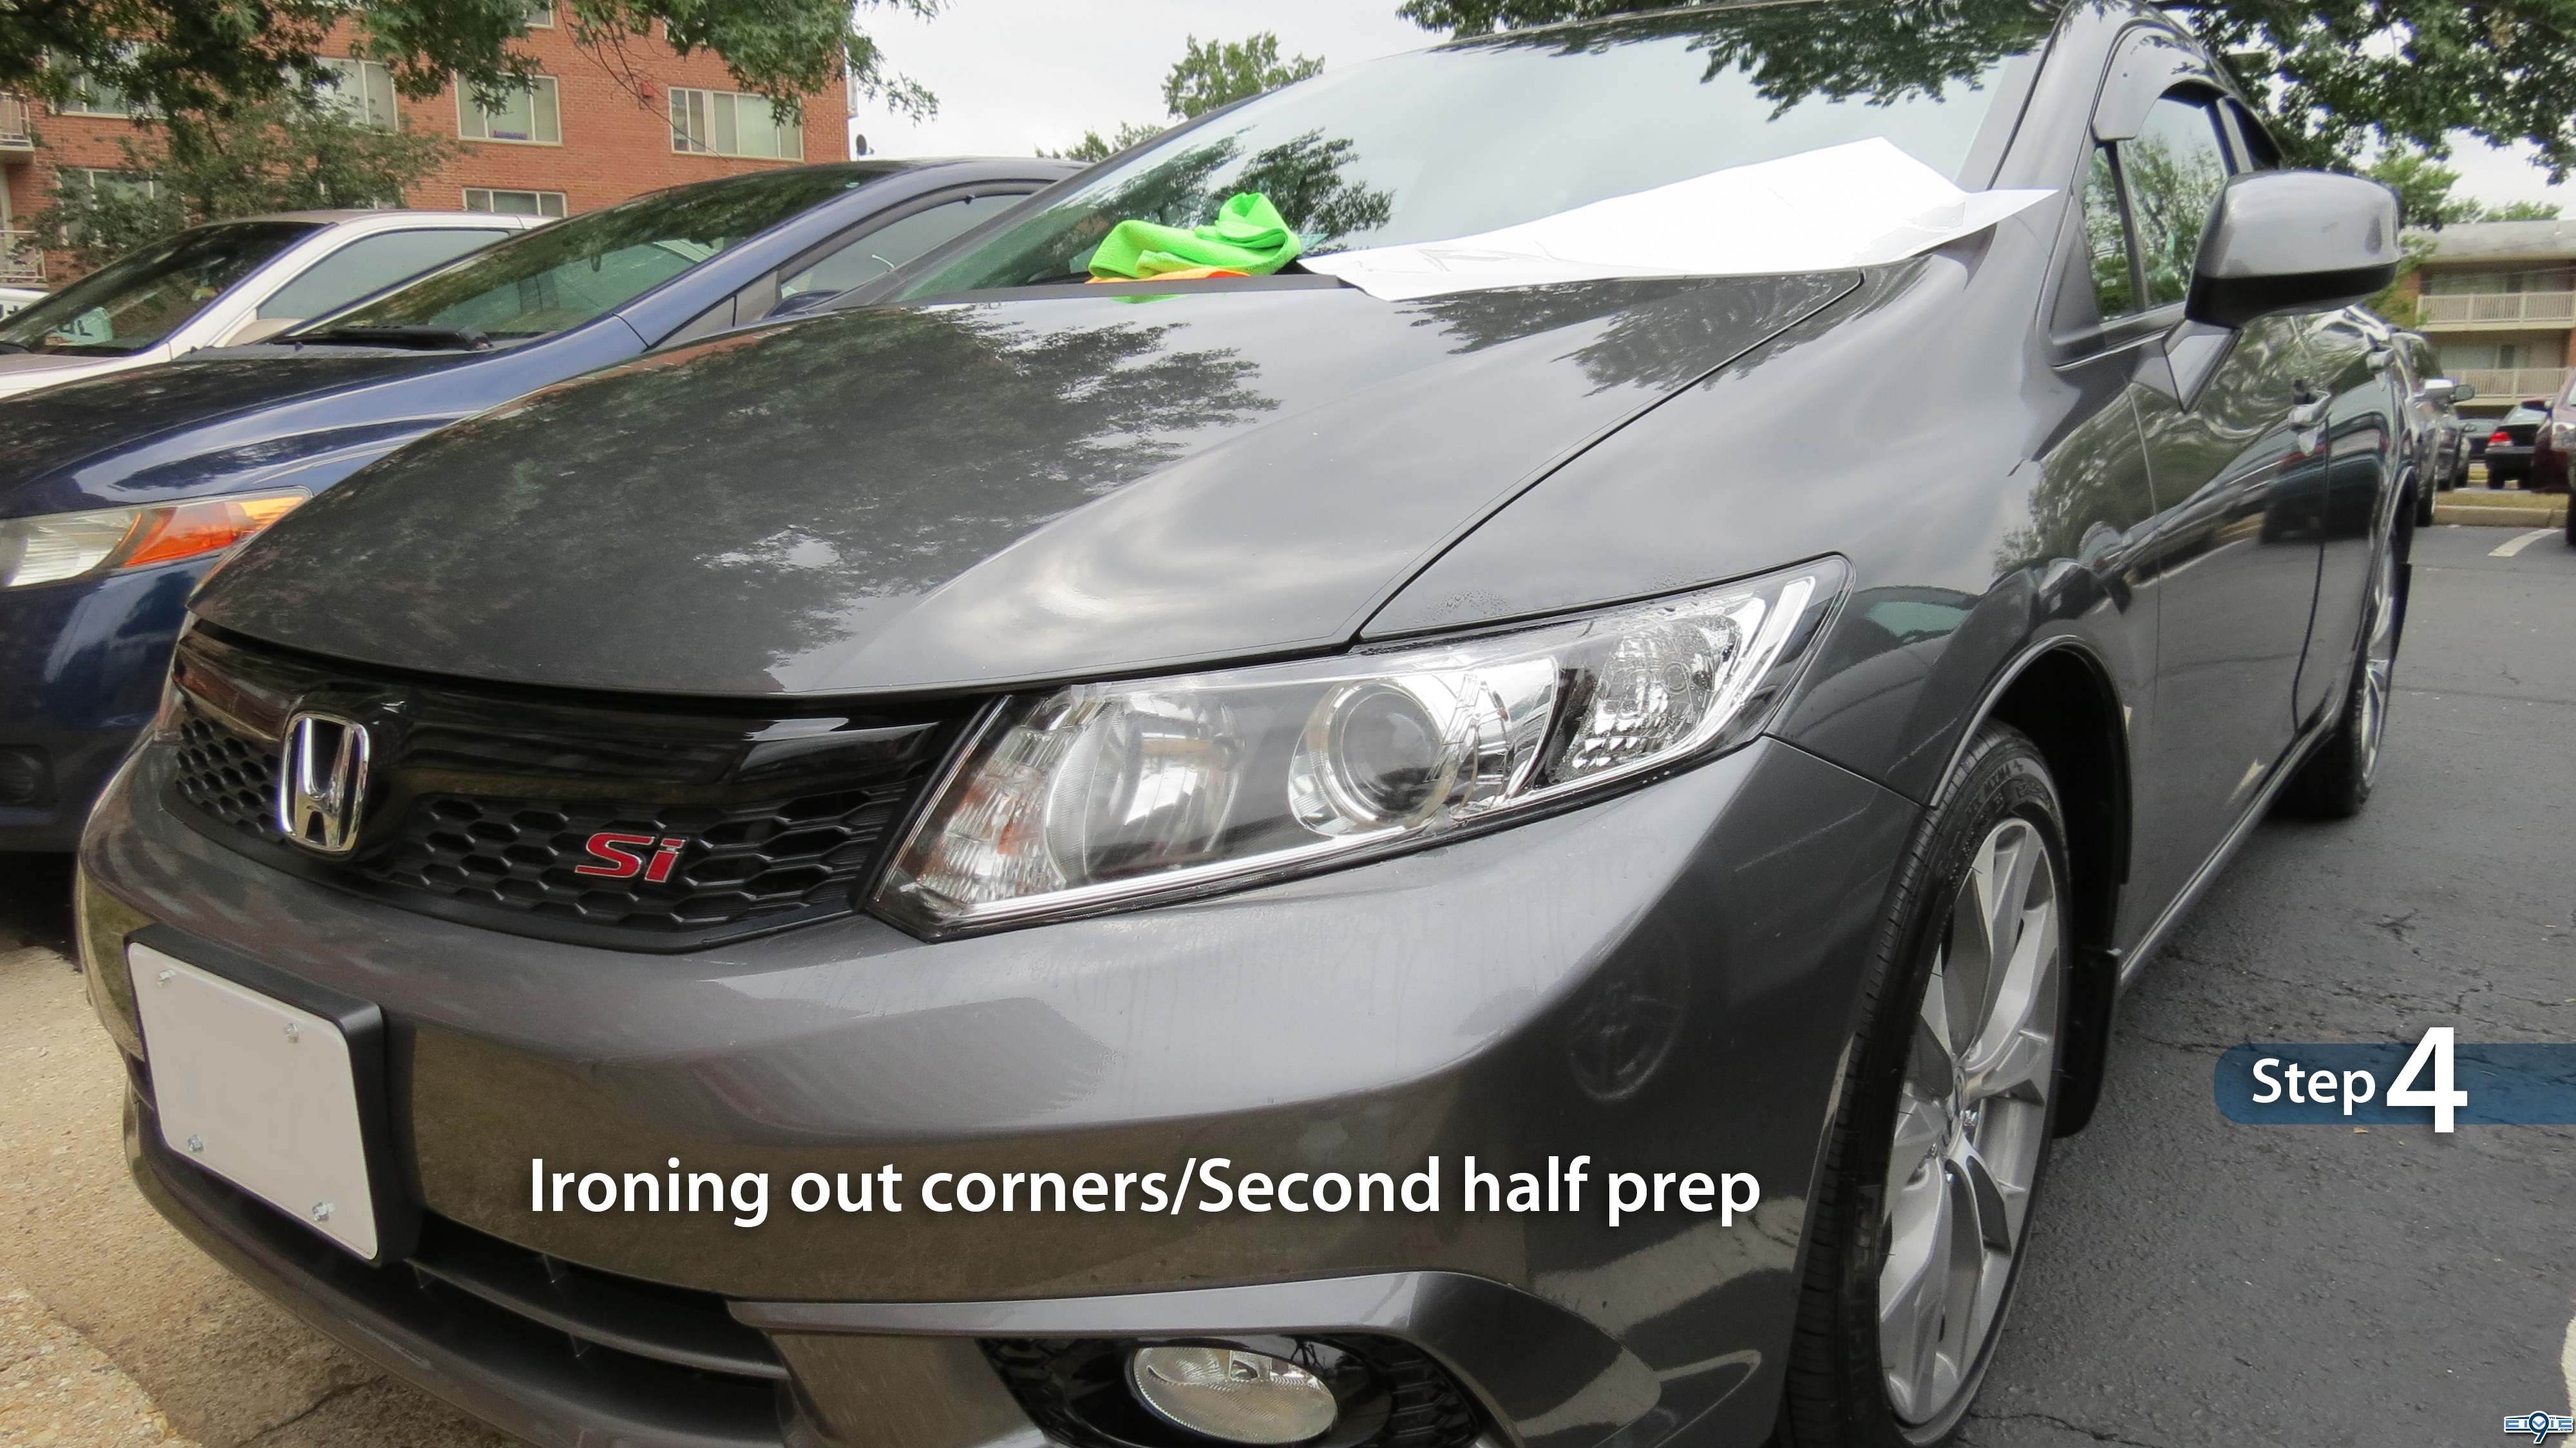
- Non-soapy water will cause the plastic to adhere quicker. This is great when you are ironing out all of the final creases and folds, but bad if you're still trying to align it within the application area. Test out swapping soapy water for regular water, and vice versa.
No single technique is the best. Only you can make that determination. - If at first you don't succeed, try and try again. At the beginning, the plastic is very durable and has not hardened. It won't fully harden for several hours after the moisture has evaporated. If you find yourself with a misaligned application, don't hesitate to remove it and start all over. Just remember to keep it very wet until you've found that sweet spot.
Again...persistence and patience really is a virtue here. - I found out that if any part of the plastic comes within 12 inches (~30 cm) of the ground, the static electricity built up within it due to the motion of the separation from the backing will cause dirt to literally lift off the ground and adhere to both sides of the plastic. Not much dirt, but noticeable.
Fair warning.
Day One didn't go as well as I had hoped. First I locked my keys in the car, and my only spares were in my safe. The keys to my safe were locked in the car.
I no longer have a functioning safe.
After that hour was wasted, I went outside at my apartment complex to begin applying some of the smaller items because I knew they could be tricky and time-consuming for a first-time installer.
There's definitely a sweet spot in the soap/water ratio and I hadn't found it yet. Too much soap definitely is not good because the plastic doesn't want to adhere at all.
I find that the 3M rubber squeegee I obtained puts way too much stress on the plastic and it sometimes felt like I was sheering the plastic in a bad way, so I stopped using it almost immediately. The Mactac felt squeegee seems to be the best choice in my experience thus far.
NOTE: I should mention that the fog overlays shown above aren't available in the 9thCivic Store...I obtained them through a very generous friend, but I will cover them in this article anyway.
They turned out to be a tad large too large, probably because they were meant for the 8thgen Civic, so I had to wedge them under the surrounding housing to fit. It's not a big deal but it makes trying to use the squeegee practically impossible. Maybe a smaller squeegee would be ideal for the fogs.
As you can see in the photos above, there's a fogginess to them that I initially didn't like. It could be because I couldn't squeegee them properly or it could be just my personal preference. Maybe more time in the sun baking will do the trick, only time will tell.
The door handles went on with relative ease. Can't see it? That's the point! Look closely for the subtle line and you see how well it blends in. I didn't take many photos of the soapy water application at first, but I'll have a few to show later on.
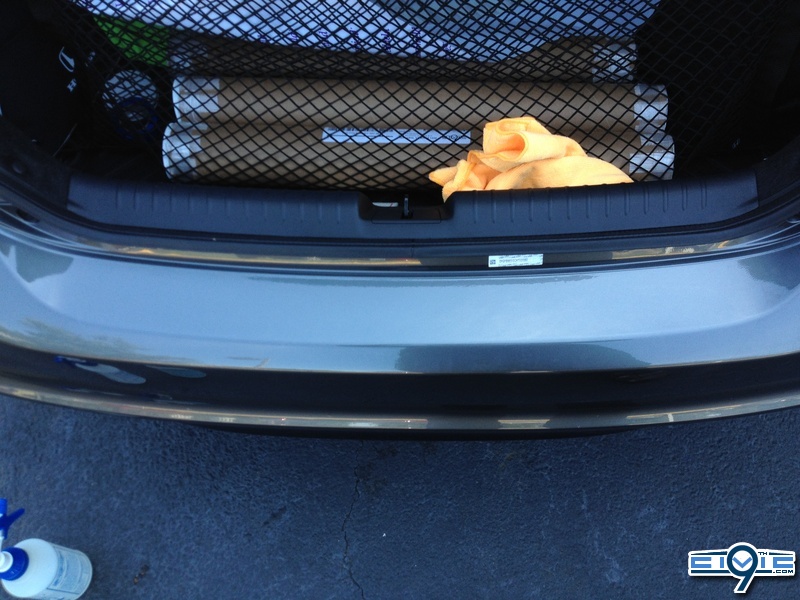
The trunk went on with ease and almost looks flawless. Again, photos of the soap water application are forthcoming in other pieces.

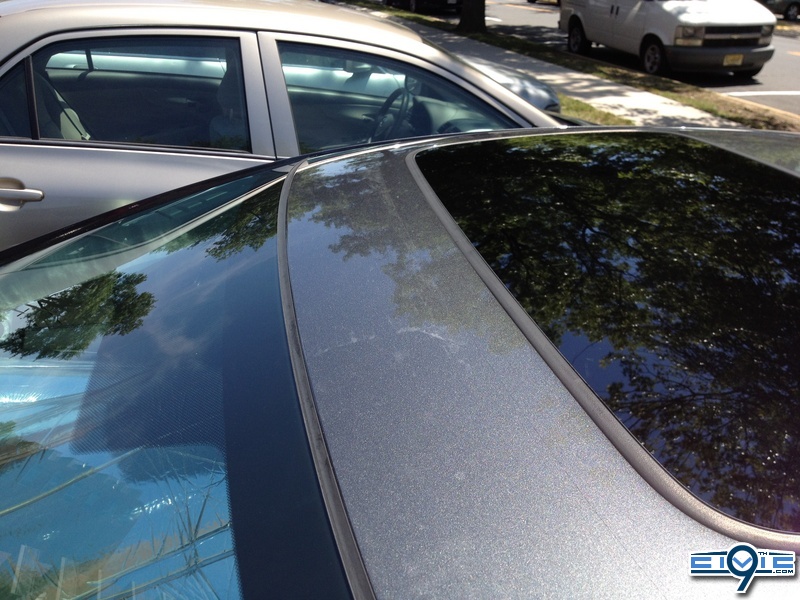
I ran into a problem with the sunroof, or so I thought. It was getting windy outside and tiny dust particles appeared to adhere to it really quickly. Because I had to constantly lift and adjust the plastic to align, more particles got under and it's easy to see the imperfections close up at this stage in the application. The final result turns out much better than I had expected later on though...
It's become clear to me at this point that having a garage would have been a much better decision on my part. The spray was drying out faster than I could apply and adjust, so in the second photo you can clearly see some microscopic air bubbles that I could not get out no matter what I did.
The garage I wanted to use was closed because there was a bike-a-thon all weekend and they shut down the streets.
My initial take is that applying these pieces is not difficult at all, it's just tedious. But I like tedious and I didn't mind it one bit.
One Hour Later...
Ok, so after it baked in the sun for an hour, all the cloudiness and bubbles disappeared.
Look at the difference in the sunroof!
Later that same evening...
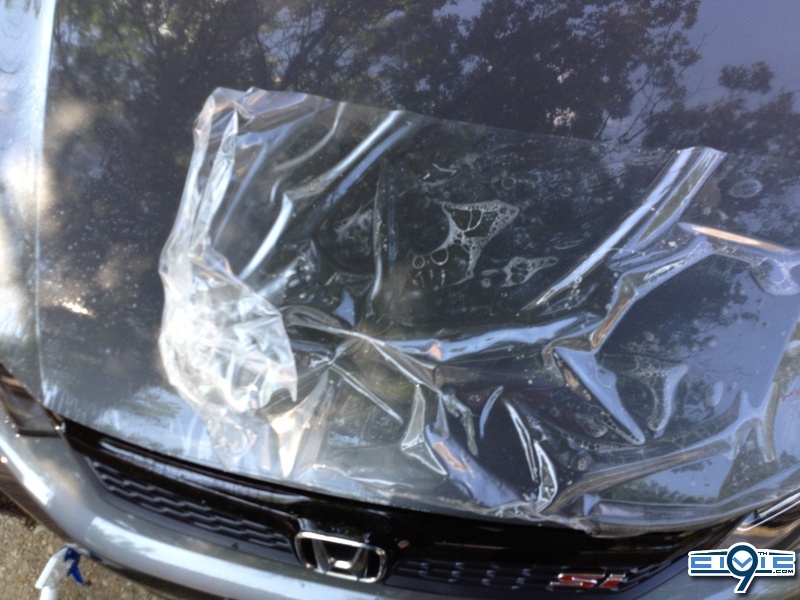
My body was full of adrenaline, fueled by the earlier success I had that morning. I couldn't wait another day to continue my progress, so on to the hood it was. I peeled off the piece, went to stick it on the hood, and hello gust of wind...
...it turned into a giant ball of plastic. Even though I soaked the whole thing is soapy water, the water evaporated so quickly in 90 degree (Fahrenheit) heat that it completely stuck together. I had to pull so hard so many times to straighten out that I was completely and utterly exhausted.
The results...

Great success!
But there was a downside to this...the plastic became stressed beyond normal limits in spots where I had to pull it apart, as you can see above. It's not horrible by any means, just not pretty either. The only conceivable way to correct this would be to stretch it again to point where I'd probably warp the shape.
I didn't want to take the chance. I guess this is where either the sun might help or a heat gun might make a difference. I'm just not sure at this stage. I kept saying to myself that I should have waited until next week when I had the garage or better weather
But I pressed on.
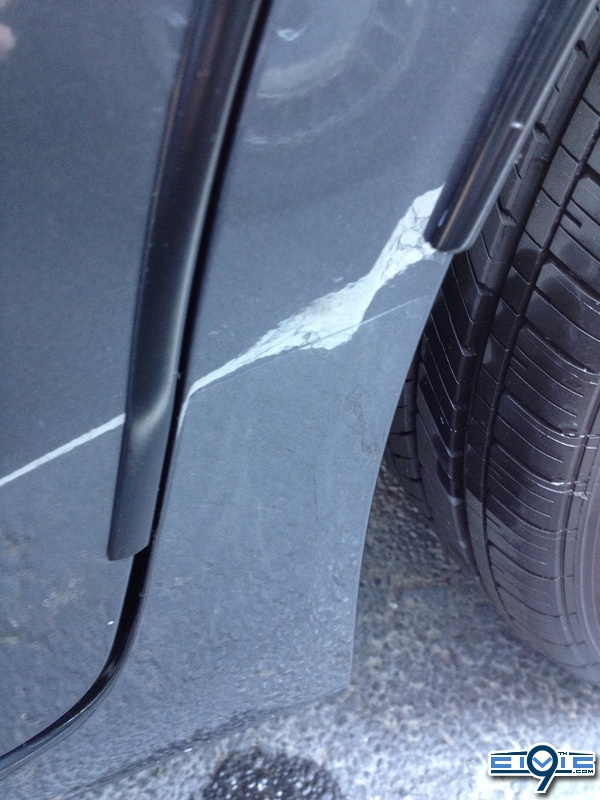
Side panel being finalized.

Shots of the mirrors. A "During" and "After".
The fog light trim, or whatever it's called. This is BY FAR the most difficult piece I've encountered up to this point. I had to literally mold every corner. This piece requires molding and drying at the same time, with heavy use of plain water to get parts to stay in place. I've never cursed so much in my life, but in retrospect it was because it was so hot outside at the time. There were still a lot of tiny bubbles that I couldn't really get out, so I let time and sun do its job.
It was at this point that I was exhausted and I quit for the day.
Beer time!