- Staff
- #1
DIY 2012 Civic Si Ambient Lights (Red/Si)

This article covers the ambient light kit installation for model year 2012.
This kit is NOT compatible with model year 2013.
Click on any of the pictures to see them in a higher resolution.
What you need:
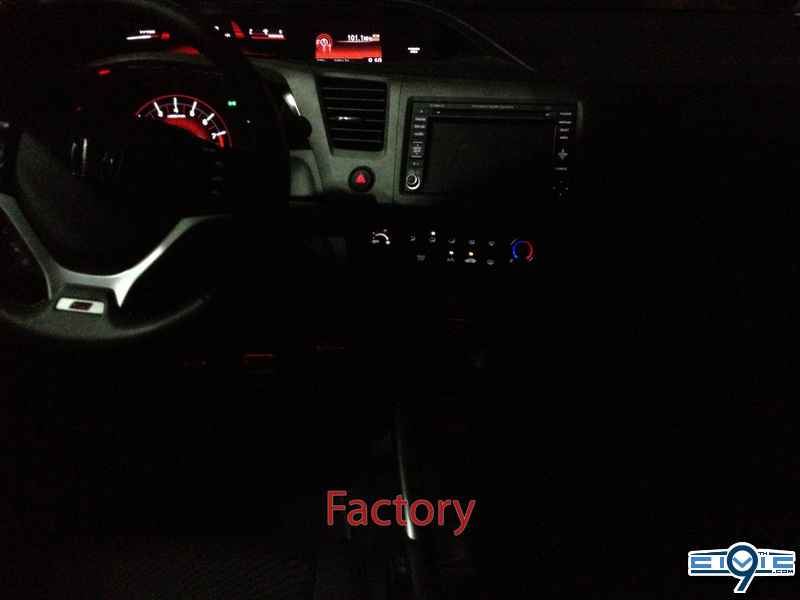
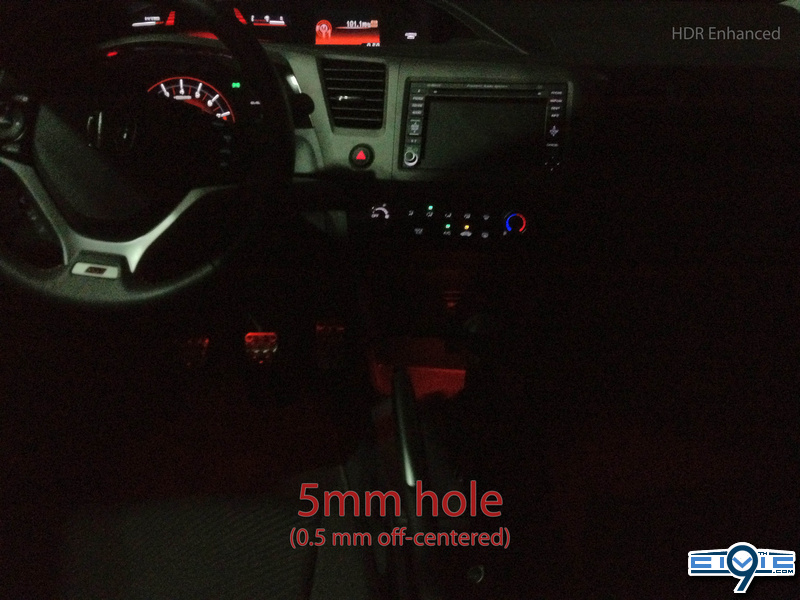

This article covers the ambient light kit installation for model year 2012.
This kit is NOT compatible with model year 2013.
Click on any of the pictures to see them in a higher resolution.
What you need:
- Red Ambient Light Kit (08E10-TR0-100A)
- Philips screwdriver
- Ratchet or open end wrench
- Isopropyl alcohol
- Shop towel
- Drill
- 3mm drill bit
- 20 mm hole saw
- 8mm socket
- Deburring tool
- Dremel (with cutting tool) or hacksaw
- White permanent marker
- Ruler
- Masking tape
- Installation Instructions - Sedan and Coupe
- Attach masking tape to the areas shown below. This is to prevent scuffing when using a prying tool and when removing the panel.
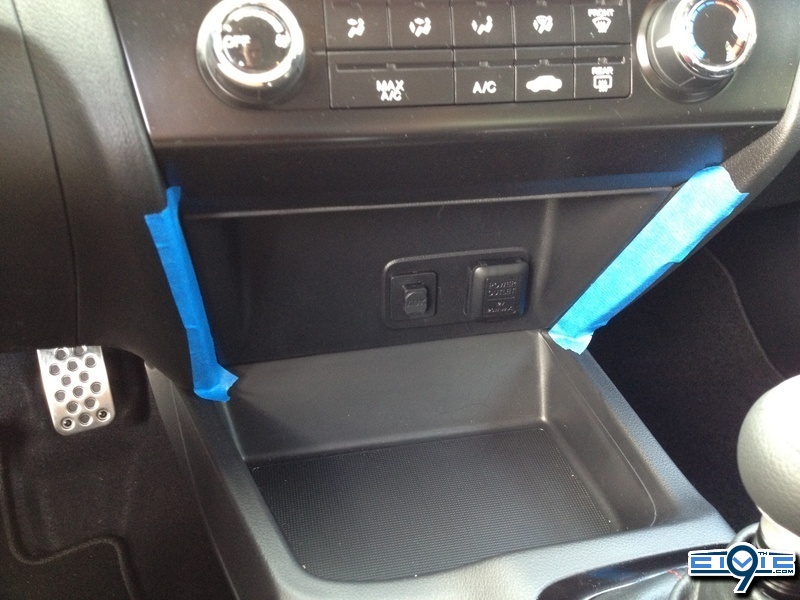
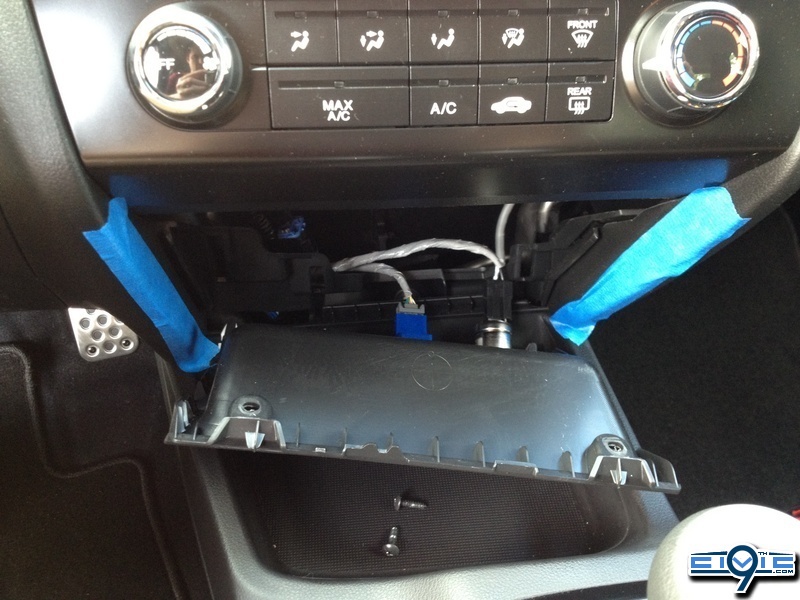
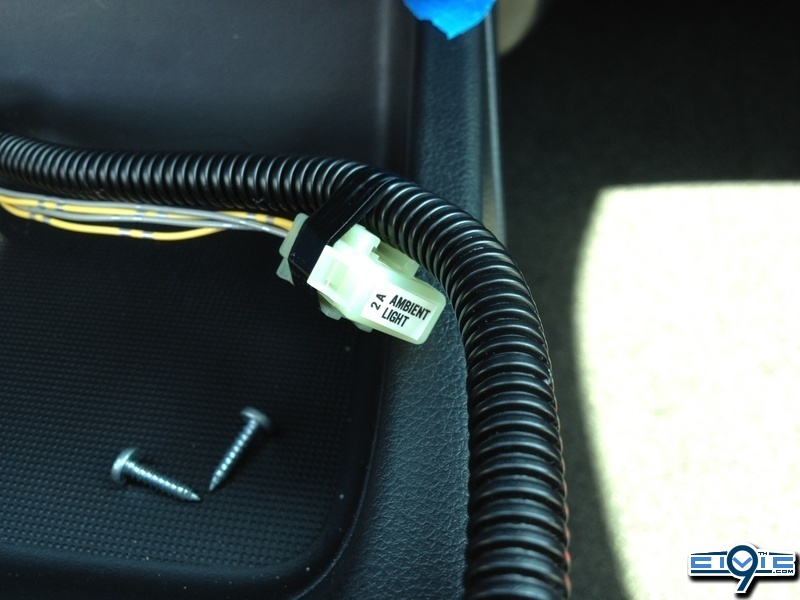
- Remove two self-tapping screws from the center lower panel and unplug the connectors.
- Using isopropyl alcohol on a shop towel, clean the fuse case where the fuse label will attach and then attach the 2A fuse label to the harness.
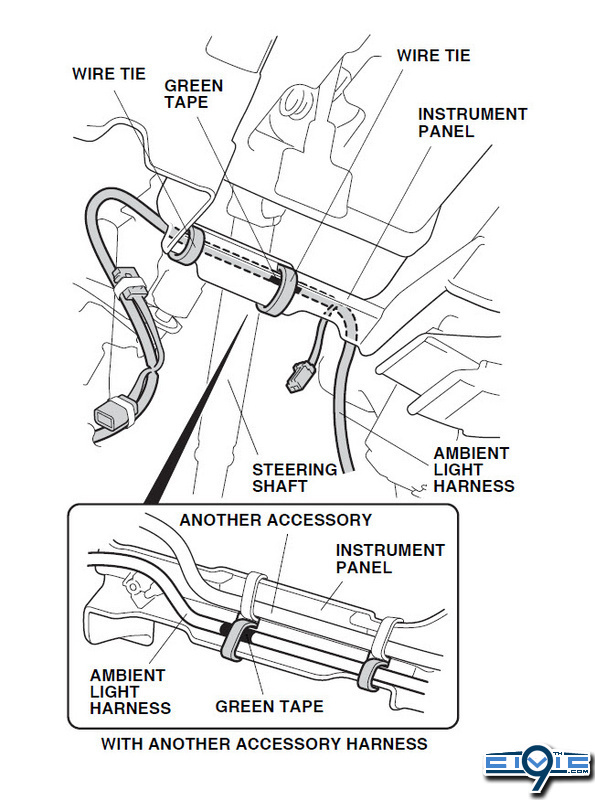
- Remove the driver's dashboard lower cover. Locate the green tape on the ambient light harness. Align the green tape with the hold in the instrument panel on the driver's side. Using one wire tie, secure the ambient light harness to the instrument panel. Secure an additional wire tie to the instrument panel as shown below.
DIY Tip: I've kept the wire ties loose in these photos to more easily display their intended installation locations. It is also recommended that you keep them loose so that you can easily adjust them later or to rewire the harness entirely in case you've accidentally screwed up. When you are ready to tighten the wire ties, the harness should be placed behind the panel as indicated in Honda's instruction manual.
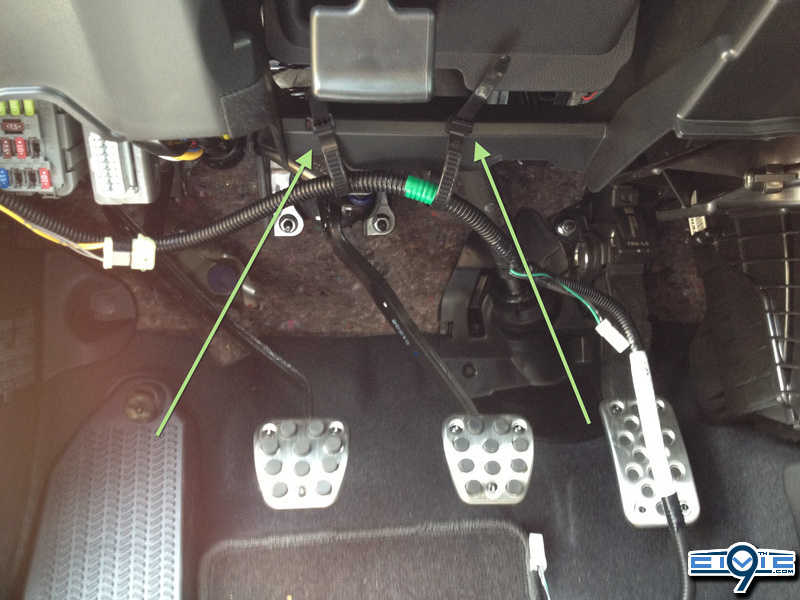
- Route the harness toward the passenger's side. At the center lower panel opening, secure the harness to the existing vehicle's harness with one wire tie, then secure another one to the frame (shown below). Continue routing the ambient light harness to the passenger's side afterwards.
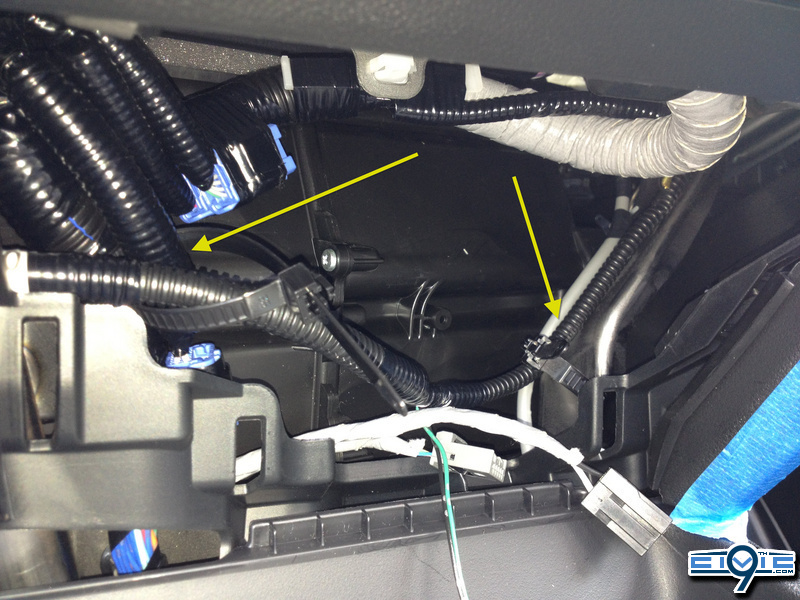
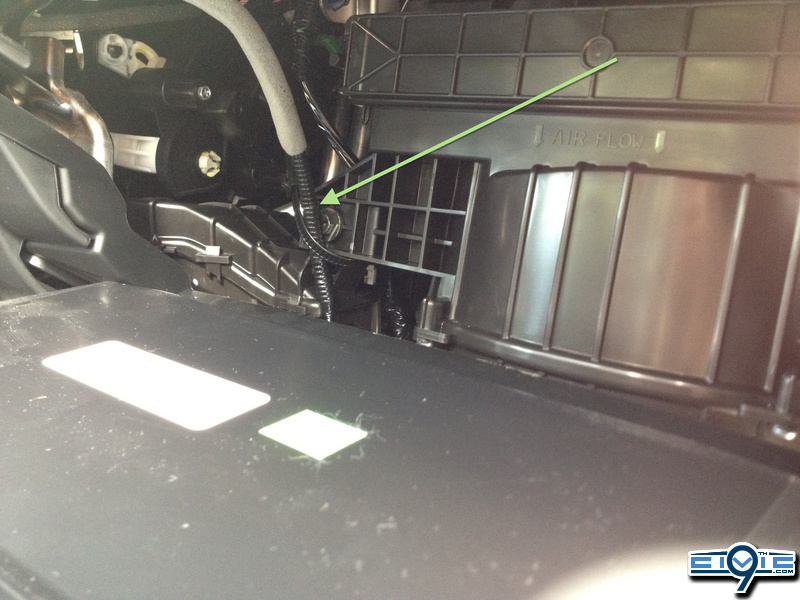
- Open the glove box and push the stops inward, thus allowing the glove box to fall lower. You do not need to remove the glove box and indicated in Honda's instructions. Route the ambient light harness through the glove box. Using one wire tie, secure the harness in the location shown below.
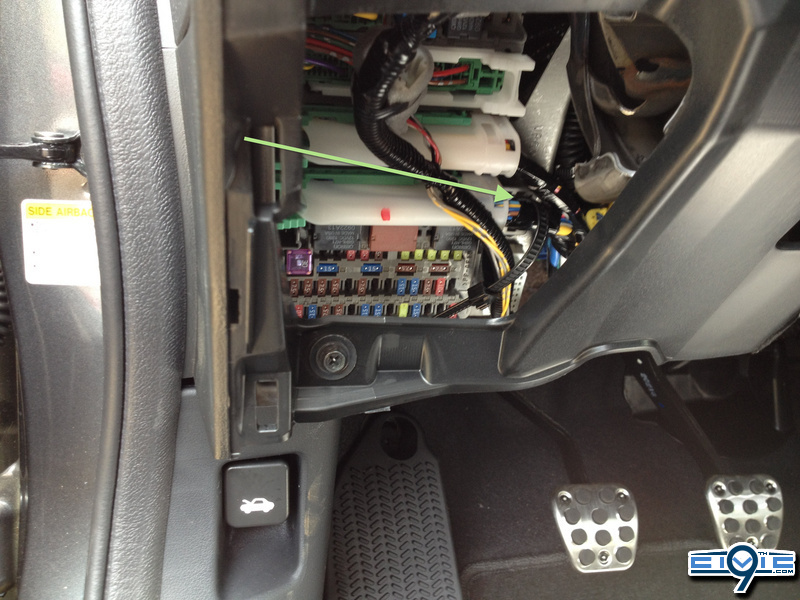
- On the driver's side, route the harness through the fuse lid opening. Using one wire tie, secure the harness to the vehicle as shown below.
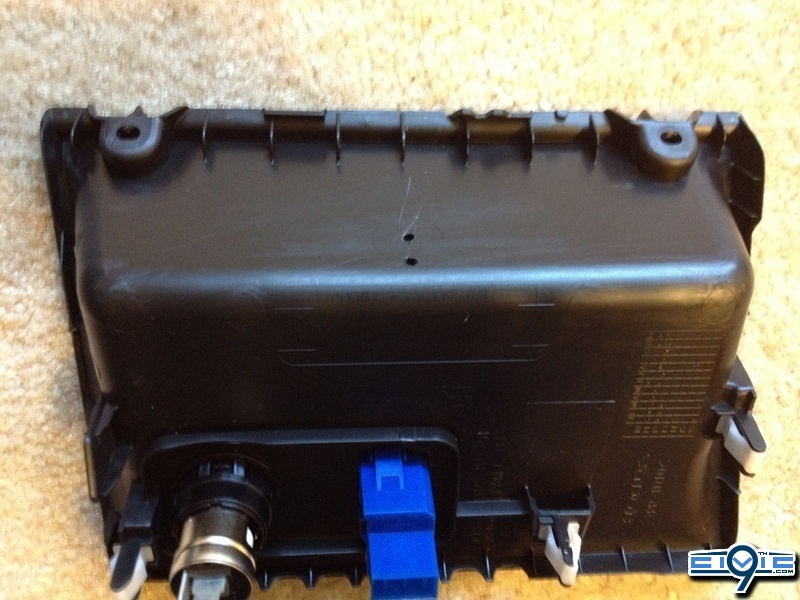
- There is a pre-fabricated circle grid on the backside of the center panel. Drill two holes with a 3mm drill bit as shown below.
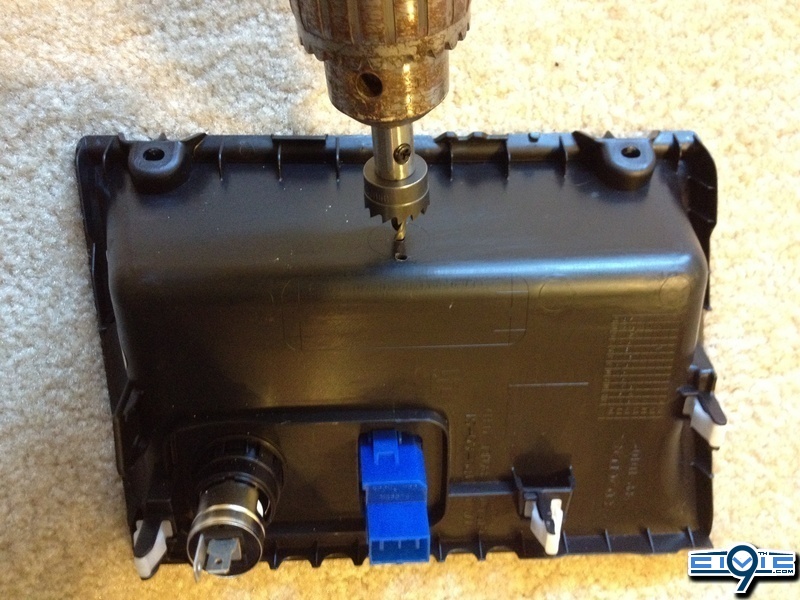
- Enlarge the center hole with a 20mm hole saw bit.
- Once the hole is drilled, remove any burrs using the deburring tool.
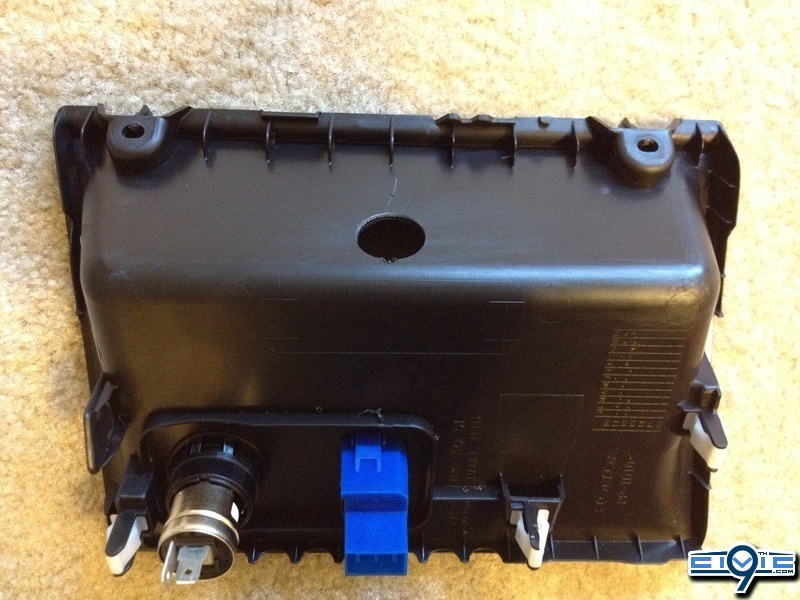
- Align the tab on the supplied ring with the notch in the panel and install the ring in the hole. Install the holder over the ring align it with the notch. Secure the ambient light to the holder by rotating in into position.
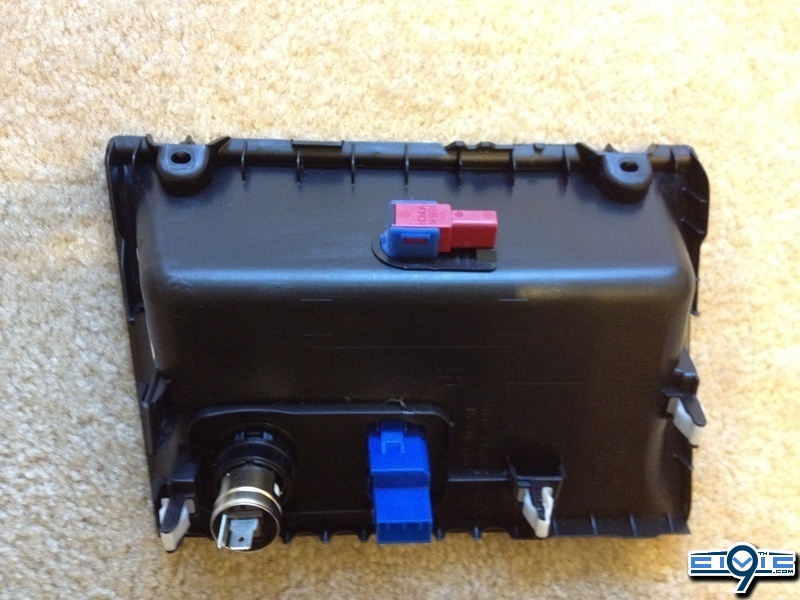
- Plug the ambient light harness connector into the light and reinstall the center lower panel.
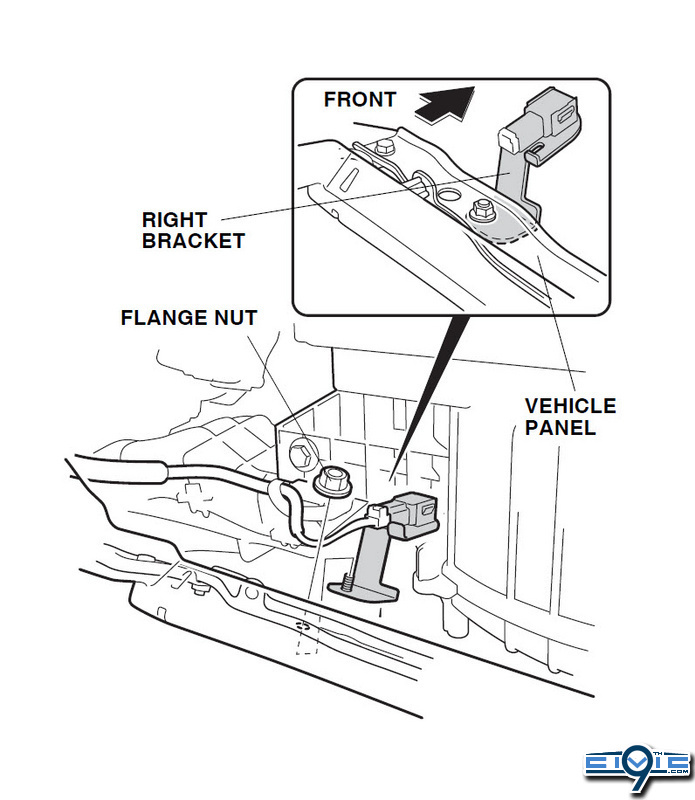
- Install the ambient light to the right bracket. Plug the harness connector into the light. Install the right bracket through the hole in the vehicle panel and secure it with an 8mm flange nut.
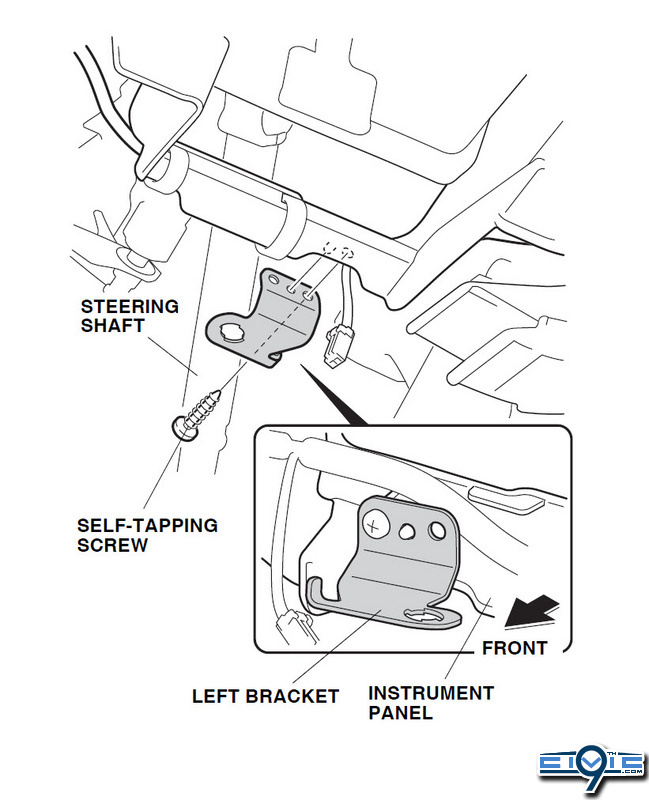
- Install the left bracket to the instrument panel and secure it with one self-tapping screw. Install the ambient light to the left bracket by rotating it into position. Plug the light connector into the light.
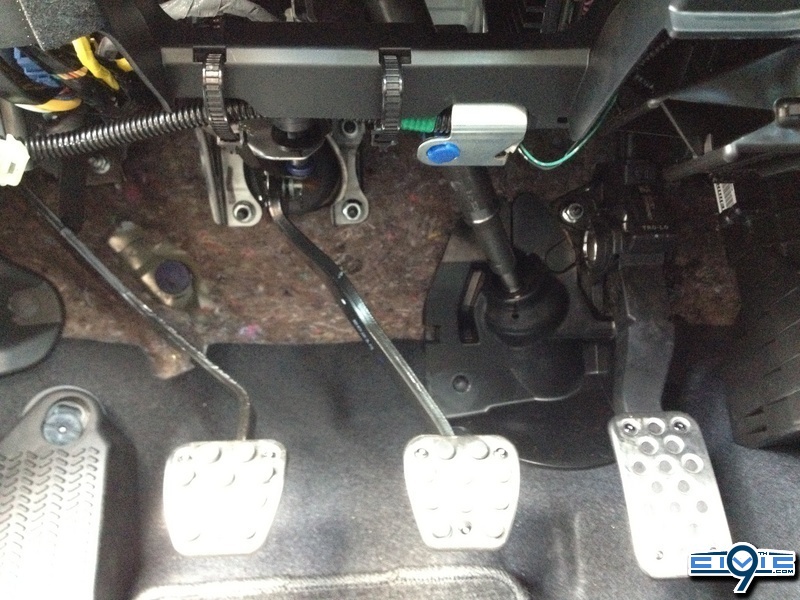
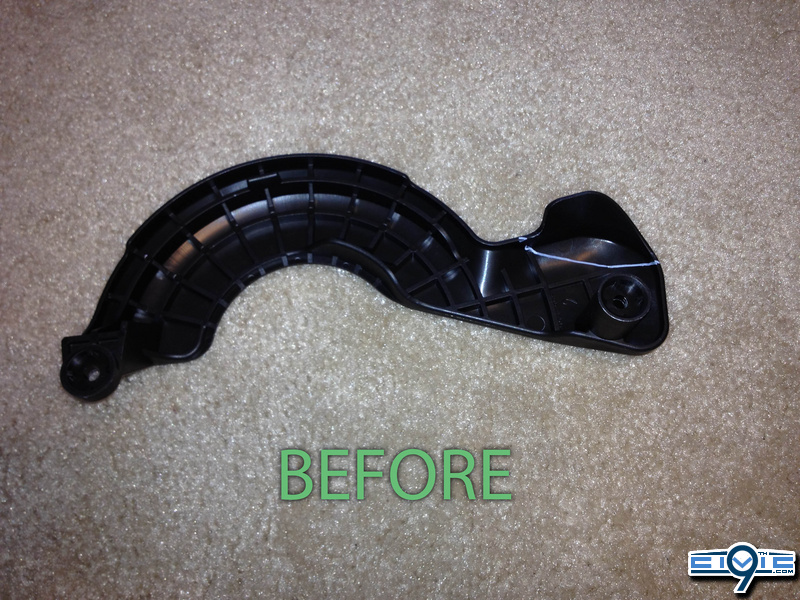
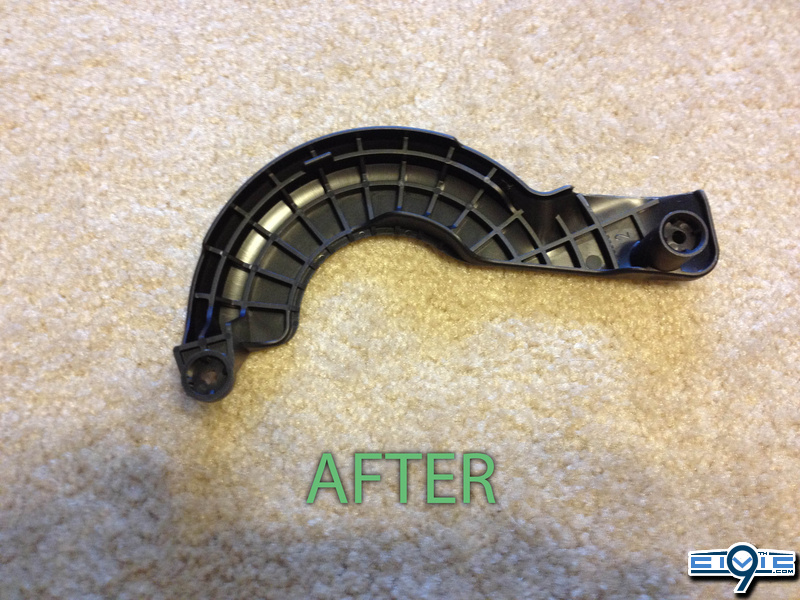
- Remove the blower motor cover by removing the two self-tapping screws. Mark the cover as shown below with a white permanent marker and a ruler. Using a Dremel or hacksaw, cut the blower cover. Remove any burrs and reinstall the cover.
- Remove the switch cover from the driver's side dashboard cover and install the light switch.
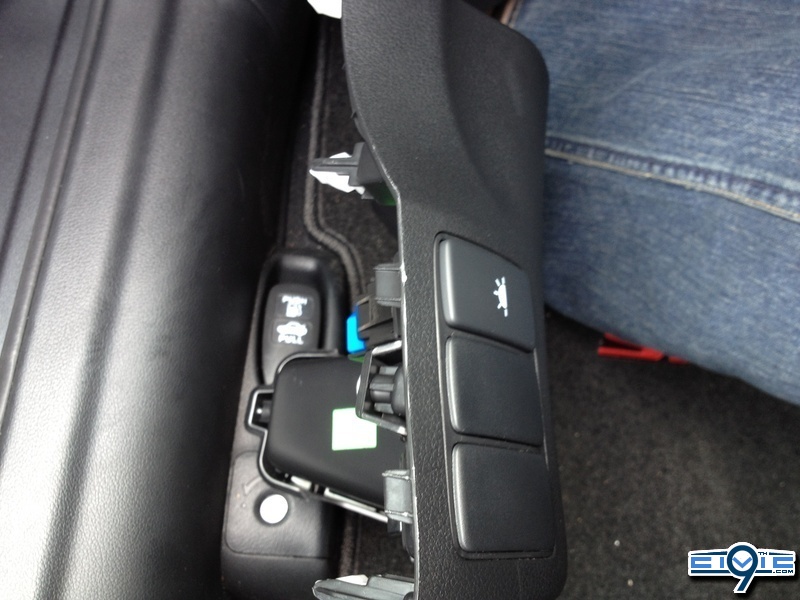
- Unplug the 5-pin connector (blue) from the VSA switch and plug it into the ambient light harness connector.
- Plug the ambient light harness (green) into the VSA switch.
- Plug the ambient light harness (blue) into the ambient light switch.
- Reinstall the driver's dashboard cover.
- Check that all wire harnesses are routed properly and all connectors are plugged in.
- That's it, you're done!


 . Thank you!


