Royce
Well-Known Member
- 101
- 55
PART 1 of 2 "Each thread only allows twenty photos at once" LAME!!!!!!!!
So I took the idea from SIRACEGRL and modified it for us sedan peoplzzzzzzzzz. I found this method far easier.
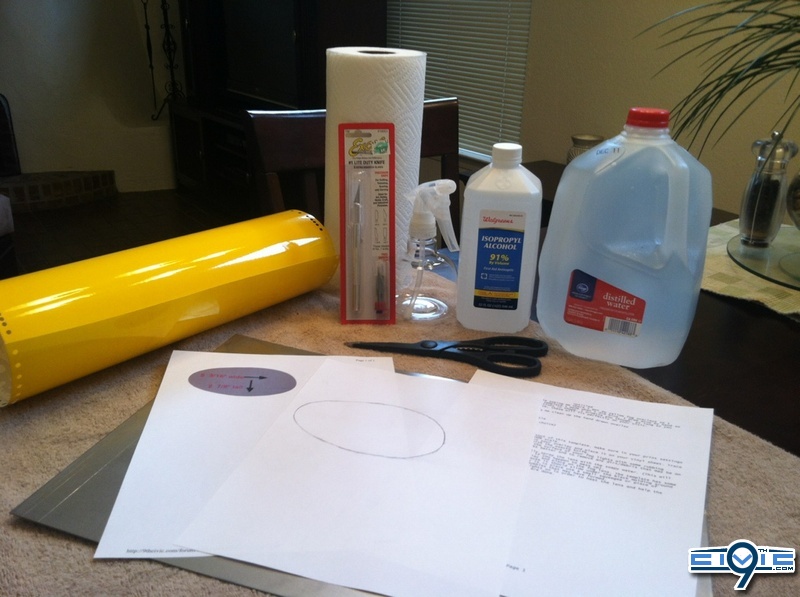
Tools/Equipment and materials needed.
-Tint of your choice. "My local tint shop provided me with about ten cubic feet" fo free!!!!!!!
-Isopropyl Alcohol
-Distilled Water
-Spray Bottle
-Paper Towels
-Scissors
-squeegee
-Exacto Knife
-Templet printed from SIRACEGRLY's thread
-Clean Cutting Surface "I used a slab of sheet metal over a towel to ensure not to damage the table I cut on"
1. Check and ensure you have all your materials.
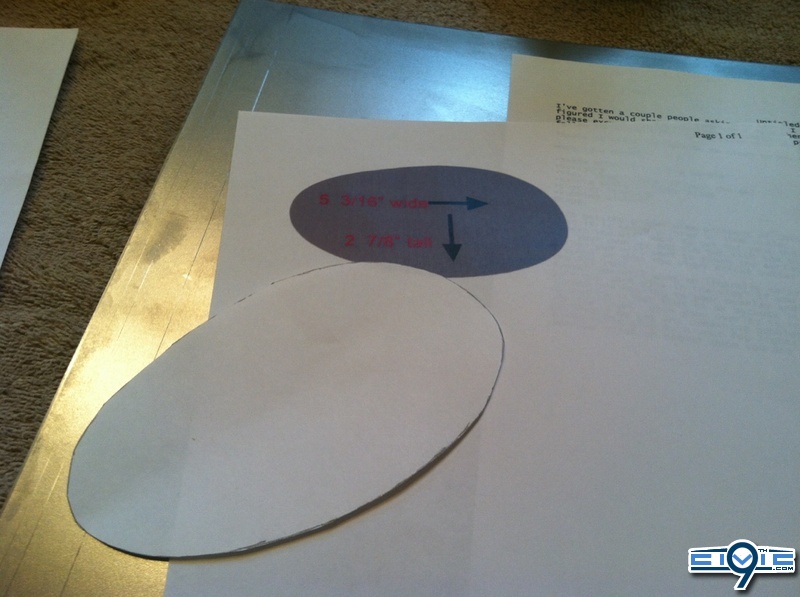
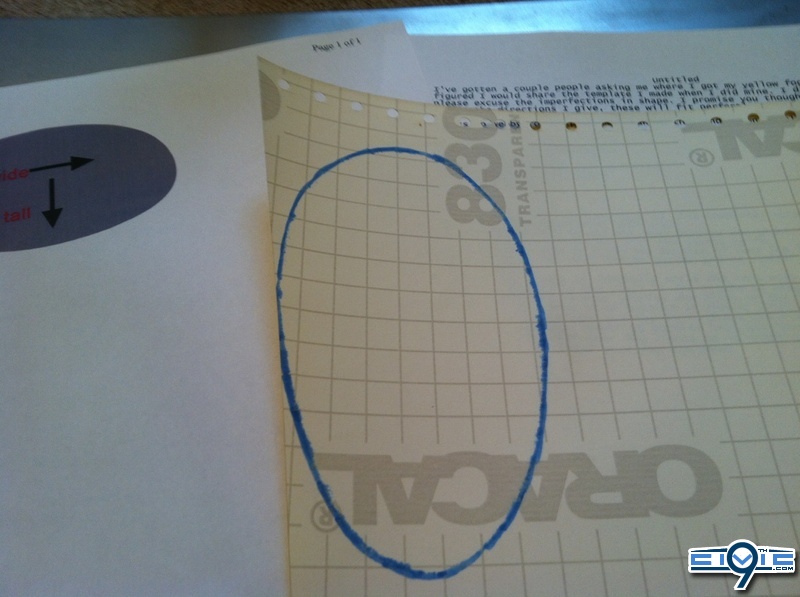
I could not get the templet to print correctly under any settings so i just traced it off of the computer screen via pencil and a sheet of paper.
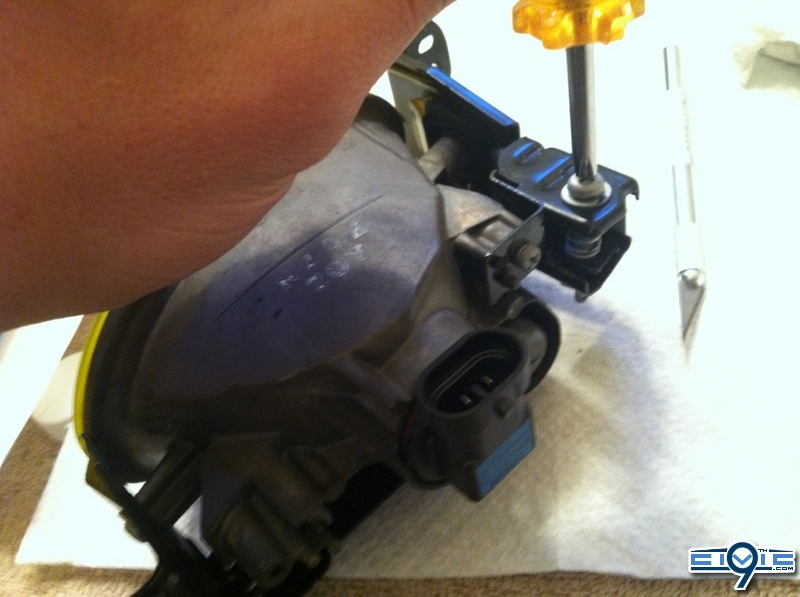
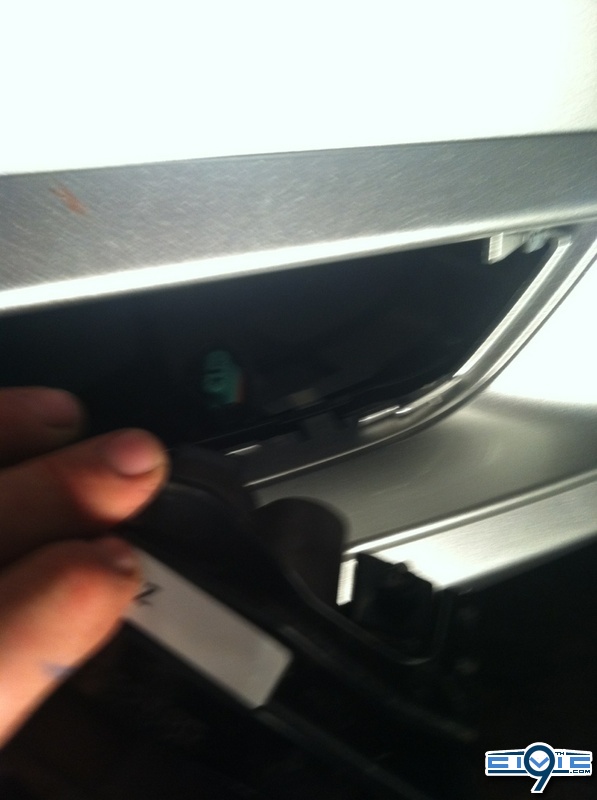
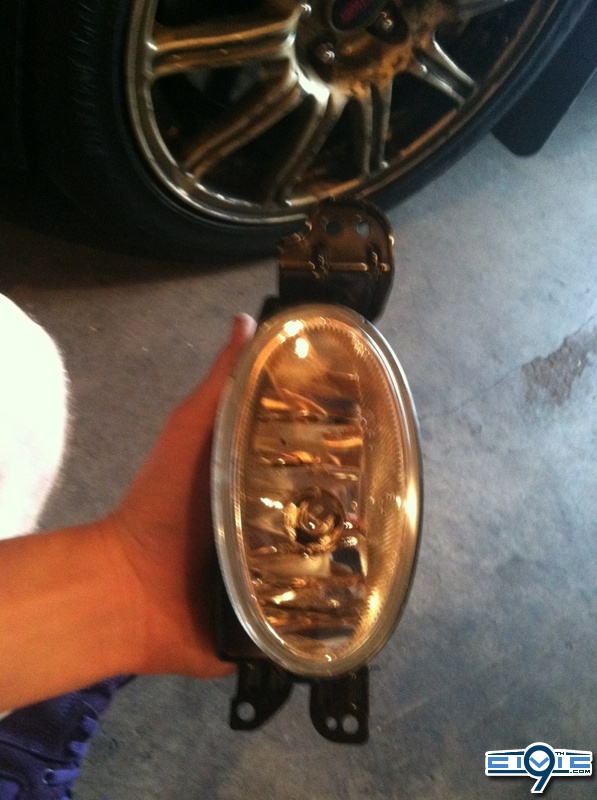
2. Remove the fog lights via one screw and slide it out.
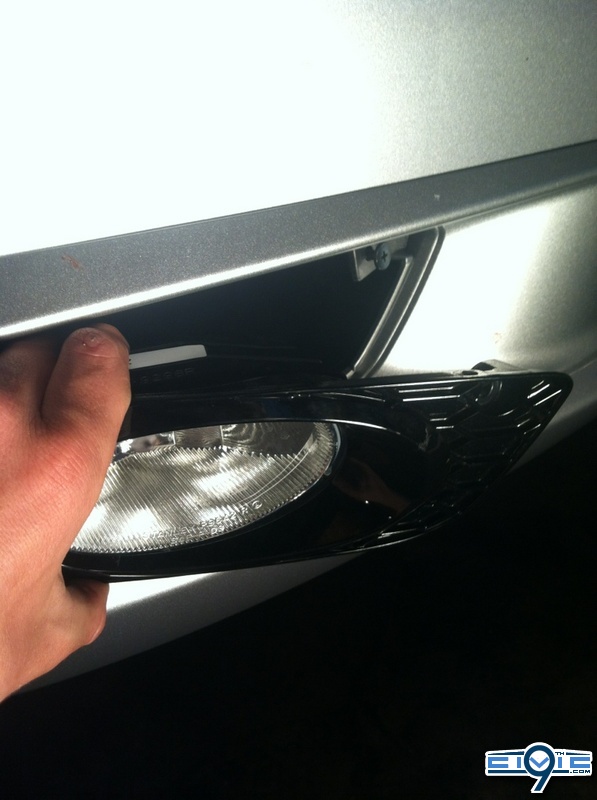
3. Disconnect the fog light electrical connection and slide it out.
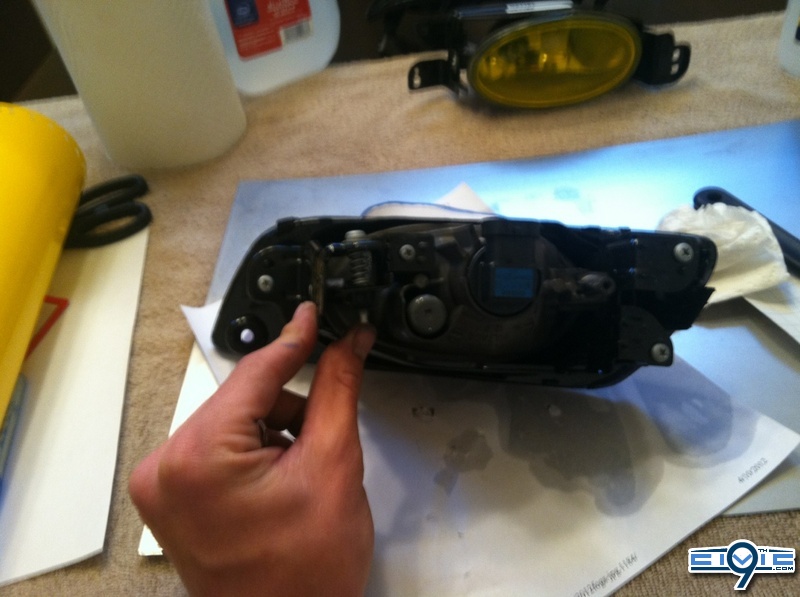
4. Remove the 3 screws that keep the fog light connected to the housing. And then put them back in the housing after removing the light to ensure no hardware is lost.

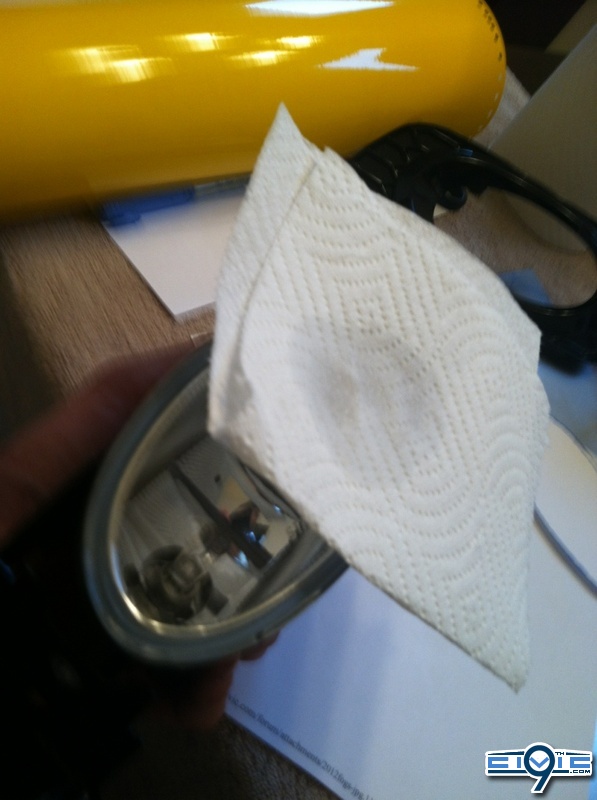
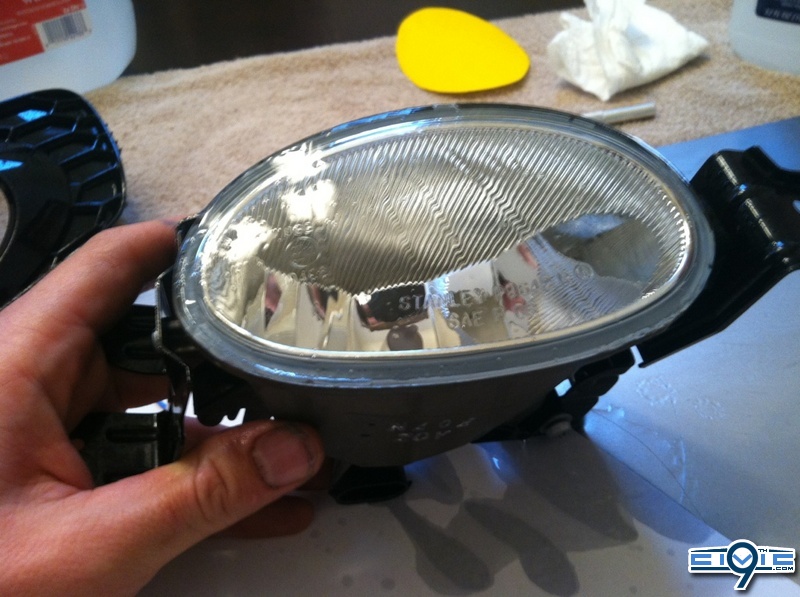
5. Clean the fog light with isopropyl alcohol with a paper towel.
6. Cut the templet out with scissors.

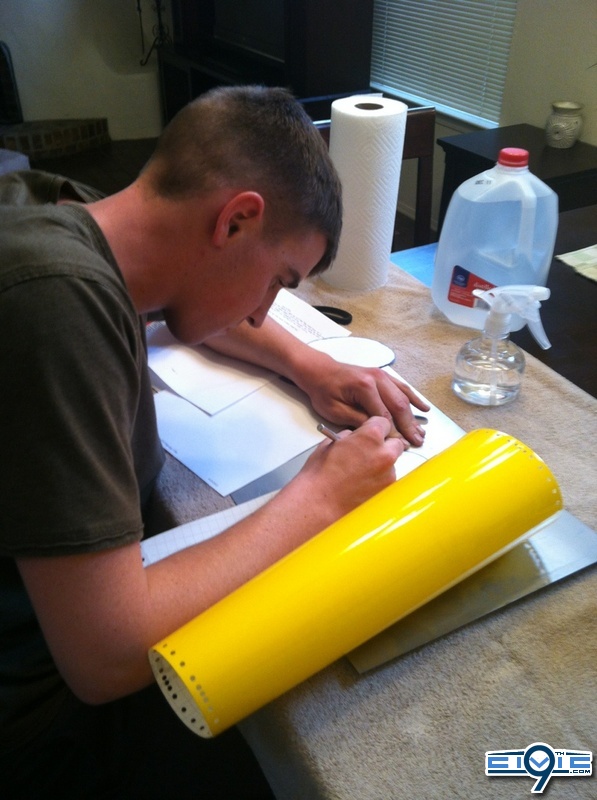
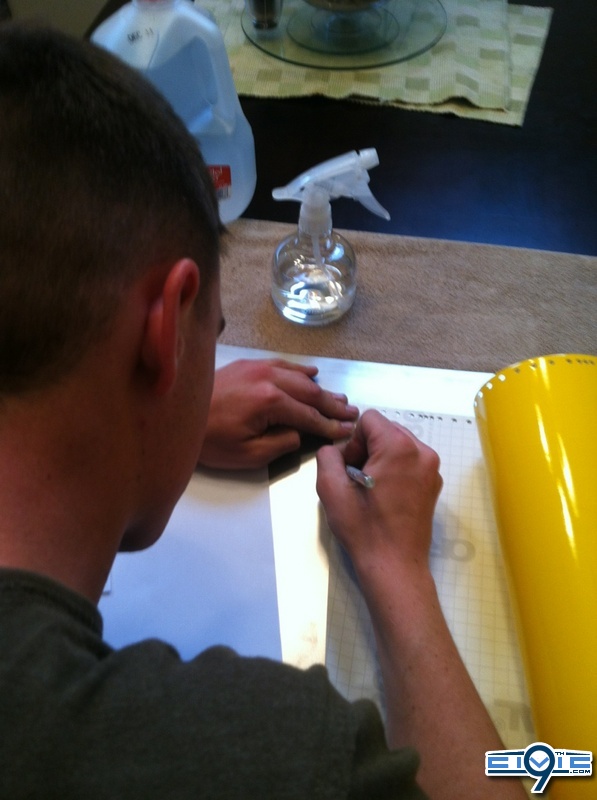
7. Out line the template on your choice of tint. "I did it on the back with sharpie to ensure no markings were left on the tint".
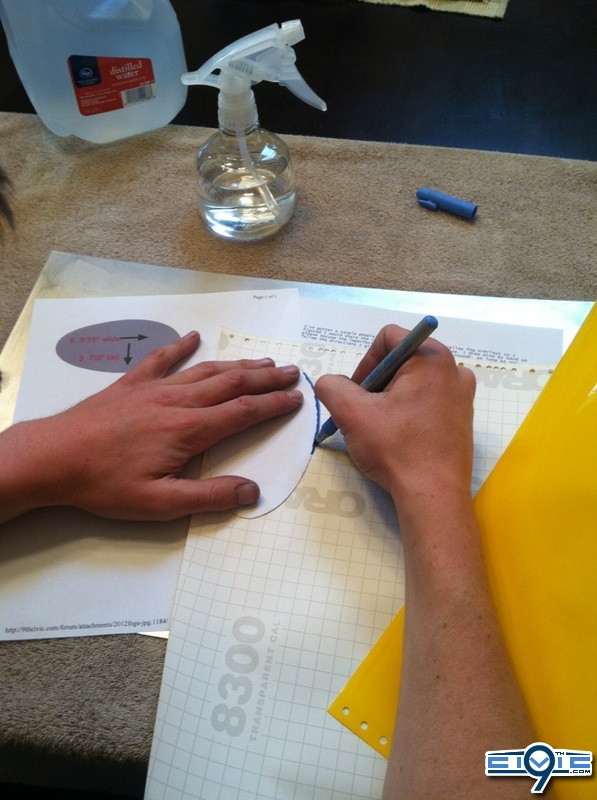
8. Cut the tint out using your exacto knife.

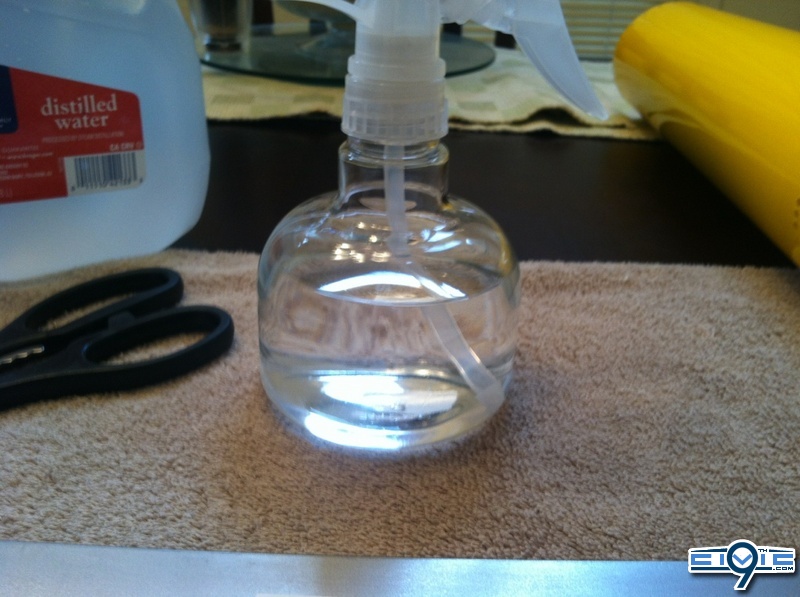
9. Fill your bottle with 30% Alcohol and 70% Distilled water. "I recommend this being that distilled water contains zero minerals and alcohol will ensure quick drying while at the same time providing enough viscosity to move the tint around if not placed properly".
Alcohol
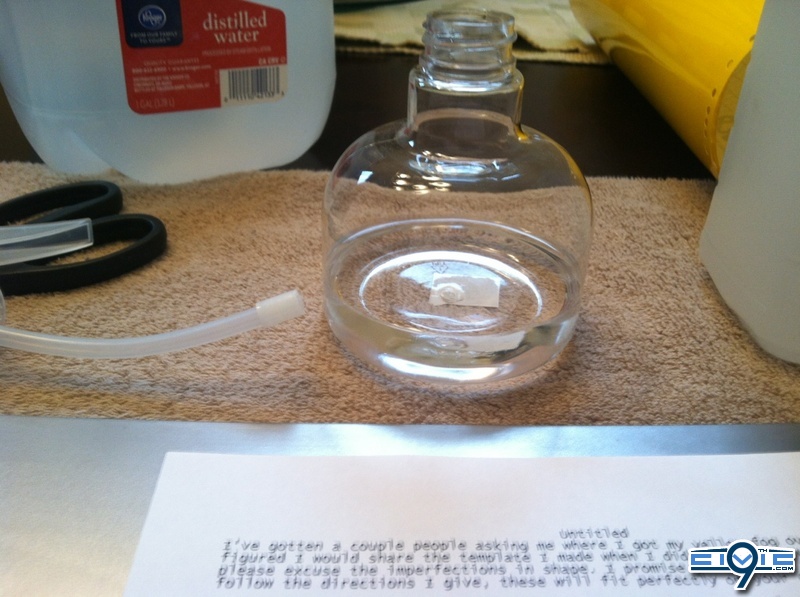
Distilled water on top of that.
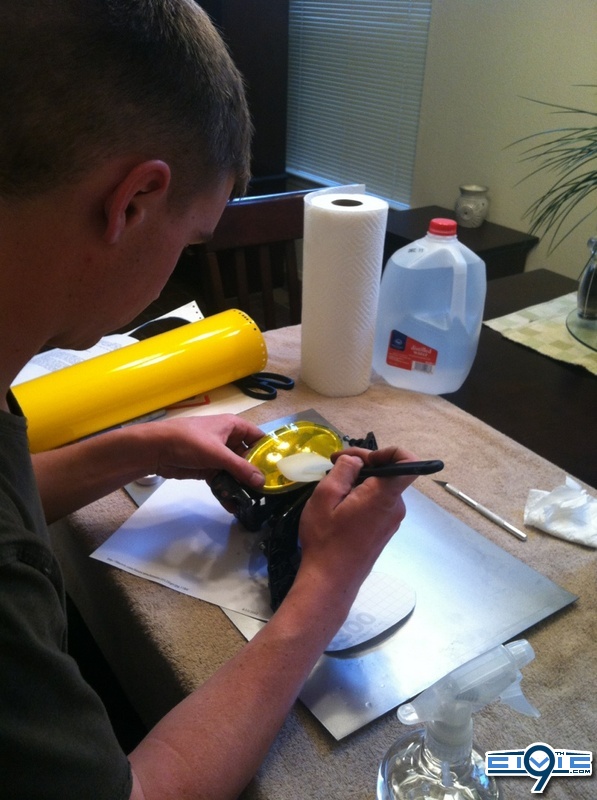
10. Spray the lens with the mixture.
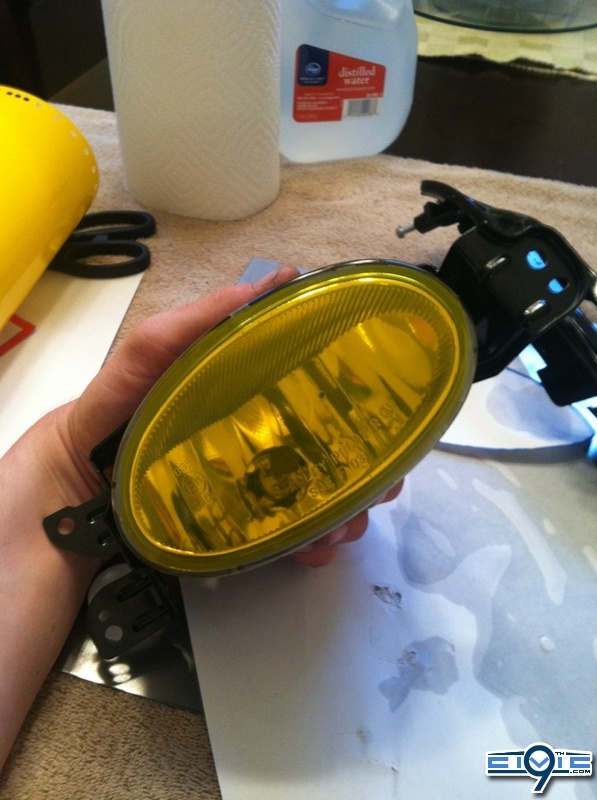
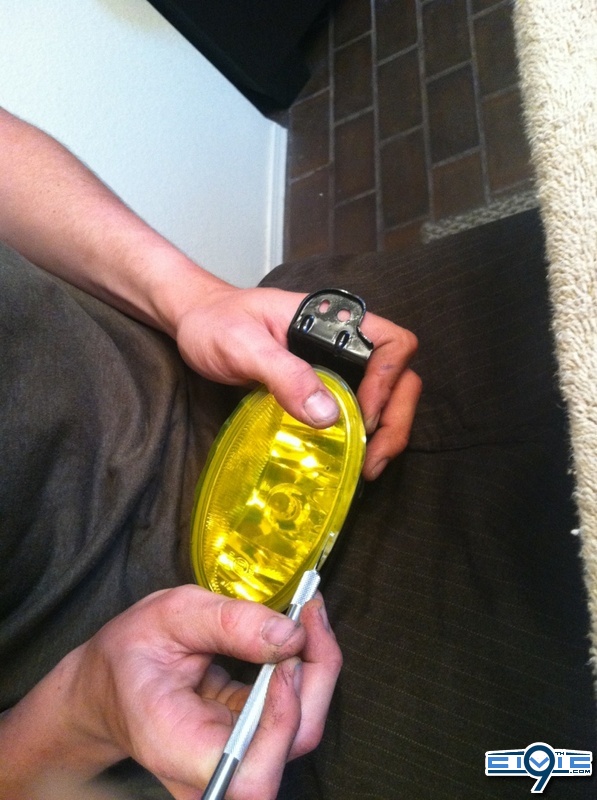
11. Apply the film after removing the backing and squeegee the excess fluid out, I find that a paper towel also works prime for this as it absorbs the fluid as you press it out, meanwhile ensuring it is aligned properly. Keep pressing fluid out till it dries. "About two min".
So I took the idea from SIRACEGRL and modified it for us sedan peoplzzzzzzzzz. I found this method far easier.
Tools/Equipment and materials needed.
-Tint of your choice. "My local tint shop provided me with about ten cubic feet" fo free!!!!!!!
-Isopropyl Alcohol
-Distilled Water
-Spray Bottle
-Paper Towels
-Scissors
-squeegee
-Exacto Knife
-Templet printed from SIRACEGRLY's thread
-Clean Cutting Surface "I used a slab of sheet metal over a towel to ensure not to damage the table I cut on"
1. Check and ensure you have all your materials.
I could not get the templet to print correctly under any settings so i just traced it off of the computer screen via pencil and a sheet of paper.
2. Remove the fog lights via one screw and slide it out.
3. Disconnect the fog light electrical connection and slide it out.
4. Remove the 3 screws that keep the fog light connected to the housing. And then put them back in the housing after removing the light to ensure no hardware is lost.
5. Clean the fog light with isopropyl alcohol with a paper towel.
6. Cut the templet out with scissors.
7. Out line the template on your choice of tint. "I did it on the back with sharpie to ensure no markings were left on the tint".
8. Cut the tint out using your exacto knife.
9. Fill your bottle with 30% Alcohol and 70% Distilled water. "I recommend this being that distilled water contains zero minerals and alcohol will ensure quick drying while at the same time providing enough viscosity to move the tint around if not placed properly".
Alcohol
Distilled water on top of that.
10. Spray the lens with the mixture.
11. Apply the film after removing the backing and squeegee the excess fluid out, I find that a paper towel also works prime for this as it absorbs the fluid as you press it out, meanwhile ensuring it is aligned properly. Keep pressing fluid out till it dries. "About two min".