
Pauly99to17
Well-Known Member
All credit goes tojk5812 who made the first DIY on the other site. 
ADExternal may have also, directly or indirectly, helped get the original DIY completed because of his extensive work and trouble shooting with the Reverse Camera DIY.
I wanted to add the DIY over here and have included a few more photos to make the steps as clear as possible.
Warning: You, and you alone, are responsible if you choose to follow this DIY. Neither myself, not 9thCivic.com will be held responsible if a problem should arise. Do this DIY at your own risk.
Parts and Materials
1. OEM Temperature Sensor (P/N 80525-S30-941)
http://www.digikey.com/product-detail/en/M34S75C4F2/670-2006-1-ND/1969249
You will only ned two of these. I suggest you get 2 extra just in case. (10 cents each)
4. Wire (22 AWG Gauge Stranded Copper)
5. Wire strippers
6. Electrical Tape
7. Dash Clips (These are little white plastic clips that can break when you take the dash apart. I suggest you order a few just in case you need to replace a couple.)
90666-SDA-A01 - CLIP 5 x $0.36 each = $1.80
8. 2 pins to connect to male connectors inside sensor. (See examples and explanation below)
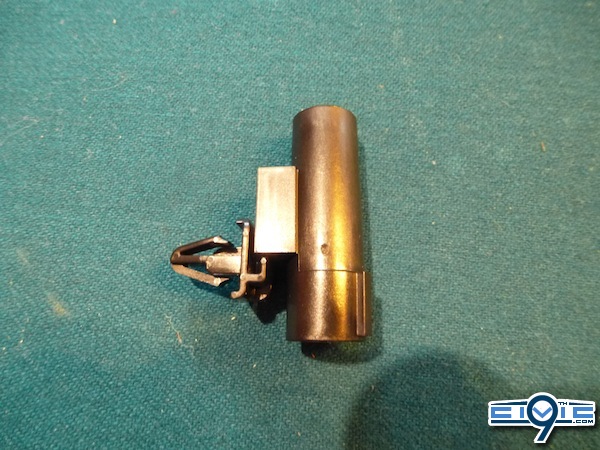
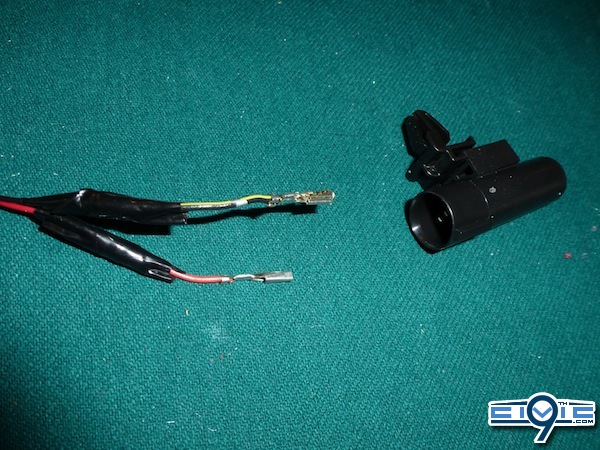
Below is the sensor with clip/bracket attached.
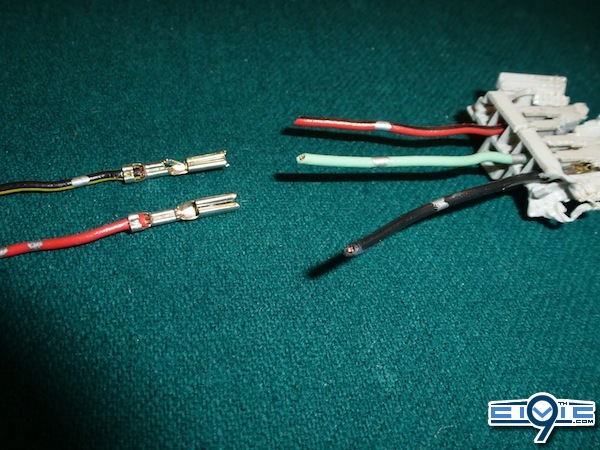
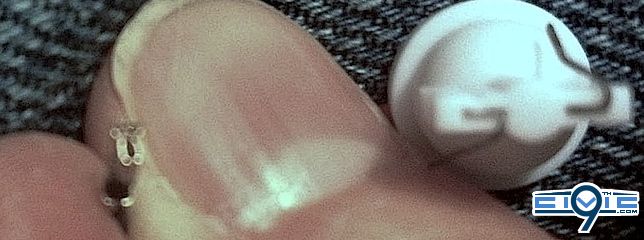
Below you can see the two male connectors of the sensor. You will need to find two pins that you can slide onto these.

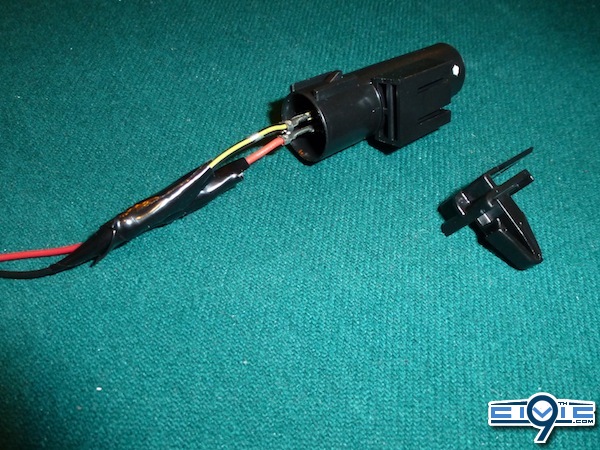
Here you can see how I got the pins to attach to the sensor's male connectors (there are other options). I would suggest you bring the sensor to your local electronics shop and ask what they have. I had this plug left over that I got at the auto-wreckers.
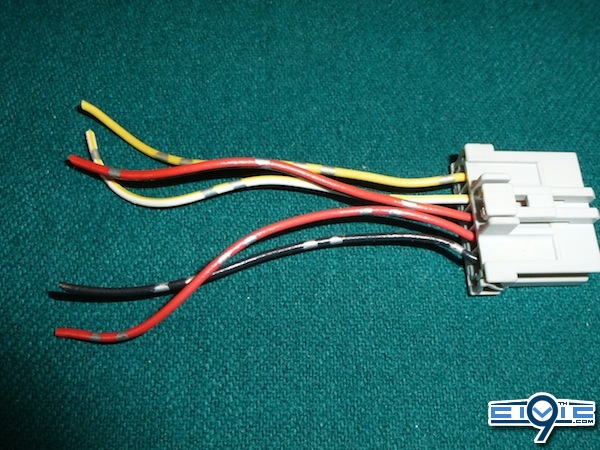
So, I hacked it and tore it apart to get 2 connectors out. They work really well.
I didn't use this one, but below is a different type of connector that would also work.
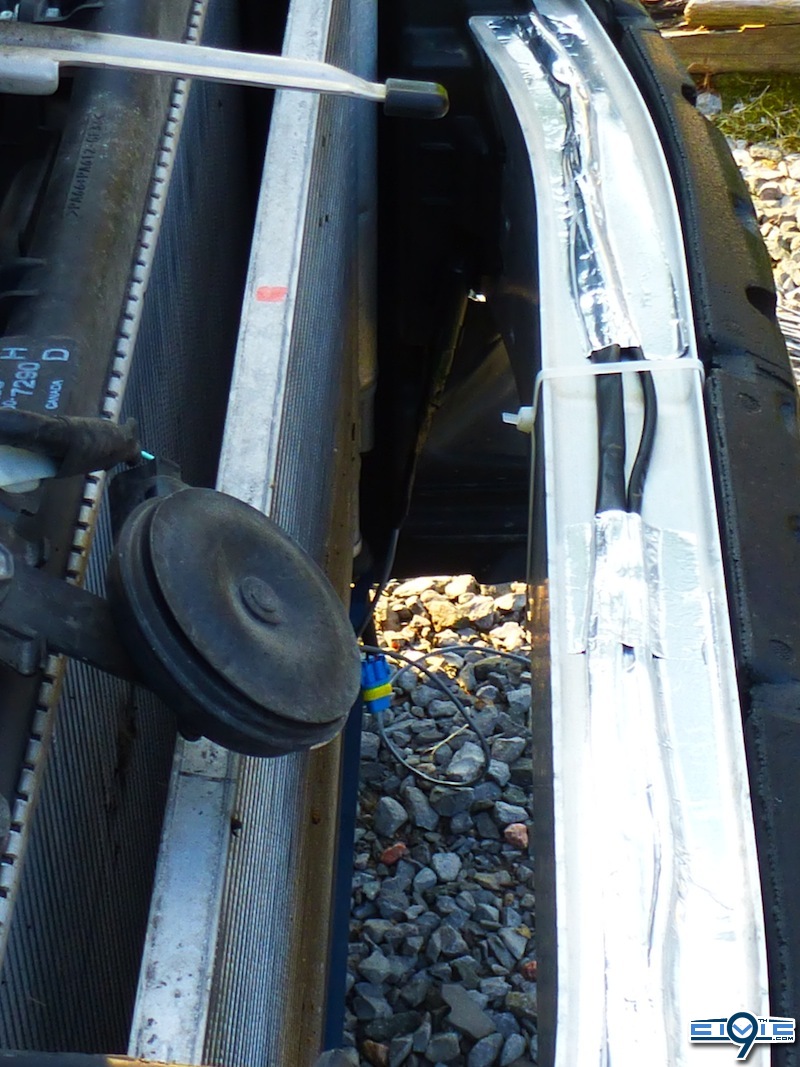
Just need to put it all together now.
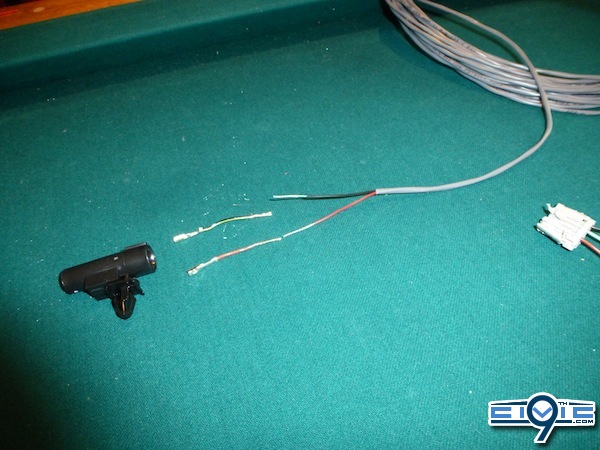
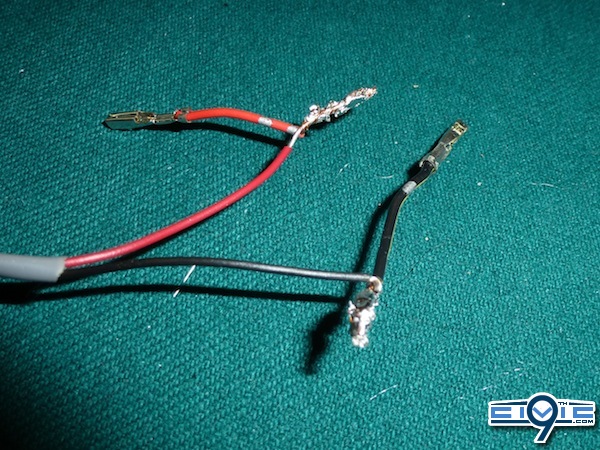
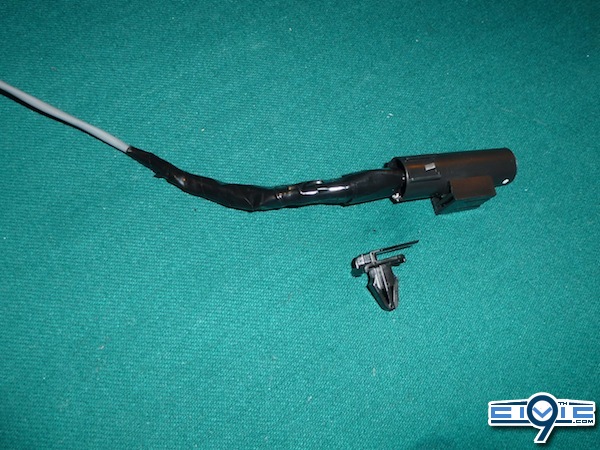
Attach your wires together. I soldered the wires together after twisting them.....obviously I need to work on my soldering skills.
Wrap in electrical tape.
ADExternal may have also, directly or indirectly, helped get the original DIY completed because of his extensive work and trouble shooting with the Reverse Camera DIY.
I wanted to add the DIY over here and have included a few more photos to make the steps as clear as possible.
Warning: You, and you alone, are responsible if you choose to follow this DIY. Neither myself, not 9thCivic.com will be held responsible if a problem should arise. Do this DIY at your own risk.
Parts and Materials
1. OEM Temperature Sensor (P/N 80525-S30-941)
Sensor Assy., Ambient Emission: KA - US Market Spec Origin: USA $34.75
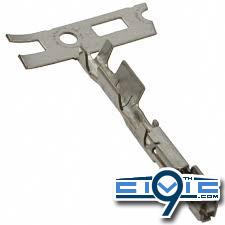
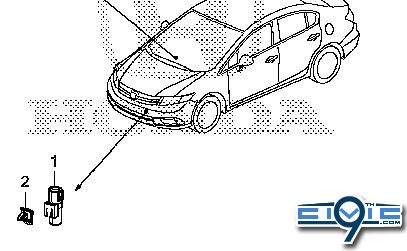
2. Sensor Bracket Clip ( (P/N 91555-TR0-A01)

91555-TR0-A01 Clip, Ambient Sensor Emission: KA - US Market Spec Origin: USA $2.70
Below.....#1 is the sensor and #2 is the bracket clip.
3. 4 Pins (connectors to Imid) - JAE Pins M34S75C4F242. Sensor Bracket Clip ( (P/N 91555-TR0-A01)
91555-TR0-A01 Clip, Ambient Sensor Emission: KA - US Market Spec Origin: USA $2.70
Below.....#1 is the sensor and #2 is the bracket clip.
http://www.digikey.com/product-detail/en/M34S75C4F2/670-2006-1-ND/1969249
You will only ned two of these. I suggest you get 2 extra just in case. (10 cents each)
4. Wire (22 AWG Gauge Stranded Copper)
5. Wire strippers
6. Electrical Tape
7. Dash Clips (These are little white plastic clips that can break when you take the dash apart. I suggest you order a few just in case you need to replace a couple.)
90666-SDA-A01 - CLIP 5 x $0.36 each = $1.80
8. 2 pins to connect to male connectors inside sensor. (See examples and explanation below)
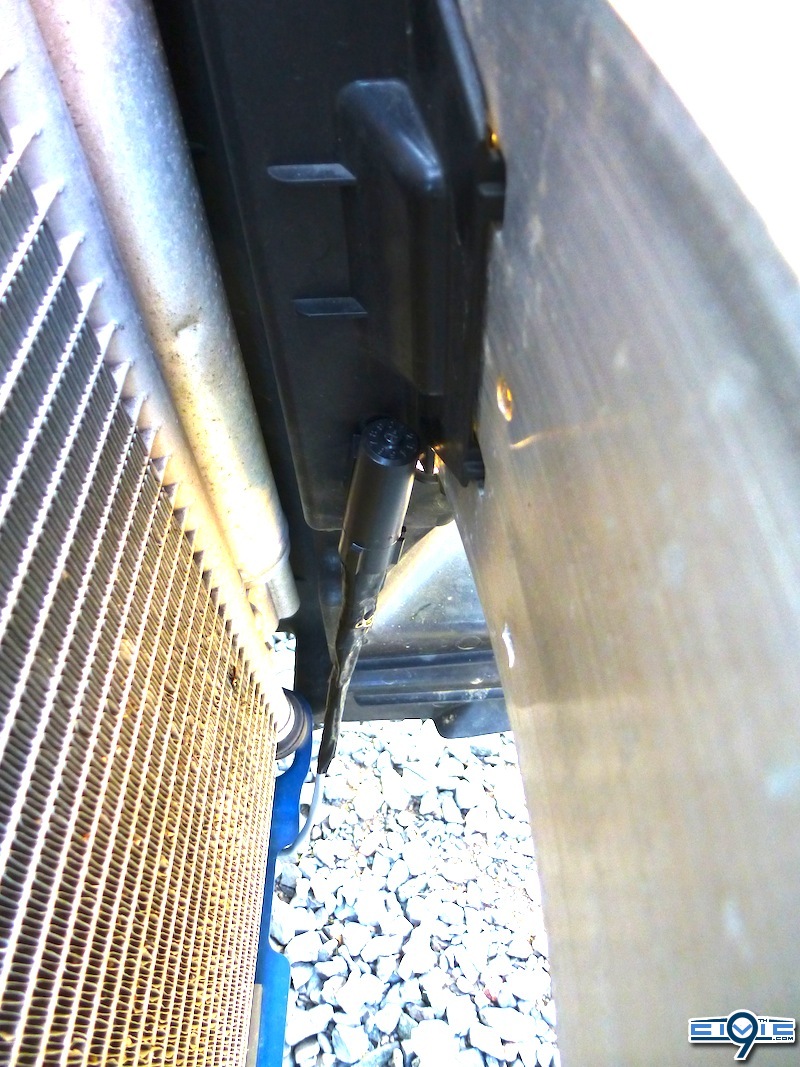
Below is the sensor with clip/bracket attached.
Below you can see the two male connectors of the sensor. You will need to find two pins that you can slide onto these.
Here you can see how I got the pins to attach to the sensor's male connectors (there are other options). I would suggest you bring the sensor to your local electronics shop and ask what they have. I had this plug left over that I got at the auto-wreckers.
So, I hacked it and tore it apart to get 2 connectors out. They work really well.
I didn't use this one, but below is a different type of connector that would also work.
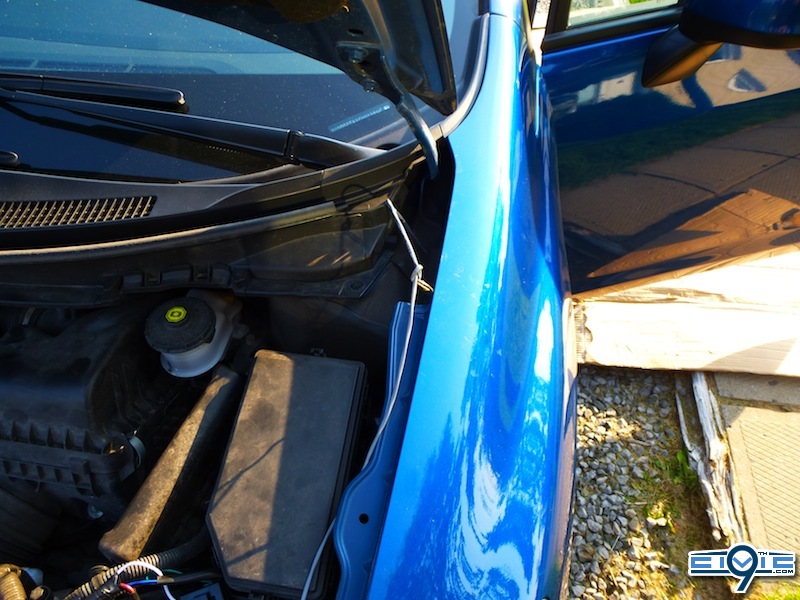
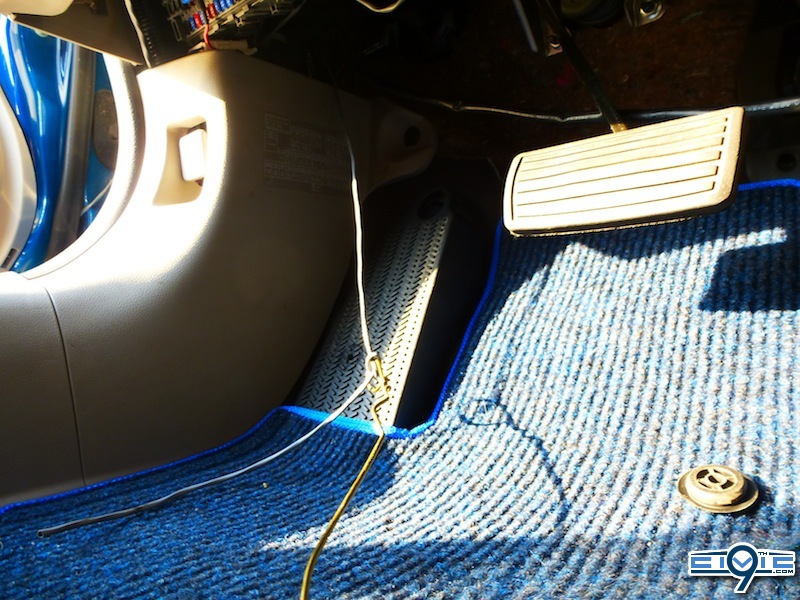
Just need to put it all together now.
Attach your wires together. I soldered the wires together after twisting them.....obviously I need to work on my soldering skills.
Wrap in electrical tape.
Last edited:
")
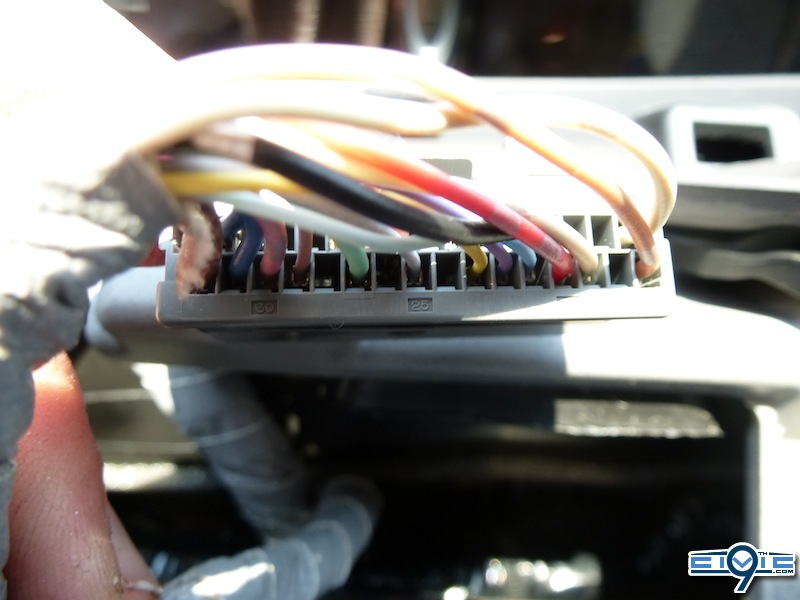
 if i remember right, they'll only go in one way

