Flamethrower
Well-Known Member
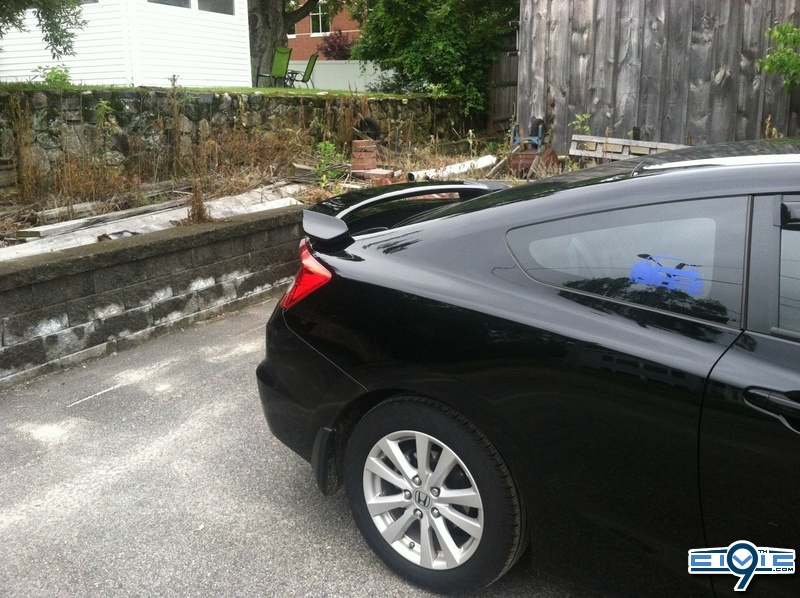
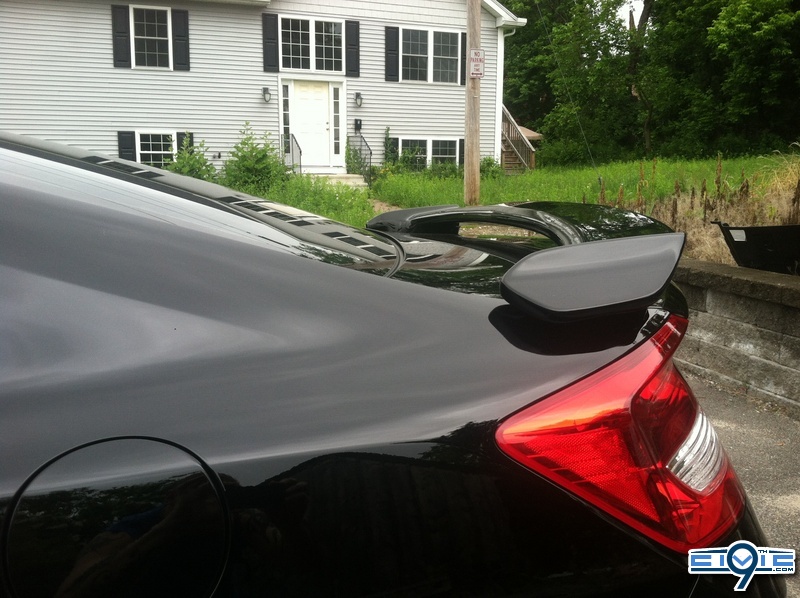
So after a long drawn out process which I will not go in to detail about, my CORRECT spoiler arrived for my car and I was able to install it last night with help from a buddy and his garage. This is my first time doing something like this so please bear with me.
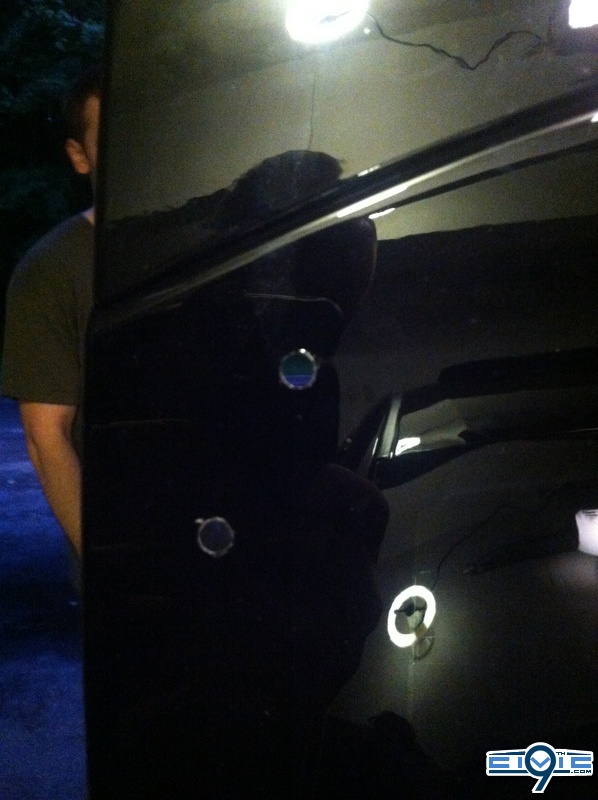
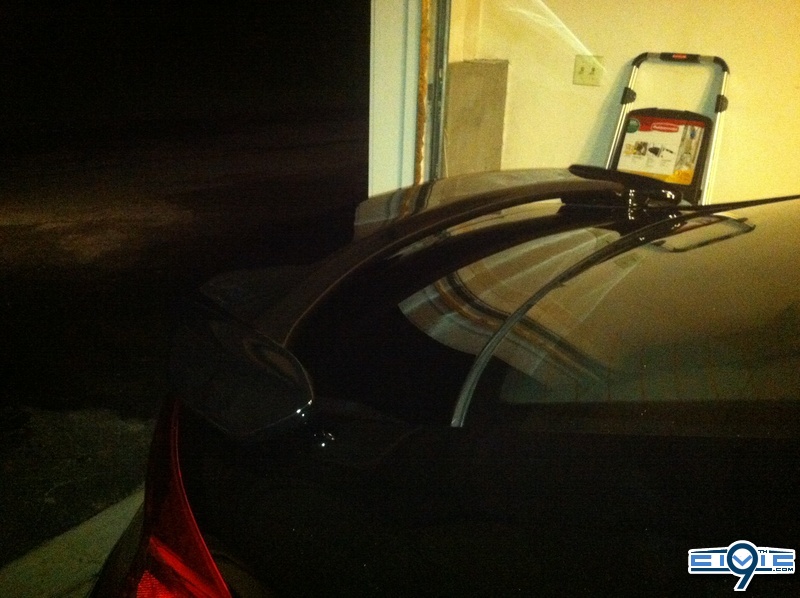
1) When I opened the box I noticed the foam around where the spoiler will sit on the trunk. I learned a small trick from my window visors and took a black sharpie and colored the outside of the foam black to match my car. This way it gives it the impression of being seamless. I then colored the bottom of the foam padding black, colored the screw holes and placed pieces of cardboard over them to create templates. I would have followed the instructions but I don't own a Chevy Camaro. See pics below.
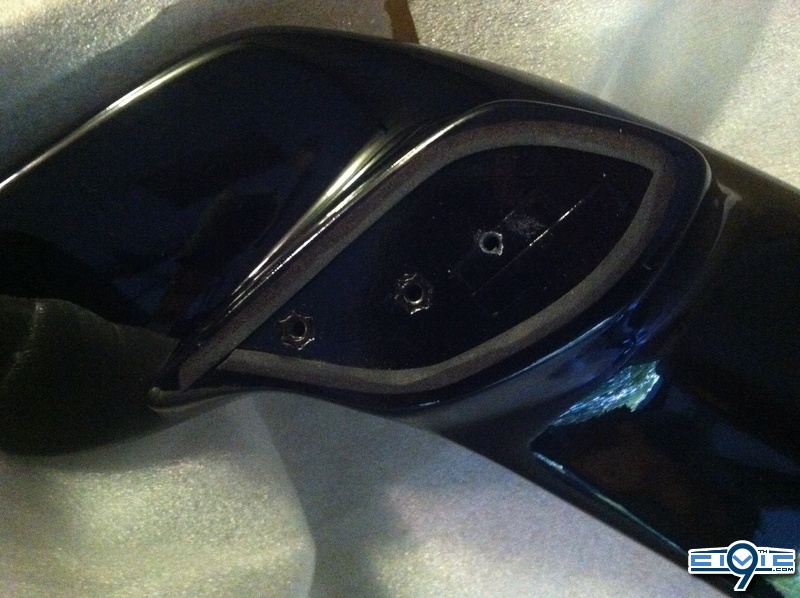
2) Then by taping the templates to the spoiler and placing it on the trunk in the desired spot, we taped the templates to the trunk and removed the spoiler. This left just the cardboard templates on the car for drilling time.
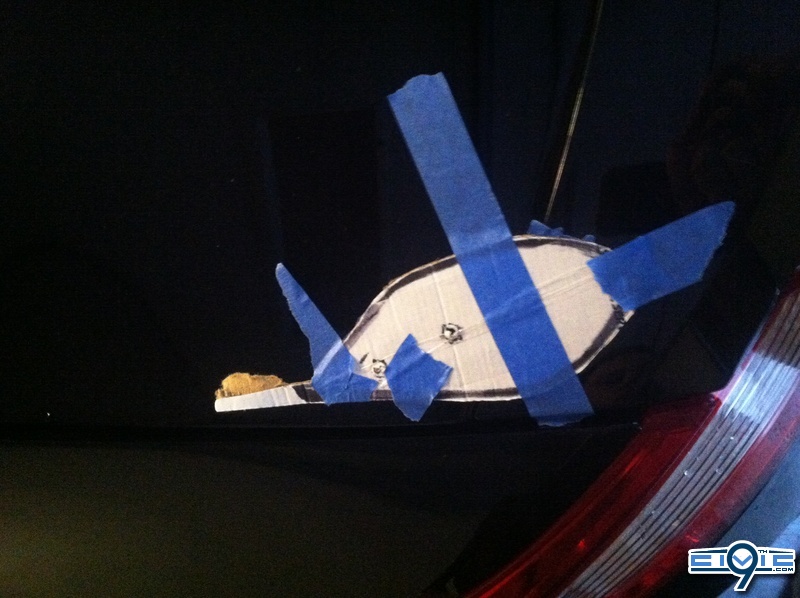
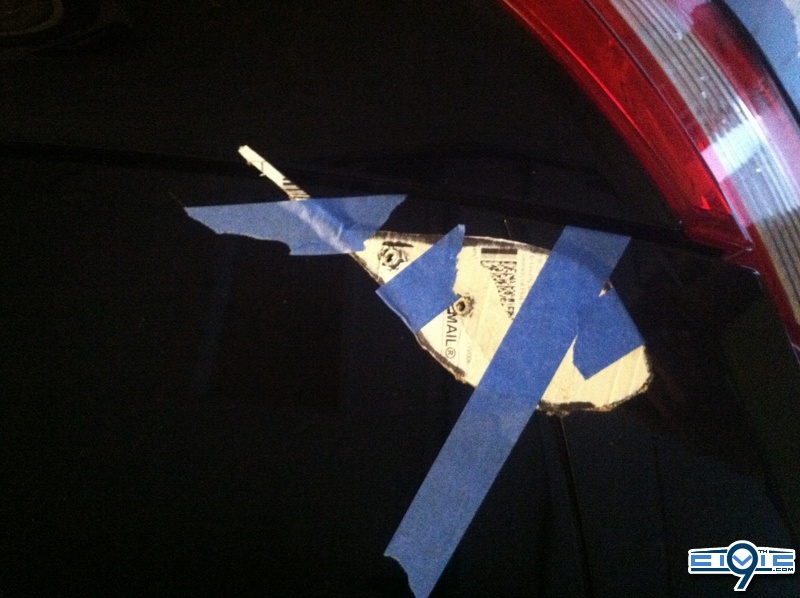
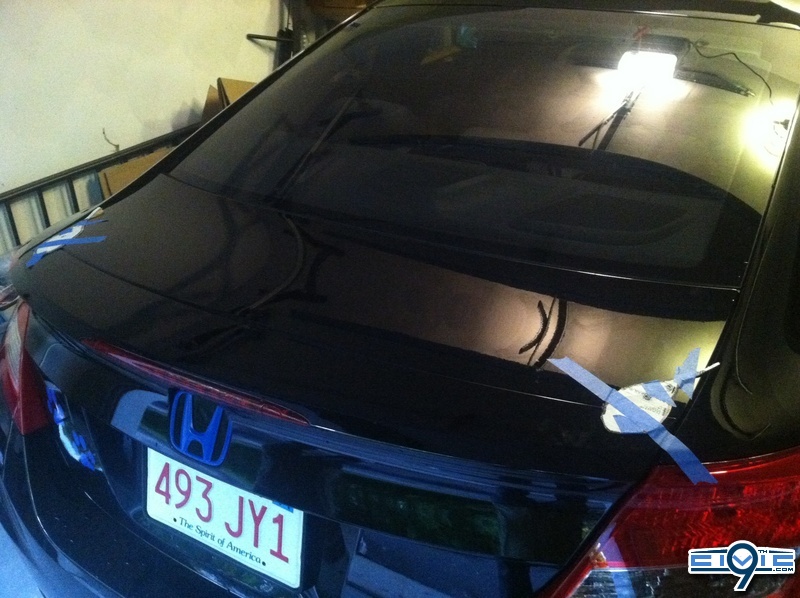
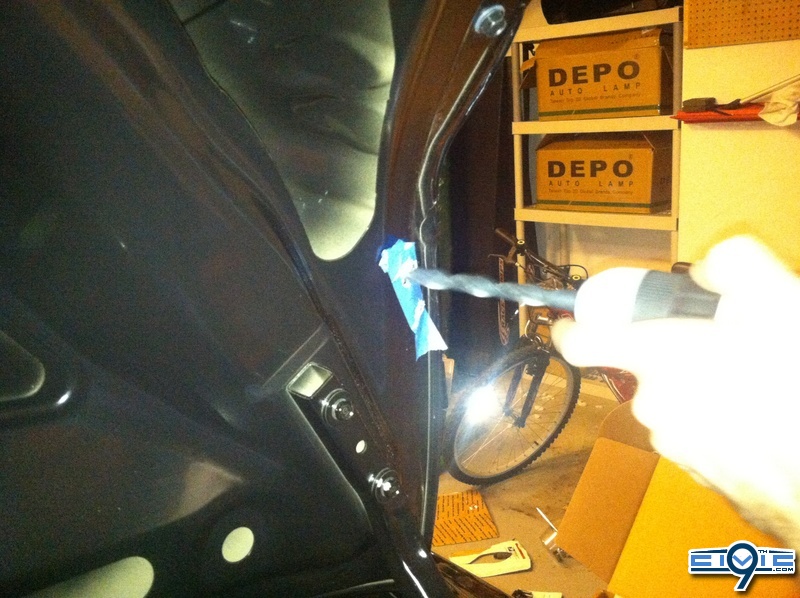
3) Next is the drilling. This is the part that scared me. One wrong hole and the trunk is toast. Luckily we took our time and double checked everything before we drilled. Started off with small bits and worked our way up to a bit that the screw fit smoothly through. The hole was just right for the screw. The first 2 holes I forgot to put downa rag for the metal shavings. That is highly recommended.
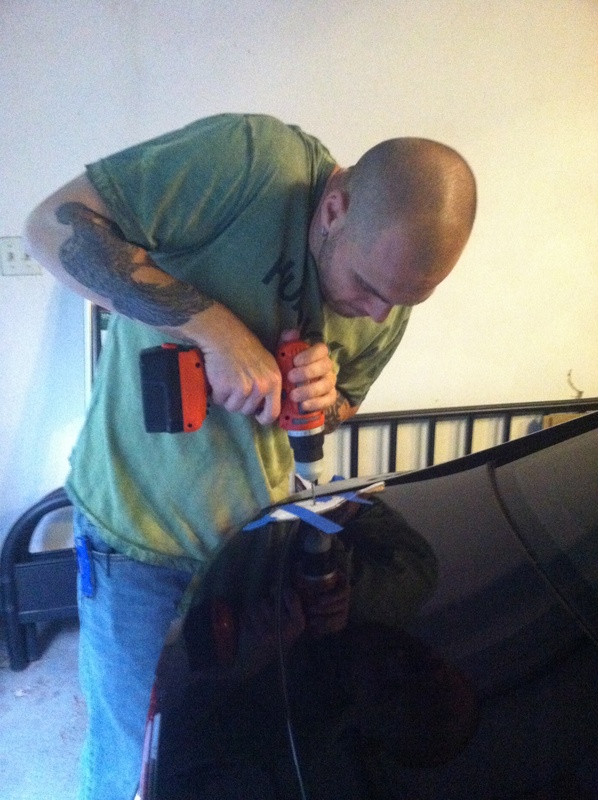
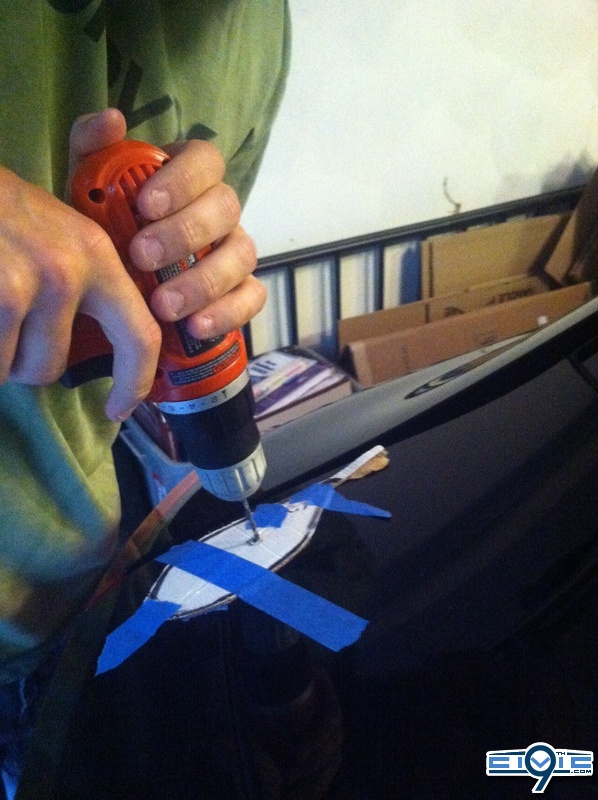
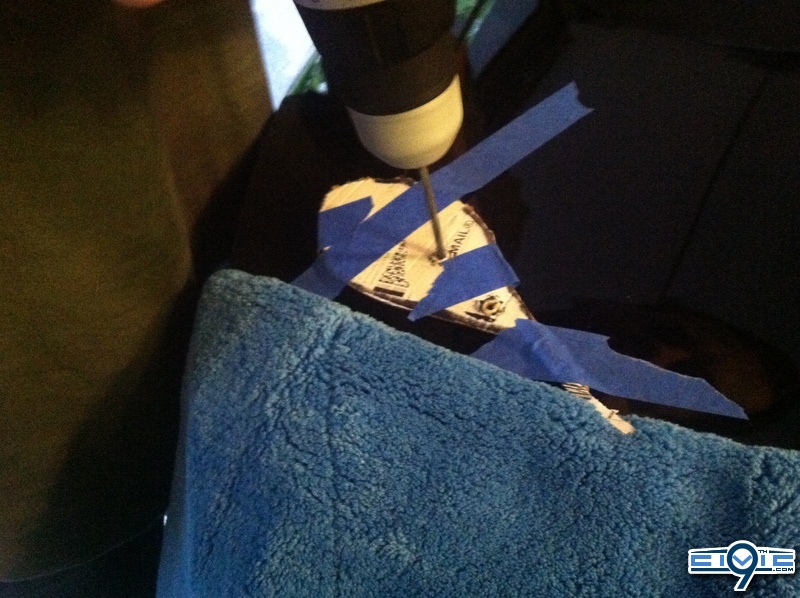
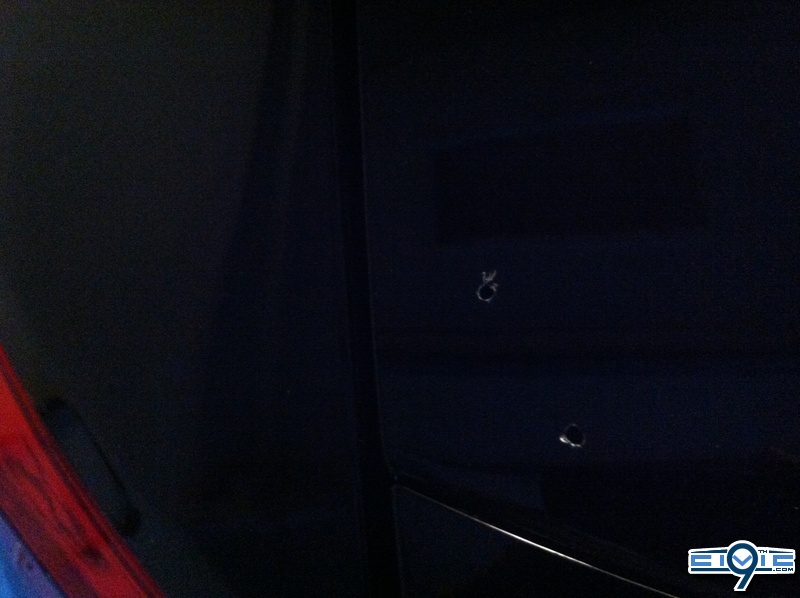
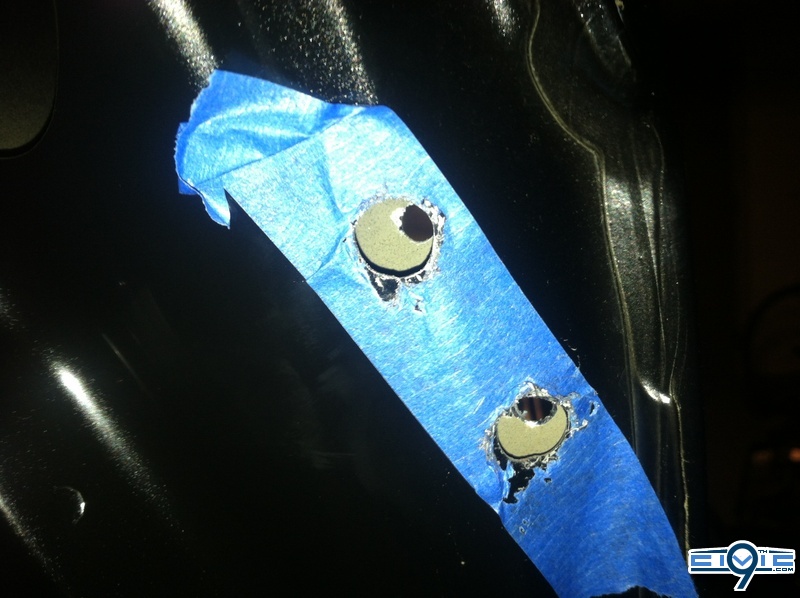
4) Once you get the holes to the correct size, it's time to start on the back holes. Now because of my placement on the trunk, the inside holes had to be double drilled. That and one of the holes was on a weird angle. You can see from the pics that there is two layers of metal to drill through. The inside holes needed to be considerably larger so the ratchet attachment would fit in it to tighten the screw.
1) When I opened the box I noticed the foam around where the spoiler will sit on the trunk. I learned a small trick from my window visors and took a black sharpie and colored the outside of the foam black to match my car. This way it gives it the impression of being seamless. I then colored the bottom of the foam padding black, colored the screw holes and placed pieces of cardboard over them to create templates. I would have followed the instructions but I don't own a Chevy Camaro. See pics below.

2) Then by taping the templates to the spoiler and placing it on the trunk in the desired spot, we taped the templates to the trunk and removed the spoiler. This left just the cardboard templates on the car for drilling time.


3) Next is the drilling. This is the part that scared me. One wrong hole and the trunk is toast. Luckily we took our time and double checked everything before we drilled. Started off with small bits and worked our way up to a bit that the screw fit smoothly through. The hole was just right for the screw. The first 2 holes I forgot to put downa rag for the metal shavings. That is highly recommended.


4) Once you get the holes to the correct size, it's time to start on the back holes. Now because of my placement on the trunk, the inside holes had to be double drilled. That and one of the holes was on a weird angle. You can see from the pics that there is two layers of metal to drill through. The inside holes needed to be considerably larger so the ratchet attachment would fit in it to tighten the screw.


