- Staff
- #61
- 55,563
- 23,826
Follow along with the video below to see how to install our site as a web app on your home screen.

Note: This feature currently requires accessing the site using the built-in Safari browser.
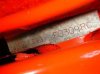
thanks webbyAll signs point to replacement motor from articles on the corvette forums. Others have similar blocks and users are saying that is how replacement/parts counter blocks are stamped (without the first set of #s to the vin).
fuel pump. is this the correct fuel pump? something about this looks wrong to me.


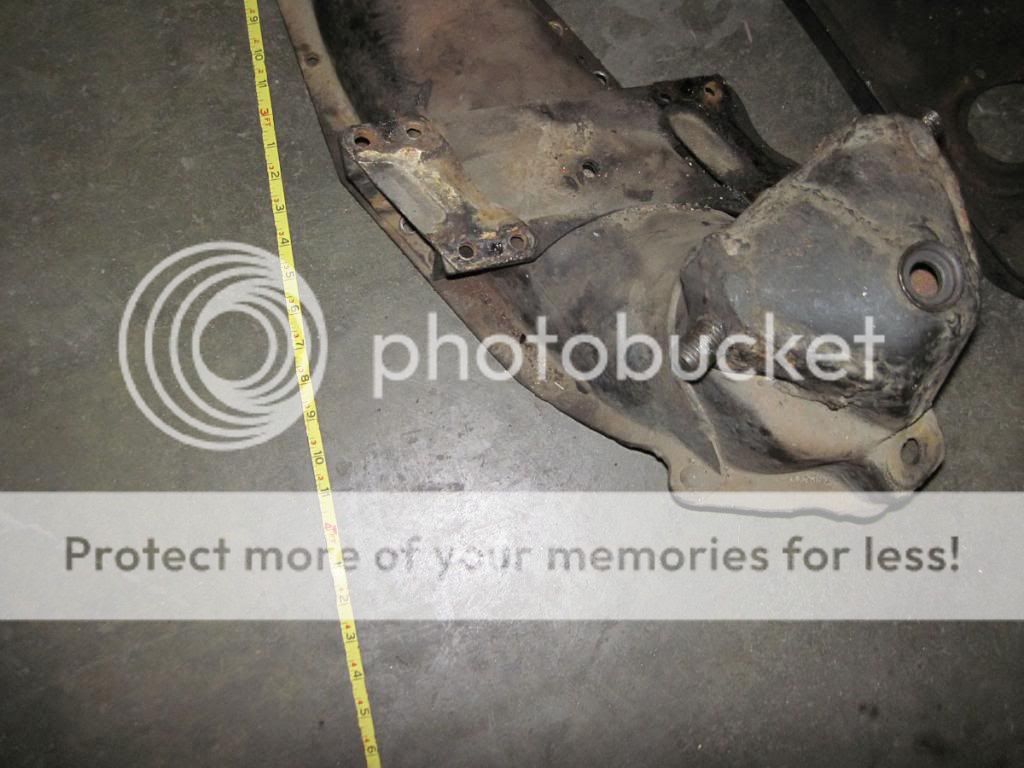
oil pan looks pretty beat up.

inside the oil pan

oil filter mount. is this an adapter?

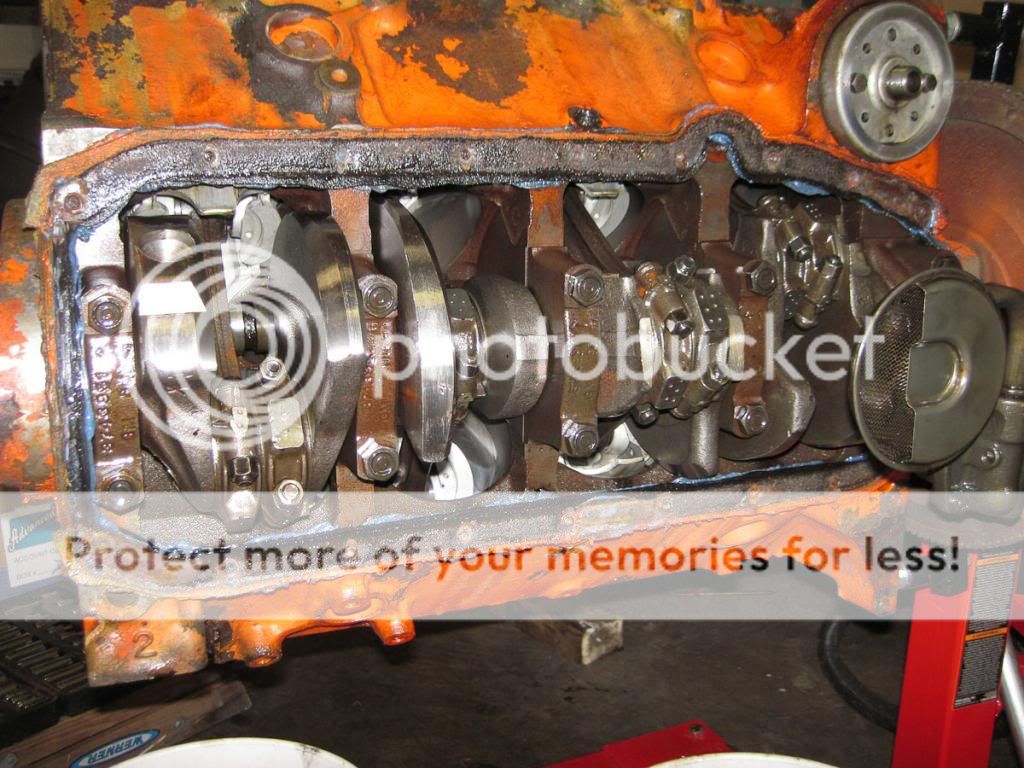
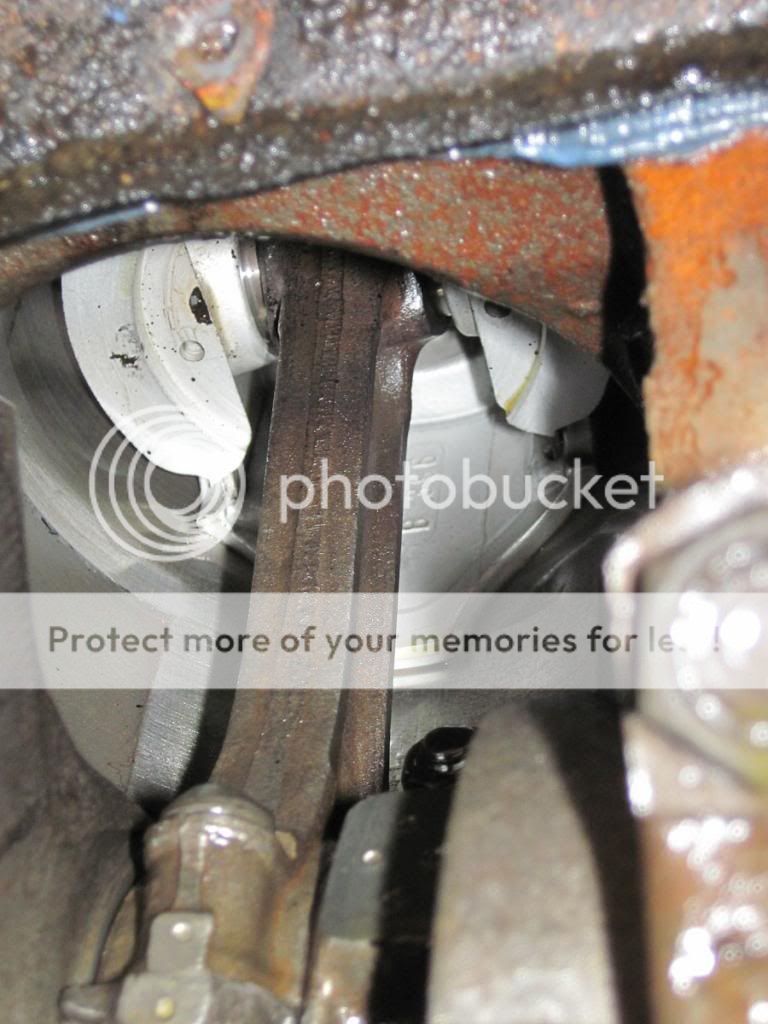
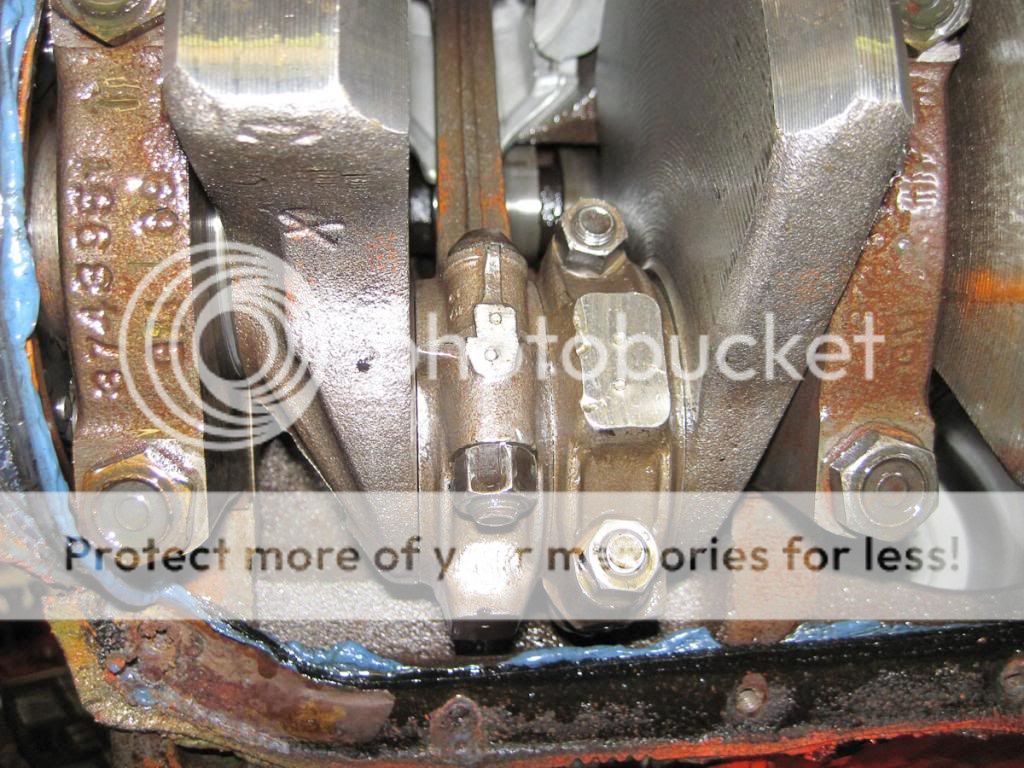
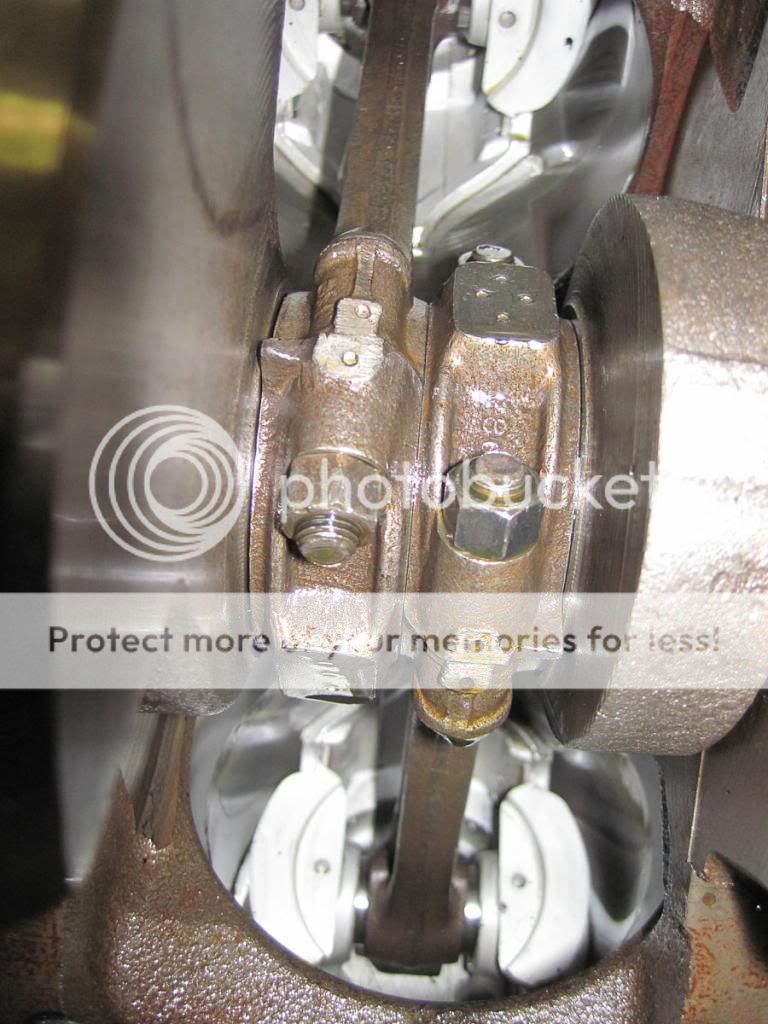
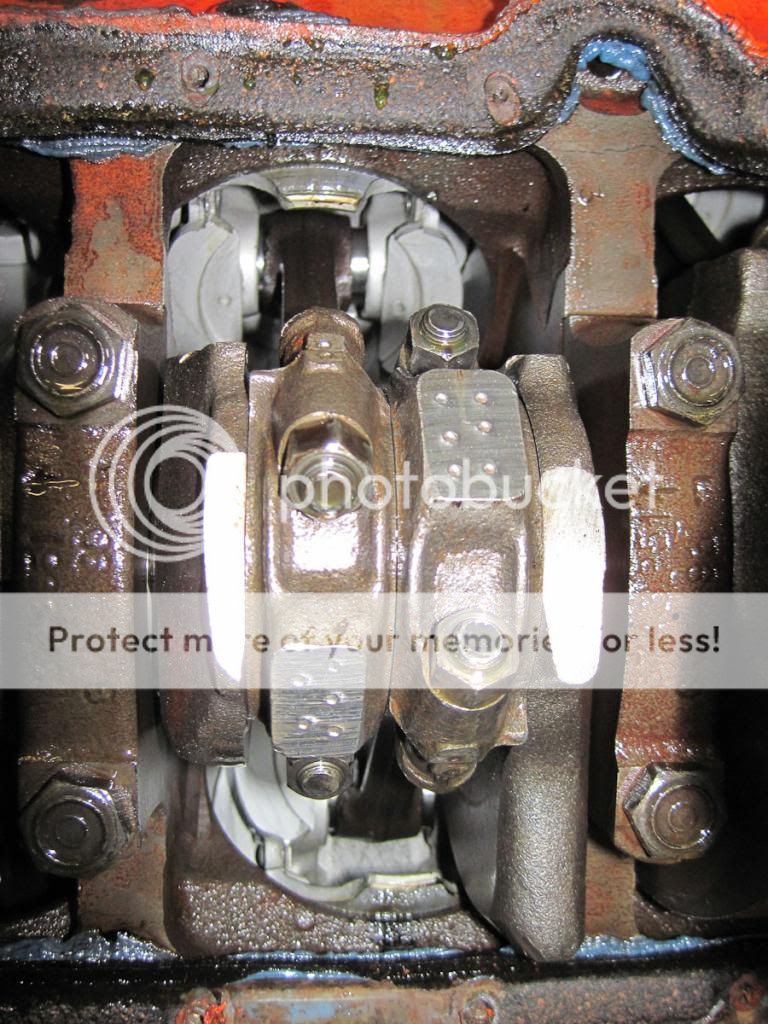
crankshaft
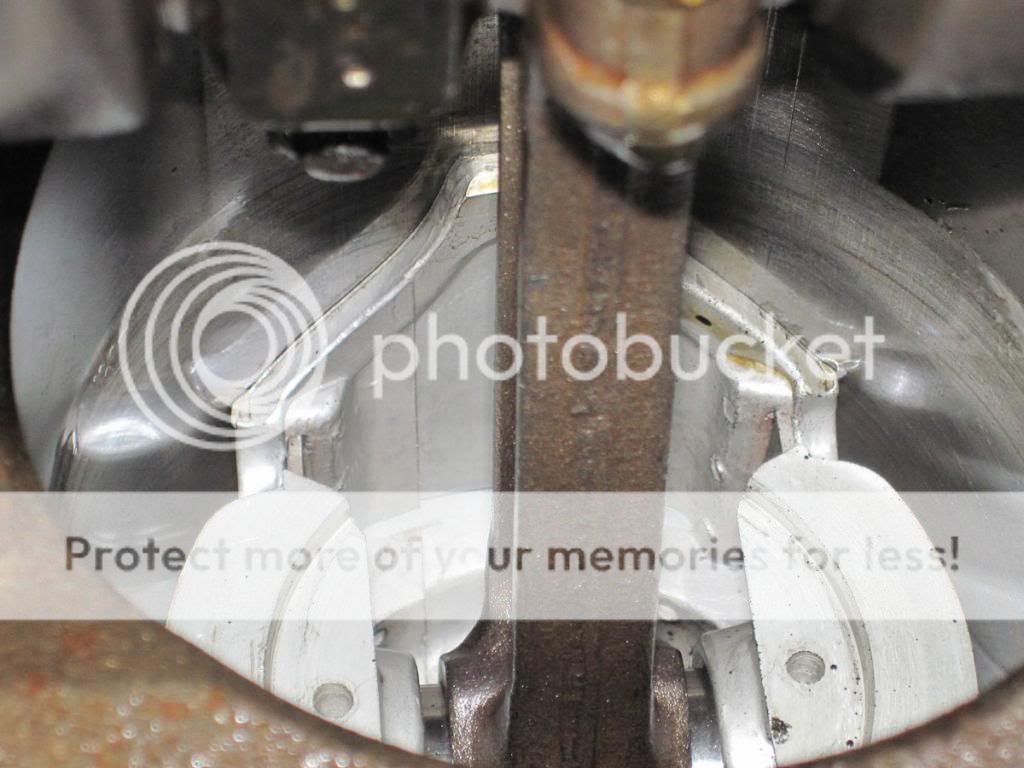
pistons look pretty new? they're all stamped "B 396" on the inside of the skirt. supposedly, the motor was rebuilt not that long ago. would you say these pictures coincide with that?
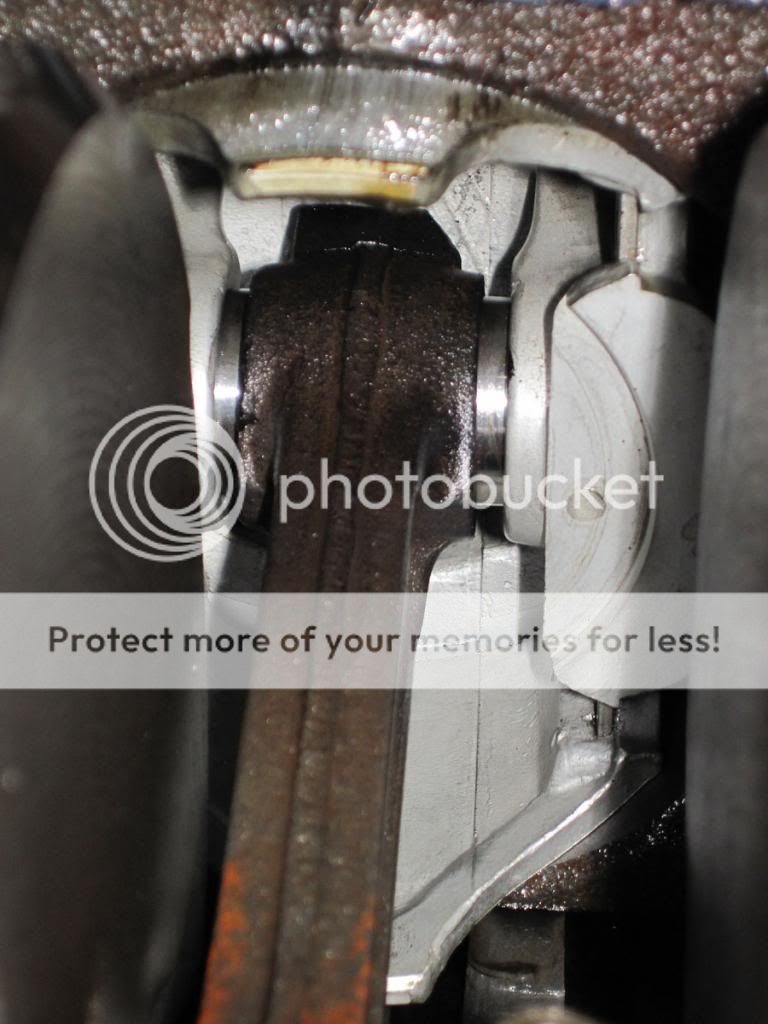

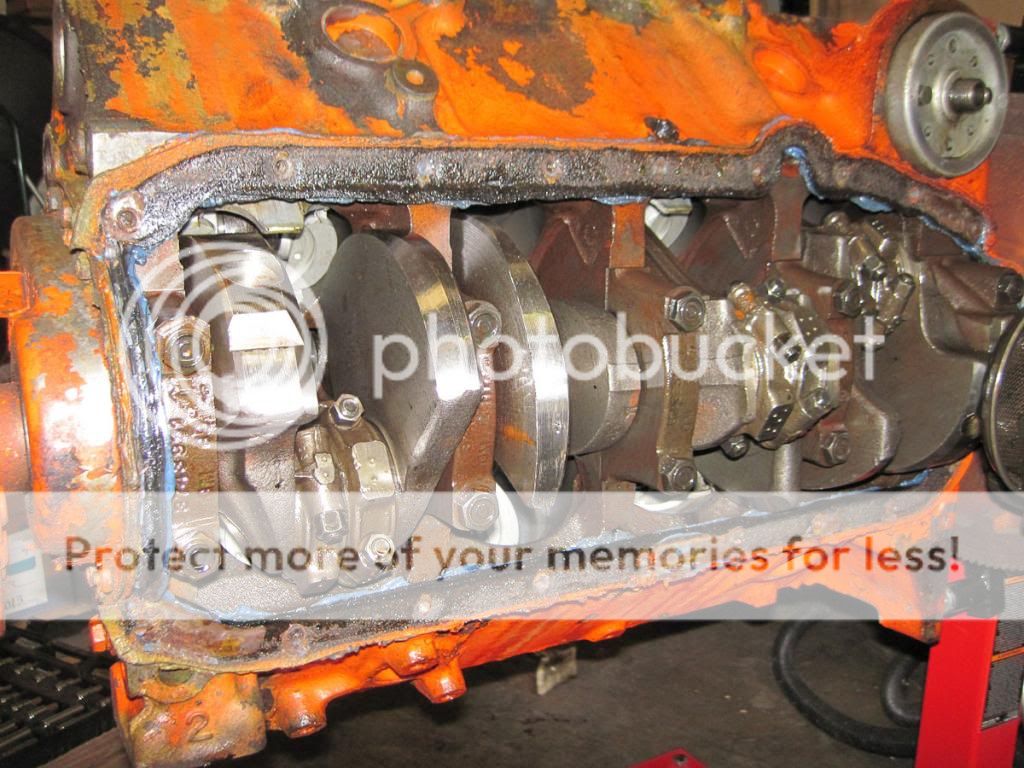
were the rods stamped like this from the factory? or is that an indication that the motor was disassembled and reassembled?
heads and lifters - i made sure to keep the lifters in the same order I pulled them out. I pulled the heads as a complete unit to make sure I don't lose parts or mix up the order.
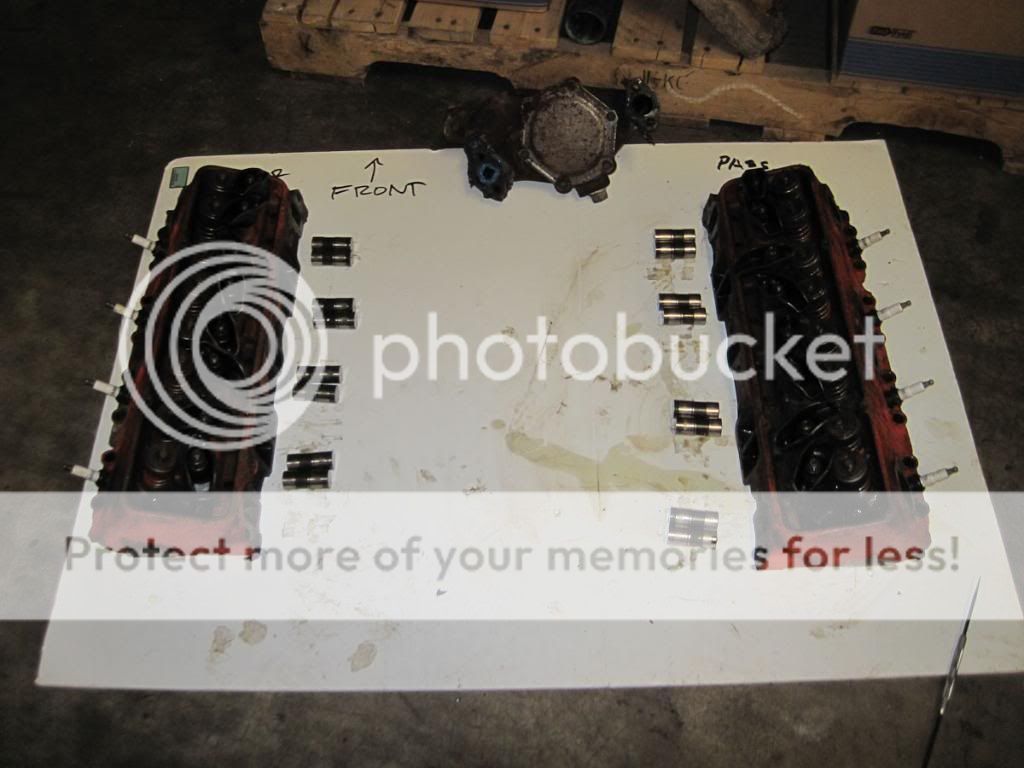
not sure I want to tear down the rest of the motor, because it looks pretty decent. what would you all do? any advice would be appreciated.
the driver side subframe looks like it was damaged and repaired before. The bolt holding the upper A-arms looks like was welded in place but since broke free. It seemed fine until I got the front suspension completely apart. after removing the bolt, the hole is super rough and it's missing the bushings that are found on the passenger side of the subframe. do you think should I just look for a new subframe? or can this be salvaged?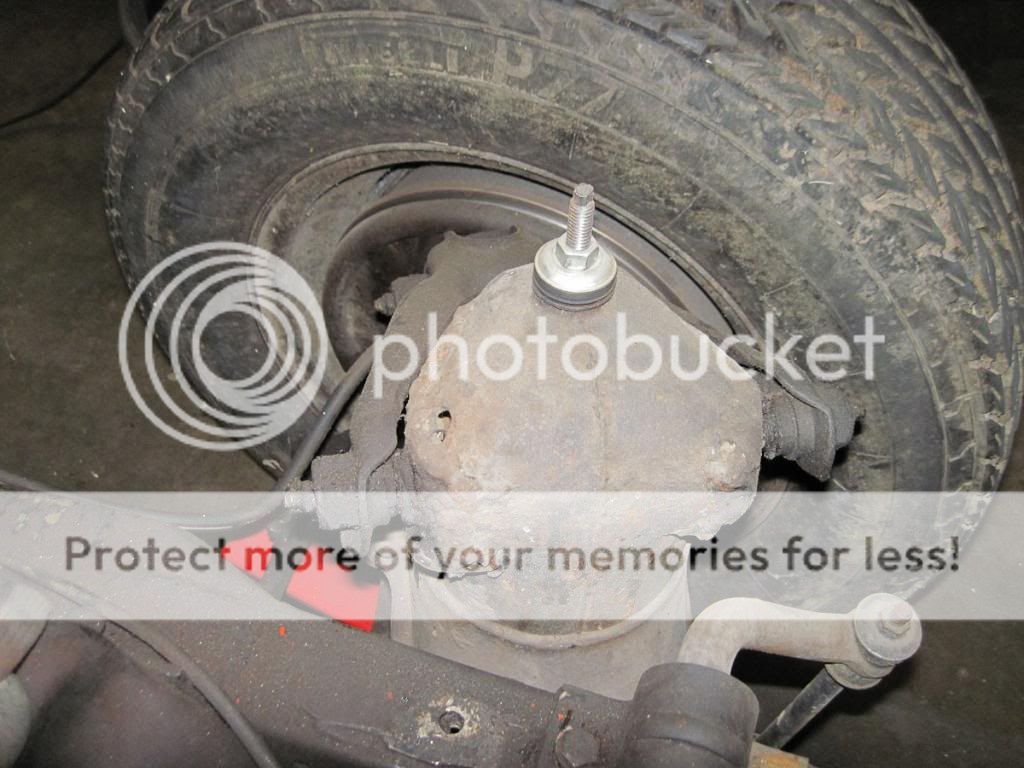
thanks again for any help!
from what i could gather from my research, all the small journal 327s came with a forged crank from the factory. we're still debating if we want to rebuild this or go with a crate motor.That is an oil filter adapter, the stock filter would have been a metal can with a replaceable paper element. The connecting rods were definitely not punched like that from the factory, that has been apart for sure. Replace the rod bolts for sure, and have the big end of the rods resized. After torquing the rod bolt nuts a few times, they are garbage. From another picture, I thought the crank was cast ( thin parting line ), but it appears to be a forged crank from the wide parting line on the crank throws above.
It doesn't look like the factory fuel pump at all, that looks like a 70's vintage pump, they had a bunch of different orientations and line combinations for various chassis. The correct pump should have a lower section that is removable.
it looks like most of the roller cam crate motors are gonna exceed the owner's budget. supposedly, the original corvette valve covers will bolt right up to the pre-1985 style 350 crate-motors. the only thing is that the original valve covers don't have any PCV provisions, so to keep them, i'd either have to run valve cover spacers and modify them to accept the PCV, or fabricate something else to allow it to work. the intake and exhaust manifolds, water pump, etc. should all bolt right up.From the second picture I looked at this appears to be a forged crank. A crate motor will be a lot less work, and you can benefit from better technology, such as a roller camshaft. However, this wouldn't be 'correct' if that's what you are looking for. If you want to keep the stock valve covers, you may run into issues, if I recall correctly the old valve covers and heads have a slight difference in the bolt pattern as compared to the newer ( up to 1985 ) cylinder heads.
Those heads will need a lot of work to run today's unleaded gas. You will need hardened valve seats installed, and if the engine is high mileage, you will need to have the valve guides replaced. Here's a video of what's involved in replacing the guides, the valve seat installation is quite labor intensive.
Also a good idea to remove the factory pressed in rocker arm studs, drill and tap for 3/8" screw in studs. I would price out that work with positive control style teflon valve seals ( have to cut the top of the guides ) these are 10x better than the stock rubber umbrella type seals. You may be further ahead to buy heads from a large rebuilder that does this work day in and day out, it may be a lot cheaper than trying to source locally.
yeah i was definitely planning on checking all clearances, but i think this being a NOM, we're just gonna get a crate motor. we'll put this one back together for now and keep it on the side and rebuild it properly if the owner ever decides to sell the car or go for NCRS top-flight status or something like that.Something that hasn't been mentioned yet is when you do the bottom end make sure to spec the bearings to make sure that the clearance is within spec. It looks like some of the bearings used in the last rebuild were a little on the tight side and that may be why the wore worse than the others.
I've made that mistake in the past and now use plastigauge on all my bearings when assembling the bottom end.