austin1636
Well-Known Member
Mod difficulty 6-7/10
MINI H1 retrofit DIY 2013 civic si
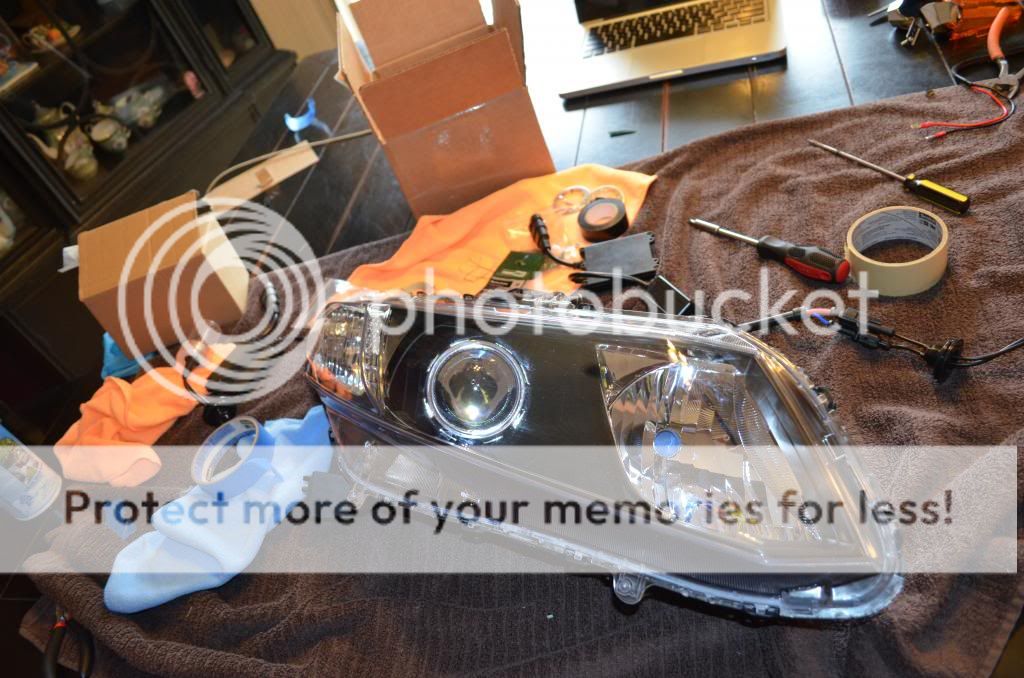
What I used:
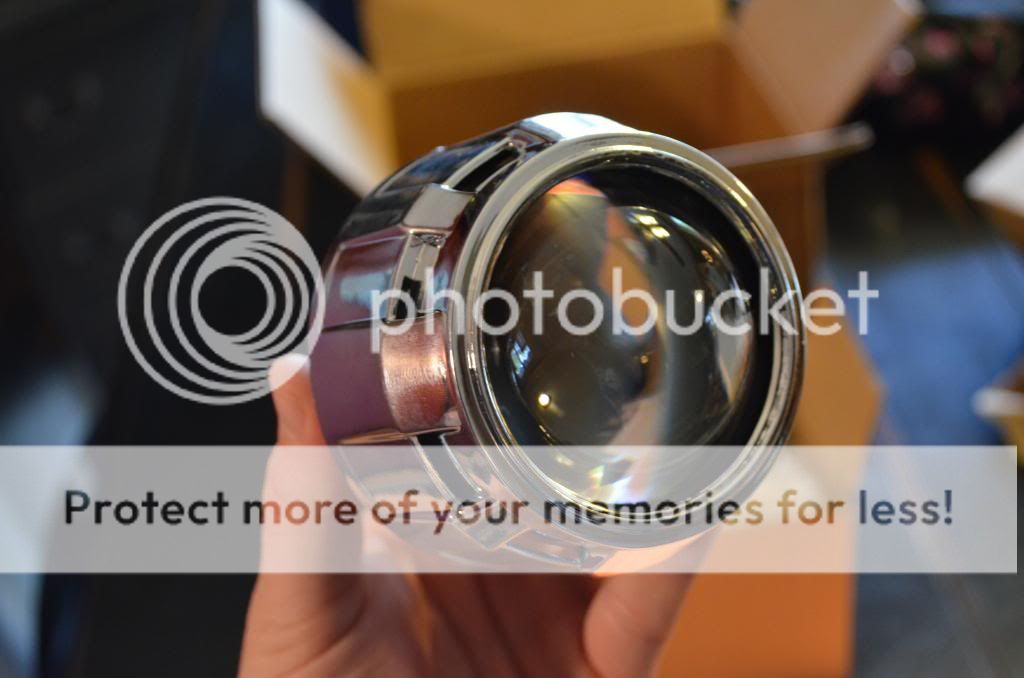
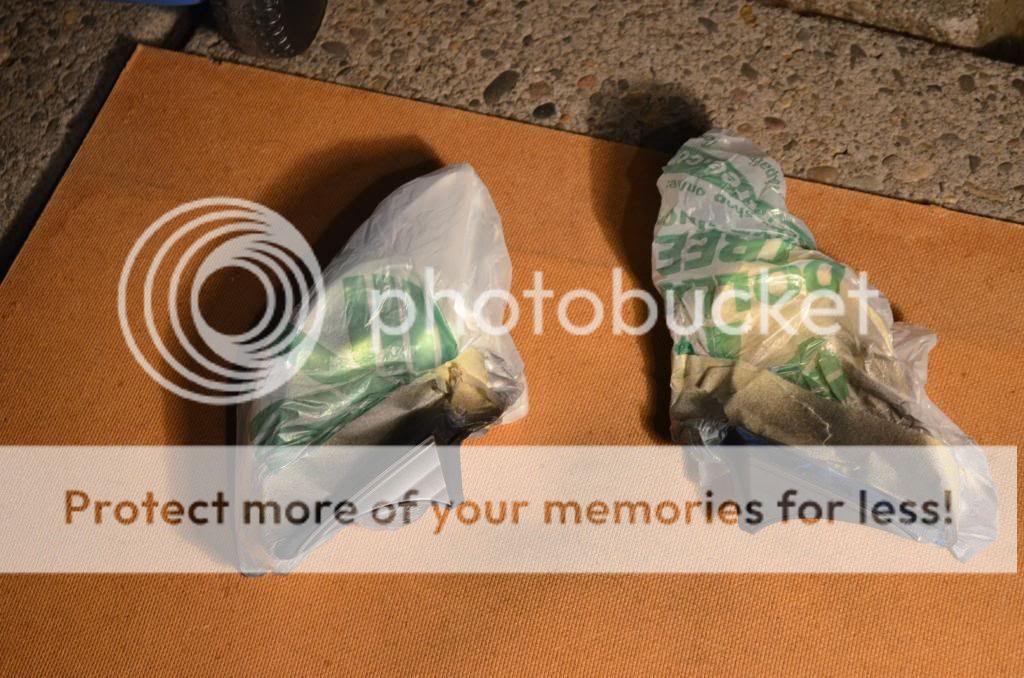
Mini H1 projectors
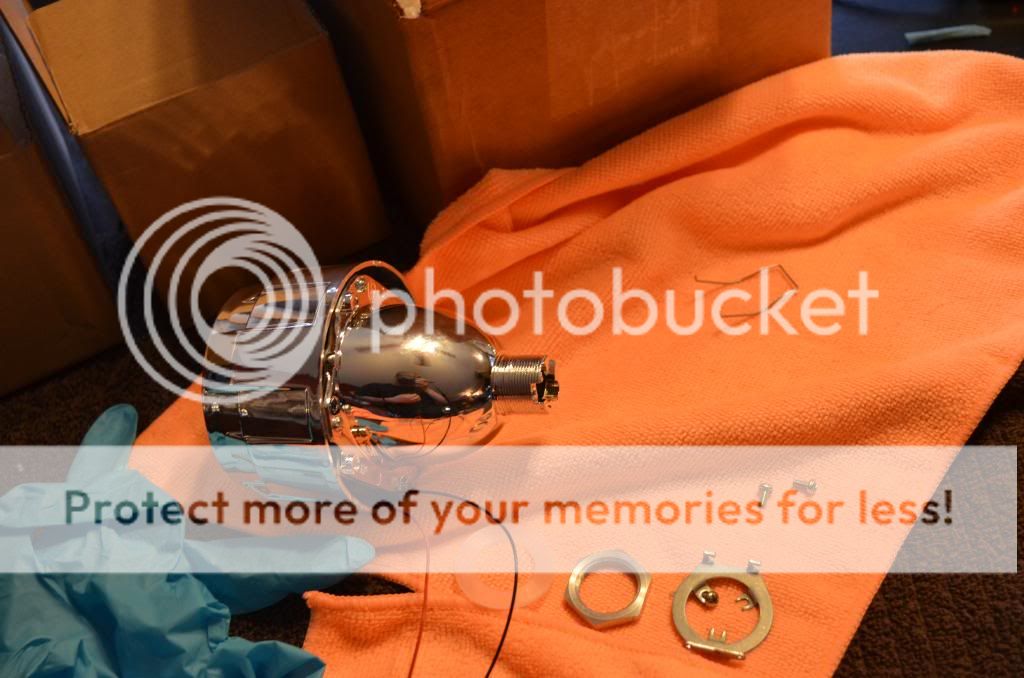
Shrouds
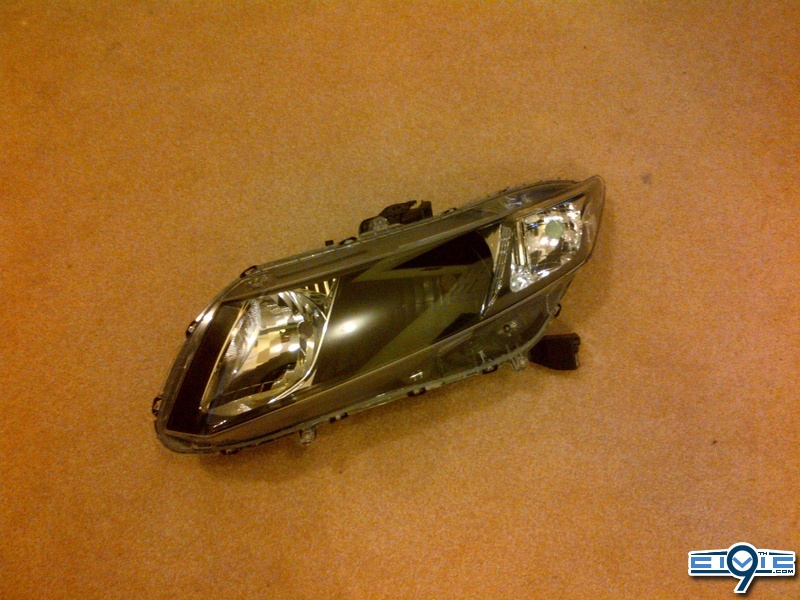
OEM headlights
Black bumper paint
Painters tape
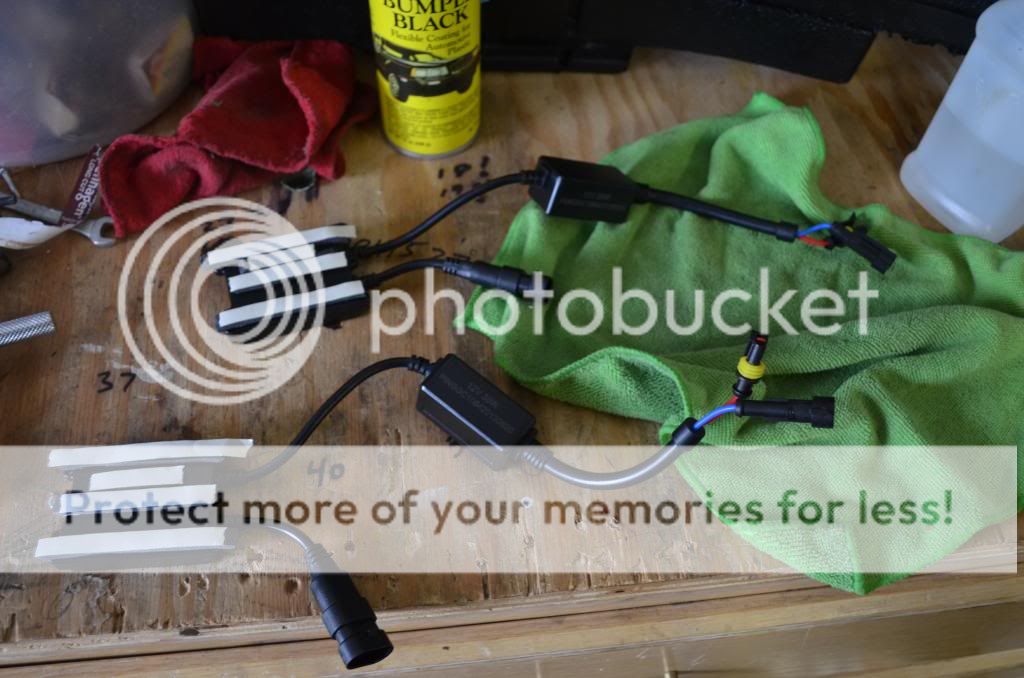
DDM tuning 35W 5000k H1 HID kit
Flat head screw drivers
Philips screw drivers
Needle nose pliers
10mm Socket/extensions
Steel wool
Wire cutters
Sand paper
Machine screws #4 1/2 inch
Warning
This mod takes a lot of time and patients. You must be confident in doing this mod. Do it at YOUR OWN risk. The plastic on the headlights will get soft and you can ruin it easily. Once you start painting there is no going back**
NOTE* i did NOT use the Dual function on these projectors(only low beam)
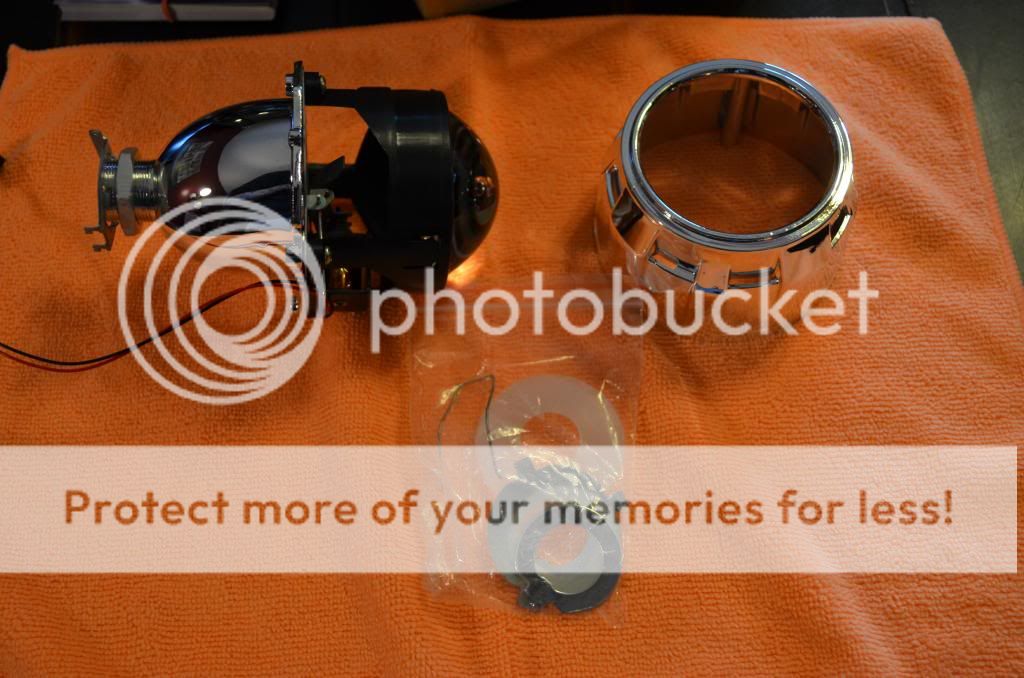
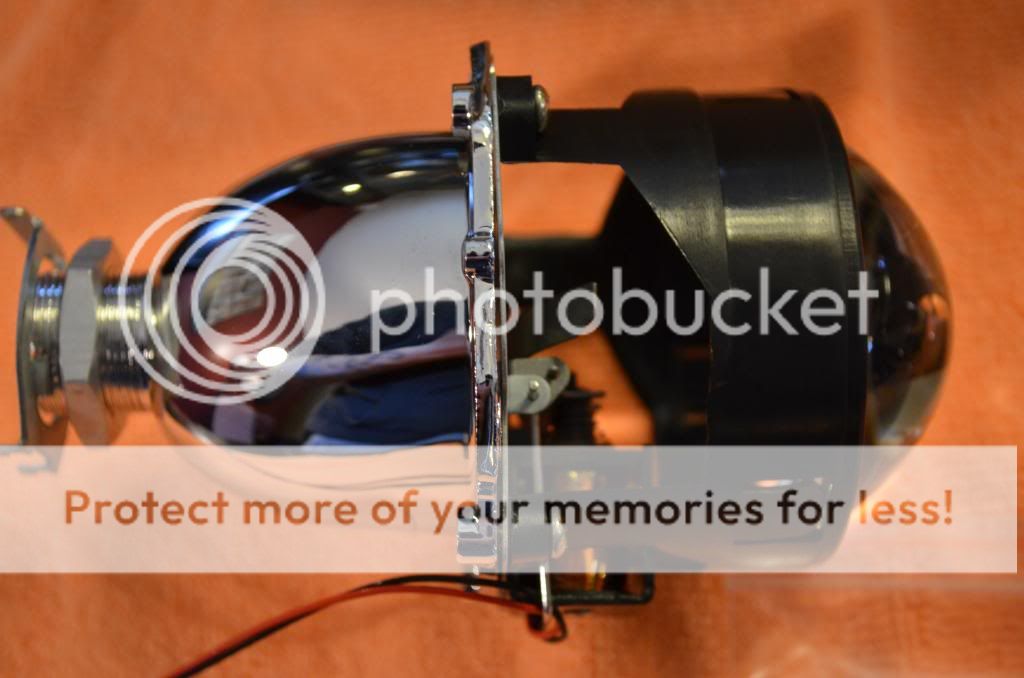
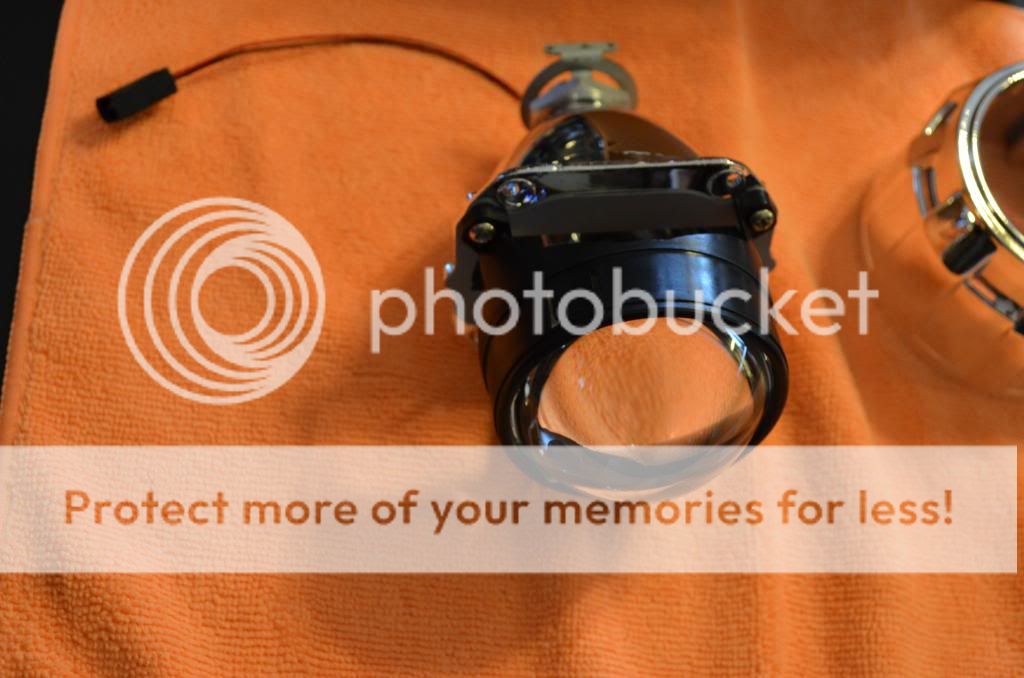
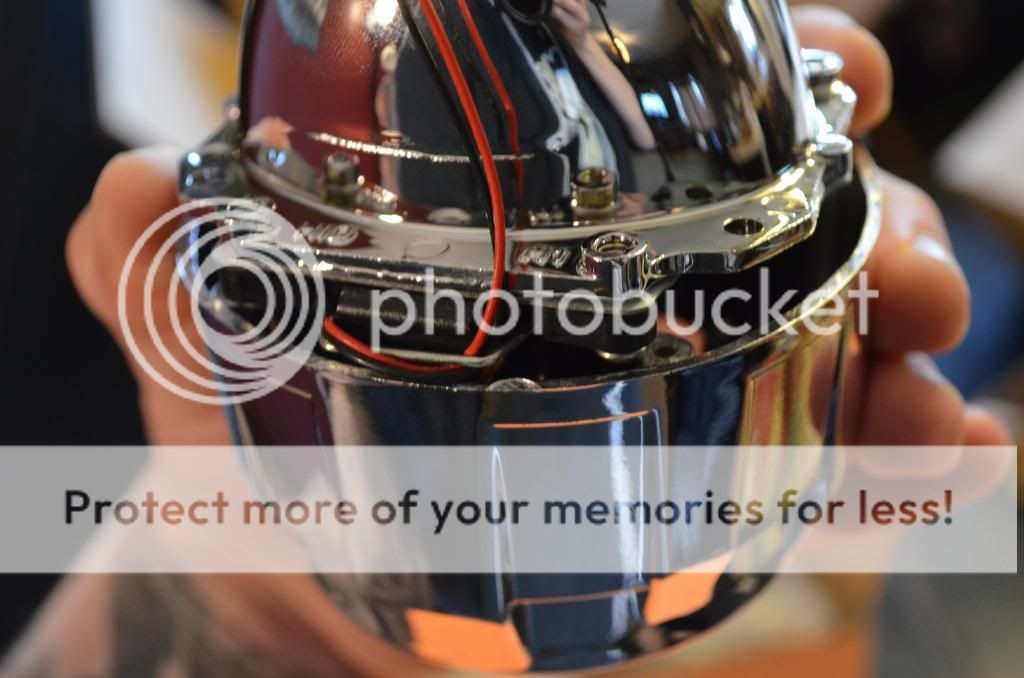
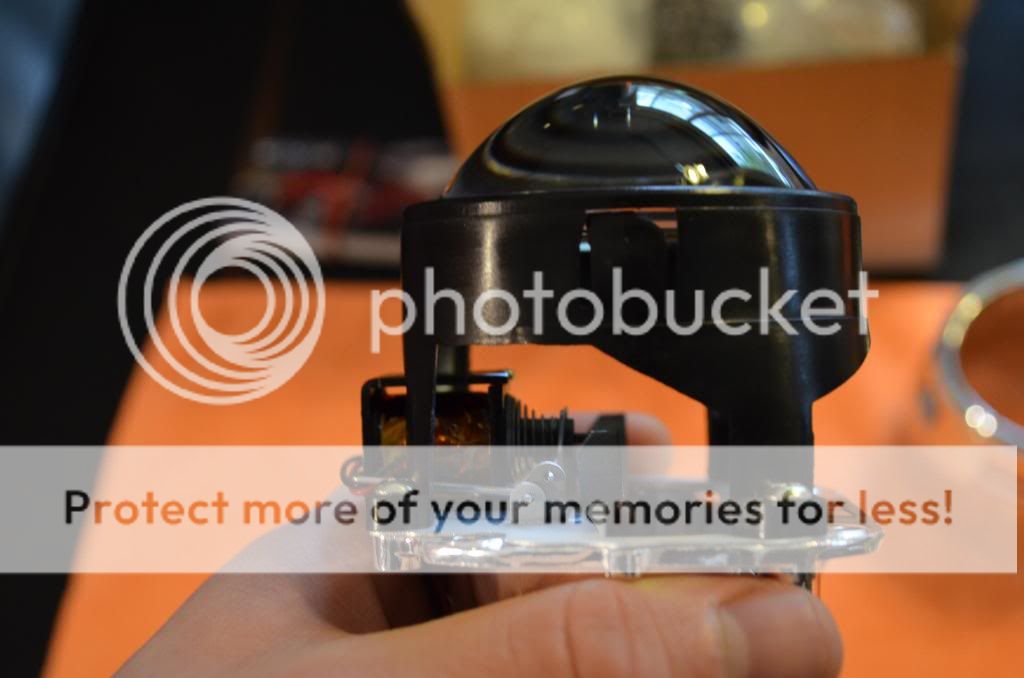
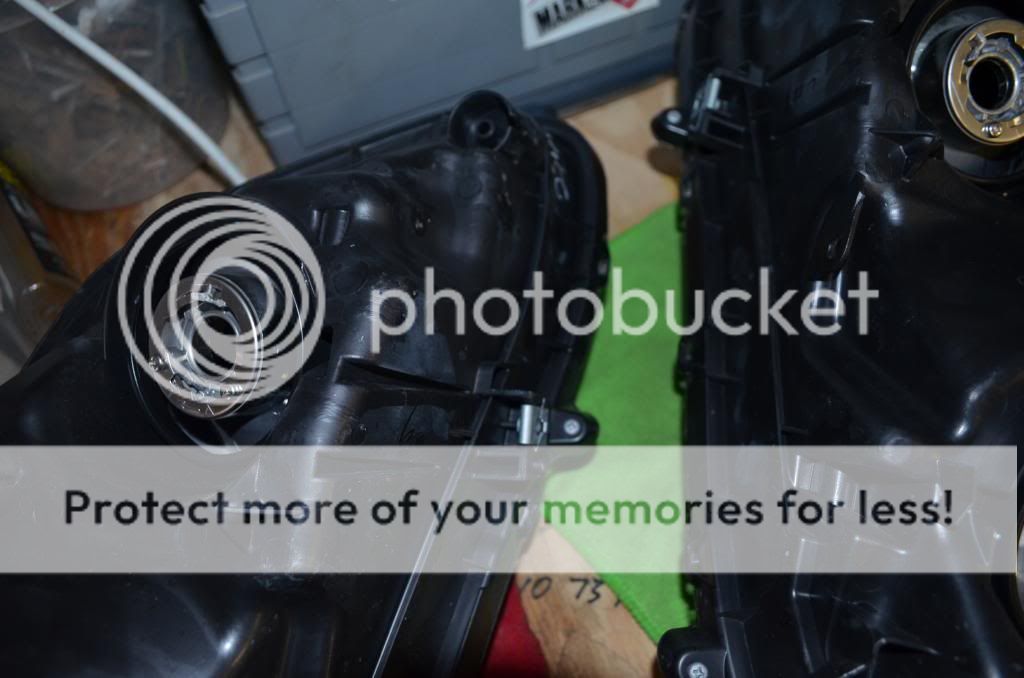
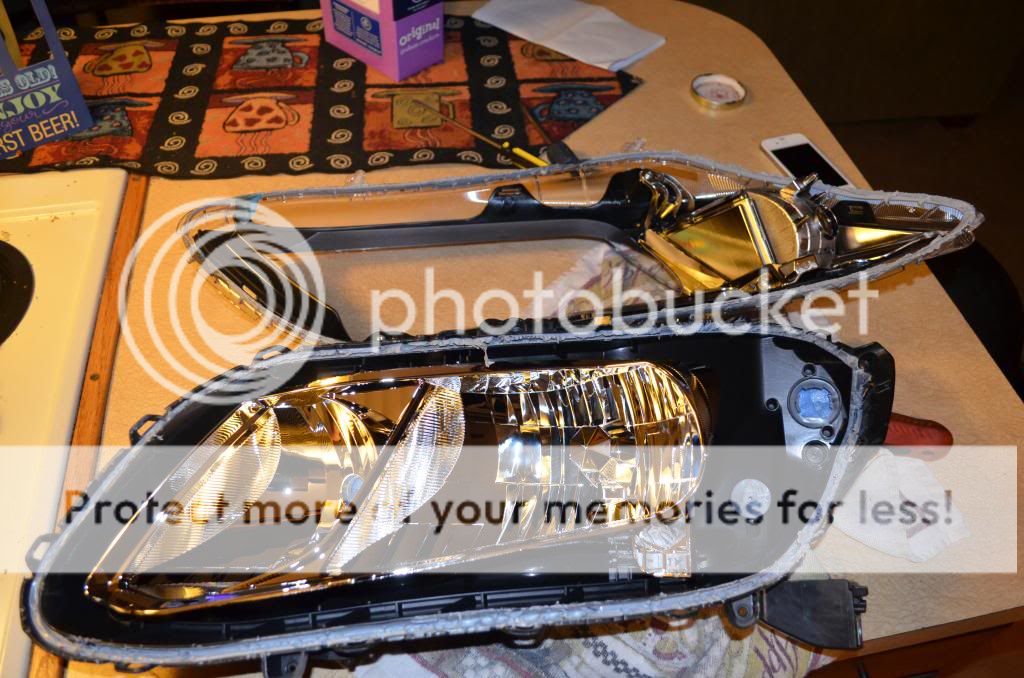
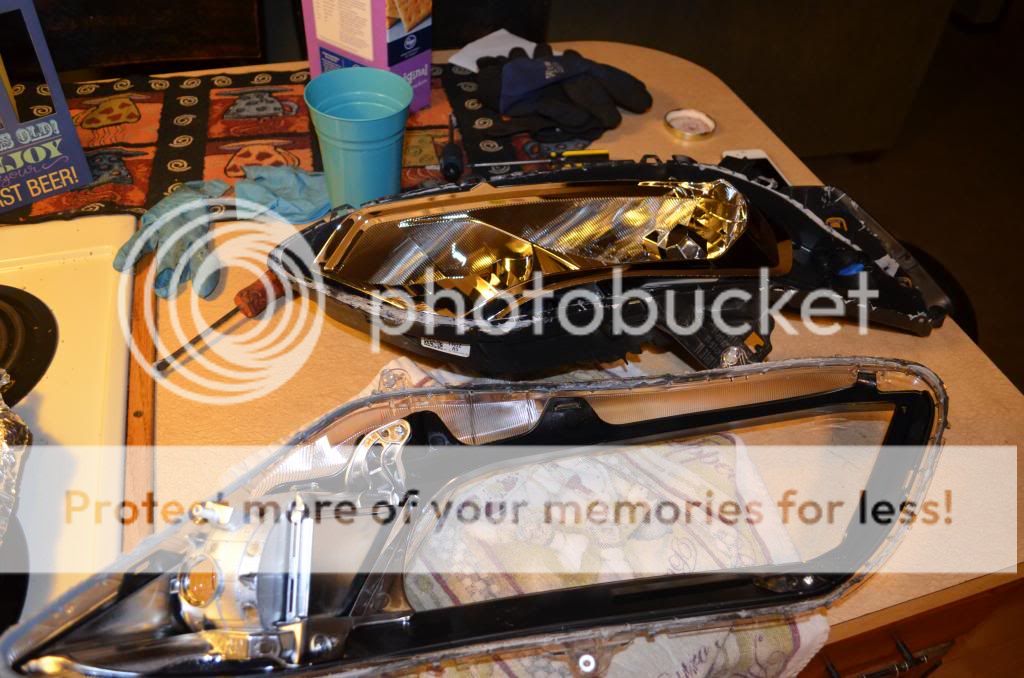
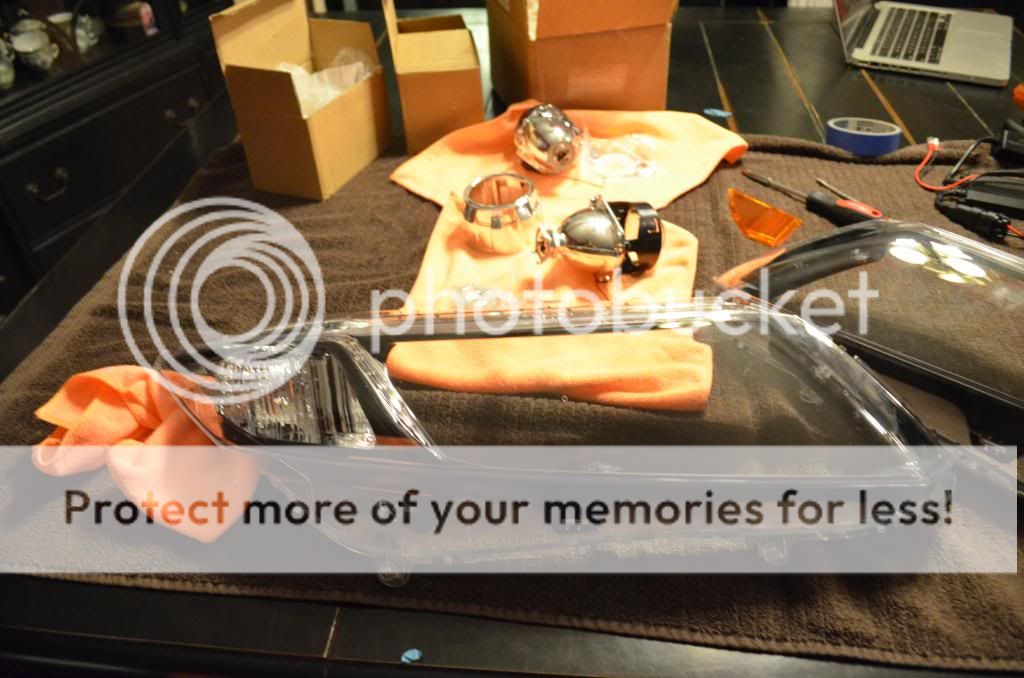
Here is what it looks like when you first open up the projectors


STEP 1
Bumper removal
(if you are not comfortable with this then do not attempt this mod)
This is as far as i took the bumper off since you only need enough space to get the headlight off

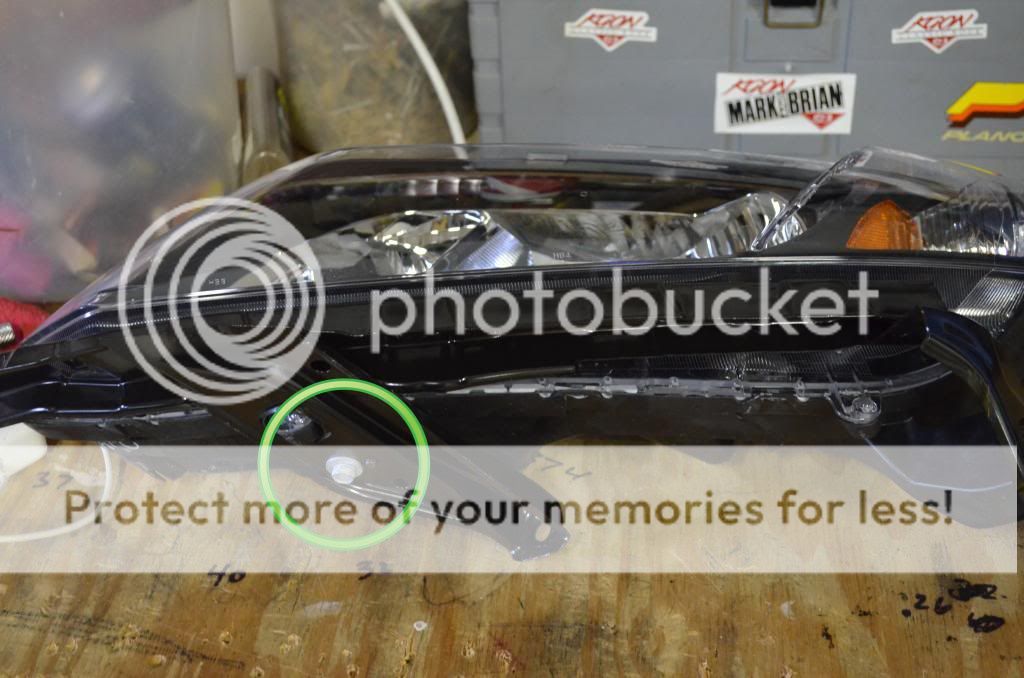
STEP 2
Headlight removal
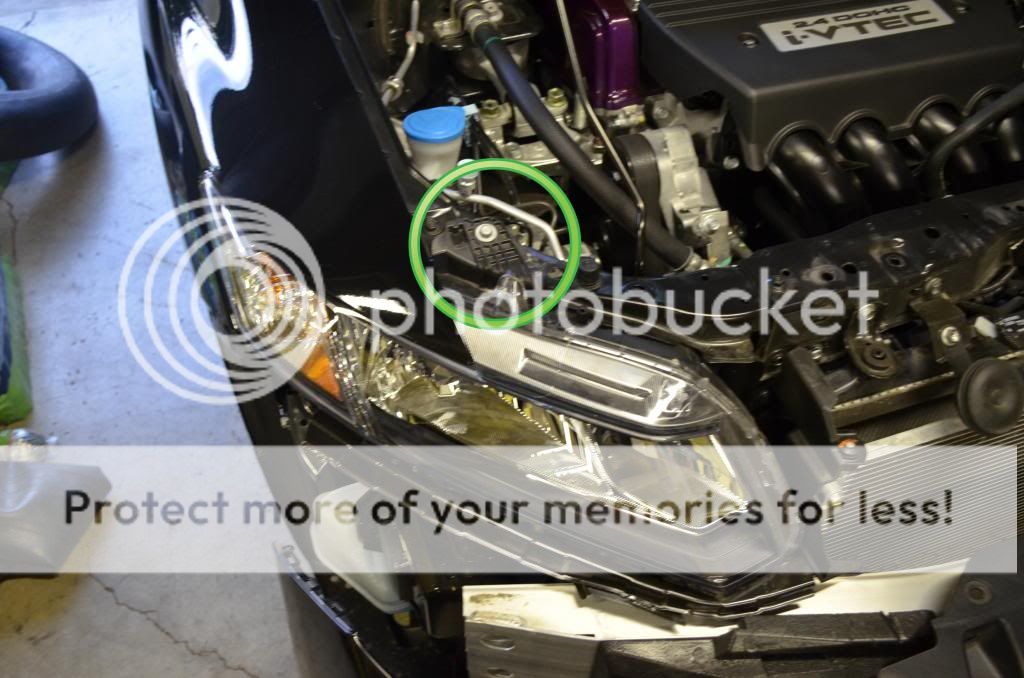
there are 3 bolts holding the headlight on the car(10mm)
TOP
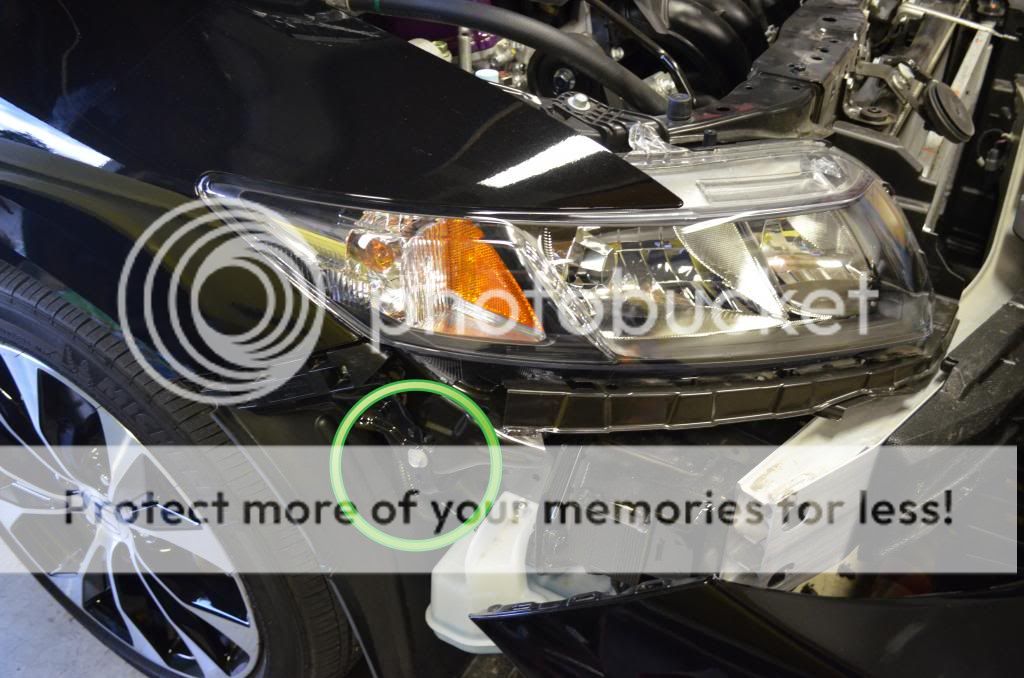
SIDE
BOTTOM
(need extension)
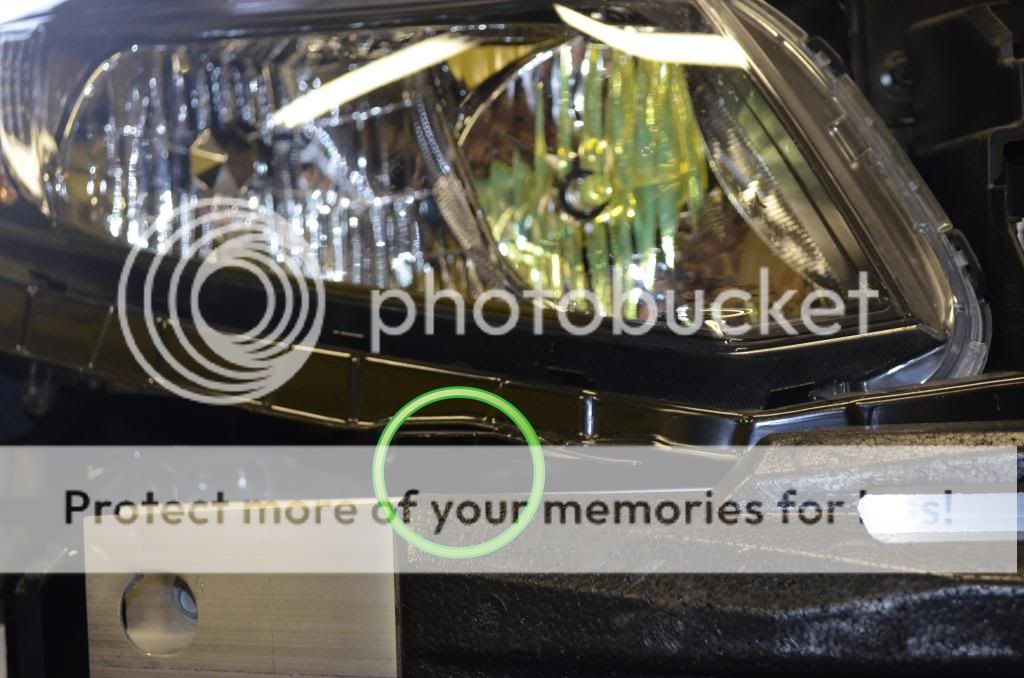
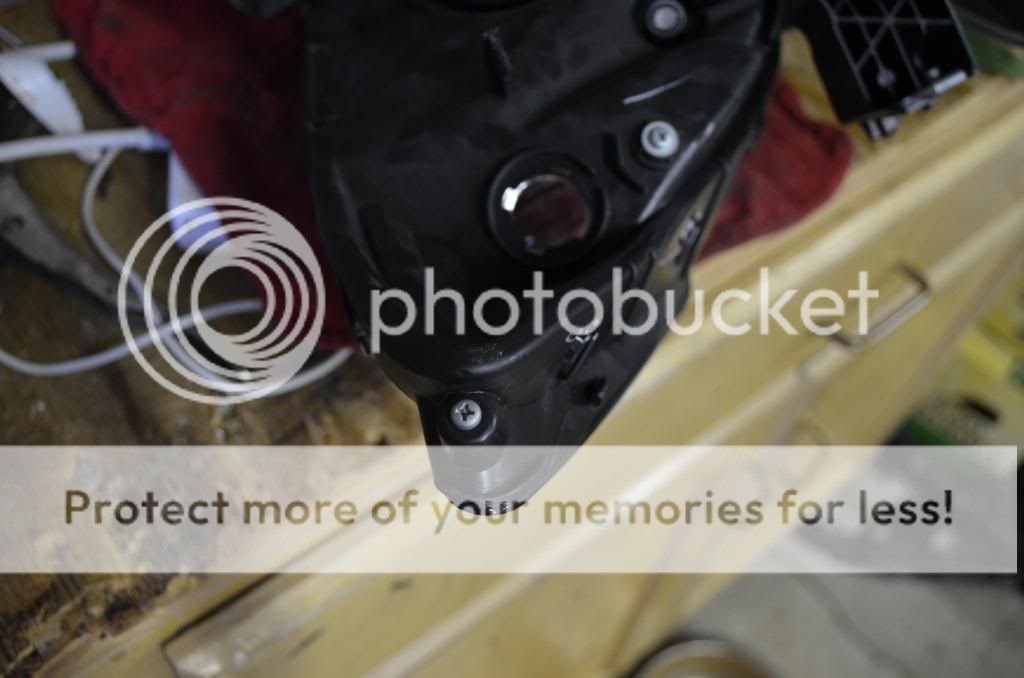
Next you need to get the bracket that holds the bumper/supports the headlight off of the headlight
(one 10mm bolt)
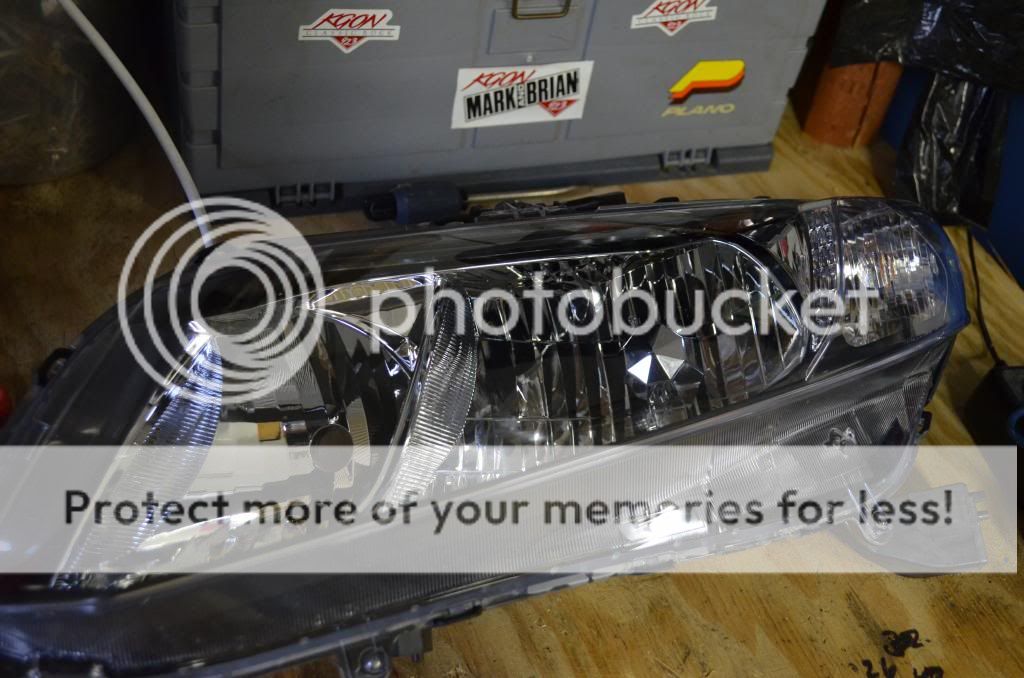
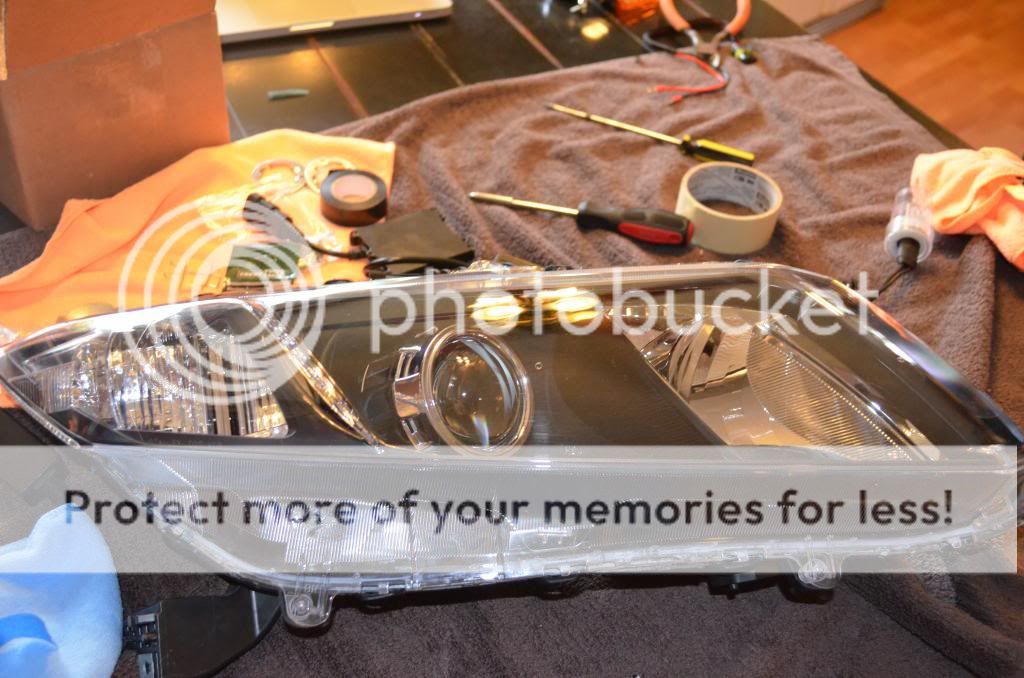
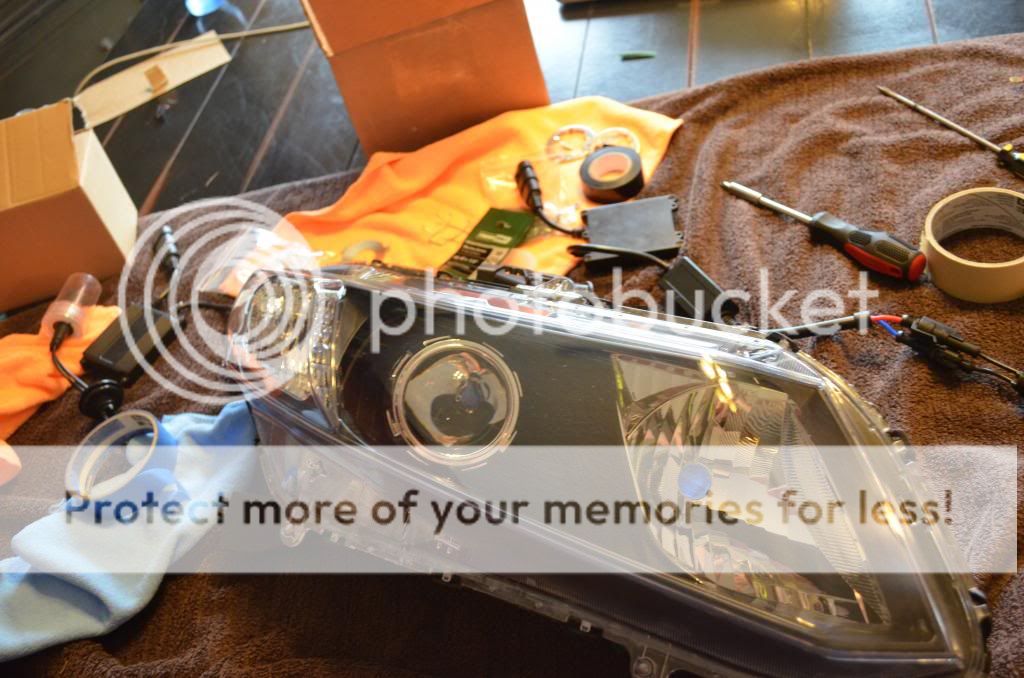
STEP 3
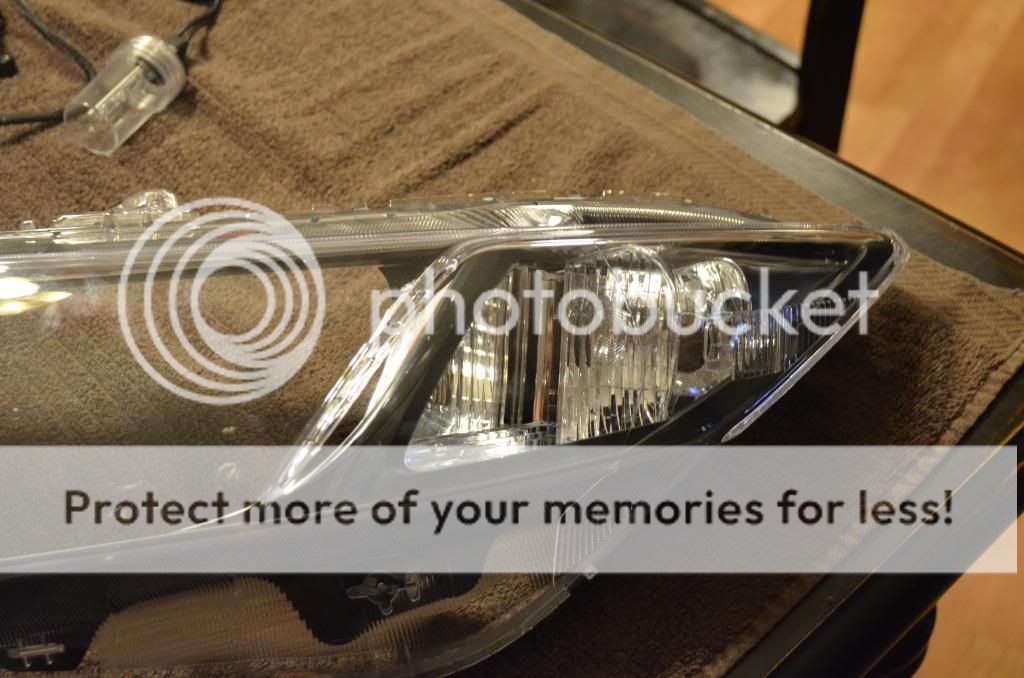
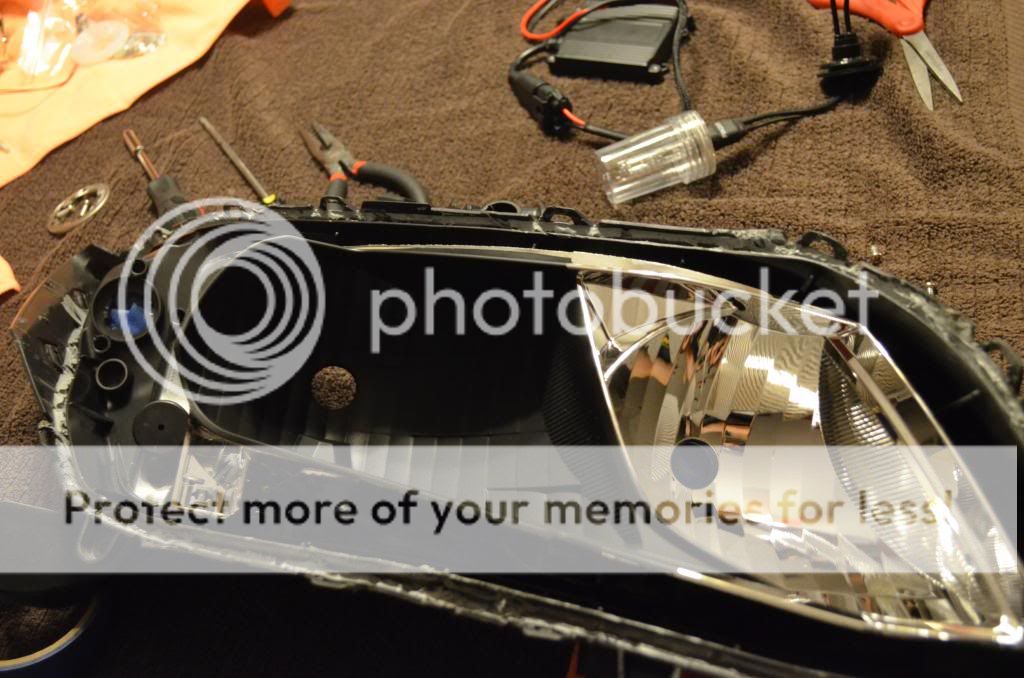
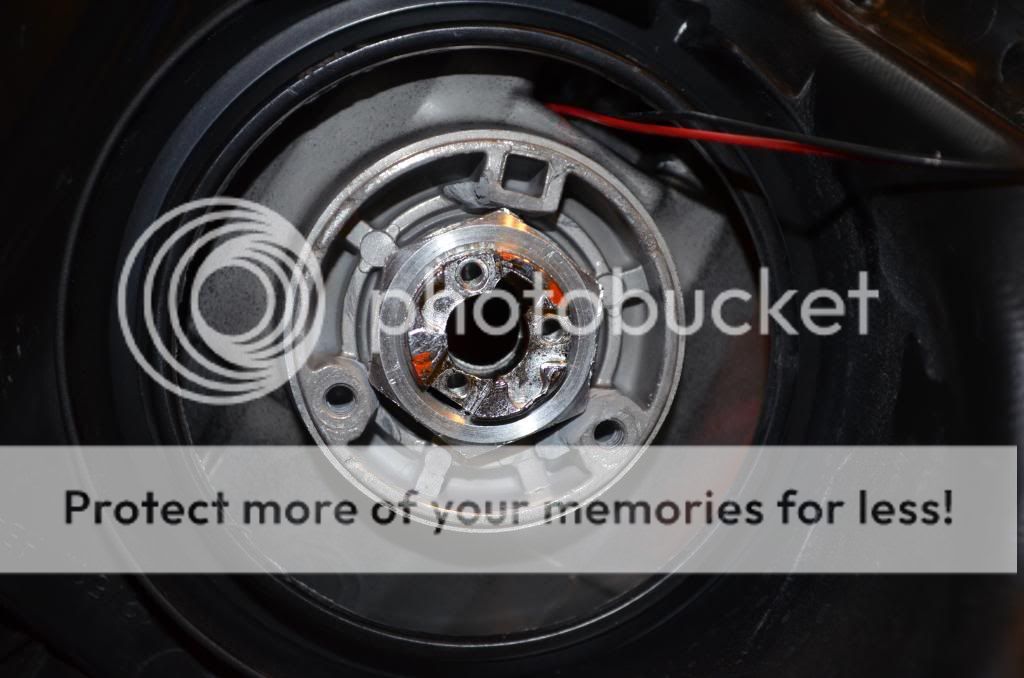
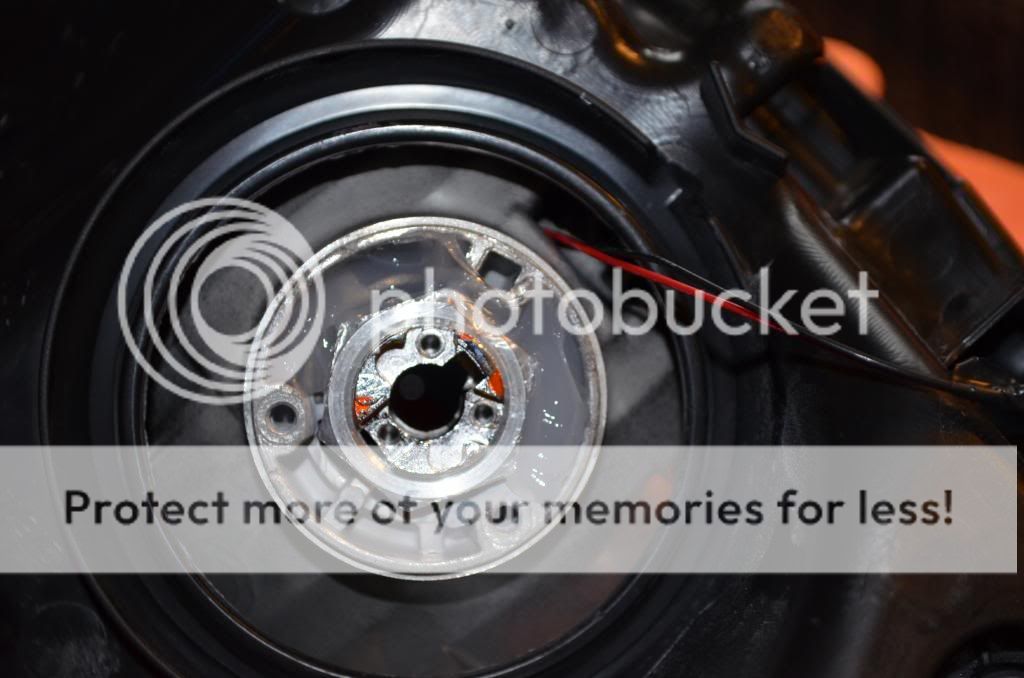
Prep the headlight for Baking
Remove all bulbs
Remove two large rubber seals(needle nose pliers)
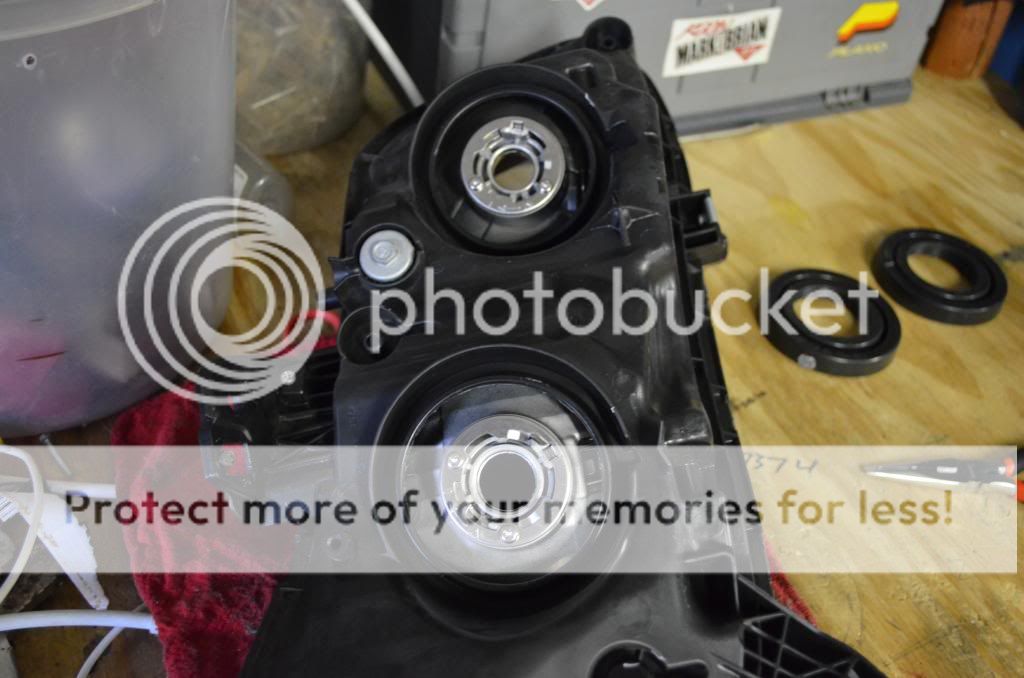
Remove small rubber cover
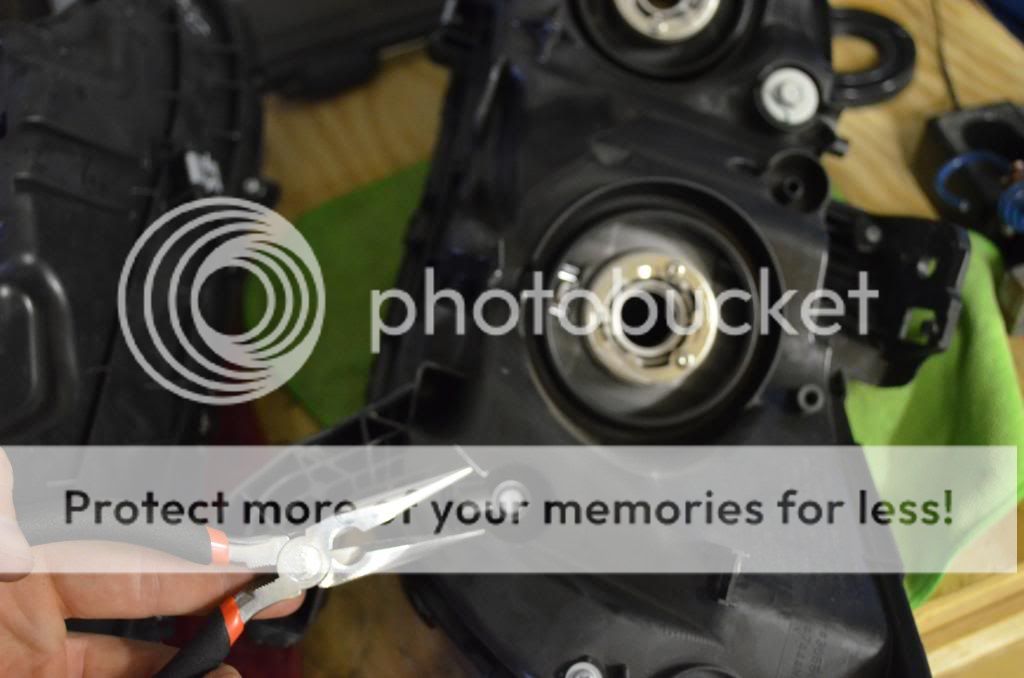
Remove all screws
(I believe there are 4-5 just look around and remove them all)
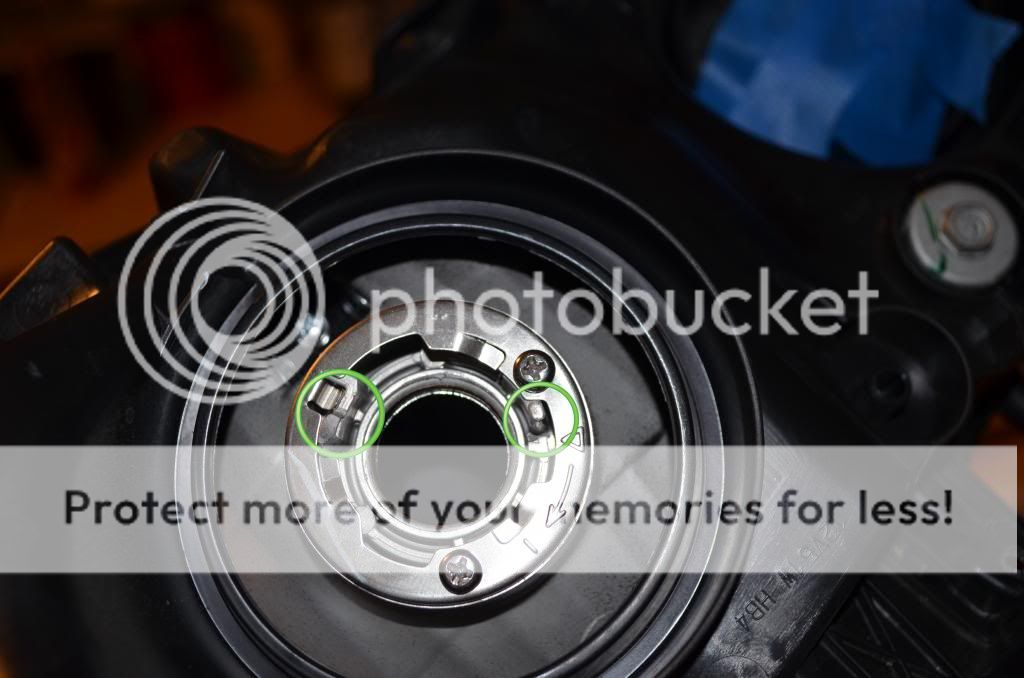
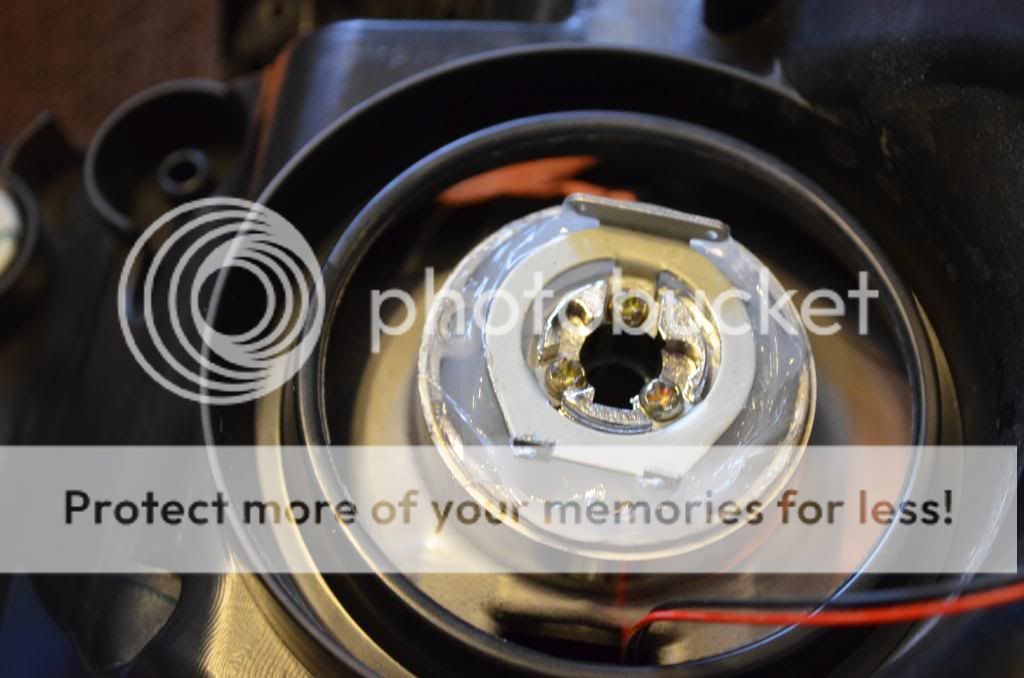
these two

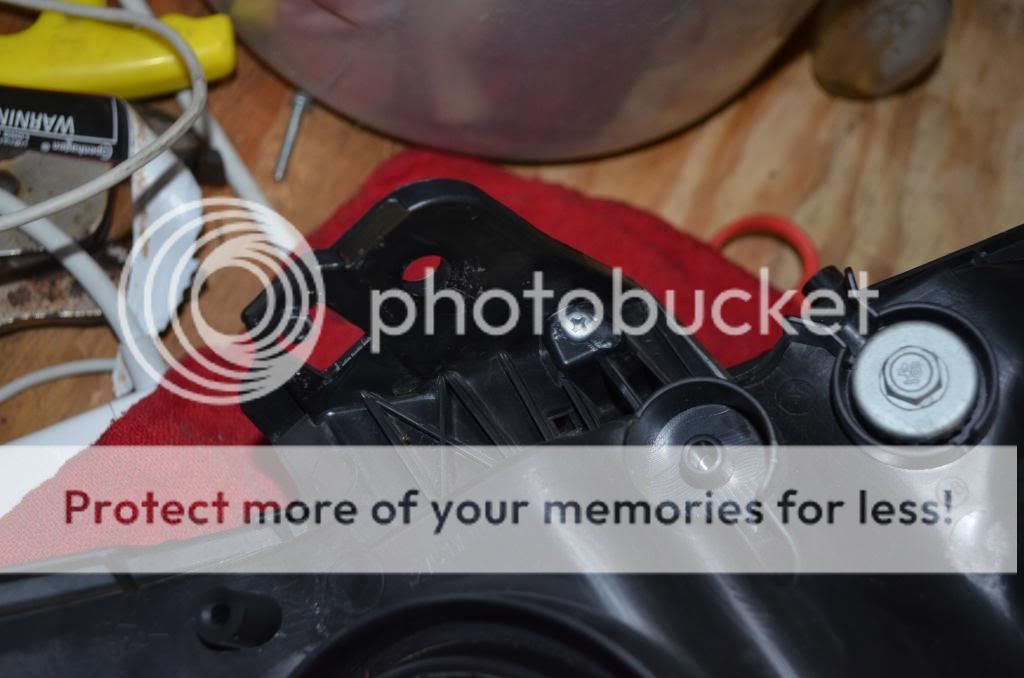
Do not remove the above 10mm bolt/the adjustment wheel in the above picture
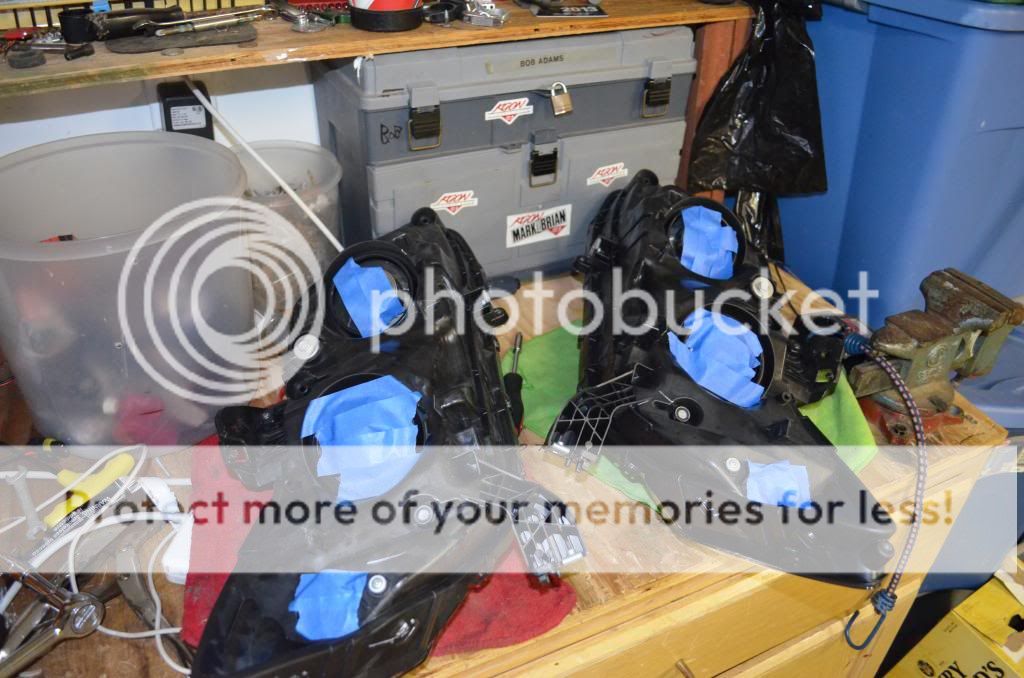
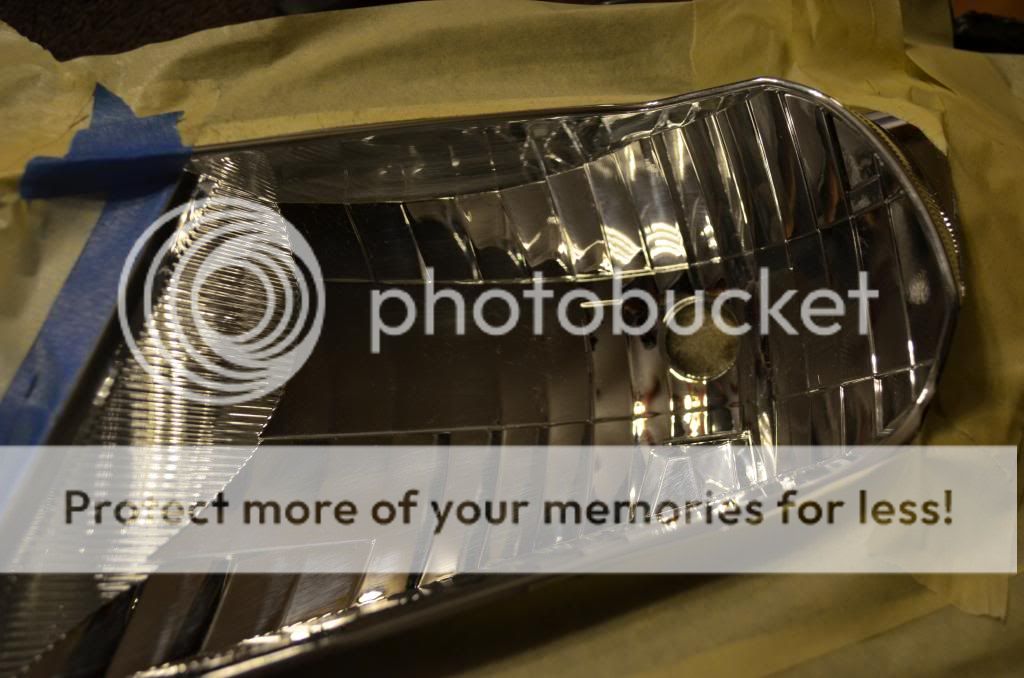
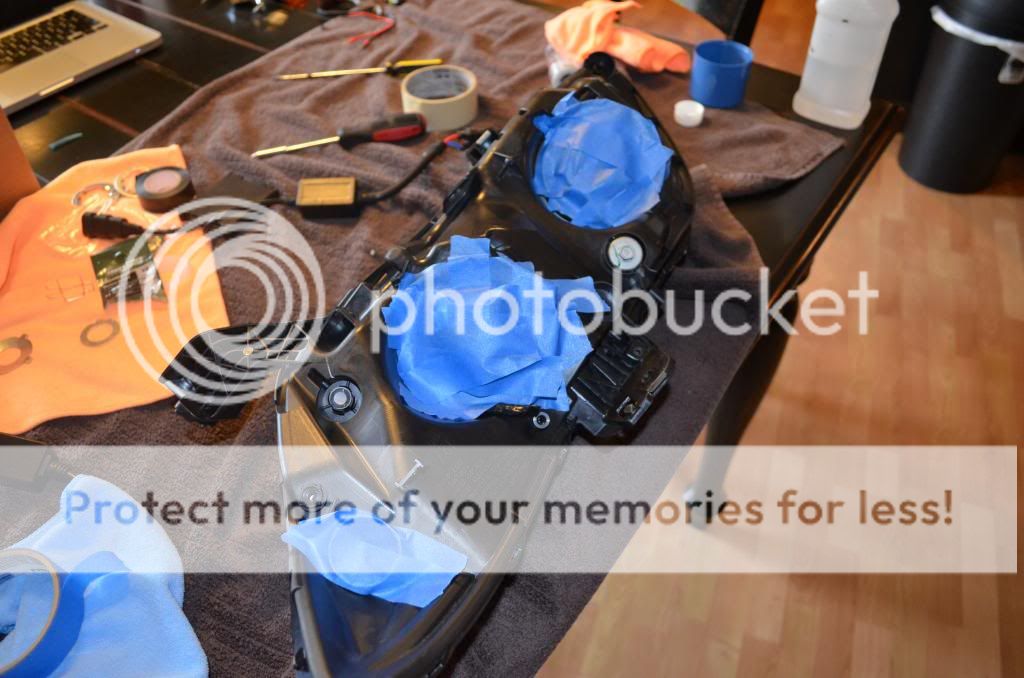
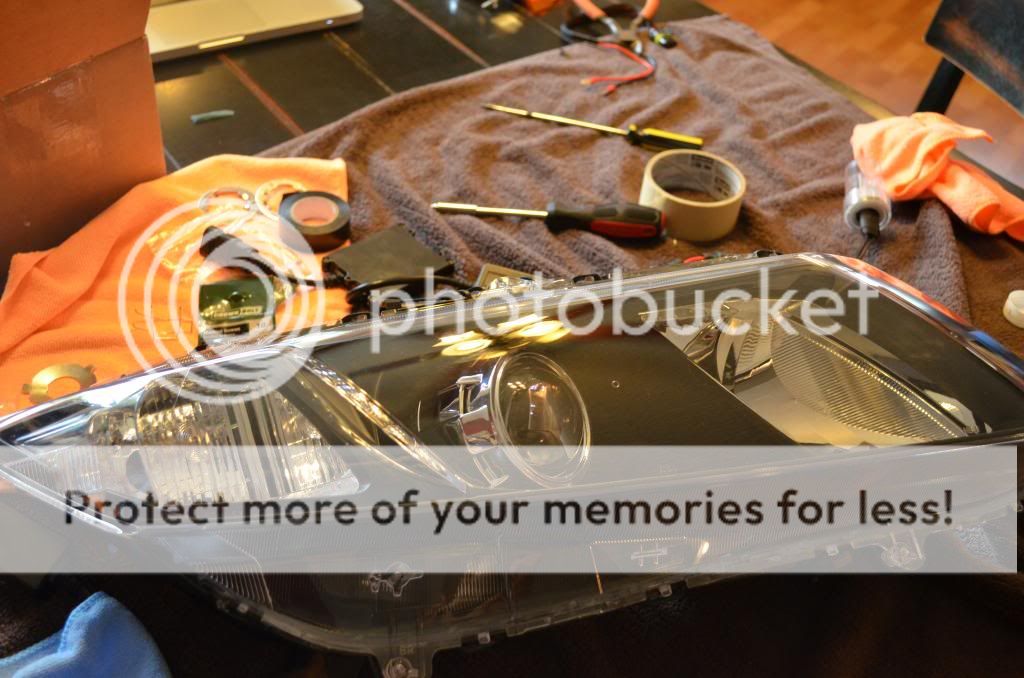
Next make sure you do the worst possible job taping the backside holes of the headlights
MINI H1 retrofit DIY 2013 civic si
What I used:
Mini H1 projectors
Shrouds
OEM headlights
Black bumper paint
Painters tape
DDM tuning 35W 5000k H1 HID kit
Flat head screw drivers
Philips screw drivers
Needle nose pliers
10mm Socket/extensions
Steel wool
Wire cutters
Sand paper
Machine screws #4 1/2 inch
Warning
This mod takes a lot of time and patients. You must be confident in doing this mod. Do it at YOUR OWN risk. The plastic on the headlights will get soft and you can ruin it easily. Once you start painting there is no going back**
NOTE* i did NOT use the Dual function on these projectors(only low beam)
Here is what it looks like when you first open up the projectors
STEP 1
Bumper removal
(if you are not comfortable with this then do not attempt this mod)
This is as far as i took the bumper off since you only need enough space to get the headlight off
STEP 2
Headlight removal
there are 3 bolts holding the headlight on the car(10mm)
TOP
SIDE
BOTTOM
(need extension)
Next you need to get the bracket that holds the bumper/supports the headlight off of the headlight
(one 10mm bolt)
STEP 3
Prep the headlight for Baking
Remove all bulbs
Remove two large rubber seals(needle nose pliers)
Remove small rubber cover
Remove all screws
(I believe there are 4-5 just look around and remove them all)
these two
Do not remove the above 10mm bolt/the adjustment wheel in the above picture
Next make sure you do the worst possible job taping the backside holes of the headlights
Last edited:


")
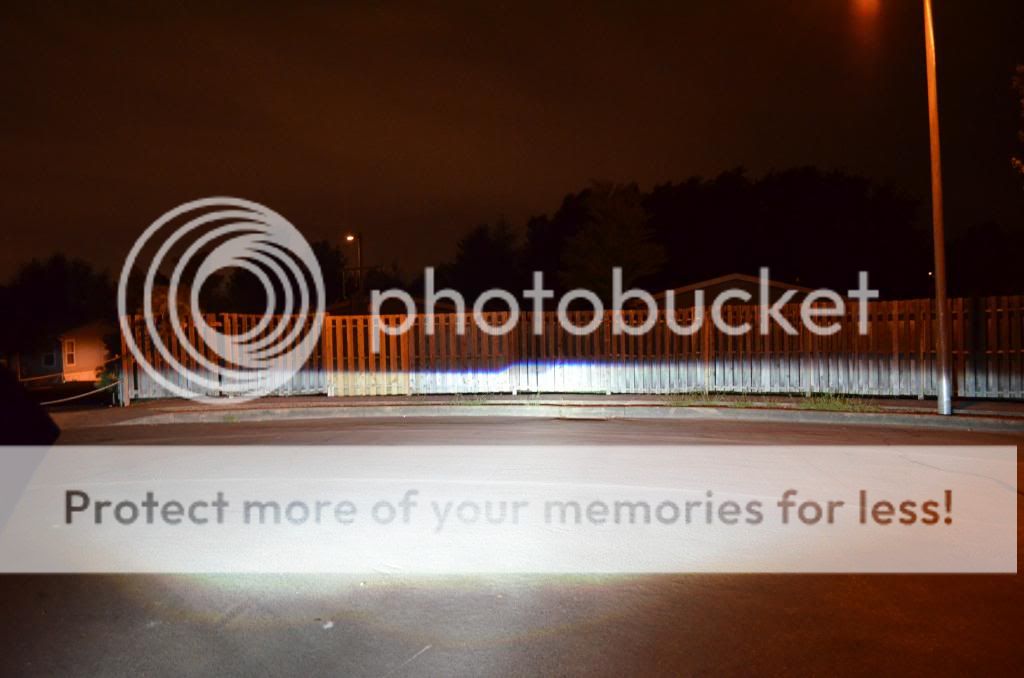
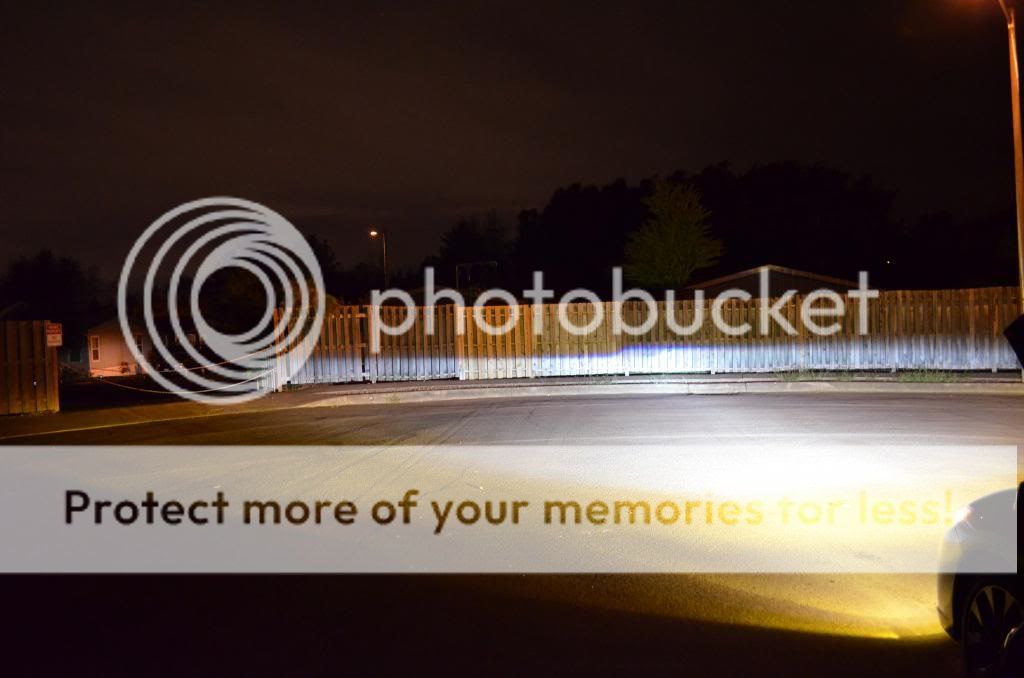
 The finished product looks awesome!