DIY Full Race 3" Catback installation on SI sedan (56k/3G beware, many photos)

mongoose221

Well-Known Member
406
179
middletown, NY
Hey guys, sorry this took so long to get posted, just was very busy all weekend (death in the family), anyway, on to the posting.

disclaimer: the problems I ran into during this may or may not be had by others, I just feel the urge to include every little issue I ran into to help others in case they have the same. Any questions, feel free to PM me.

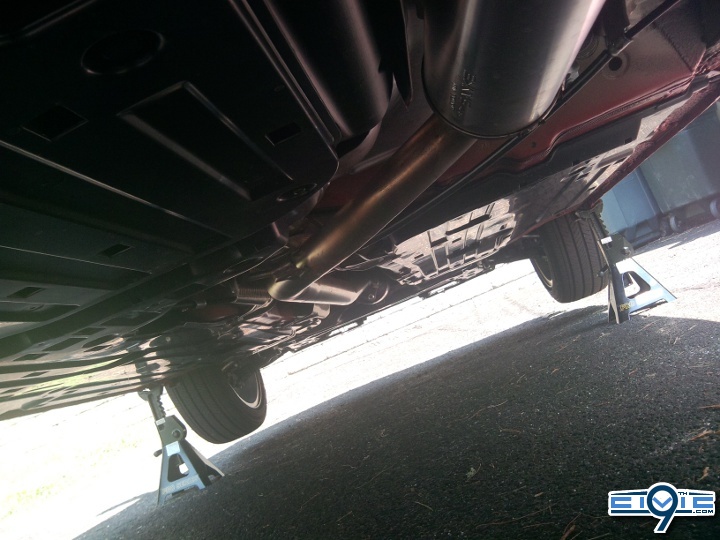
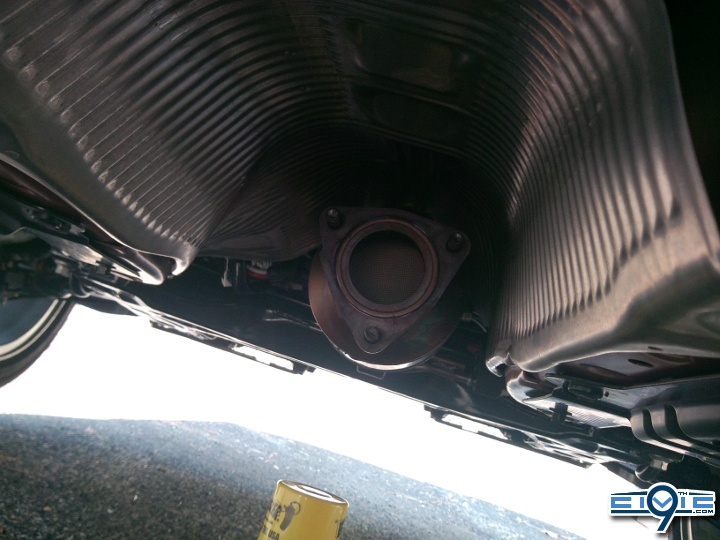
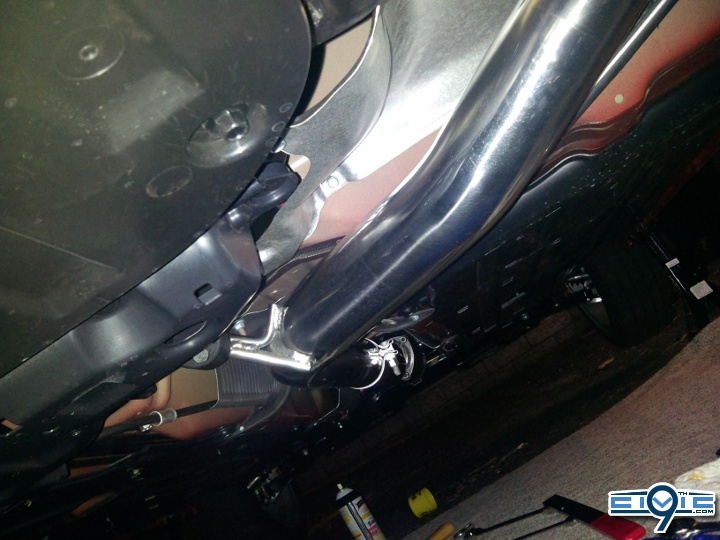
This is a catback installation, and while every exhaust is different, they are, in general, basically the same (the removal of the stock catback system is identical).

Tools Needed:

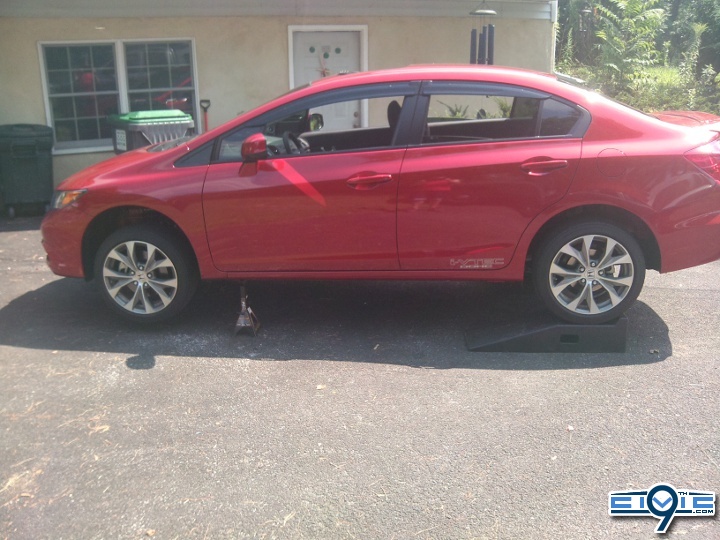
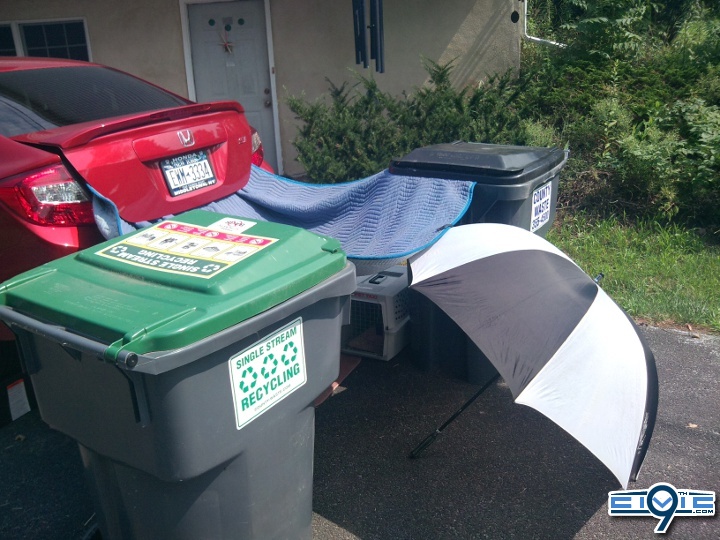
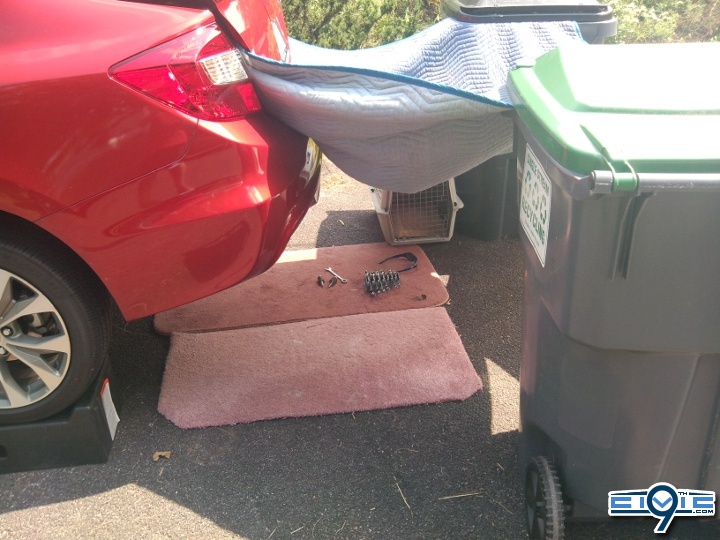
-a way to safely lift the car (i used 2 ramps for the rear, and jackstands up front, you may also use a lift, or other methods, either way, SAFETY is the key, you will be crawling under your vehicle, and putting plenty of force into these bolts to remove and install them, the vehicle MUST BE SECURE)

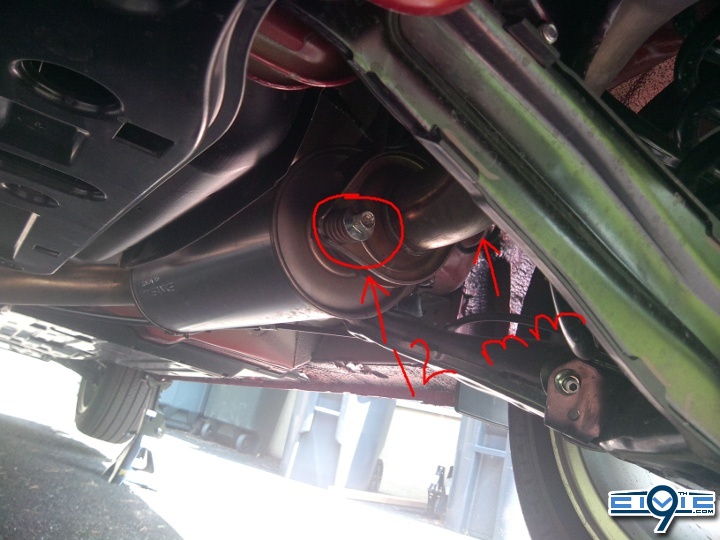
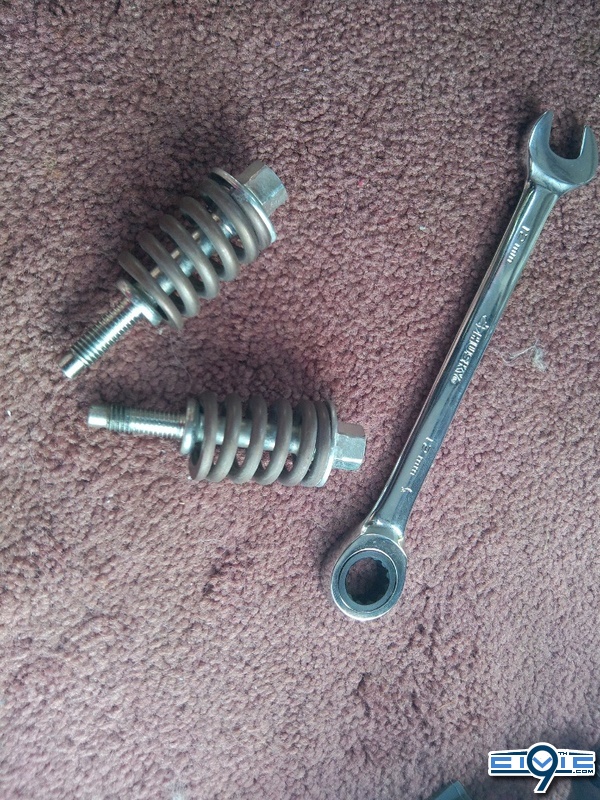
-12mm wrench (i recommend a ratcheting box end and a heavy duty shallow socket, and a heavy duty deep socket)
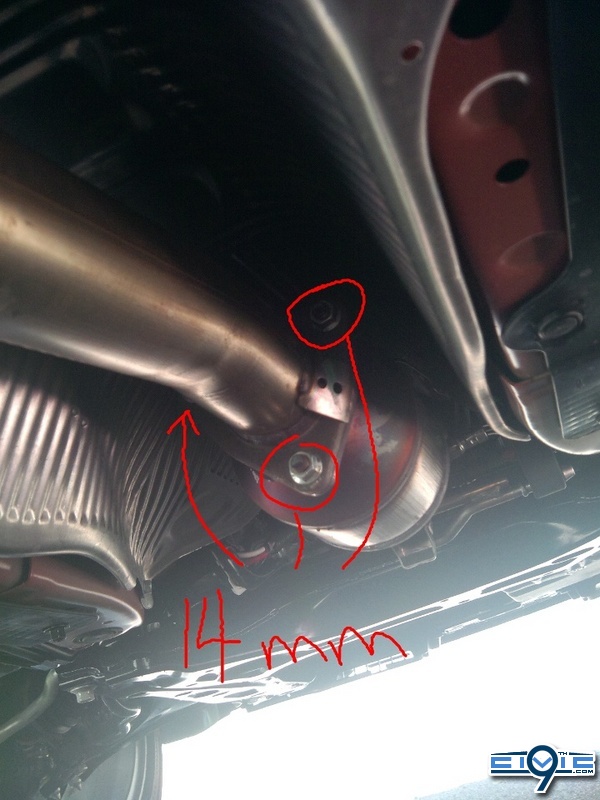
-14mm wrench (again, same as above)

Tools Recommended additionally to make your life easier:

-cheater/breaker bar for your wrench/socket (those cat bolts are on there like a mother******)
-PB blaster (pb nut blaster/etc is a liquid lubricant sprayed onto stuck on nuts/bolts... i love the stuff, google it!)
-gloves (rubber/latex or mechanics gloves, don't want no fingerprints on that fly exhaust!)
-goggles/safety glasses (you will be UNDER a dirty vehicle, you don't want junk in your eyes)
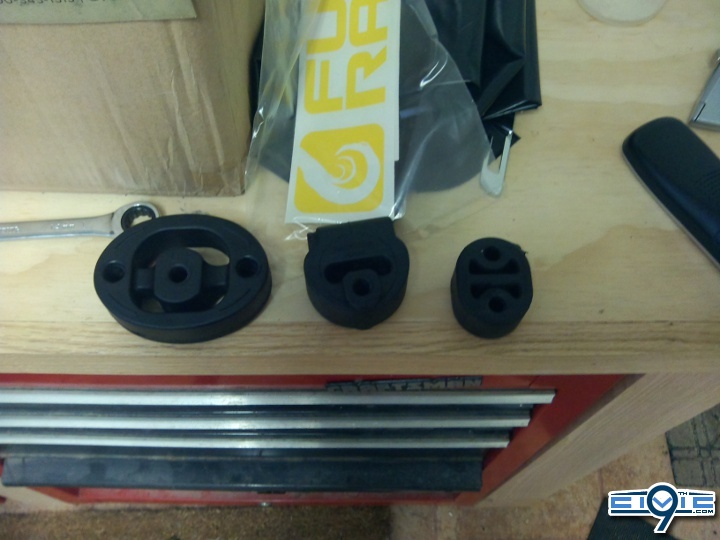
-lubricant (for the rubber hangars)
-xacto knife/box cutter (to trim the cat gasket)
-patience and a strong arm!!
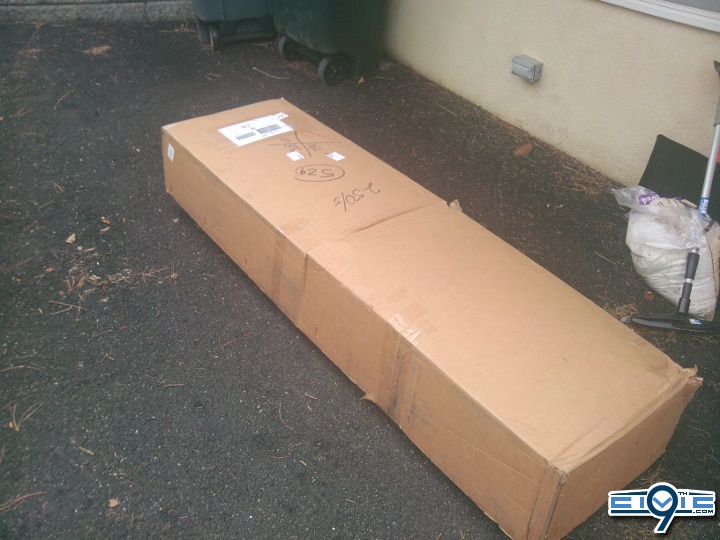
01_G.jpeg

box has arrived!

02_G.jpeg

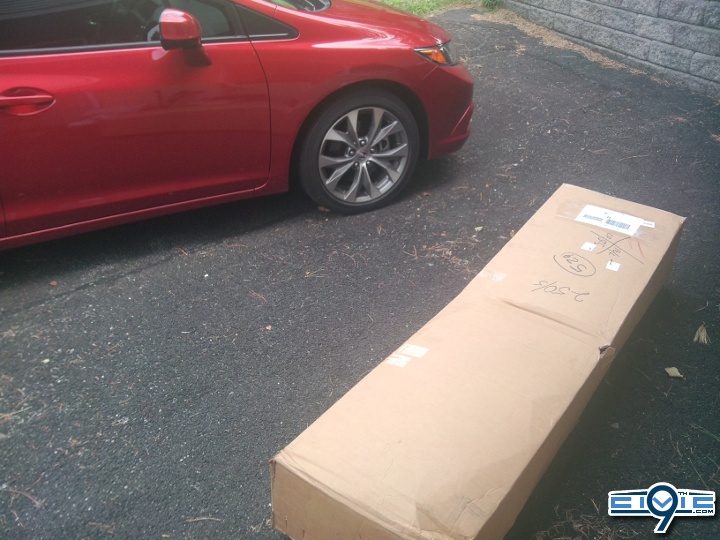
another box shot (that sounds dirty)
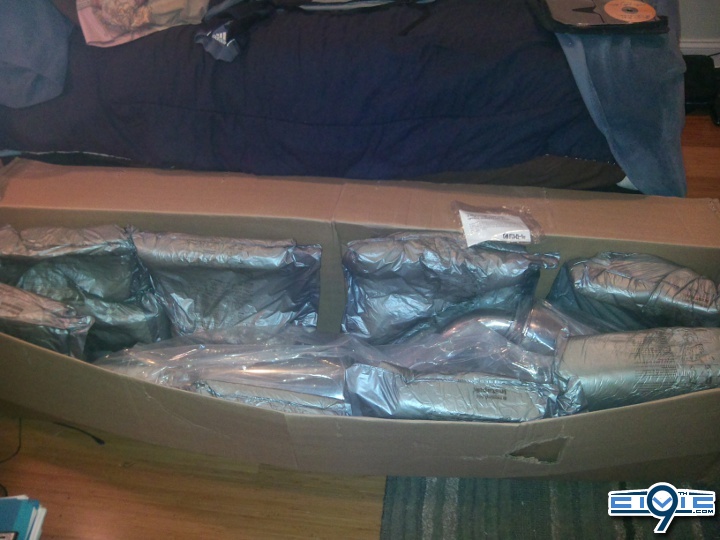
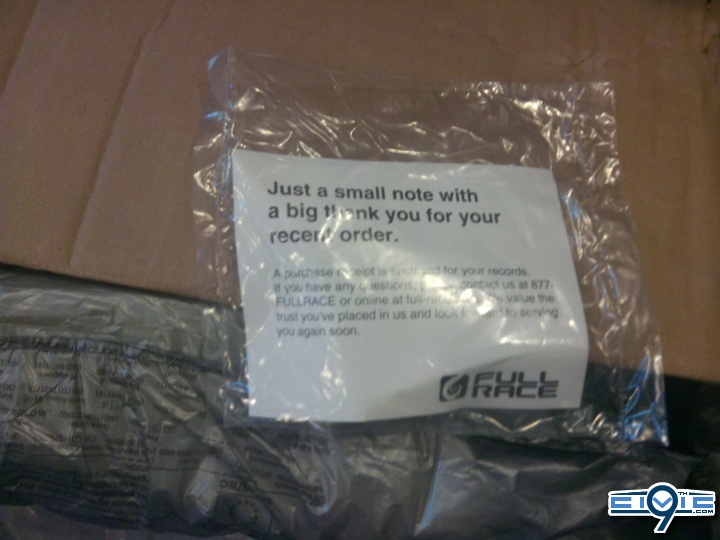
03_G.jpeg

packed nicely

07_G.jpeg


04_G.jpeg

in the bags

05_G.jpeg

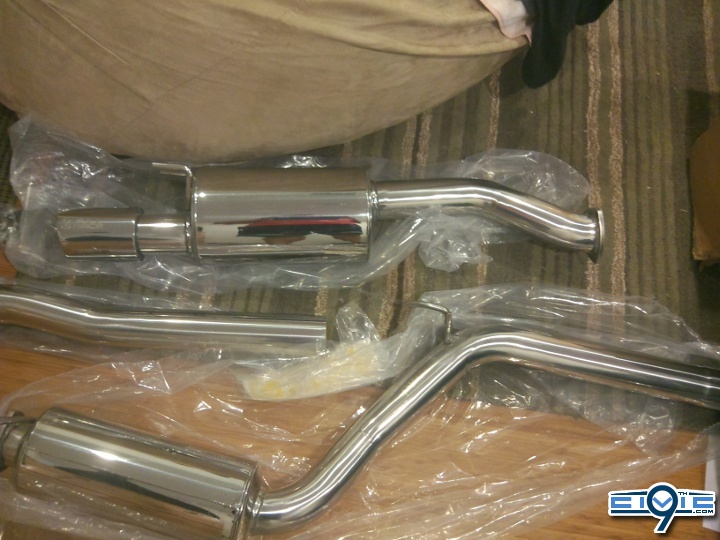
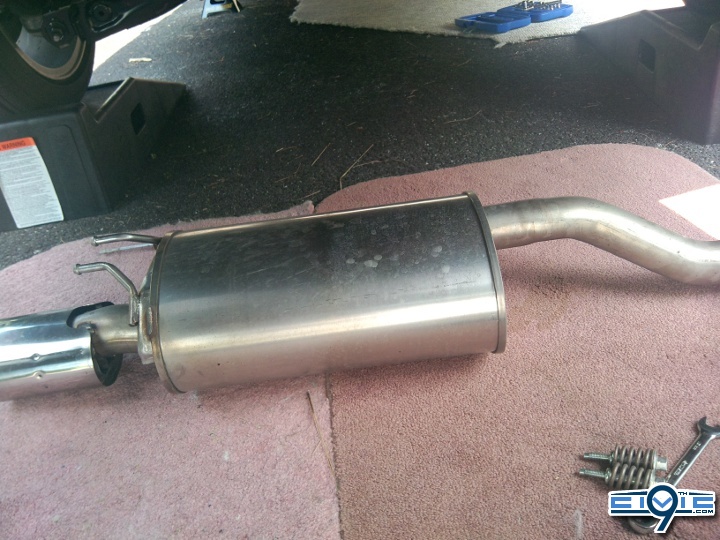
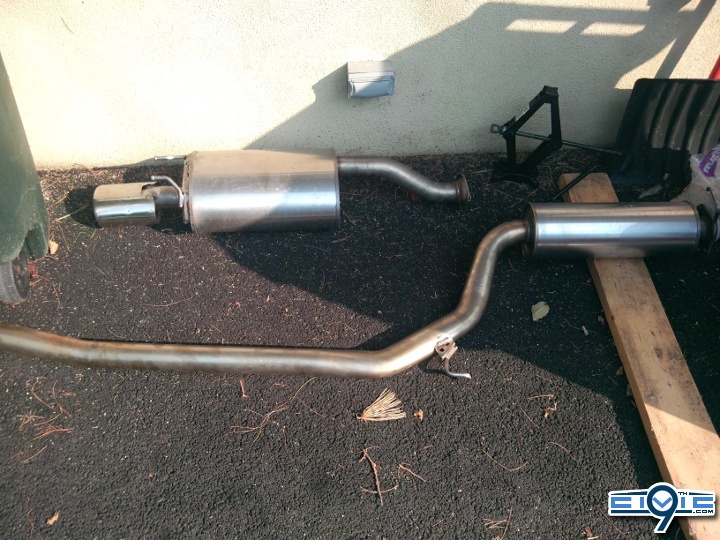
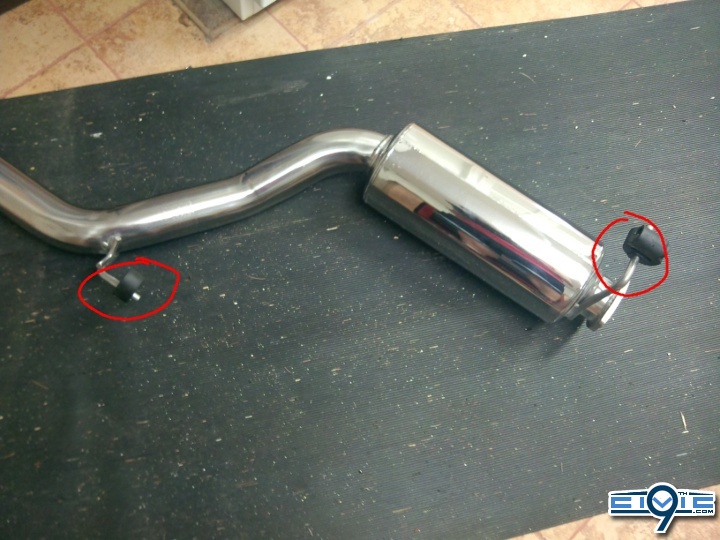
out of the bags... ooo shiny!

06_G.jpeg

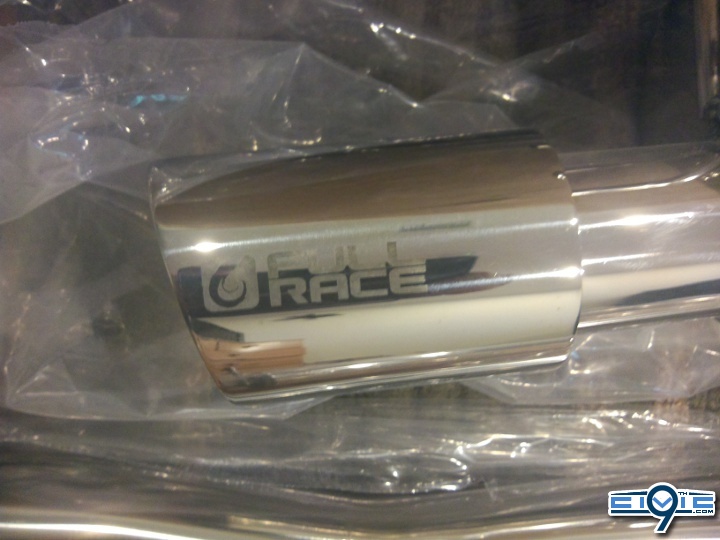
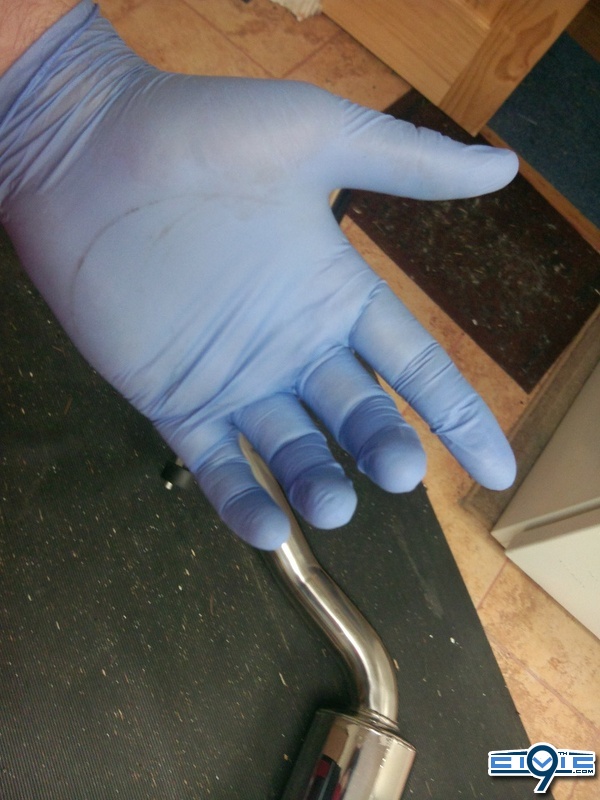
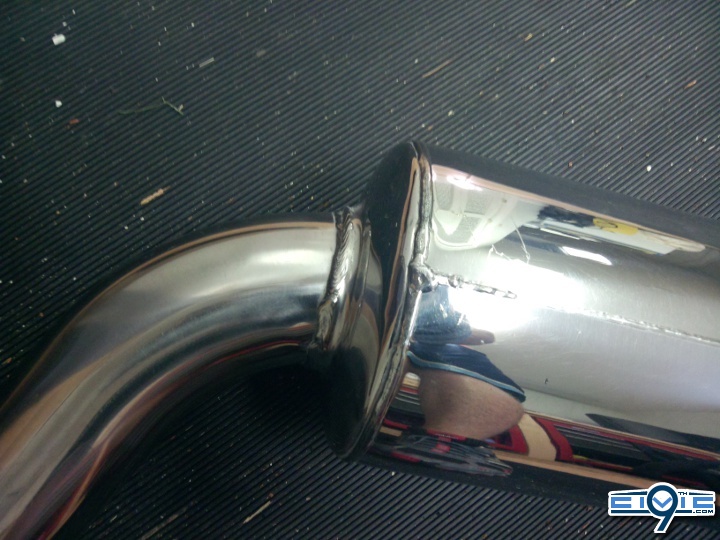
detail of exhaust tip
 
08_G.jpeg

^safety first (jack stands and ramps)

09_G.jpeg

^these are the 12mm springbolts hold on the axleback portion of the exhaust, remove these

10_G.jpeg

^ a shot of the midpipe portion

11_G.jpeg

^ rubber hangers (these things are the DEVIL)
remove these however is easier for you (I popped the muffler hangers OUT of it, then removed it)
remove the muffler/axleback portion

12_G.sized.jpeg

^ a shot of the resonator after the axleback is removed

13_G.sized.jpeg

^ closeup of the springbolts and the wrench, you will not need these (unless you are going to return to stock later, i suggest saving them)
15_1.jpeg

^ it was hot out (95+) so i made some shade

16_G.jpeg

^ makeshift shade detail

17_G.jpeg

^ detail of the muffler/axleback after removal

18_1.sized.jpeg

^ closeup of the rubber hanger on the midpipe, DON'T remove this until you unbolt the cat flange, it'll help keep the exhaust steady until then =D
 
19_G.sized.jpeg

^ -14mm cat nuts. (there are 3) remove these and SET ASIDE for later use

20_G.jpeg

^ -pic of the open cat after midpipe removal

21_G.jpeg

^ -midpipe and axelback after removal

22_G.jpeg

^ -these are the 3 hangars in order from L->R they are Rear, Resonator, Midpipe

23_G.sized.jpeg

-gloves (don't want fingerprints!)

24_G.jpeg

^ -install these rubber hangars, take note of the direction of the one on the resonator

25_G.jpeg

^ -closeup of the welds, purdy!

26_G.jpeg

-[NOT SHOWN] hang the midpipe by it's two rubber hangars, then slide the clamp over the cat flange pipe, then slide that pipe into the midpipe, hang the axelback/muffler by the rubber hangars, do NOT install any bolts until this is done.
-[NOT SHOWN] place the 3" gasket provided by Full-Race over the studs on the cat converter, then slide the flange over the studs (my gasket was a little snug, i had to slice the holes about 1-2mm then wriggle them onto the studs), do NOT put the nuts on yet
-loosely put the nuts onto the cat studs just enough so they don't strip off when you wriggle the midpipe into place

27_G.jpeg

^ -closeup of the cat flange pipe slid into the midpipe

28_G.jpeg

^ -view of the midpipe

29_G.jpeg

^ -view of the midpipe/cat

30_G.jpeg

^ -view of the midpipe/axelback connection, you can see the flange

-[NOT SHOWN] insert the 3 bolts provided by full race into the axelback/resonator flange, with a 3" gasket provided by Full Race between
-[NOT SHOWN] tighten all nuts/bolts down on the cat flange and on the axelback flange, ALL are 14mm at this point (full race provides 14mm bolts/nuts)
-slide the slip-clamp over the midpipe-cat pipe region and tighten until it is seated properly, tightening the 14mm bolt (the picture is above of this clamp)

-[if necessary] slide/adjust the rubber hangers to desired position (this is a PAIN IN THE ARSE TRUST ME) and bend the heatshield as necessary

note: my heatshield did not need to be removed, i only gently bent it by hand while reaching around the midpipe, some people claim to have had to remove it and hammer it flat in areas, i did not need to

any questions feel free to PM me, and if you wish for any more pictures, i'll be sure to take some, the last 2 steps did not have pictures due to my camera battery dying, but i will get some if you guys wish =D


View: http://www.youtube.com/watch?v=3oklYqAnJOs

hope this helped
 
noise level is excellent, a bit drony the first week or so, but after the exhaust has burned in a bit it's excellent. loud enough when i lay on it, not too loud when you're just cruising... only "overly loud" bit is during engine braking it's very loud in the cabin, other than that, i love it and can't wait to mate it to the 3" downpipe with flashpro (full race DP) when it is released
 
Wow this is great! Love your shelter and the vid is awesome. Love watching the wheels spinning in the air :rotfl:

Sorry about your loss :sadwavey:
 
thank you for your condolences. i will pass them on to my girlfriend (it was her grandfather), anyway, the wheels were lolz i didn't realize until i watched the video, because i was revving up on jack stands up front, ramps in the rear. the shelter was necessary i was dying of heat... i weighed myself that evening, i dropped like 8lbs. haha
 
:coolpics: nice DIY , I might have missed it but how long did the build take? Also did you ever get the DP to go with the exhaust?

was waiting on the DP from FR to come out. it just did, i might pick it up soon. then i'll get FP, intake, a tune, and a small drop in the ride height is what i'm aiming for. : )
 
was waiting on the DP from FR to come out. it just did, i might pick it up soon. then i'll get FP, intake, a tune, and a small drop in the ride height is what i'm aiming for. : )
Did you ever get the dp? Mine came in the mail the day before yesterday. I just have to install it. I already put on my full race cat back exhaust, and I love it! It sounds sweet I can't wait to get the do in next
 
Wow great DIY, I love how you made the shade :rotfl: :rotfl: :coolpics: :thumbsup:
thanks man : )

Did you ever get the dp? Mine came in the mail the day before yesterday. I just have to install it. I already put on my full race cat back exhaust, and I love it! It sounds sweet I can't wait to get the do in next

didn't get it yet, got hit with some HARD bills, and life > downpipe unfortunately. hoping to order it in the near future though. waiting to afford DP and flashpro and have vit tune them both at once
 
Excellent source to prepare myself for my "project" I'm doing today.

I'm planning in taking pics "before" and "after" installing the "Skunk2 Header" and the "Invidia Cat Back Exhaust System".

Definitely, my pics would not be as detailed as the one "Mongoose221" provided here, but I will do my best for anyone's future reference, just like I referenced the ones provided by "Mongoose221".

Wish me luck, until then...
 
Back
Top