- Staff
- #1
- 25,902
- 10,785
Super quick and easy DIY to replace your OE side markers on your 2016+ Honda Civic Coupe, Sedan, or Hatchback.
These will set you back about $25 for the set of two, and take about 10 minutes of your time (if that - took me less at over 6 months pregnant)
- Fits on all 10th Gen Civic models including DX/LX/EX/Touring
- Replace OEM Part #s: 34300-TET-H01 / 34350-TET-H01
Parts needed:
Smoked Side Markers: Ebay link here
Clear Side Markers: Ebay link here
Tools needed:
Phillips head screwdriver (to remove fender liner screws)
Flat head screwdriver (to press large tab on old sidemarker)
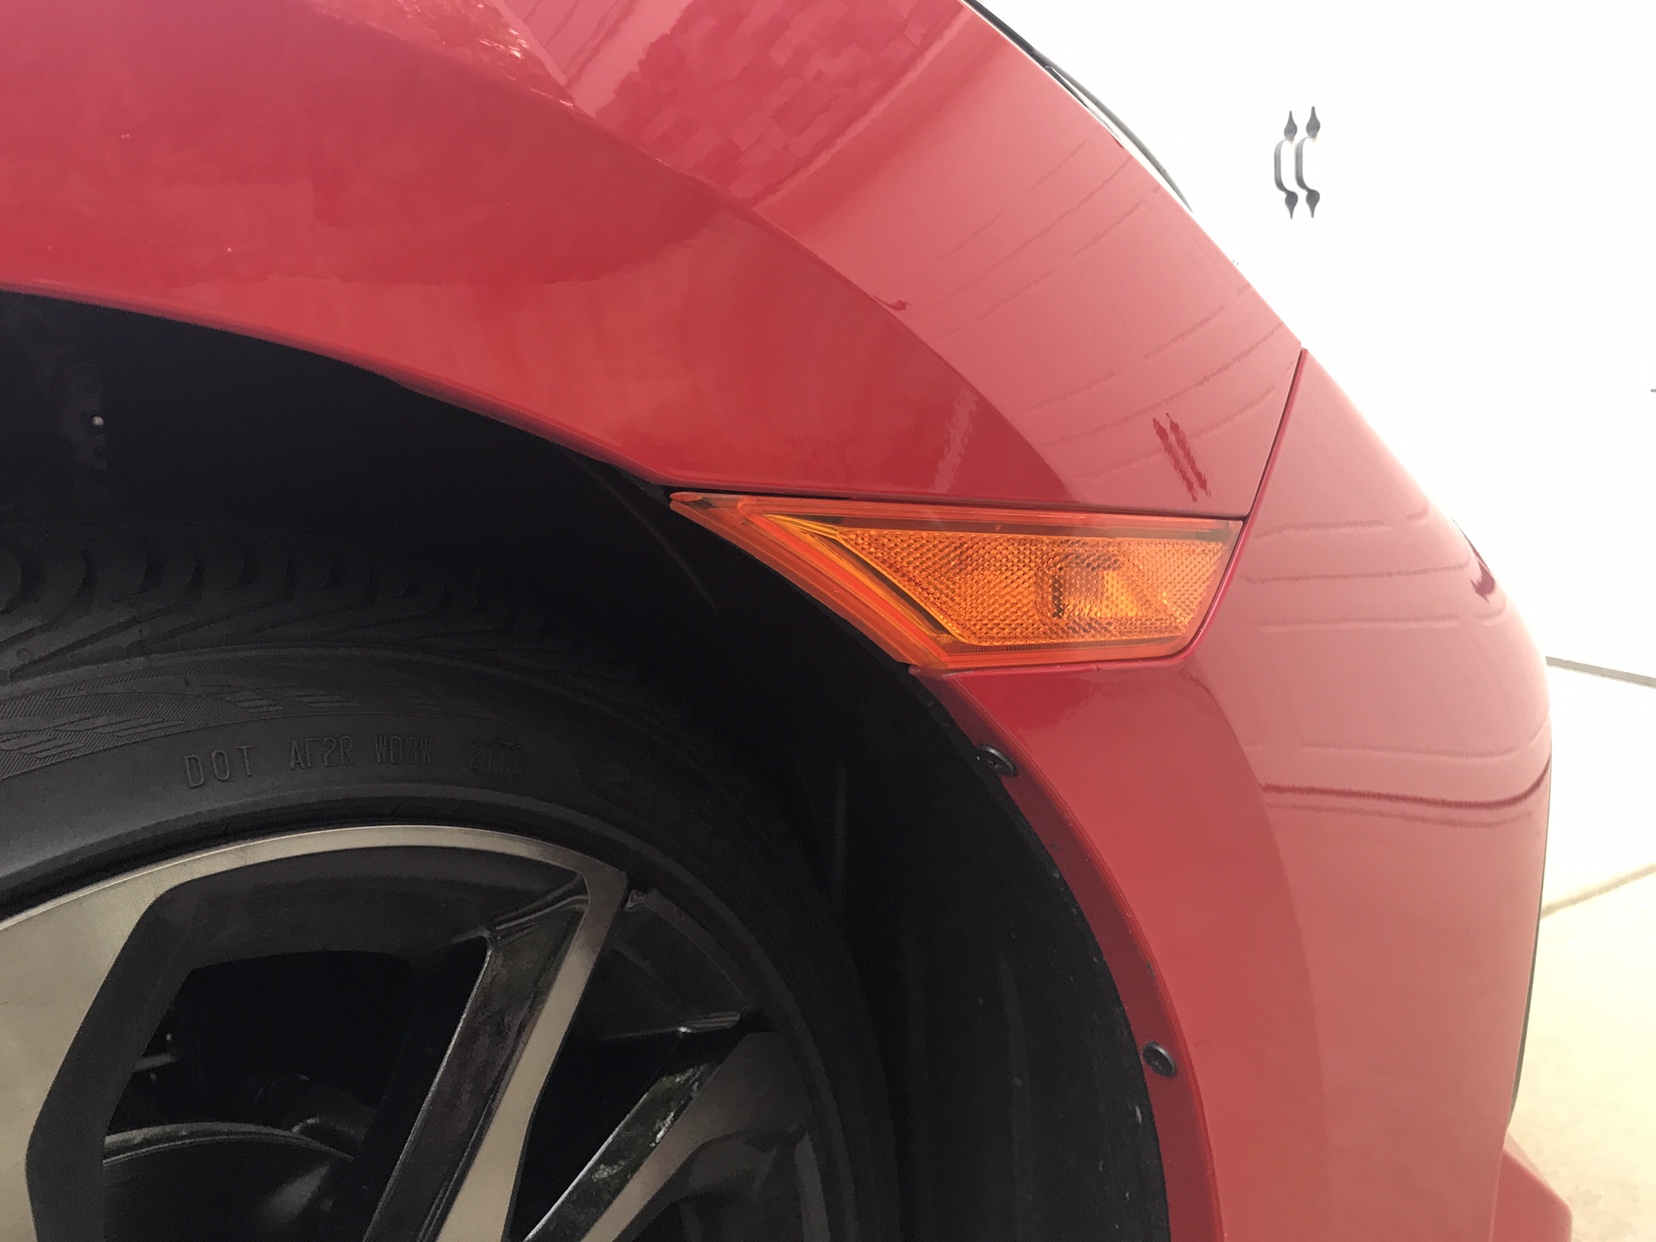
For this demonstration we are using a 2017 Rallye Red Honda Civic Sport Touring Hatchback.
*I am not responsible for part fitment or any damages caused - DIY at your own risk*
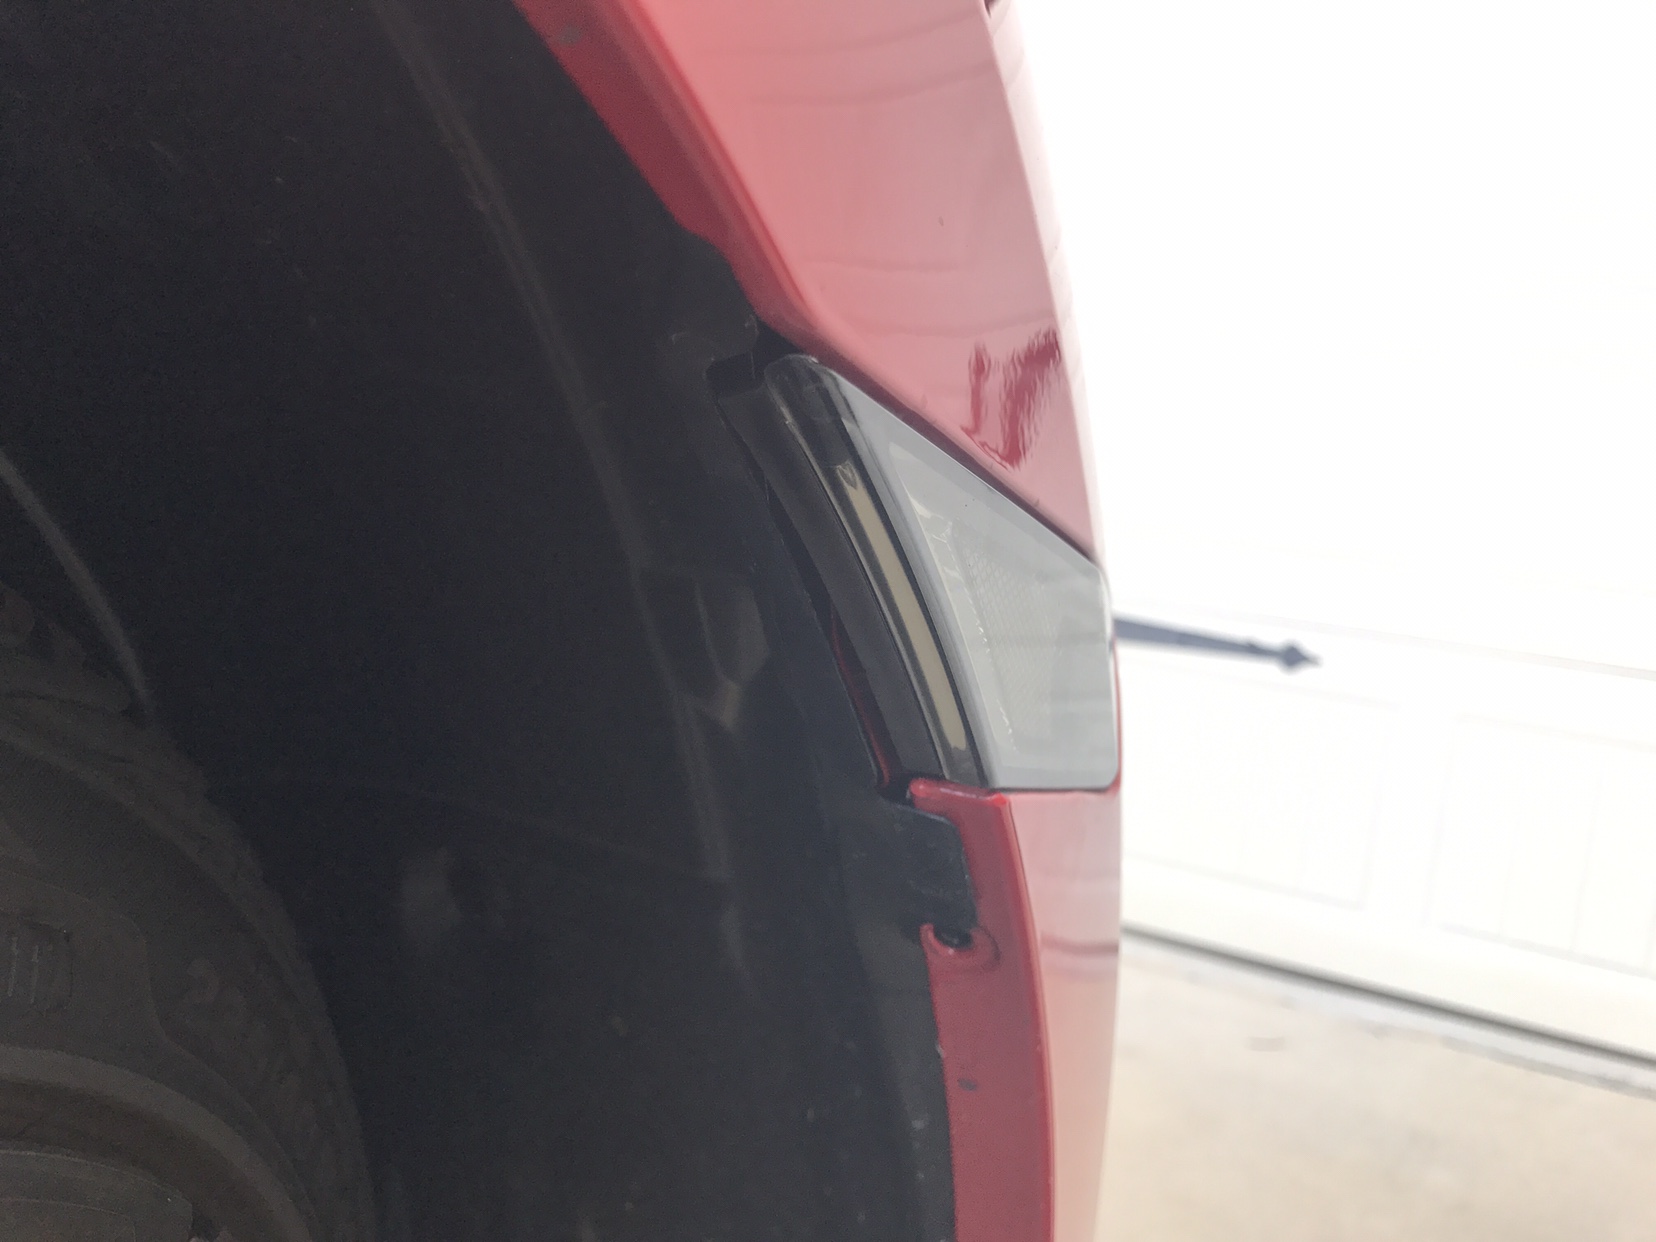
Before and After pic:

Step 1: Find and remove the two fender liner screws with a phillips head screwdriver.
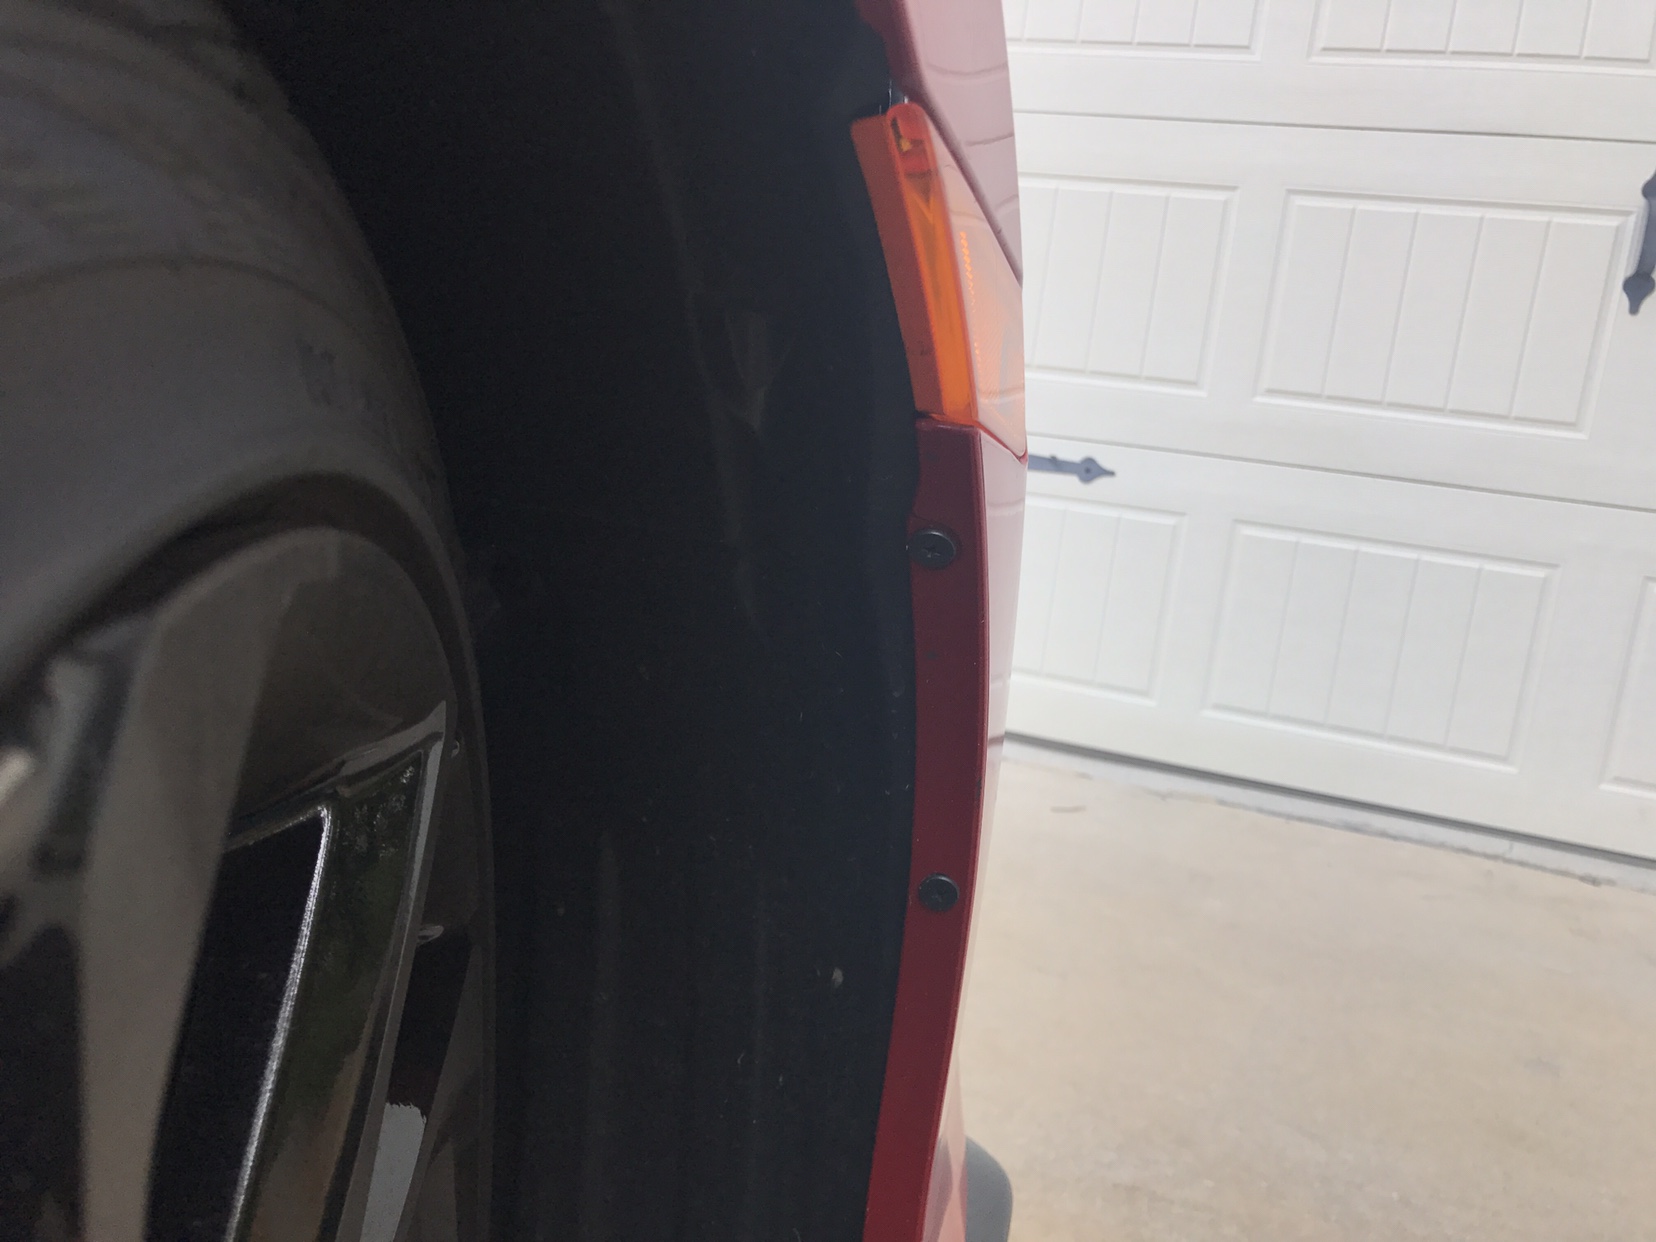
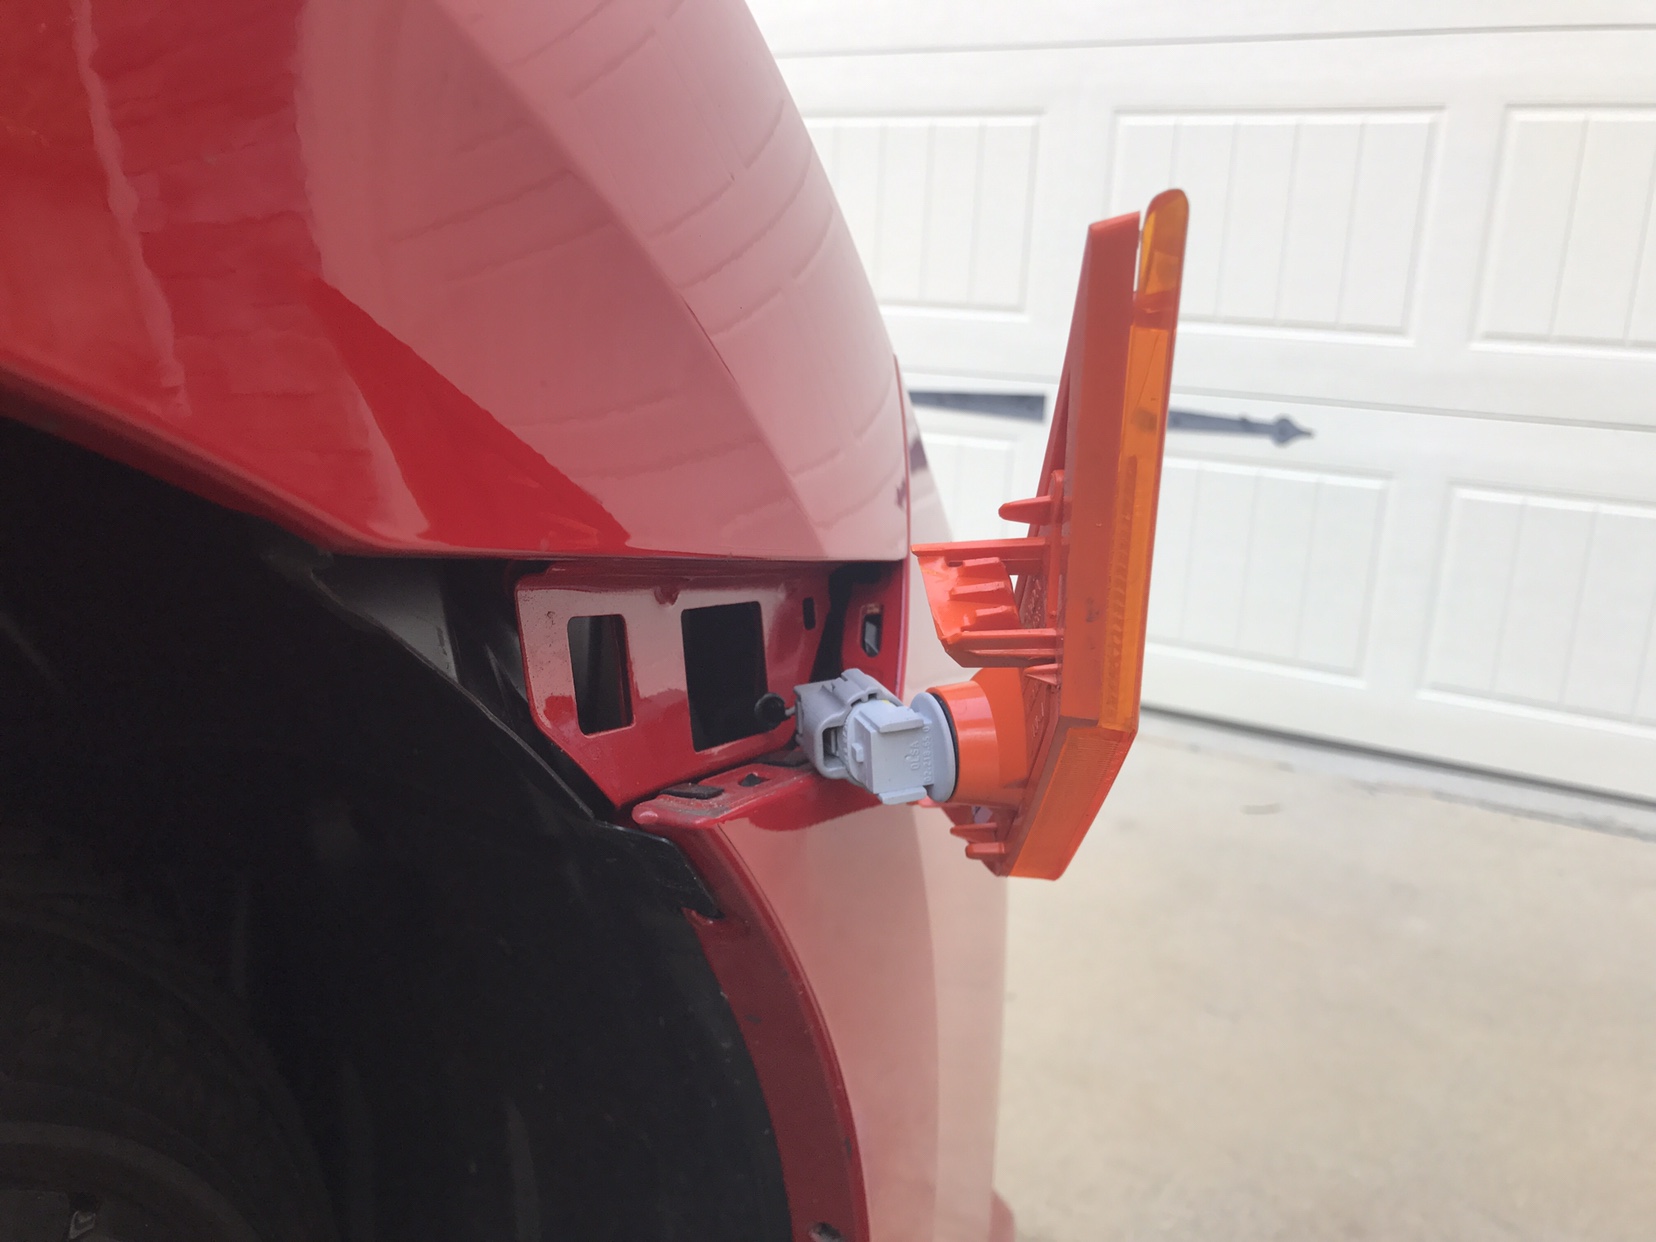
Step 2: Peel back the fender liner beside the sidemarker and use a flat head screwdriver to press firmly on the center line on the side marker tab. The closer to the vehicle, the quicker and easier it releases.
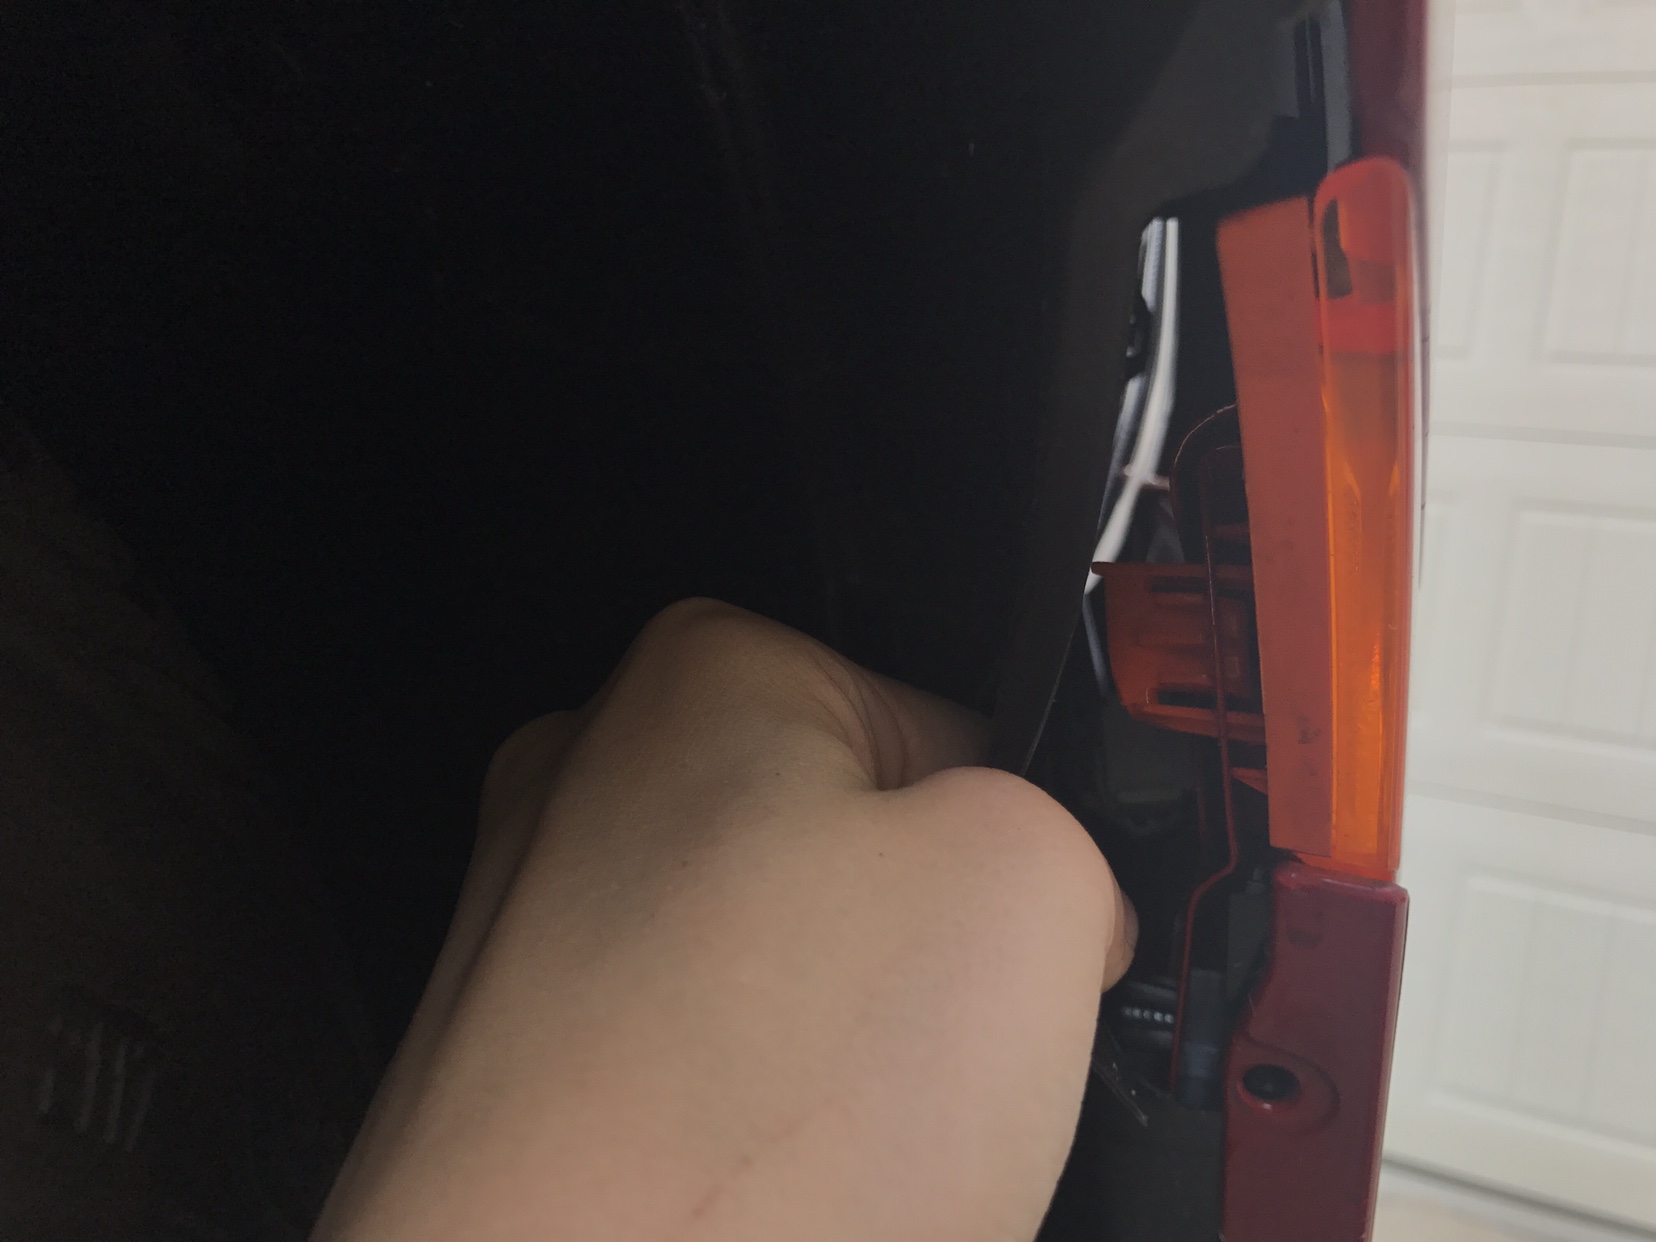
Step 3: Gently pull back the old side marker. Be aware that this will still be connected to the vehicle with short bulb connectors.

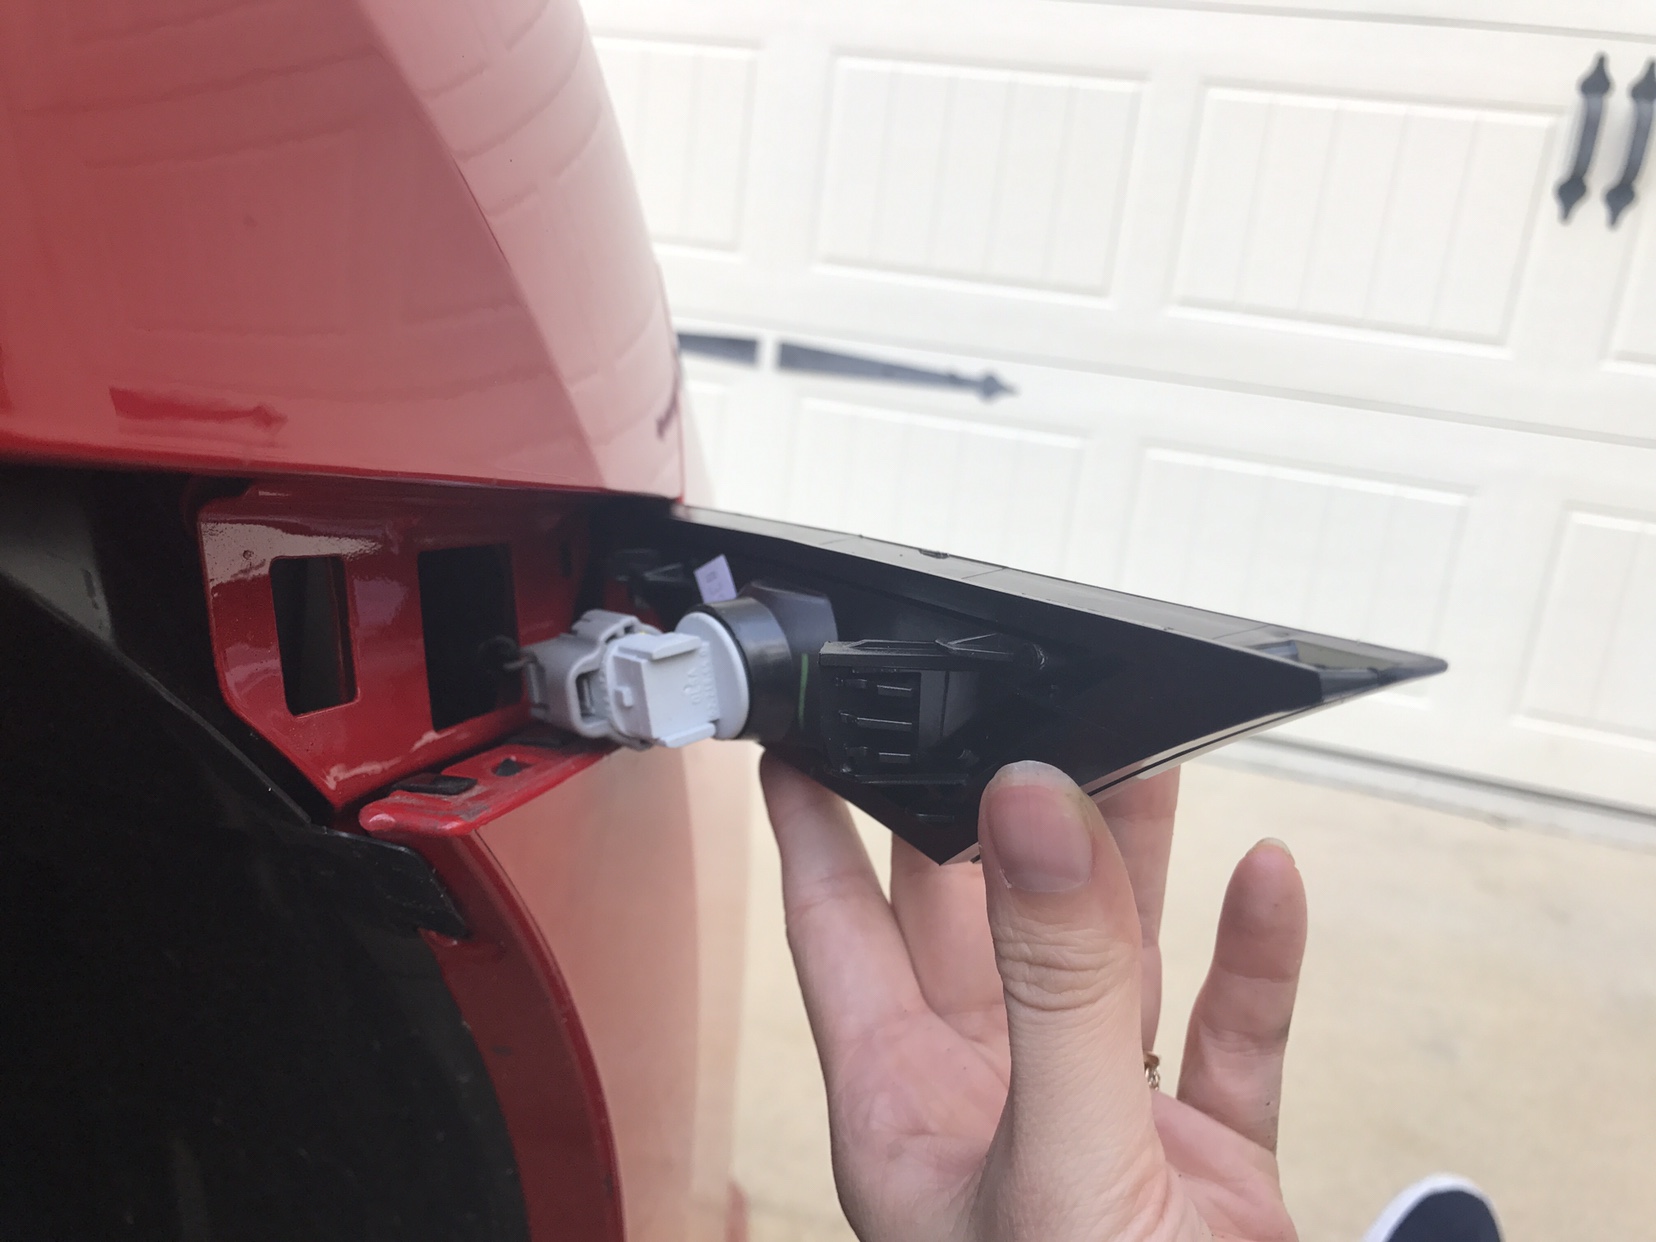
Step 4: Hold the grey bulb socket while you gently twist the side marker up and away from you.
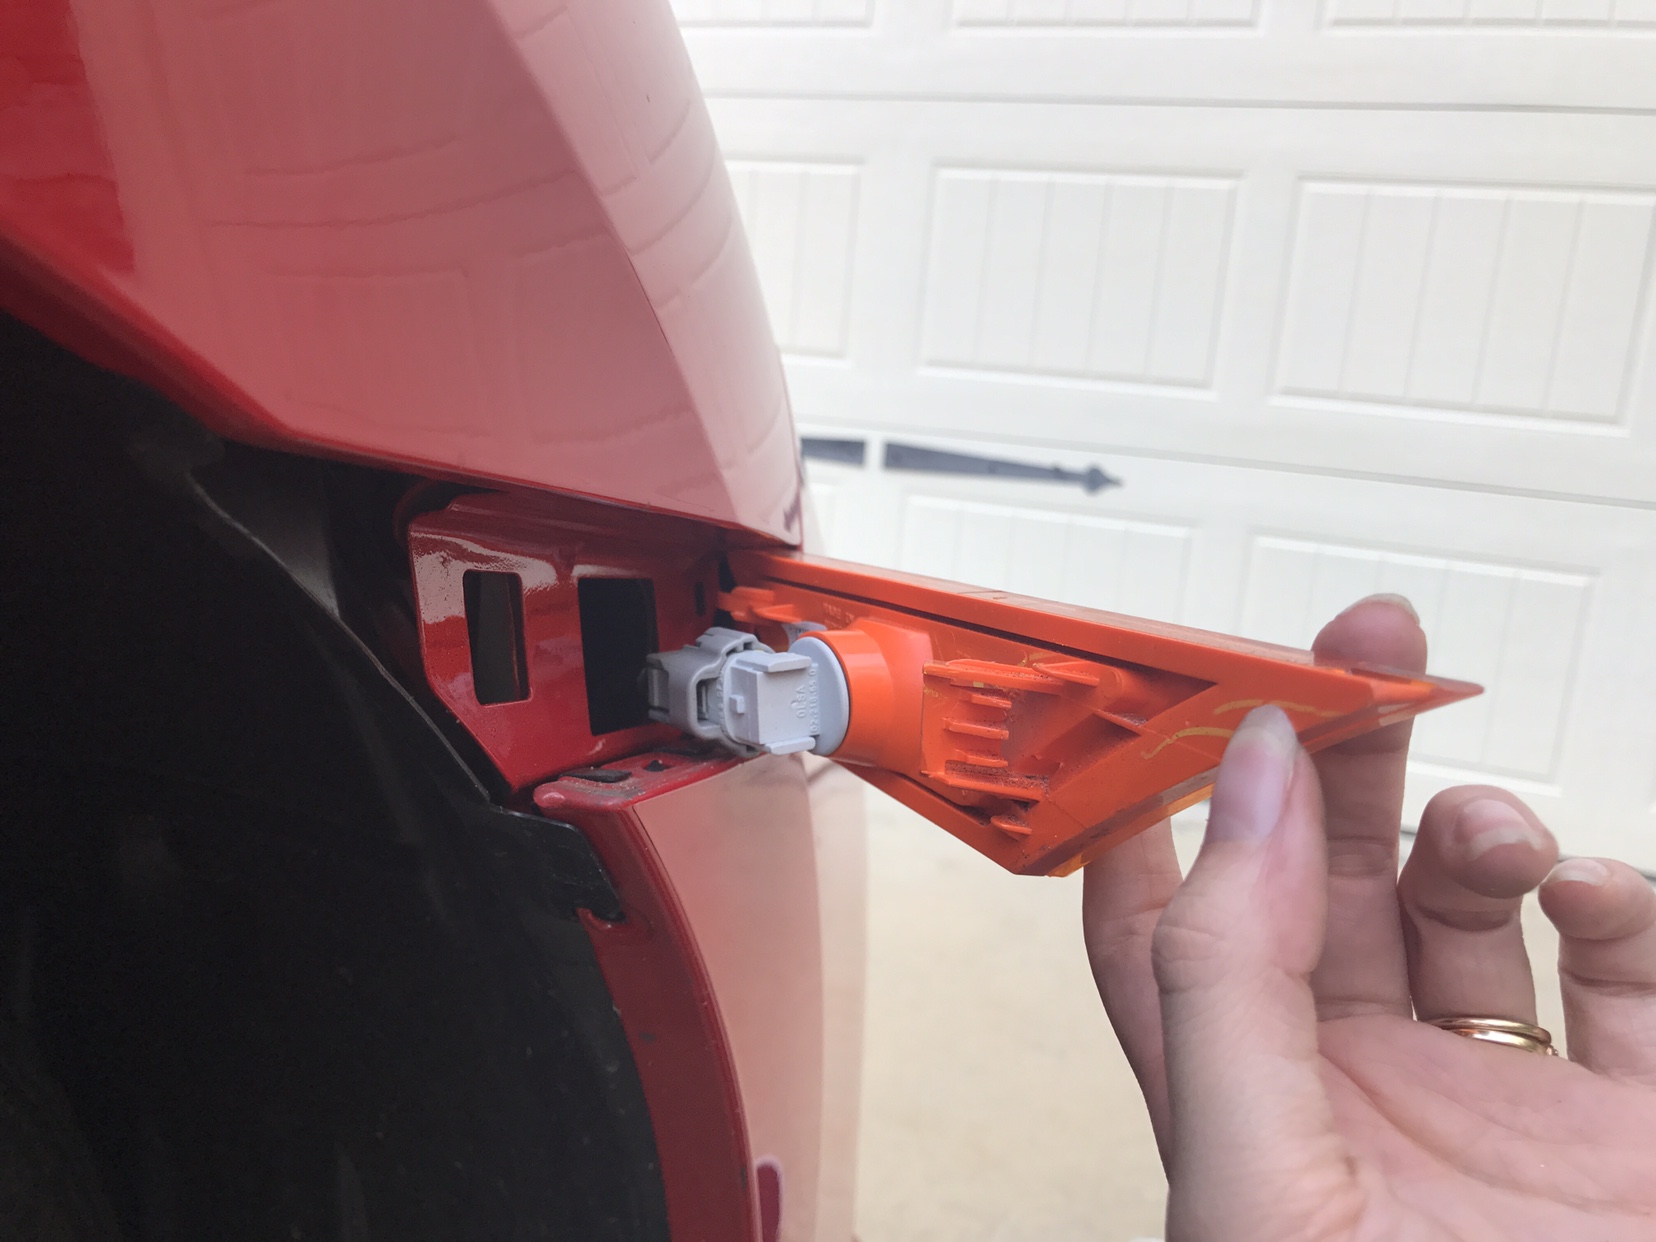
Step 5: Place the new side marker on in the reverse way that you took the old one off.
Step 6: Gently place the new side marker into position and firmly press in the area where the large tab is.
Step 7: Put the fender liner back into place and secure it with the 2 screws using the phillips head screwdriver again.
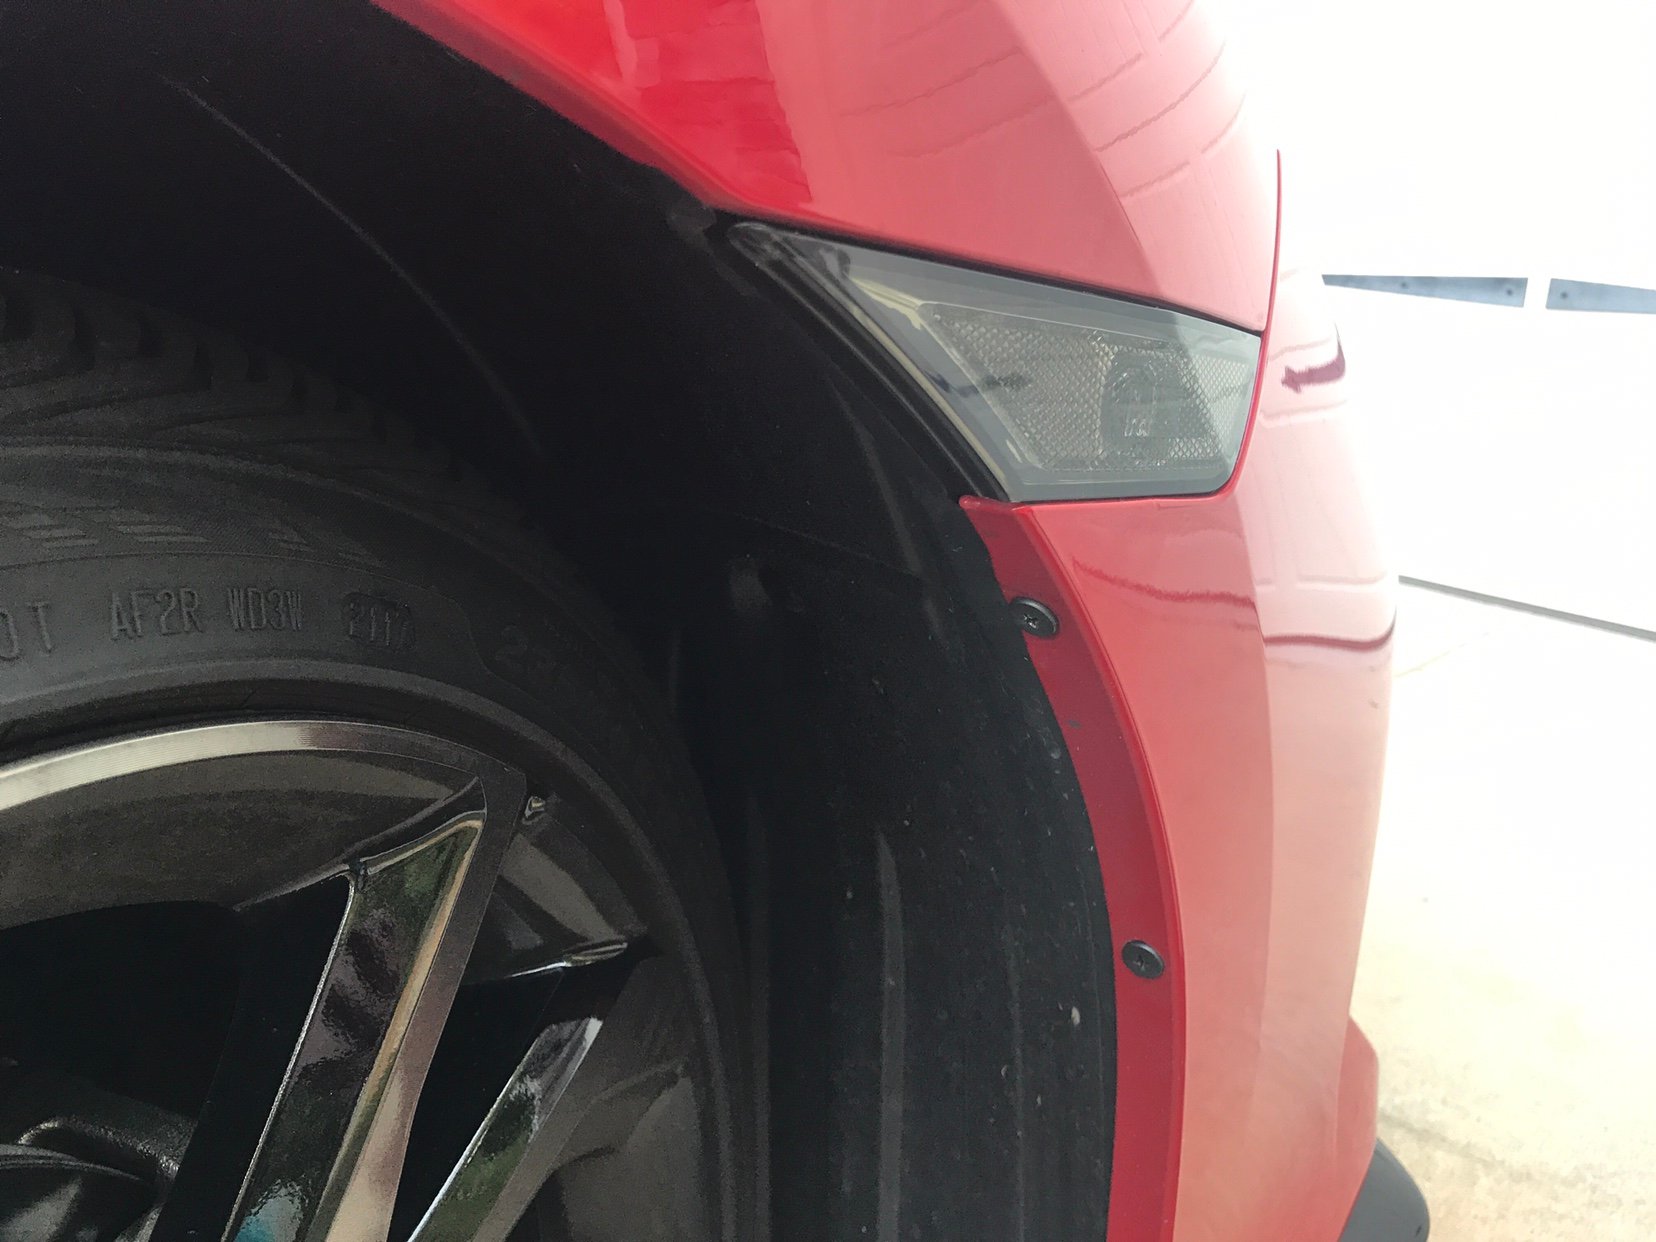
Step 8: Sit back and admire your work!

These will set you back about $25 for the set of two, and take about 10 minutes of your time (if that - took me less at over 6 months pregnant)
- Fits on all 10th Gen Civic models including DX/LX/EX/Touring
- Replace OEM Part #s: 34300-TET-H01 / 34350-TET-H01
Parts needed:
Smoked Side Markers: Ebay link here
Clear Side Markers: Ebay link here
Tools needed:
Phillips head screwdriver (to remove fender liner screws)
Flat head screwdriver (to press large tab on old sidemarker)
For this demonstration we are using a 2017 Rallye Red Honda Civic Sport Touring Hatchback.
*I am not responsible for part fitment or any damages caused - DIY at your own risk*
Before and After pic:
Step 1: Find and remove the two fender liner screws with a phillips head screwdriver.
Step 2: Peel back the fender liner beside the sidemarker and use a flat head screwdriver to press firmly on the center line on the side marker tab. The closer to the vehicle, the quicker and easier it releases.
Step 3: Gently pull back the old side marker. Be aware that this will still be connected to the vehicle with short bulb connectors.
Step 4: Hold the grey bulb socket while you gently twist the side marker up and away from you.
Step 5: Place the new side marker on in the reverse way that you took the old one off.
Step 6: Gently place the new side marker into position and firmly press in the area where the large tab is.
Step 7: Put the fender liner back into place and secure it with the 2 screws using the phillips head screwdriver again.
Step 8: Sit back and admire your work!
Last edited: