Twitch
Well-Known Member
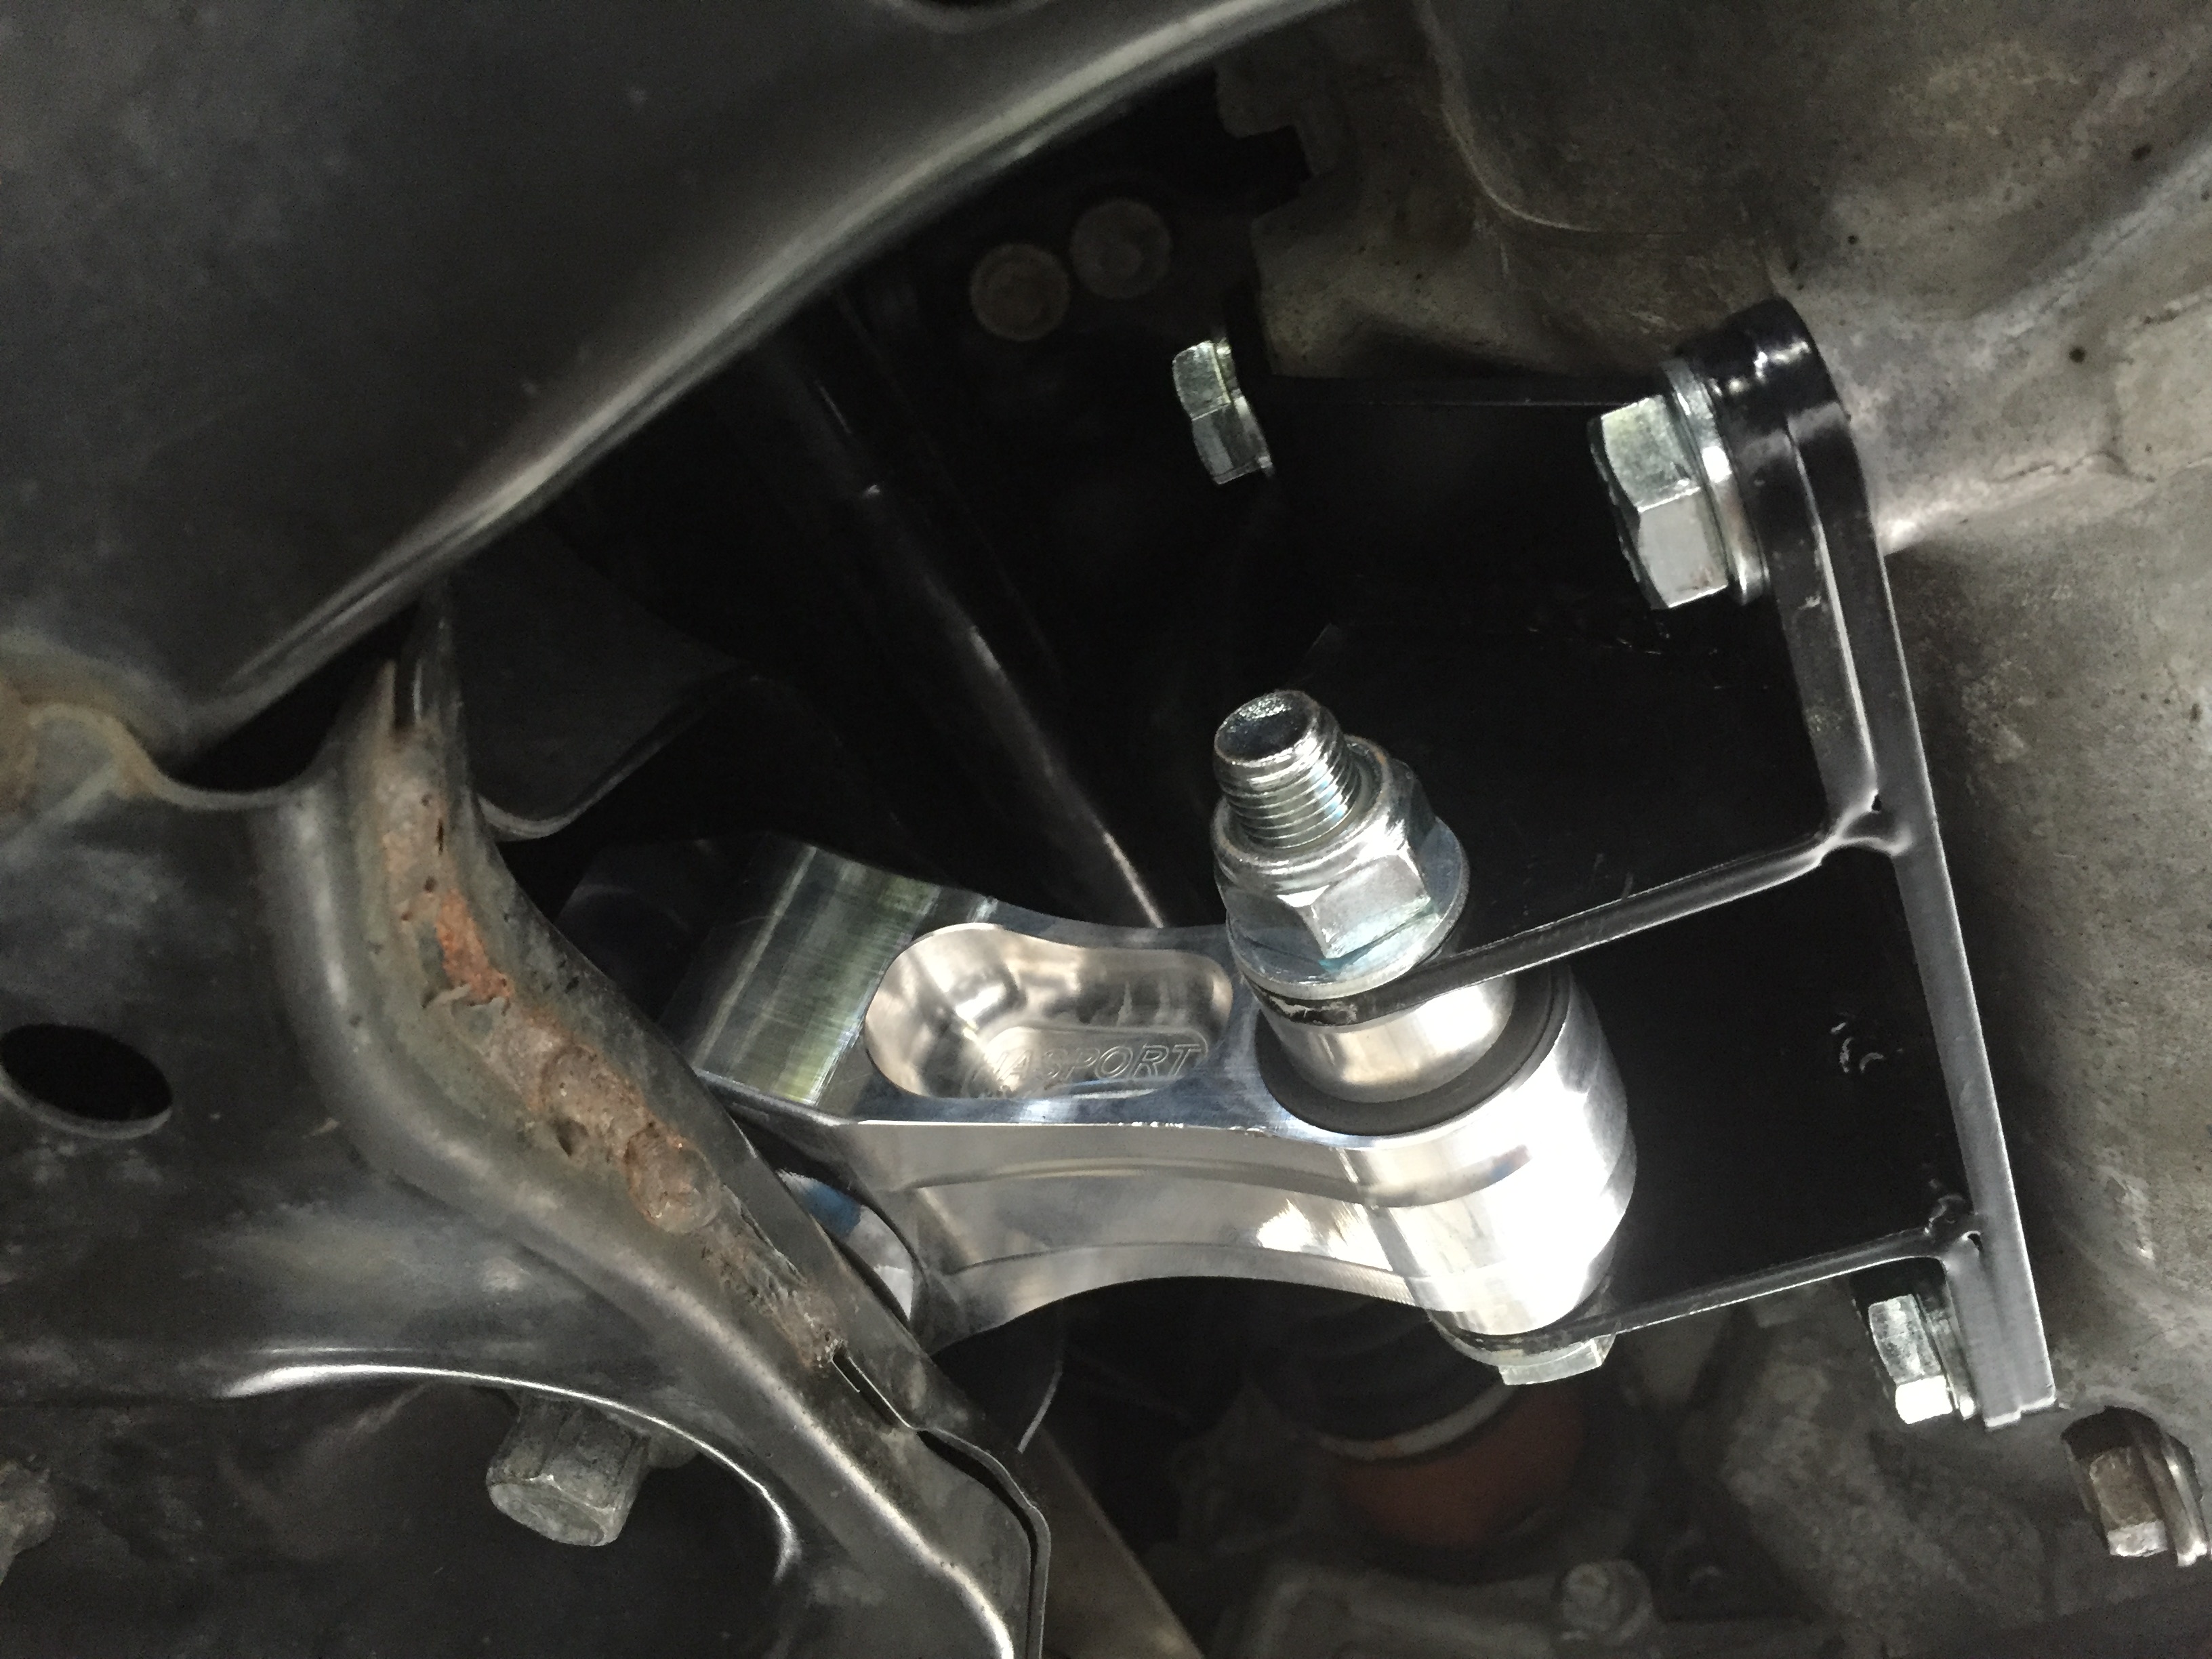
Squiggys DIY for the Si covers how to do this. I just wanted to show some images for the R18 as they were hard to come by when i was researching.
http://9thcivic.com/forum/threads/2012-civic-si-hasport-rear-motor-mount-installation.9444/
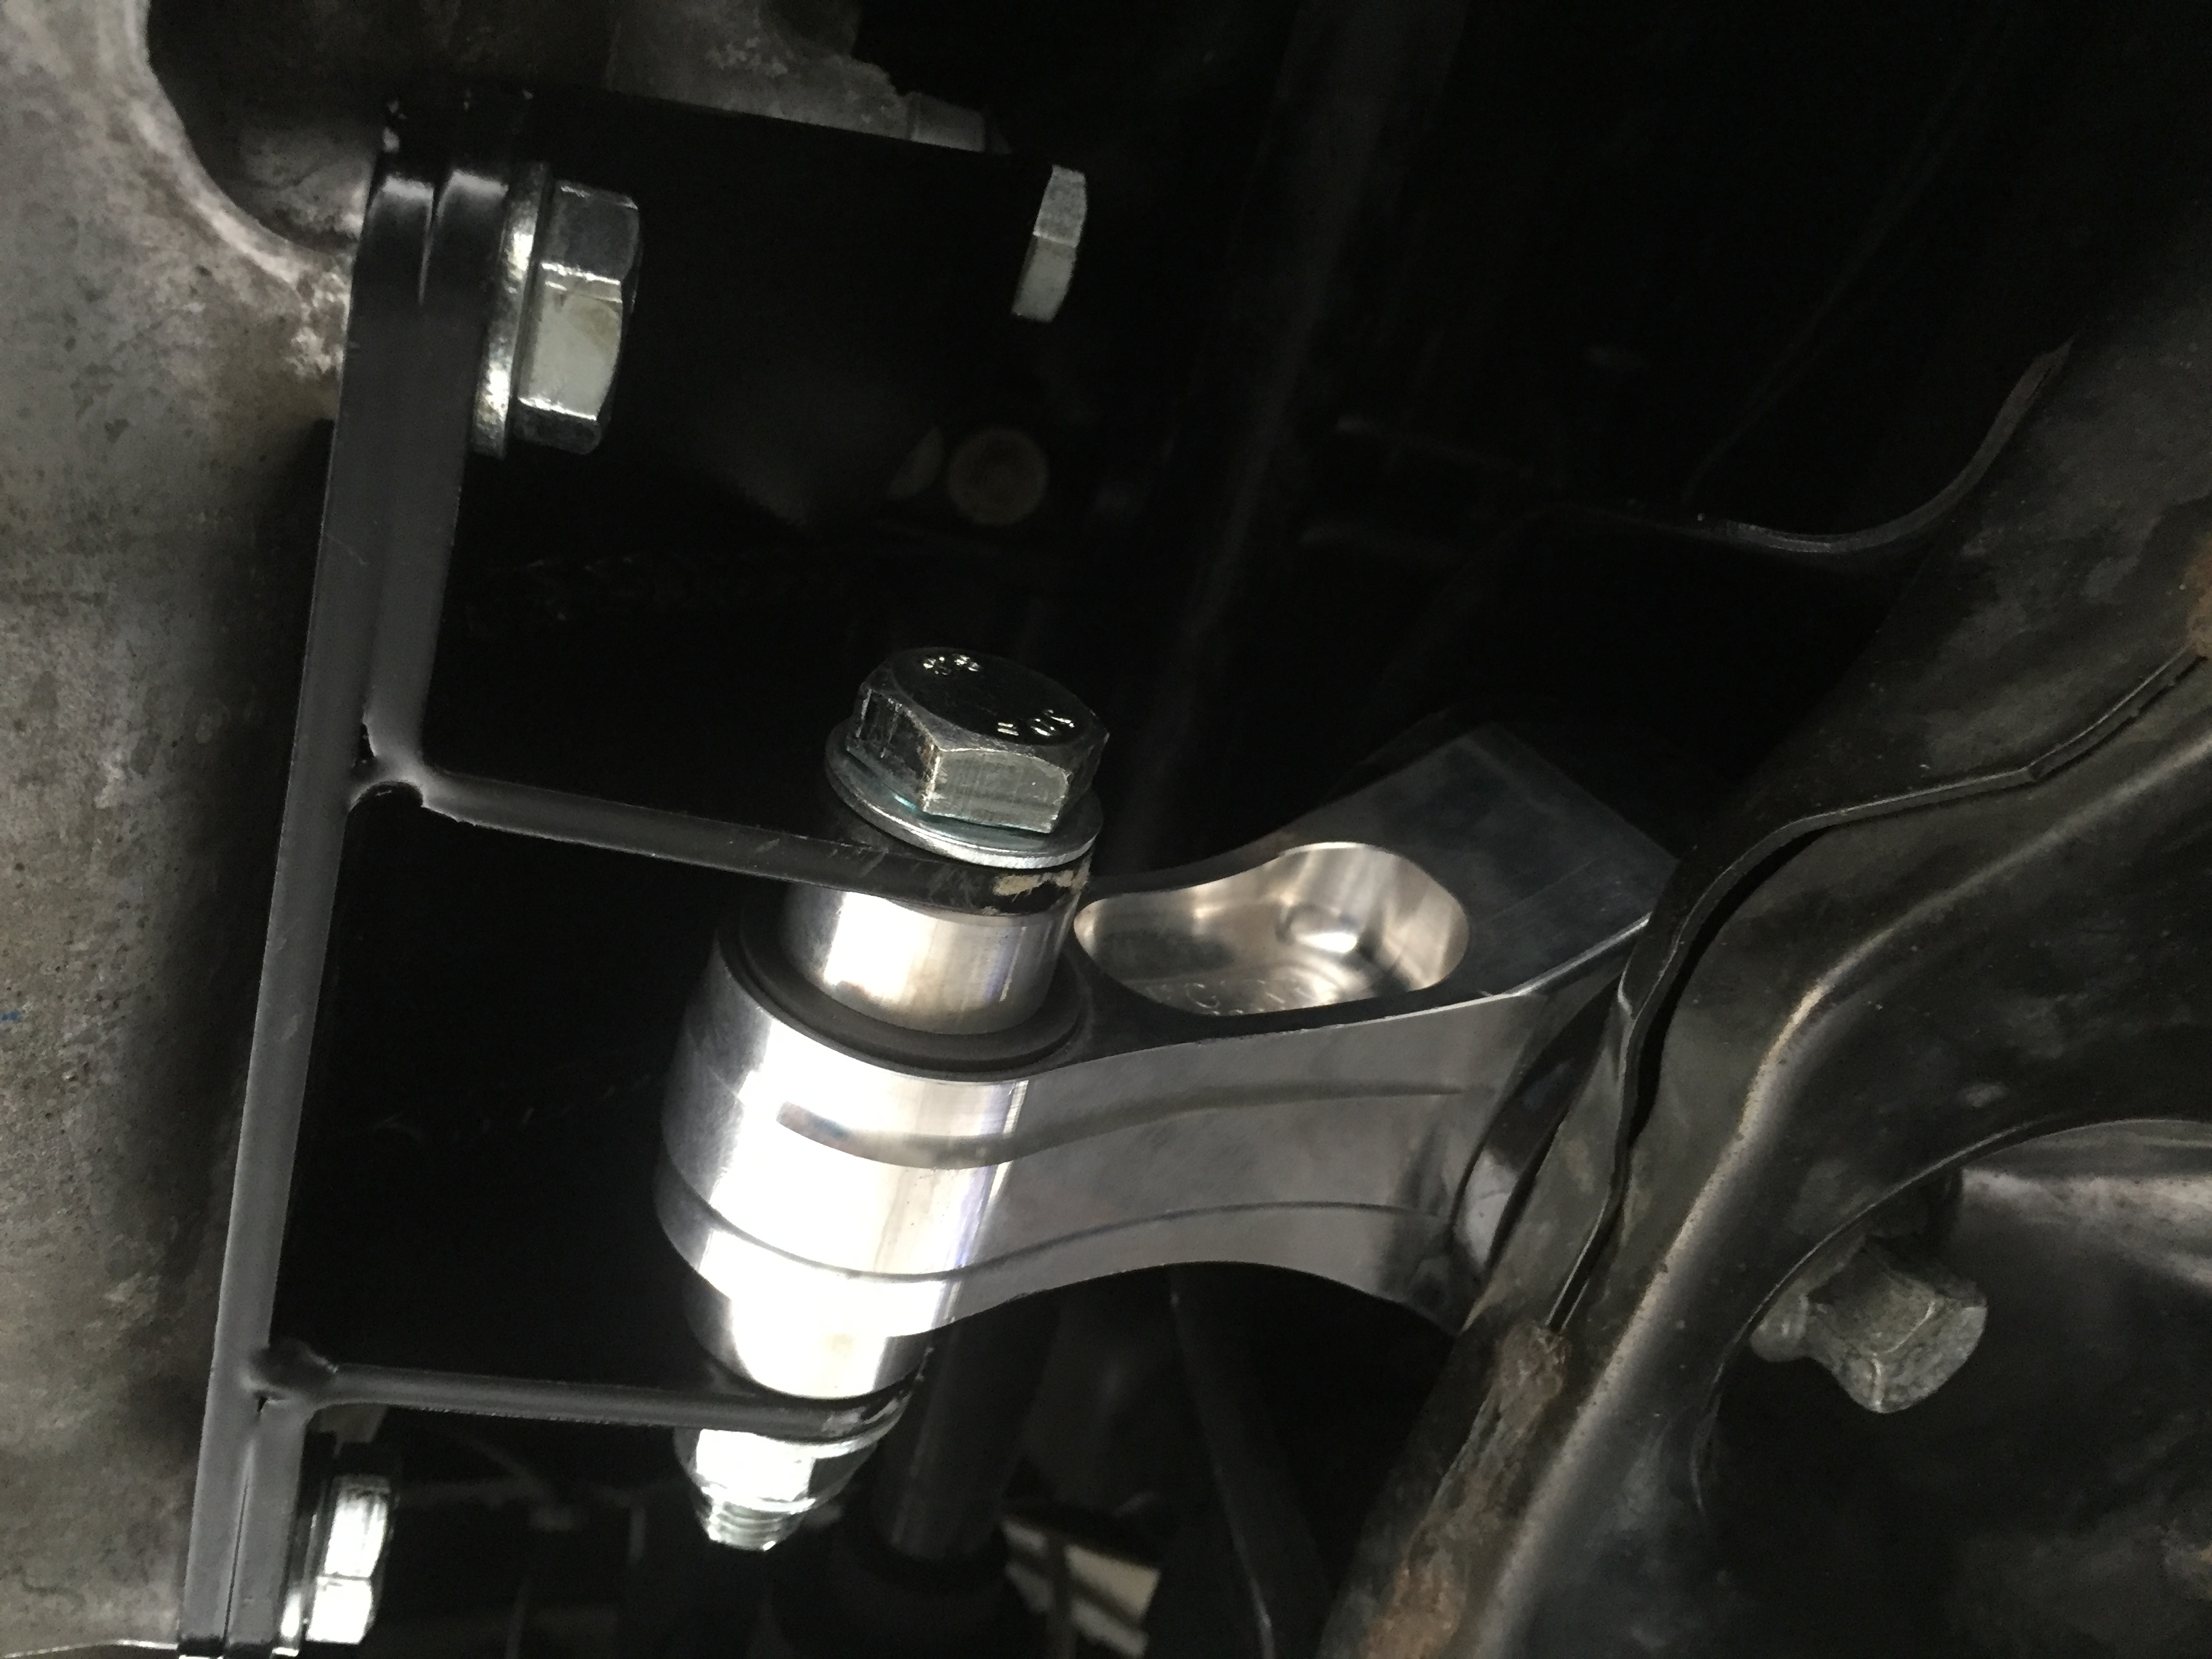
The part you are looking for is a FG1RR. I got the -62A.
Hasport: http://hasport.com/store/index.php/fg1rr.html
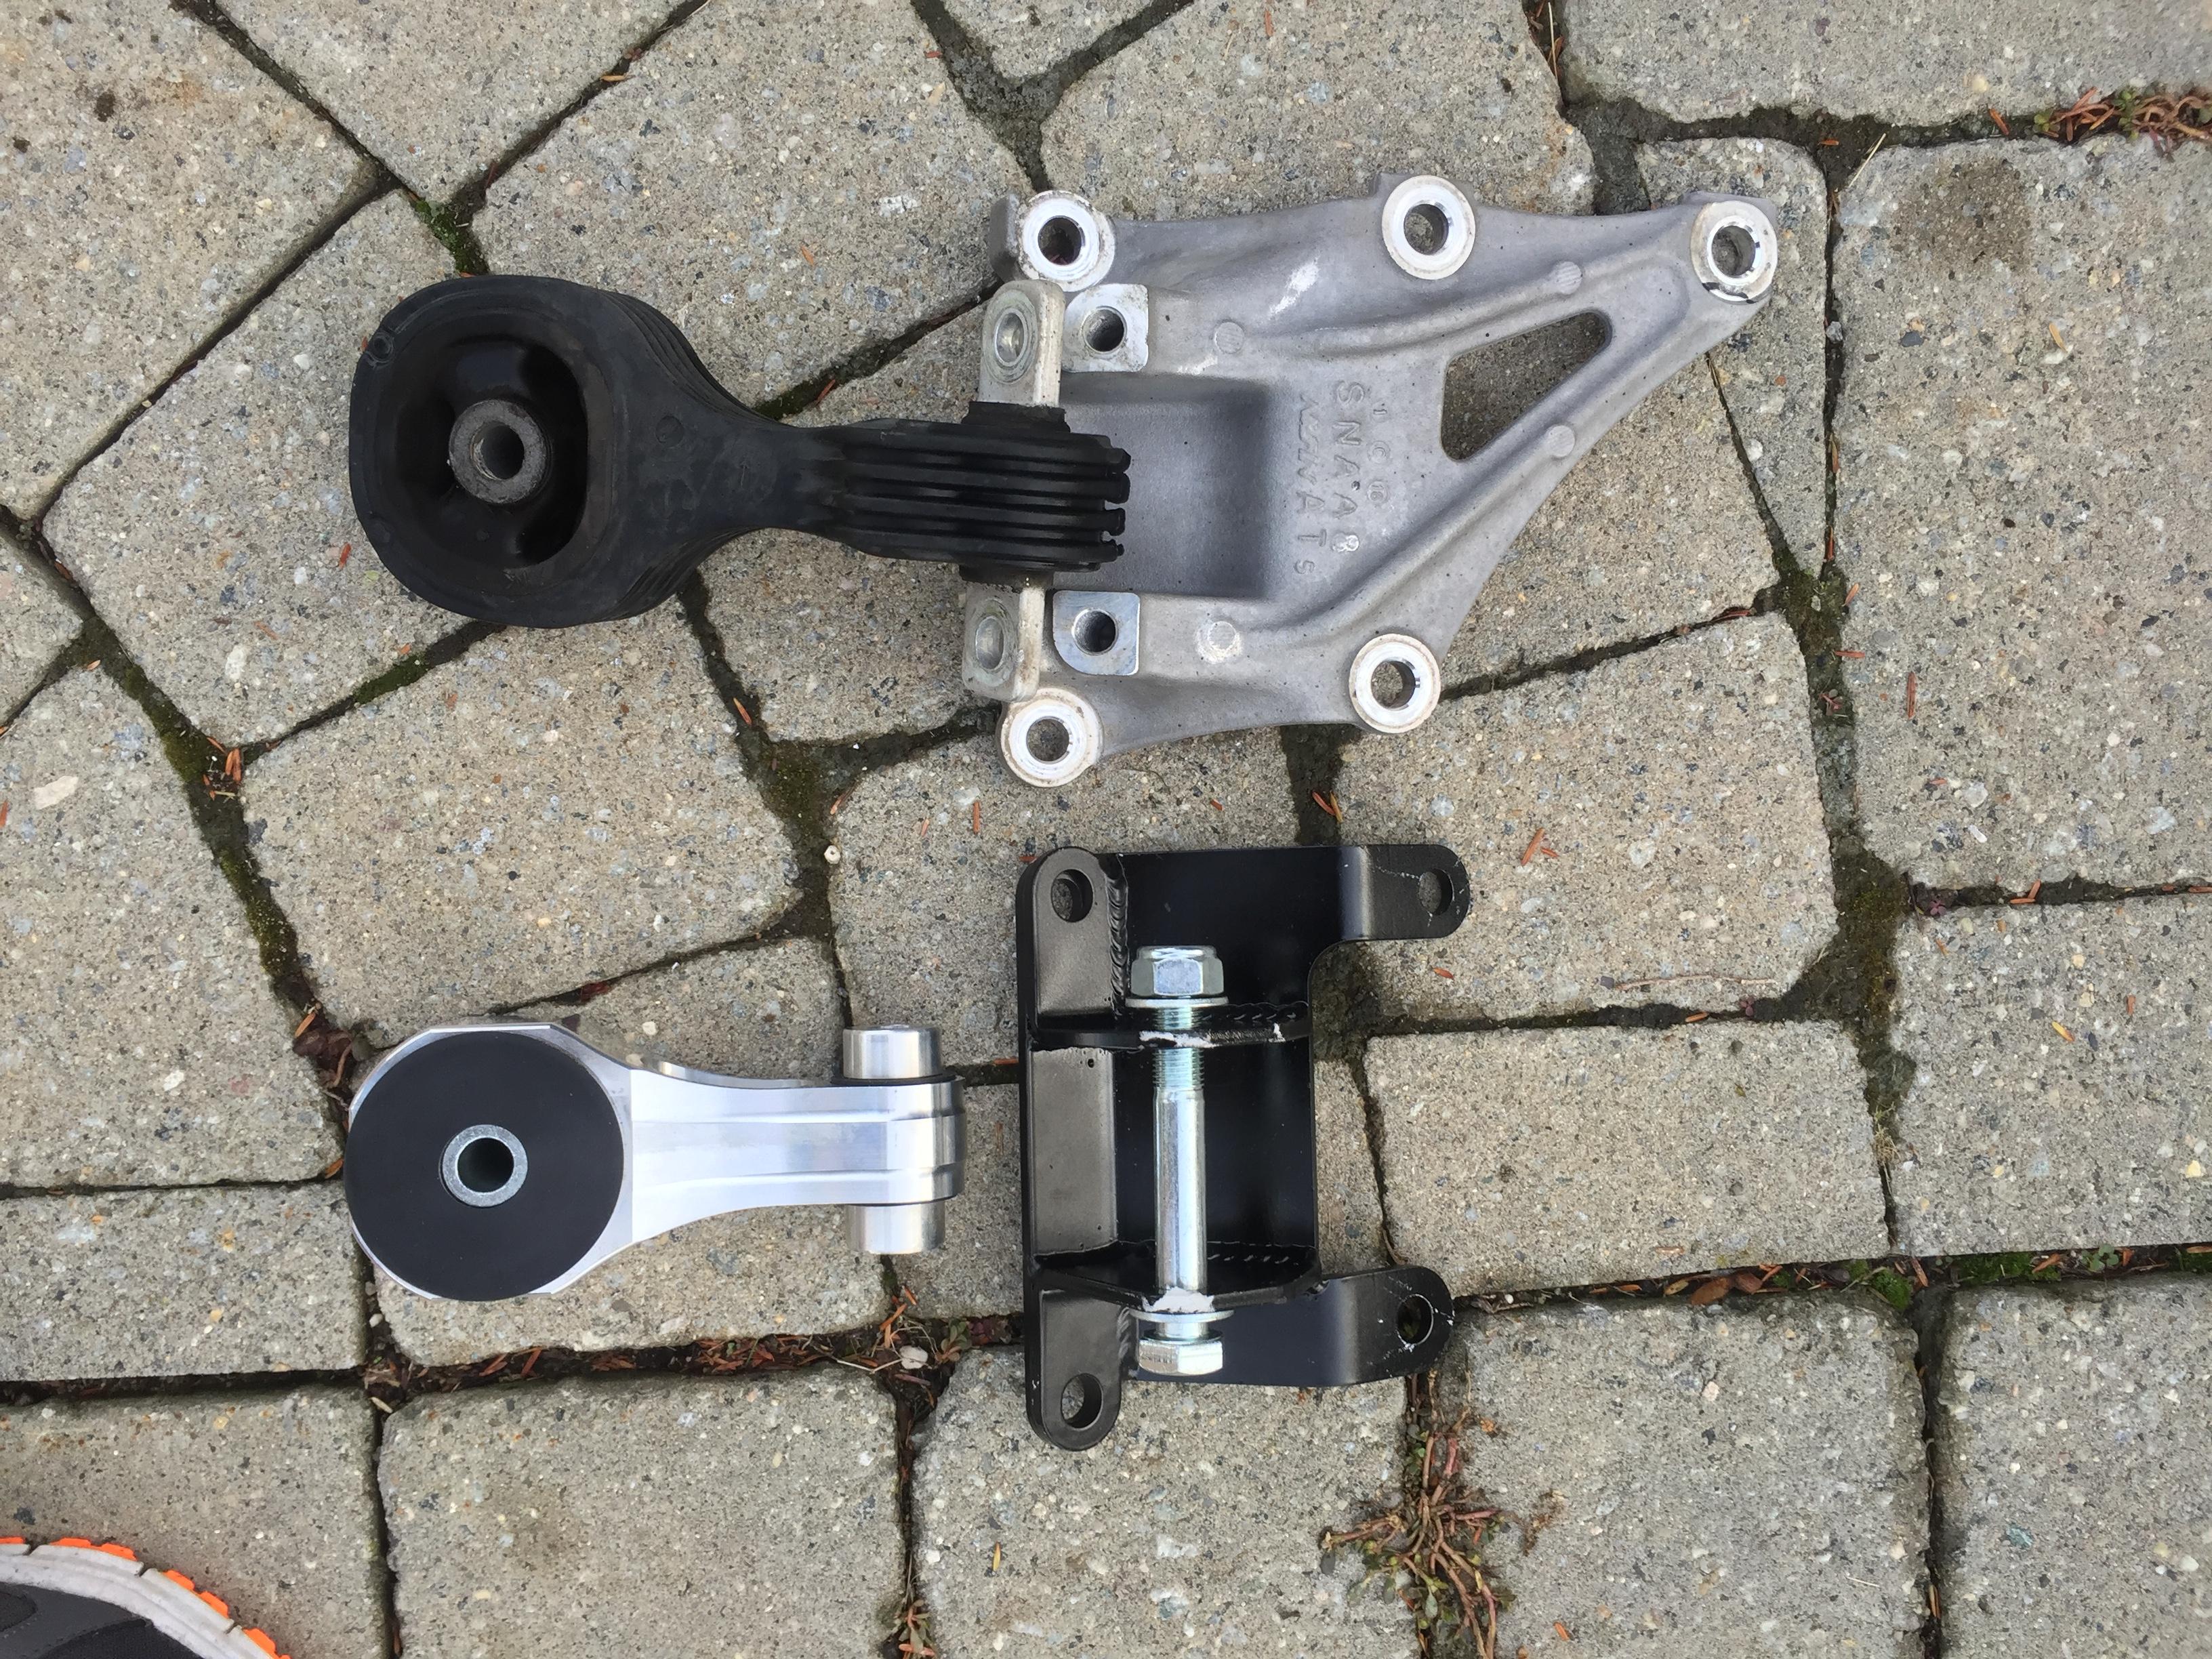
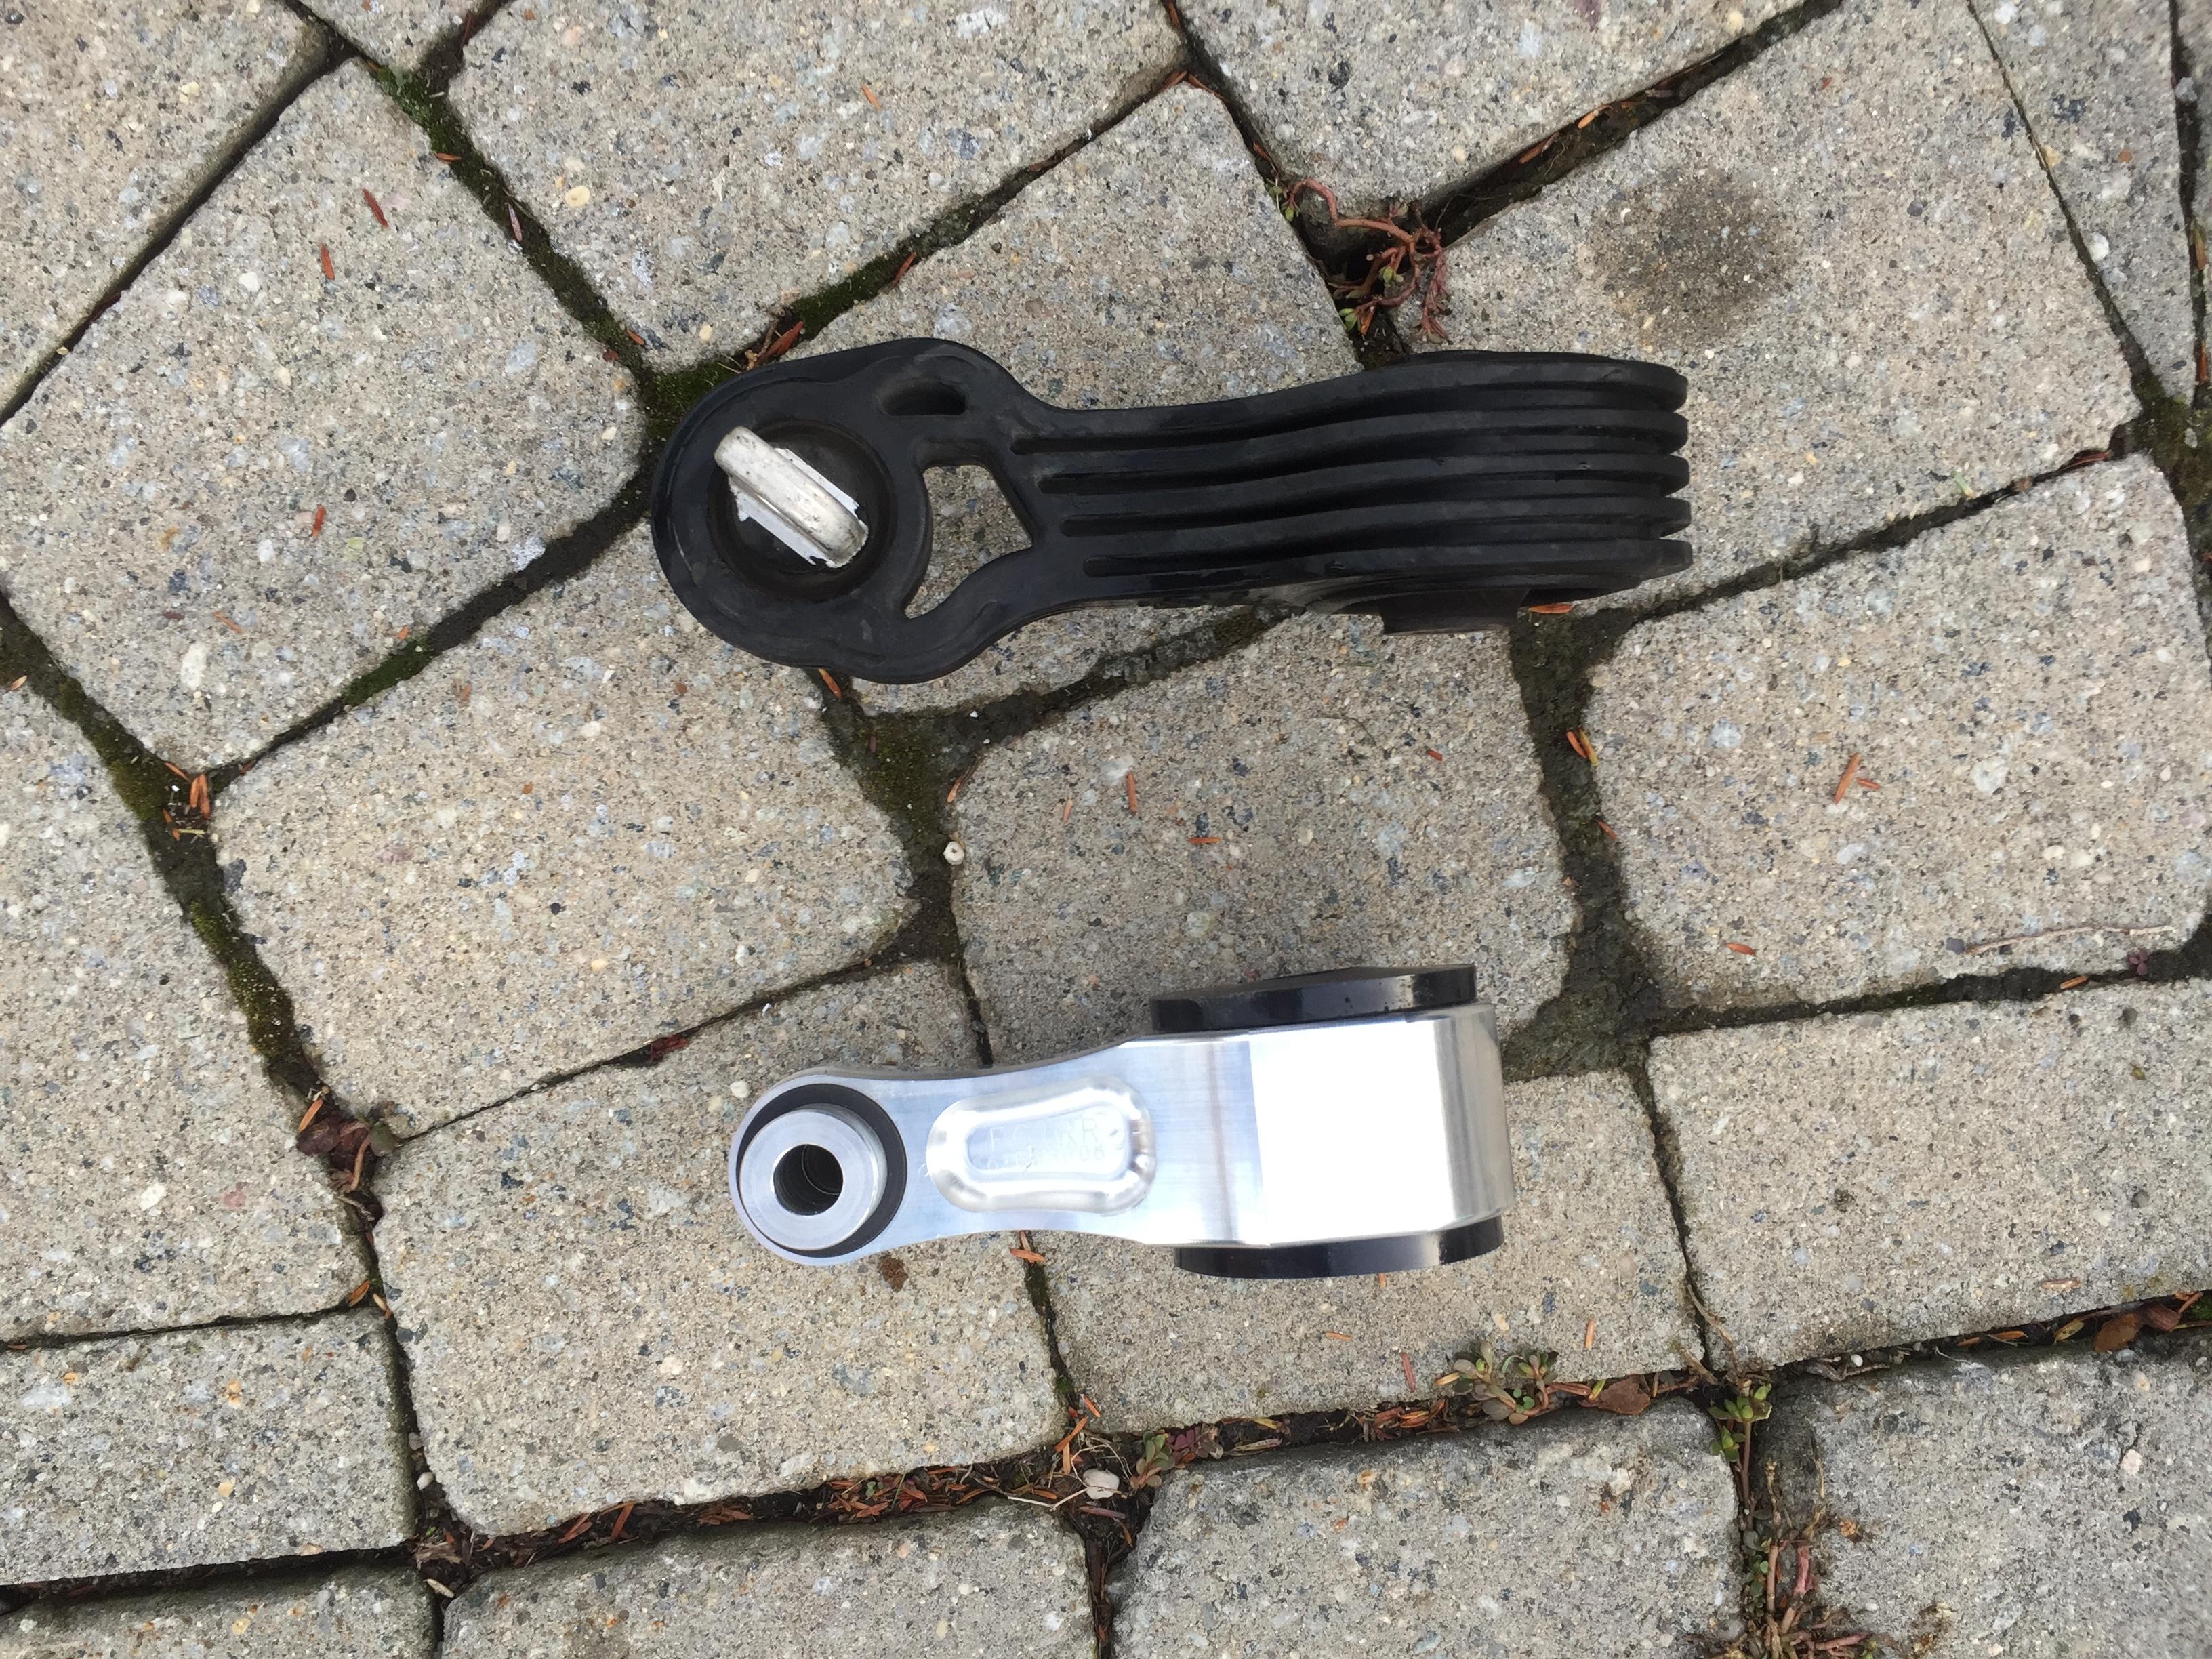
Comparisons
Stock Mount(Top) vs. Hasport Mount (Bottom)
Installation
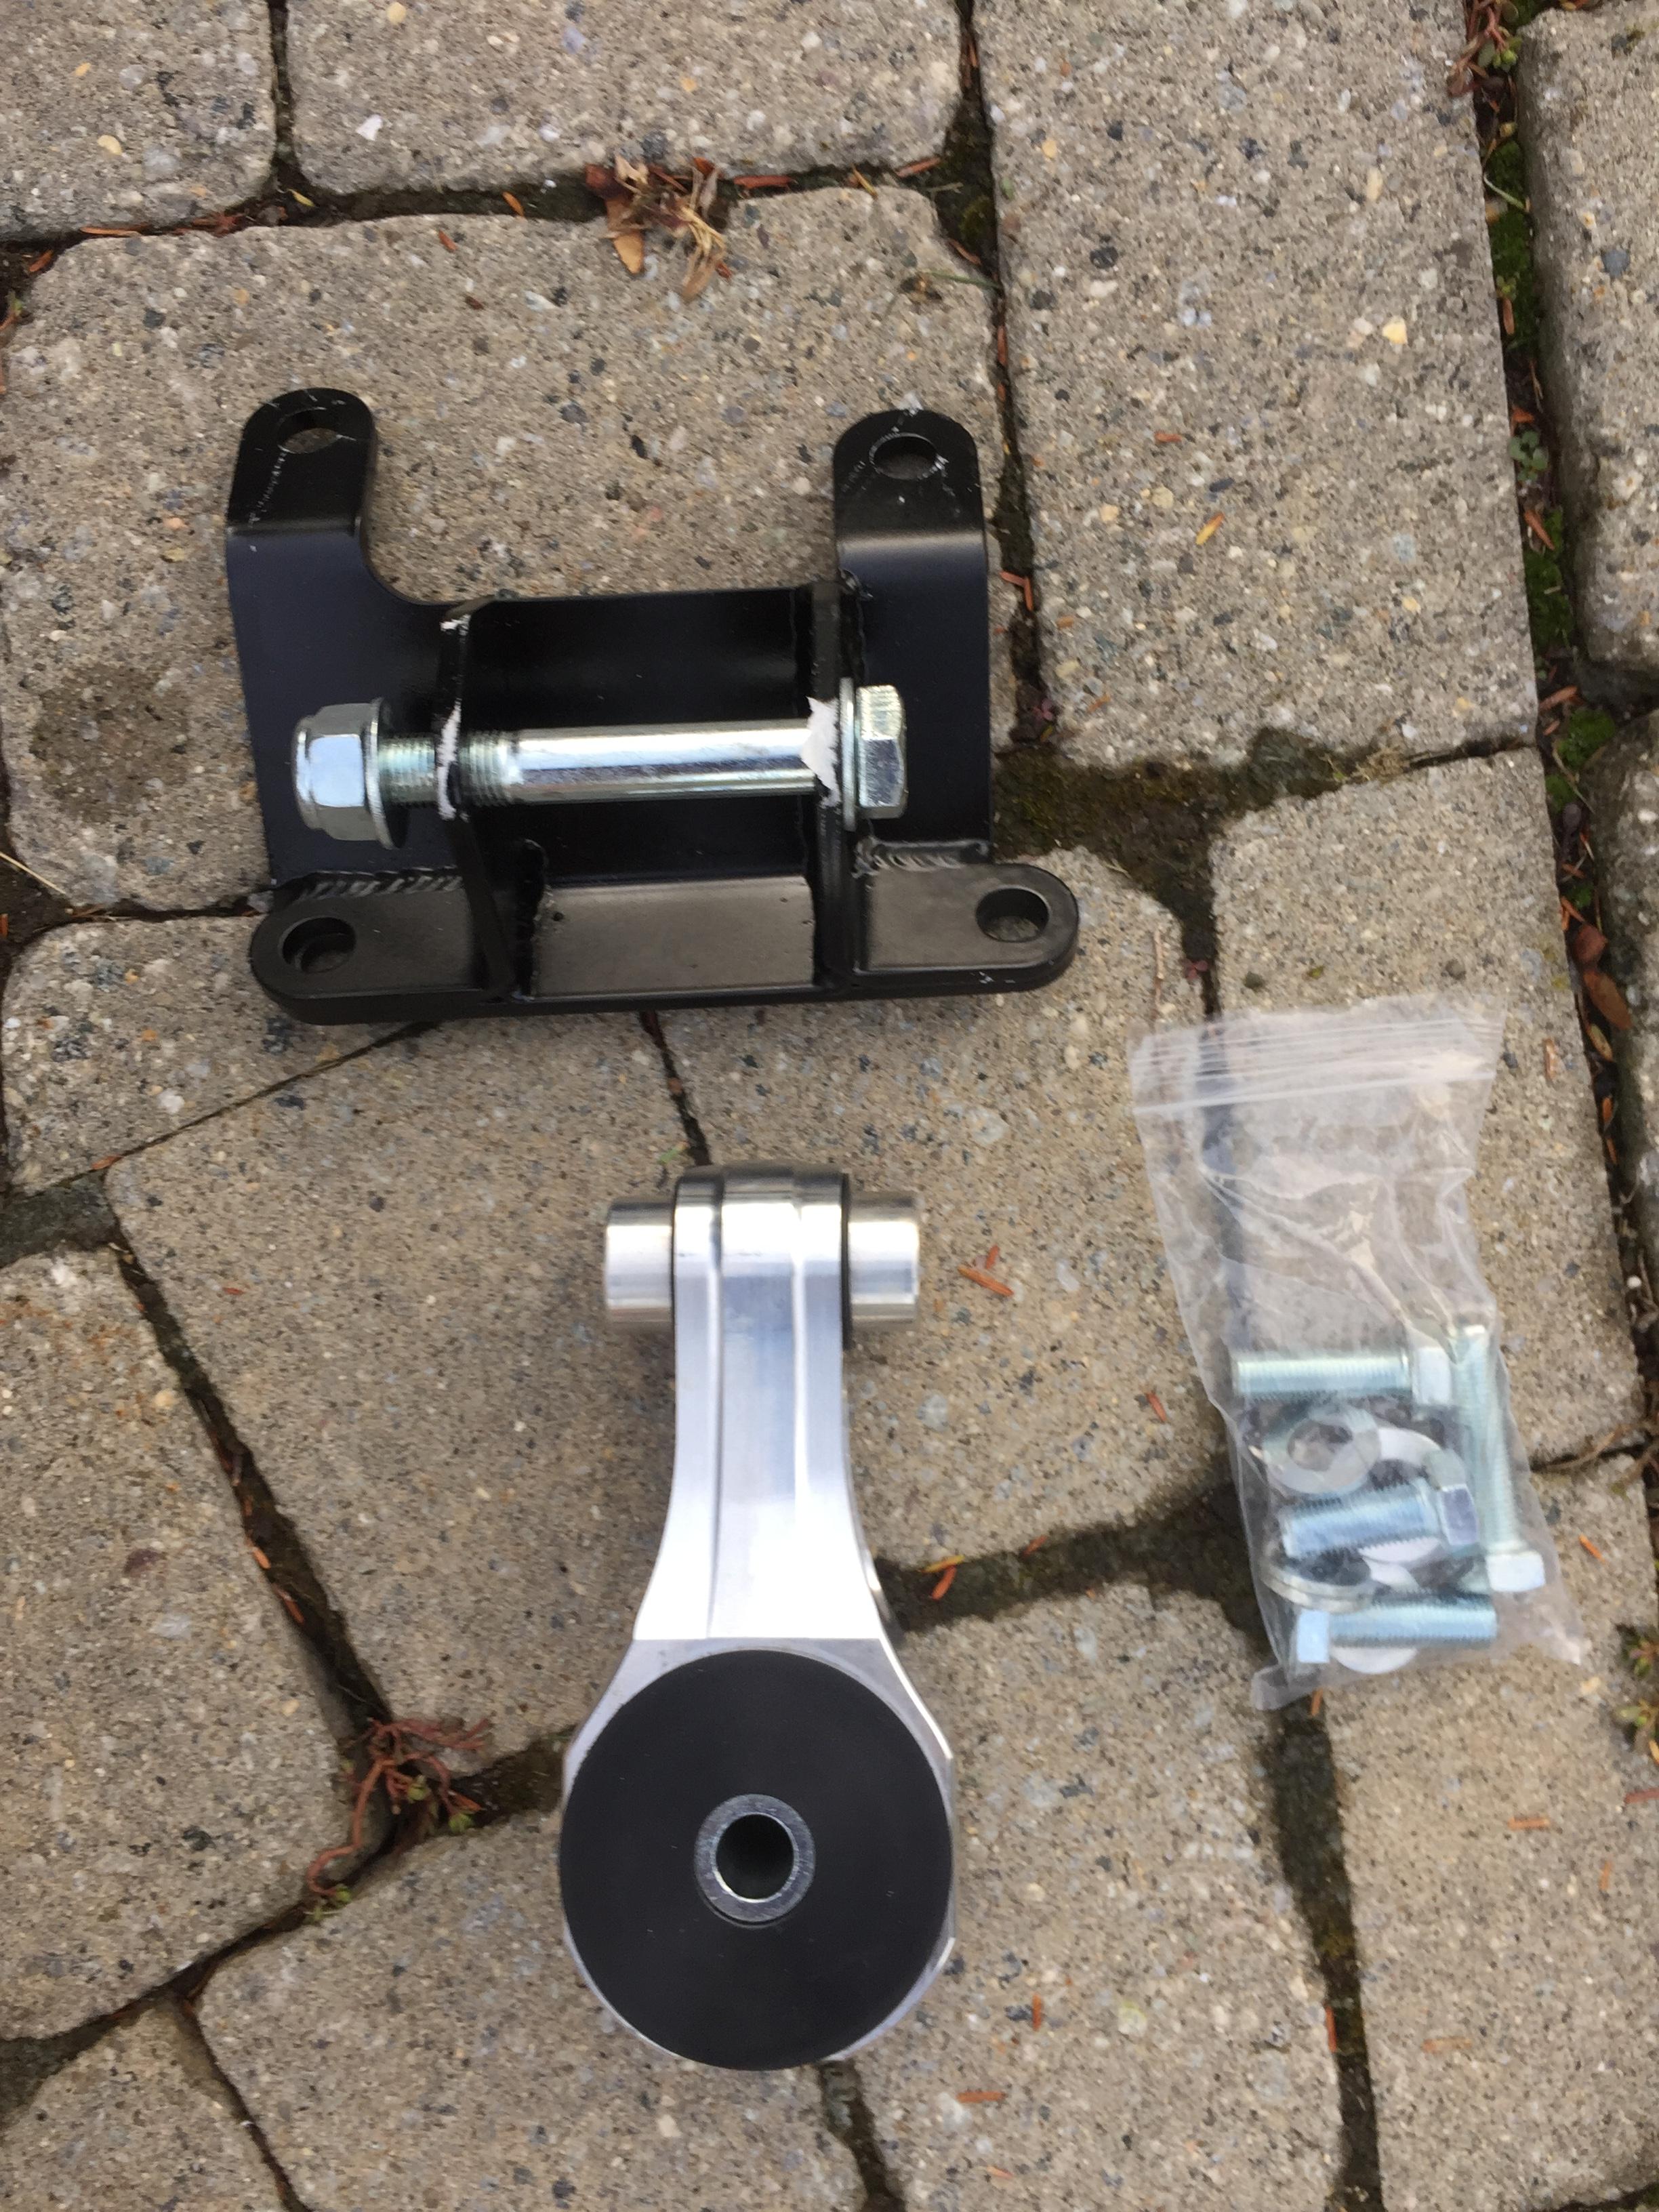
Whats in the Box (FG1RR-62A)
Tools Needed:
Jack + Jack Stands
12" Length of 2"x4"
Phillips Head Screw Driver
Flat Head Screw Driver or Clip Remover
Sockets: 10mm, 15mm, 17mm, 7/8"
Channel Lock Pliers or 7/8"wrench
Torque wrench
Step 1, Prep
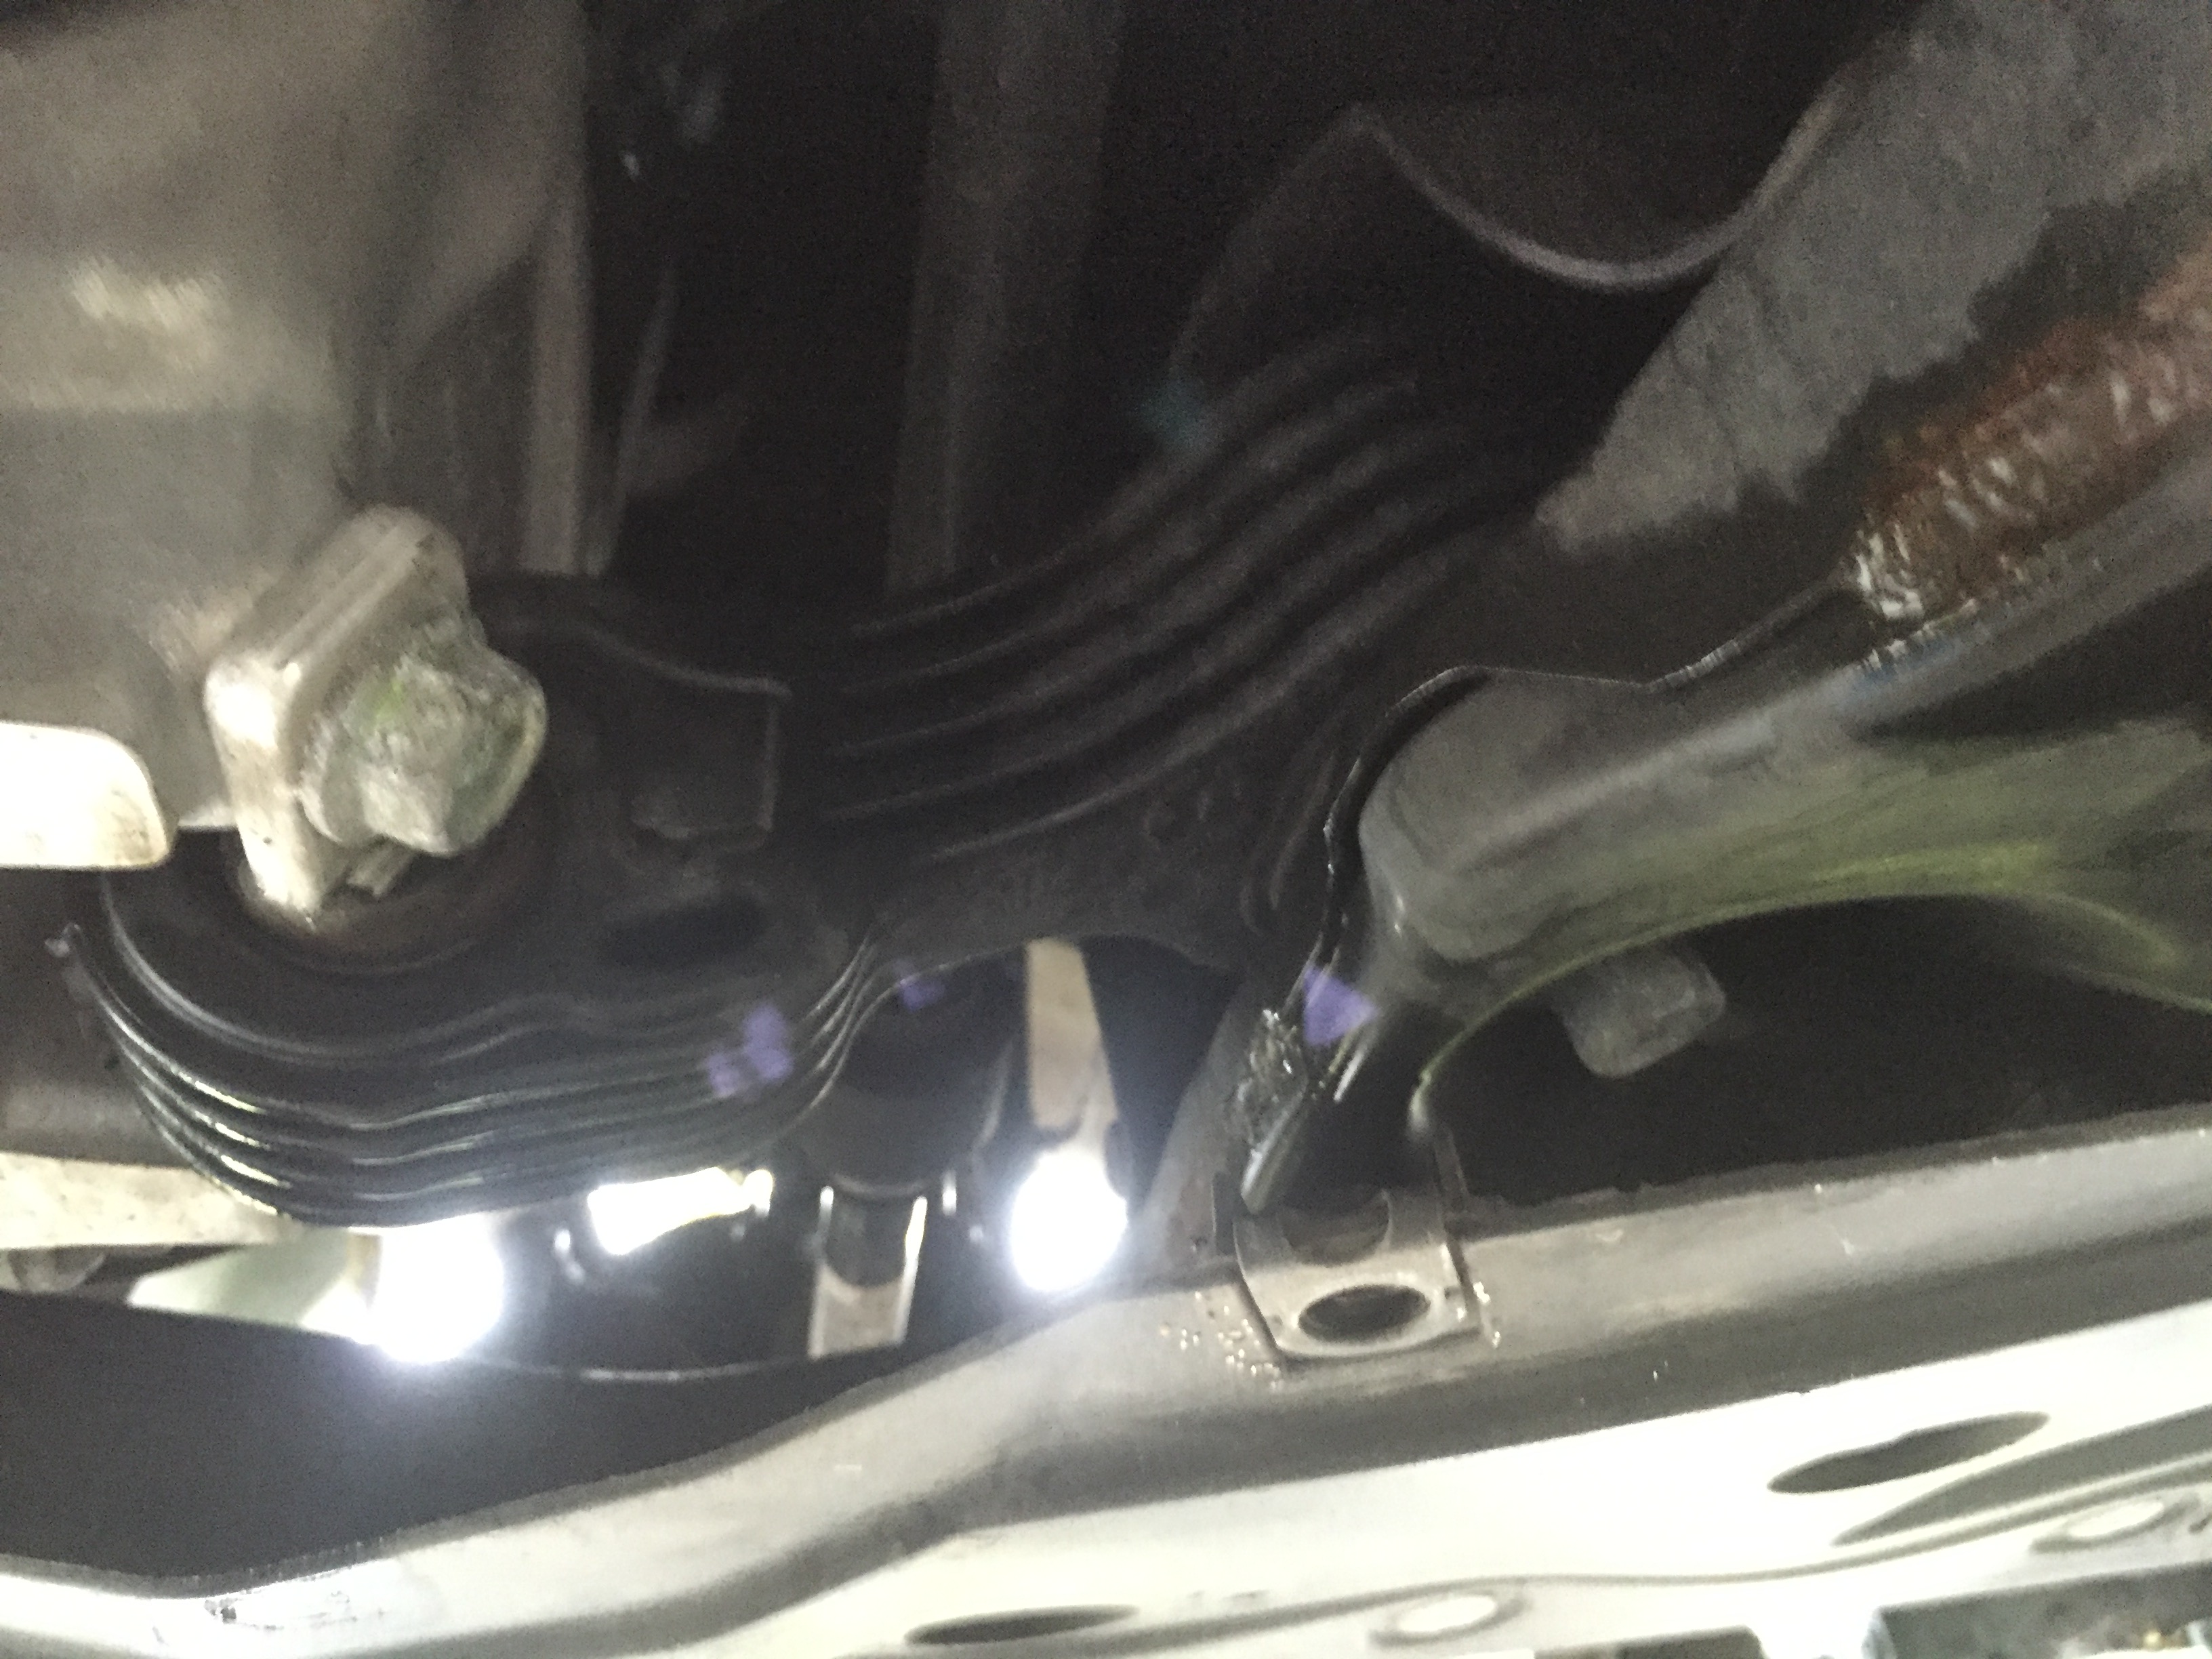
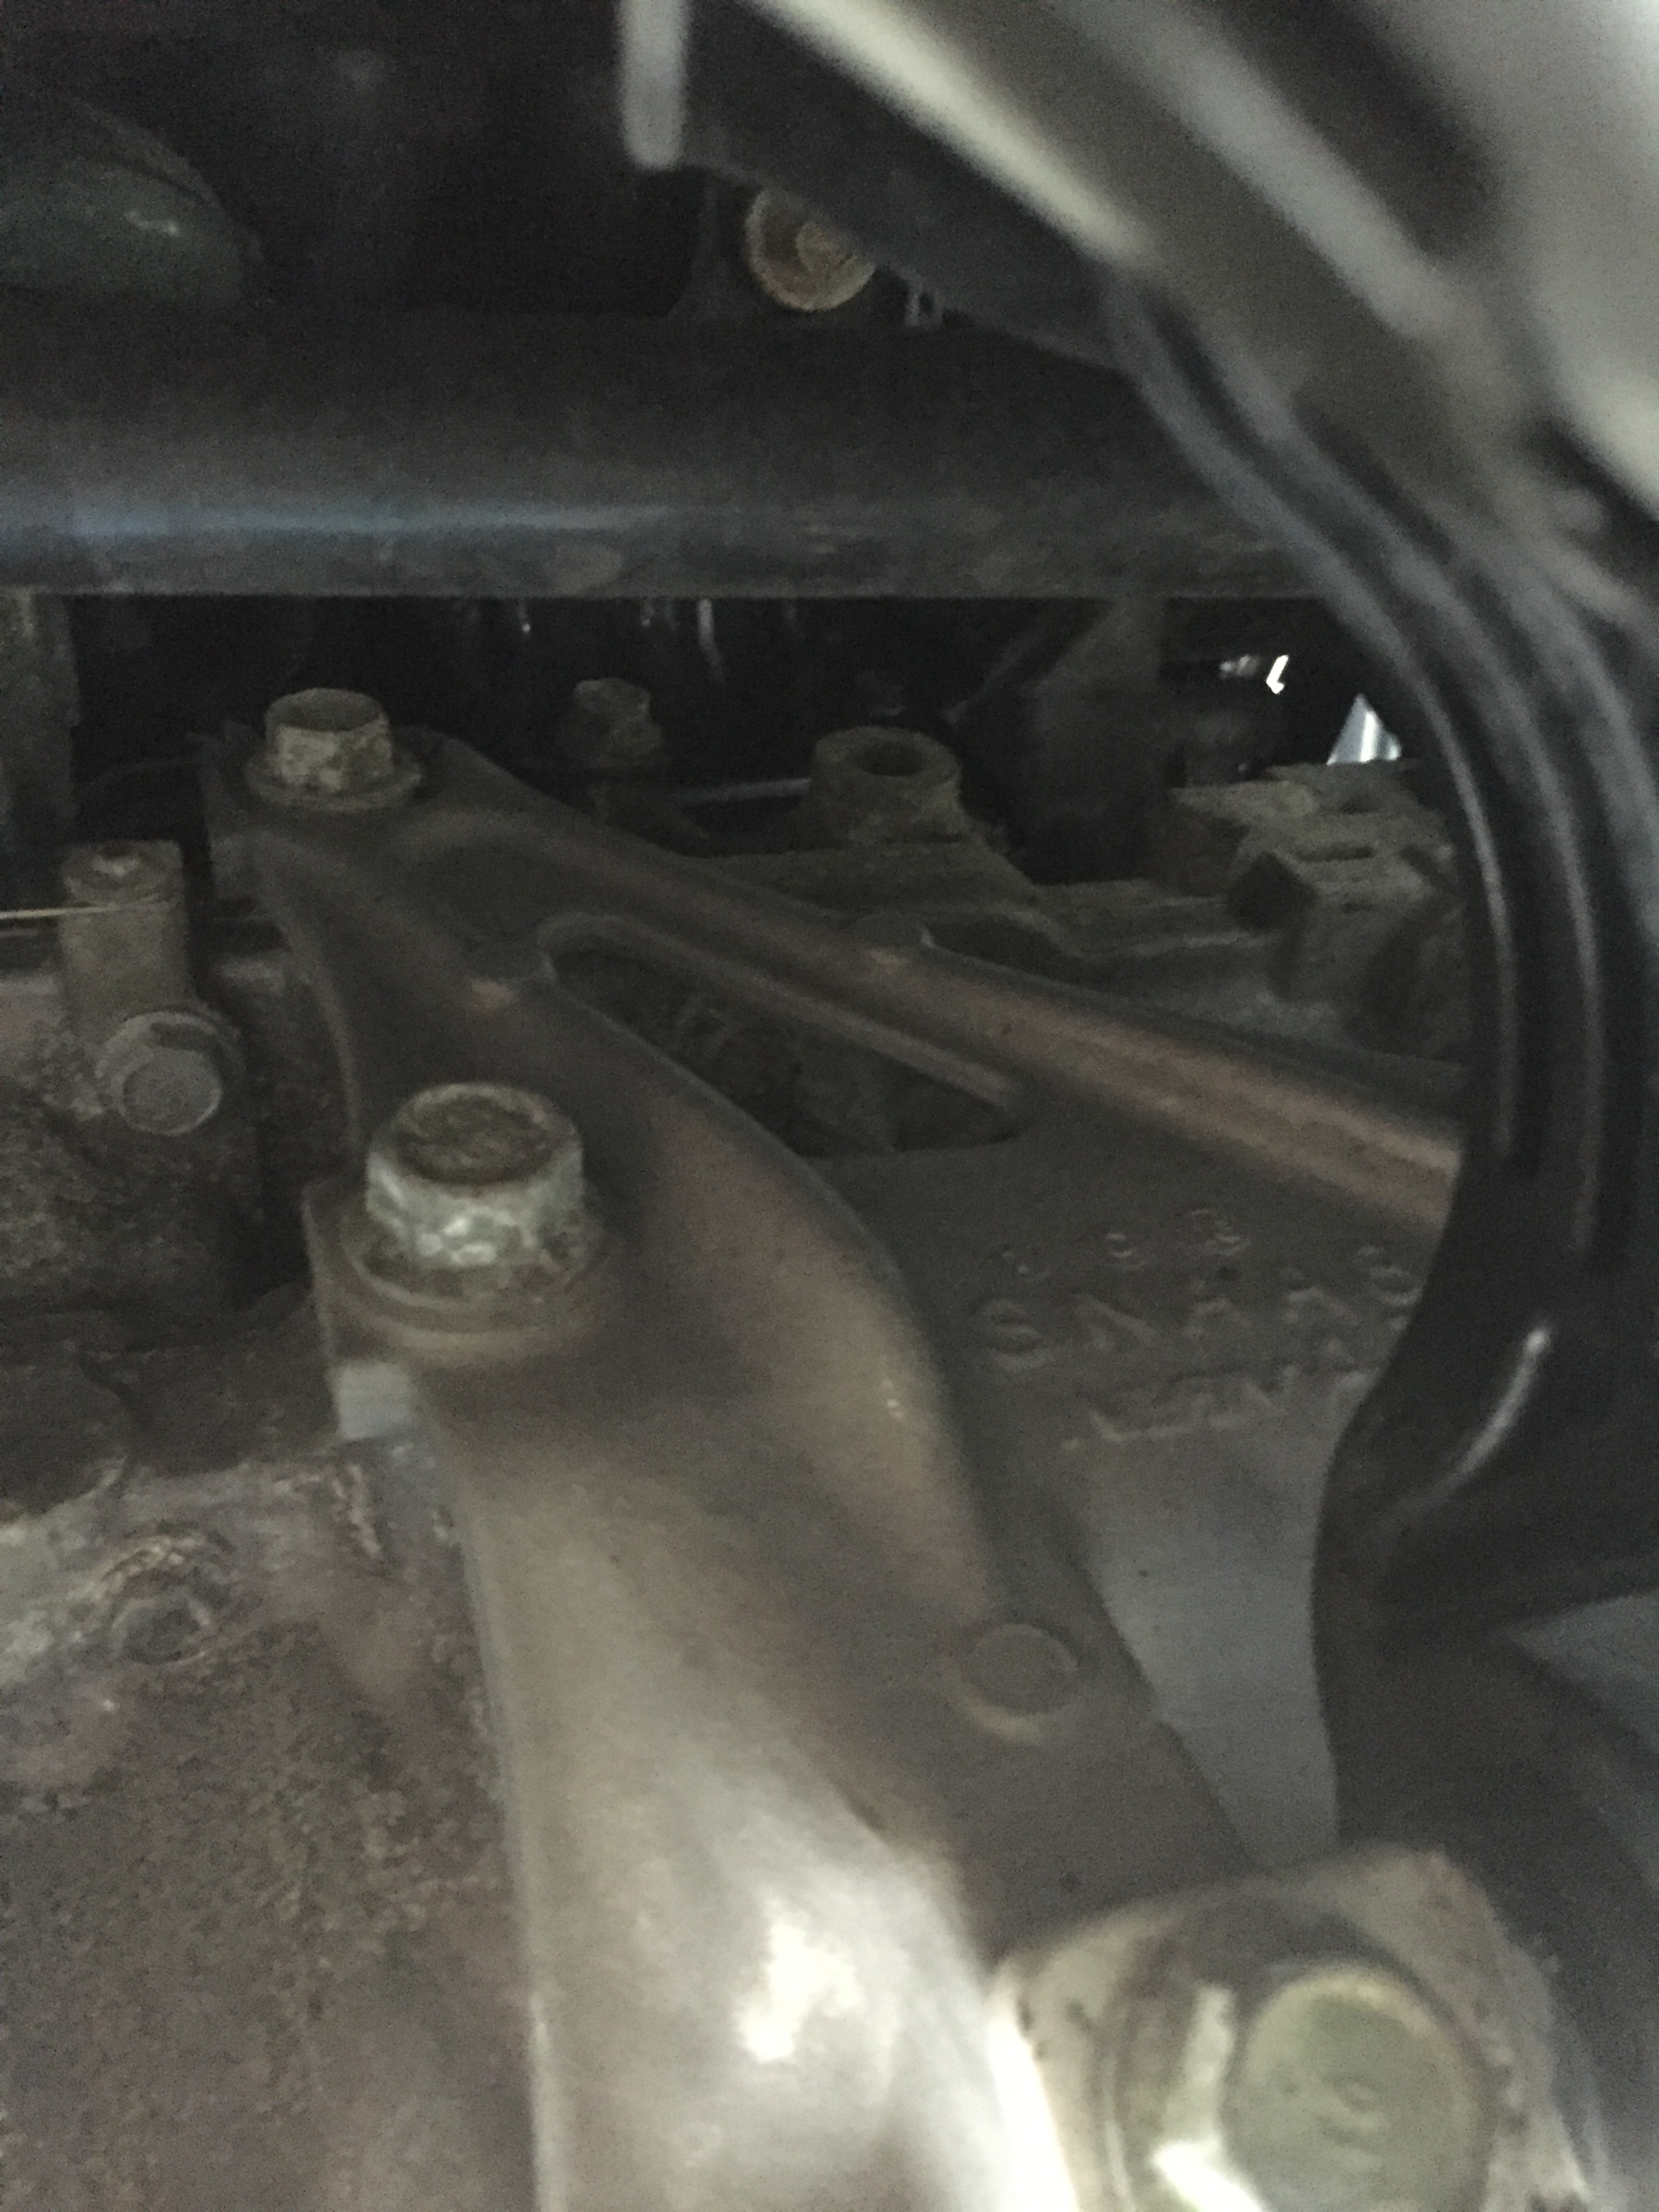
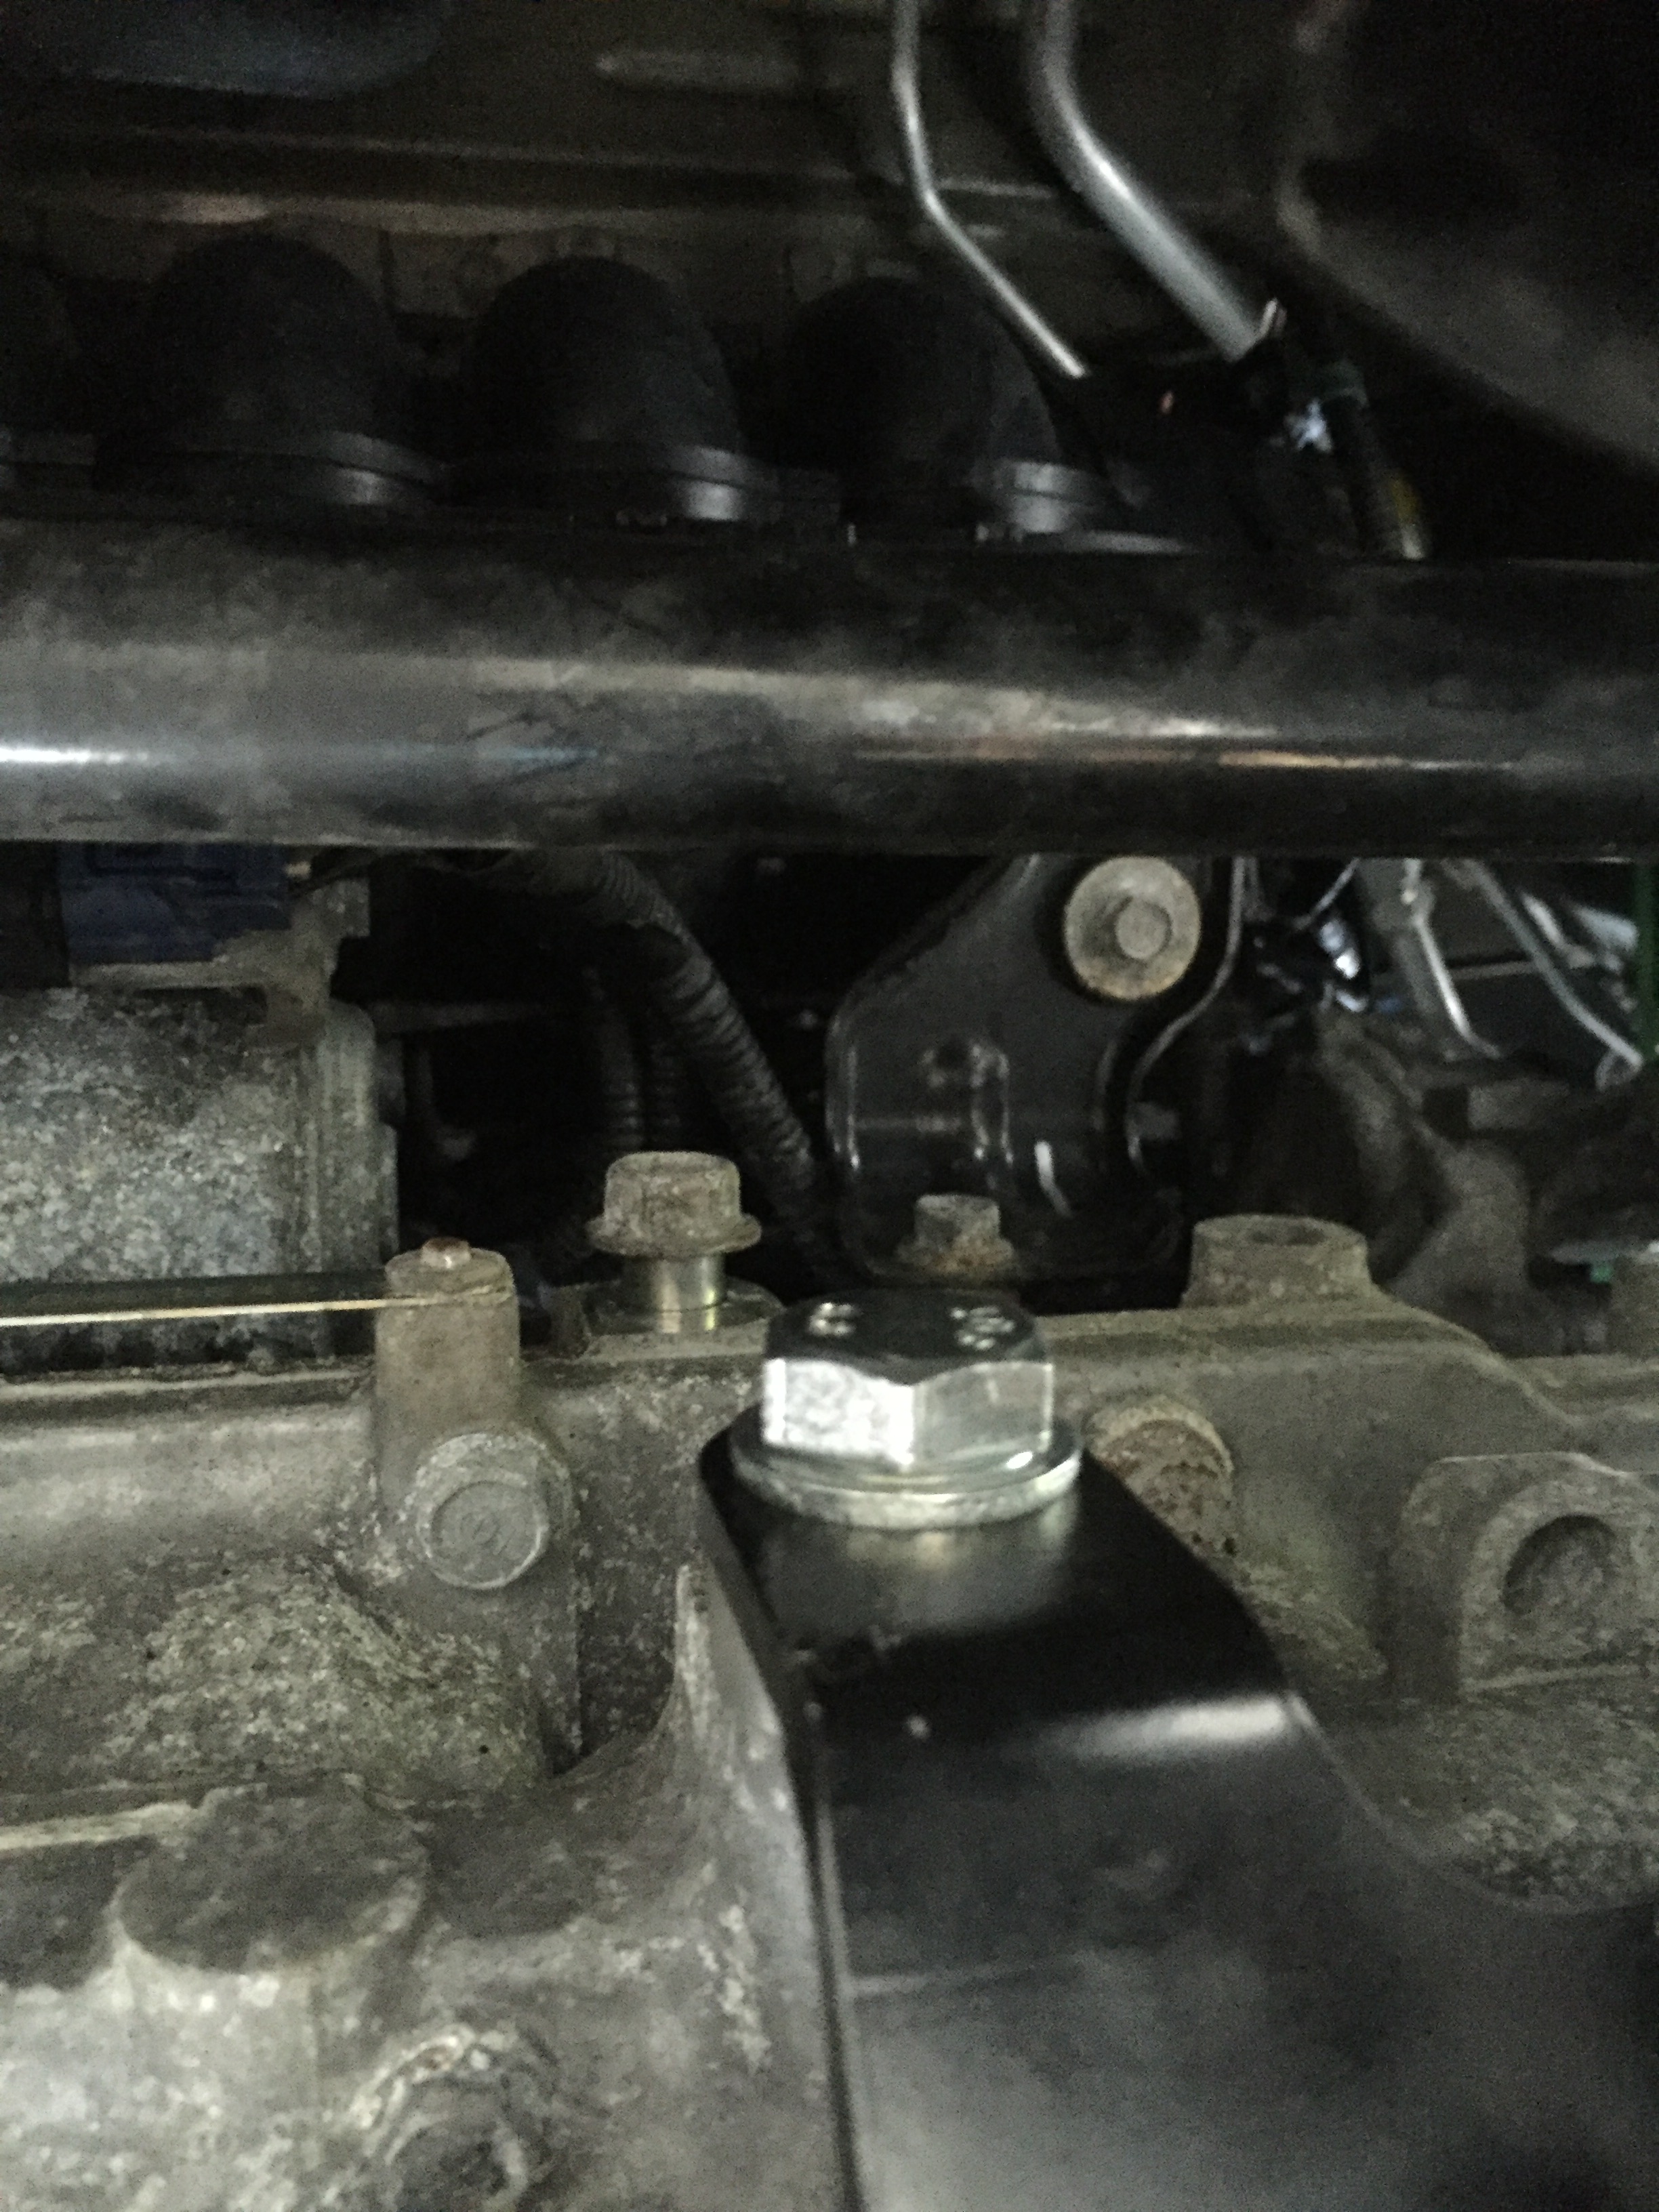
1. Jack the car up and put it on jack stands
- Get the car up as high as you safely can. You need a good amount of room to get in there comfortably.
2. Remove the metal cover under the oil pan
3. Remove the front of the plastic cover the metal cover is attached to
- (2) plastic push clips and (2) 10mm bolts.
4. Place the 2x4 under your oil pan and jack up the engine enough to remove the weight on the mount
http://9thcivic.com/forum/threads/2012-civic-si-hasport-rear-motor-mount-installation.9444/
The part you are looking for is a FG1RR. I got the -62A.
Hasport: http://hasport.com/store/index.php/fg1rr.html
Comparisons
Stock Mount(Top) vs. Hasport Mount (Bottom)
Installation
Whats in the Box (FG1RR-62A)
Tools Needed:
Jack + Jack Stands
12" Length of 2"x4"
Phillips Head Screw Driver
Flat Head Screw Driver or Clip Remover
Sockets: 10mm, 15mm, 17mm, 7/8"
Channel Lock Pliers or 7/8"wrench
Torque wrench
Step 1, Prep
1. Jack the car up and put it on jack stands
- Get the car up as high as you safely can. You need a good amount of room to get in there comfortably.
2. Remove the metal cover under the oil pan
3. Remove the front of the plastic cover the metal cover is attached to
- (2) plastic push clips and (2) 10mm bolts.
4. Place the 2x4 under your oil pan and jack up the engine enough to remove the weight on the mount