DIY Installing Heated Seats In Your Civic DIY

ethlar

Grumpy Moderator
Super Mod
Toys For Tots
5,354
4,240
Philly
Vehicle Model
Polestar 2
Body Style
Sedan
Disclaimer:
This is a labor intensive DIY, it involves interacting with components of the SRS system. So long as you are responsible in doing so this poses little risk, avoid exposing SRS components to unnecessary shock and more important electricity. Following this DIY is at your own risk, neither I or this site, its owner or staff are responsible for any damage to your car or injuries you receive.

Difficulty Rating:
On a scale of 1-10, 1 being changing your air freshener and 10 being an engine swap, about 5-6.
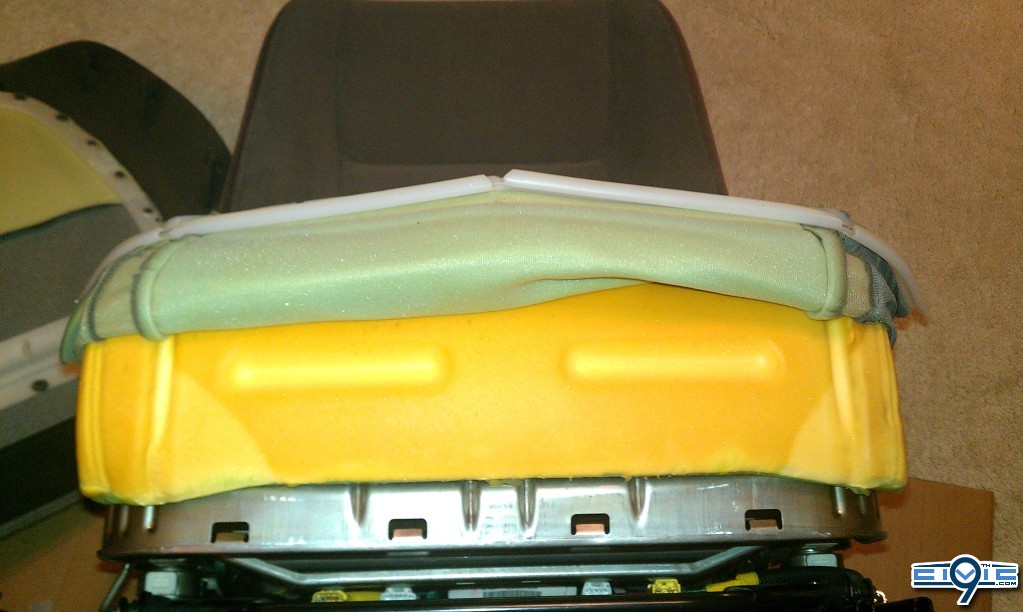
incorporating OEM switches requires some basic skill in soldering, removing seat fabric requires patience.
If looking at an oil filter makes you wonder where does this go... call a professional.

Parts:
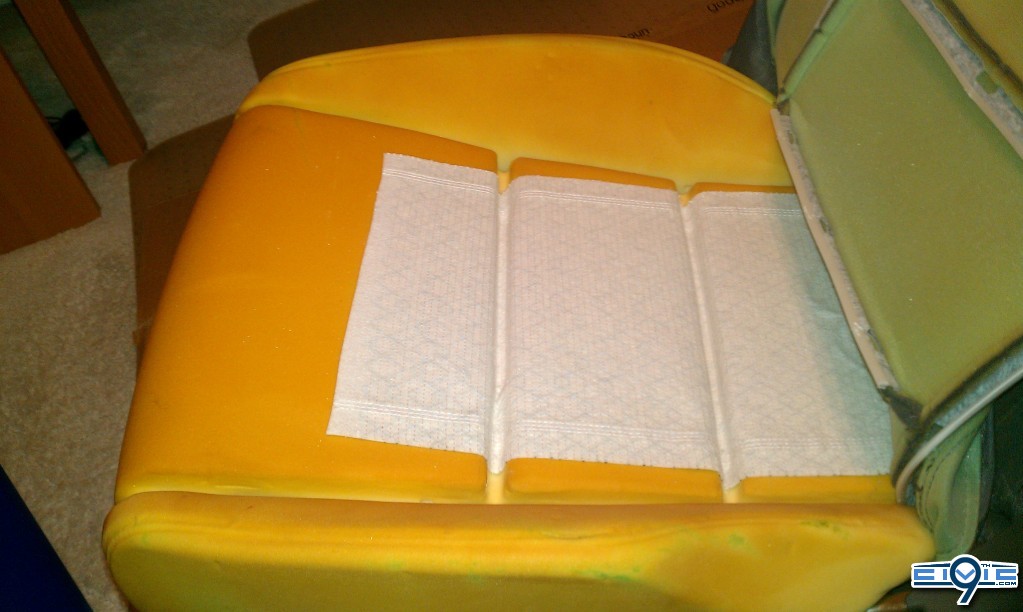
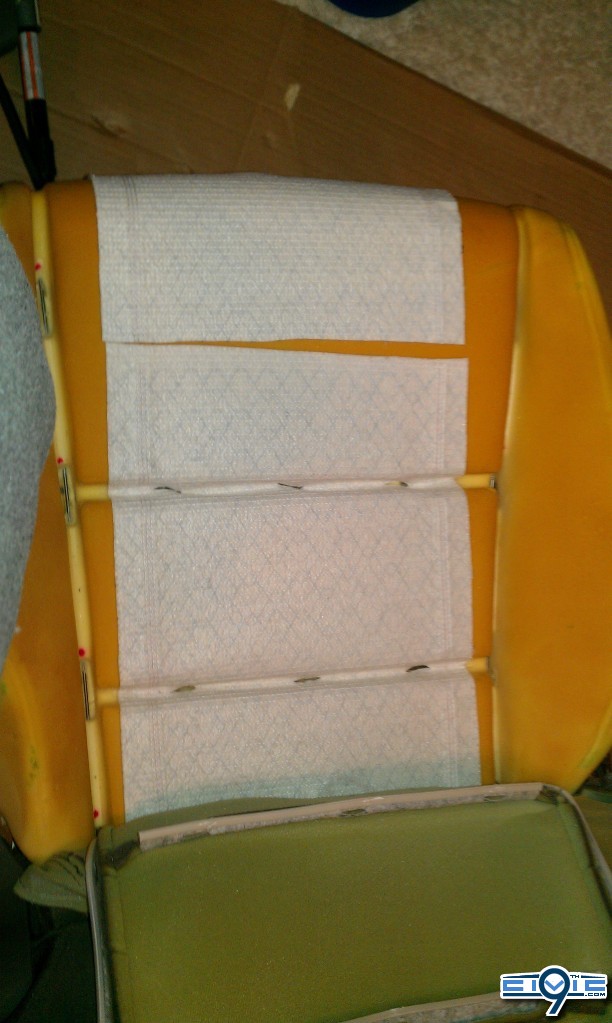
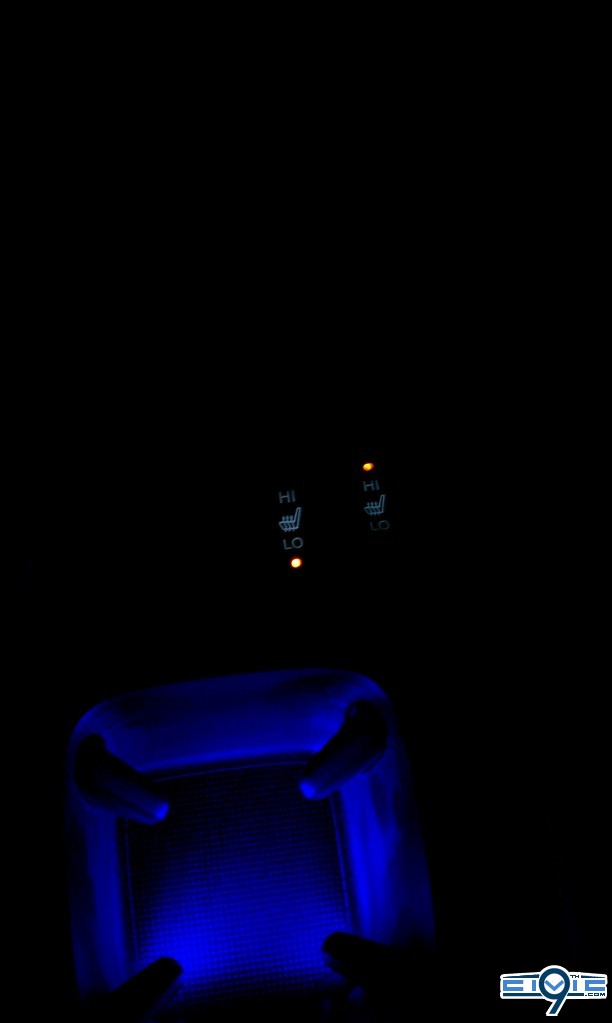
Ebay 2 seat heater kit, 2 pads per seat
OEM switches
for 8th gen Civic:
93903-22320 SCREW, TAPPING (3X12) 4x
35600-SNB-003 SWITCH ASSY., R. HEATED SEAT 1x
35650-SNB-003 SWITCH ASSY., L. HEATED SEAT 1x
77230-SNA-A21ZA HOLDER ASSY., CUP *NH167L* 1x

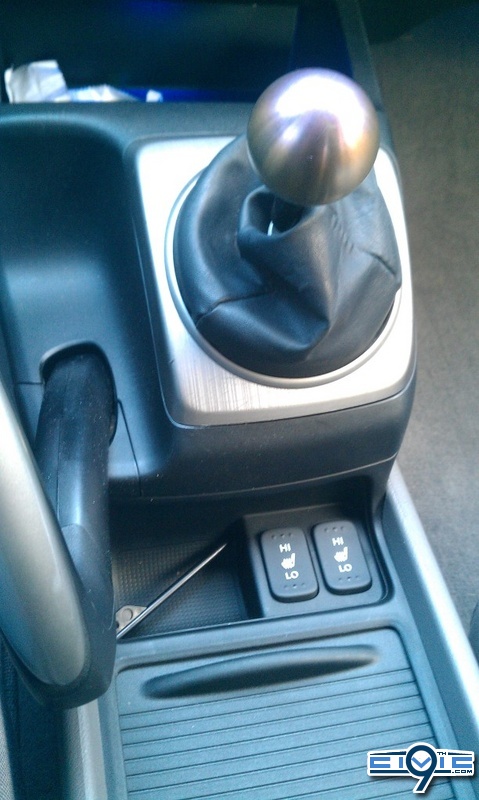
9th Gen OEM Switch Parts needed:
2012 9th gen part #s (2013 parts may be different)
77311-TR0-A51ZA Plastic part the switches go into
35600-TR0-003 The switches themselves
93903-22320 screws for the switches (3x)


Tools:
1/4in drive ratchet
3/8in drive ratchet
10mm socket
14mm socket
Phillips head screw driver
Flat head screw driver

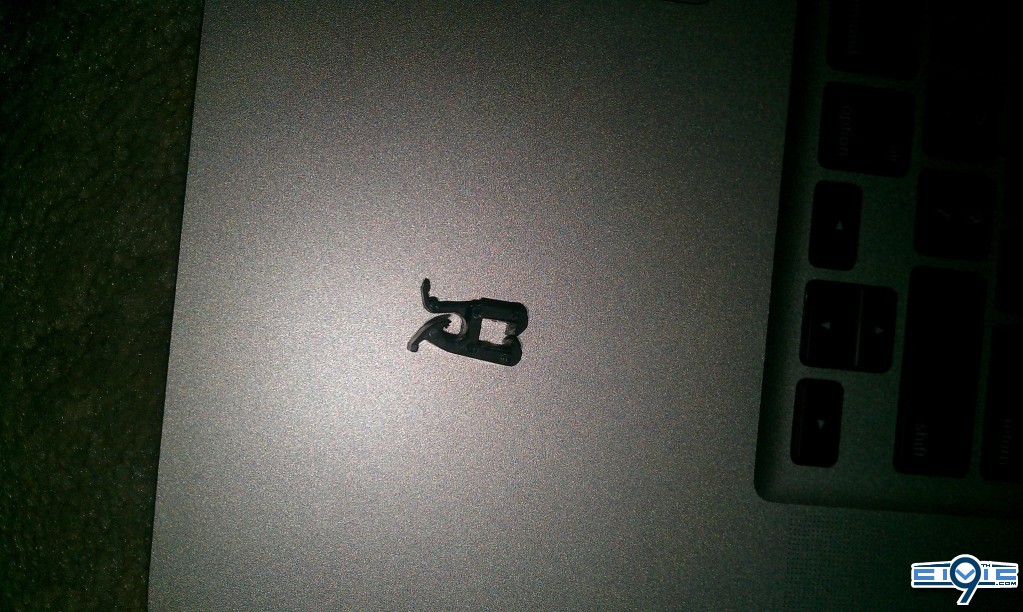
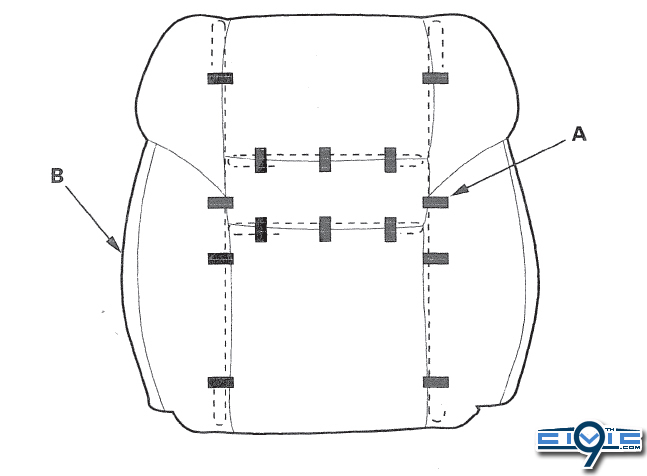
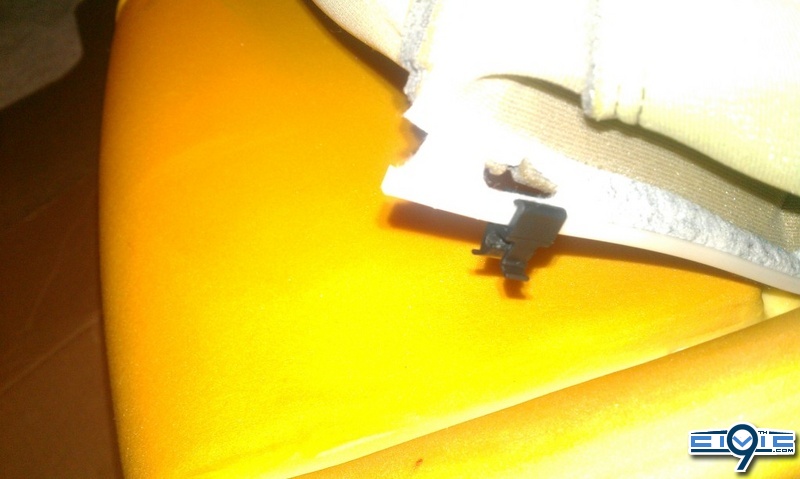
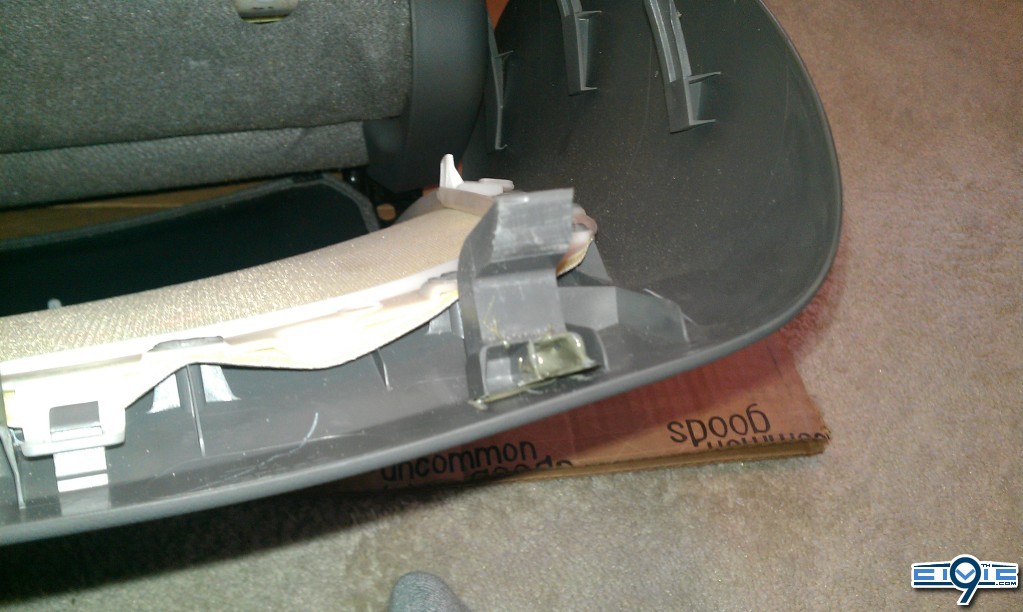
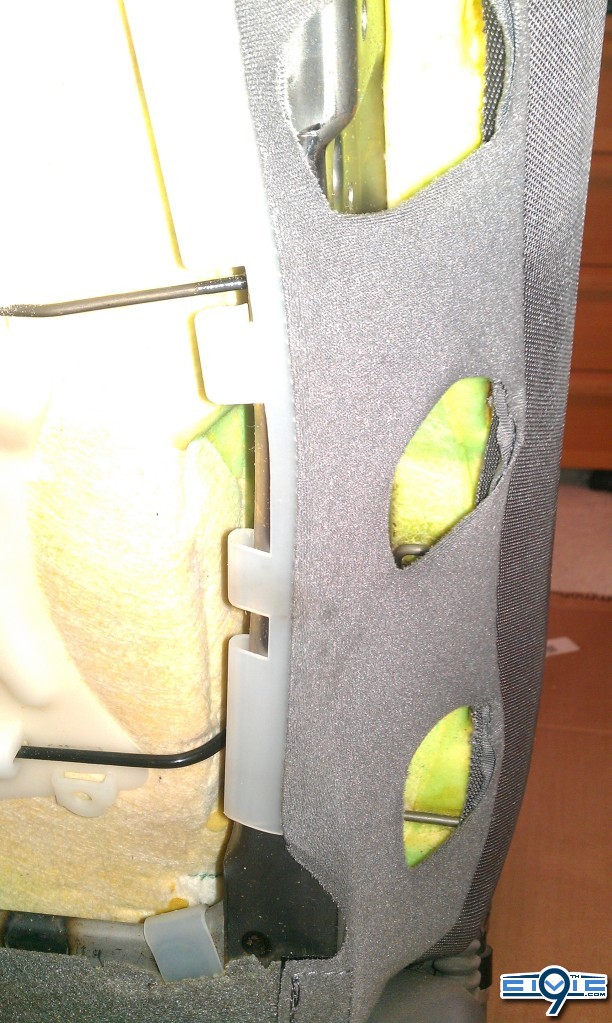
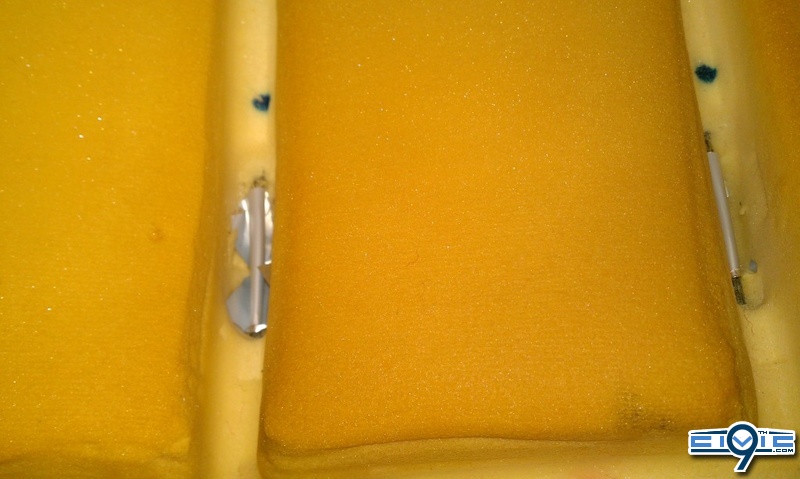
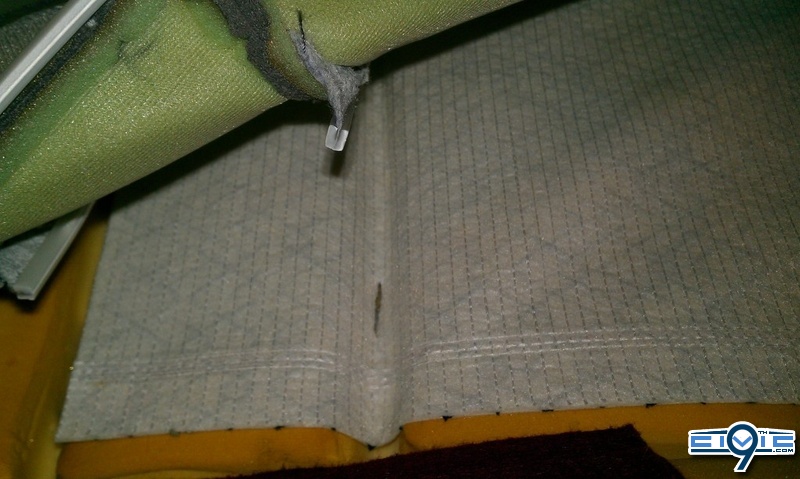
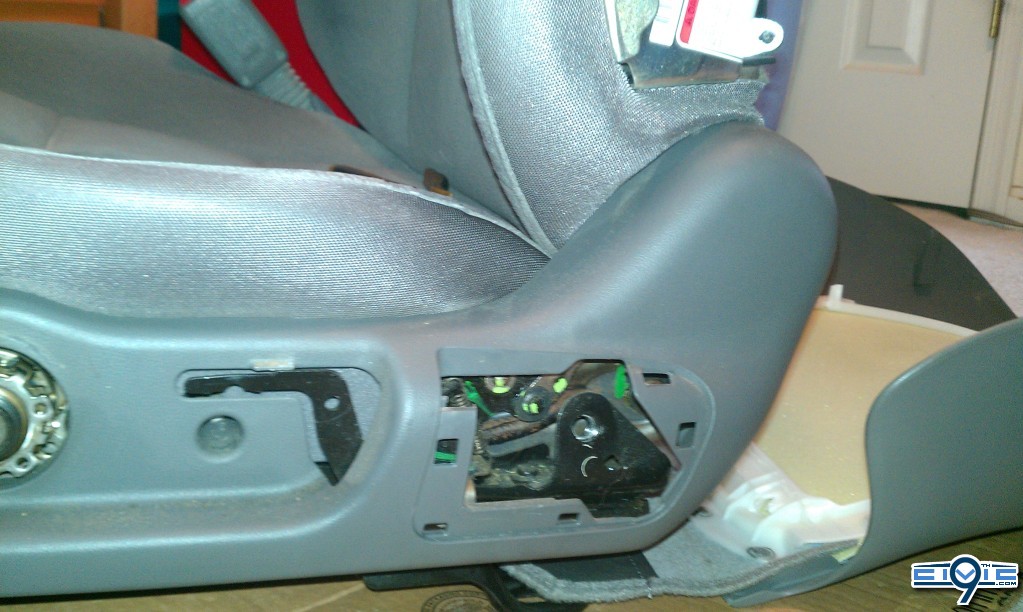
8th gen DX/LX/EX/EX-L use plastic clips to hold the seat cloth on, Si uses metal hog rings. 9th gen cloth attachment method is unknown but likely the plastic clips like the 8th gen.

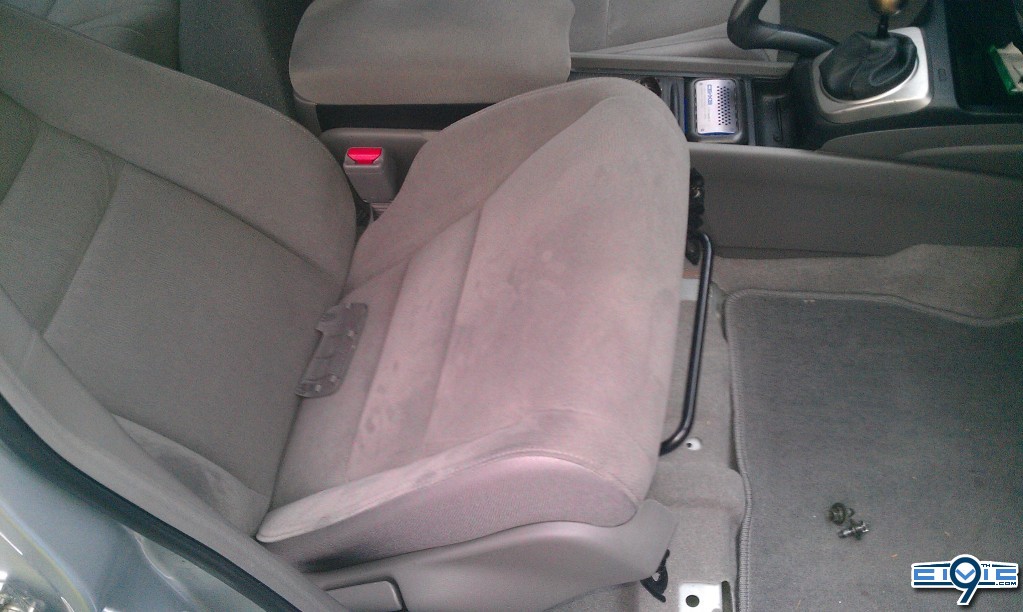
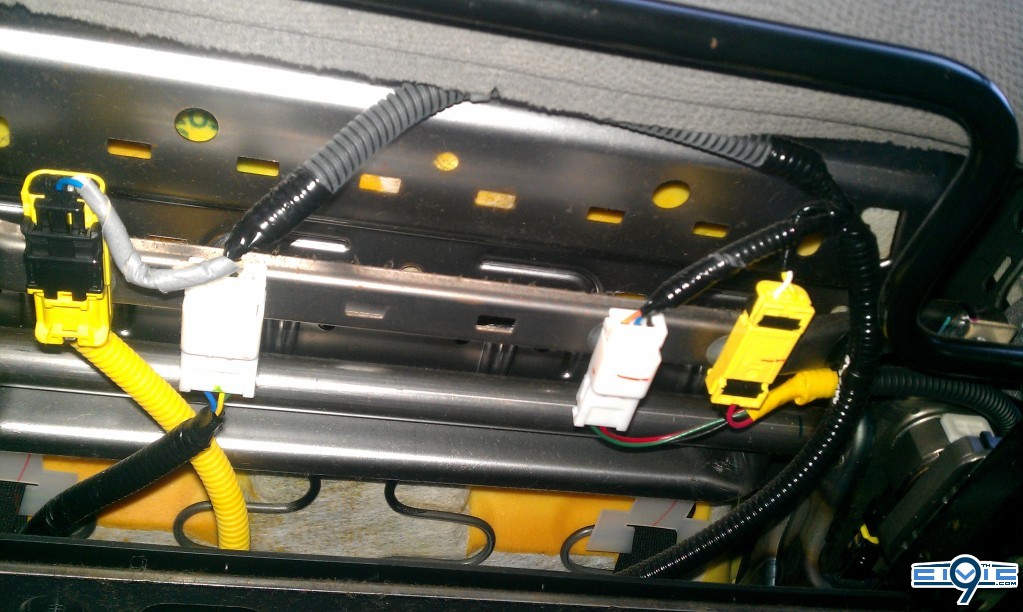
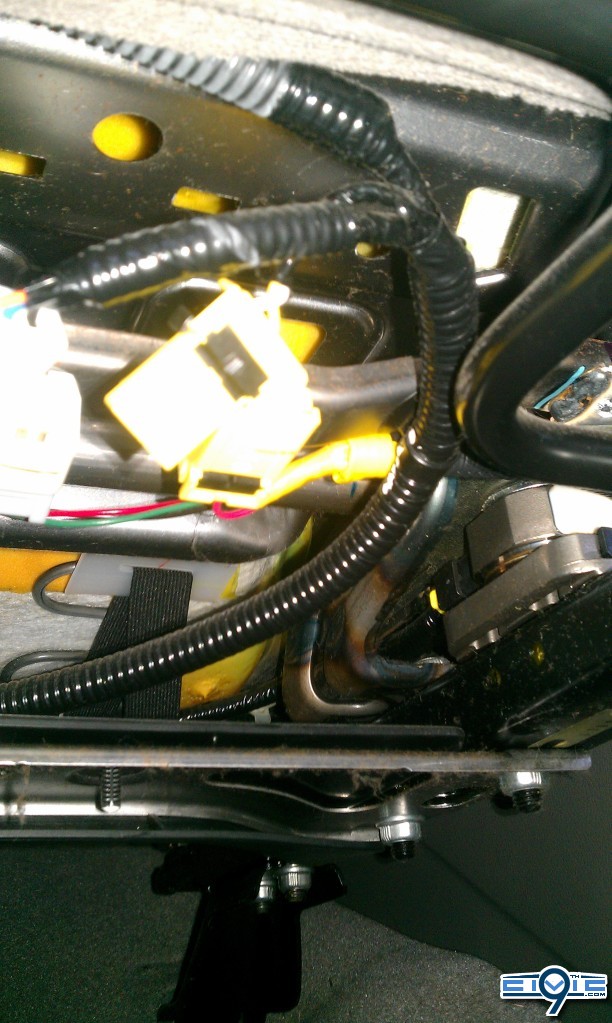
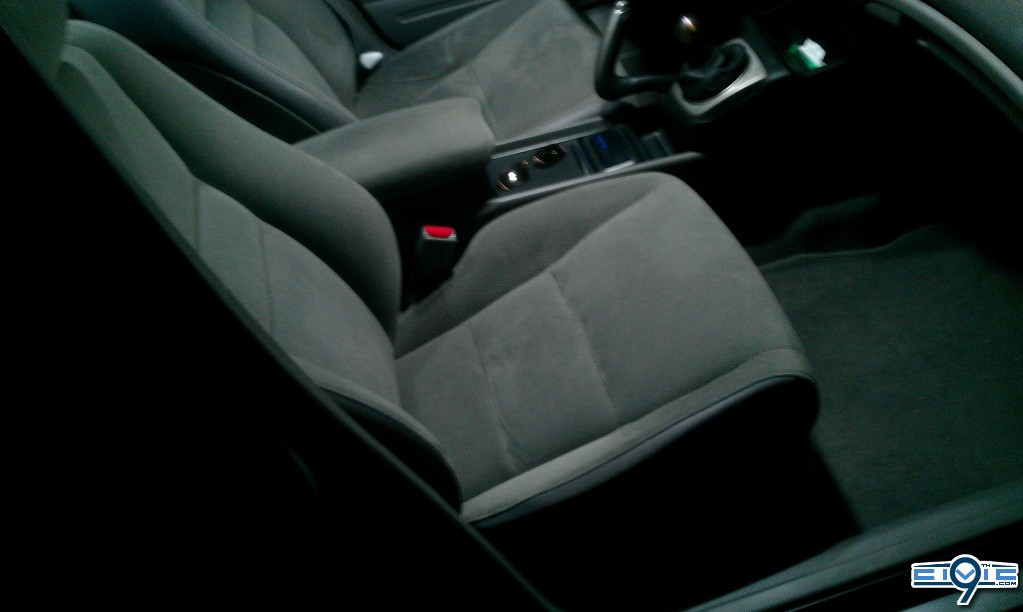
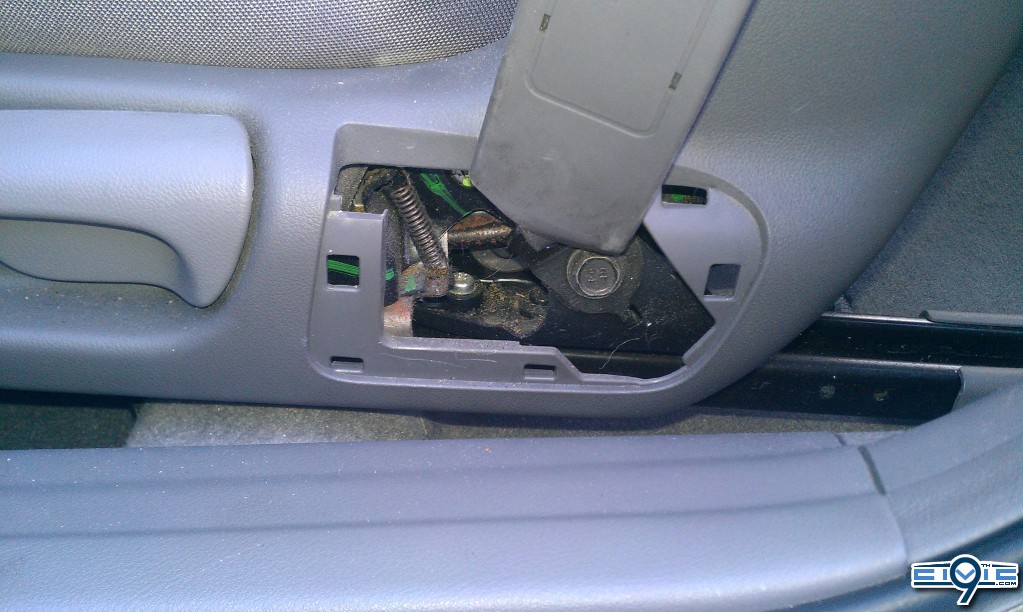
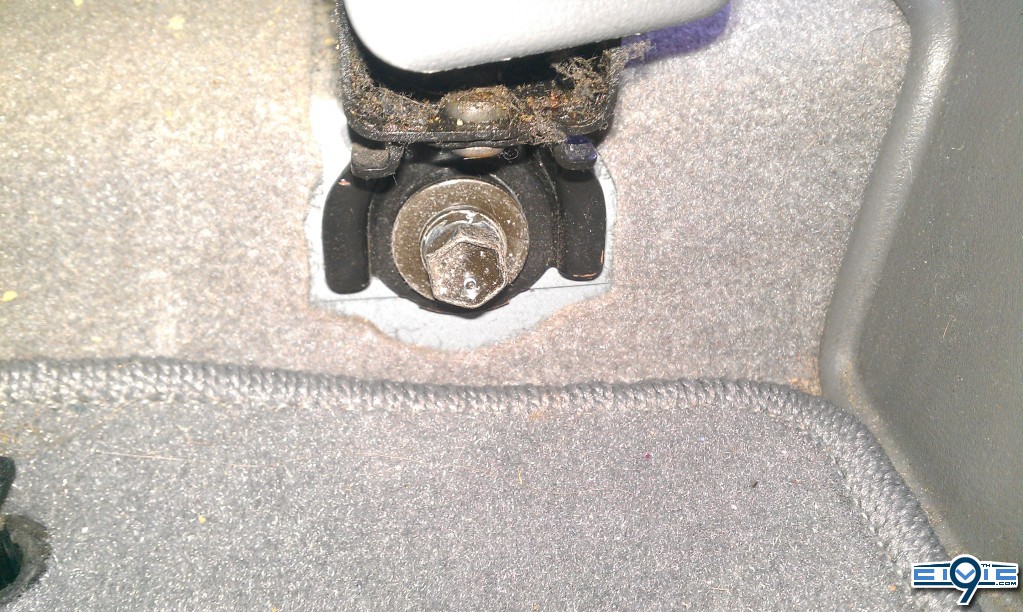
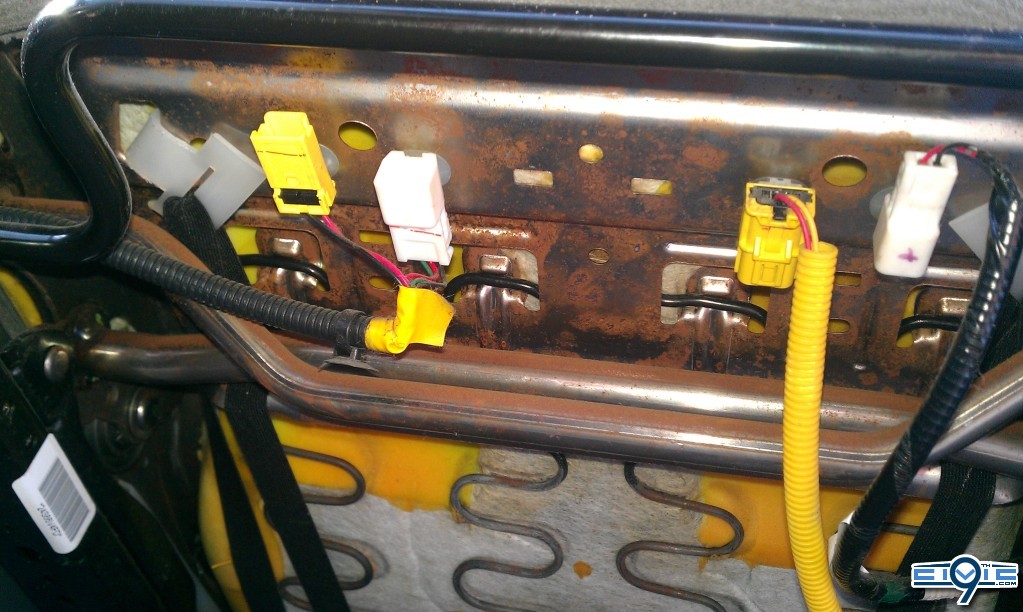
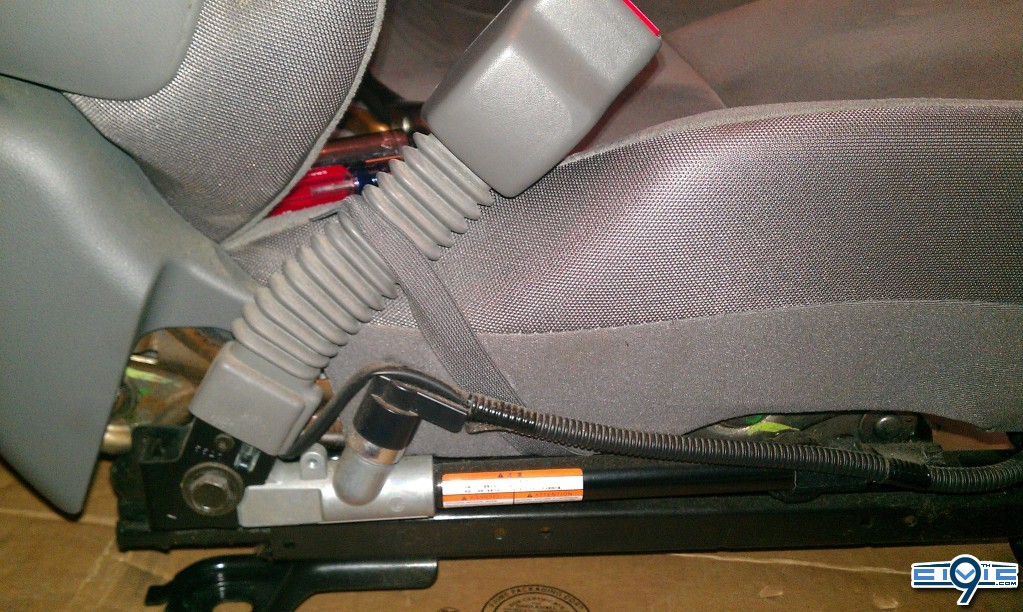
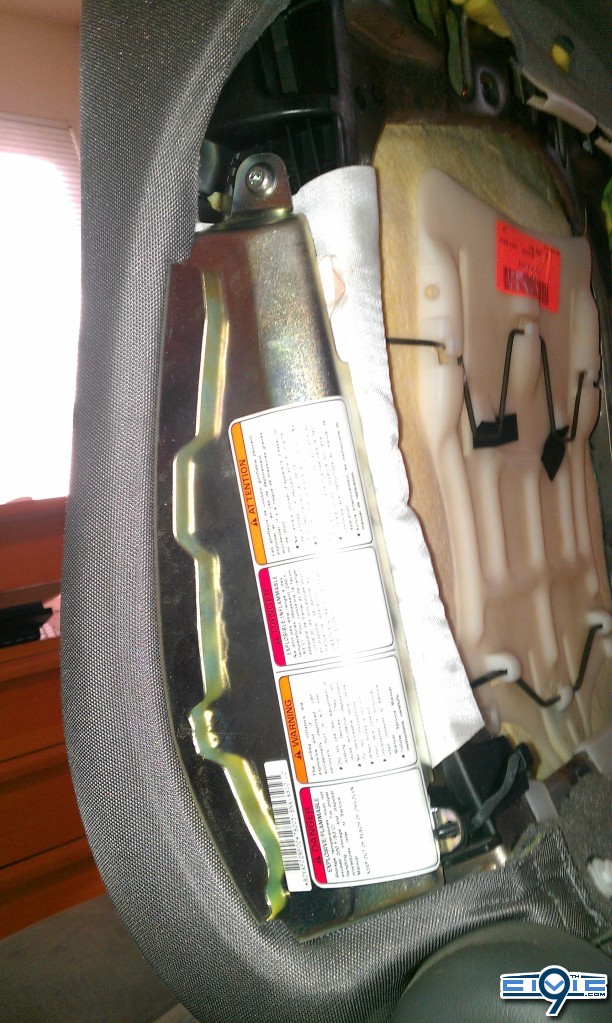
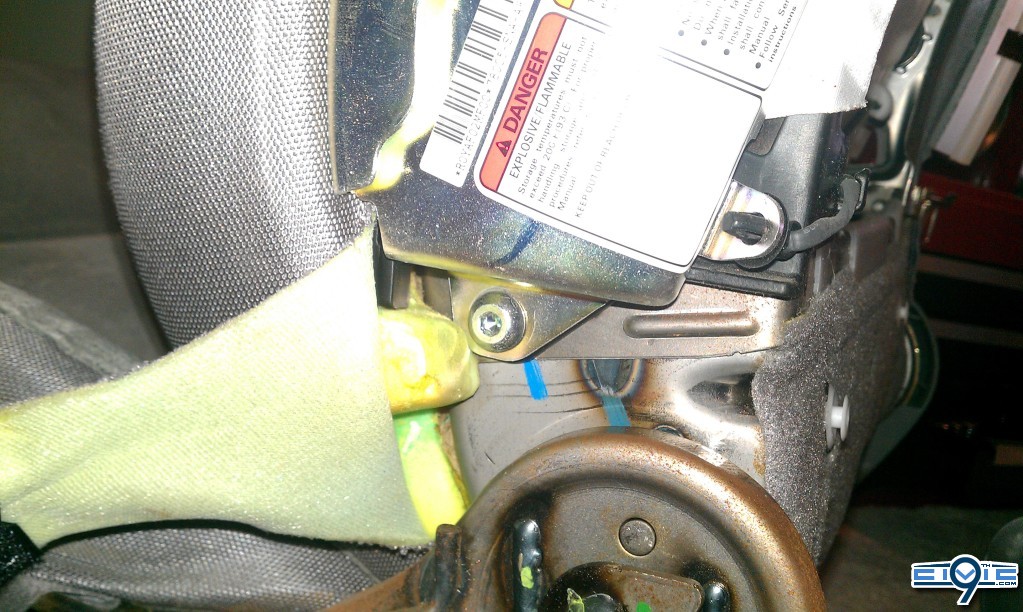
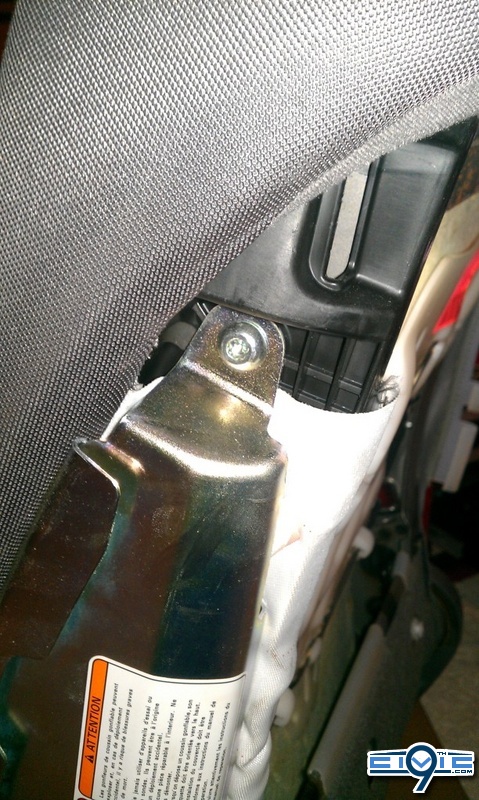
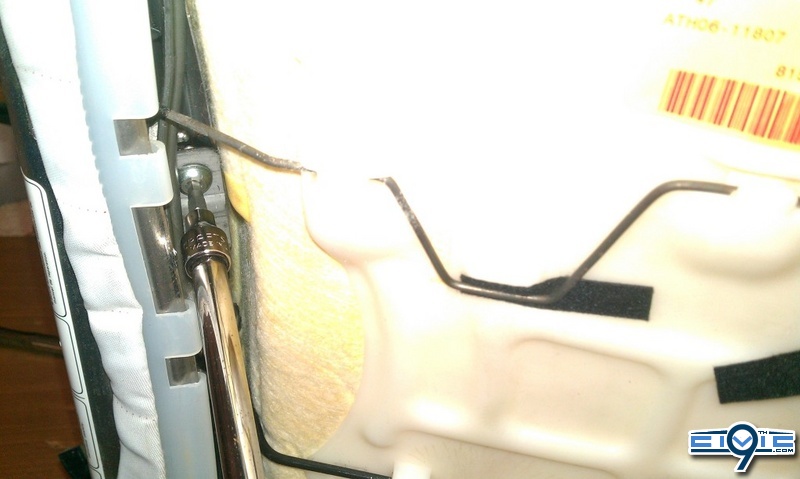
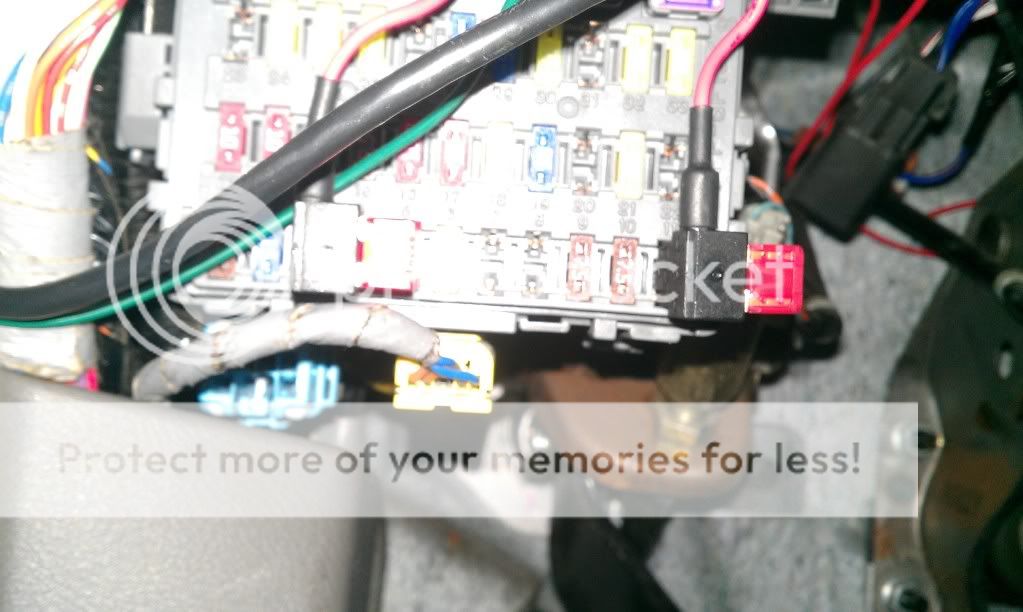
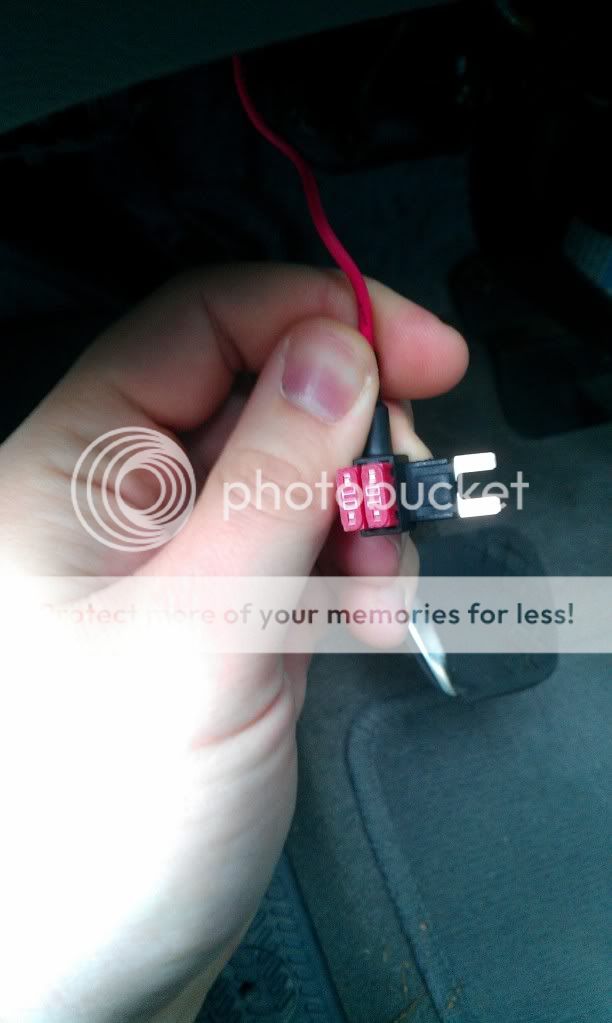
First step, disconnect the negative terminal of the battery, and allow the car to sit for 10-20 min so the SRS system can fully discharge. Once you unplug any SRS components (yellow plugs and or harnesses) do not reconnect the battery UNTIL you have reconnected all SRS components, otherwise the SRS system may throw an error.
 
  • Thread starter
  • Staff
  • #2
Passenger Seat Removal and heating element install:

The seat is held into the floor of the car by 4 bolts, they are 14mm.
IMAG0120.jpg


the back bolts are covered by plastic
IMAG0124.jpg


Remove the plastic covers by popping their sides out and then sliding them off the seat rails
IMAG0125.jpg


Remove the cover over the seat belt anchor starting at the bottom of the plate and pulling towards you
IMAG0121.jpg


The seatbelt is anchored to the seat by another 14mm bolt (note during reassembly the anchor has a tab that fits into a slot on the seat so that the installed angle is correct)
IMAG0123.jpg


Once the 4 bolts securing the seat to the floor are removed you can rock the seat back and unplug the connectors
IMAG0126.jpg


IMAG0127.jpg


The harness for the plugs is held in with zip tie clips, if you are careful you can rock them out with needle nose pliers and not damage the clips
IMAG0128.jpg


Once the harness is disconnected from the seat, fold the seat back as far forward as it will go, remove the head rest, and slide the seat as far back as possible on its rails. You can then grasp the seat and take it out through the passenger front door. Be careful as the rails have sharp metal edges on them and will scratch and gouge whatever plastic panels they hit and the seat is HEAVY.

IMAG0129.jpg


Since the passenger seat has sensors for the Occupant Detection System in it you can not install a heating element over it. This DIY doesnt cover the dissasembly of the passenger seat back, only seat bottom.

Remove the philips head screw behind the recline adjustment
IMAG0134.jpg


Removing the panel itself is a bit more challenging since the recline handle is press fit onto the metal. I found that tapping it with a rubber mallet while holding it extended gets the plastic off the metal handle.

Remove the side of the seat panel by pulling up starting from the front of the seat to the back.
IMAG0160.jpg


Remove the seat belt buckle held on by a 14mm bolt, (this is an SRS component)
IMAG0153.jpg


Release the plastic J clips holding the cloth onto the seat frame, start at one end and rotate the plastic clip towards the bottom of the seat, once you get one side the rest will easily follow.
IMAG0136.jpg


The clips are challenging, Honda says to replace them however if you are careful you can remove them without damaging them. I found that using a small flat head screw driver you can pry the plastic bars attached to the seat fabric out. Once the seat skin is detached from the clips you can flip them around on their bars, and press down and towards the fat side to release them.
IMAG0137.jpg


repeat this for all of the seat clips
clips.jpg


Install the heating element(s)
IMAG0139.jpg


IMAG0140.jpg


I used 2 elements for the bottom because the kit requires that you use both to function properly but you can cut them to any length you need. Cut small holes in the element pad to accommodate the clips for attaching the seat skin. Wrap the metal rods in the foam with insulating tape to prevent shorts from the heating element to the seat structure. You may need to cut a notch in the foam to accommodate the thermal regulator in the heating element and a hole in the fabric in the back to let the heater wire out.

seat skin re installation involves attaching the clips to the bars and pressing them onto the metal support in the foam. I found using the small prying screwdriver to help guide the metal bar into the notch in the clip helps.
IMAG0138.sized.jpg


the rest of the reassembly and installation steps are the reverse of disassembly

IMAG0145.jpg
 
  • Thread starter
  • Staff
  • #3
Drivers Seat removal and element install

Much of this is like the passenger seat, but the seat back gets a heating element installed as well.

Removing the cover on the seatbelt anchor might require cranking the seat up, removal is the same as passenger side. The seatbelt anchor is held on by a 14mm bolt, accessing it may be difficult depending on the height setting of the seat. If you crank the seat down as low as it can go it will be most accessible.
IMAG0148.jpg


Back bolts are the same as the passenger seat
IMAG0149.jpg


IMAG0150.jpg


as are the front
IMAG0151.jpg


Rock the seat back to unplug the connectors
IMAG0152.jpg


The seatbelt buckle is anchored by a 14mm bolt
IMAG0153.jpg


Push the steering wheel all the way up and in to get it out of the way, slide the seat all the way back on its rails and lower the height adjustment as far as possible. Remove the headrest and fold the seatback all the way forward. Carefully negotiate the drivers seat out of the car around the steering wheel.

Removing the seatback is challenging, Honda suggests starting from the side where the airbag is, working to the bottom and then opposite side.
IMAG0154.sized.jpg


My seat was previously dissasembled by honda and i discovered that they arent always careful about doing it right
IMAG0155.jpg


Remove the white J clips that are hooked around the seat frame
IMAG0156.jpg


At this point, normally the airbag would be removed, however due to whatever honda had previously done when working on my seat the airbag would not come out.
IMAG0157.jpg


One of the bolts is hiding under a velcro strap, they are 5mm hex
IMAG0163.jpg


IMAG0162.sized.jpg


there are two more inside the seat, also 5mm hex
IMAG0164.sized.jpg


Removing the seat cloth clips is identical to the passenger seat bottom.

Clip locations are as follows:
clips2.jpg
Cover the metal bars with provided insulating tape to prevent shorts
IMAG0165.sized.jpg


Install the heating element, determining where you need to make holes to mount the clips back to the cushion
IMAG0168.jpg


The clips reinstall just like on the passenger seat
IMAG0169.sized.jpg


The drivers seat bottom is almost identical to the passenger seat.
Remove the screw behind the seat back adjust and seat back adjustment handle as above.
Remove the cover from the height adjust handle and remove the two screws
IMAG0158.sized.jpg


The height adjustment handle will only go back on one way.
IMAG0159.sized.jpg


Start from the front, prying the cover panel up
IMAG0160.sized.jpg


and work towards the back
IMAG0161.jpg


the rest of the drivers seat bottom is identical to the passenger seat, release the J clips and and black clips, install heating element and close up.

Re installation of the seat is the reverse of dissasembly.
 
  • Thread starter
  • Staff
  • #4
Wiring

If your intention is to use the switches that came with the kit then all you have to do is drill a hole somewhere for each switch and plug everything in. If you want to go for a cleaner look and use the OEM switches a little more work is involved.

The kit comes with a switch like this
gallery_2_large.jpg


the OEM switches look like this (in an 8th gen)
IMAG0179.sized.jpg


Wiring them is relatively simple, the kit switch has 4 wires attached, they are
Red - Constant +12V
Yellow - Low
White - High
Black - Ground

depending on your kit this may be different so use a volt meter, test light or other testing method of choice to determine the wiring.

Most of the kits are designed so that the switch is not passing current directly to the heating elements, therefore it is USUALLY safe to wire the OEM switches in.

The switches each have 6 pins, the passenger side switch actually has a hole for a 7th pin but it is empty for keeping the two connectors separate.
terminals.jpg
(this is looking at the connector on the bottom of the switches)
For the drivers side:
1 - ignition switched +12V
2 - Interior Illumination from fuse 14 (tap this somewhere like the HVAC controls)
3 - Heater Low setting
4 - Interior Illumination brightness controller (again tap HVAC or wherever you did for pin 2)
5 - Ground
6 - Heater High setting

For Passenger side:
1 - No pin present, not used
2 - ignition switched +12V
3 - Interior Illumination from fuse 14 (tap this somewhere like the HVAC controls)
4 - Heater Low setting
5 - Interior Illumination brightness controller (again tap HVAC or wherever you did for pin 3)
6 - Ground
7 - Heater High setting

I found that the connectors in the plugs from a computer used for the front panel connections were the perfect fit for the pins in the switches, but the gauge of the wire they used was too small, so i removed the connectors from the plugs and soldered them onto the kit harness, heat shrink wrapping around the connector and new wires. i then plugged each connector onto the correct pin and tested that all functions operated the same as the original kit switch.

After verifying that all of the connectors were properly placed i put some insulating compound into the socket on the switch to hold the wires in place, beware if you store the switches connector side up to cure, the compound seeped into the switches and i had to peel it out.

Wiring the seats themselves is straight forward, i ran everything to the center console under the carpets and ziptied the heater harnesses to the existing harnesses under the seat. I discovered that the electrical harness for the MT and AT cars are identical and so the connector is taped down under my console for the illumination of the gear indicators. I tapped that for the illumination of the switches with the rest of the interior lights.

The ground for the heater elements was attached to a bolt under the center console. the positive wires were run over to the fuse panel under the dash and two ATM add a fuse taps were used to tap into ignition switched fuses.
IMAG0192.jpg


IMAG0193.jpg


the end result is a warm butt and nice switches to control them
IMAG0185.jpg
 
  • Thread starter
  • Staff
  • #5
I did this in my 8th gen but it should translate over to 9th gens fairly well
 
Holy moly that's alot of work. Very nice.
 
  • Thread starter
  • Staff
  • #9
its a lot of work, i spent 4 days with my car in pieces doing it by myself but i am so happy that i have it done now
 
oh yes! and as far as car projects in winter go, installing and testing these were far better than messing with retros
 
toasty bunz are where its at
 
Great stuff ethlar. Written really well, and easy to follow! Thank you
 
Been driving with them daily since the install was finished, they still perform flawlessly and you still cant tell i pulled the seats apart.
 
Back
Top