- Staff
- #1
Disclaimer:
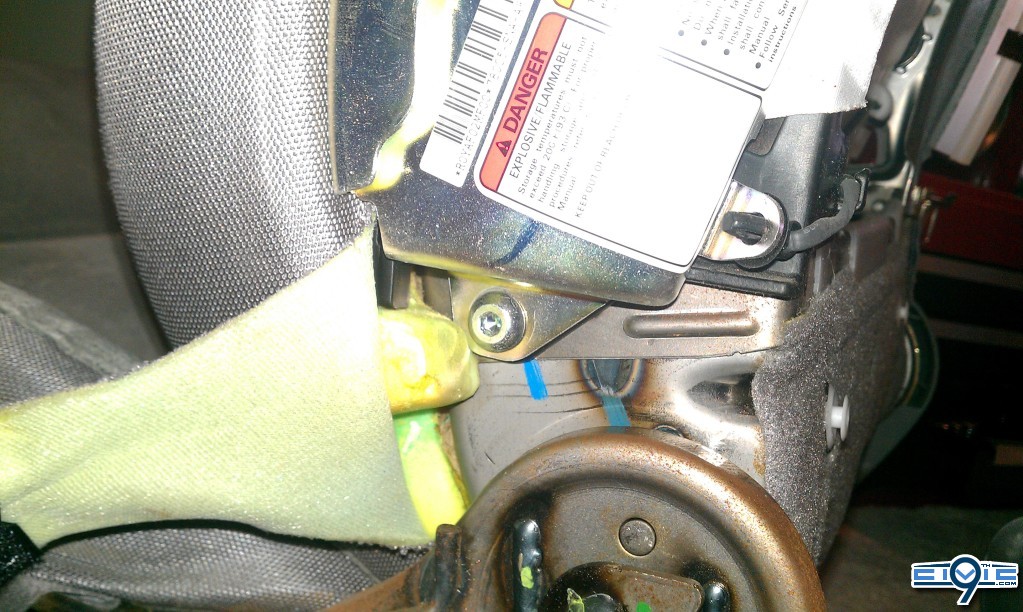
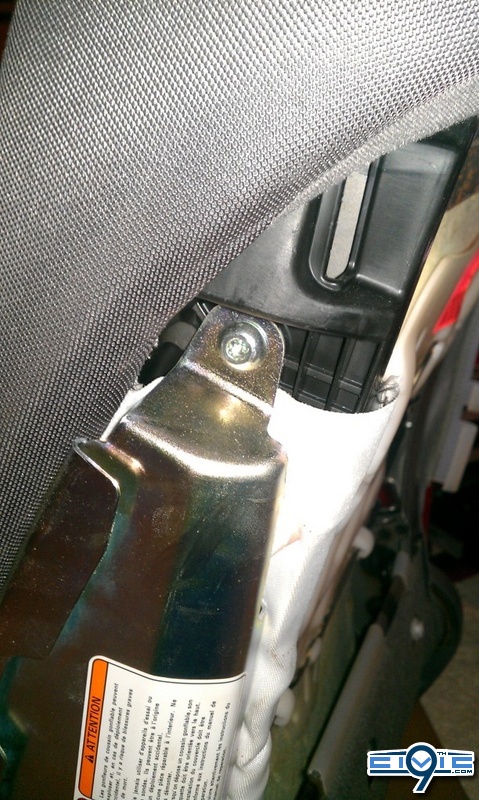
This is a labor intensive DIY, it involves interacting with components of the SRS system. So long as you are responsible in doing so this poses little risk, avoid exposing SRS components to unnecessary shock and more important electricity. Following this DIY is at your own risk, neither I or this site, its owner or staff are responsible for any damage to your car or injuries you receive.
Difficulty Rating:
On a scale of 1-10, 1 being changing your air freshener and 10 being an engine swap, about 5-6.
incorporating OEM switches requires some basic skill in soldering, removing seat fabric requires patience.
If looking at an oil filter makes you wonder where does this go... call a professional.
Parts:
Ebay 2 seat heater kit, 2 pads per seat
OEM switches
for 8th gen Civic:
93903-22320 SCREW, TAPPING (3X12) 4x
35600-SNB-003 SWITCH ASSY., R. HEATED SEAT 1x
35650-SNB-003 SWITCH ASSY., L. HEATED SEAT 1x
77230-SNA-A21ZA HOLDER ASSY., CUP *NH167L* 1x
9th Gen OEM Switch Parts needed:
2012 9th gen part #s (2013 parts may be different)
77311-TR0-A51ZA Plastic part the switches go into
35600-TR0-003 The switches themselves
93903-22320 screws for the switches (3x)
Tools:
1/4in drive ratchet
3/8in drive ratchet
10mm socket
14mm socket
Phillips head screw driver
Flat head screw driver
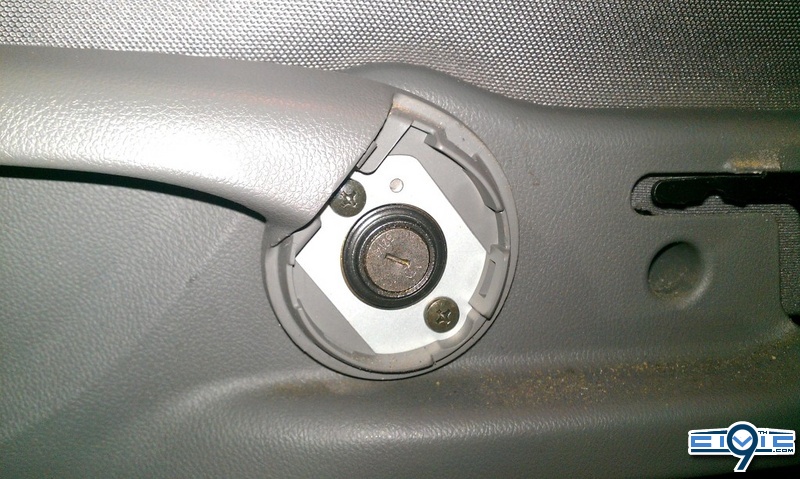
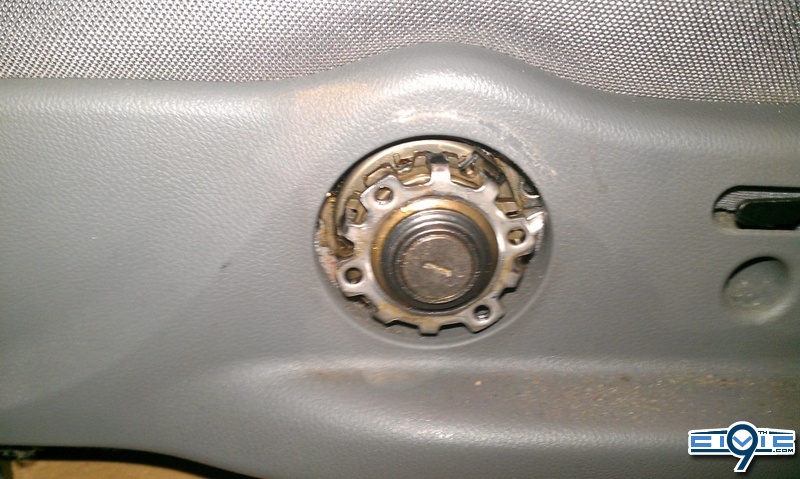
8th gen DX/LX/EX/EX-L use plastic clips to hold the seat cloth on, Si uses metal hog rings. 9th gen cloth attachment method is unknown but likely the plastic clips like the 8th gen.
First step, disconnect the negative terminal of the battery, and allow the car to sit for 10-20 min so the SRS system can fully discharge. Once you unplug any SRS components (yellow plugs and or harnesses) do not reconnect the battery UNTIL you have reconnected all SRS components, otherwise the SRS system may throw an error.


