undeclared
Well-Known Member
- 18
- 10
I haven't seen this here so I figured I'd share my experience. This is my first DIY so hang with me and be gentle ")
Tools needed fabric, thin piece of plastic (old id card or credit card will work) small Philips head screw driver.
First pick out some fabric. I used a red and black checkered bandanna I had.

Next you'll need to trim it down a bit, I went with about an inch of overlap.

Now lay the fabric down and start tucking it in. If you take your time it will almost look like you knew what you are doing lol.

Little more trimming

Looking good

I moved to the back seat here

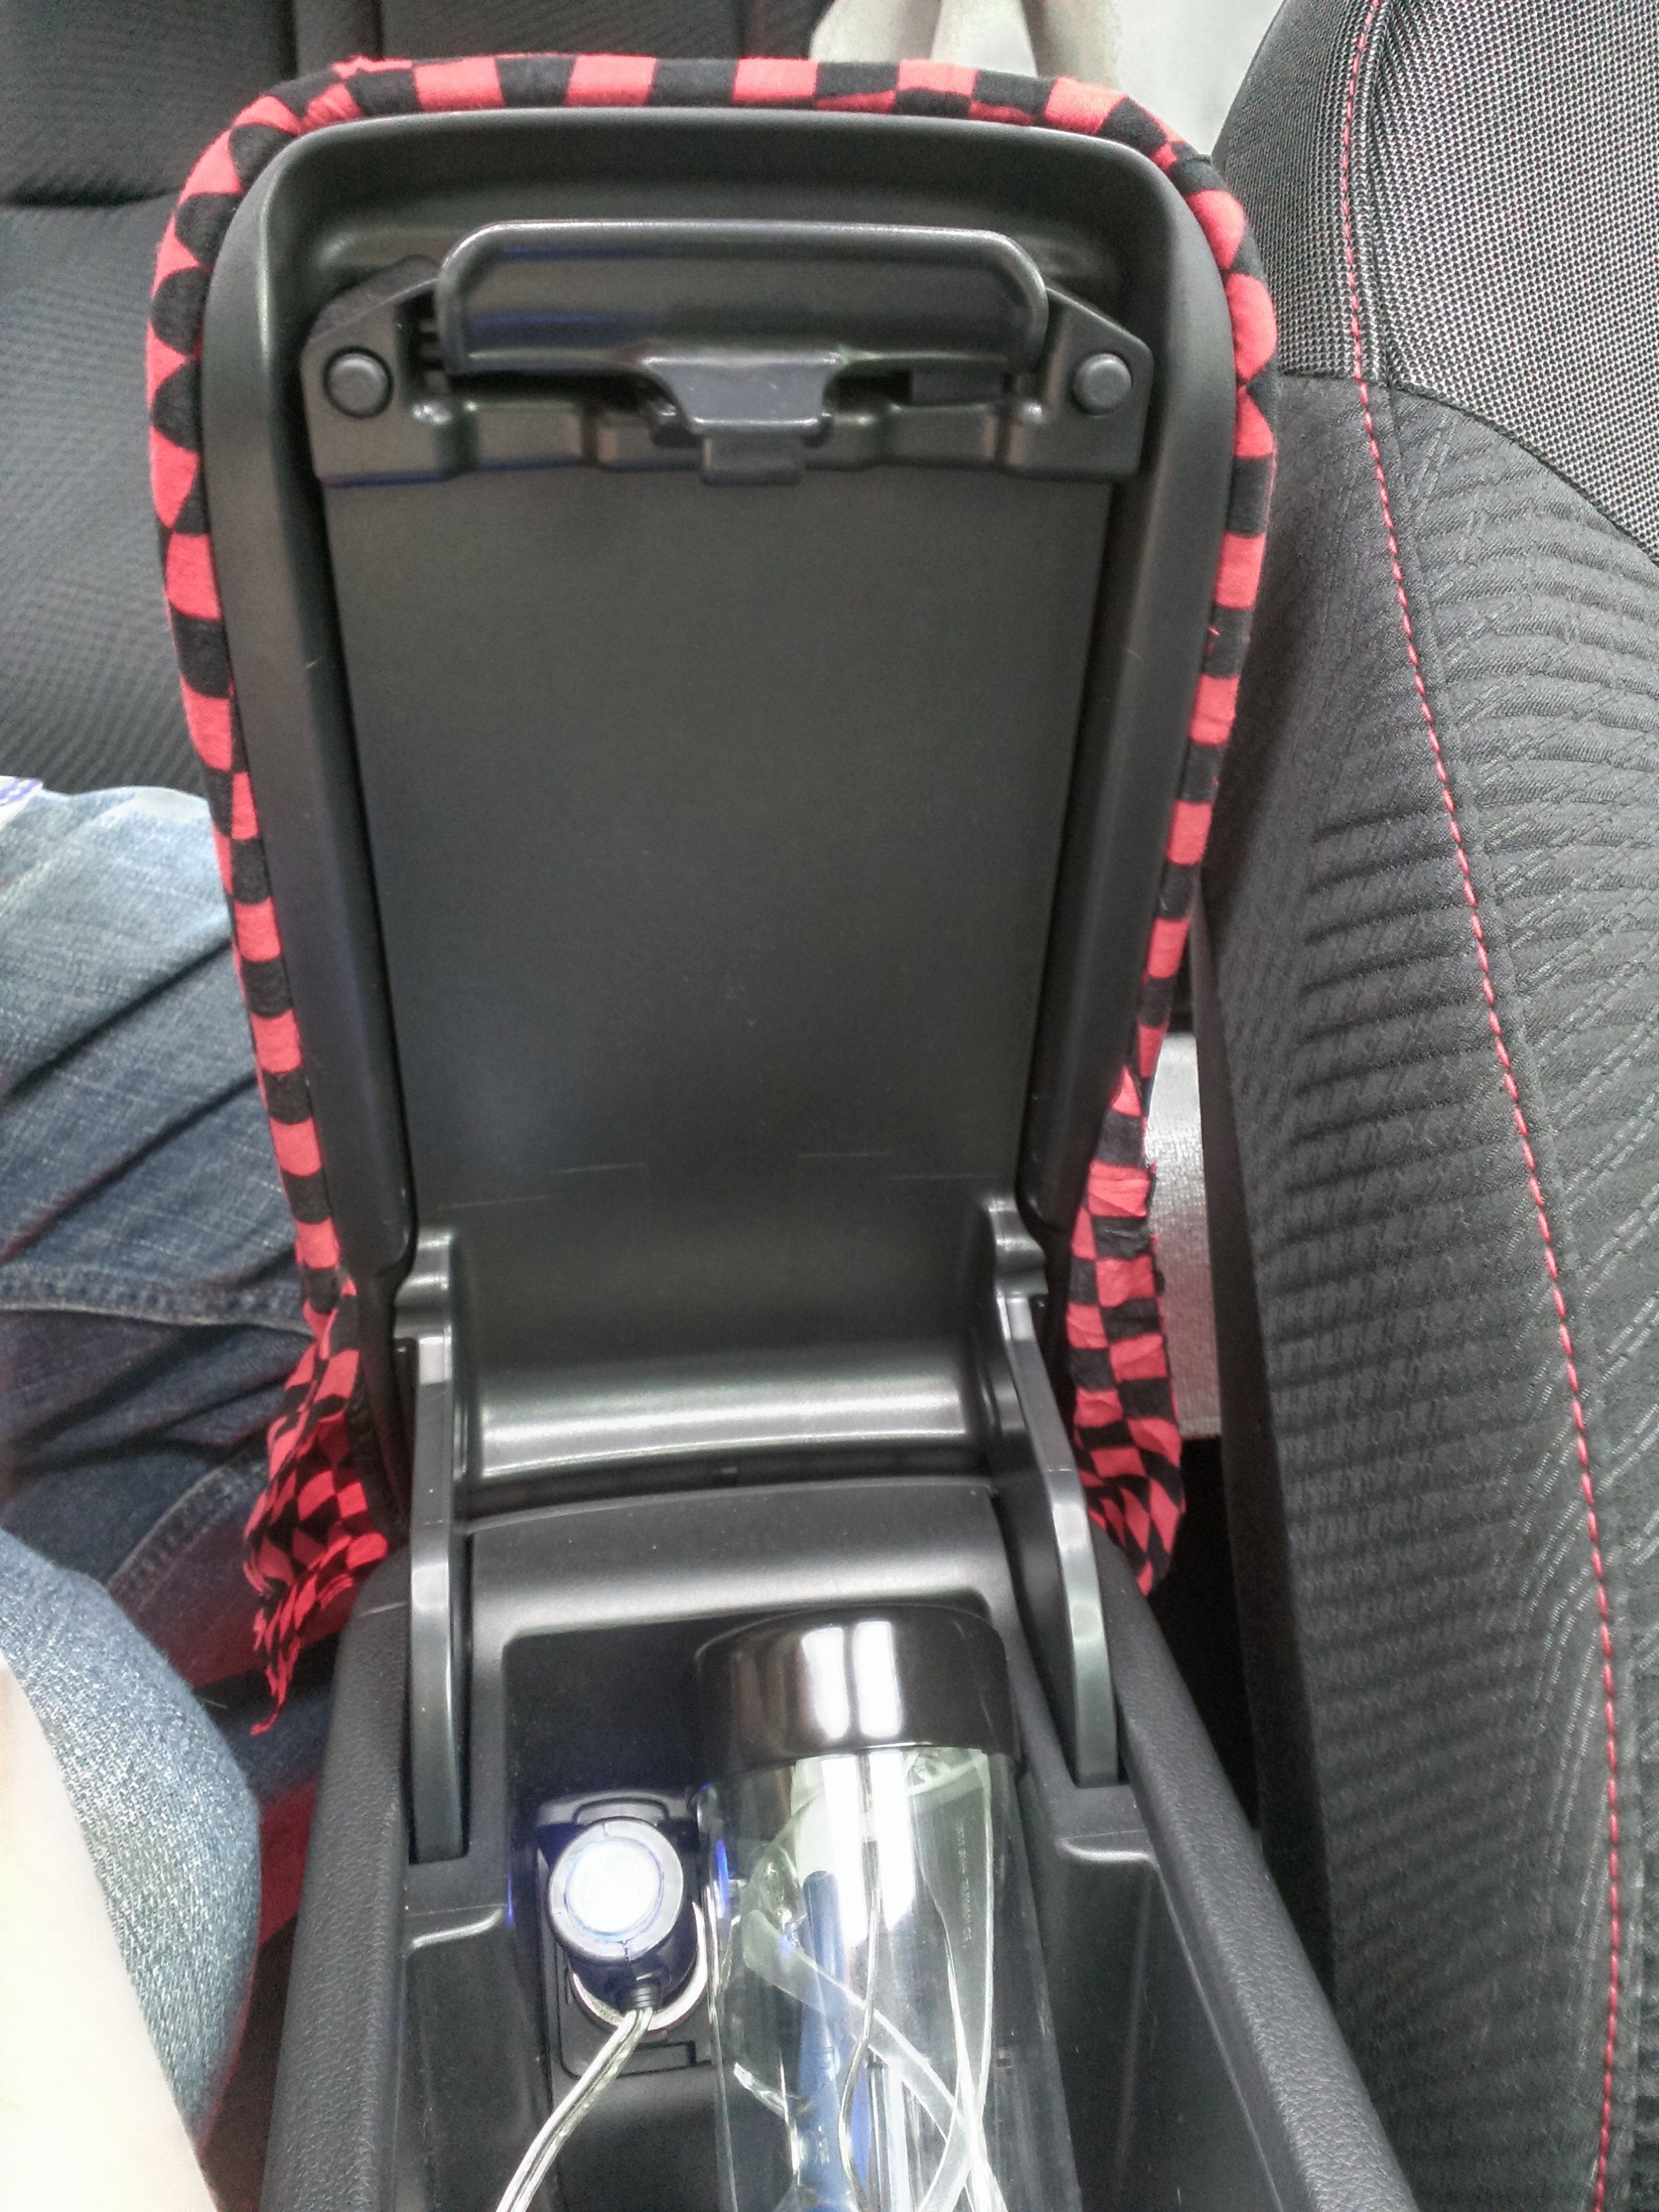
Once you get towards the rear you will need to slide the armrest forward and remove the two screws, this will allow you to lift the rear of the armrest up and tuck it in. I started at the front and then figured this part out. It might actually work best to start from the rear so you can pull it tight.

Now replace the screws, I actually screwed thru the bandanna since it was thin to help hold it.
Before

After


It's super easy to remove and best of all cheap!
Hope you guys like it.
Tools needed fabric, thin piece of plastic (old id card or credit card will work) small Philips head screw driver.
First pick out some fabric. I used a red and black checkered bandanna I had.
Next you'll need to trim it down a bit, I went with about an inch of overlap.
Now lay the fabric down and start tucking it in. If you take your time it will almost look like you knew what you are doing lol.
Little more trimming
Looking good
I moved to the back seat here
Once you get towards the rear you will need to slide the armrest forward and remove the two screws, this will allow you to lift the rear of the armrest up and tuck it in. I started at the front and then figured this part out. It might actually work best to start from the rear so you can pull it tight.
Now replace the screws, I actually screwed thru the bandanna since it was thin to help hold it.
Before
After
It's super easy to remove and best of all cheap!
Hope you guys like it.
