AlienPrime
Well-Known Member
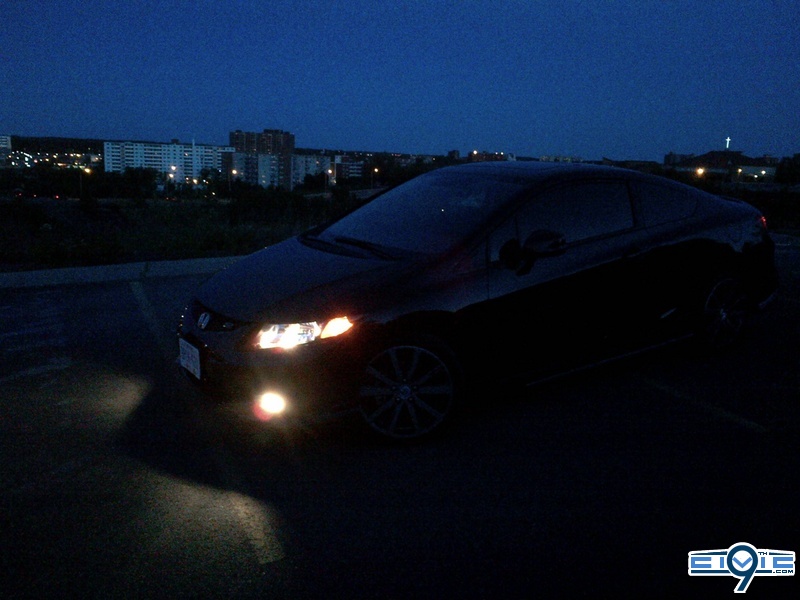
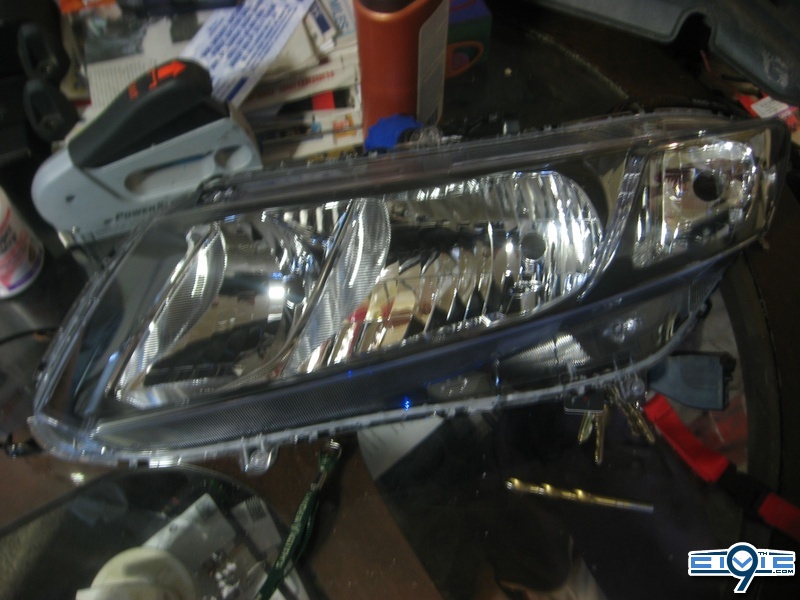
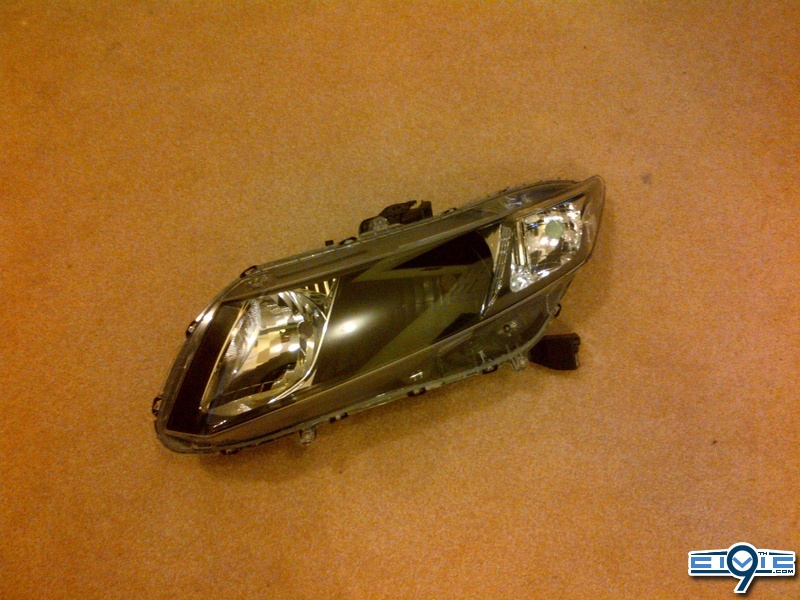
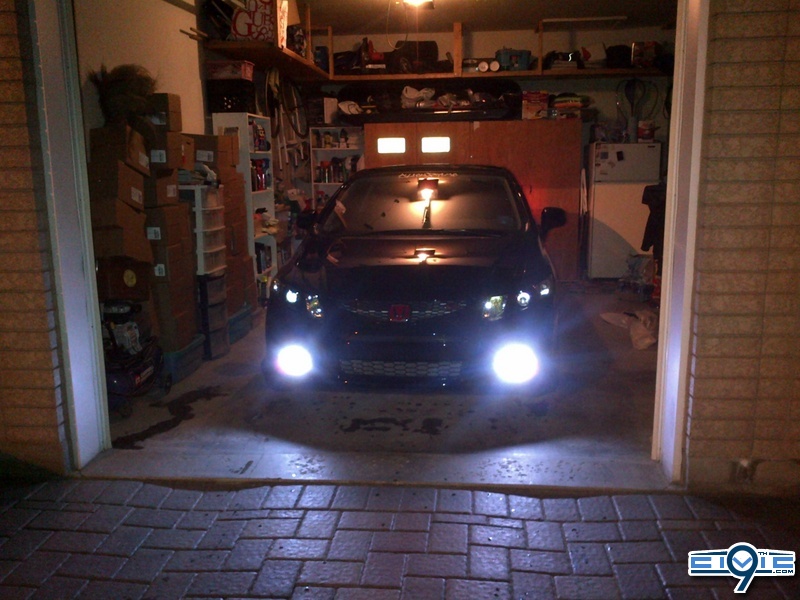
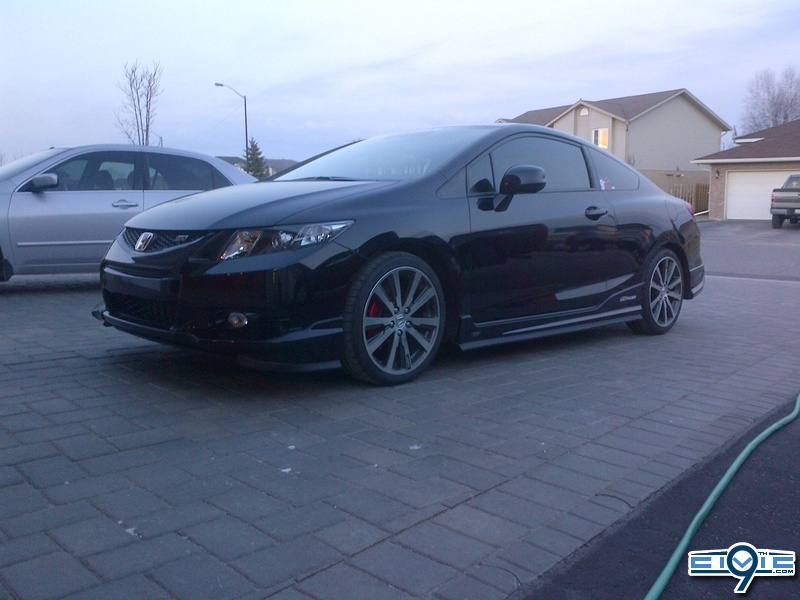
WELL HERE IT IS! Complete as it'll ever be! PM me for more info, or anything that i may have left out! This shitt is what you need to know to essentially make a duplicate of what you see on my car! 

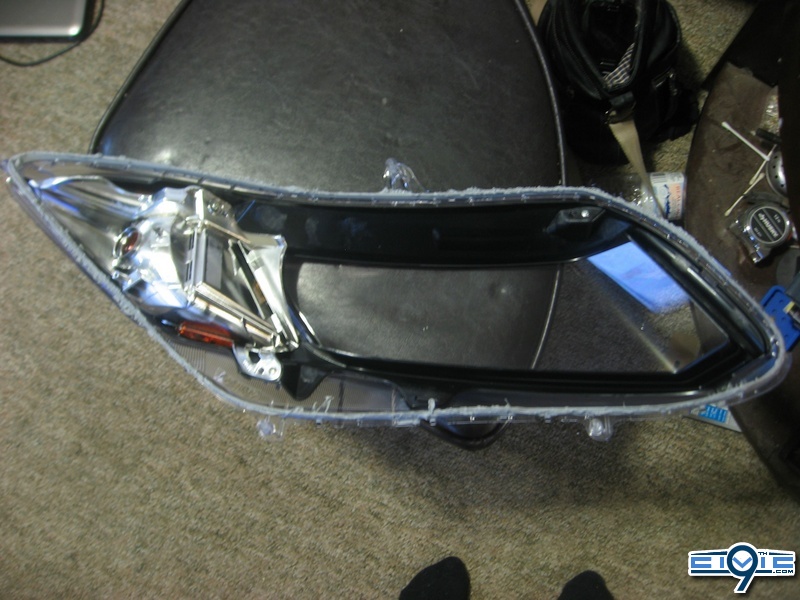
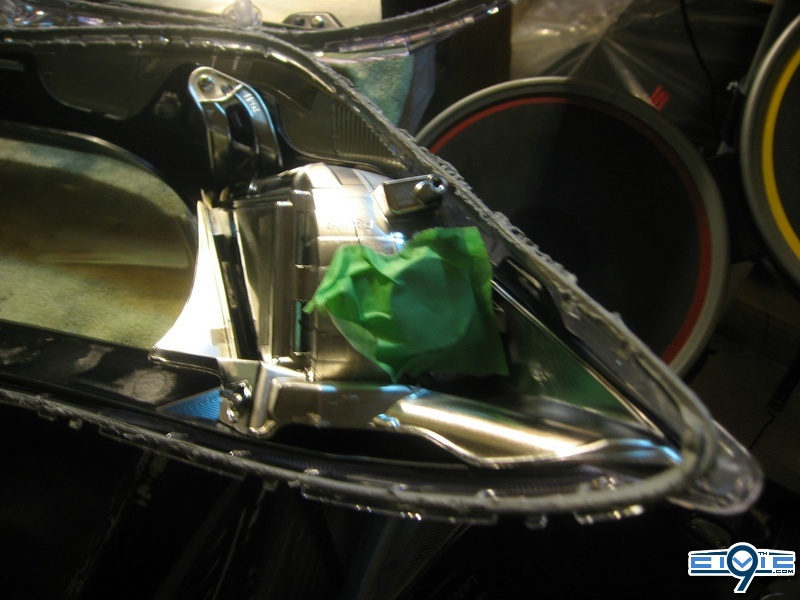
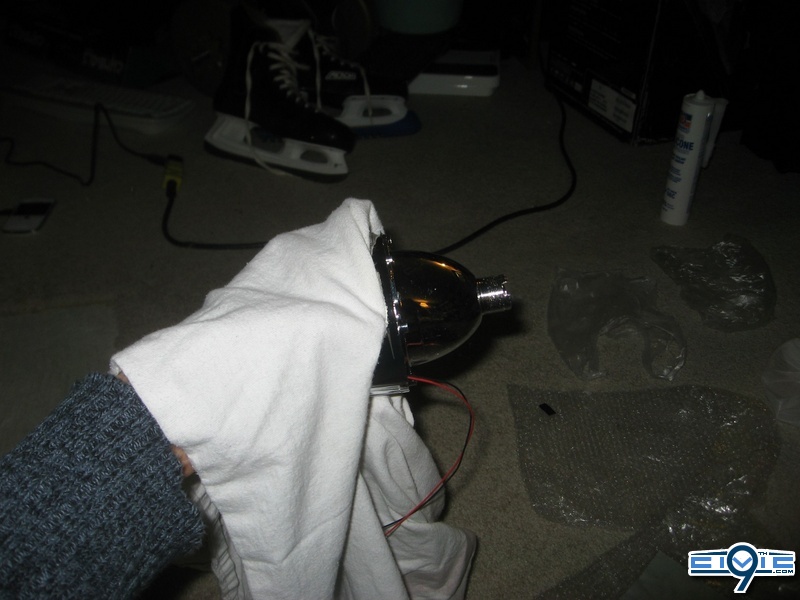
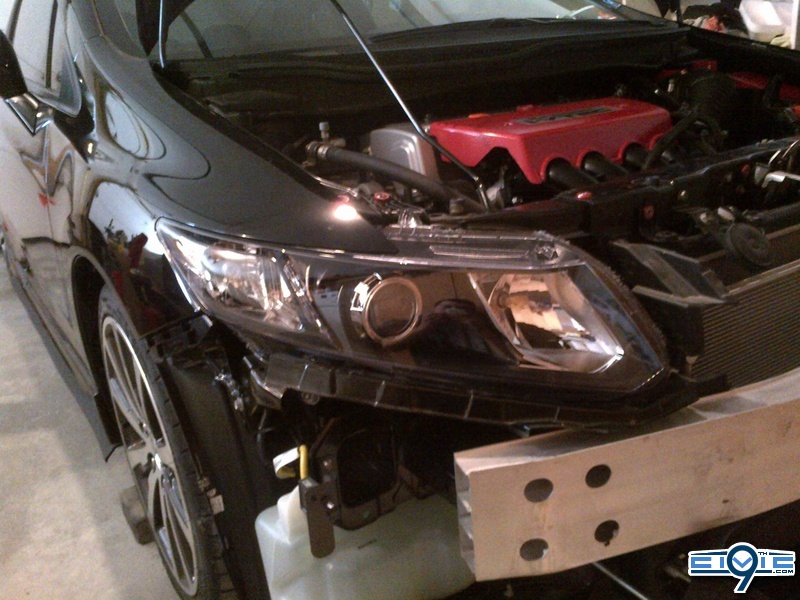
Before actually getting directly to the DIY guide i'm going to try and walk through as many aspects to the headlights as i can. First of all, and from what i would consider most important (functionally at least) is the wiring. Now you can always just the projectors as lows alone and leave the Bi-Xenon functionality out, but i figured, if i'm going to get it, why not use it.
This method i'm about to show will not only enable you to keep DRL and 9005 HighBeam, but allow you to you your 9006 Low beam housing and lighting for high beam use as well.
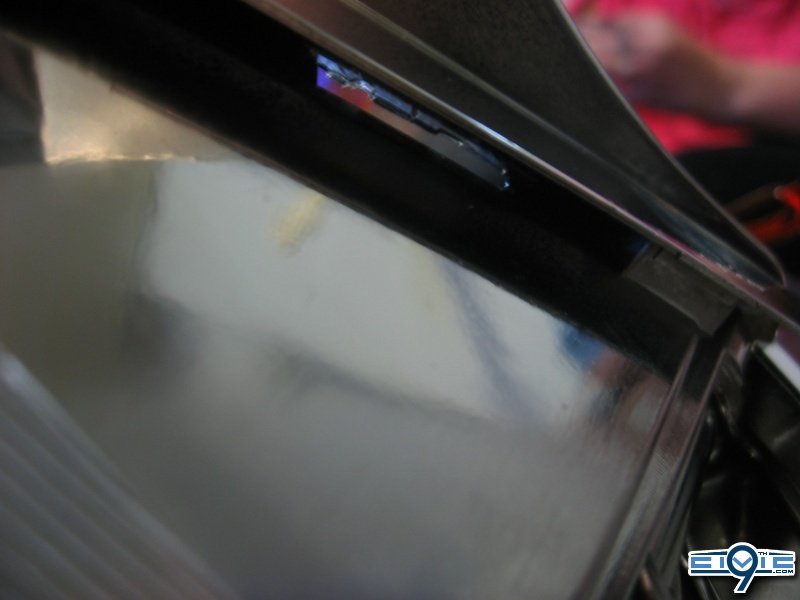
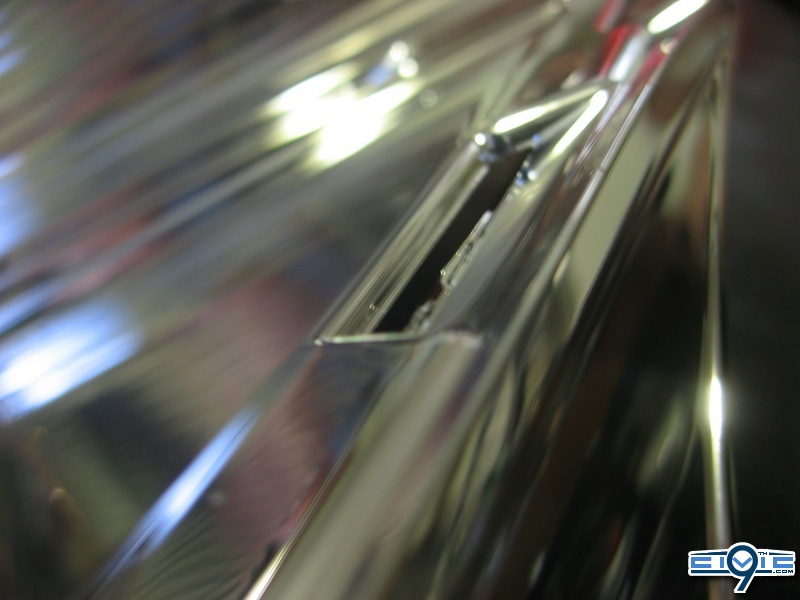
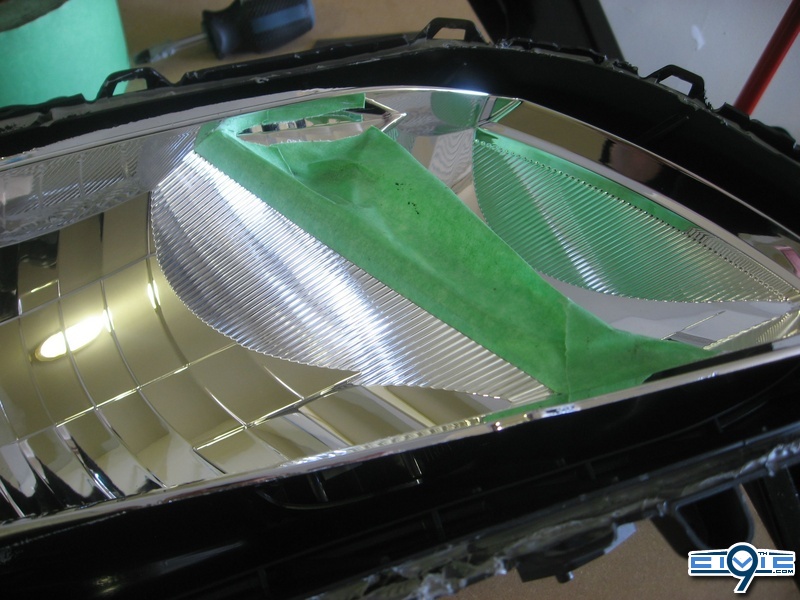
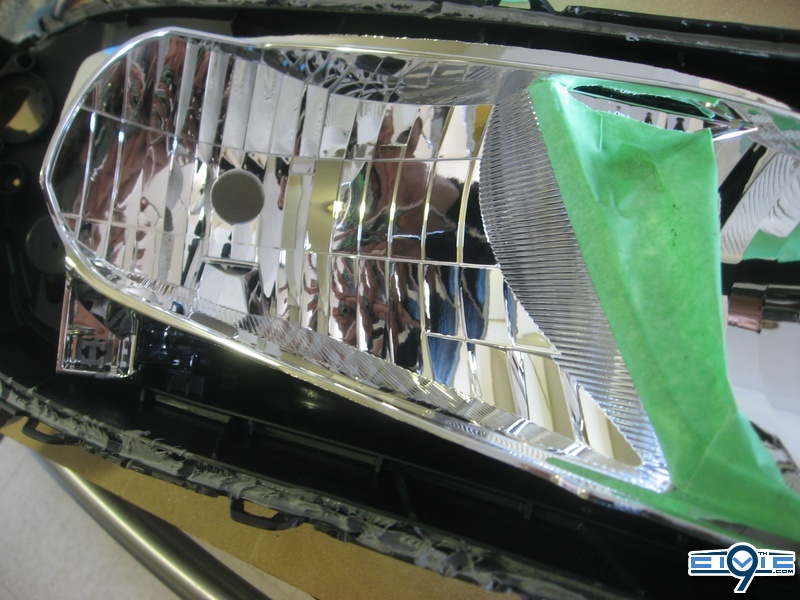
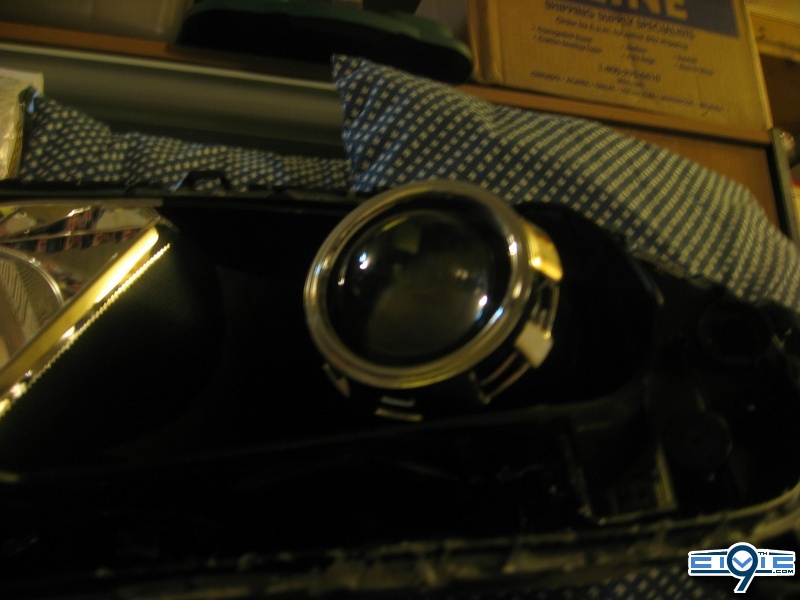
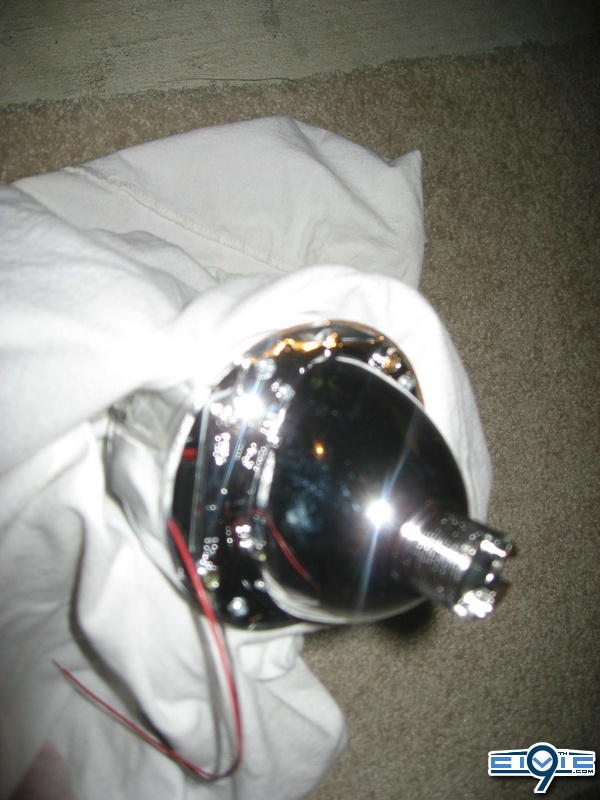
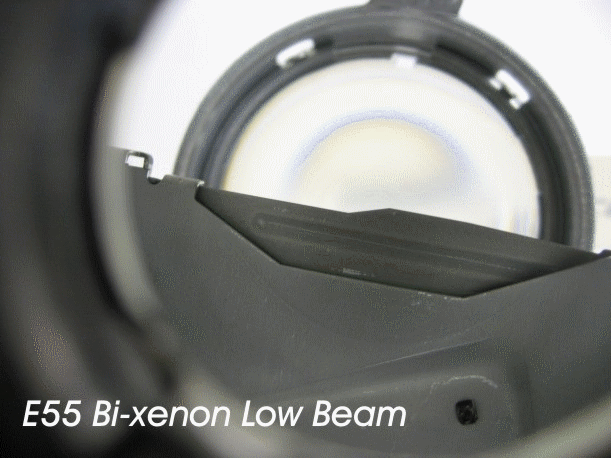
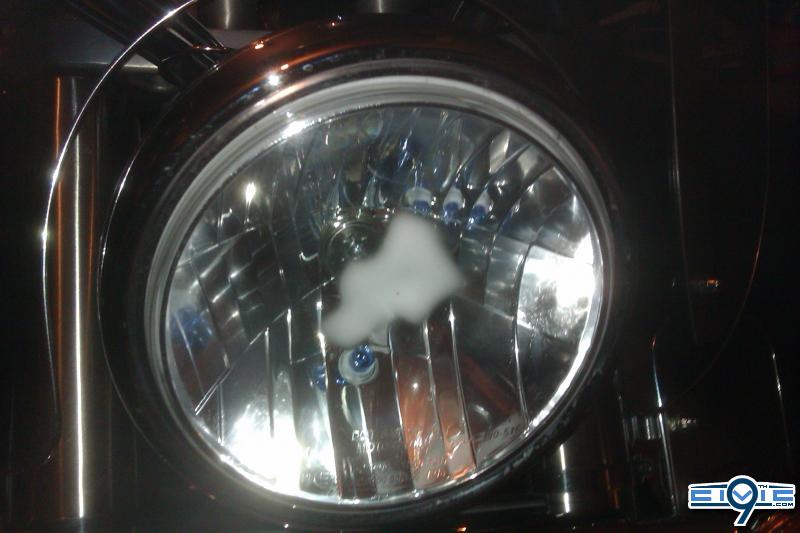
For those of you unfamiliar with the term, Bi-Xenon is essentially a projector beam with a moveable cutoff flap. The cutoff flap is controlled by a small sensory motor (called a solenoid) in which moves the flap to an upper or lower position as shown below in an E55 Benz. This is what produces the clean cutoff.
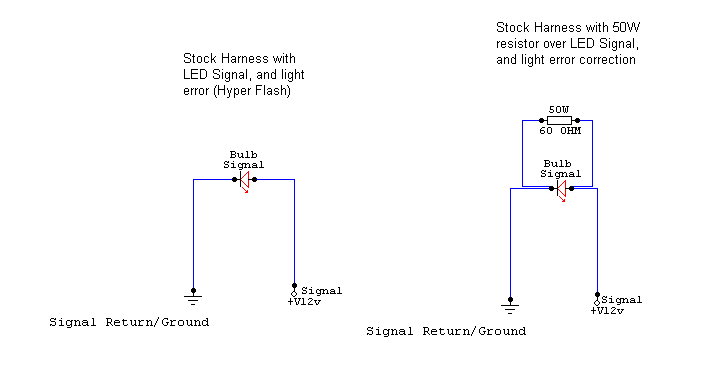
Now that we've got that out of the way, i'm sure you can understand that we will need a way of switching this ability on and off. Of course, we would not want to keep the projectors on highbeam all the time either. To do this, is a fairly simple procedure. The way the sensory motor works is on spring action. When power is fed to it, it will open. When the source feed becomes too weak, or is cutoff, the motor contacts will release letting the projector flap fall back into it's NormallyClosed position, as you saw inn the GIF above.
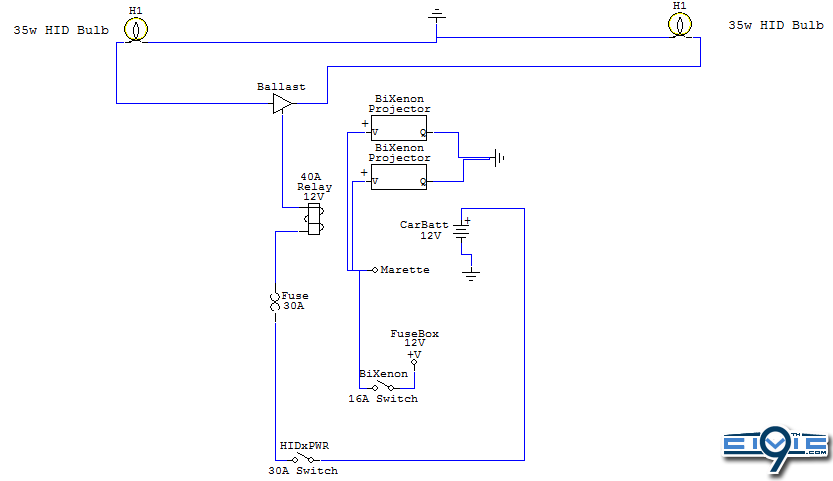
He is a very basic wiring diagram. Please take note that you will see a few additional wires for grounds in your real life installation. Some grounds on switches etc. Additional grounds were kept out of the schematic in order to keep the drawing as simple and to the point as possible.
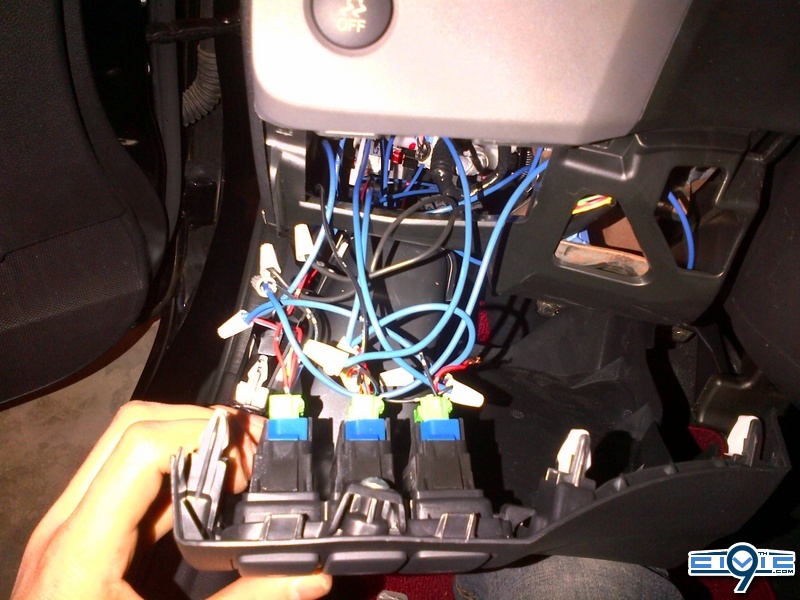
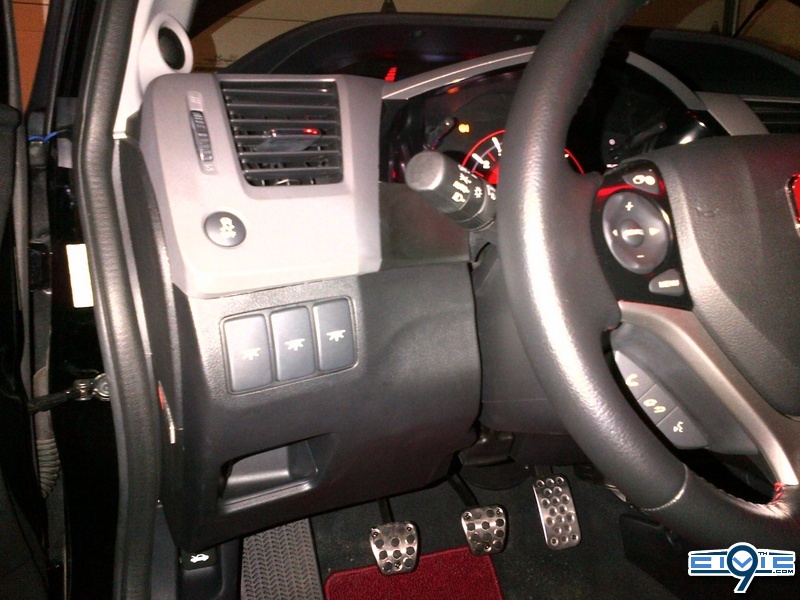
You will also notice that "HIDxPWR" is written. On this 30A switch, i'll be giving myself the ability to turn on/off power to low beam/projector portion of my headlights at any time. This will also allow me to drive around without DRL's or Lows, just fogs
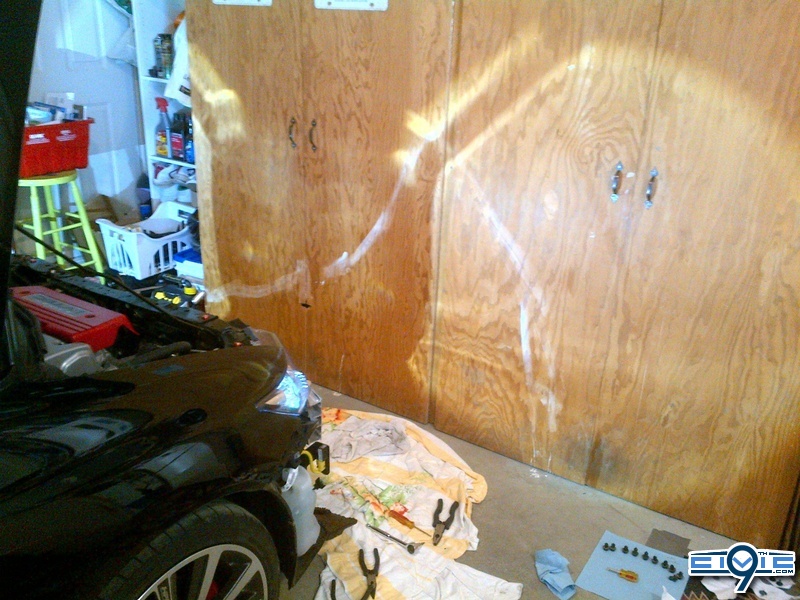
Before we get into anything...
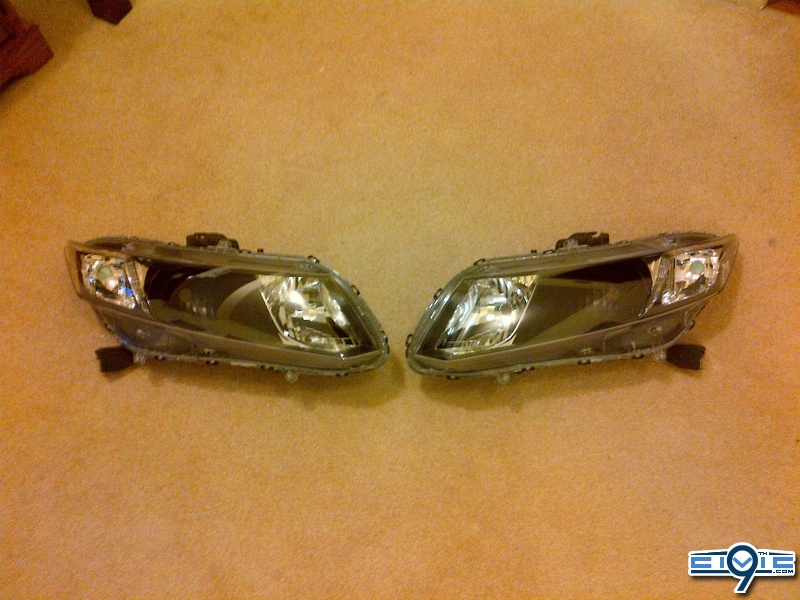
Here's a list of materials you'll be needing!")
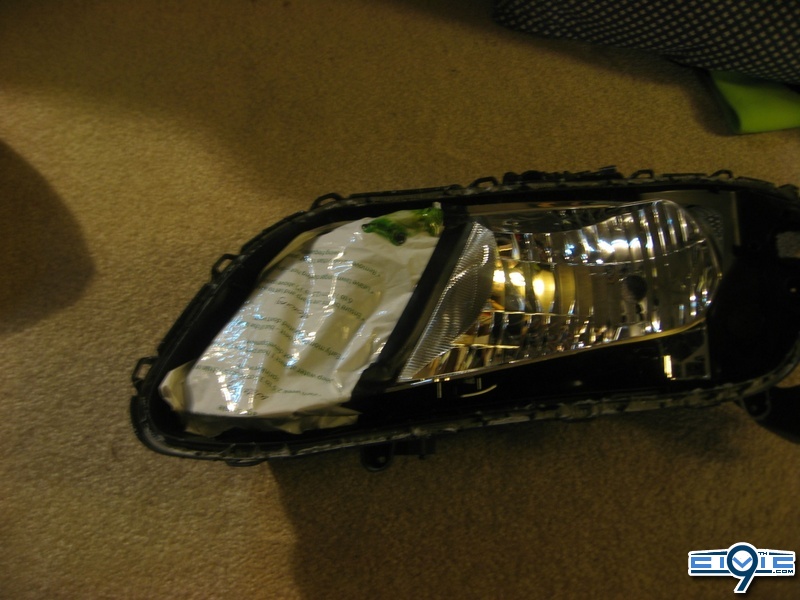
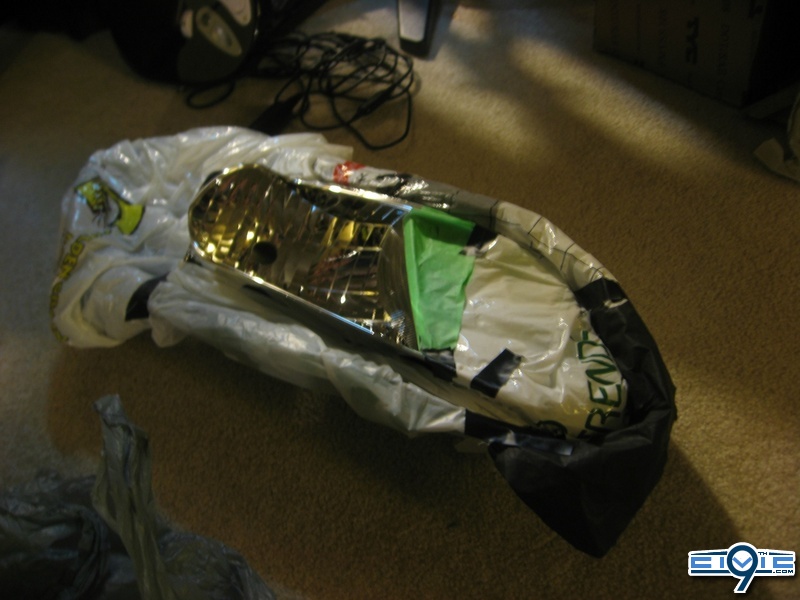
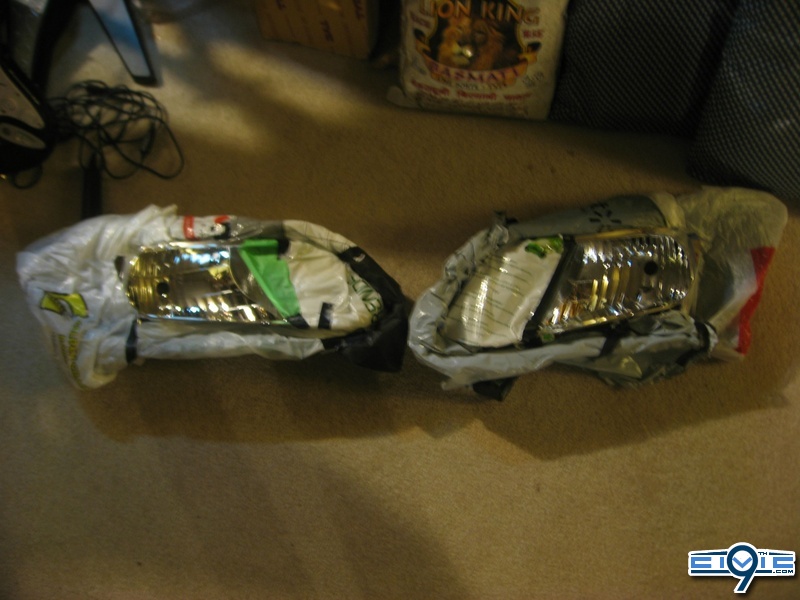
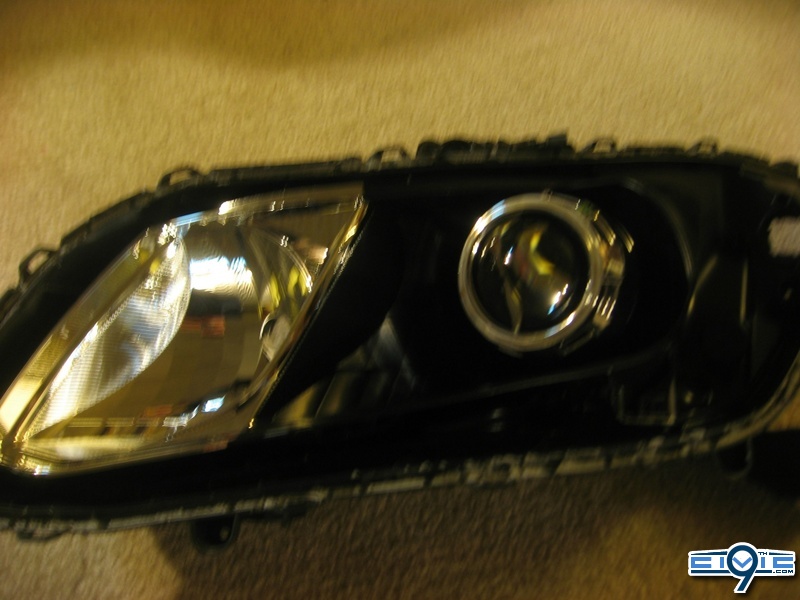
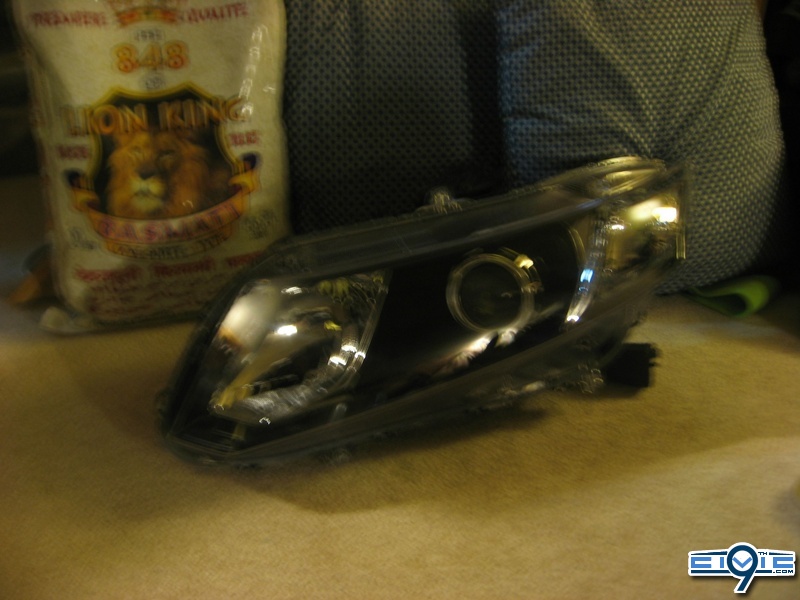
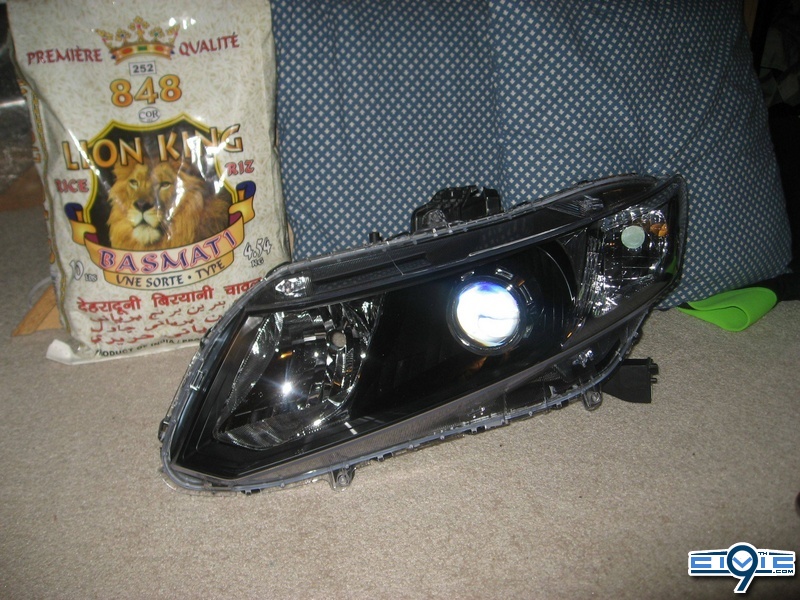
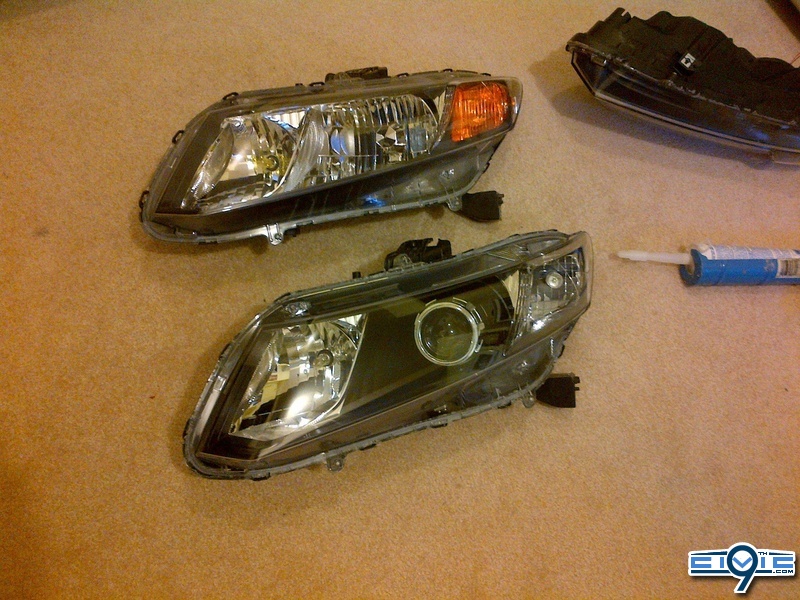
1 - OEM USDM Headlights (chose to buy an extra set!) --------------$350
2 - Morimotto H1 Bi-Xenon Projectors ----------------------------------$130
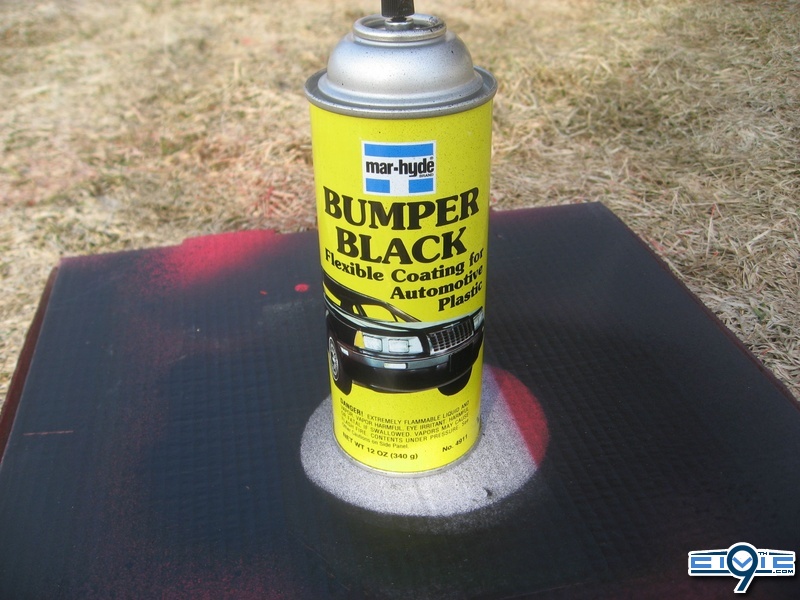
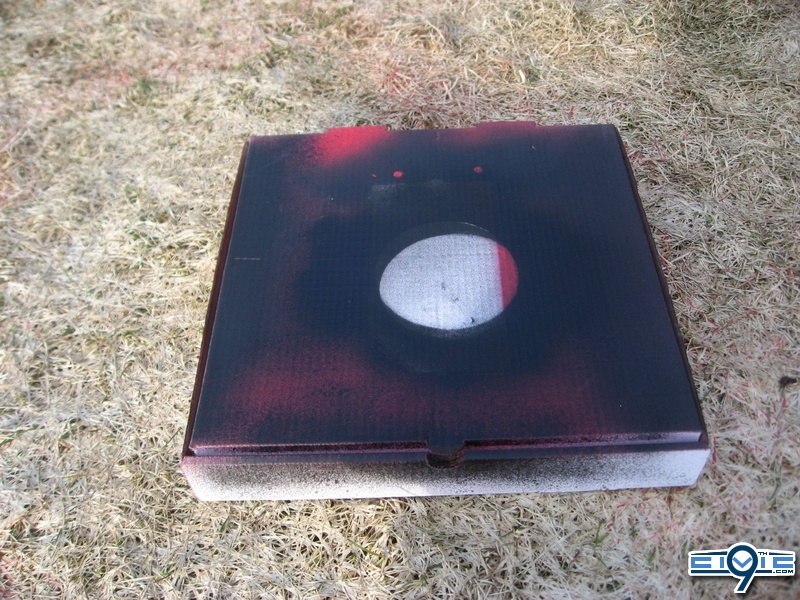
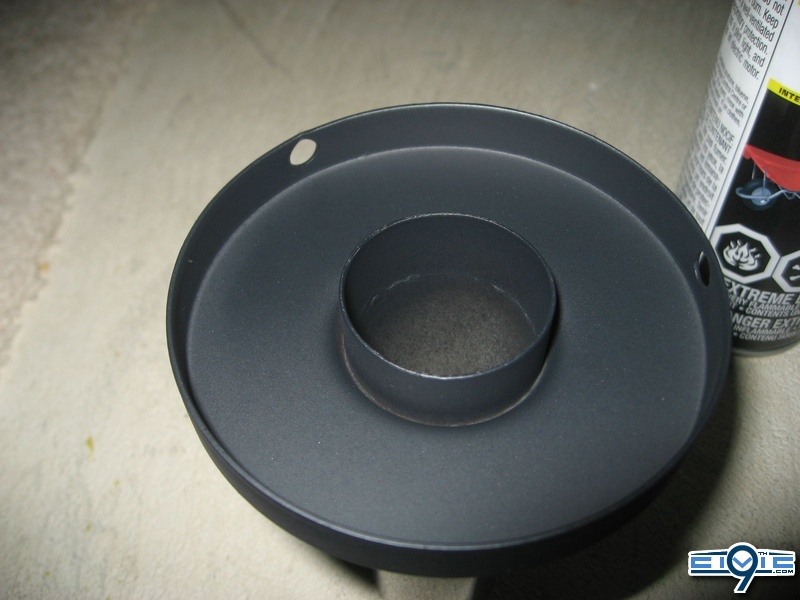
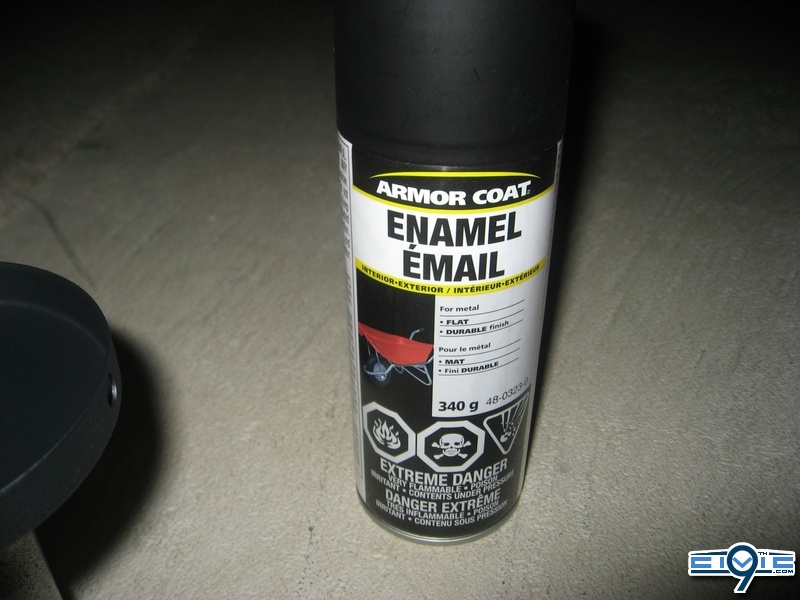
3 - Black Flexible bumper paint ------------------------------------------$20
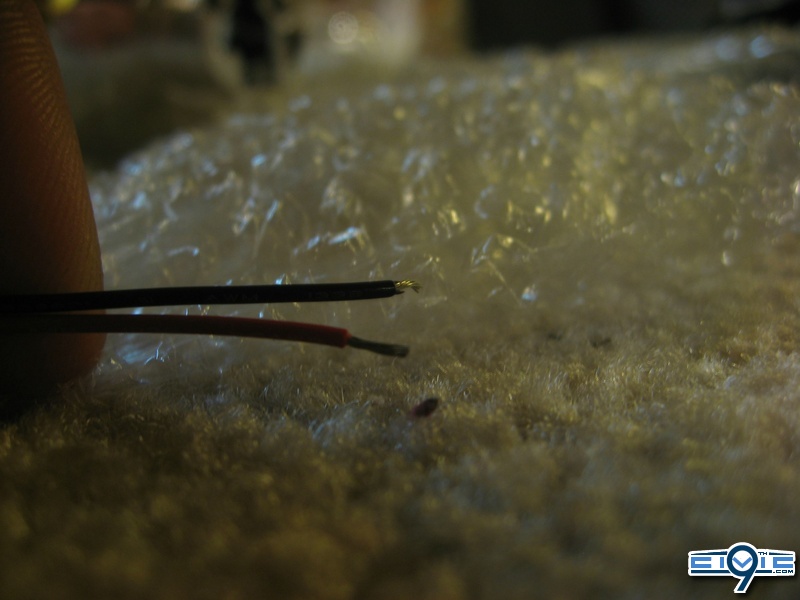
4 - #18AWG wire for Hi/Low control ------------------------------------$25
5 - High temp industrial clear silicon ------------------------------------$18
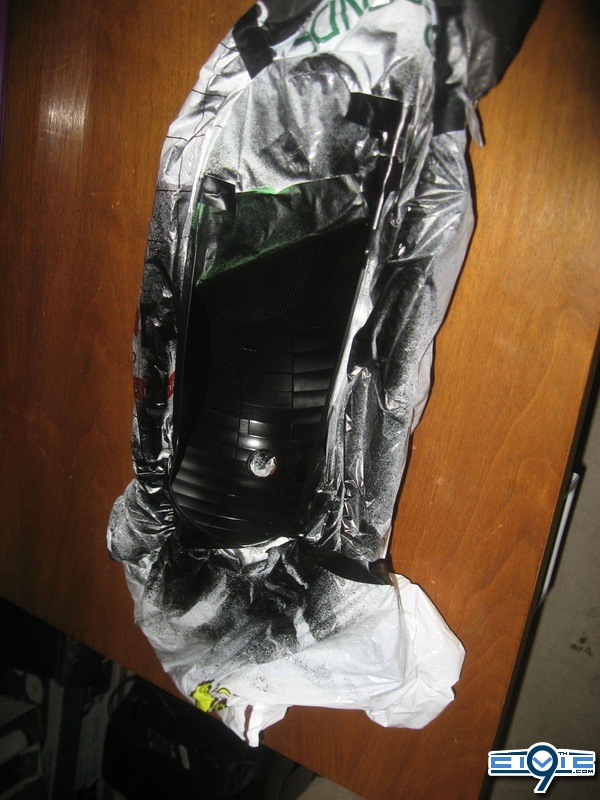
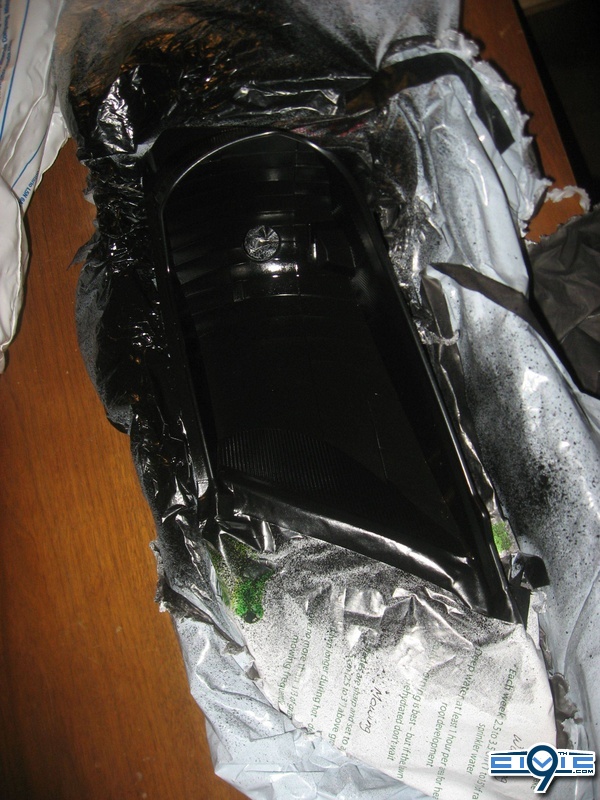
6 - Painters tape and bags -----------------------------------------------$2
7 - H1 HID Kit (regular H1 bulbs don't fit*) -----------------------------$180
8 - 40A Relay 30A fuse (or relay harness on ebay) --------------------$20 +/-
9 - OEM Honda Hi/Low Switch -------------------------------------------$22
TOTAL: ~$750 MAX
It will probably cost you much less unless you go for top tier stuff Phillips HID kits and bulbs are a killer too 
You can always cheap out on many things... but definitely don't cheap out when sealing the headlights
* = Personally tested
Before actually getting directly to the DIY guide i'm going to try and walk through as many aspects to the headlights as i can. First of all, and from what i would consider most important (functionally at least) is the wiring. Now you can always just the projectors as lows alone and leave the Bi-Xenon functionality out, but i figured, if i'm going to get it, why not use it.
This method i'm about to show will not only enable you to keep DRL and 9005 HighBeam, but allow you to you your 9006 Low beam housing and lighting for high beam use as well.
For those of you unfamiliar with the term, Bi-Xenon is essentially a projector beam with a moveable cutoff flap. The cutoff flap is controlled by a small sensory motor (called a solenoid) in which moves the flap to an upper or lower position as shown below in an E55 Benz. This is what produces the clean cutoff.
Now that we've got that out of the way, i'm sure you can understand that we will need a way of switching this ability on and off. Of course, we would not want to keep the projectors on highbeam all the time either. To do this, is a fairly simple procedure. The way the sensory motor works is on spring action. When power is fed to it, it will open. When the source feed becomes too weak, or is cutoff, the motor contacts will release letting the projector flap fall back into it's NormallyClosed position, as you saw inn the GIF above.
He is a very basic wiring diagram. Please take note that you will see a few additional wires for grounds in your real life installation. Some grounds on switches etc. Additional grounds were kept out of the schematic in order to keep the drawing as simple and to the point as possible.
You will also notice that "HIDxPWR" is written. On this 30A switch, i'll be giving myself the ability to turn on/off power to low beam/projector portion of my headlights at any time. This will also allow me to drive around without DRL's or Lows, just fogs
Before we get into anything...
Here's a list of materials you'll be needing!
1 - OEM USDM Headlights (chose to buy an extra set!) --------------$350
2 - Morimotto H1 Bi-Xenon Projectors ----------------------------------$130
3 - Black Flexible bumper paint ------------------------------------------$20
4 - #18AWG wire for Hi/Low control ------------------------------------$25
5 - High temp industrial clear silicon ------------------------------------$18
6 - Painters tape and bags -----------------------------------------------$2
7 - H1 HID Kit (regular H1 bulbs don't fit*) -----------------------------$180
8 - 40A Relay 30A fuse (or relay harness on ebay) --------------------$20 +/-
9 - OEM Honda Hi/Low Switch -------------------------------------------$22
TOTAL: ~$750 MAX
It will probably cost you much less unless you go for top tier stuff
Phillips HID kits and bulbs are a killer too You can always cheap out on many things... but definitely don't cheap out when sealing the headlights
* = Personally tested
Last edited:
 )
)