- Staff
- #1
DIY 2012-2015 Automatic Day/Night Mirror

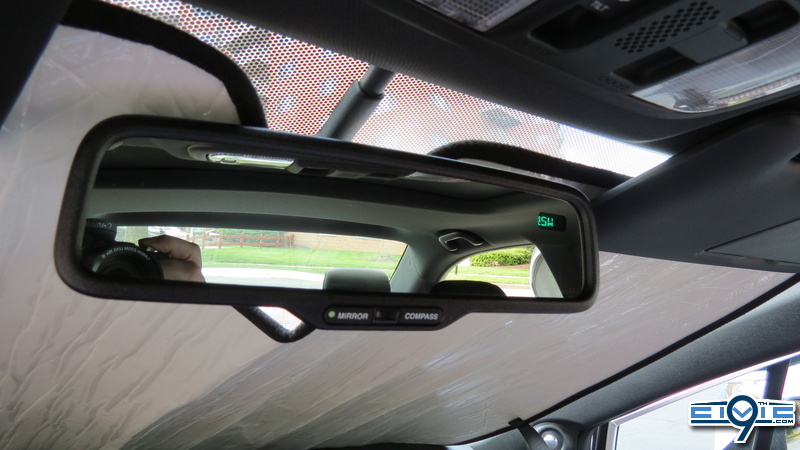
This article covers the mirror installation for model years 2012 through 2015.
Note: Photos shown here depict installation on a 2014 Si.
Application: Coupe and Sedan
Installation Time: ~45 minutes
What You Need:
...continued in next post

This article covers the mirror installation for model years 2012 through 2015.
Note: Photos shown here depict installation on a 2014 Si.
Application: Coupe and Sedan
Installation Time: ~45 minutes
What You Need:
- Auto Day/Night Mirror Kit (08V03-TR0-100A)
- Attachment Kit (08V03-TR0-100)
- Sub-harness kit (08V03-TR0-1A0) - 2013 through 2015 Models with ECON switch only
- Phillips screwdriver
- Flat-tip screwdriver
- Isopropyl alcohol
- Shop towel
- T20 TORX wrench
- Flashlight
- Masking tape
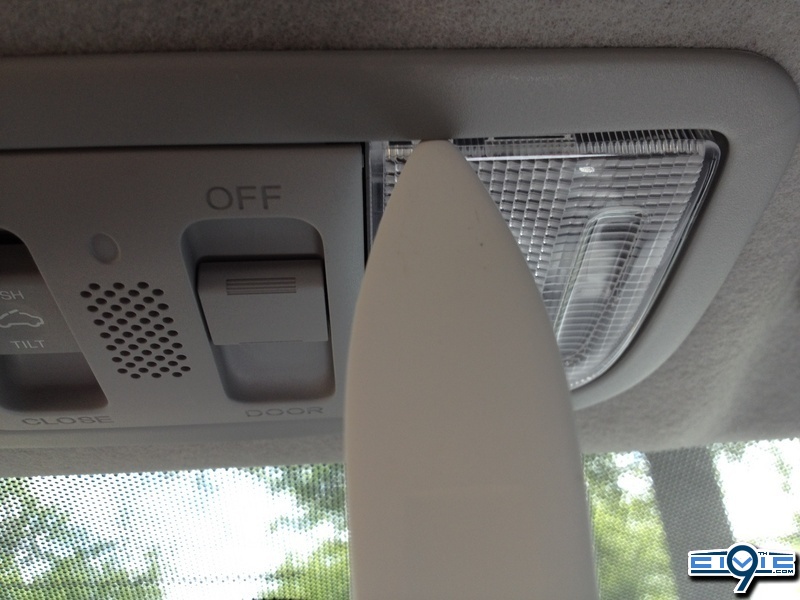
- Remove the left and right lenses from the map light console (four retaining tabs for each lens) using a plastic trim tool.
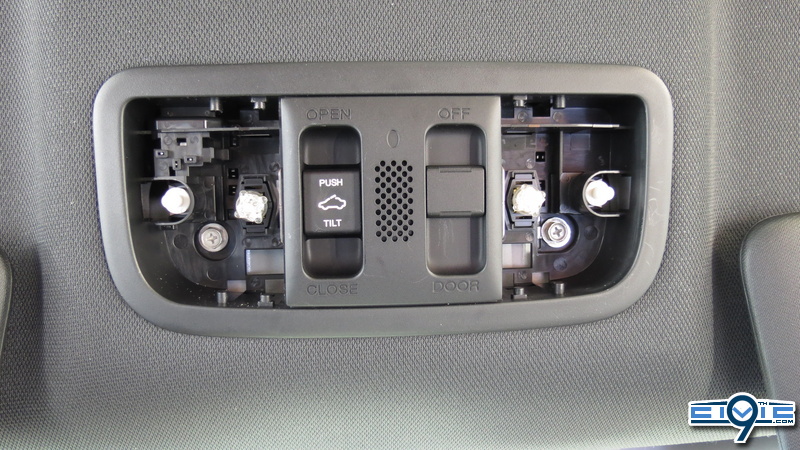
Remove the two bolts.
Remove the map light console. Then unplug the vehicle connectors, and remove the switch (four retaining tabs).

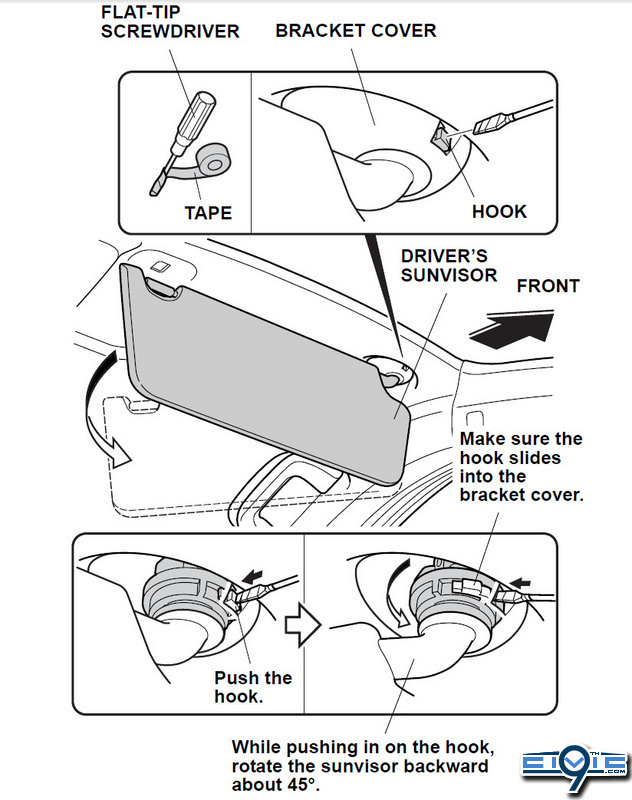
- Remove the driver's and passenger's sunvisor holders by turning then in a counter-clockwise direction.

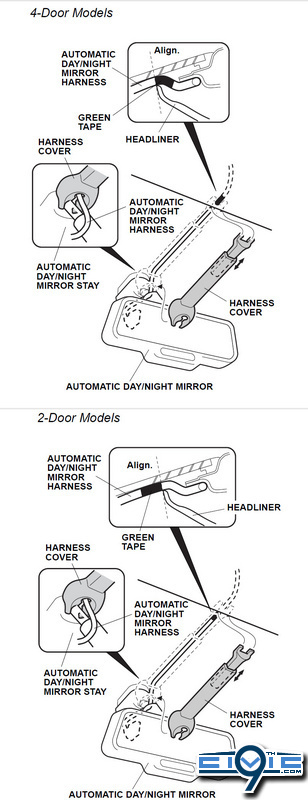
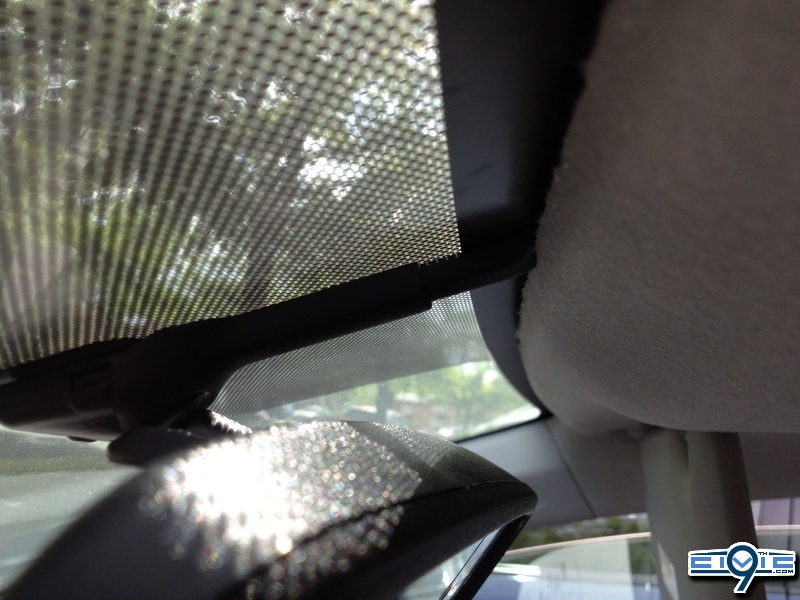
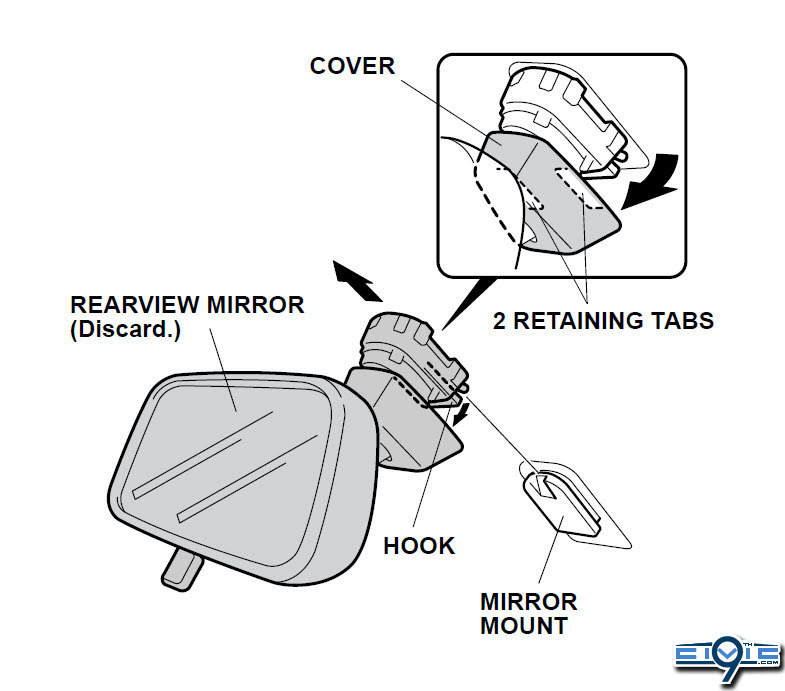
- Remove the cover from the rear-view mirror by prying the two tabs on the left and right sides of the cover. Then, while holding down the hook, slide the mirror off of the mount.
- Wrap the end of a flat-tip screwdriver with tape. Locate the slot in the bracket cover, and insert a flattip
screwdriver into the slot. Push the hook with the flat-tip screwdriver.
Note: This part can be extremely difficult to remove. It may take 3-5 rotations for the visor to finally pop off. Just keep trying!

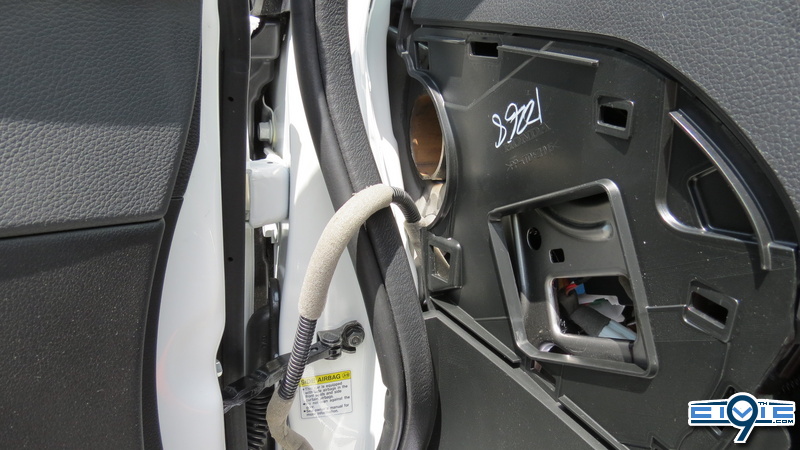
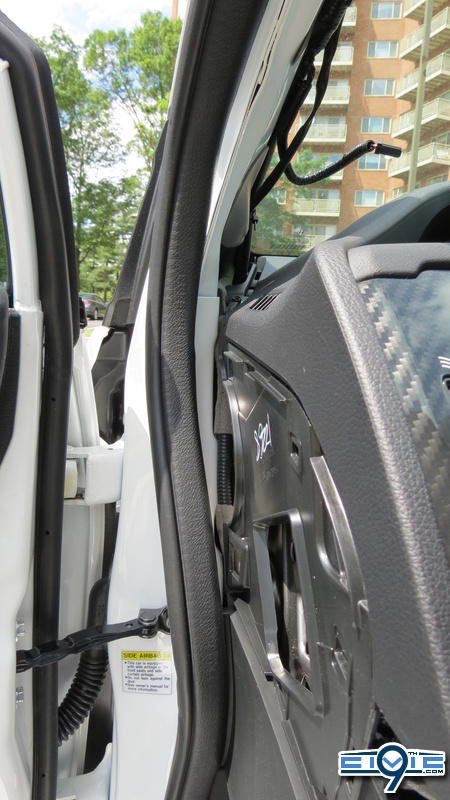
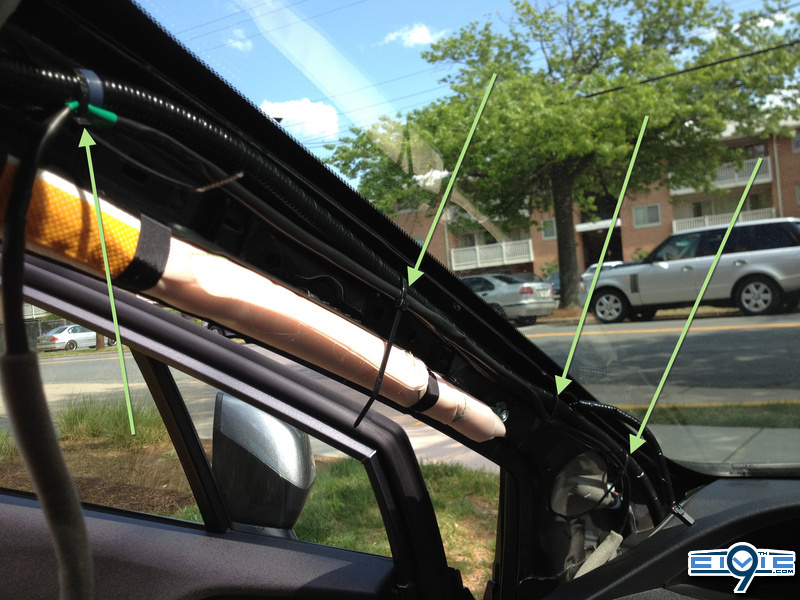
- Pull the driver's door seal opening away from the A-pillar, then pull out the drivers' A-pillar trim to release the clips.
Note: Put a shop towel in the opening between the driver's A-pillar and the dashboard to prevent scratches.


- Remove the driver's A-pillar trim from the upper clip by using a long trim tool or screwdriver, pushing the clip downward. Unplug the speaker connector, if equipped.
Note: The upper clip will stay in the body.

- Remove the remaining upper clip from the driver's A-pillar and install the new clip directly to the driver's A-pillar trim.
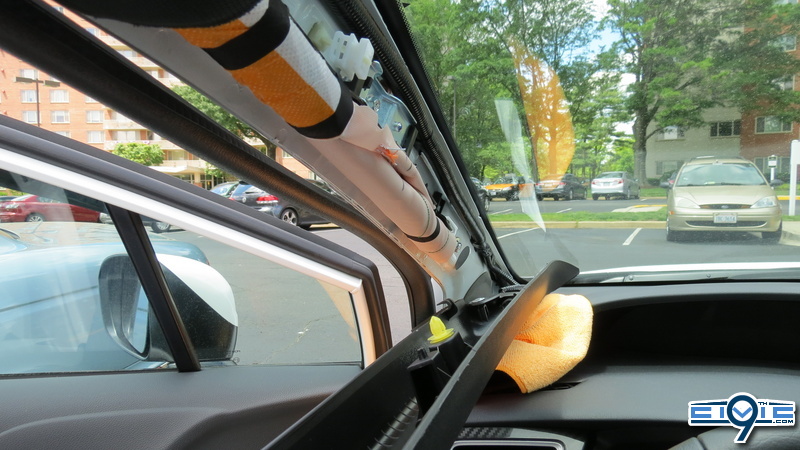

- Pull away the door opening seal from around the dashboard.
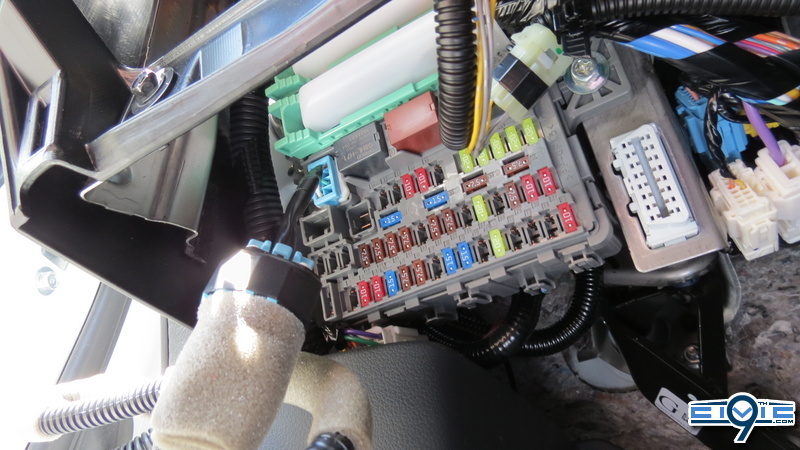
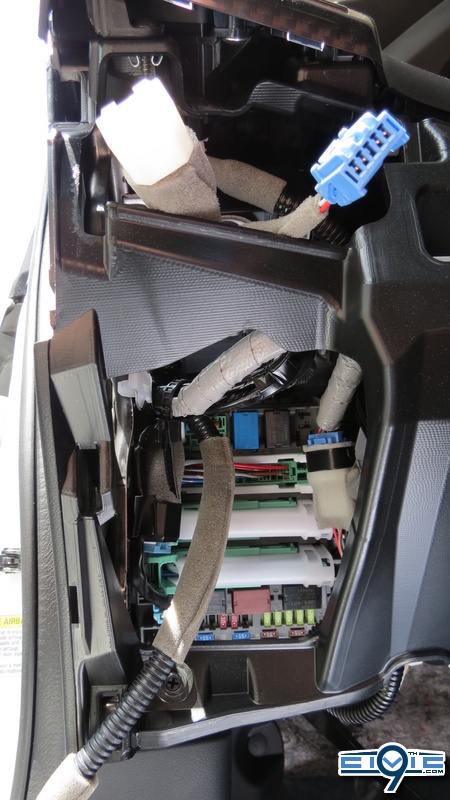
Remove the driver’s dashboard side cover (three clips, two retaining tabs, and two hooks).

- Remove the driver's dashboard lower cover.

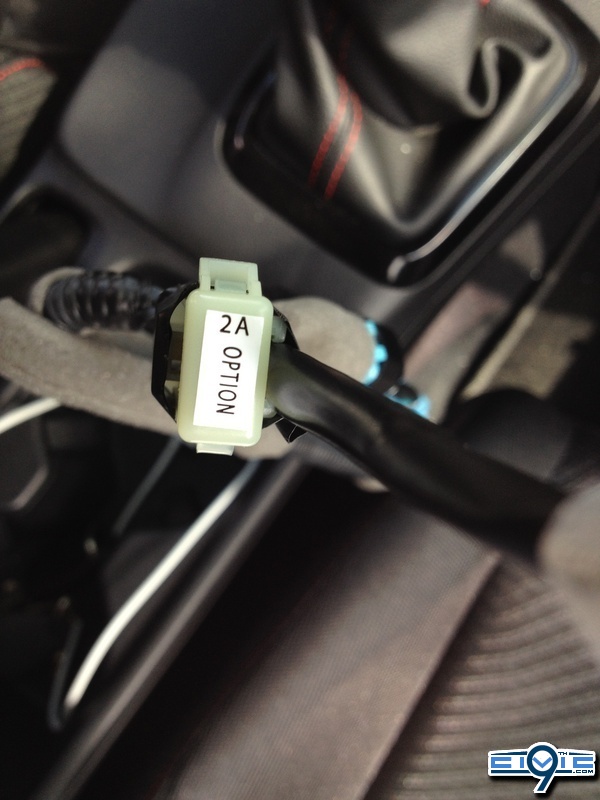
- Using isopropyl alcohol on a shop towel, thoroughly clean the fuse case where the fuse label with attach, then attach the 2A fuse label to the case on the harness.
...continued in next post
Last edited:


