Royce
Well-Known Member
- 101
- 55
2012 Honda Civic SI Sedan Rear Eibach Sway Bar Install
Difficulty of install: 2/5
Part fitment quality: A+
Enjoyment and noticeability of handling increase: B , I notice the rear end feels far better. I am excited to see more suspension aftermarket products hit the market.
Tools Required:
-14mm Short well socket
-Small flat head screwdriver "something to remove clips"
-Preffered wratchet of choice " I like my craftsman 3/8 and 3/8 electric Impact"
-12mm socket
-10mm socket
-Jack
-Jack Stands
-Wheel Chalks
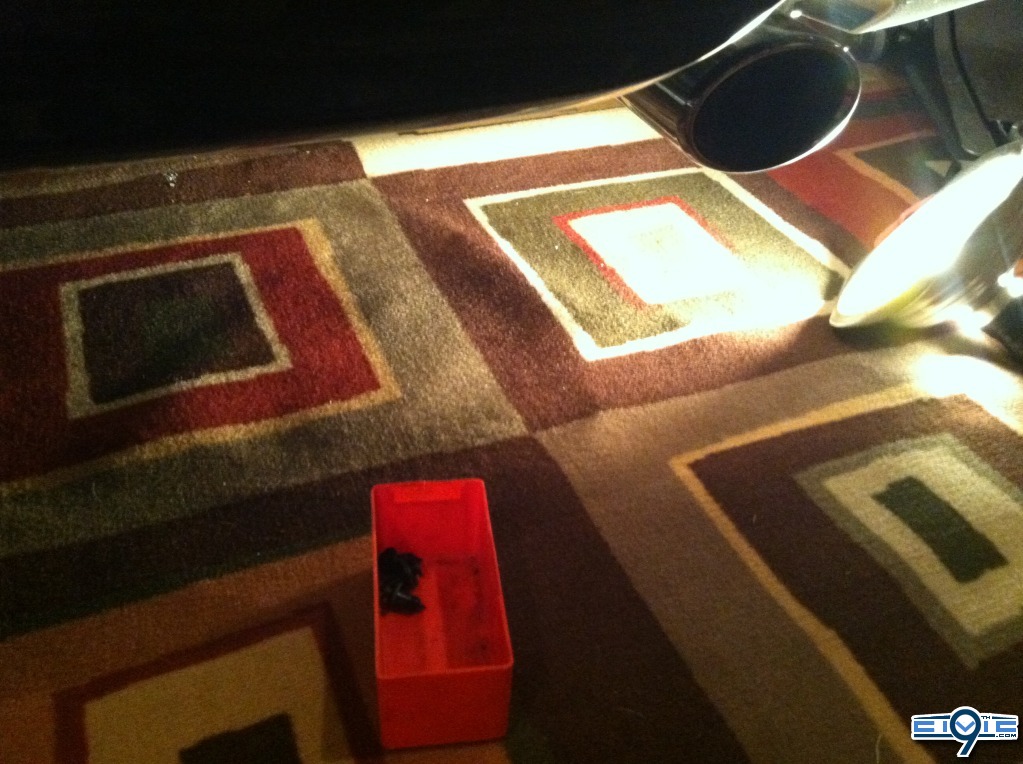
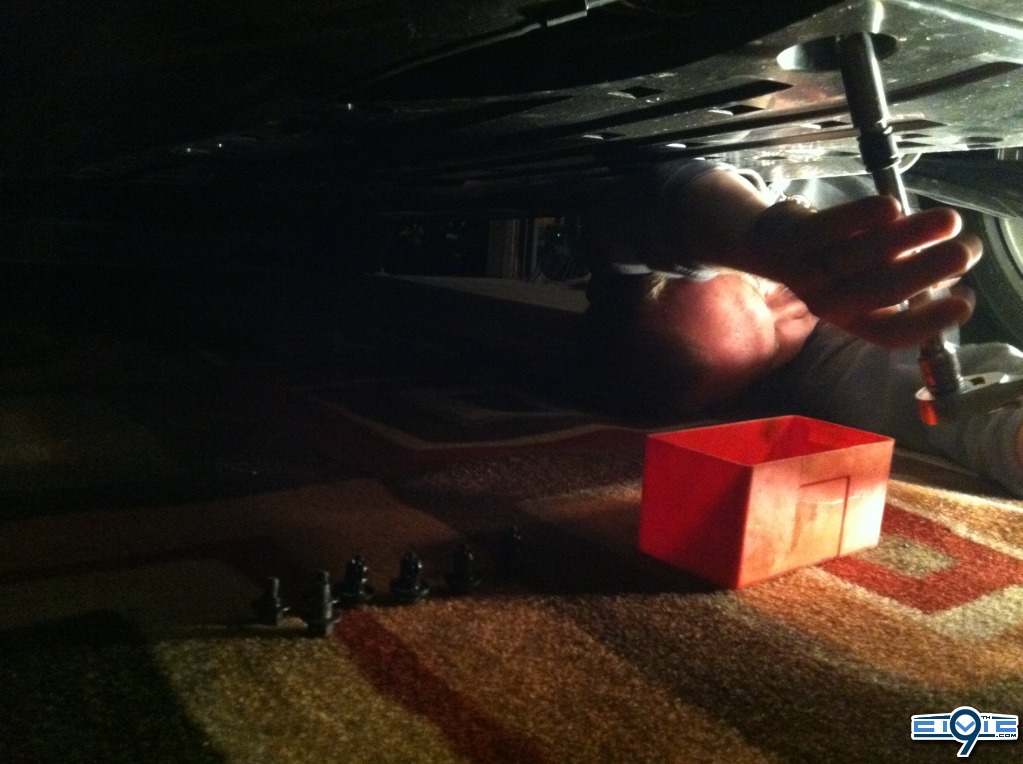
-Bolt tray/Cubby
-Light if needed
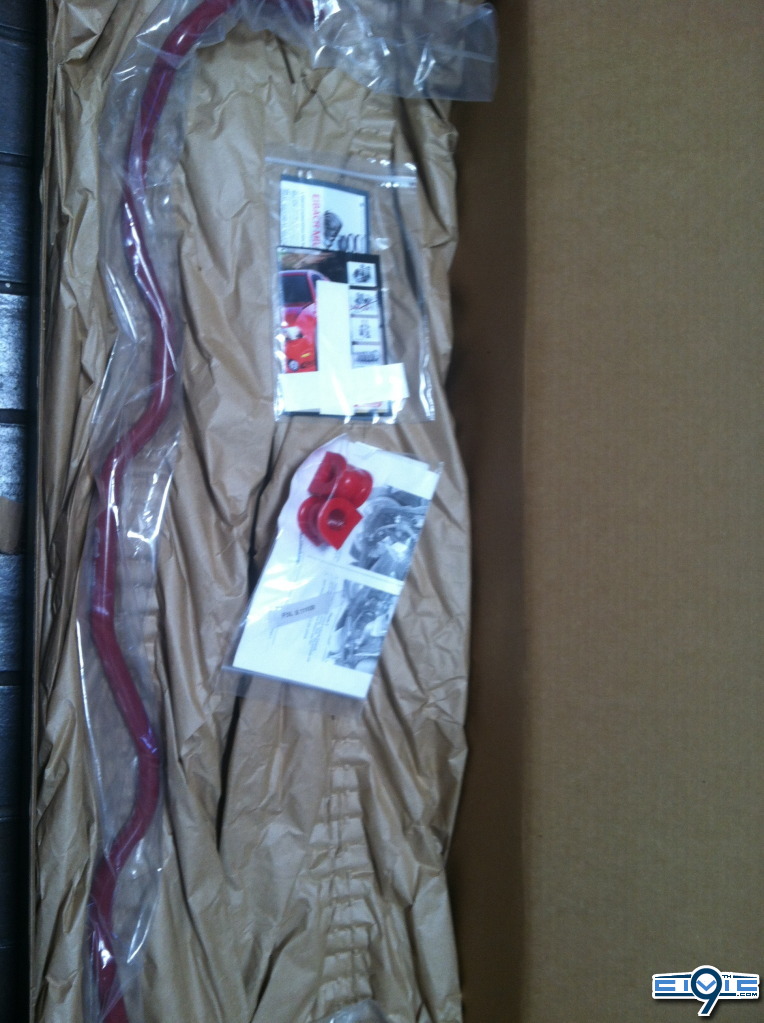
1. Check product to ensure all parts and hardware are included and nothing is damaged.
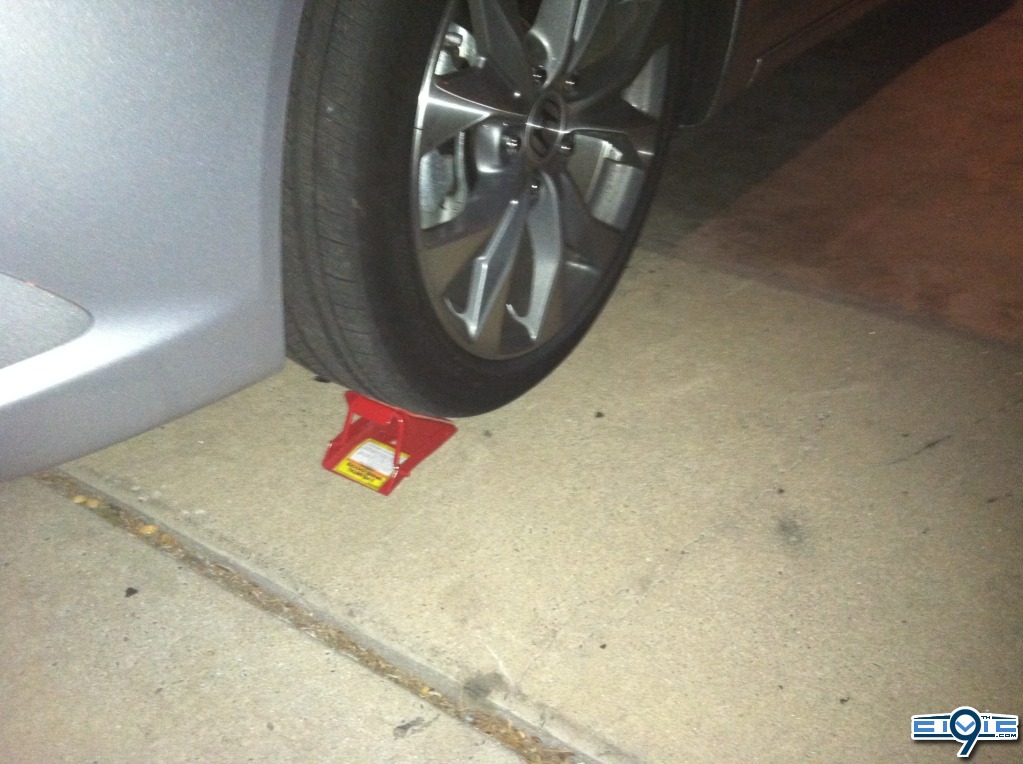
2. Chalk the front wheels
4. Set up required lighting
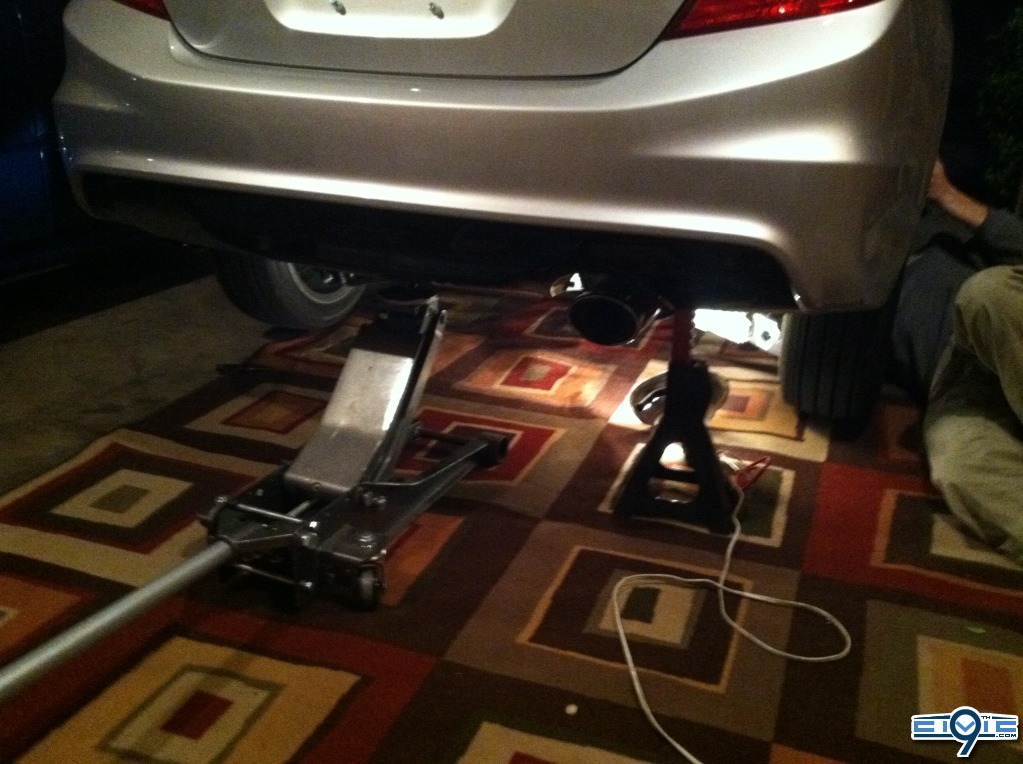
3. Jack the car up from the rear tow hook. And place jack stands where needed for safety.
4. Remove rear undercover, 3 10mm and 4 clips I believe. And set aside.
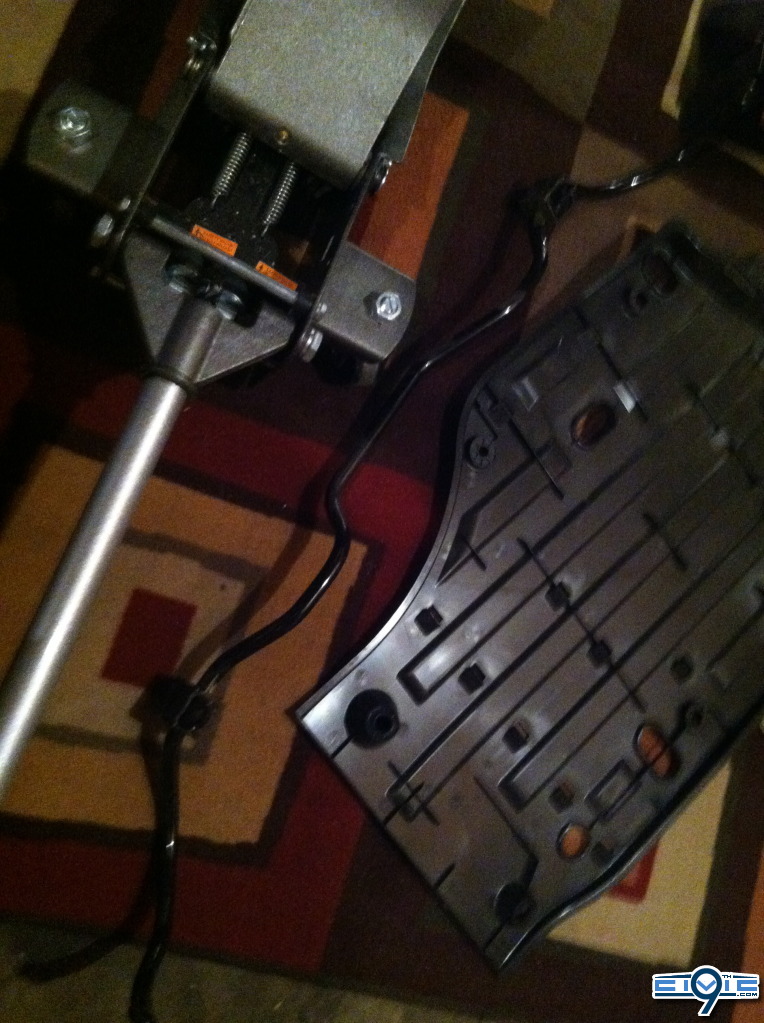
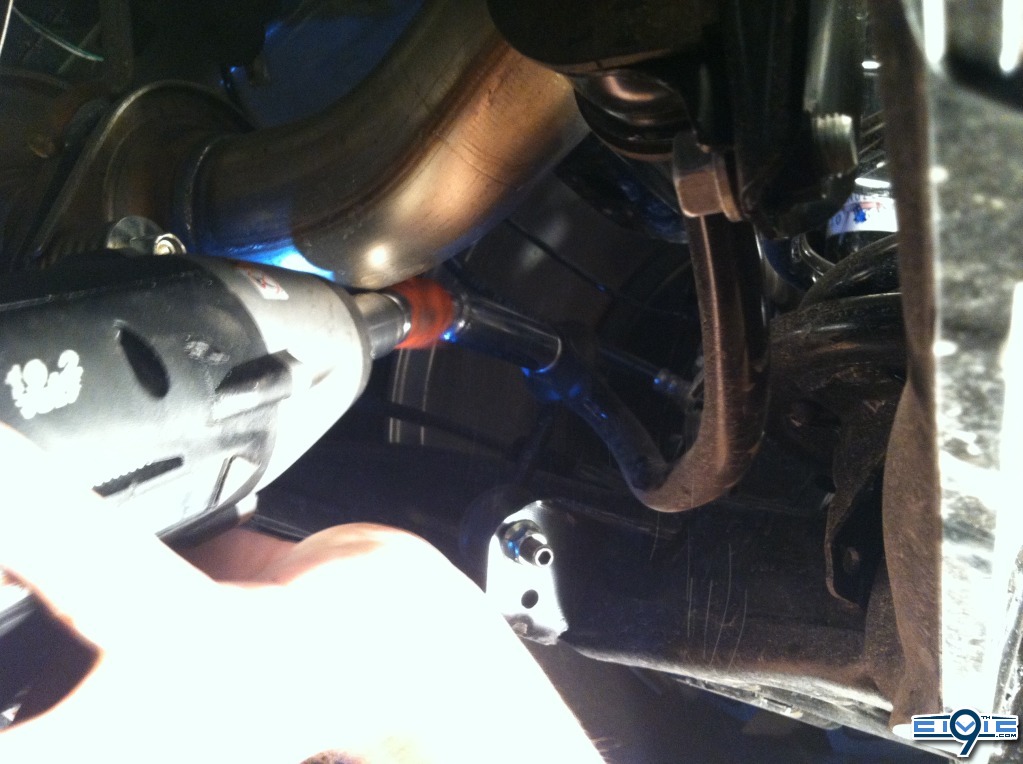
5. Remove the black brace thats runs under the gas tank, there are 3 14mm Bolts and remove 10mm bolt from exhaust shield towards front of the undercover to allow ease for getting the bracket out, also it is tabbed towards the rear, so remove from front side tilting it down then pull it out. It's a little difficult to get out but wedge in the right ways and pull down on the mid-pipe and heat-shield and it will come out, after removal set aside.
2 Rear 14mm bolts and one front "Pic of rear"
"Front"

10mm bolt on heat shield

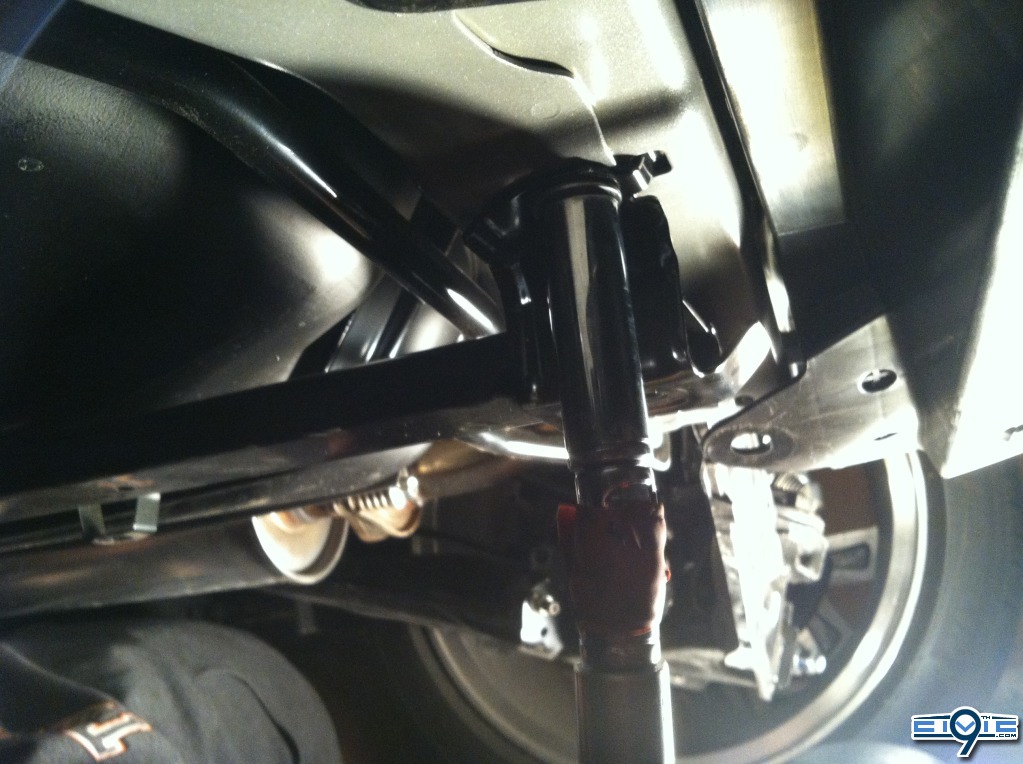
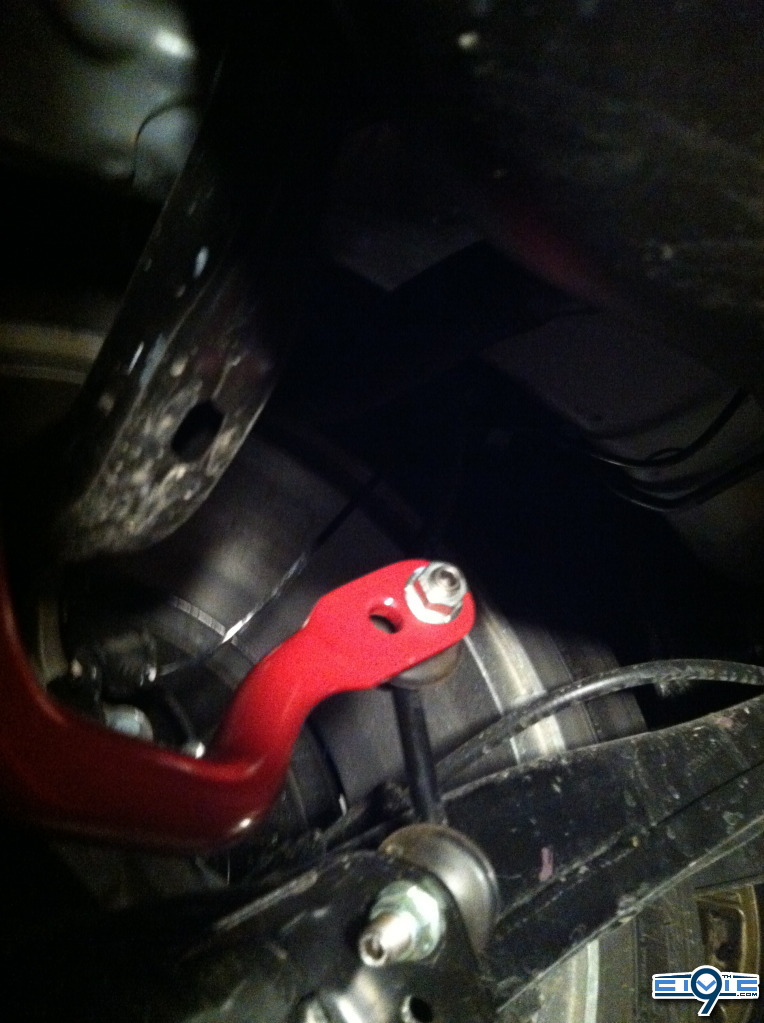
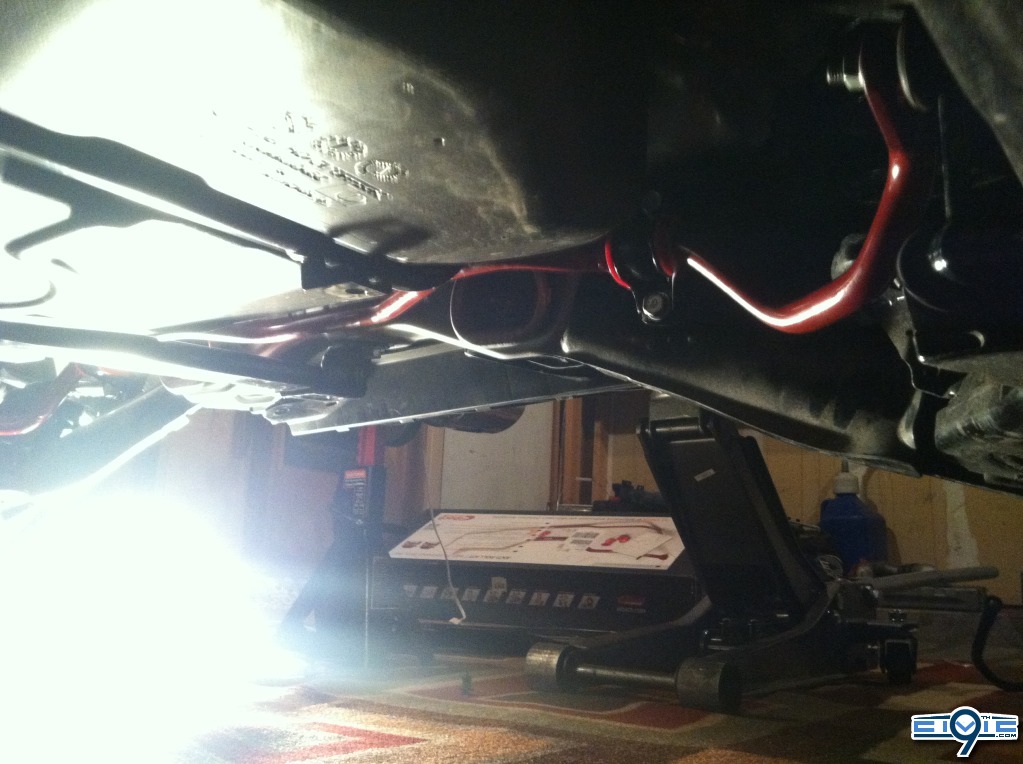
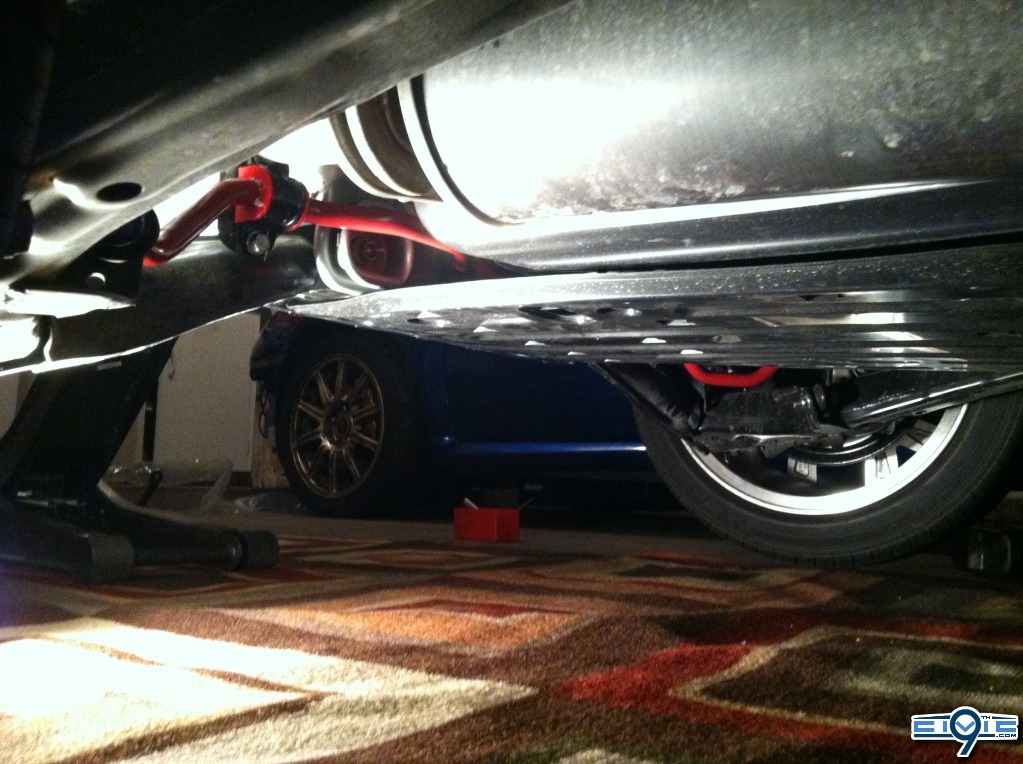
6. Remove 14mm bolts from endlink's at end of sway. 1 14mm bolt on each side.
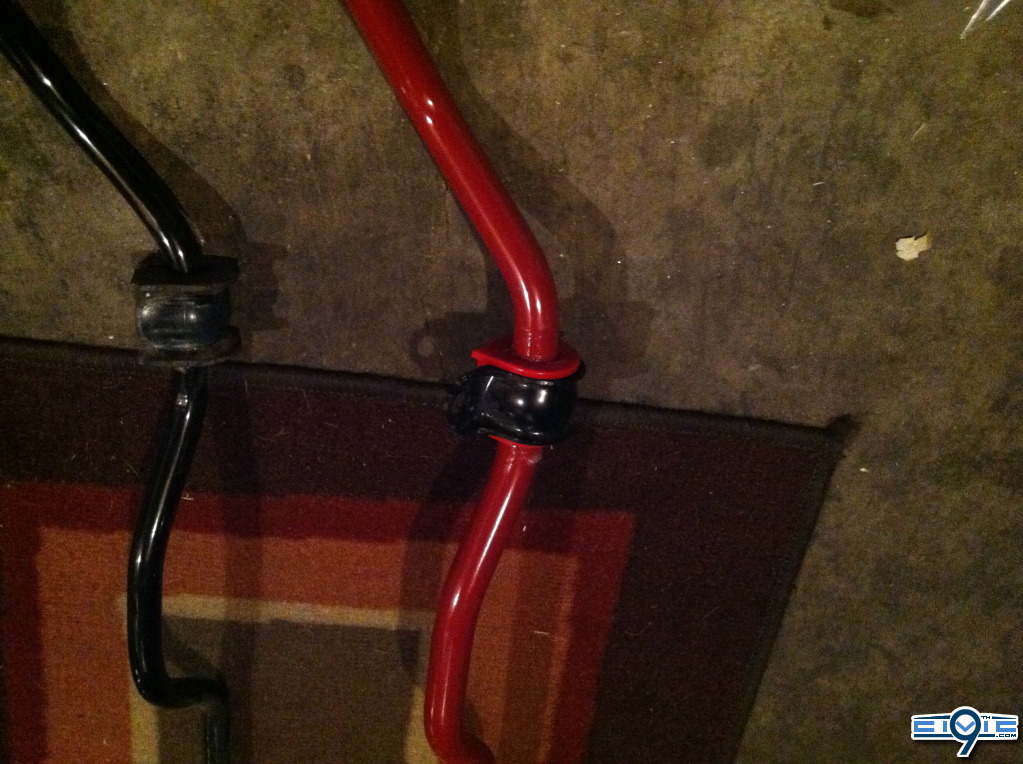
7. Remove bushing bracket's from sway bar, two twelves on each side. For the driver side top 12mm bolt use a short well 12mm with a ratchet.
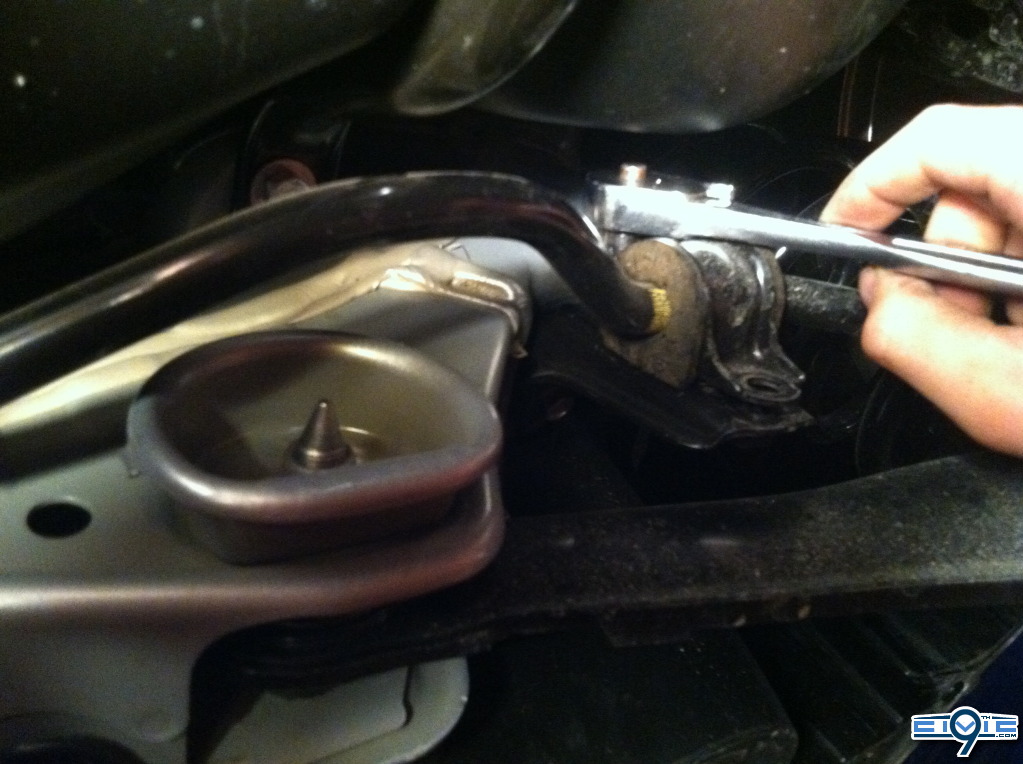
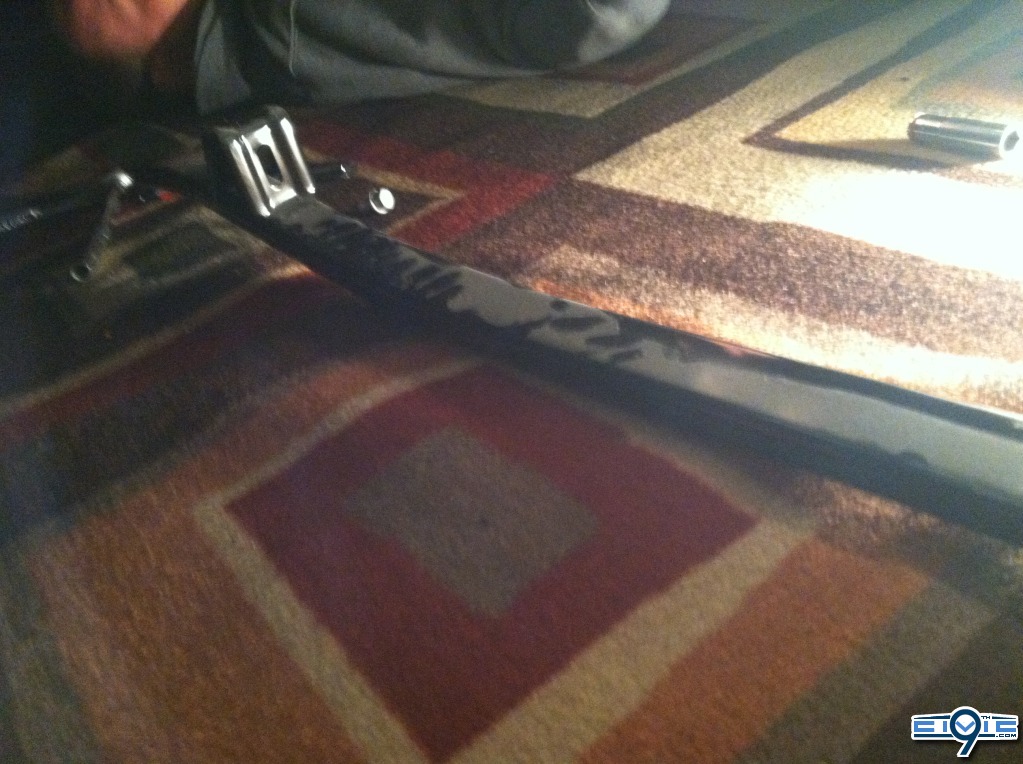
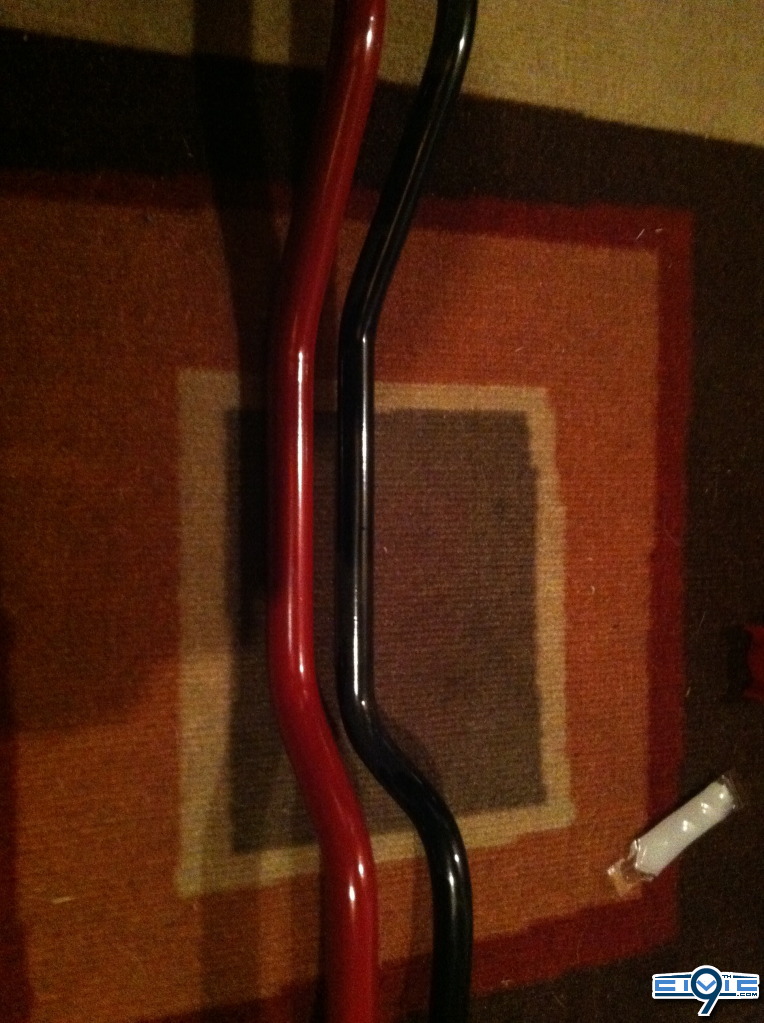
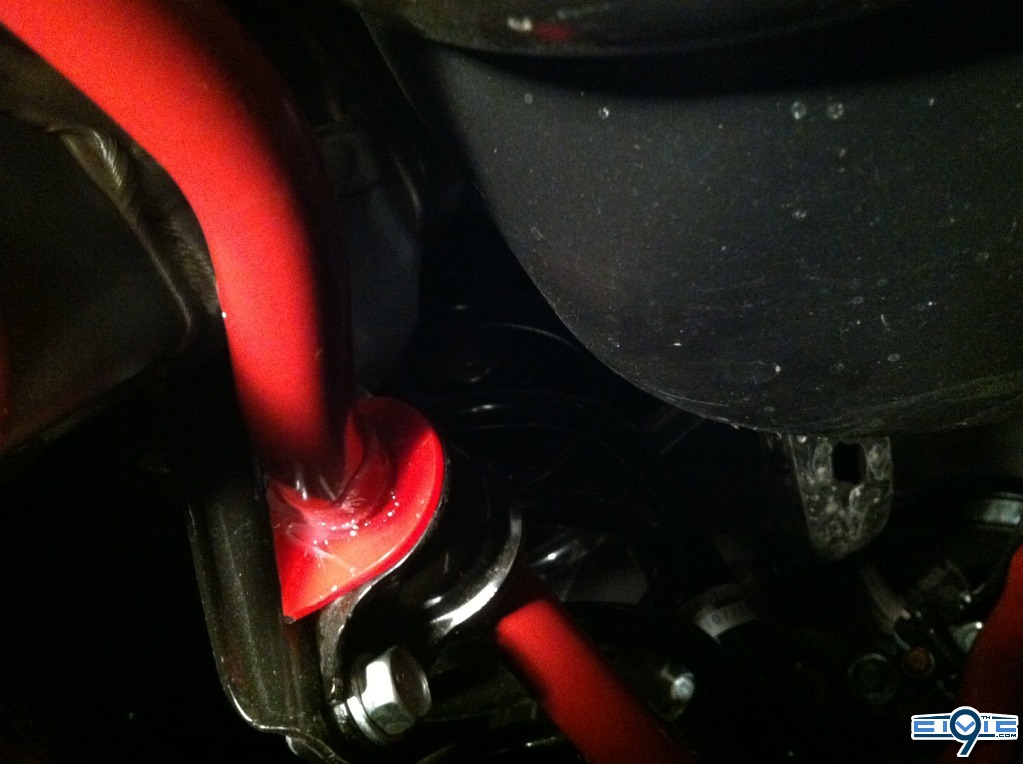
8. Remove sway bar and set aside"compare to new one, wow what a difference!"
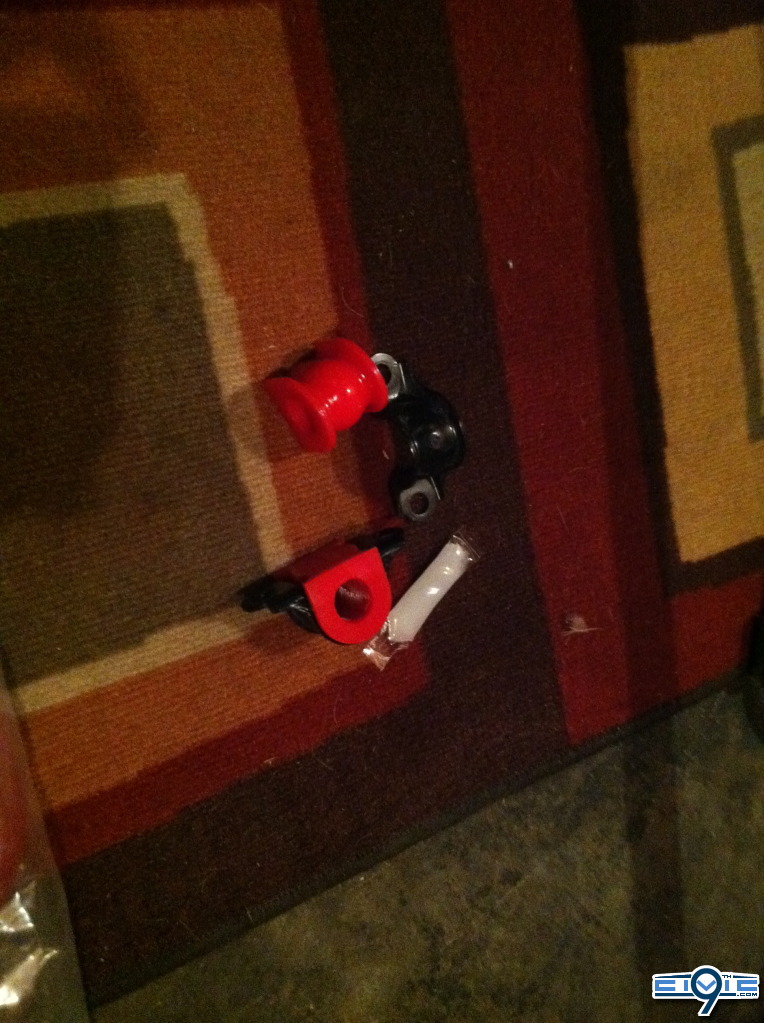
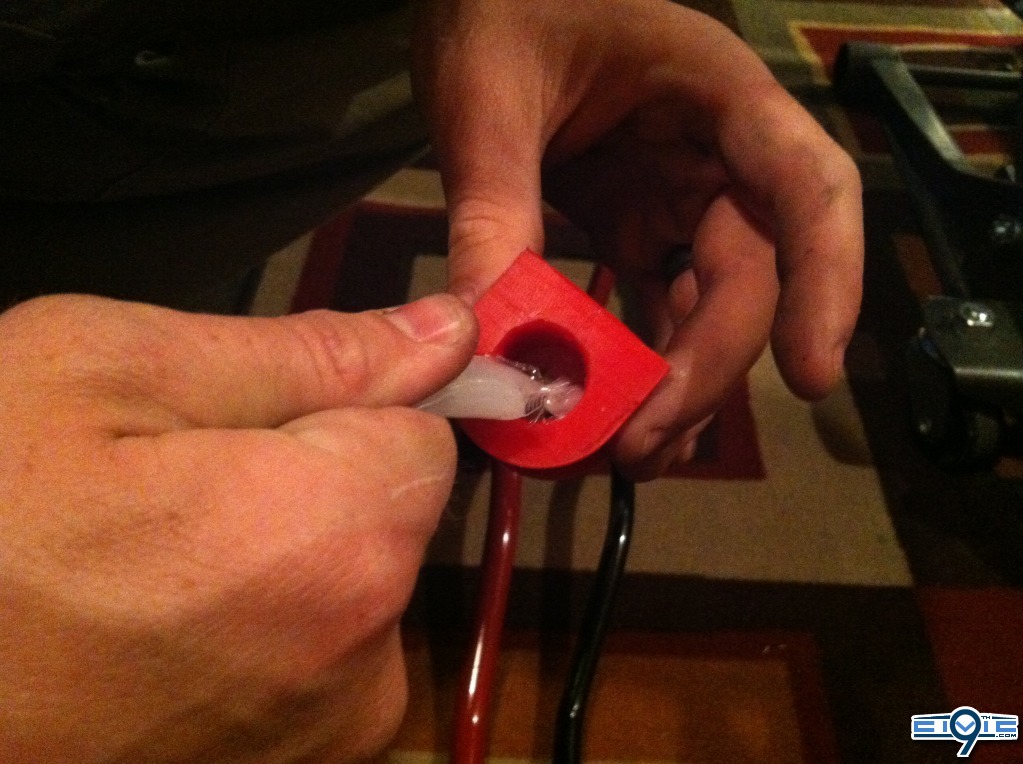
9. Remove old bushings out of the bushing bracket and install new bushing's in the bracket, make sure to lube the with the lube provided and then install on the new sway bar.
10. Install in reverse order ensuring not to damage any clips or parts and make sure not bend the endlinks, Use the upper endlink bolt holes for a stiffer support if that's what you desire. "I do"
Enjoy!!!!!!!
Difficulty of install: 2/5
Part fitment quality: A+
Enjoyment and noticeability of handling increase: B , I notice the rear end feels far better. I am excited to see more suspension aftermarket products hit the market.
Tools Required:
-14mm Short well socket
-Small flat head screwdriver "something to remove clips"
-Preffered wratchet of choice " I like my craftsman 3/8 and 3/8 electric Impact"
-12mm socket
-10mm socket
-Jack
-Jack Stands
-Wheel Chalks
-Bolt tray/Cubby
-Light if needed
1. Check product to ensure all parts and hardware are included and nothing is damaged.
2. Chalk the front wheels
4. Set up required lighting
3. Jack the car up from the rear tow hook. And place jack stands where needed for safety.
4. Remove rear undercover, 3 10mm and 4 clips I believe. And set aside.
5. Remove the black brace thats runs under the gas tank, there are 3 14mm Bolts and remove 10mm bolt from exhaust shield towards front of the undercover to allow ease for getting the bracket out, also it is tabbed towards the rear, so remove from front side tilting it down then pull it out. It's a little difficult to get out but wedge in the right ways and pull down on the mid-pipe and heat-shield and it will come out, after removal set aside.
2 Rear 14mm bolts and one front "Pic of rear"
"Front"
10mm bolt on heat shield
6. Remove 14mm bolts from endlink's at end of sway. 1 14mm bolt on each side.
7. Remove bushing bracket's from sway bar, two twelves on each side. For the driver side top 12mm bolt use a short well 12mm with a ratchet.
8. Remove sway bar and set aside"compare to new one, wow what a difference!"
9. Remove old bushings out of the bushing bracket and install new bushing's in the bracket, make sure to lube the with the lube provided and then install on the new sway bar.
10. Install in reverse order ensuring not to damage any clips or parts and make sure not bend the endlinks, Use the upper endlink bolt holes for a stiffer support if that's what you desire. "I do"
Enjoy!!!!!!!


