ripply
Well-Known Member
- 207
- 379
Not Completed*** I also have to edit information to make things prettier.
Thanks six_speed_demon, and all my other buddies from 8th for guiding me through some things..
I've been searching and hoping to find a soul who had retrofitted his 2014 Coupe headlights, but realized nobody had done it. So I decided to bite the bullet and retrofit my 1 month old cars headlights
Here is a DIY for all the other 2014 coupe owners
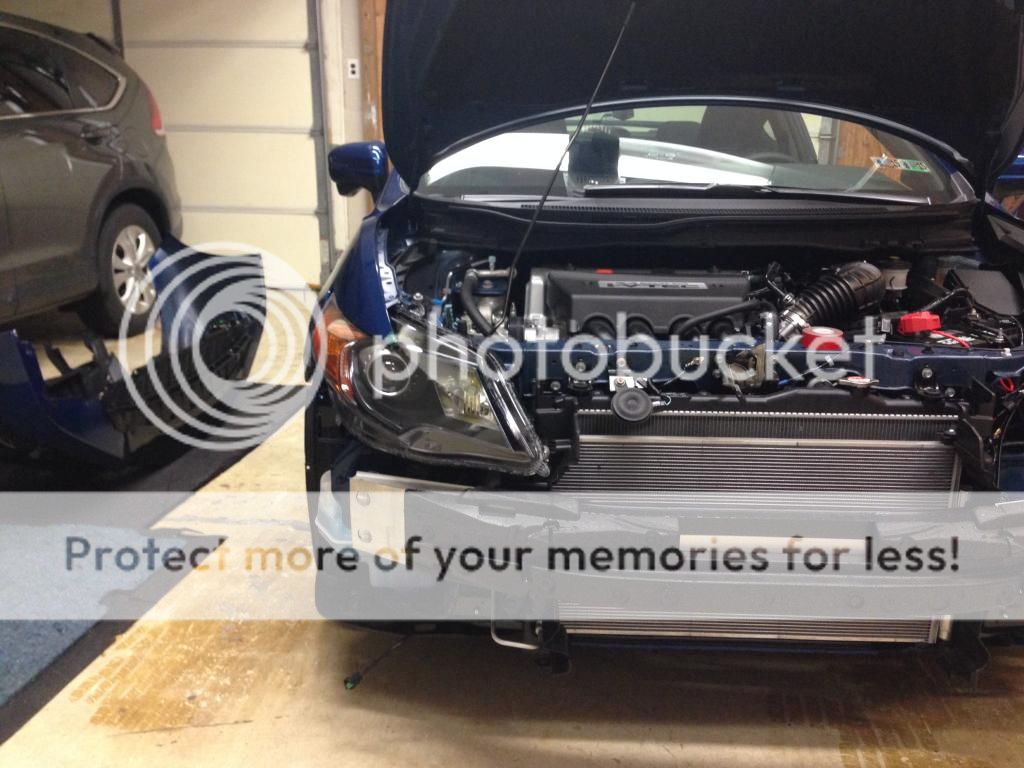
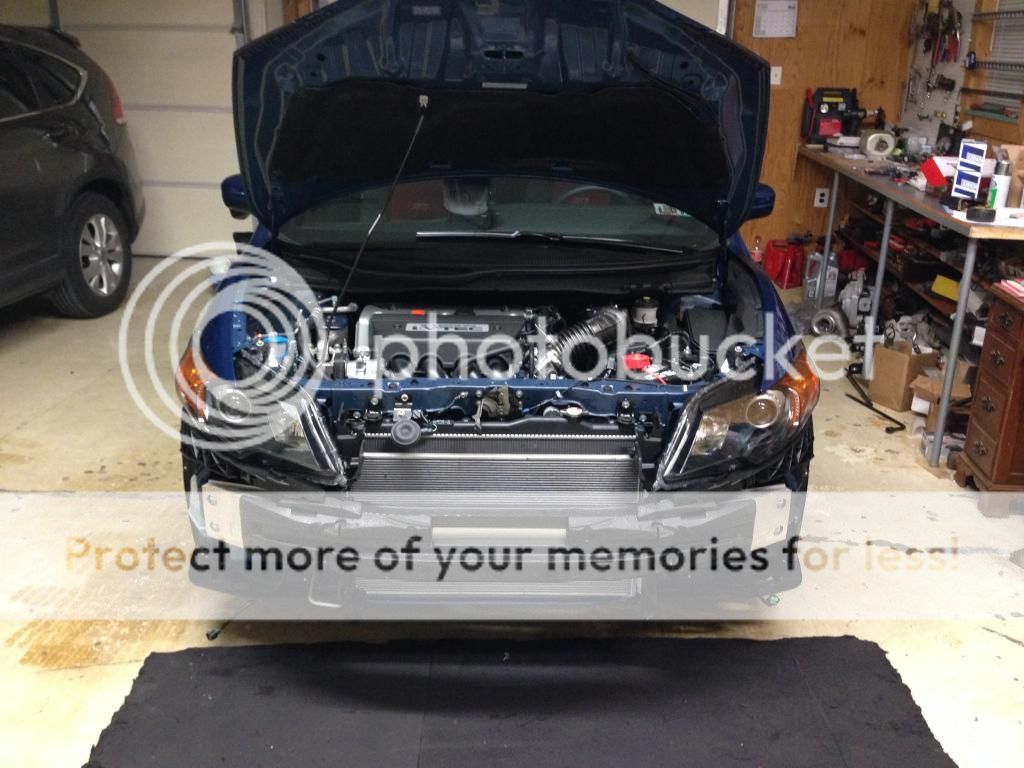
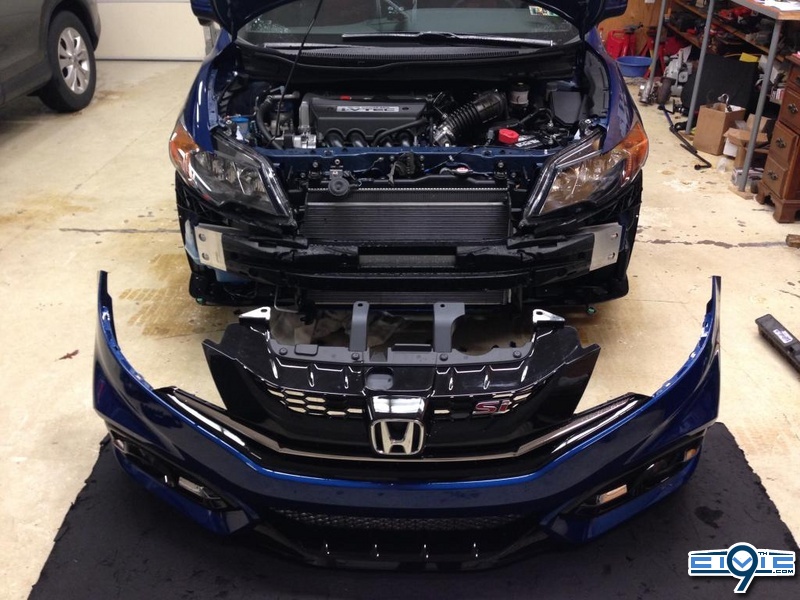
1.Remove the bumper:
Just undo the 4 clips at the top, two screws on the side, the two 10mm bolt on the underside and the 8 or 9 further back clips. Go from the side and pull the bumper out.
2 Remove the Headlights
Headlights are held in by 3 10mm screws. One is on top, one on the side, and one on the bottom which you will need an extension for.
3. Prepare to Bake
Remove the rubber seals, bulbs, and all but ONE screw from the back. The only one you should keep is the hex screw. I ended up keeping the hex screw and the one next to the turn signal and ended up breaking the side-to-side adjustment. Tape off the holes
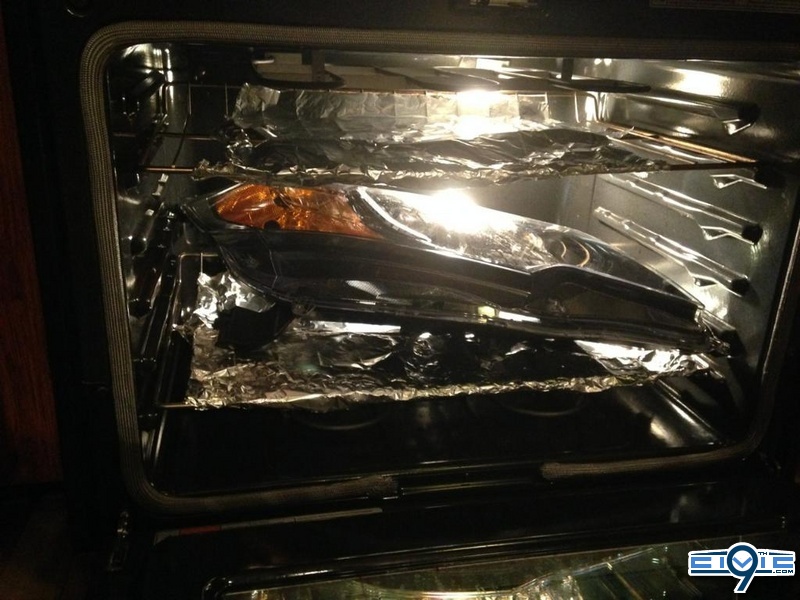
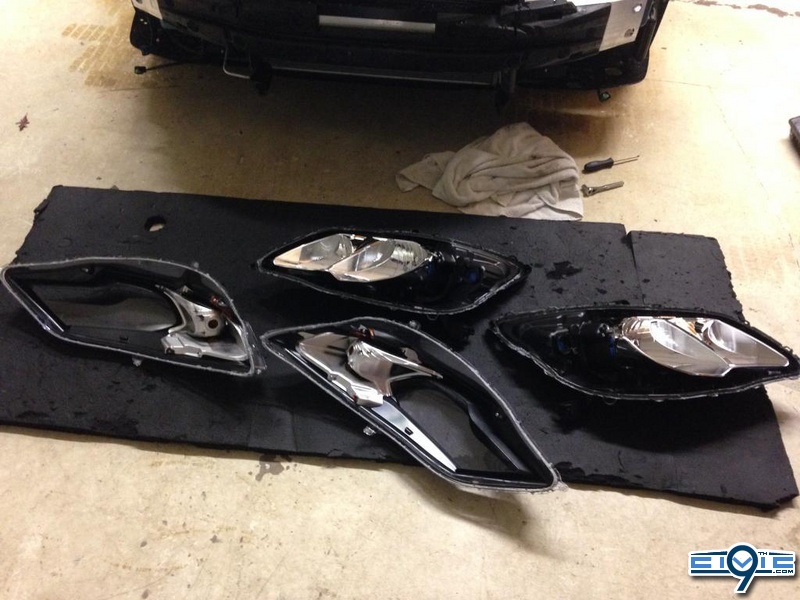
4. Bake and open
Preheat the oven to 230 degrees. Toss the headlight for 12 minutes each. After you take them out begin prying them open. Start from the edge
5. Prep for paint
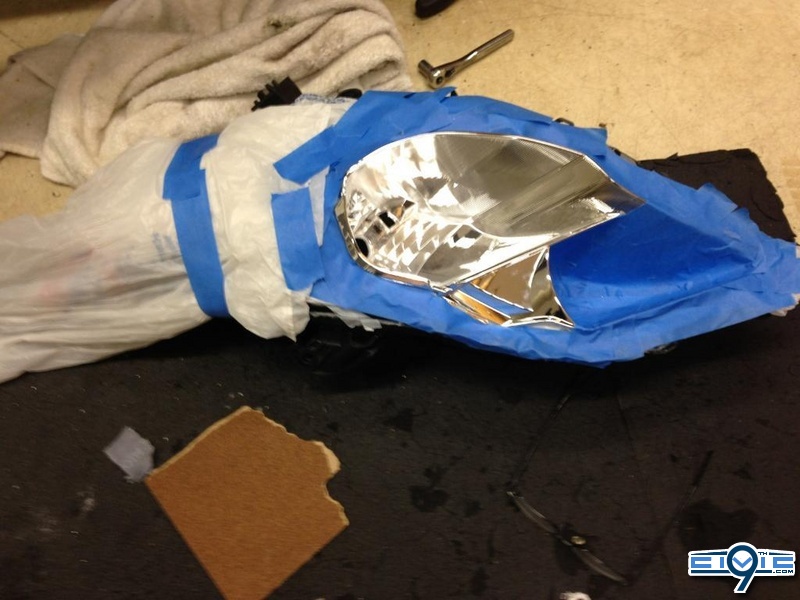
I decided against taking the reflector bowl out. I simply put plastic bag around and taped the areas that I didn't want to paint


6. Trim the low beam opening
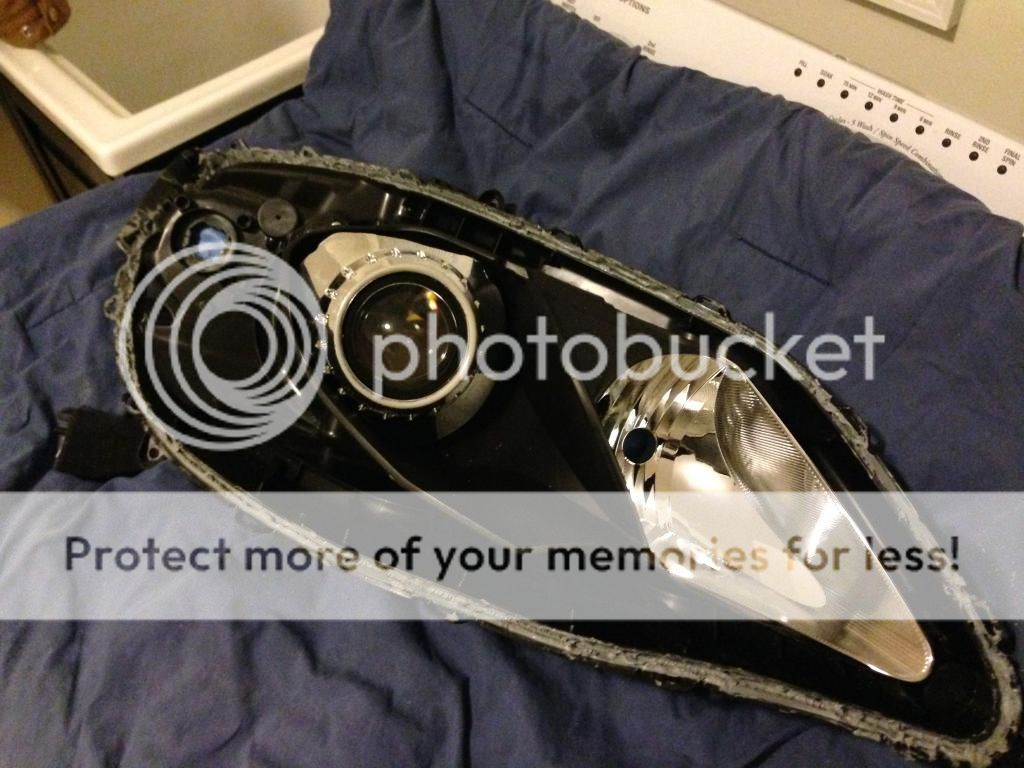
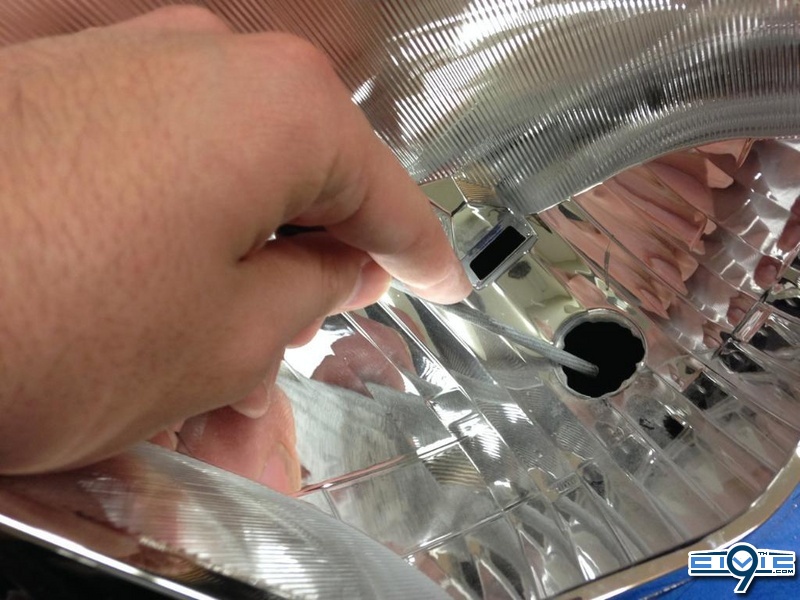
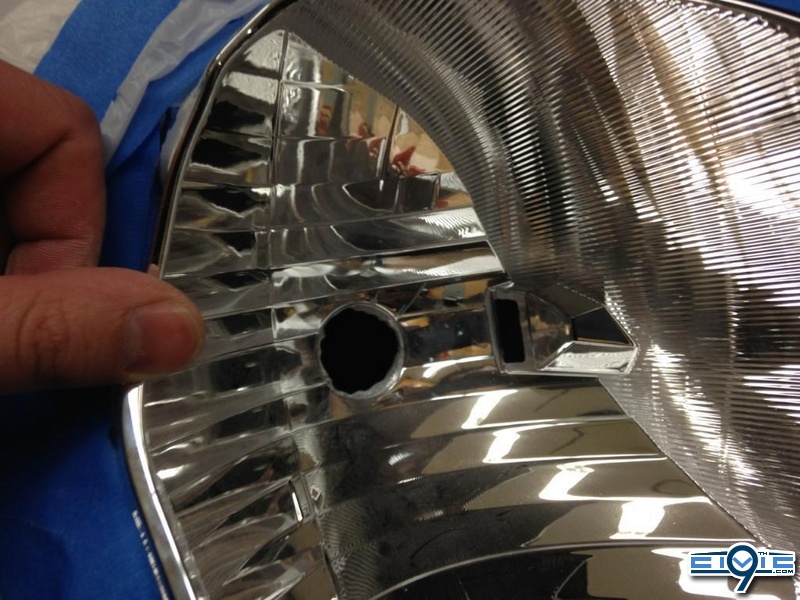
This is where things begin to differ from the previous DIY's on the forums. Since the coupe uses h11 sockets, the socket is smaller and projector cannot fit inside. Simply take a file and begin trimming the hole until it is big enough for the projector to go into. This is a big bummer because once it's done you can't go back to using the stock headlights.
6. Paint (optional)
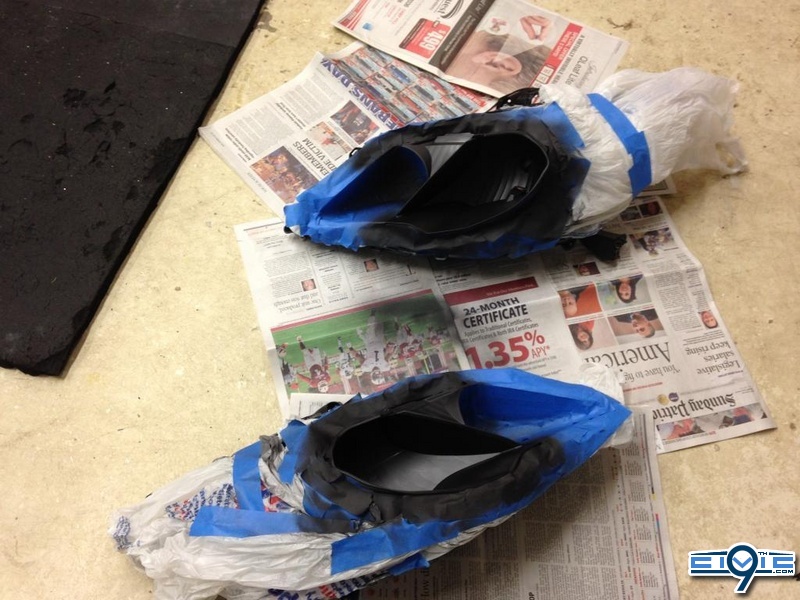
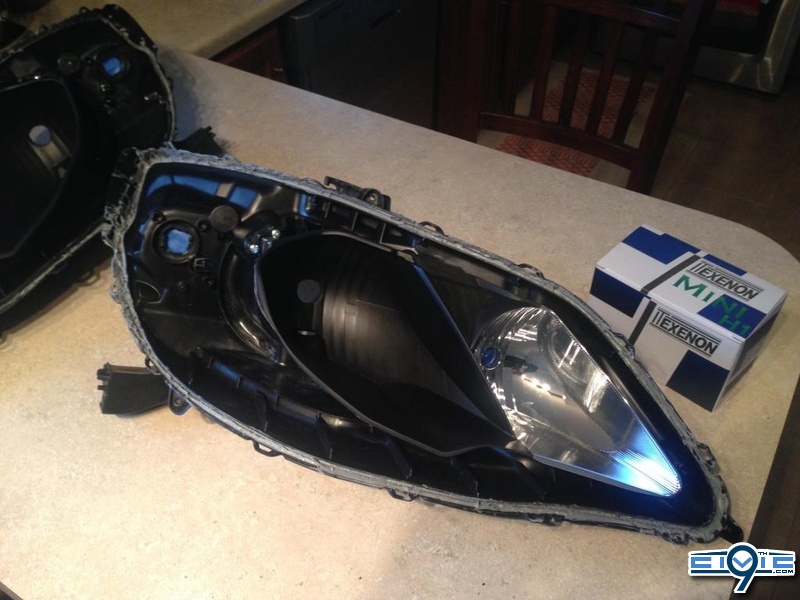
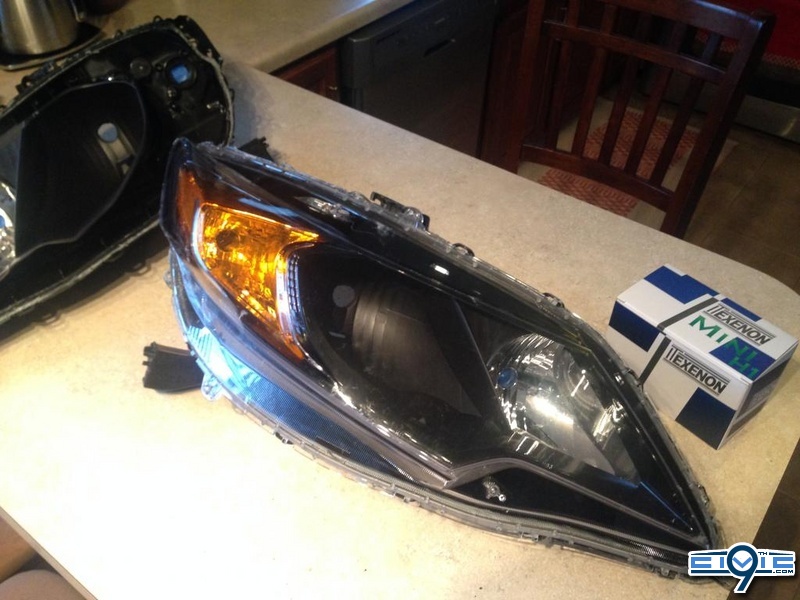
Use high heat black paint to paint the low beam housing. I used 1200 degrees Rust-Oleum grill paint. I used 3 coats and let the lights sit as is overnight to make sure the paint is fully adhered. Light sanding before the paint wouldn't hurt anything but is optional
7. Inserting the projector
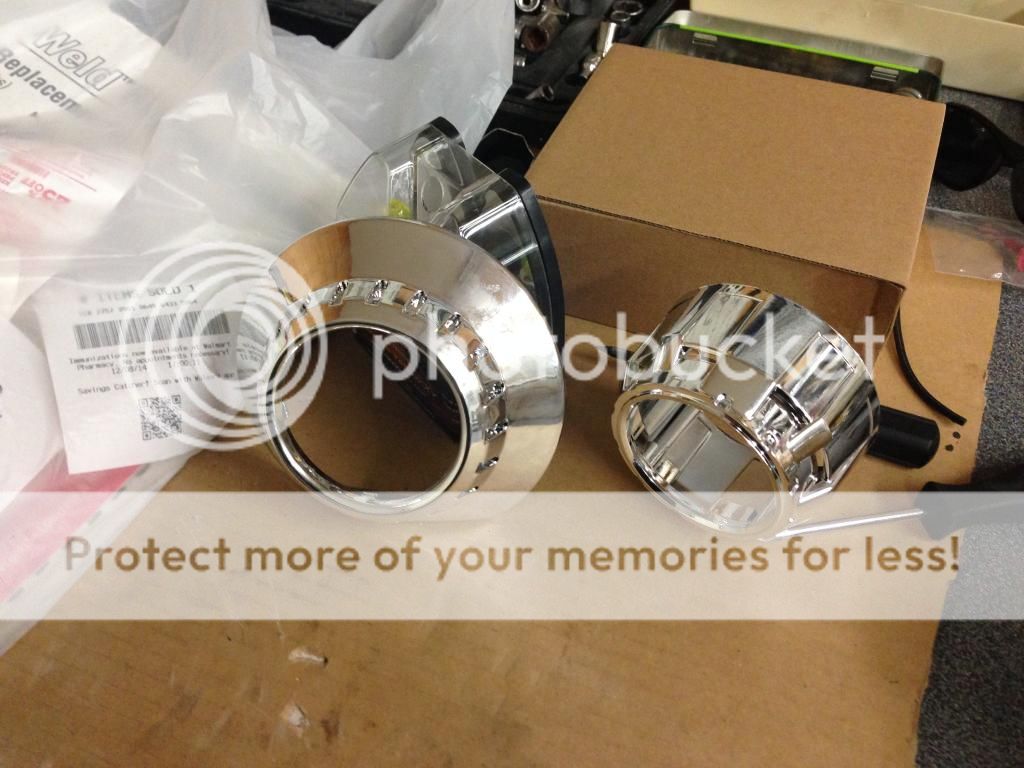
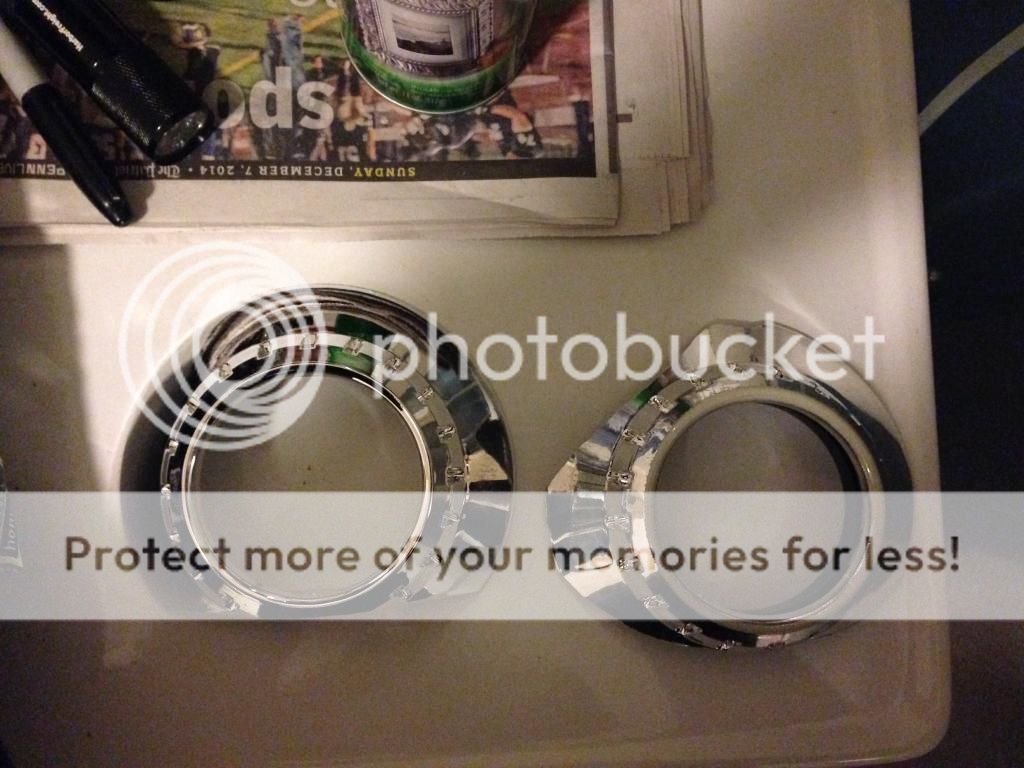
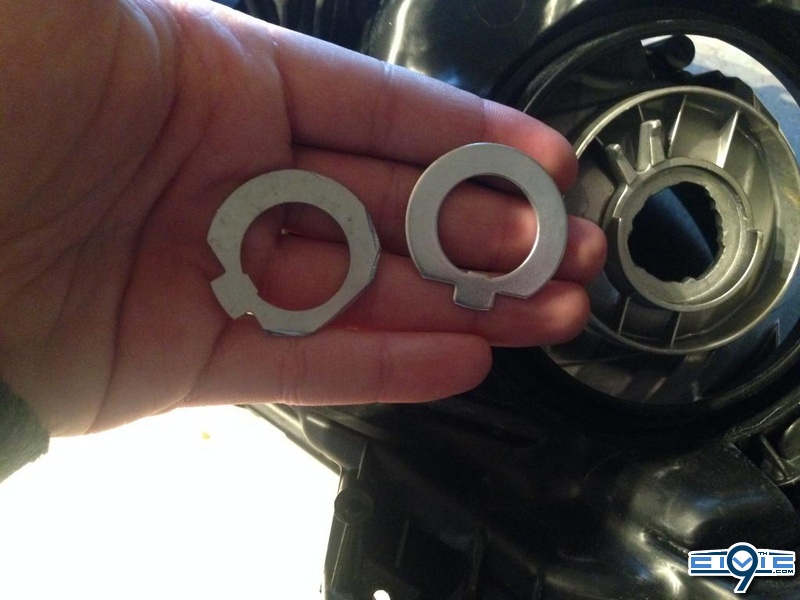
Your projector came with 2 rubber washers and 2 plates, use the Smaller of the two. But first we have to modify the plate to fit on the backside. Take the plate and begin trimming around the edges. I used a pair of steel cutters to cut around the outside. Pictures you will see the normal(right) and how I've started trimming it (left). Test fit periodically that the entire plate can go in. If you trim only a little portion the plate can go in but will sit under an angle. We don't want that. We want the entire thing to sit inside. Think of it as a washer. After it's done you can fasten the projector. Now is a good time to mount the mini Gatling gun shroud. I however am going with different shrouds so I skipped it. Put the Little rubber washer on the projector and insert the projector through the hole. On the back put the modified adaptor plate and then finger tighten the lock nut.

7. Mount the headlight on the car and adjust the pattern
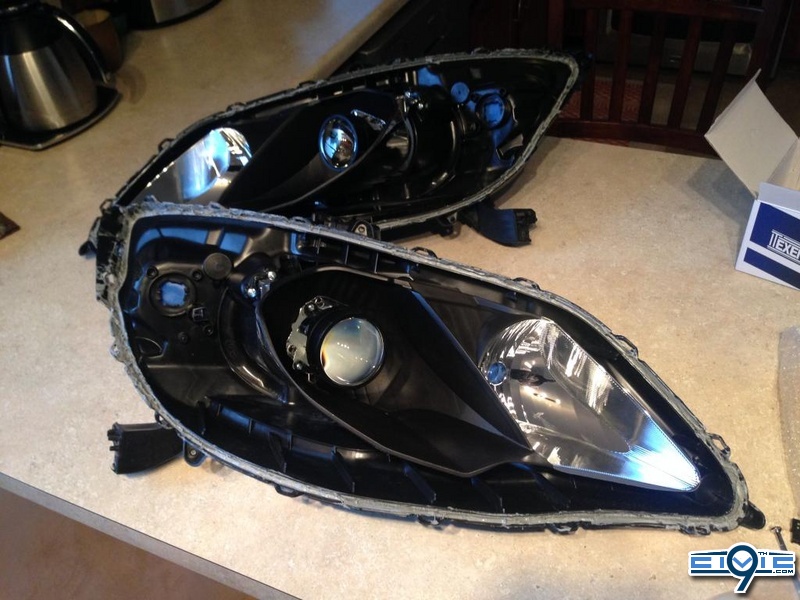
Try to get nice and even horizontal lines. Don't worry if one headlight is higher than the other. Than can be adjust later. Just make sure the lines are perfectly horizontal. Once the line is horizontal, take off the headlight and tighten the lock nut completely. Rule of thumb is about 80% of your strength. It doesn't have to be super tight, just make sure it's snug in there.
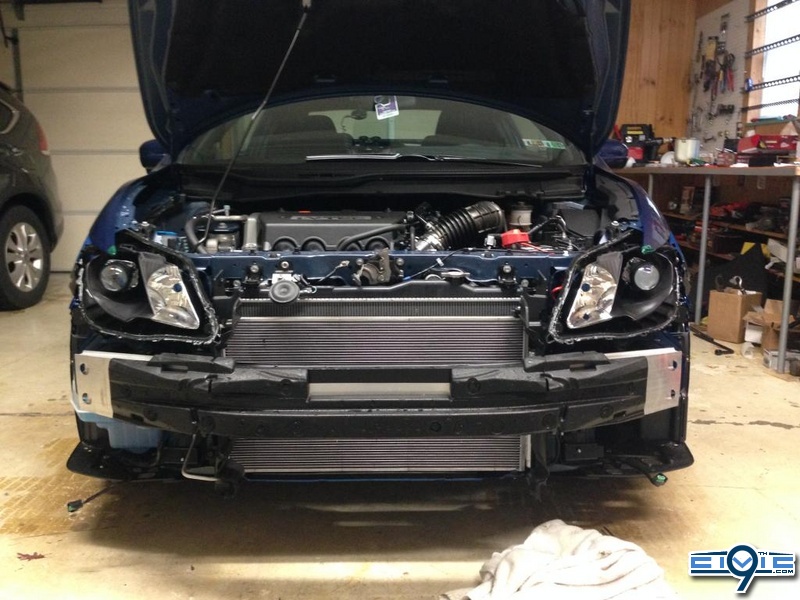
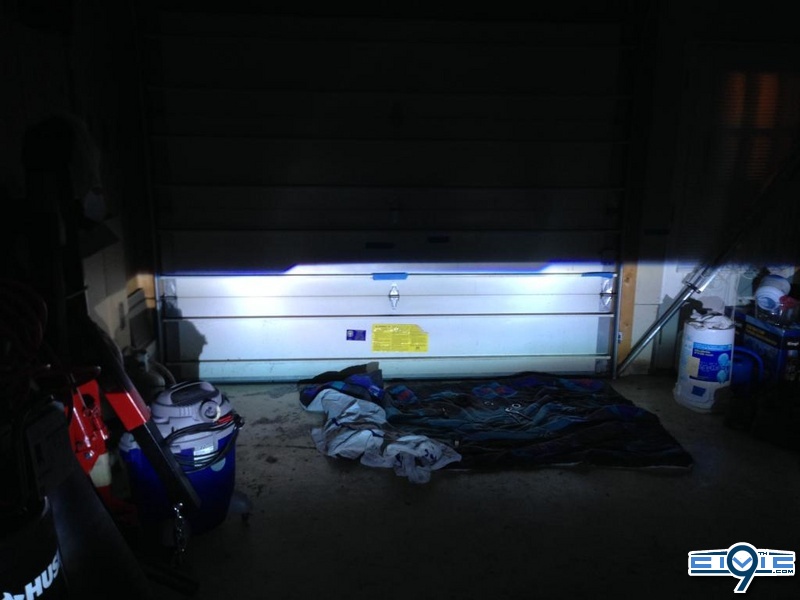
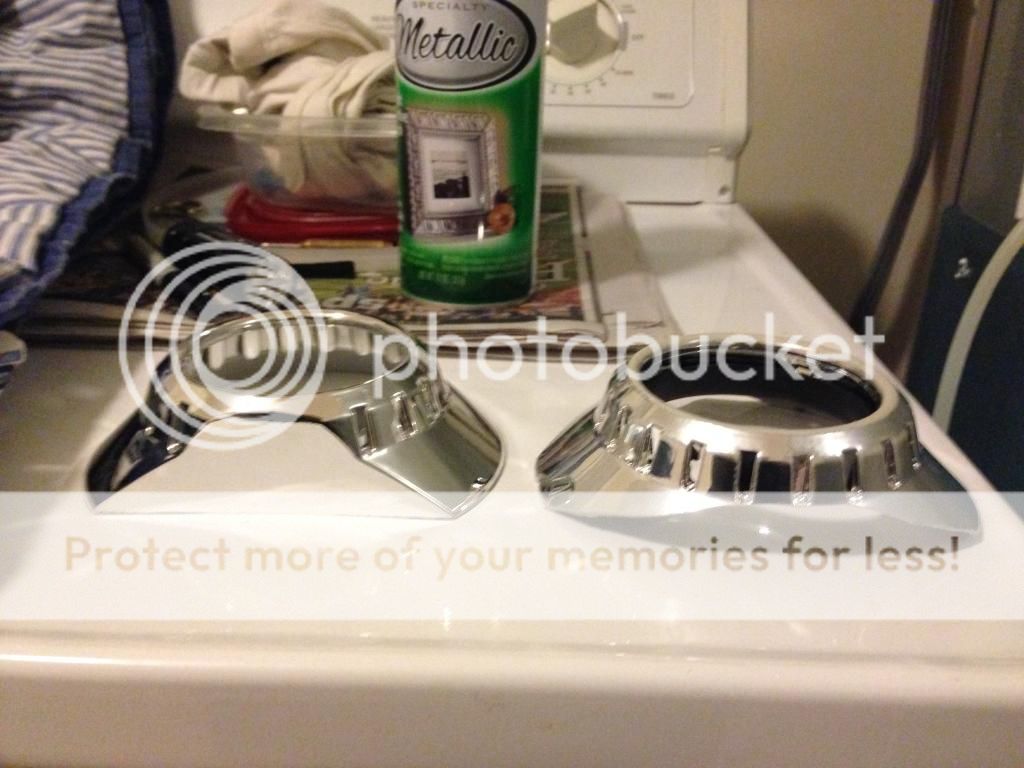
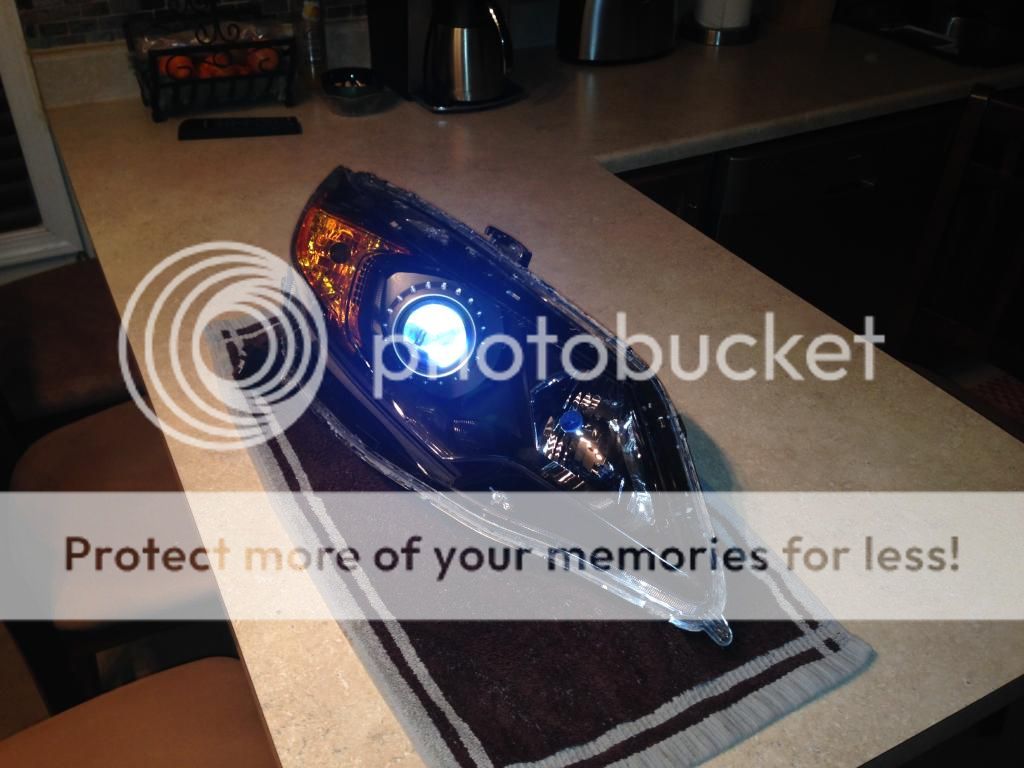
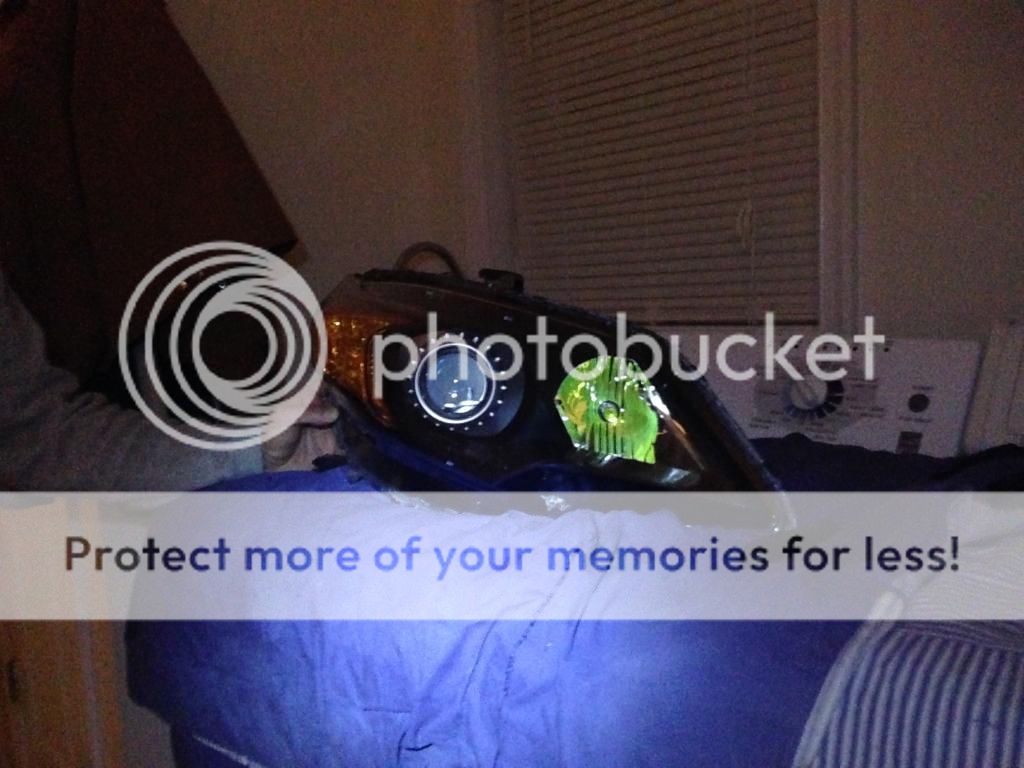
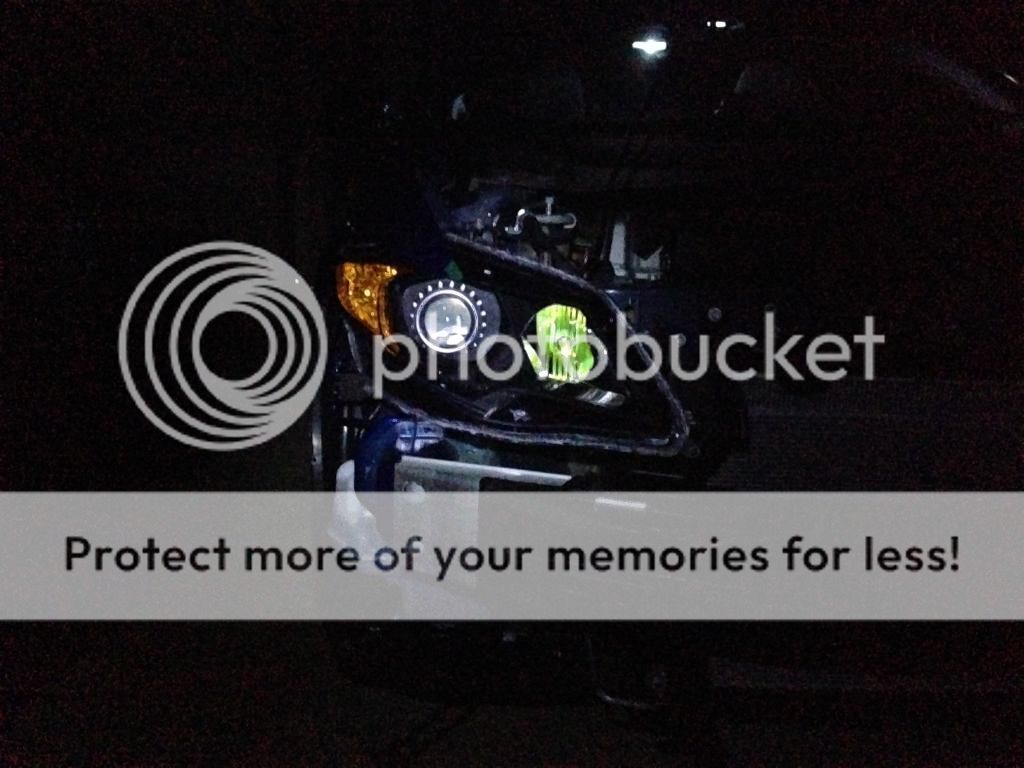
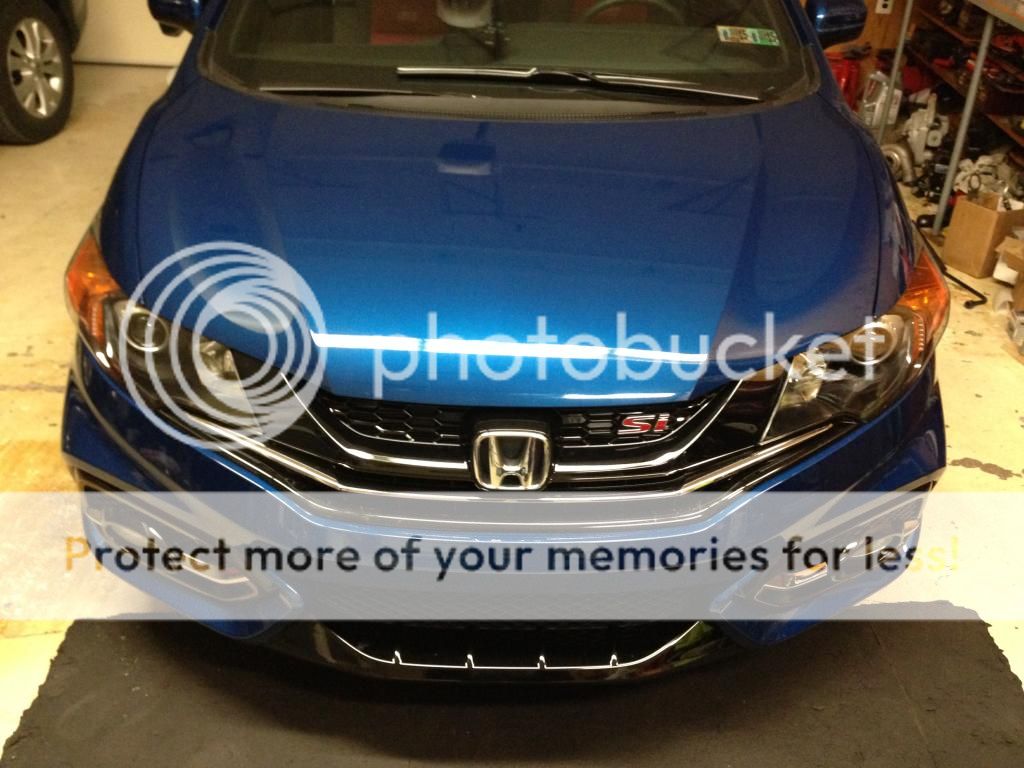
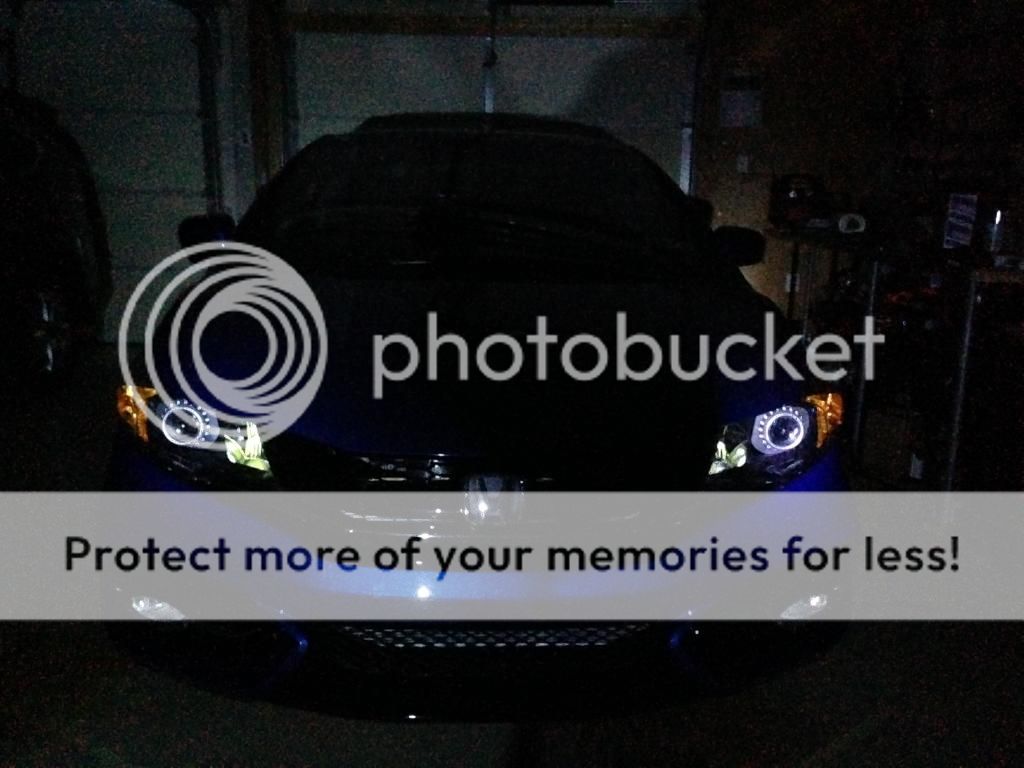
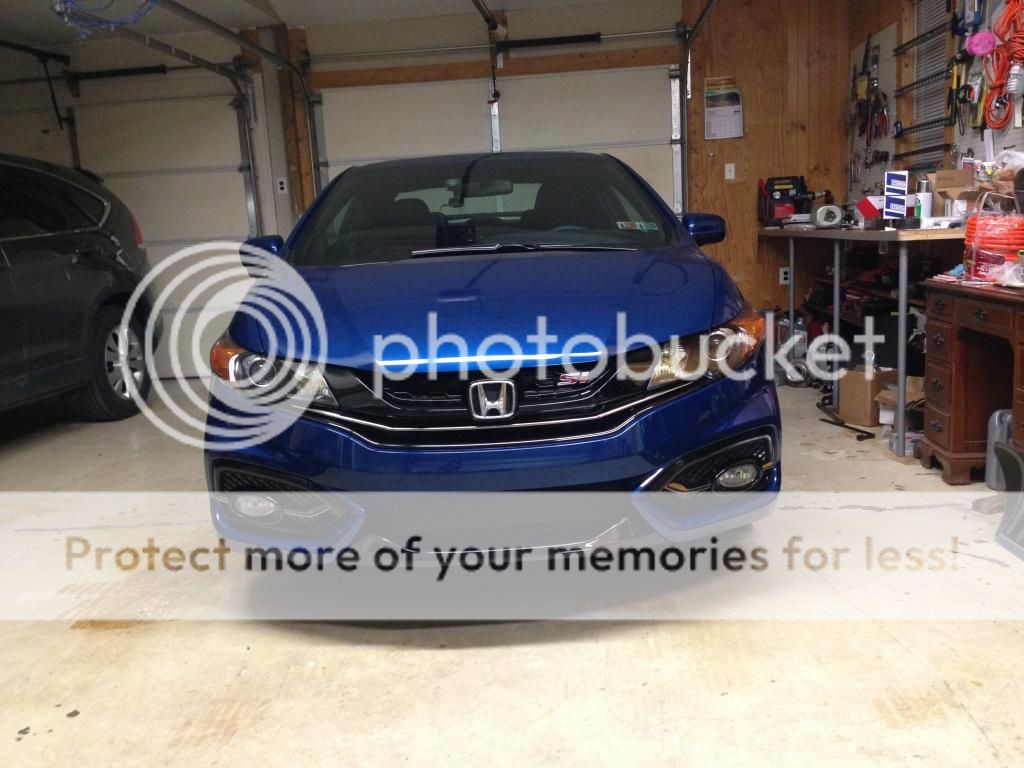
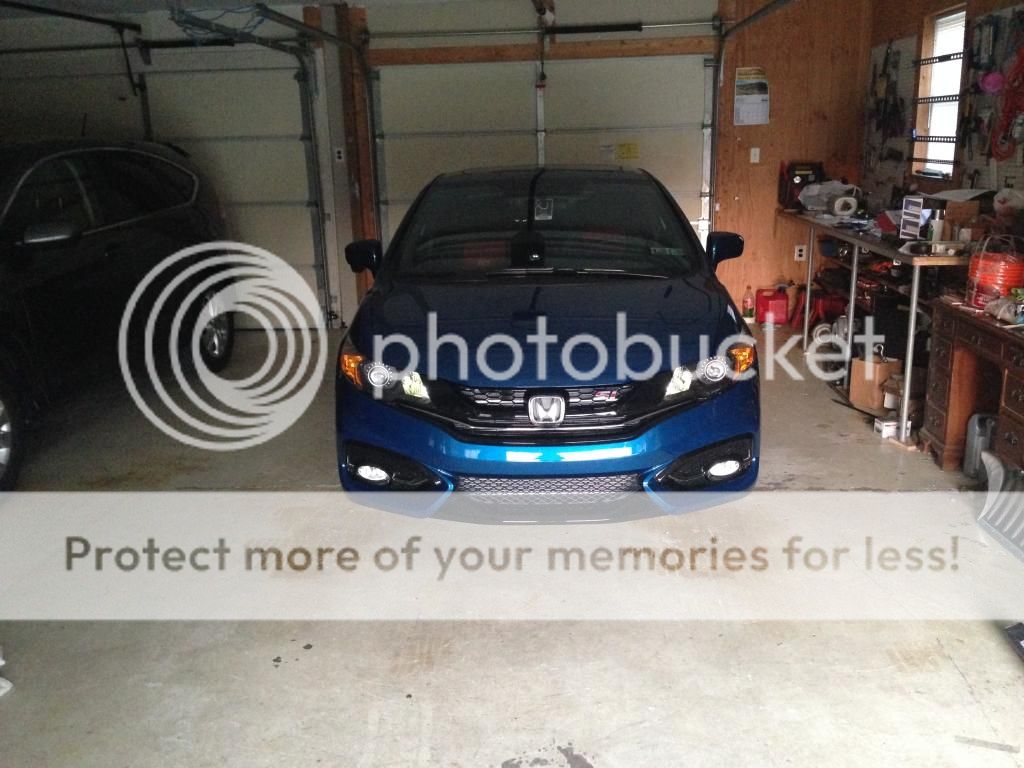
Stay put there is still more. I ordered the e46 extended shrouds but usps did not deliver them on Friday or today so I will have to wait until Monday to finish this. But here is how the car looks with the mini Gatling gun shroud. I just slid it on the projector because I was curious how it looked
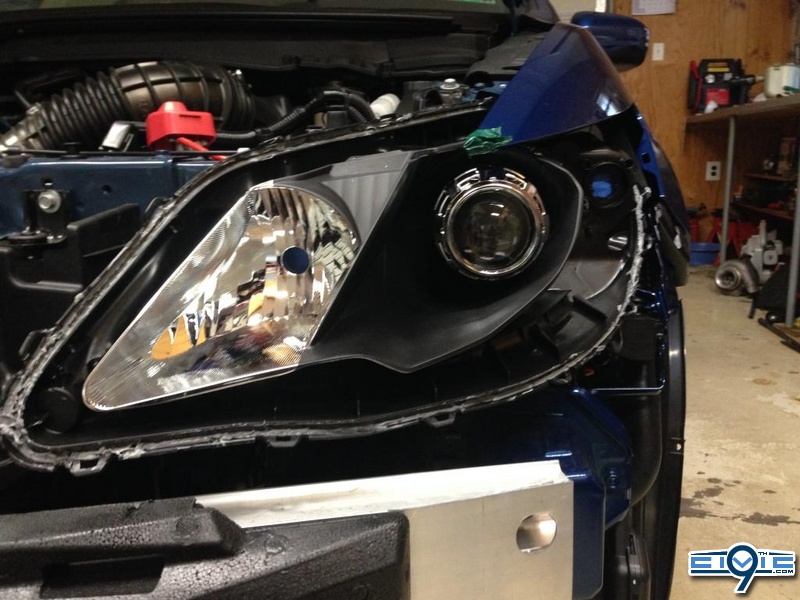
Thanks six_speed_demon, and all my other buddies from 8th for guiding me through some things..
I've been searching and hoping to find a soul who had retrofitted his 2014 Coupe headlights, but realized nobody had done it. So I decided to bite the bullet and retrofit my 1 month old cars headlights

Here is a DIY for all the other 2014 coupe owners
1.Remove the bumper:
Just undo the 4 clips at the top, two screws on the side, the two 10mm bolt on the underside and the 8 or 9 further back clips. Go from the side and pull the bumper out.

2 Remove the Headlights
Headlights are held in by 3 10mm screws. One is on top, one on the side, and one on the bottom which you will need an extension for.
3. Prepare to Bake
Remove the rubber seals, bulbs, and all but ONE screw from the back. The only one you should keep is the hex screw. I ended up keeping the hex screw and the one next to the turn signal and ended up breaking the side-to-side adjustment. Tape off the holes
4. Bake and open
Preheat the oven to 230 degrees. Toss the headlight for 12 minutes each. After you take them out begin prying them open. Start from the edge


5. Prep for paint
I decided against taking the reflector bowl out. I simply put plastic bag around and taped the areas that I didn't want to paint


6. Trim the low beam opening
This is where things begin to differ from the previous DIY's on the forums. Since the coupe uses h11 sockets, the socket is smaller and projector cannot fit inside. Simply take a file and begin trimming the hole until it is big enough for the projector to go into. This is a big bummer because once it's done you can't go back to using the stock headlights.


6. Paint (optional)
Use high heat black paint to paint the low beam housing. I used 1200 degrees Rust-Oleum grill paint. I used 3 coats and let the lights sit as is overnight to make sure the paint is fully adhered. Light sanding before the paint wouldn't hurt anything but is optional


7. Inserting the projector
Your projector came with 2 rubber washers and 2 plates, use the Smaller of the two. But first we have to modify the plate to fit on the backside. Take the plate and begin trimming around the edges. I used a pair of steel cutters to cut around the outside. Pictures you will see the normal(right) and how I've started trimming it (left). Test fit periodically that the entire plate can go in. If you trim only a little portion the plate can go in but will sit under an angle. We don't want that. We want the entire thing to sit inside. Think of it as a washer. After it's done you can fasten the projector. Now is a good time to mount the mini Gatling gun shroud. I however am going with different shrouds so I skipped it. Put the Little rubber washer on the projector and insert the projector through the hole. On the back put the modified adaptor plate and then finger tighten the lock nut.


7. Mount the headlight on the car and adjust the pattern
Try to get nice and even horizontal lines. Don't worry if one headlight is higher than the other. Than can be adjust later. Just make sure the lines are perfectly horizontal. Once the line is horizontal, take off the headlight and tighten the lock nut completely. Rule of thumb is about 80% of your strength. It doesn't have to be super tight, just make sure it's snug in there.


Stay put there is still more. I ordered the e46 extended shrouds but usps did not deliver them on Friday or today so I will have to wait until Monday to finish this. But here is how the car looks with the mini Gatling gun shroud. I just slid it on the projector because I was curious how it looked


