This thread is more of a reference than a true DIY, I thought I took more pics than I did. But at least if your a 1st timer you can get an idea of what your getting yourself into. ")
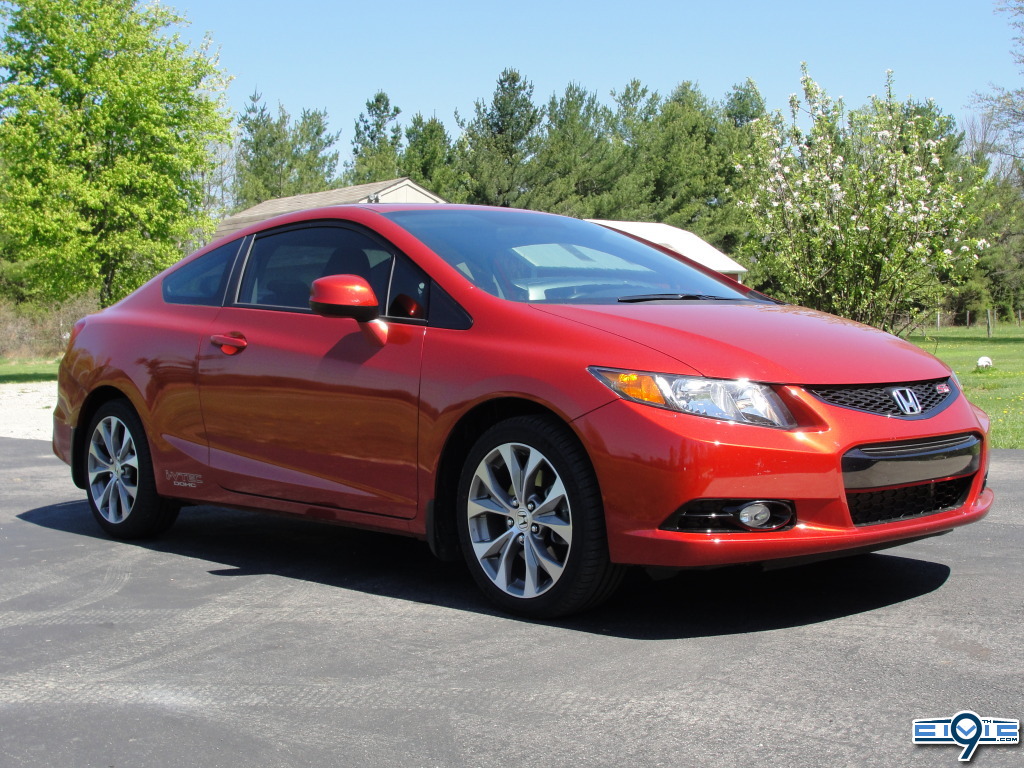
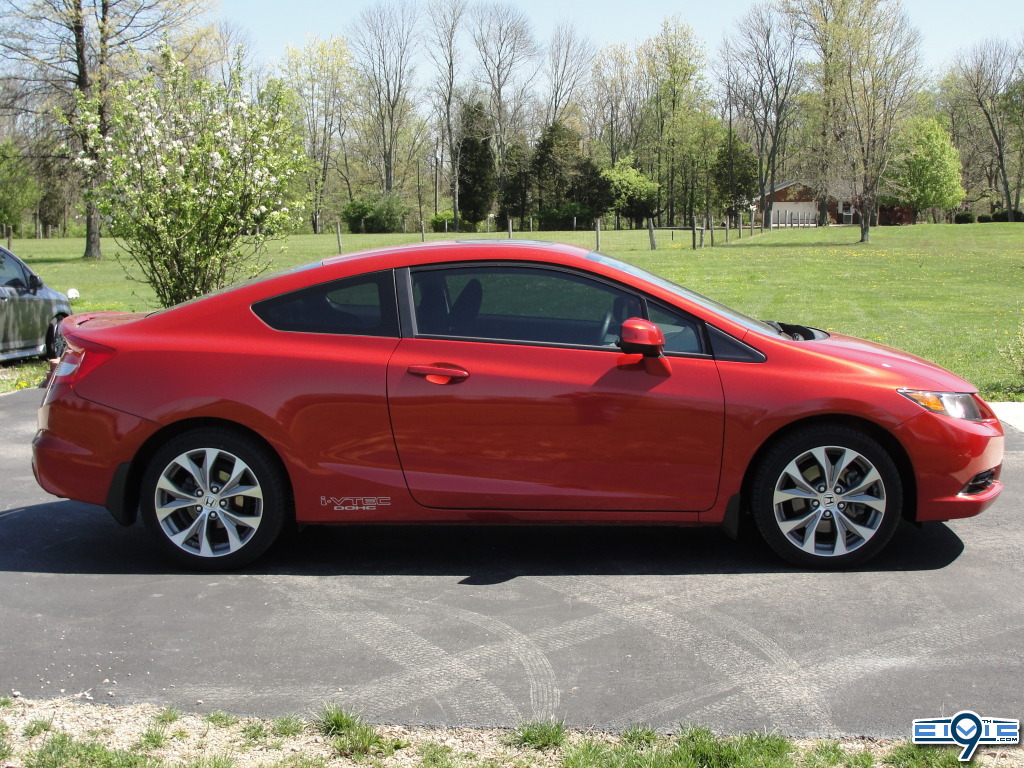
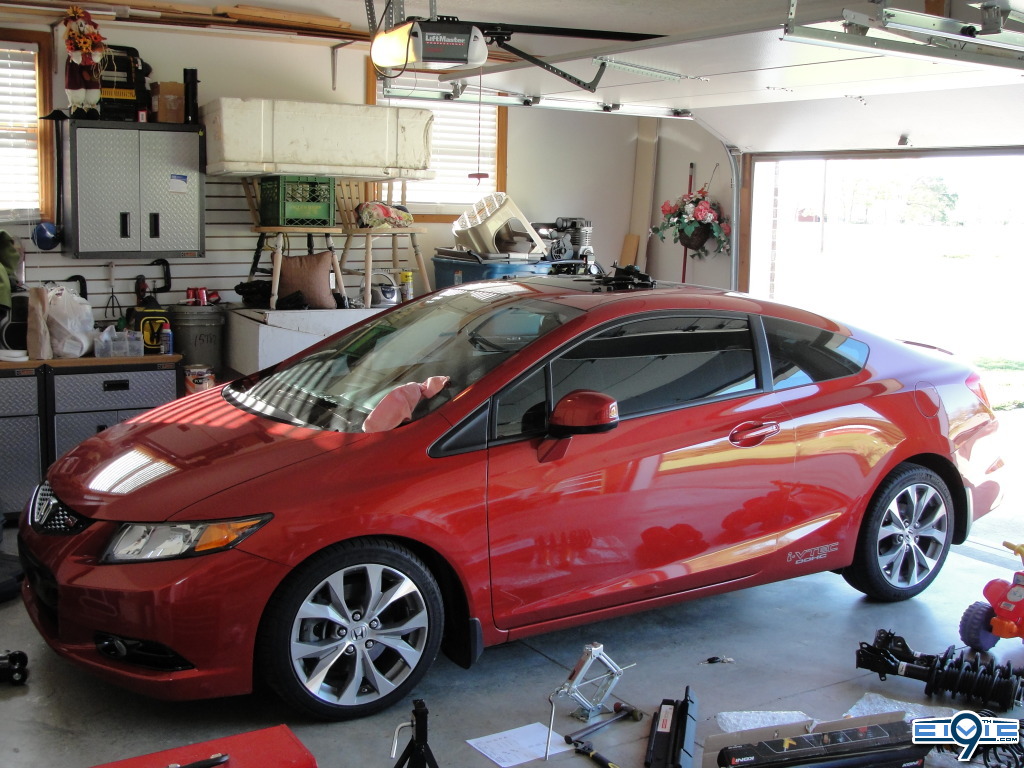
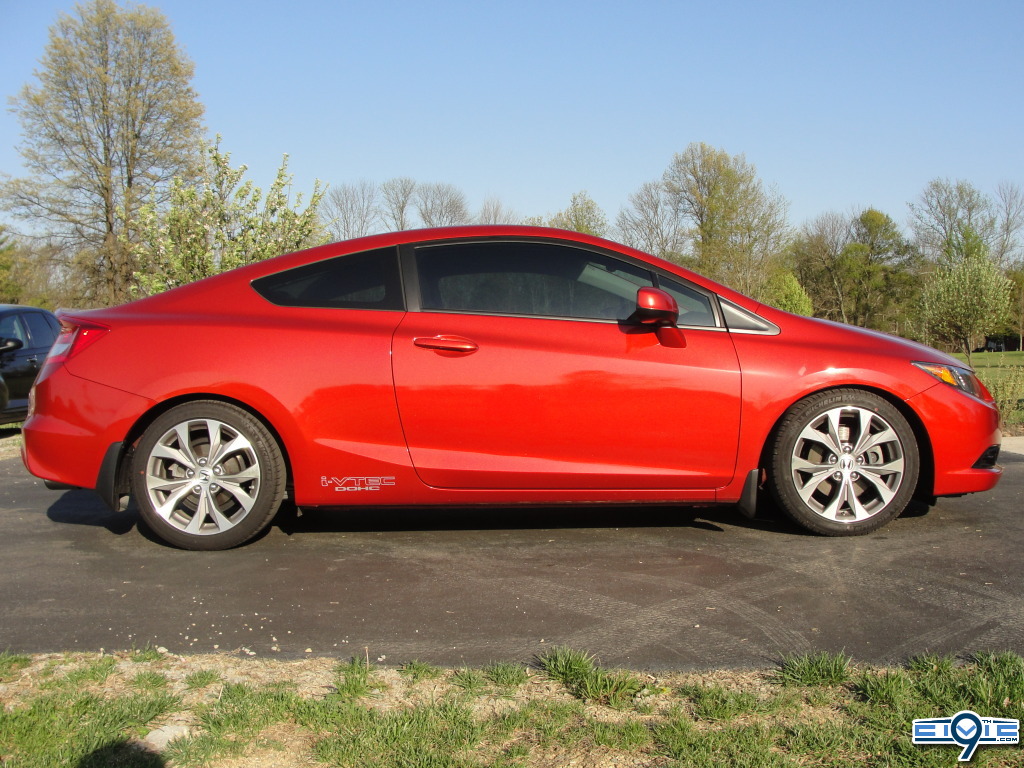
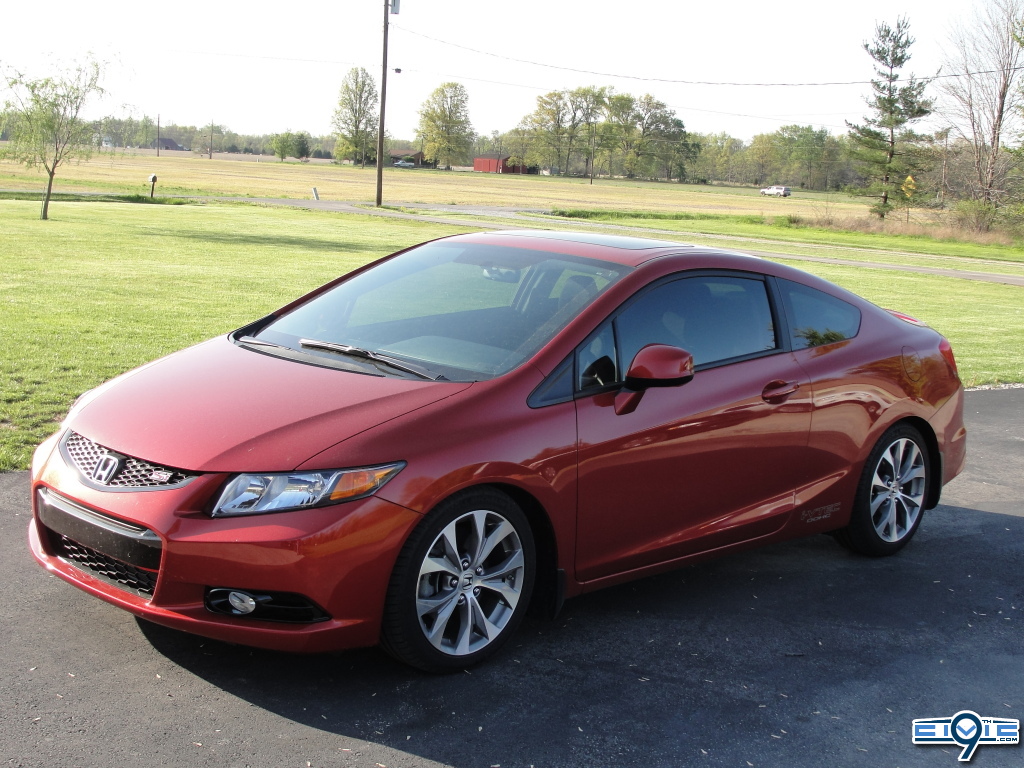
Here's a couple pics of my car before the install..
Koni Adj. Sport Dampers w/ Swift Spec R (Progressive) Springs
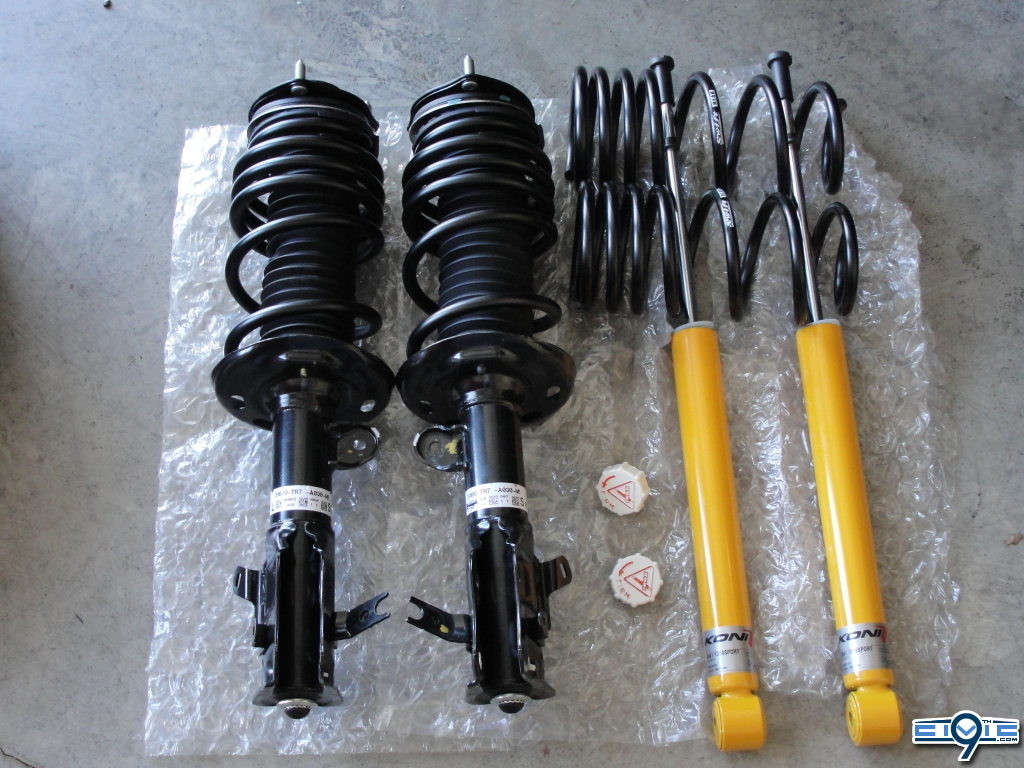
Spring Rates: 257 lbs/in (F) / 294 lbs/in (R)
Ride Height: 1.2" (F) / 1.1" (R)
Other Notes: Koni Front Insert. meaning your required to mod the stock front Showa strut housings.
(I personally purchased everything pre-fab & assembled from RedShift Motorsports, Chris is awesome to deal w.)
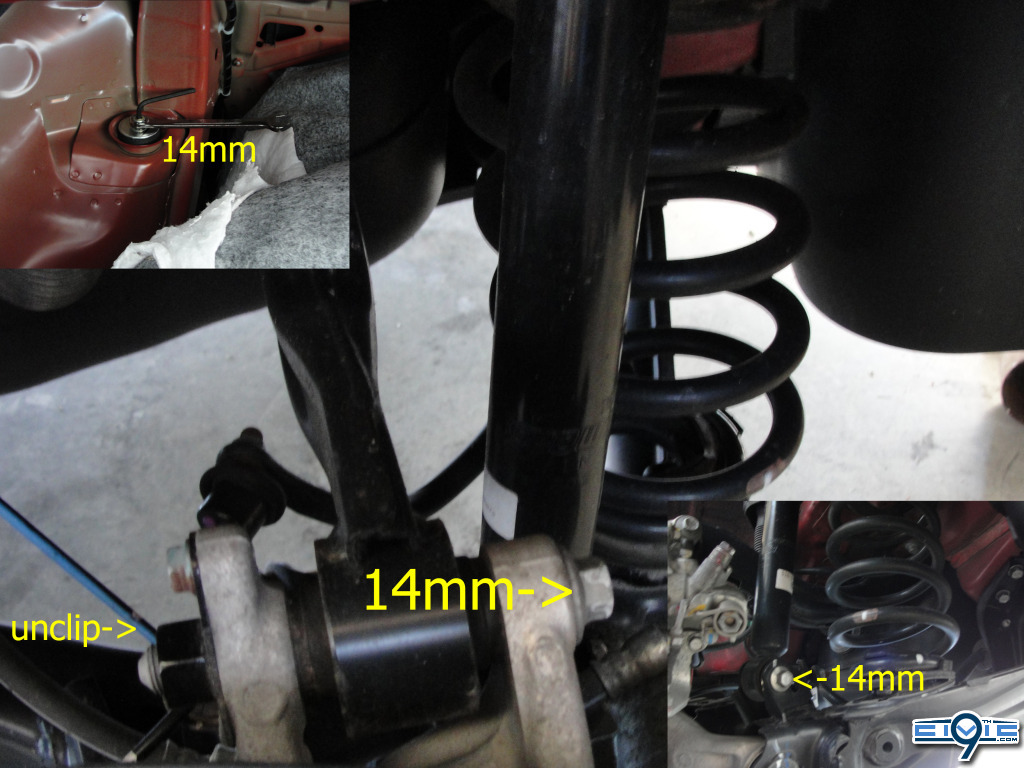
Front Installation
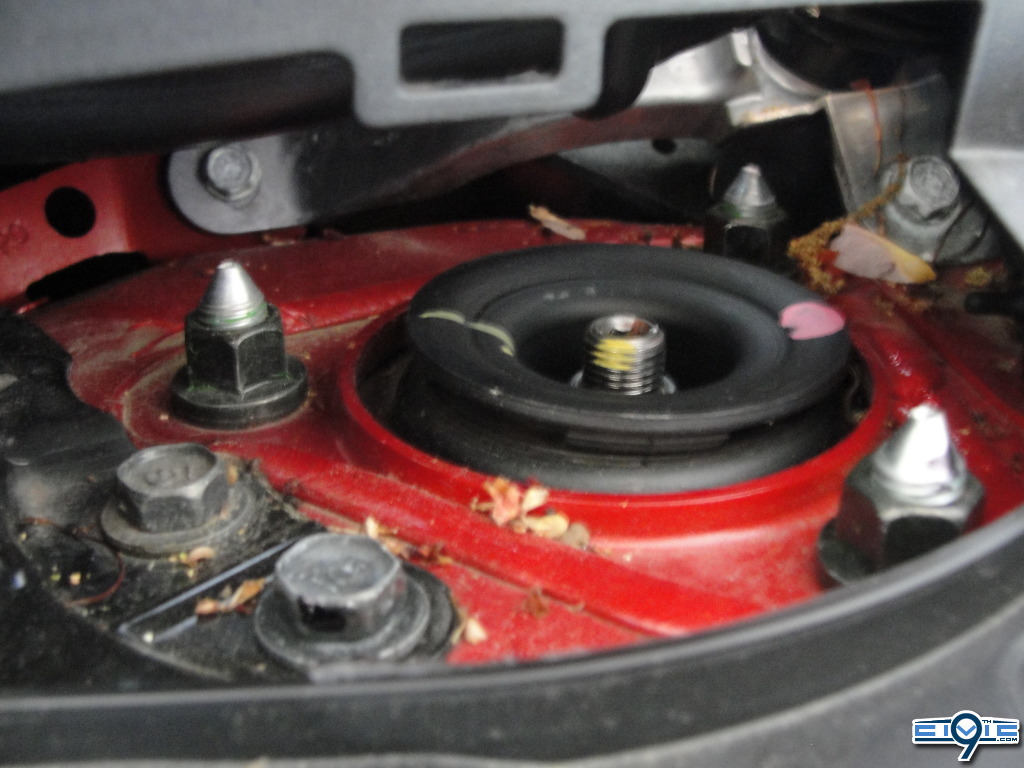
-After removing a few plastic pieces off the cowl loosen these top 3 14mm nuts, don't completely remove just break them loose..
-So if you haven't noticed the wheel is missing.. (The car is also on jackstands, you'll need the jack later)
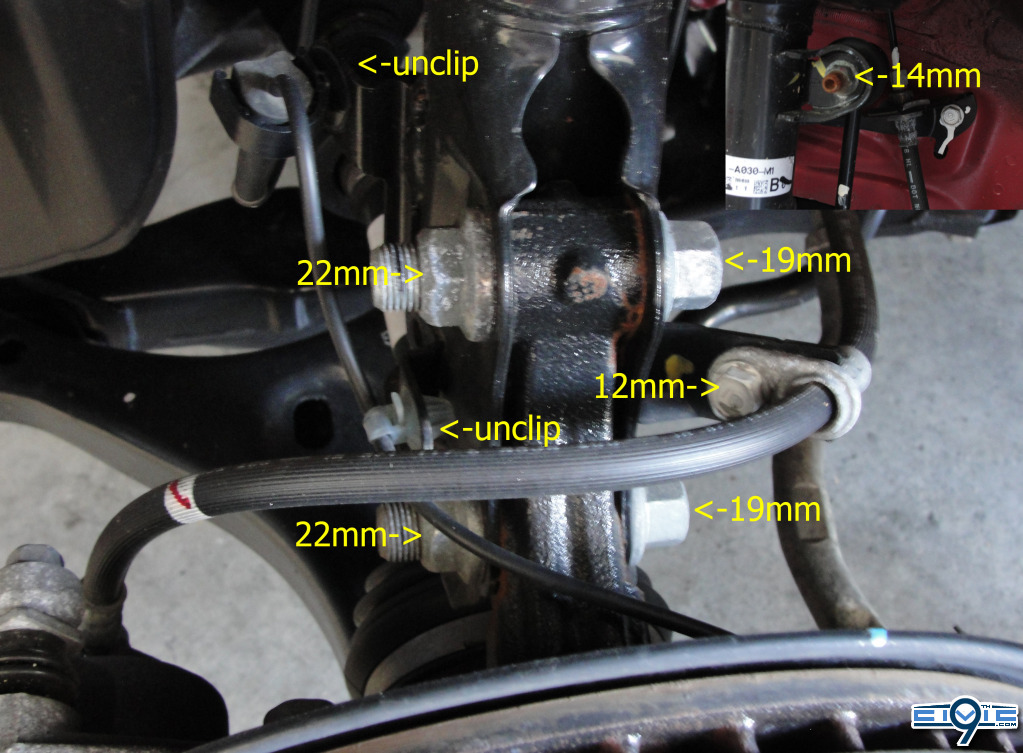
1) Unclip the 2 clips & push the sensor to the side as much as you can
2) Now take a 19mm wrench & 22mm socket attached 1/2" breaker bar (maybe overkill), break those nuts loose on the knuckle pinch bolts
3) Take an allen & 14mm wrench then remove the nut from FSB tab
4) Then there is a 12mm bolt holding the brake line, remove it
5) After you've done all that, take off the 22mm nuts & tap out the 19mm pinch bolts
6) Everything should drop down w/ a small push on the brake hub
7) I had an extra hand to remove the top 3 14mm nuts, while I held strut from dropping
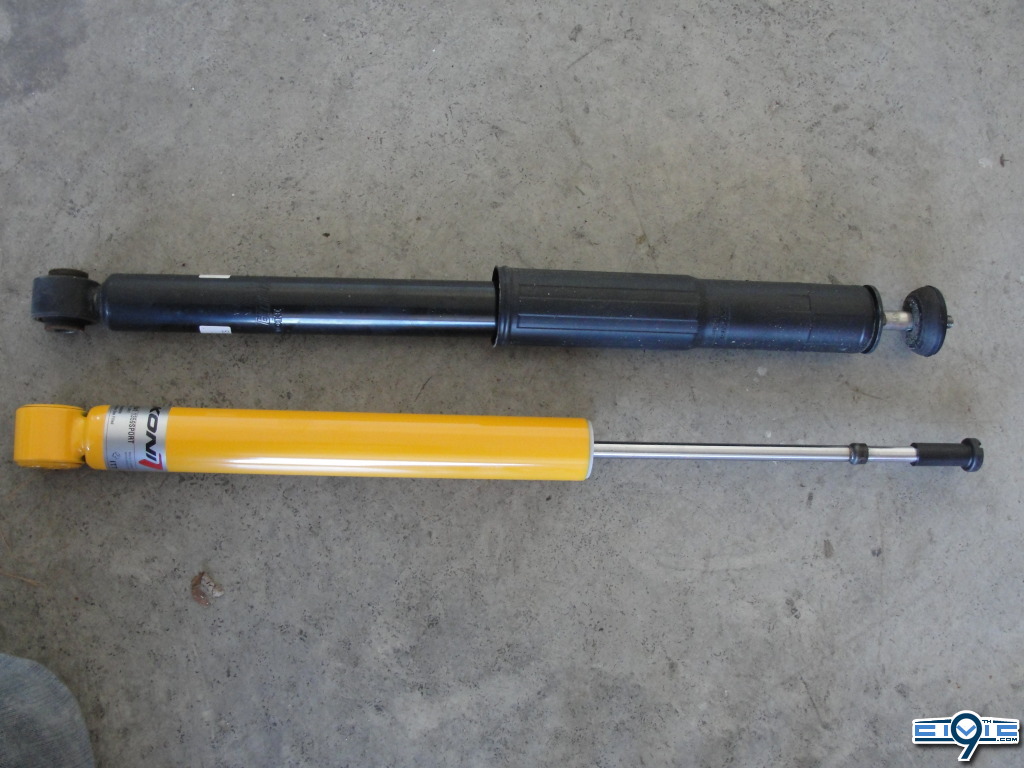
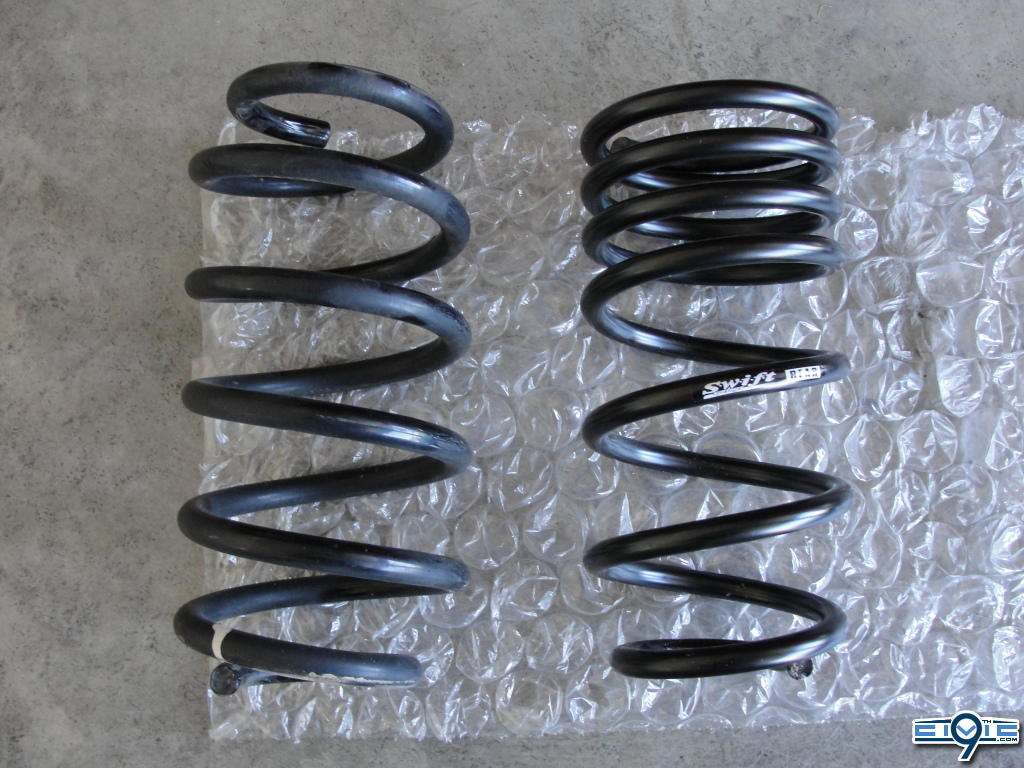
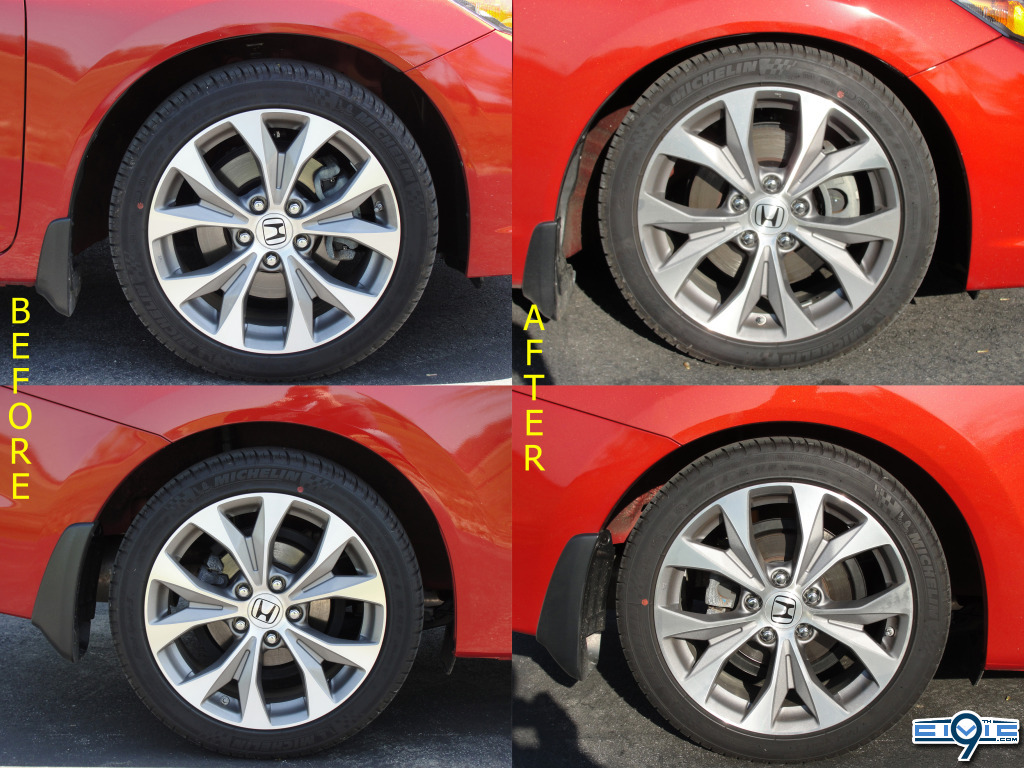
Comparison of the 2
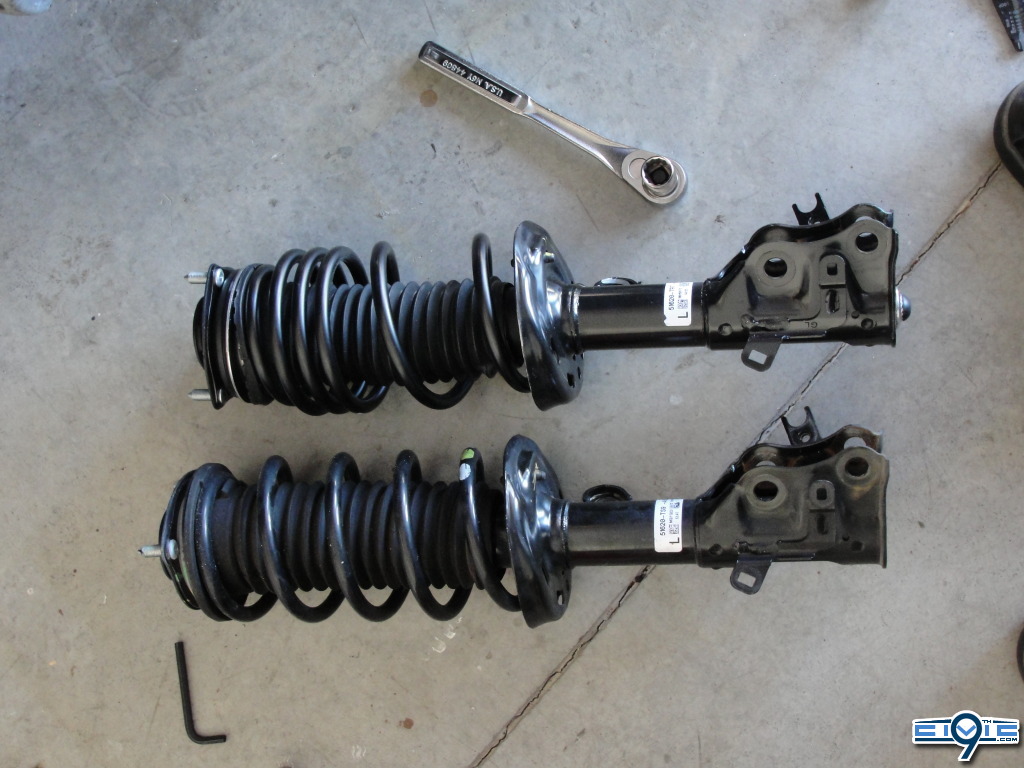
^^Bottom one is the stockie. Though the Koni/Swift could almost be fooled for stock..
Installed
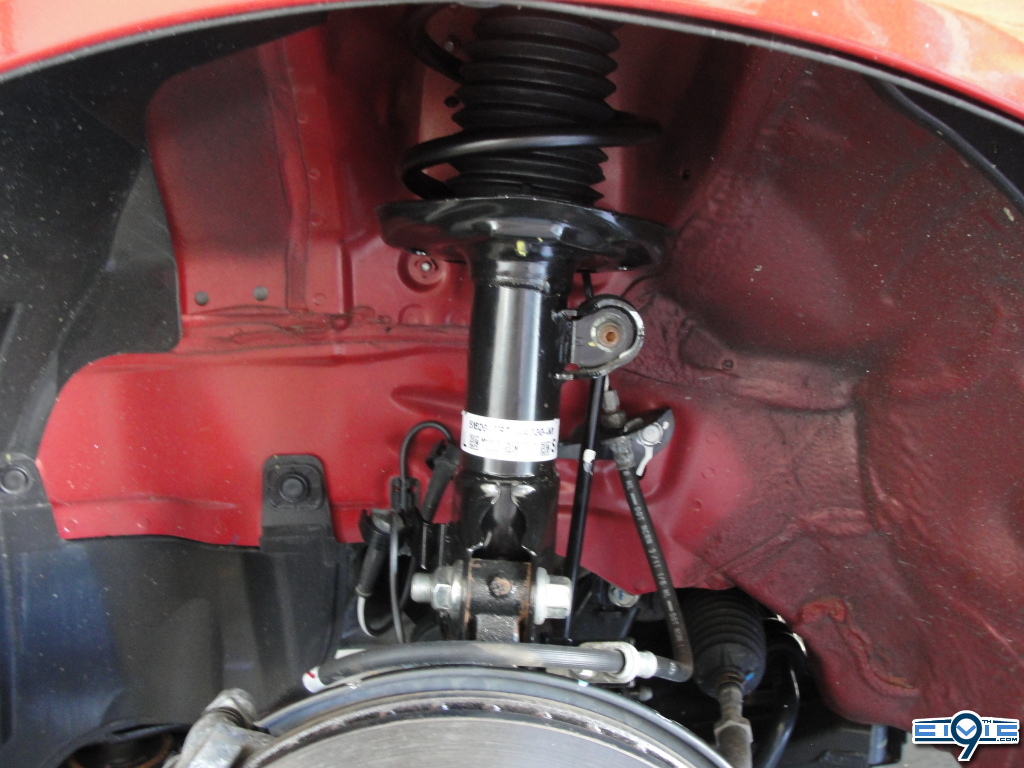
-Hopefully after removal you got the gist of how it goes it all goes back on. I found it to be easiest to start by putting the strut in 1st, then hand tight the top 3 nuts.
-Then use a jack to help guide & get the pinch/camber bolts in. Also, to tq everything back down.
-22mm flange nuts (157N.m, 116 lbf-ft.)
-14mm nut on FSB tab (34N.m, 25lbf-ft.)
-Top 3 14mm flange nuts (59N.m, 44lbf-ft.)
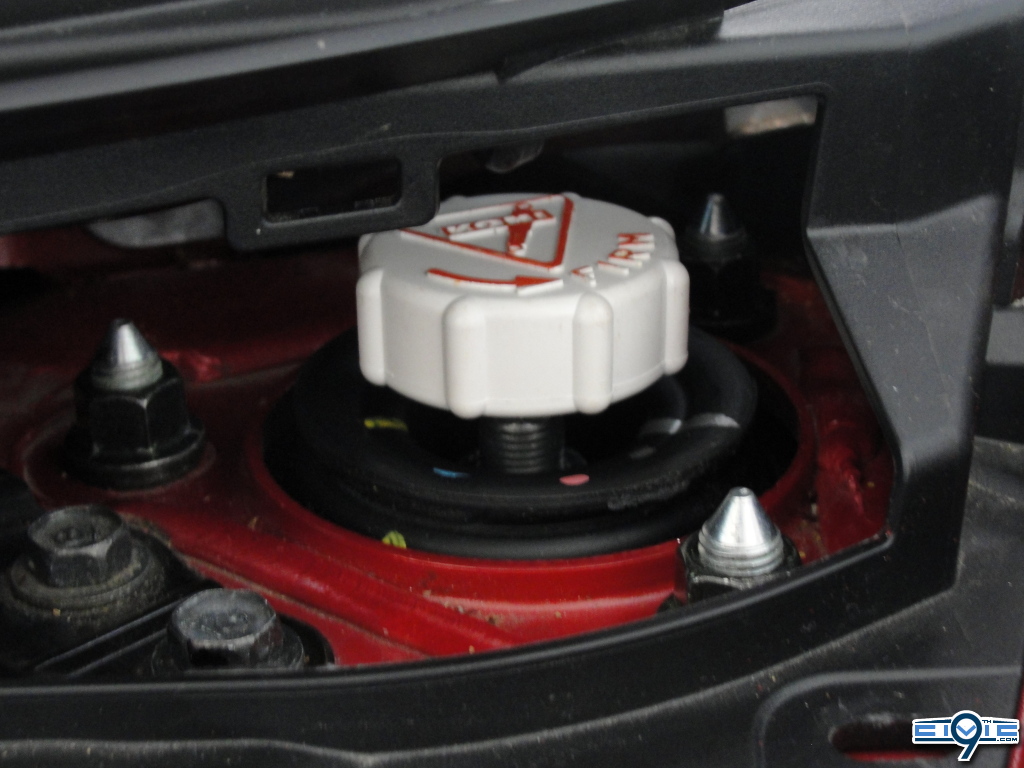
Note: it's quite tricky to wedge the adj. in there & back off but it's somewhat manageable..
Progression pic before rear install
Rear Installation
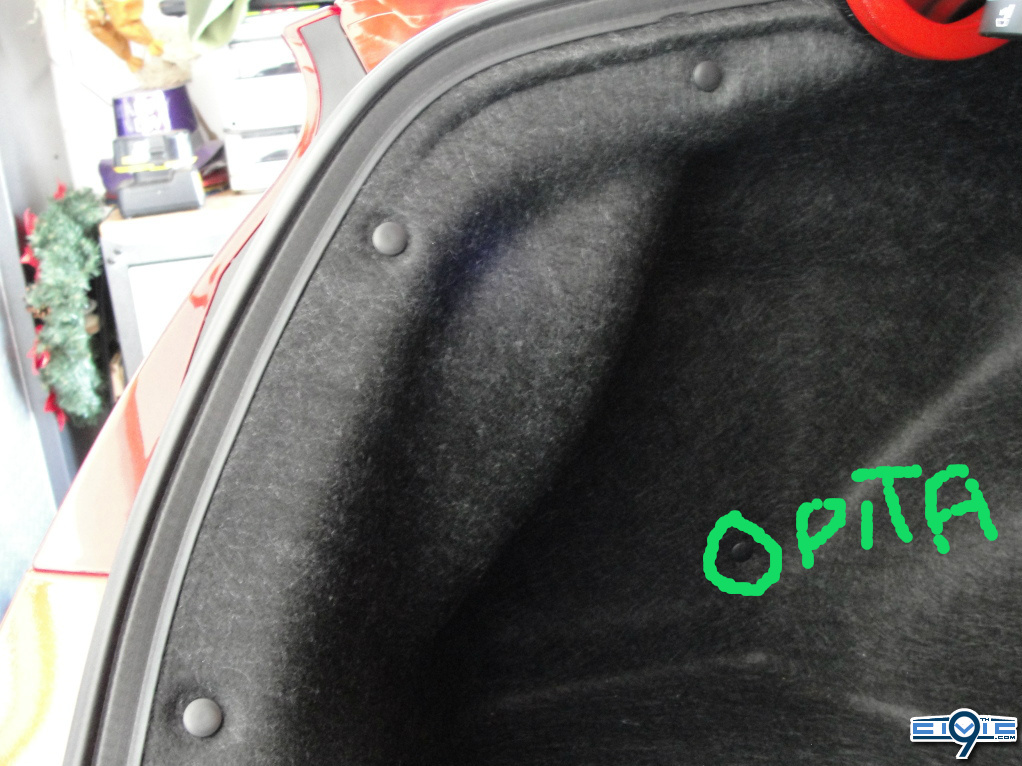
-Remove these 3 clips & break the PITA clip, then fold the carpet to the side
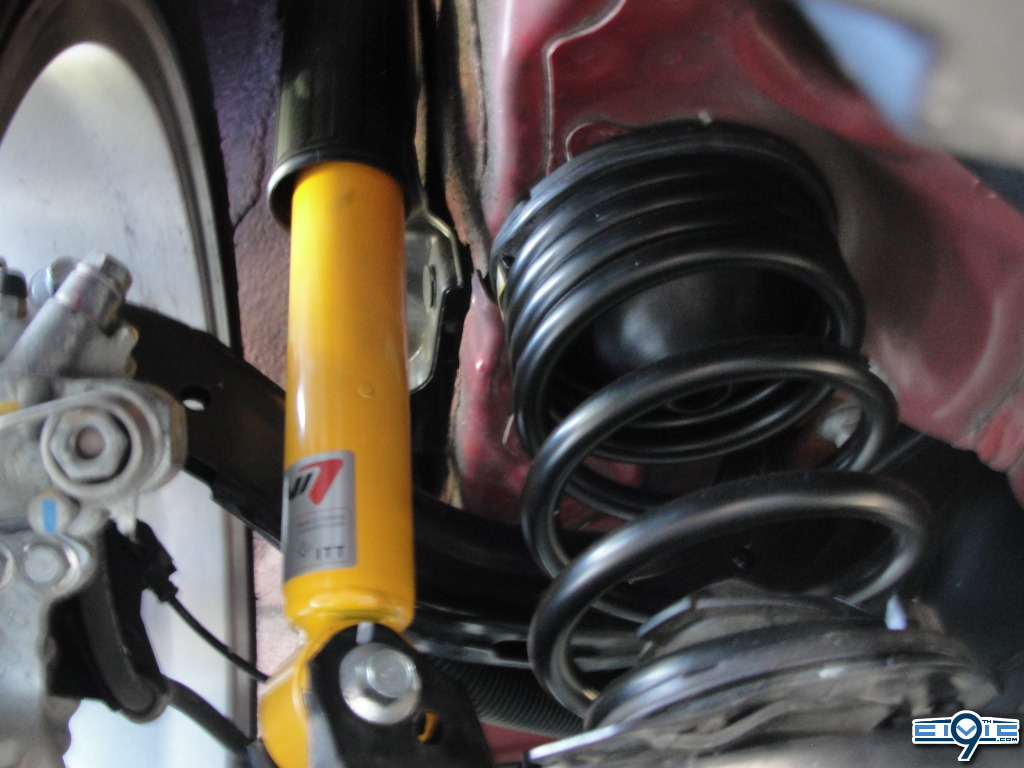
-Personally I found the rear removal to be super easy & no need for steps, just remember that clip because if you don't you'll stretch the hell out of the wire trying to get the spring out.. You can tell it's a bit stretched in the pic w/ everything still on..
Stock comparisons
Installed
-14mm camber arm bolt (108N.m, 80lbf-ft.)
-14mm bottom strut bolt (59N.m, 44lbf-ft.) Be sure to load w/ a jack when tightening down this bolt
-The nut removed up top is replaced w/ one supplied in hardware bag along w/ a lock washer. I found no need to use a tq wrench since it's only like 22 lbf-ft for stock self-locking nut anyway.
Couple of notes:
To reuse the dust boot cover you'll have to drill it out, because the koni's piston rod is thicker in diameter than stock
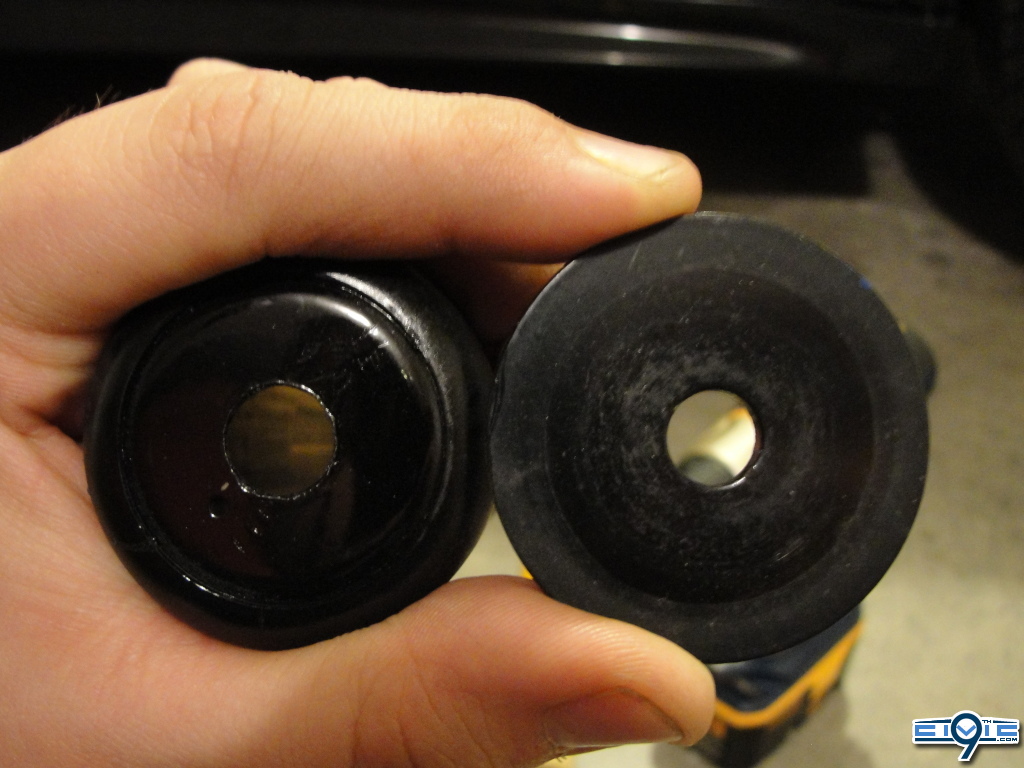
^^ Already drilled out above, compared to a washer that use to sit up top of the cover
(use the washer that came w/ the new struts)
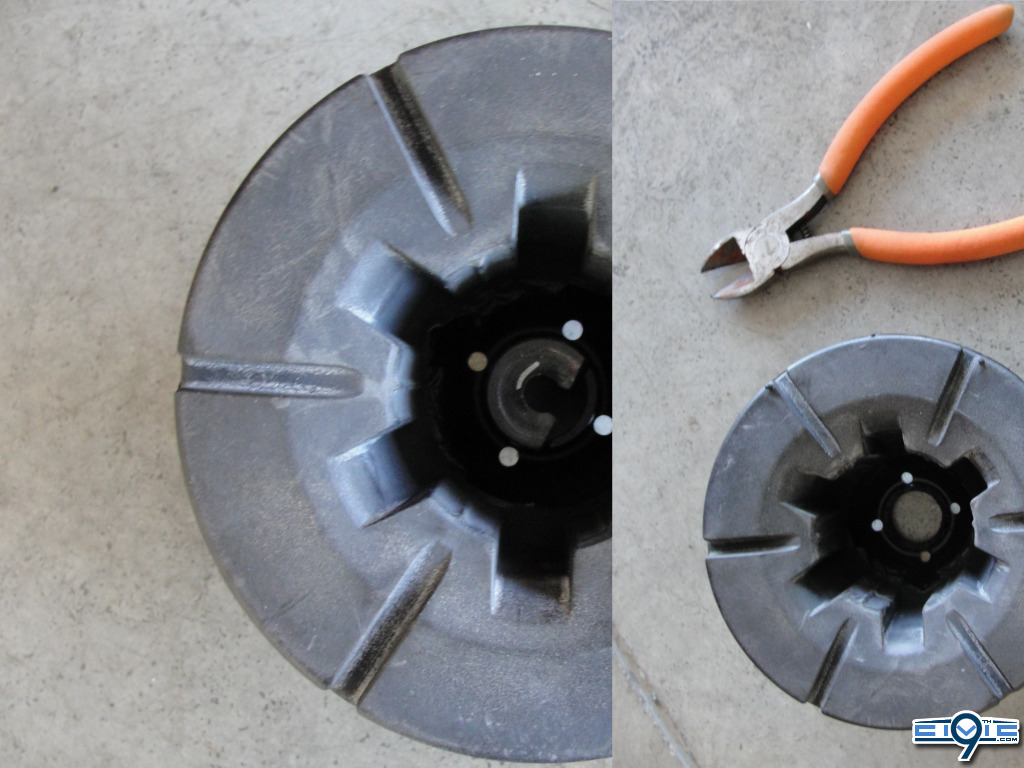
Also, a pic of what you have to remove from the 8thgen isolator
OK time for some pics....
Hopefully this helps!
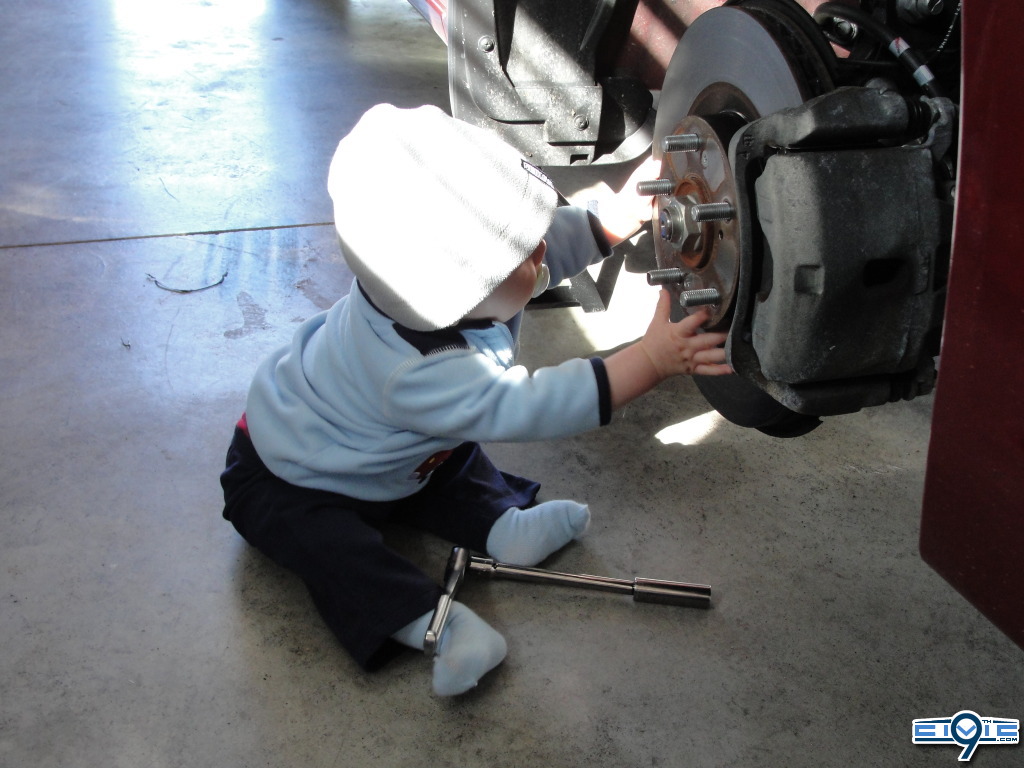
Also it helps to have a great helper..
Here's a couple pics of my car before the install..
Koni Adj. Sport Dampers w/ Swift Spec R (Progressive) Springs
Spring Rates: 257 lbs/in (F) / 294 lbs/in (R)
Ride Height: 1.2" (F) / 1.1" (R)
Other Notes: Koni Front Insert. meaning your required to mod the stock front Showa strut housings.
(I personally purchased everything pre-fab & assembled from RedShift Motorsports, Chris is awesome to deal w.)
Front Installation
-After removing a few plastic pieces off the cowl loosen these top 3 14mm nuts, don't completely remove just break them loose..
-So if you haven't noticed the wheel is missing..
(The car is also on jackstands, you'll need the jack later)1) Unclip the 2 clips & push the sensor to the side as much as you can
2) Now take a 19mm wrench & 22mm socket attached 1/2" breaker bar (maybe overkill), break those nuts loose on the knuckle pinch bolts
3) Take an allen & 14mm wrench then remove the nut from FSB tab
4) Then there is a 12mm bolt holding the brake line, remove it
5) After you've done all that, take off the 22mm nuts & tap out the 19mm pinch bolts
6) Everything should drop down w/ a small push on the brake hub
7) I had an extra hand to remove the top 3 14mm nuts, while I held strut from dropping
Comparison of the 2
^^Bottom one is the stockie. Though the Koni/Swift could almost be fooled for stock..
Installed
-Hopefully after removal you got the gist of how it goes it all goes back on. I found it to be easiest to start by putting the strut in 1st, then hand tight the top 3 nuts.
-Then use a jack to help guide & get the pinch/camber bolts in. Also, to tq everything back down.
-22mm flange nuts (157N.m, 116 lbf-ft.)
-14mm nut on FSB tab (34N.m, 25lbf-ft.)
-Top 3 14mm flange nuts (59N.m, 44lbf-ft.)
Note: it's quite tricky to wedge the adj. in there & back off but it's somewhat manageable..
Progression pic before rear install
Rear Installation
-Remove these 3 clips & break the PITA clip, then fold the carpet to the side
-Personally I found the rear removal to be super easy & no need for steps, just remember that clip because if you don't you'll stretch the hell out of the wire trying to get the spring out.. You can tell it's a bit stretched in the pic w/ everything still on..
Stock comparisons
Installed
-14mm camber arm bolt (108N.m, 80lbf-ft.)
-14mm bottom strut bolt (59N.m, 44lbf-ft.) Be sure to load w/ a jack when tightening down this bolt
-The nut removed up top is replaced w/ one supplied in hardware bag along w/ a lock washer. I found no need to use a tq wrench since it's only like 22 lbf-ft for stock self-locking nut anyway.
Couple of notes:
To reuse the dust boot cover you'll have to drill it out, because the koni's piston rod is thicker in diameter than stock
^^ Already drilled out above, compared to a washer that use to sit up top of the cover
(use the washer that came w/ the new struts)
Also, a pic of what you have to remove from the 8thgen isolator
OK time for some pics....
Hopefully this helps!
Also it helps to have a great helper..
 Looks great! Thanks for posting this!!!


