- Thread starter
- #241
Dar-Dar
Mordorator
- 19,329
- 9,901
- Vehicle Model
- Civic Si
- Body Style
- Fiji Blue Pearl Coupe Coolest Member Since: May 15, 2011
New Wheels and Tires
I got an amazing deal on a set of BBS RA518 from a local Craigslist seller. They are 17x8.5 with 40mm offset.

I also snagged a deal on two 235/45/17 Pilot Super Sport tires with 6-7/32 " tread remaining for $50. And I have two brand new 255/40/17 Kumho KU36 that have been sitting in the garage for a few months. I got the tires mounted on the wheels, but not balanced. I noticed that the paint is chipping during the tire install. So I only requested only for tire mounting. It looks like the person who painted them did not spray primer. *Scratches head* I can also remove the paint with my nails. So road debris will easily destroy the finish. I'll repaint them myself using PlastiKote self etching primer, Rustoleum Graphite wheel paint, and 2K Clear coat. It will be durable.
I can't complain about the paint job since I had a really good deal on the BBS (not going to mention price). I'm also not liking the way the color looks on the car. It looks too dark. After the wheels are painted (both sides of the wheels), I'll get them balanced.
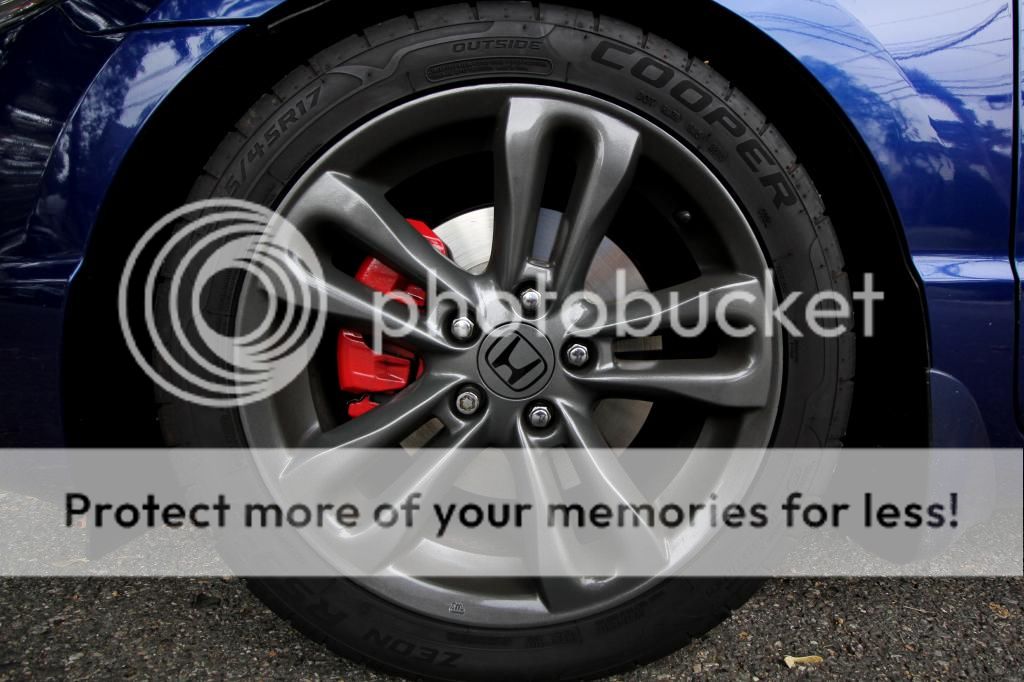
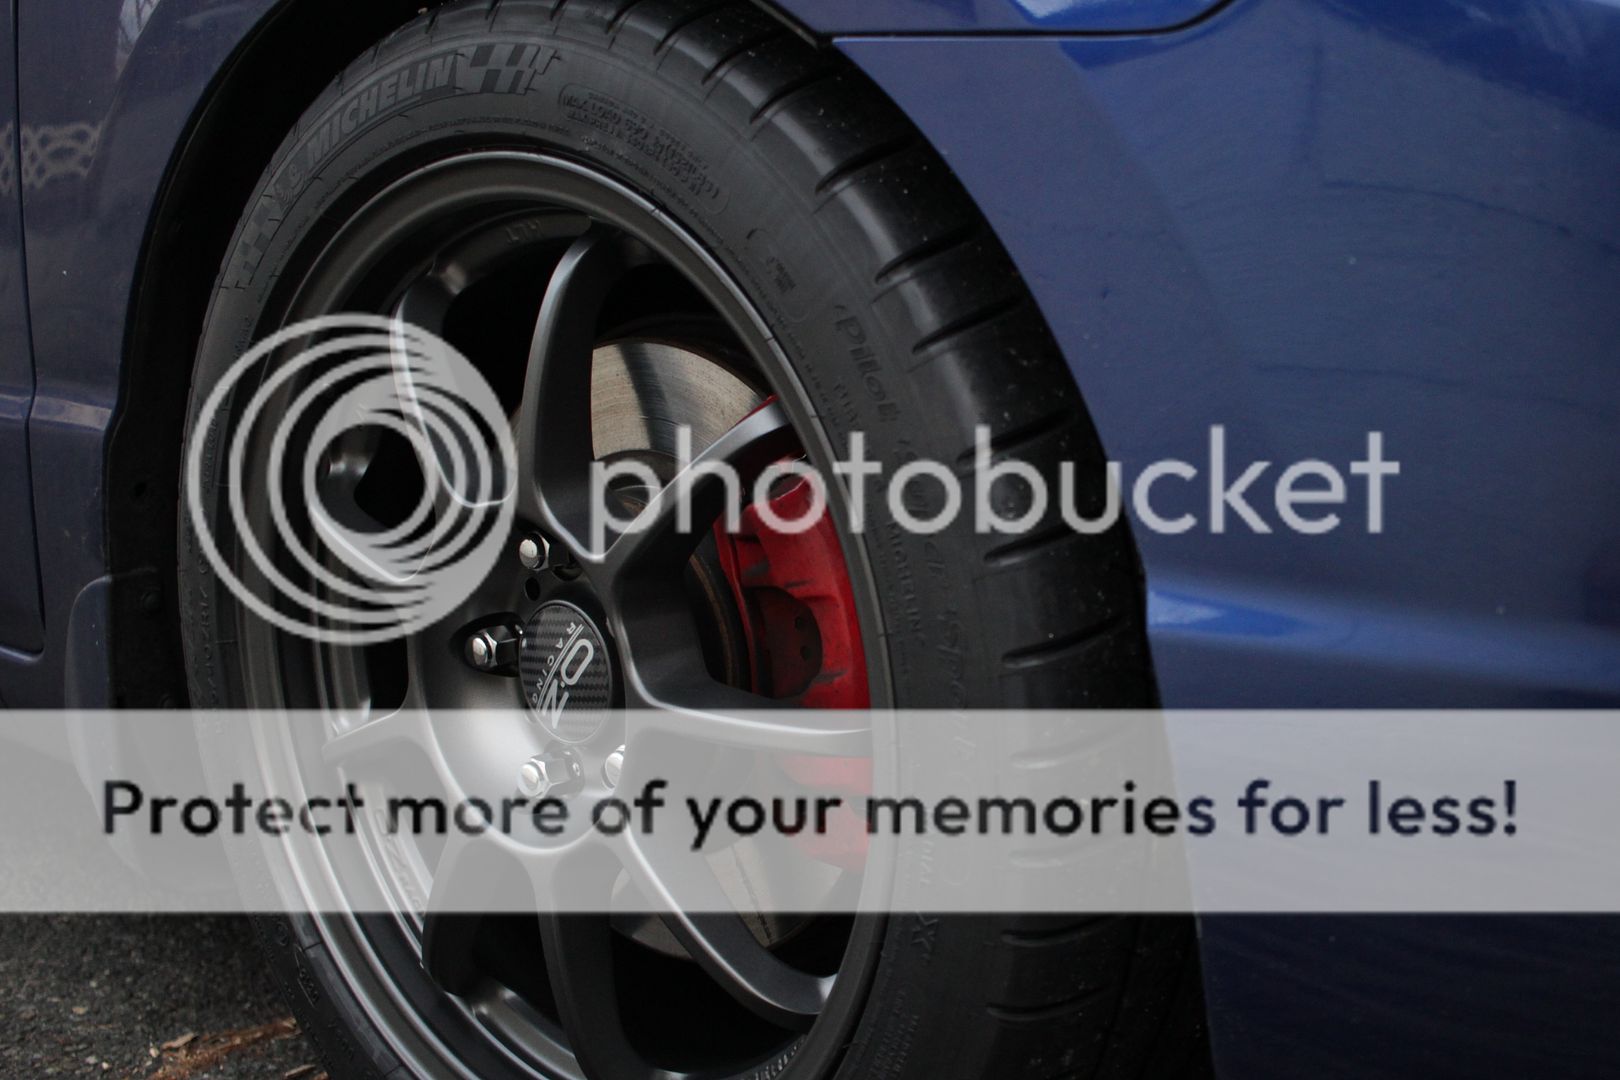
So here is what the car looks like now with the wheels/tires mounted on the car. I removed the Style 44s since someone is interested in buying them.
Don't mind the rust on the passenger side since only the driver side is done.


Honestly, I love how the car sits on stock springs (with 14mm rear upper isolators)! It is around a two finger gap on all four corners. I think the 235 front and 255 rear setup is perfect. I would have gone 245 on the front, but the front PSS tires are taller (235/45/17 vs 225/45/17) than stock and have a much larger area of contact patch.
I'll order rear mud flaps since the rear tires are super wiiiide (dat stance doe) and it will be kicking so much dirt and rocks to the rear bumper, which it already did.
I got an amazing deal on a set of BBS RA518 from a local Craigslist seller. They are 17x8.5 with 40mm offset.

I also snagged a deal on two 235/45/17 Pilot Super Sport tires with 6-7/32 " tread remaining for $50. And I have two brand new 255/40/17 Kumho KU36 that have been sitting in the garage for a few months. I got the tires mounted on the wheels, but not balanced. I noticed that the paint is chipping during the tire install. So I only requested only for tire mounting. It looks like the person who painted them did not spray primer. *Scratches head* I can also remove the paint with my nails. So road debris will easily destroy the finish. I'll repaint them myself using PlastiKote self etching primer, Rustoleum Graphite wheel paint, and 2K Clear coat. It will be durable.
I can't complain about the paint job since I had a really good deal on the BBS (not going to mention price). I'm also not liking the way the color looks on the car. It looks too dark. After the wheels are painted (both sides of the wheels), I'll get them balanced.
So here is what the car looks like now with the wheels/tires mounted on the car. I removed the Style 44s since someone is interested in buying them.
Don't mind the rust on the passenger side since only the driver side is done.


Honestly, I love how the car sits on stock springs (with 14mm rear upper isolators)! It is around a two finger gap on all four corners. I think the 235 front and 255 rear setup is perfect. I would have gone 245 on the front, but the front PSS tires are taller (235/45/17 vs 225/45/17) than stock and have a much larger area of contact patch.
I'll order rear mud flaps since the rear tires are super wiiiide (dat stance doe) and it will be kicking so much dirt and rocks to the rear bumper, which it already did.


 The imperfections will be covered by the clear rubber mat nonetheless.


