Official 'What did you do to your car today?' Thread

View attachment 62121 View attachment 62122 View attachment 62123 I changed the red film from the si to my cluster and then took the blue film and put it on the si so everything matches mileage included so it is accurate.

I got the plastic piece in front of the cup holders black and the plastic underneath my steering wheel. Honest thoughts? View attachment 62121View attachment 62122

Quality work as usual. Dude, you should make a dedicated build thread. I would follow. I like when folks do out of the ordinary stuff. And it's always cool when it turns out as good as your shiz has been.
 
Thanks guys! I might tackle the door panel and some other pieces today. I actually do have a build thread, but I haven’t posted much in it. I might update it with a bunch of photos just showing what I did. Appreciate your support guys and let me know if it is ever looking rice. Trying to make this genuinely look good so hopefully I’m doing that right so far.
 
Painted pillar.
128446114_436712837712231_7431851547092668685_n.jpg
 
Okay so I finished the passenger door panel and both pillars. Excuse the mess in my car. Thoughts?
128758922_185695906620684_1369138529566631853_n.jpg

128729956_476550889994656_1260268920171638042_n.jpg

Holy smokes. Looks great man. Did you purposely leave the handle area as an accent? Looks odd, but appealing at the same time. Kinda ties it to the glove compartment.
 
Holy smokes. Looks great man. Did you purposely leave the handle area as an accent? Looks odd, but appealing at the same time. Kind of ties it to the glove compartment.
Nope, I got lazy lol I didn't want to bother disconnecting the door handles and frankly I don't know how. I just didn't want to be bothered with it. The pop out plate I can do anytime, but ran out of paint. Putting the plastic leather in the door was a pain today, but I got it better than the last one so that's good. Thanks man, glad you like it.
 
Matches really well with the leather. Will the lower glove box area be done next?
Thanks, I thought the black leather would be too much, but I feel like it ties in nicely. Eventually yes and I think I will go back and clear coat the pieces that I have done to get the best durability out of it. I can do the glove box and the pieces on the outer sides of the center console, but the gray trim in between the glove box on the sides I am unsure of how that screwed down. What are you thinking of this so far Webby?
 
Great progress @Verzerrung I also plan on blacking out all silver interior trim pieces on day.


Does anyone know anything about HFP suspension on an automatic 2014 civic? Im at 80k and would like to have the smallest drop possible. I plan on getting the 16 to 14mm washer adapters for the knuckles. One day when the HFP suspension fails, I'll probably just replace it with truhart si shocks /struts (but will use the same washer adapters and hfp springs) since the cost of sourcing just the hfp shocks / struts will probably be the same as buying the entire kit again. Is this the right logic? Would the ride height of the HFP suspension kit be the same as the Truhart / HFP spring combo? Thanks!
 
Swapped the Summer Rubber for the Winter stuff this morning. It probably won’t snow now..


Sent from my iPhone using Tapatalk Pro
 
That looks like the right item to me -- I'd invest in some extra clips for sure, though.
Yeah definitely been meaning to pick up some of those for the trunk and engine too. lol My car didn't come with the trunk piece, unless I'm blind and do have it, but pretty sure I don't. Does anyone know if there is a better H11 yellow led aside from the Nokya hyper yellows? Something that is a true deep yellow.

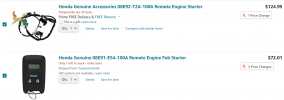
And does anyone know if this is exactly what I need to do the remote start for my car or if I need more?
1609389515663.png
 
Back in the day we use to use the viper alarm system for the key start.
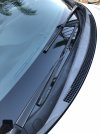
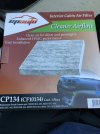
New cabin filter and wipers.
 

Attachments

  • 7EFAE826-178E-418E-A235-C7B8F5183F97.jpeg
    7EFAE826-178E-418E-A235-C7B8F5183F97.jpeg
    2.3 MB · Views: 6
  • E23BCDFE-9F7A-4374-9D56-C97536CBE336.jpeg
    E23BCDFE-9F7A-4374-9D56-C97536CBE336.jpeg
    1.2 MB · Views: 6
  • 63EBC3CB-5472-40B2-AF78-D88126BB7F76.jpeg
    63EBC3CB-5472-40B2-AF78-D88126BB7F76.jpeg
    1.7 MB · Views: 6
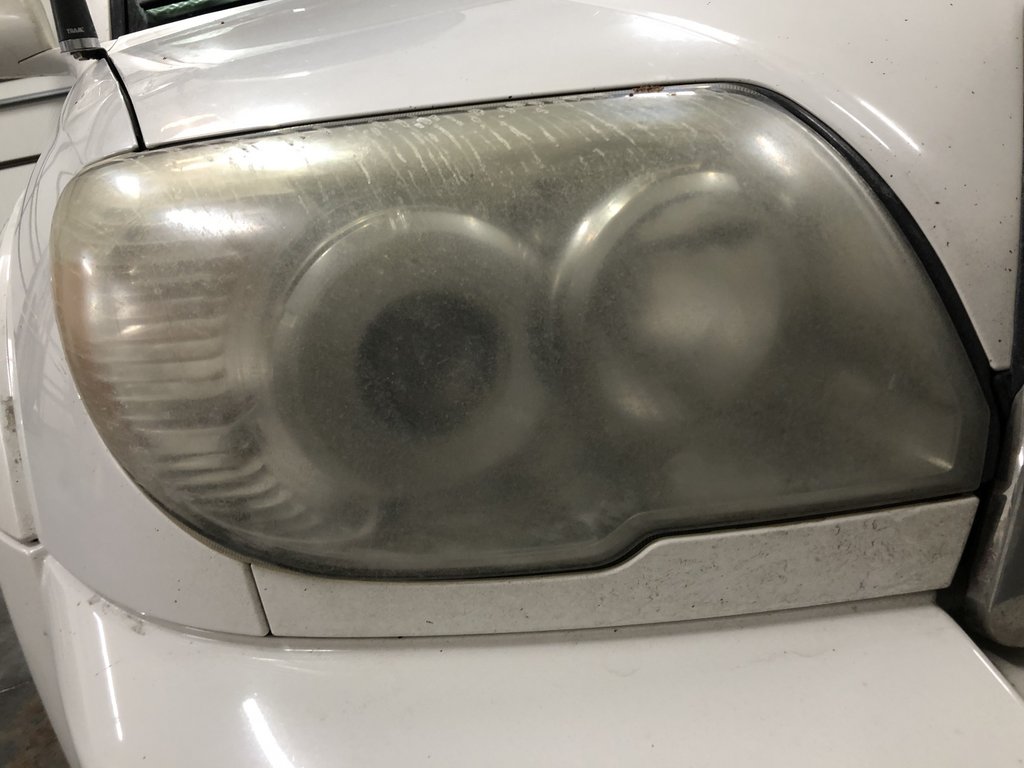
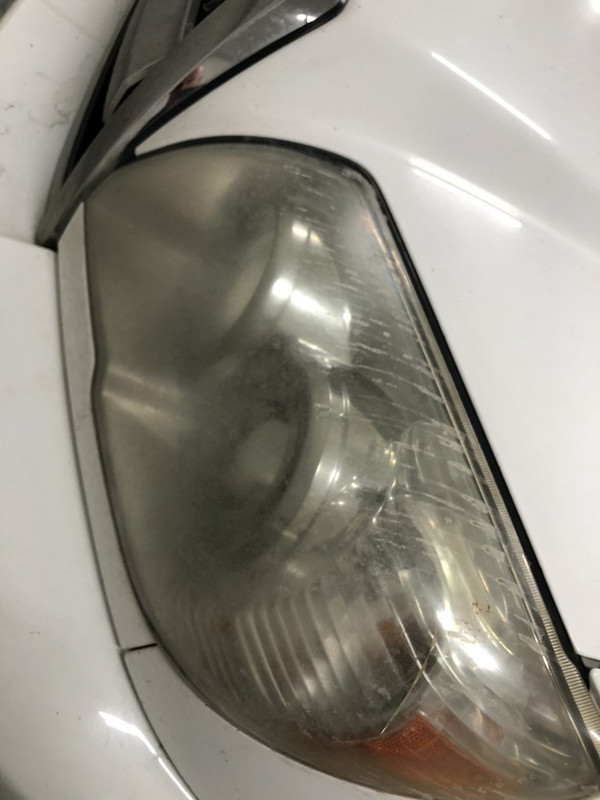
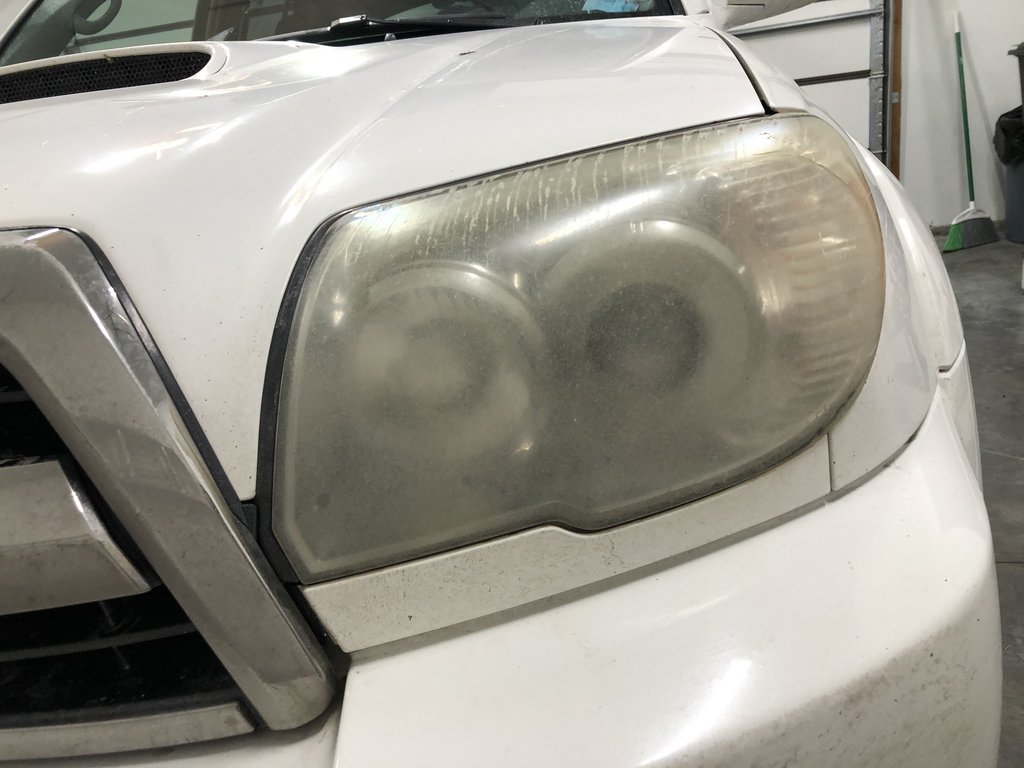
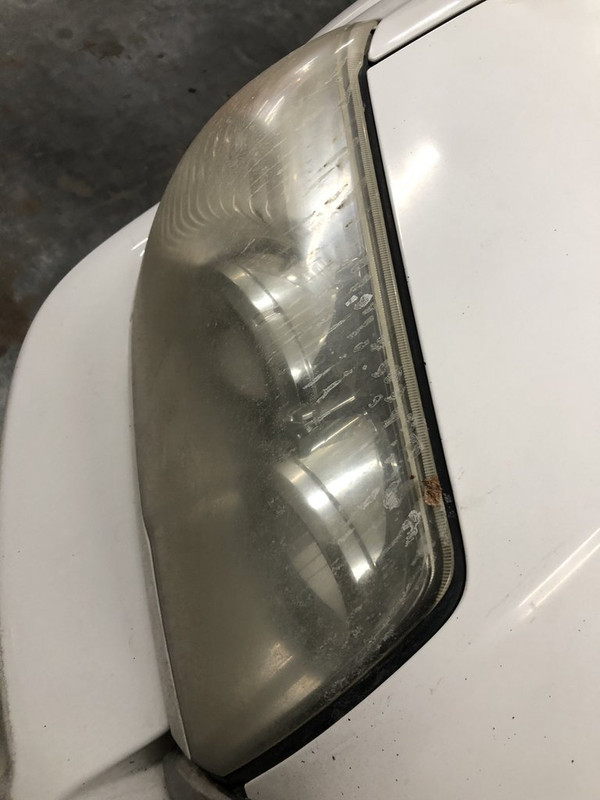
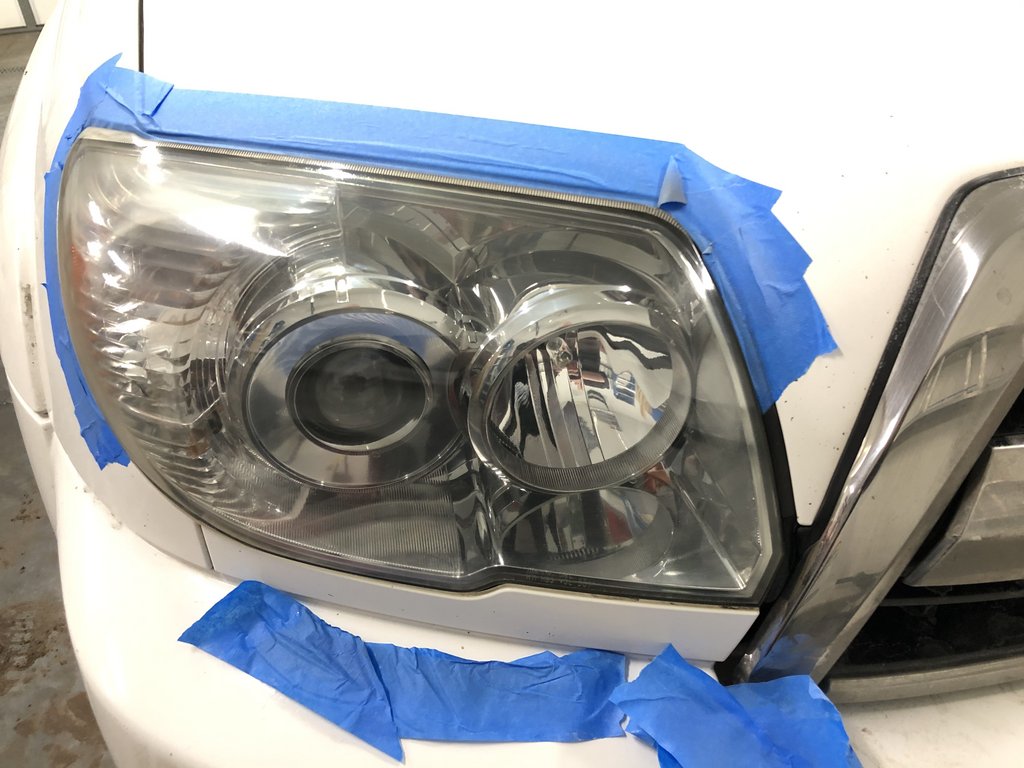
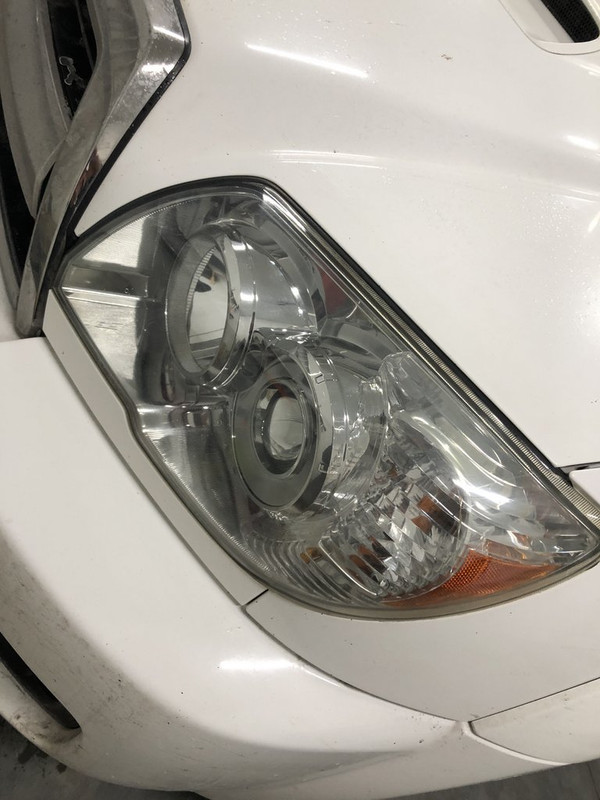
I helped a guy with his headlights. He was about to purchase replacement lights.


05672-E25-2217-4458-8-AFE-FA79-C204-A3-E1.jpg


2632-FC3-D-670-C-4638-A482-B12-FDDC39-E2-B.jpg


2-D3-BCD0-C-F7-DC-4284-96-DC-C7-B1-D3-B1-F289.jpg


58839-B57-1976-4-B3-A-AB4-A-6-EAA225-F8-CE3.jpg


A04673-C7-B118-4812-9-D71-075-D307-F5659.jpg


D066-A465-EE3-B-4-C2-E-8-DB3-9-F94-C6-B299-BB.jpg


wet sand 800 grit, 1000, 1500, 2000 then ultimate compound with a dual orbital, then chemical guys sealant / nxt tech wax
 
I helped a guy with his headlights. He was about to purchase replacement lights.

wet sand 800 grit, 1000, 1500, 2000 then ultimate compound with a dual orbital, then chemical guys sealant / nxt tech wax

Wow! That's a hell of a transformation!
 
Back
Top