Six_speed_demon
Well-Known Member
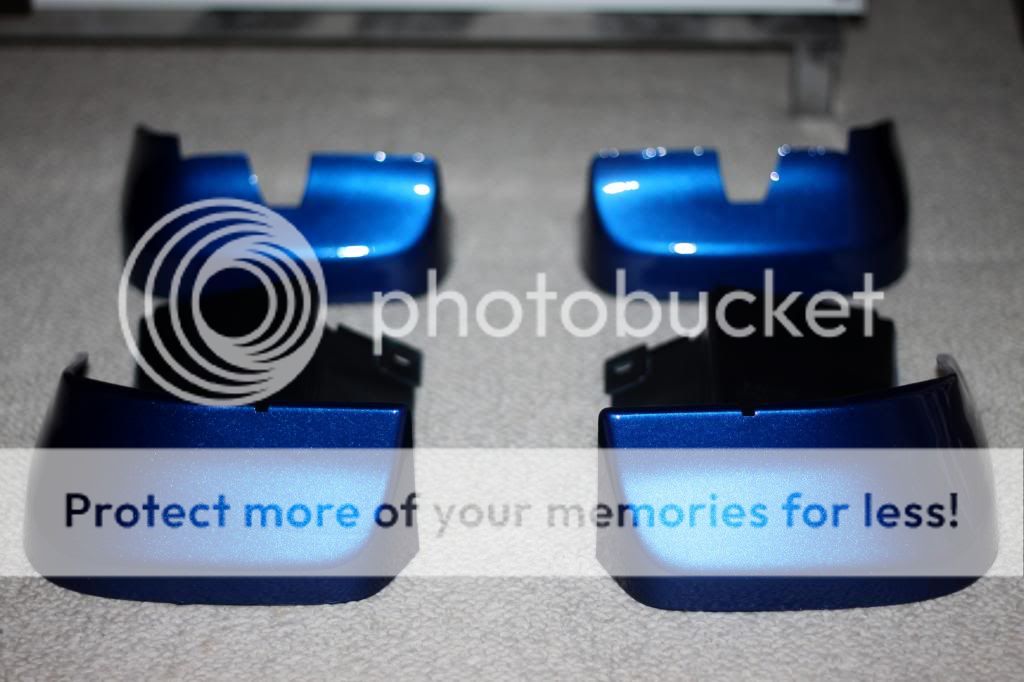
She really clean! The go fast parts will come in due time my friend!Minus all the go fast bits lol View attachment 36440
Follow along with the video below to see how to install our site as a web app on your home screen.
Note: This feature may not be available in some browsers.
She really clean! The go fast parts will come in due time my friend!Minus all the go fast bits lol View attachment 36440
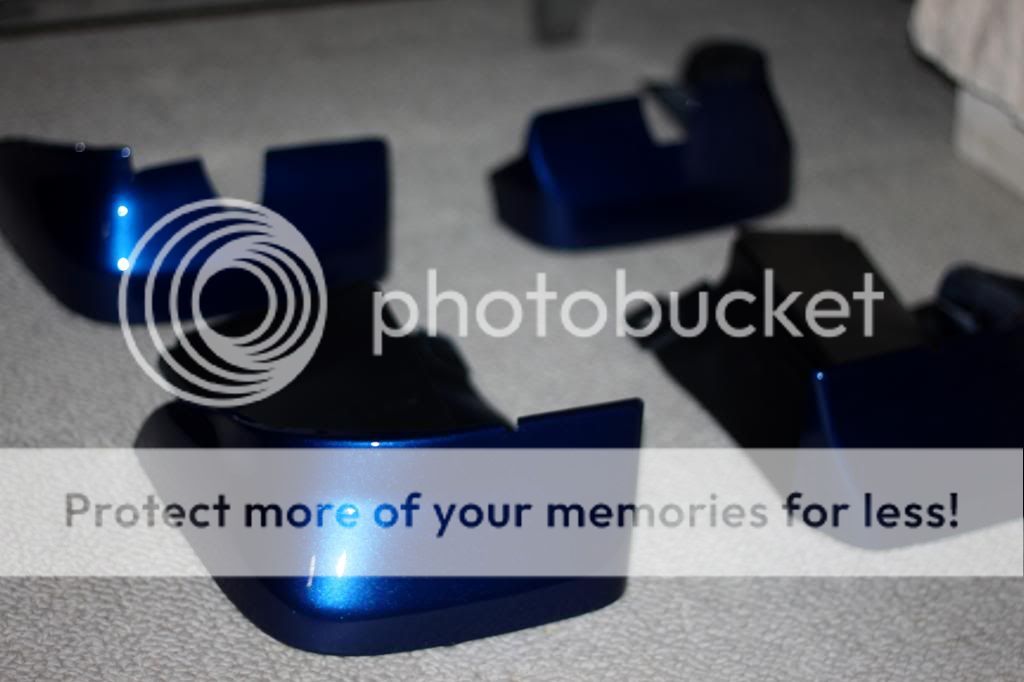
Suspension mods firstShe really clean! The go fast parts will come in due time my friend!
")
Suspension mods first


Do you have to take the bumper off to access the fog lights?. A rock kicked up and broke my glass on my passenger side.My fogs stopped working last night.(no blown fuses) So today I took off the bumper this morning, took out the relay harness and the relay part had all kinds of rust around it (got wet obviously). Direct wire up for now. I do have another really harness but didn't have much time to replace the bad one. And I washed her!!
For that no you do not have to take the bumper off. The shroud around the light pops off and there are two skrews holding the light into the housing. Pop out those screws. Pull out the light and unhook the bulb. If you are referring to a 2013 sedan si or ex with fogs. I'm not 100 that it's the same for the 2012'sDo you have to take the bumper off to access the fog lights?. A rock kicked up and broke my glass on my passenger side.


Nice ty , I have a 13. Can just the glass be ordered or is it the whole assembly? nvm , I guess I will just take it apart and look. Thanks.For that no you do not have to take the bumper off. The shroud around the light pops off and there are two skrews holding the light into the housing. Pop out those screws. Pull out the light and unhook the bulb. If you are referring to a 2013 sedan si or ex with fogs. I'm not 100 that it's the same for the 2012's
I don't think just the glass can be ordered. You're welcome! Anytime!Nice ty , I have a 13. Can just the glass be ordered or is it the whole assembly? nvm , I guess I will just take it apart and look. Thanks.